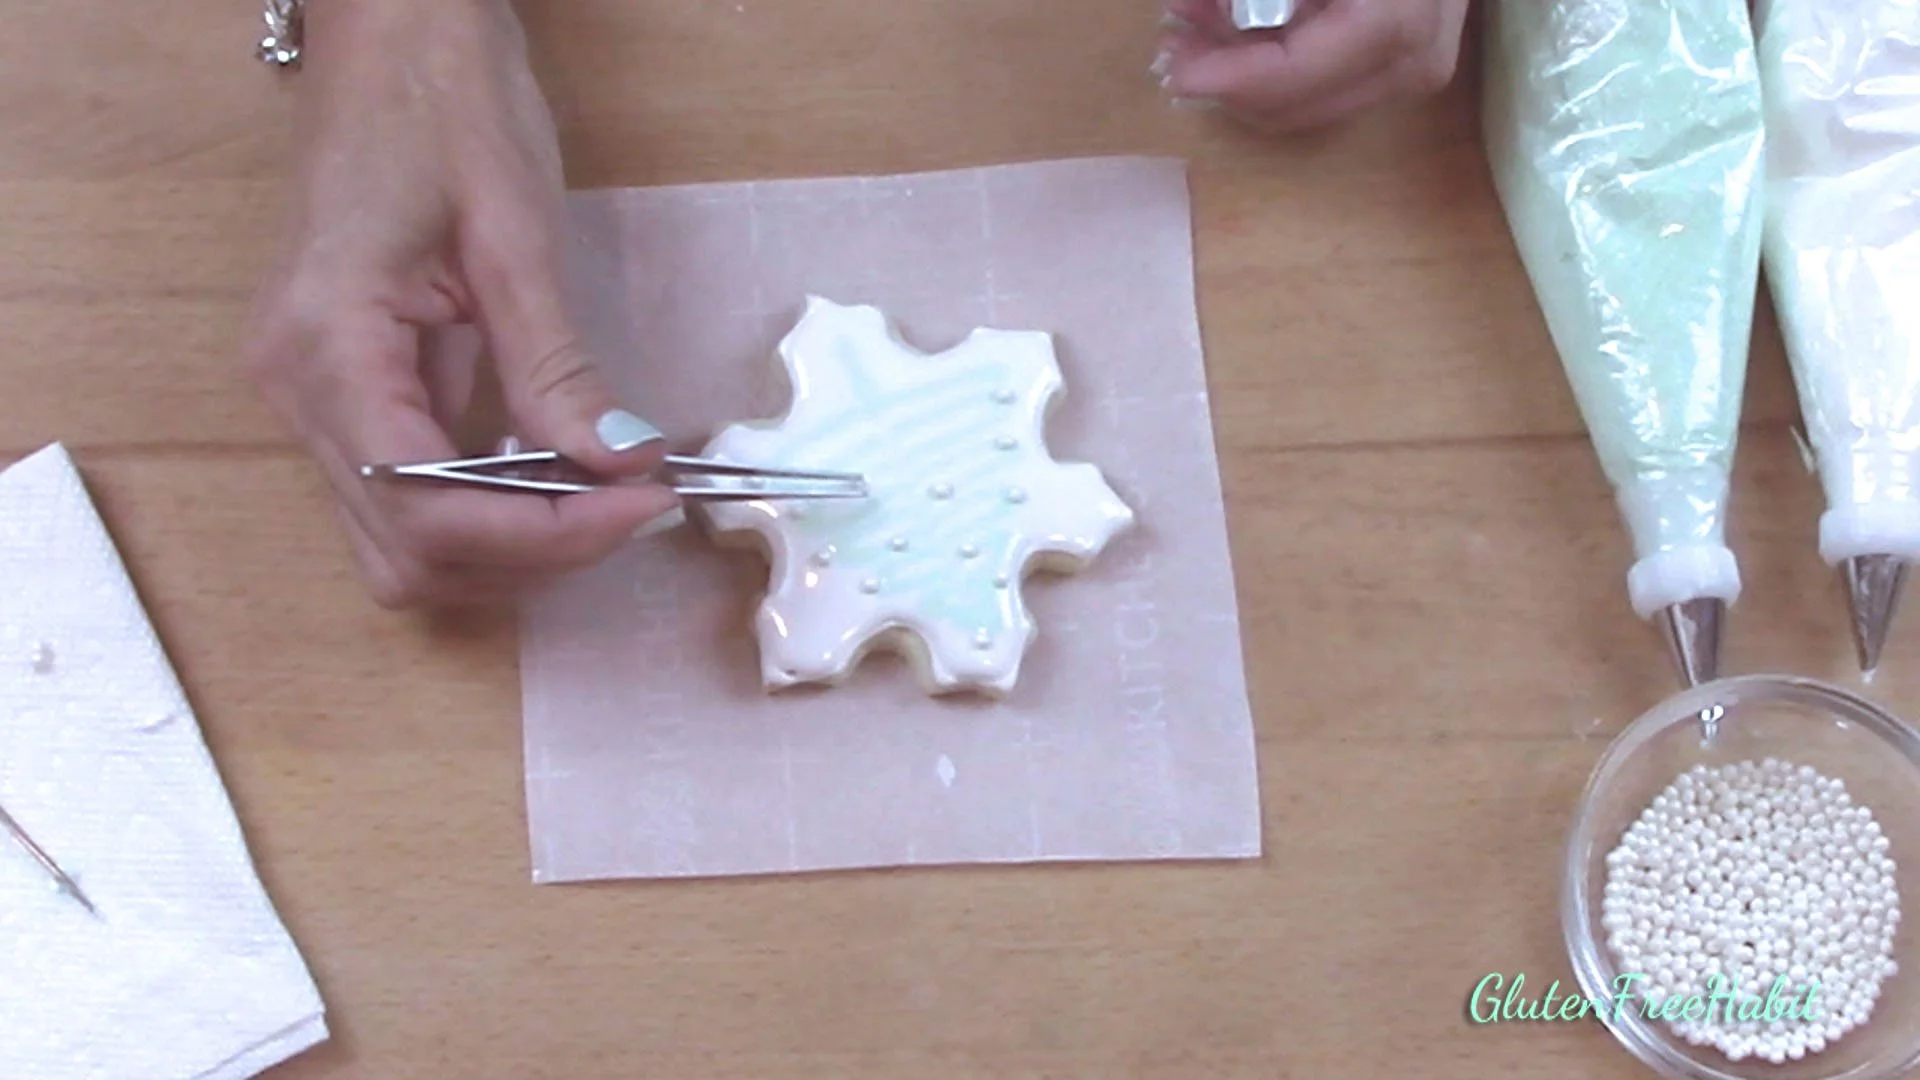
How to Decorate with Royal Icing
To complete your delicious sugar cookie cutouts, you’ll want to decorate them like a pro! Use this easy guide to try some different decorating techniques.
Customize your cookies with a variety of designs and colors Add candy pearls or sparkle sugar. Create your own signature looks!
If you haven’t made your cookies yet, visit my Sugar Cookie Cutouts page.
For the icing, visit my Royal Icing page.
Need some recipes? Use these handy links:
Show Me How
Walk Me Through It
How to Pipe a Border and “Flood” a Cookie
The purpose of “piping” (medium) consistency icing is to use it for borders and small details that need to retain their shape. It is a thicker consistency than flood icing.
The purpose of “flood” icing is to make a smooth, flat surface. The icing should be jut runny enough to flow easily without running off the cookie, and it should be about the thickness of honey. Think of this as your canvas.
1
Before icing your first cookie, check the icing for correct consistency. The piping (medium) consistency icing should make a smooth line without spreading.
2
The “flood” consistency icing should spread easily, and then quickly smooth out.
Set out a completely cooled cookie.
3
Using your medium-consistency icing, pipe a smooth line around the outer edge of the cookie.
4
Now immediately (without letting the border dry), cover the cookie with your flood consistency icing.
5
Any areas that do not fill in on their own can be filled by using your scribe tool to push the frosting around. Pop any air bubbles that you see.
6
If doing wet-on-wet technique, add second color icing or decorations while icing is wet. If doing wet-on-dry technique, set cookie on cooling rack until icing is firmed up enough to pipe decorations onto.
Wet-on-Wet Technique
Christmas Tree Cookie
1
Start by flooding a cookie with flood consistency icing.
2
While icing is still wet, pipe on a decoration using your medium consistency icing. Here, I'm just making a simple Christmas tree with back-and-forth motion. Drag a line up the middle, and add a stem.
3
Complete the cookie with gluten free decorations.
4
Pretty! Now set cookie aside to fully dry. Drying time will vary depending on the humidity in your kitchen and the thickness of your icing. Typically it will take about 7-8 hours to dry completely.
Example 1 - “Scroll” Cookie
Wet-on-Dry Technique
1
Start with a cookie that has been flooded and dried enough to pipe decorations onto. Pipe scrolls from center of cookie to outer tips.
2
Add additional small scrolls starting about half-way down the longer scrolls. Sprinkle with sparkle sugar.
3
Add some gluten free pearls or other decorations.
4
Here's the completed scroll cookie.
Example 2 - “Snowflake” Cookie
1
Start with a cookie that has been flooded and dried enough to pipe decorations onto. Using your medium-consistency icing, pipe three lines all the way across the cookie, crossing in the center.
2
Add tiny angled lines at the tip of each long line.
3
Now pipe shorter lines from the center outward. Add tiny angled lines at the tips of these lines.
4
Finish the cookie with sprinkles or pearls if desired.
5
Here's the completed "Snowflake" cookie!
Example 3 - “Scrolls & Snowflake” Cookie
1
Start with a cookie that has been flooded and dried enough to pipe decorations onto. Using medium-consistency icing, pipe three short lines that cross at the center.
2
Pipe six shorter lines between each of the longer lines.
3
Pipe a small scroll at each cookie tip.
4
Finish with sparkle sugar and pearls if desired.
5
Here’s our finished "Scrolls & Snowflake" cookie!
Yay! Time to Eat!
Your Royal Icing will firm-up nicely. You can gently stack your cookies, or package them for gift-giving. The possibilities are endless!
Ready to Decorate your Cookies?
Before you get to decorating, make sure you have everything you need for success!
Shop for pastry bags, decorating tips, cutting boards, serving dishes, and more in my Amazon shop!
Looking for Comments?
Please leave and read comments in the "Comments" section of the YouTube video above.
I can’t wait to hear from you!


