Gluten Free Sugar Cookie Cutouts
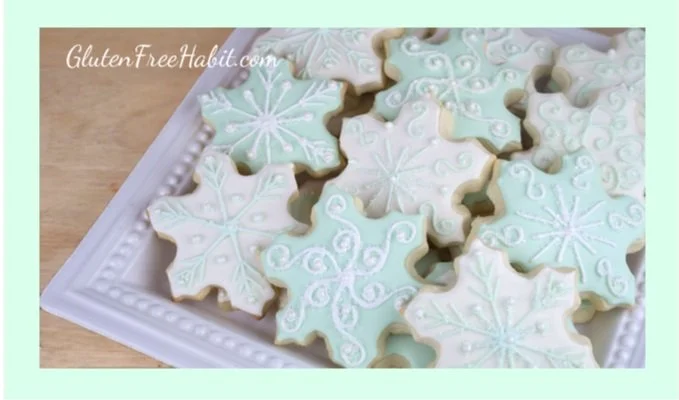
Festive sugar cookie cutouts are a MUST for Christmas, Easter, Valentine’s Day, or any other special occasion! These sugar cookies are nice & thick, slightly soft, and a little bit chewy - a perfect combination!
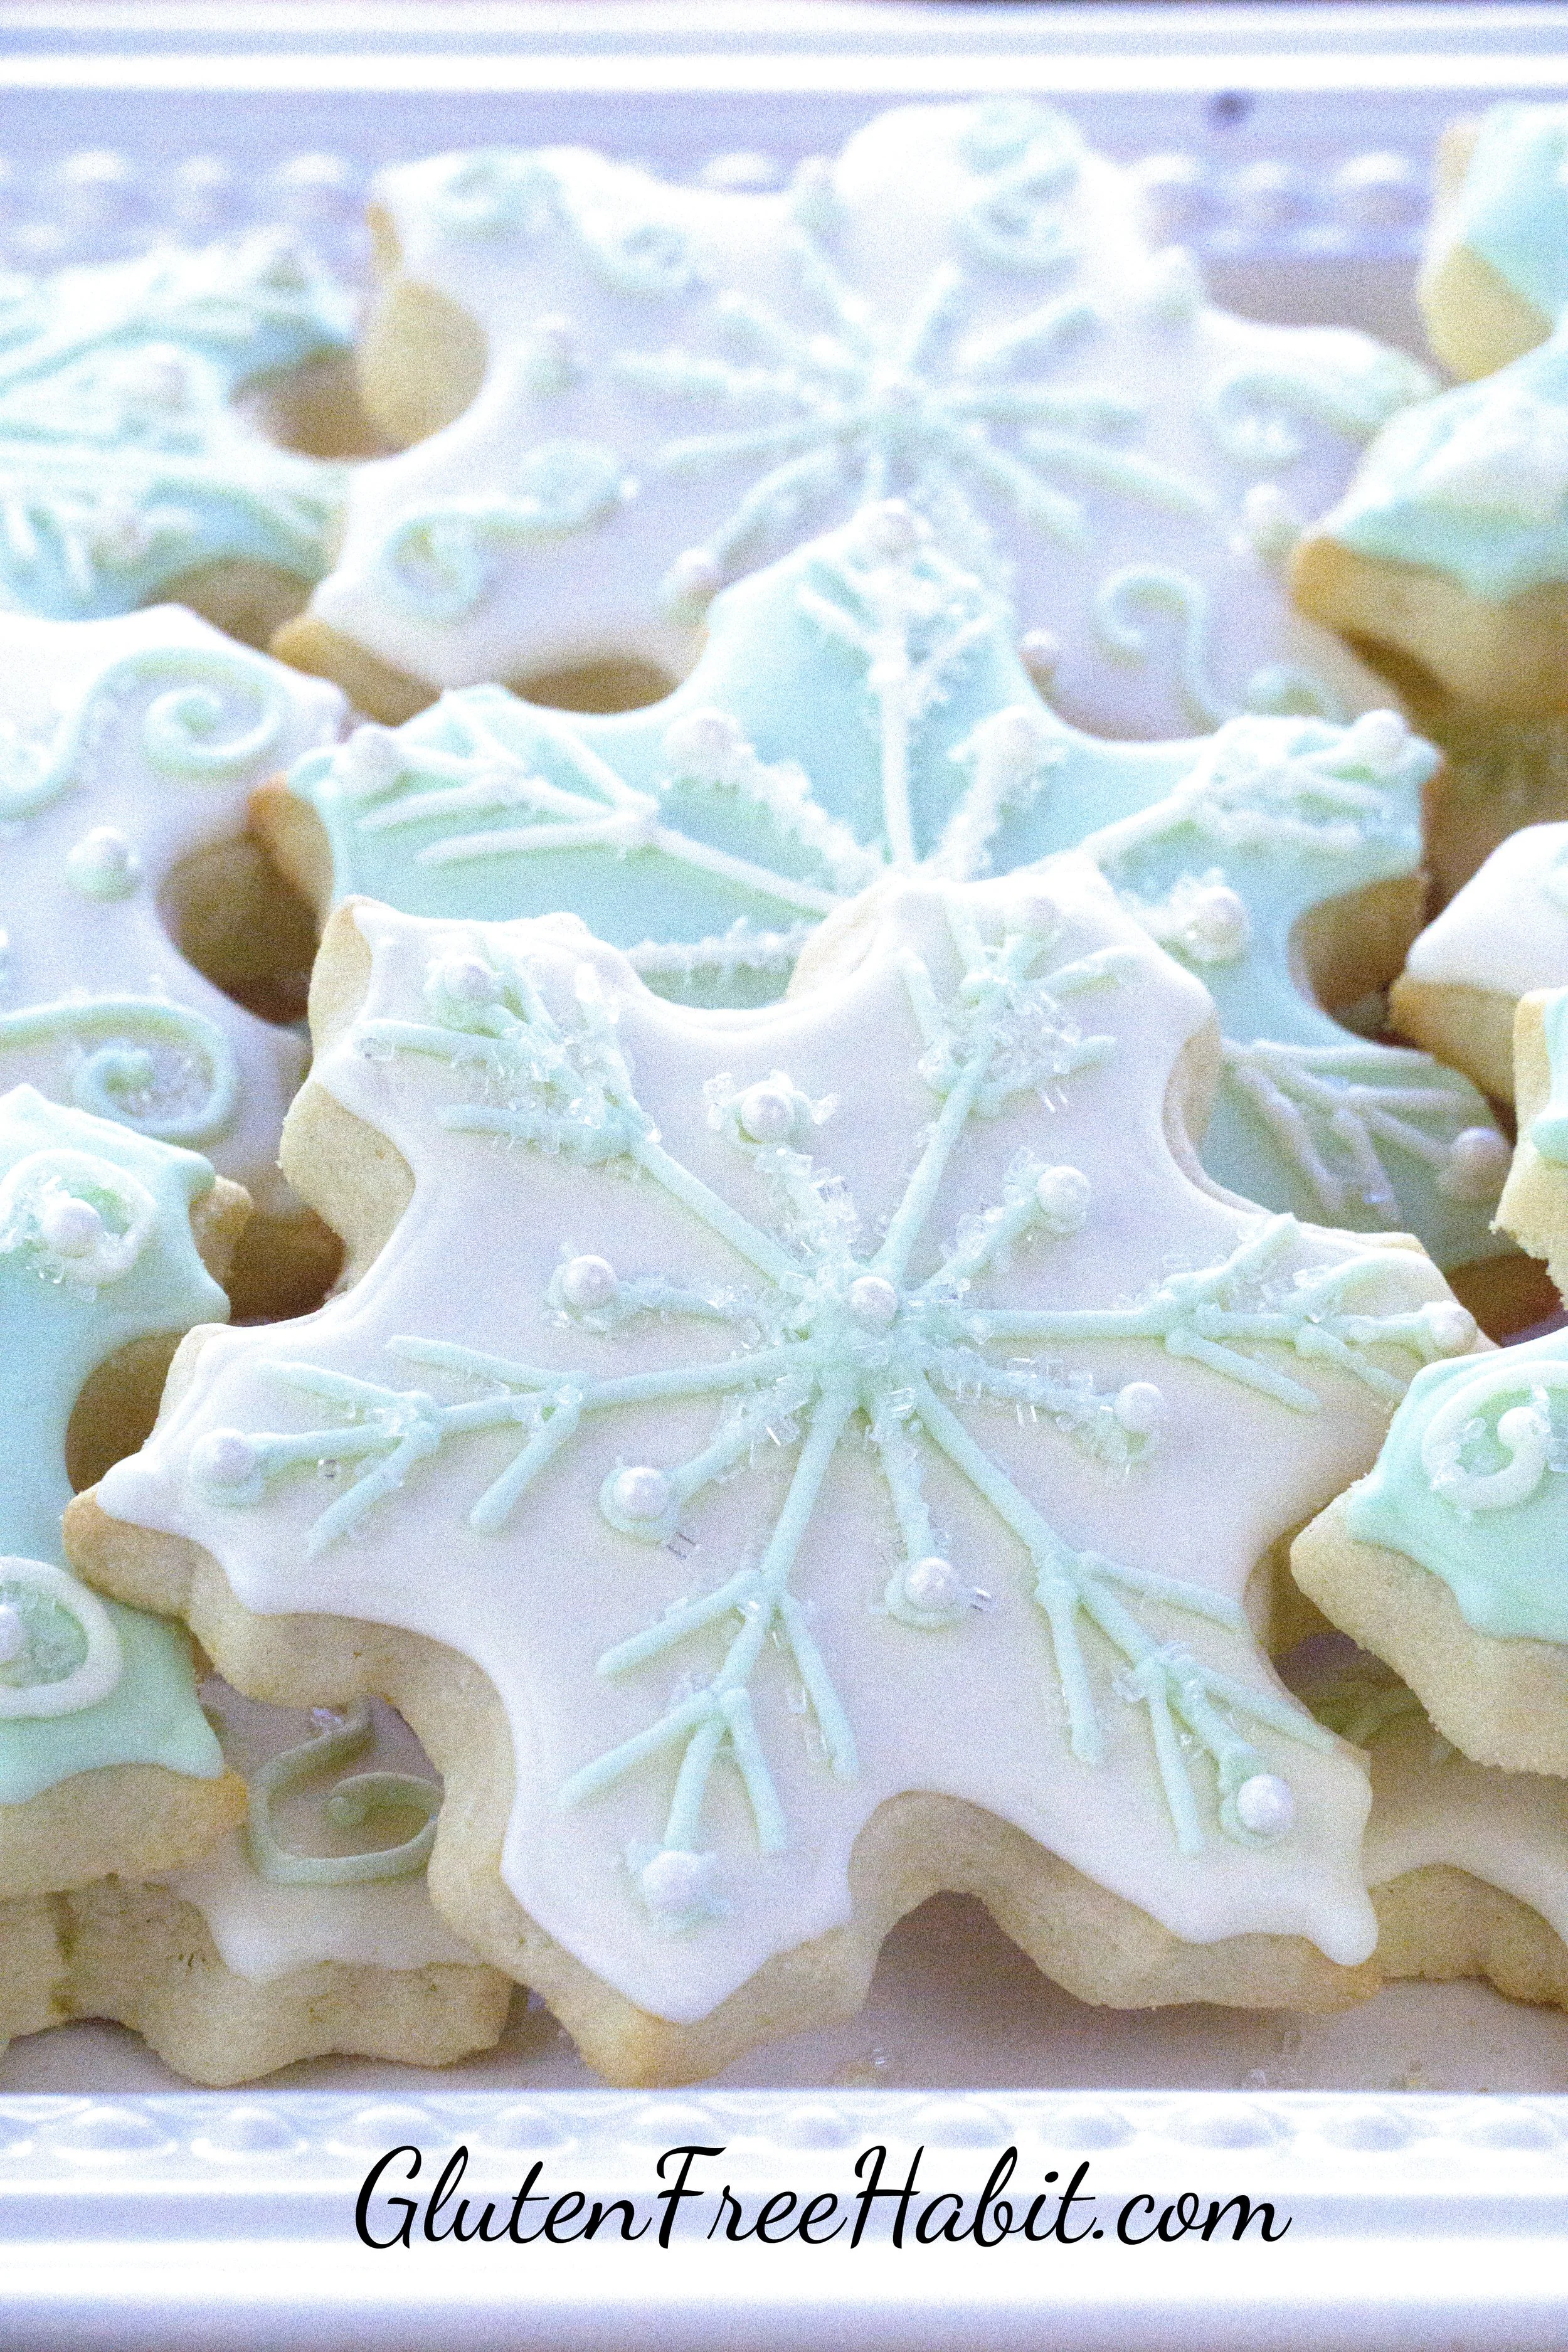
A touch of lemon zest makes them delicious as well as beautiful. Decorate these with royal icing for a
bakery-perfect look.
Makes: About 24 average-sized cookies

Show Me How

Walk Me Through It
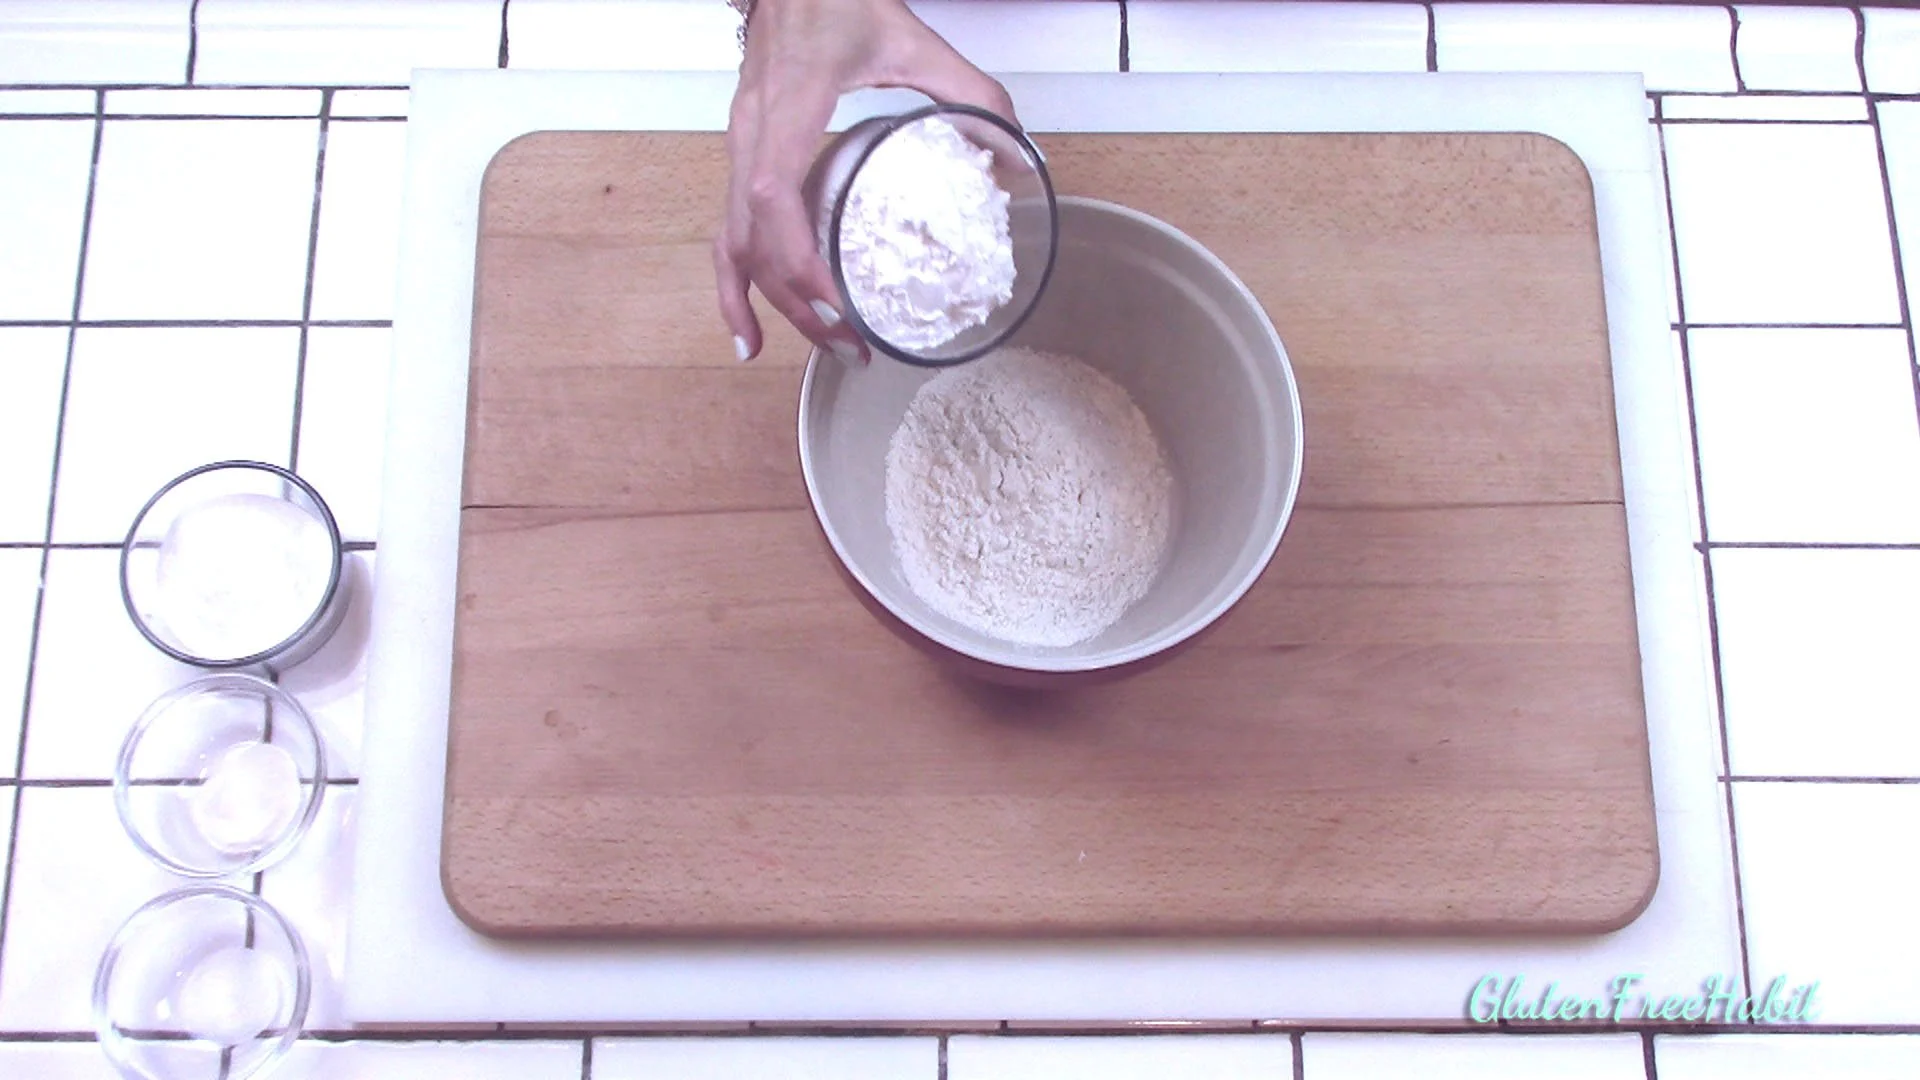
1
Line 2 cookie sheets with parchment paper. To a medium-sized mixing bowl, add your brown rice flour, tapioca flour, white rice flour, xanthan gum, and salt.
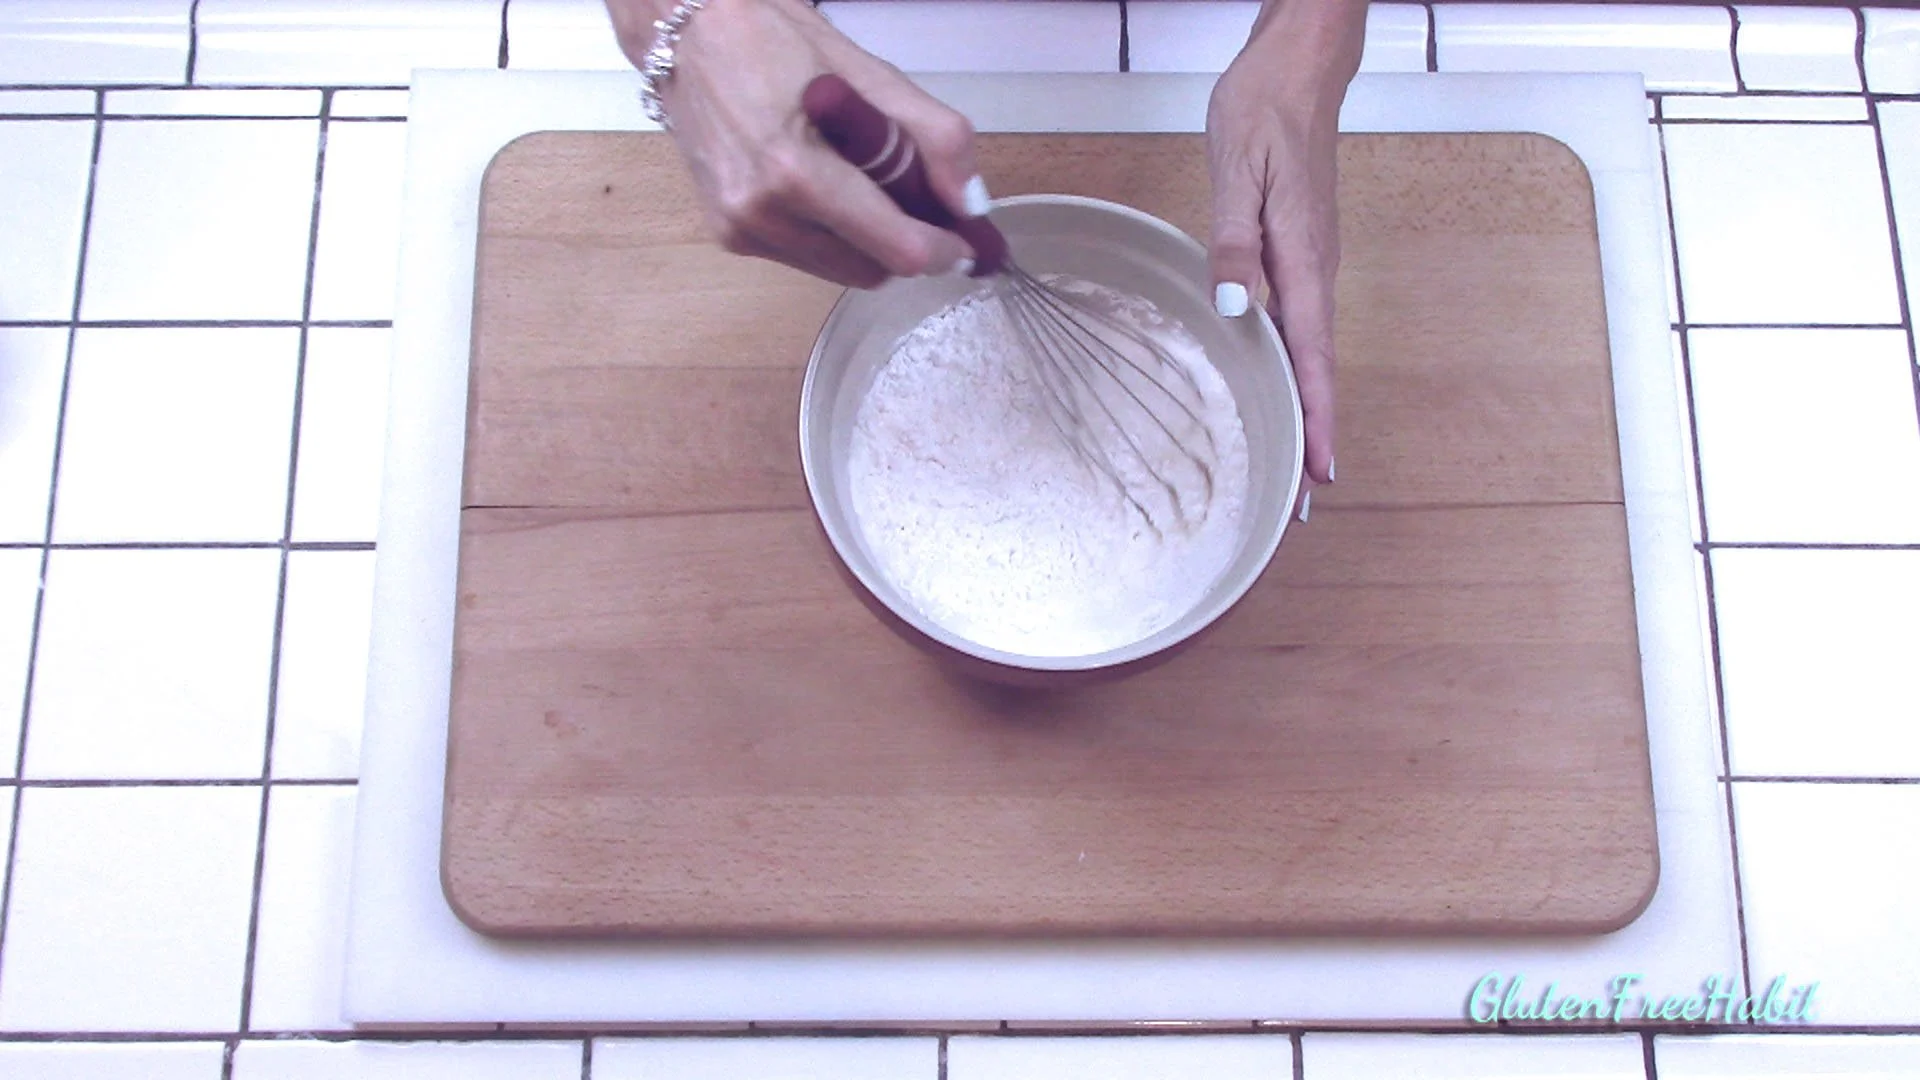
2
Whisk together. Set aside.
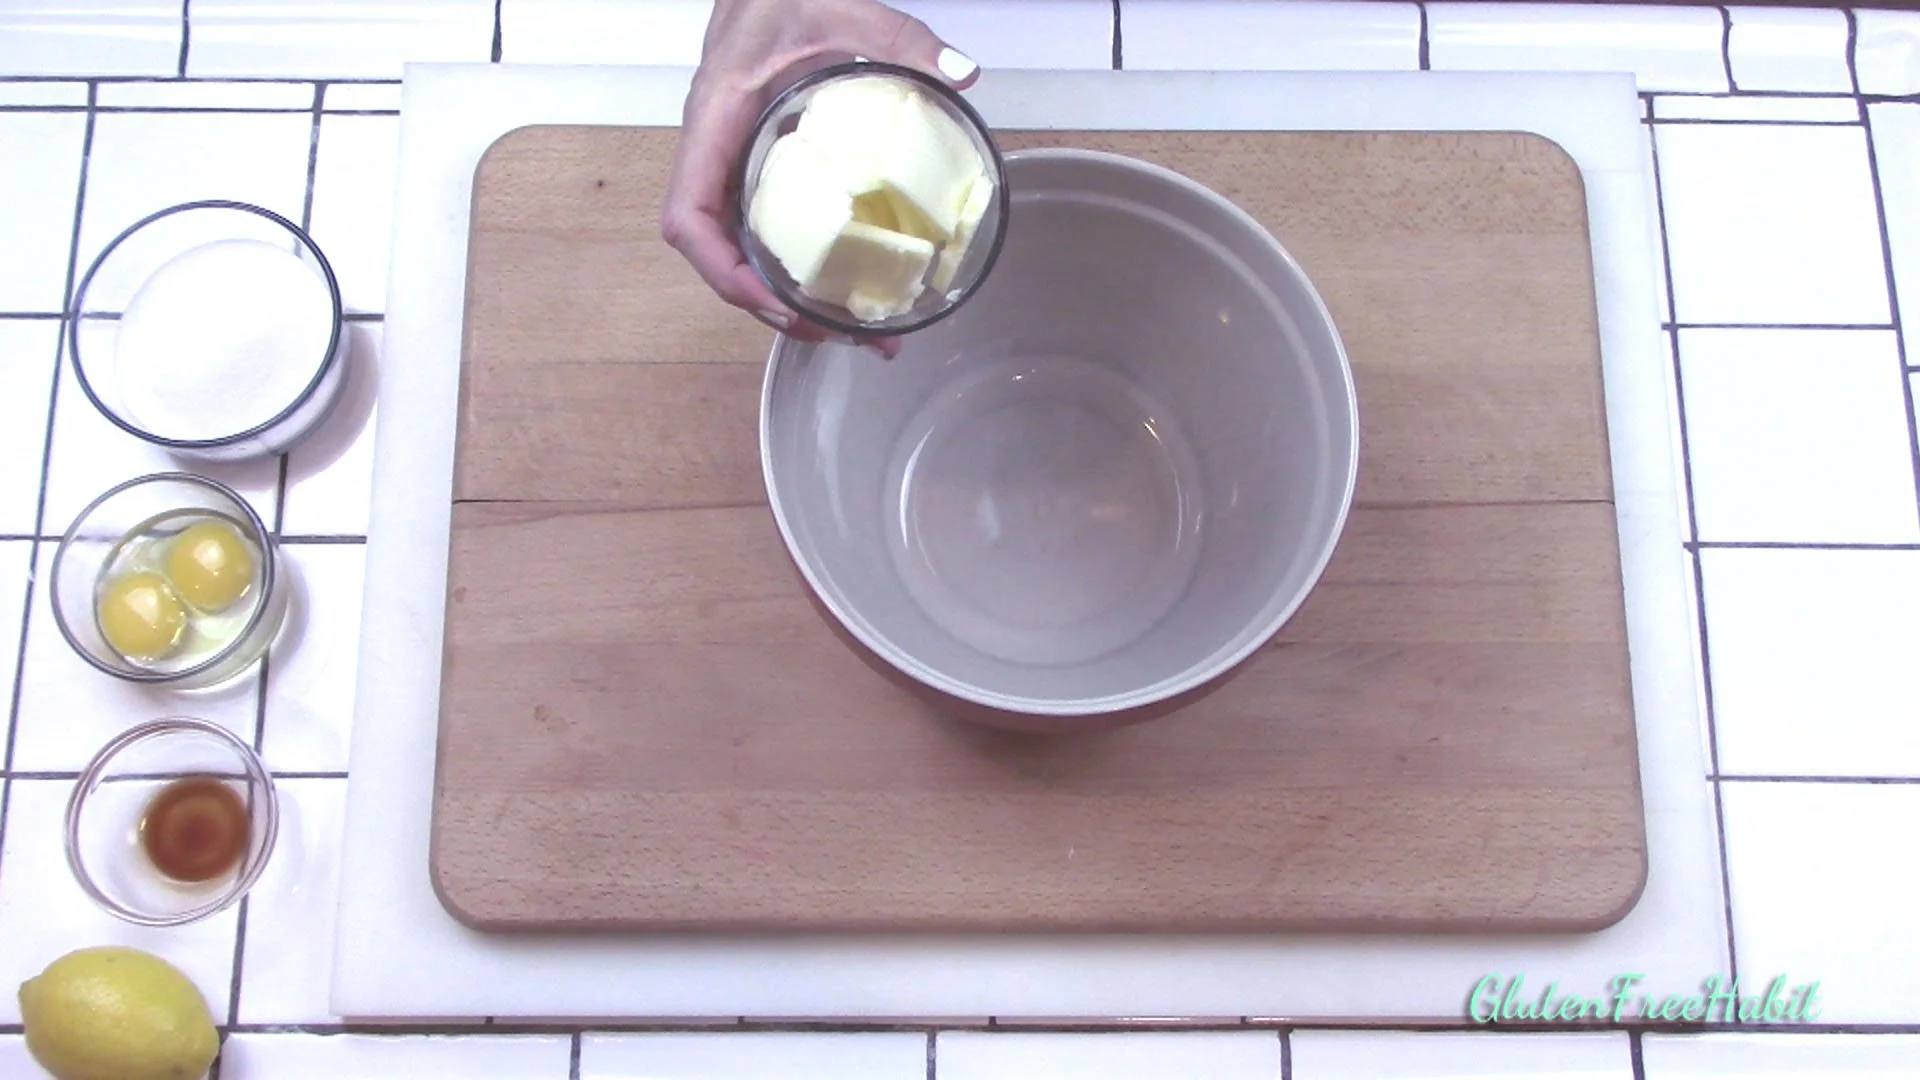
3
To a large mixing bowl, add your butter and granulated sugar.
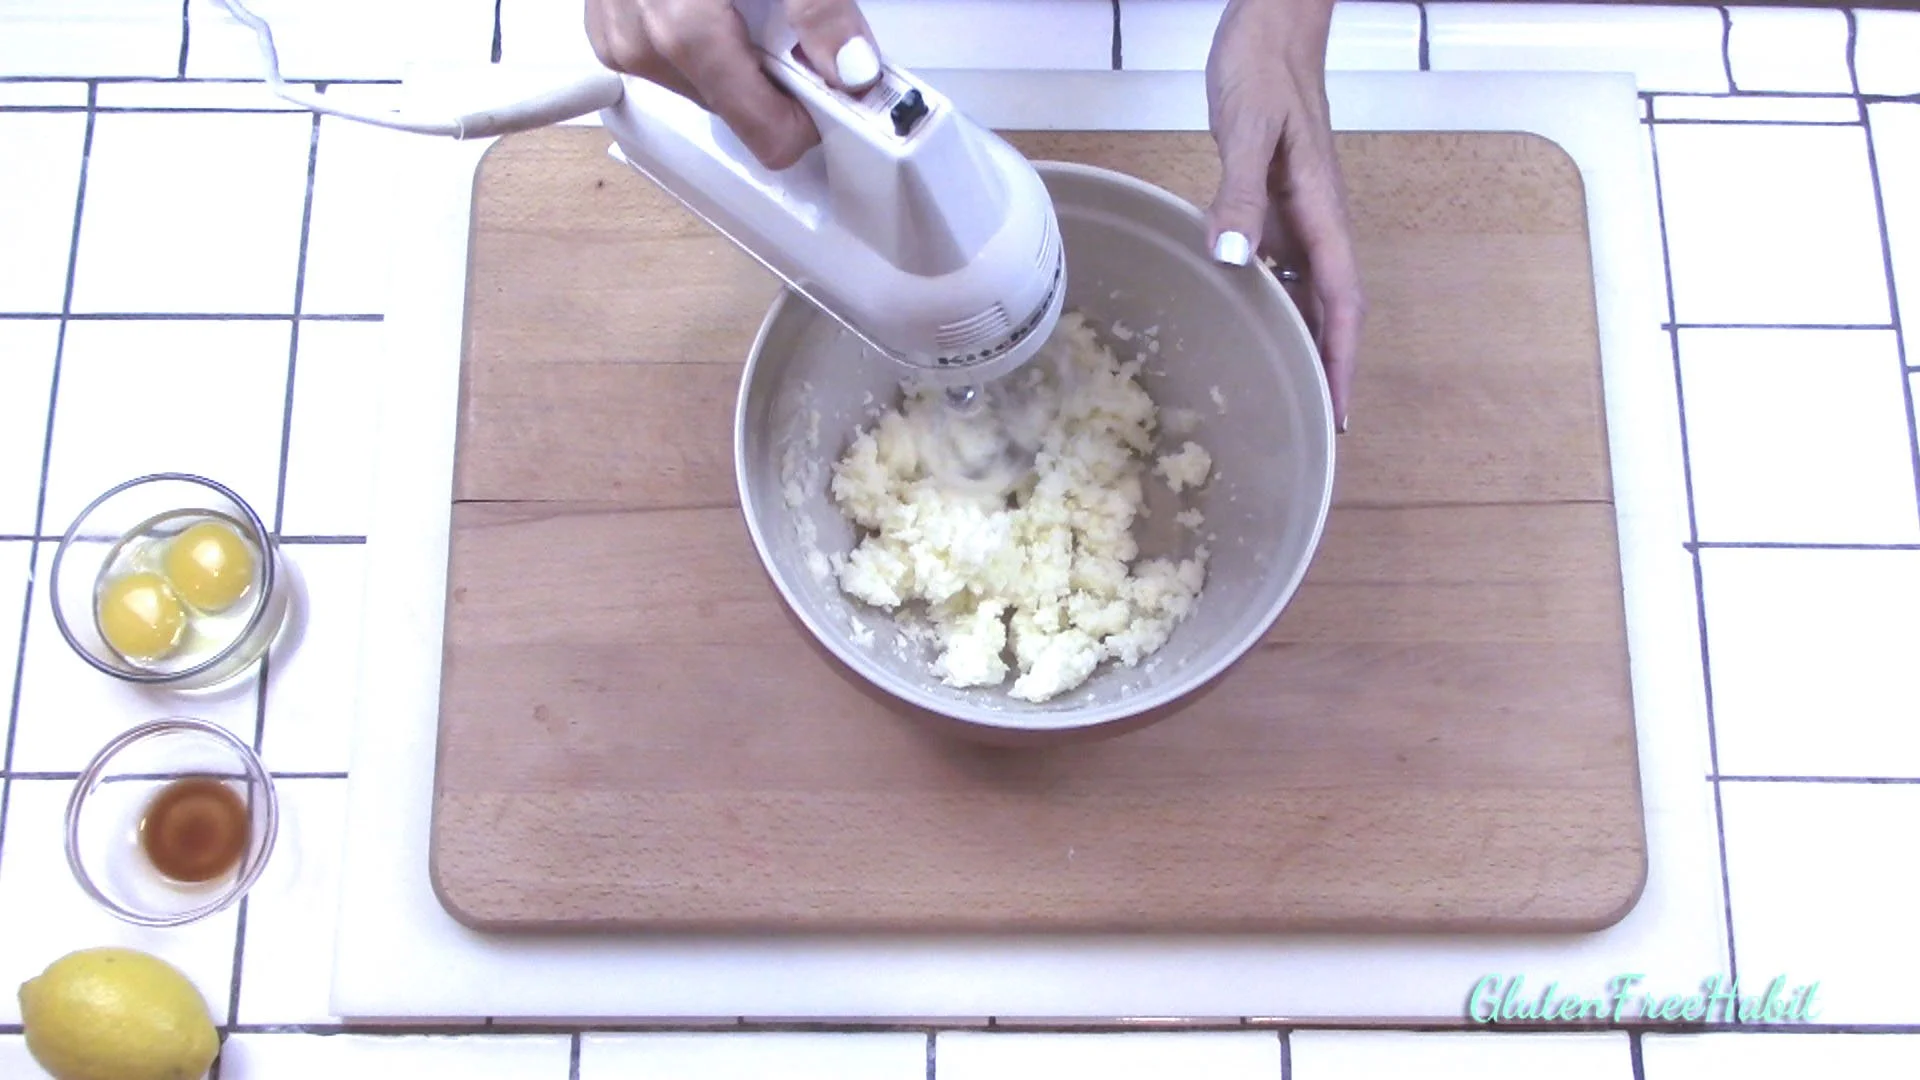
4
Mix until well-blended.
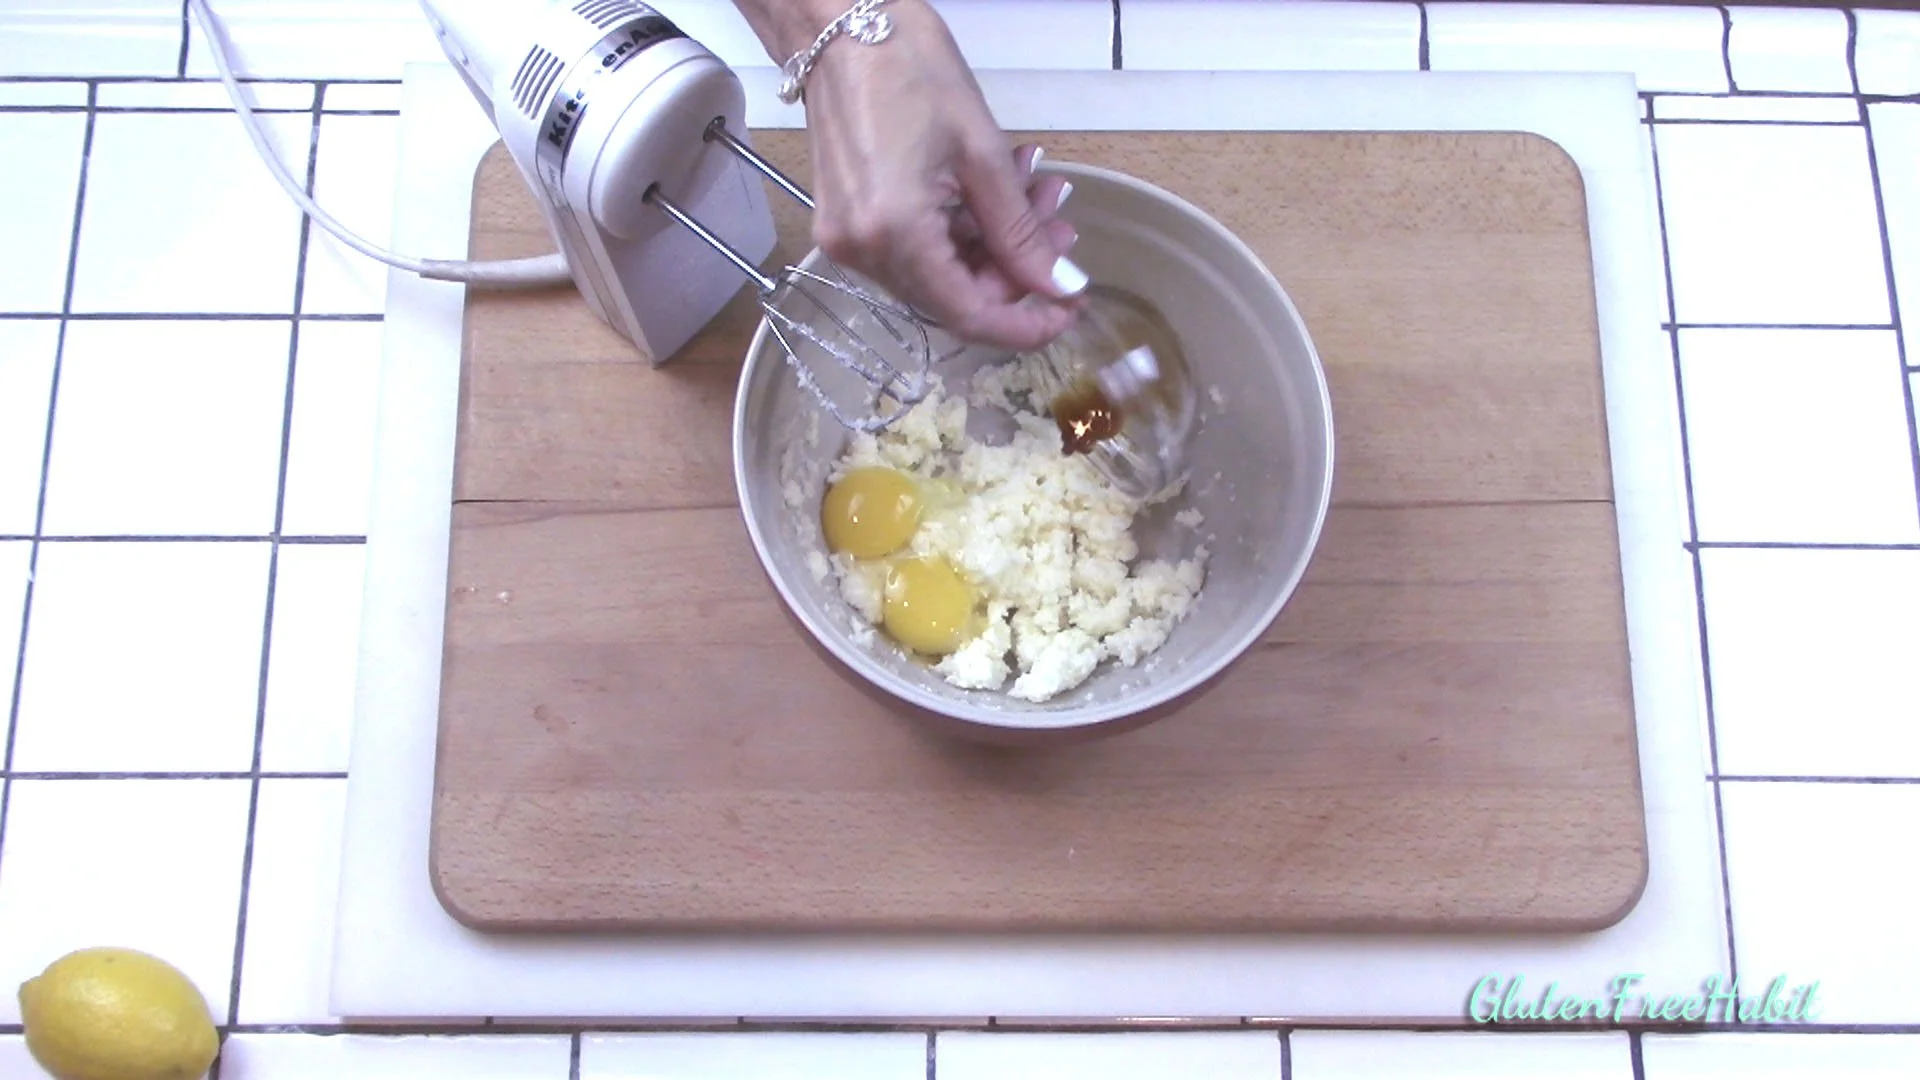
5
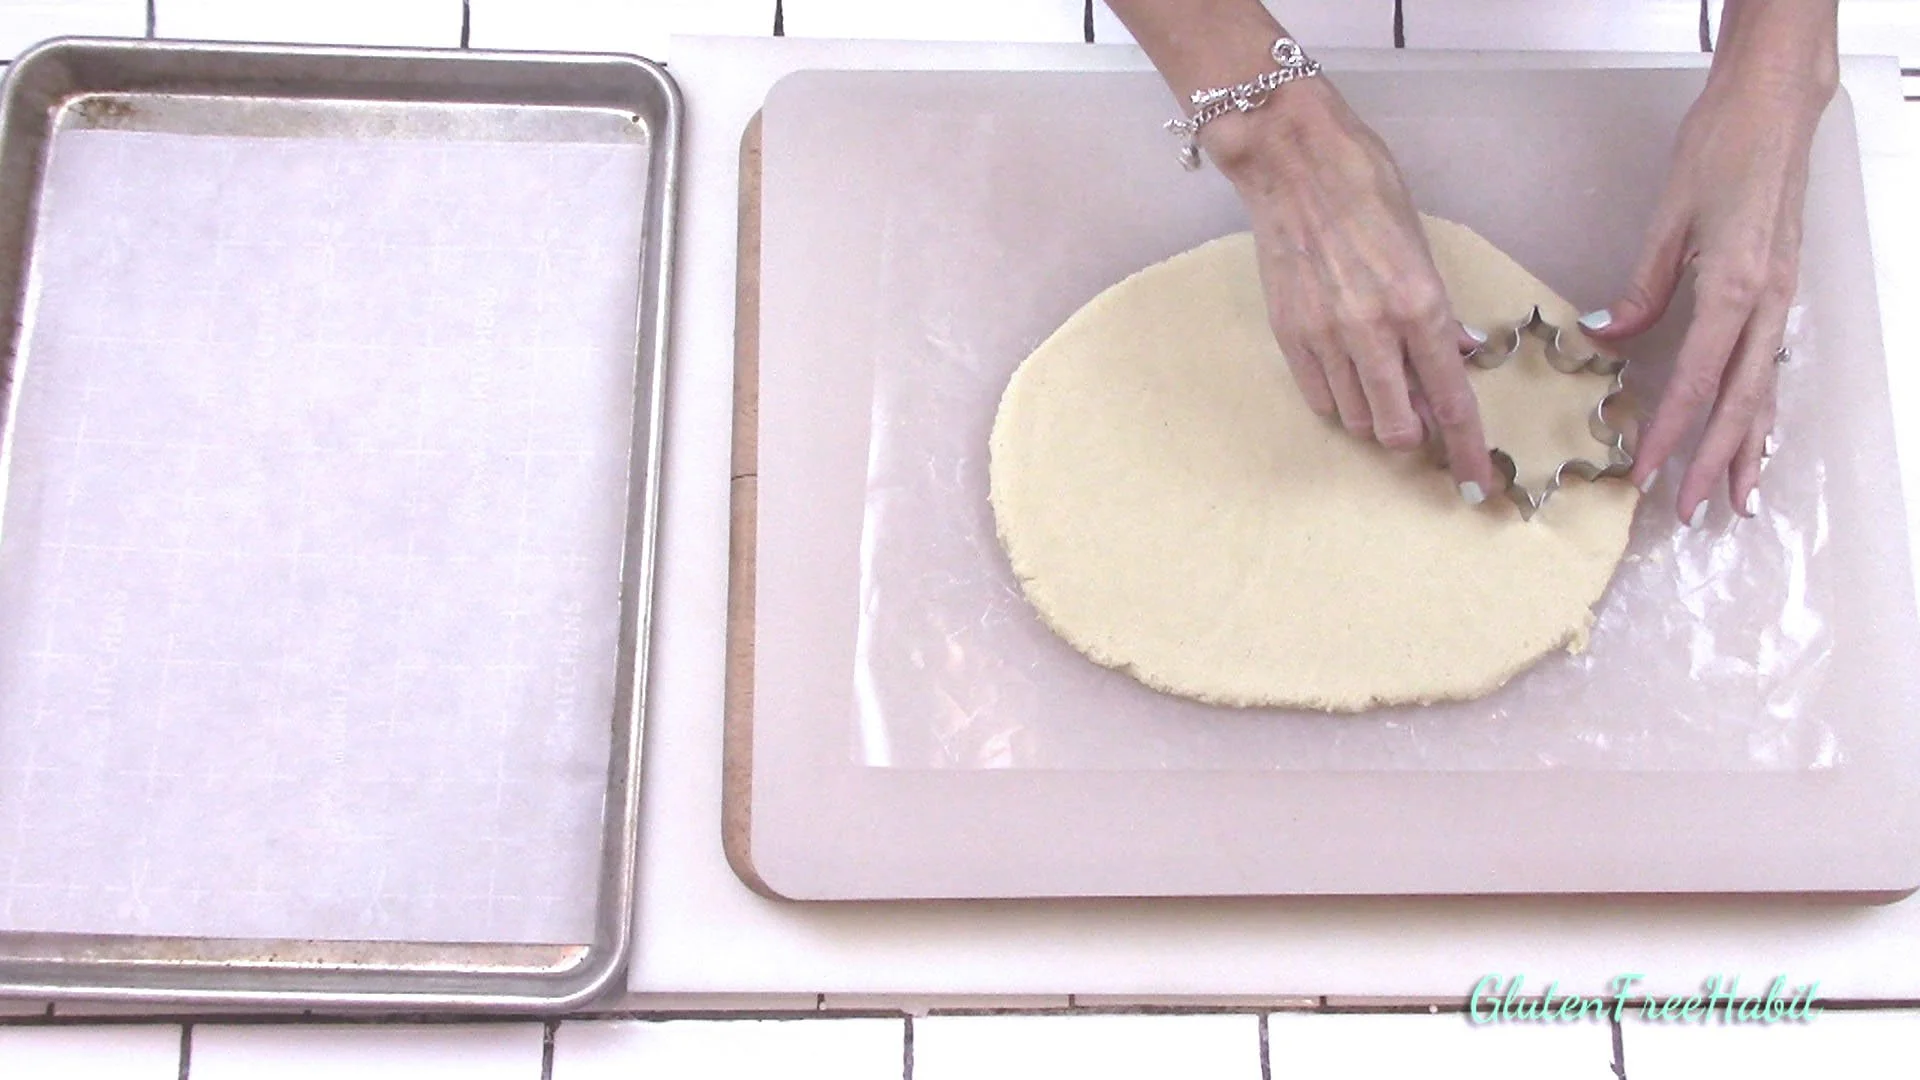
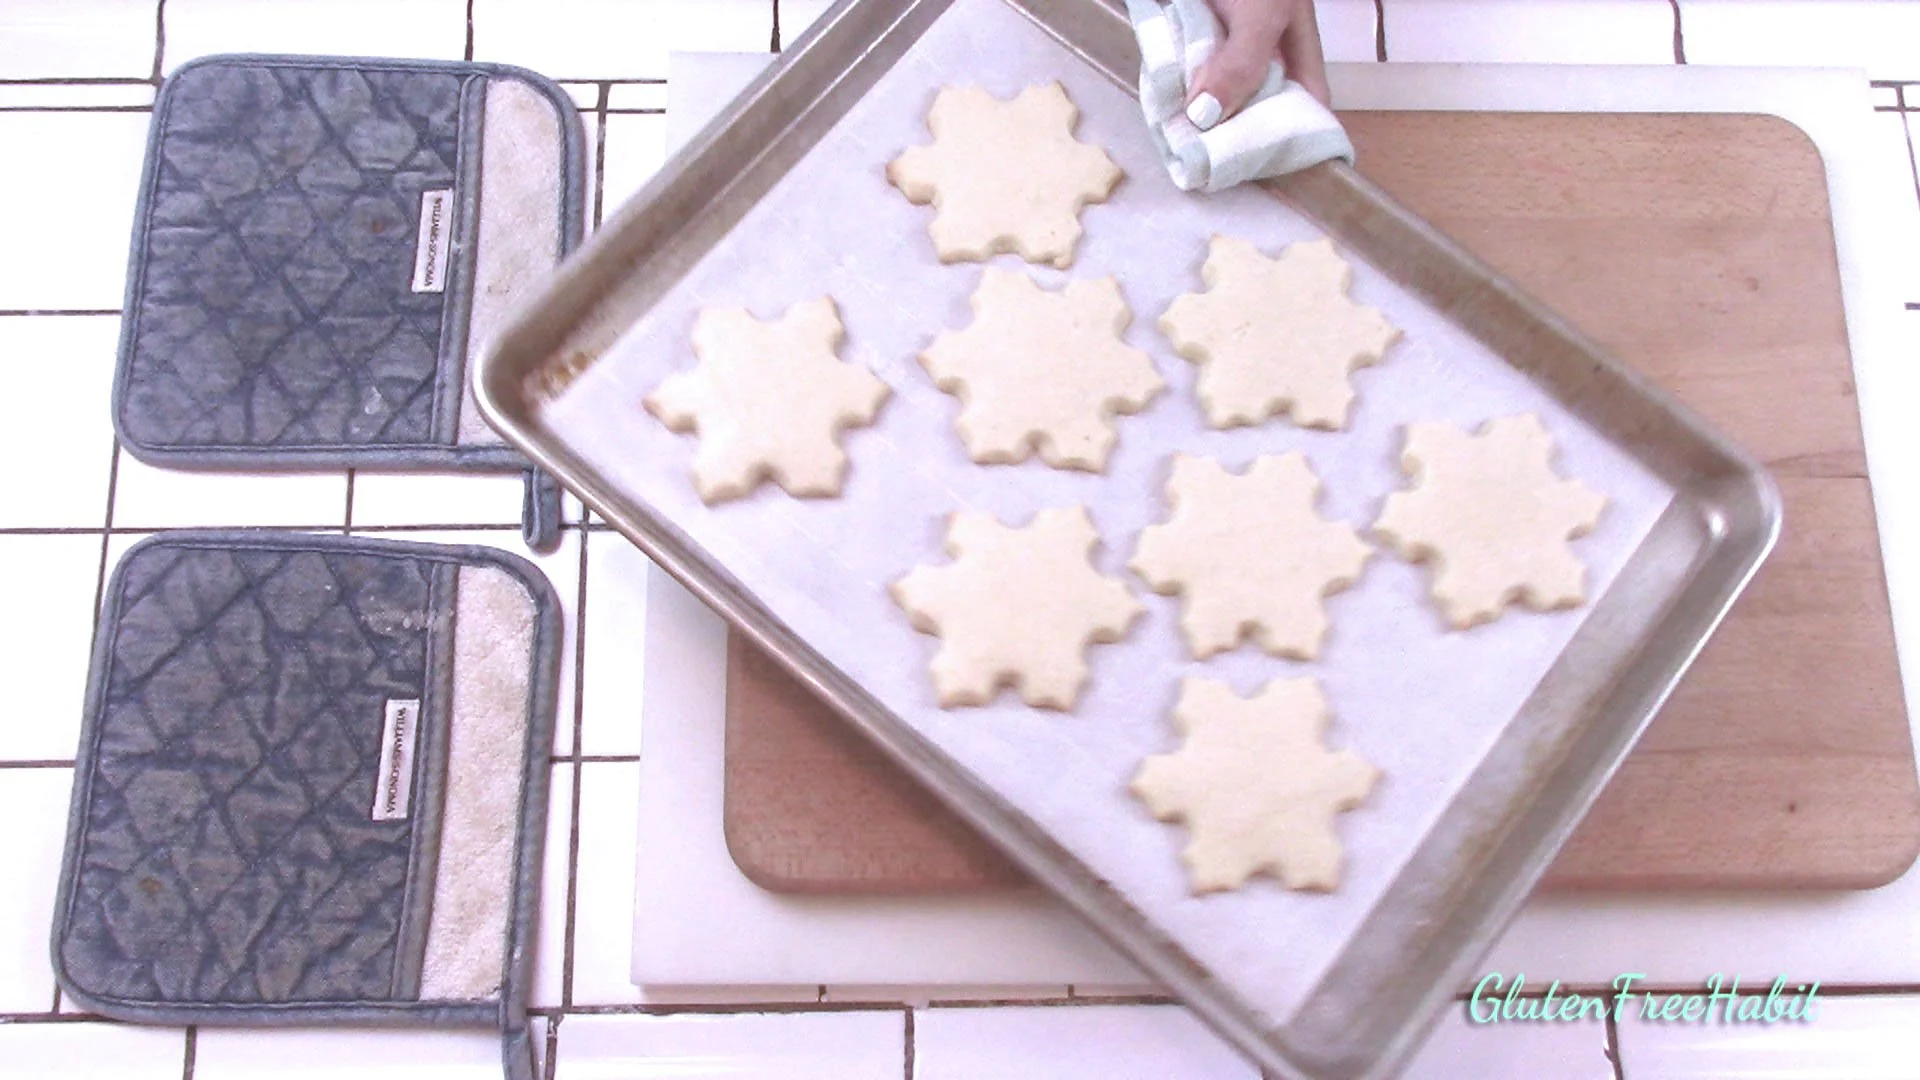
Add eggs, yolks, vanilla, and lemon zest.
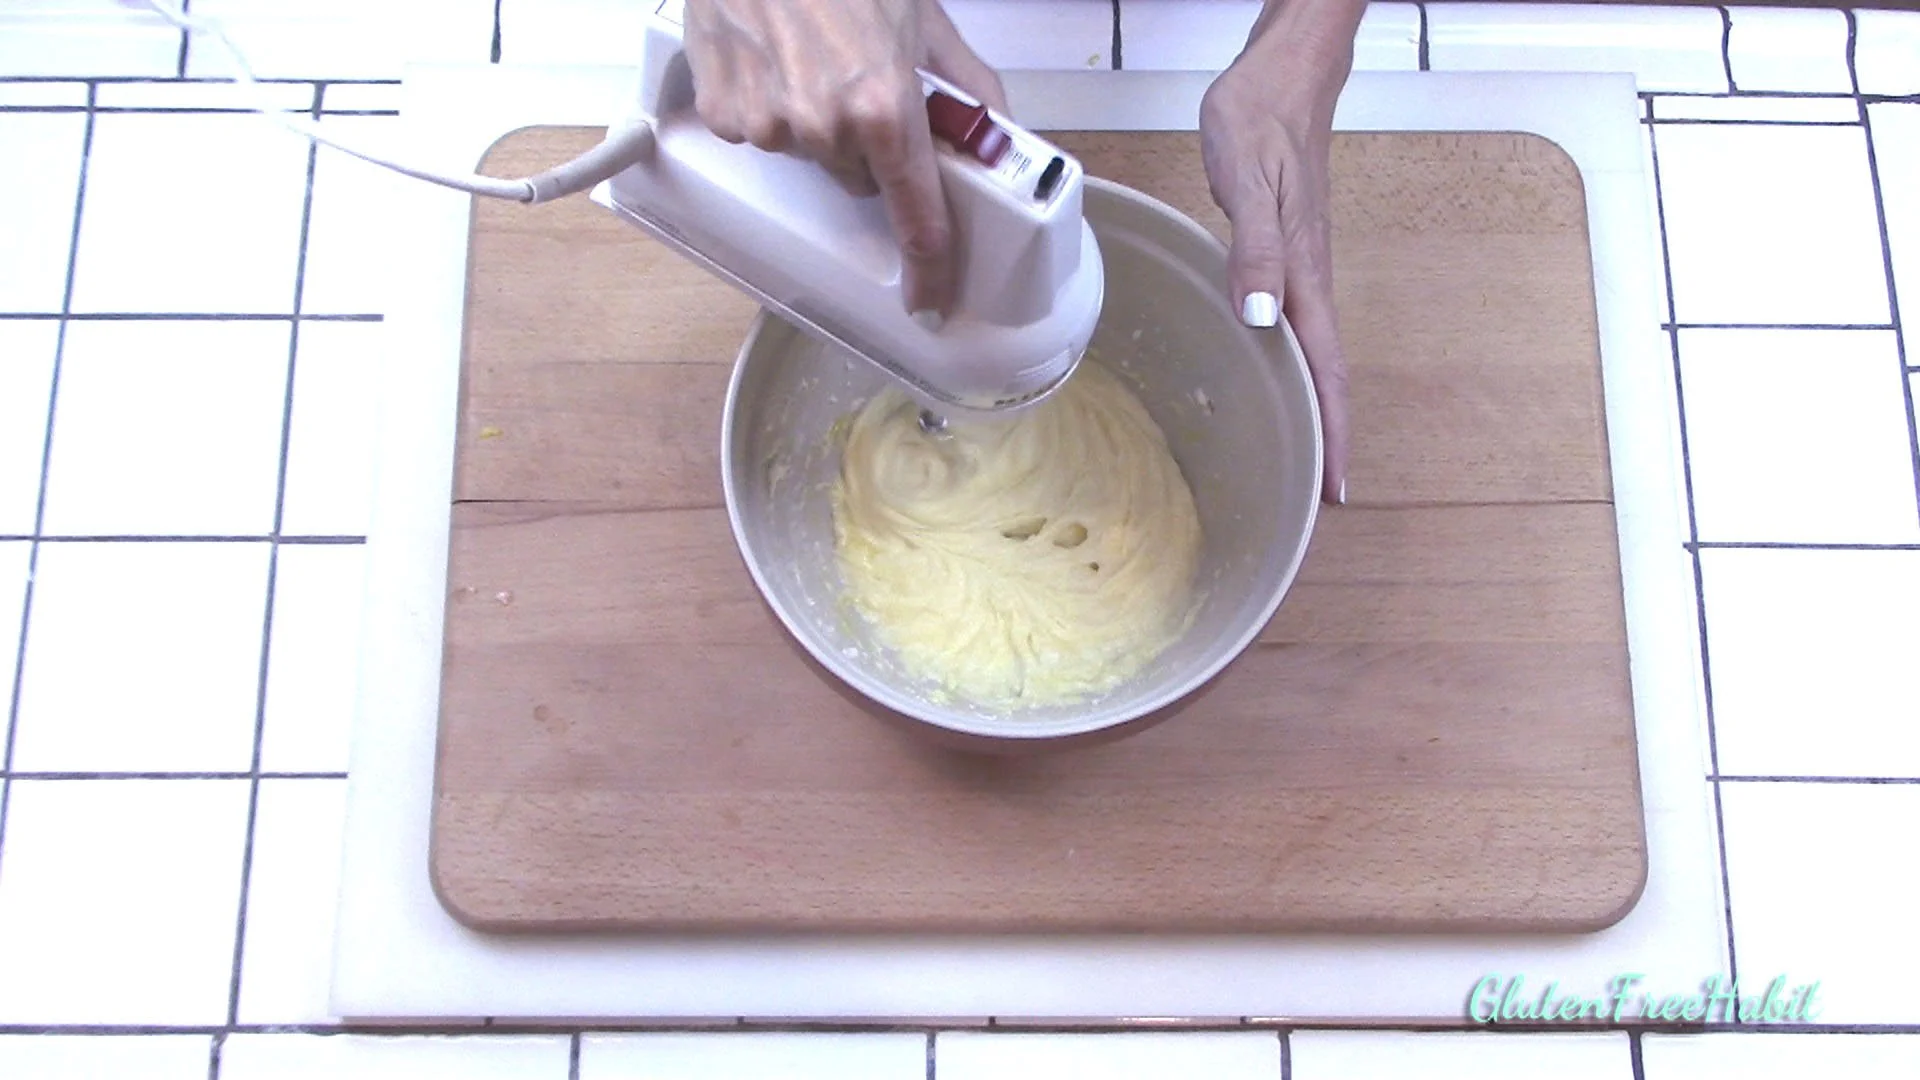
6
Mix until well-blended.
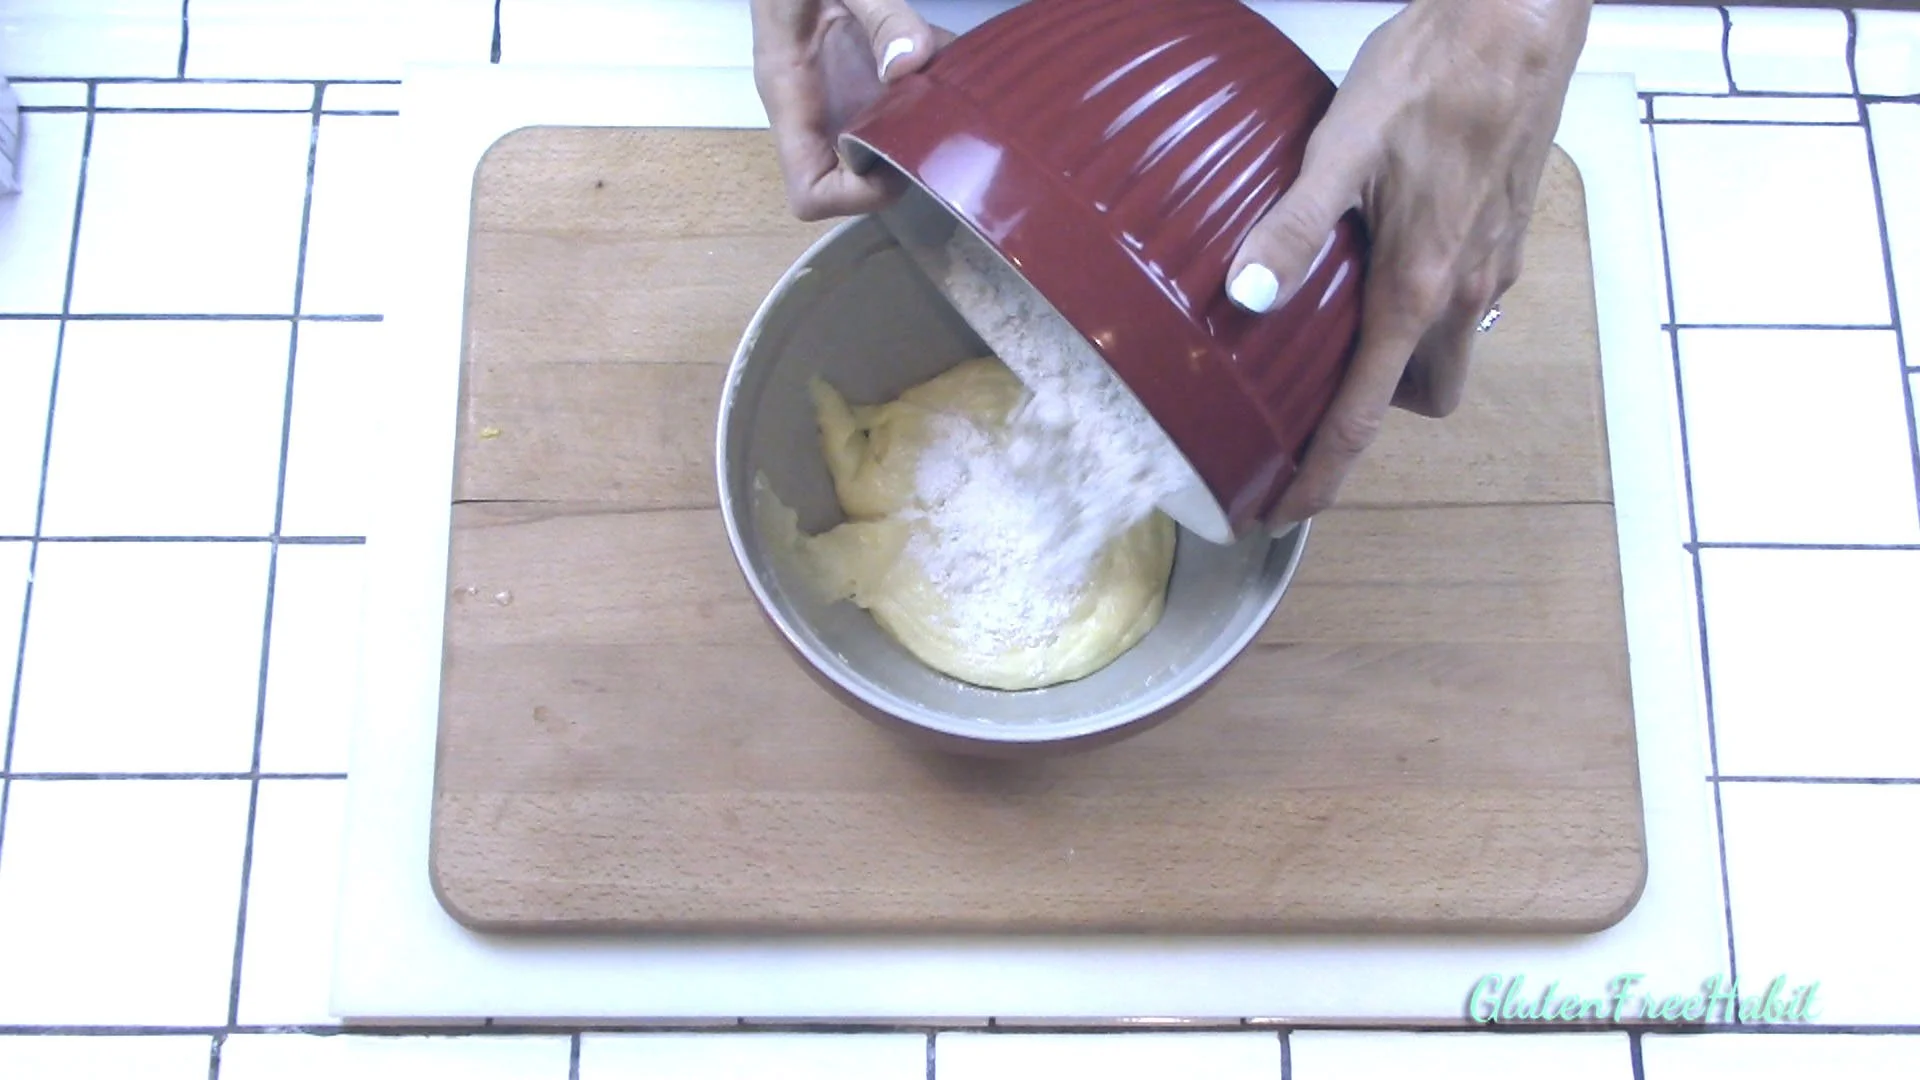
7
Add dry mix to wet mix, one half at a time.
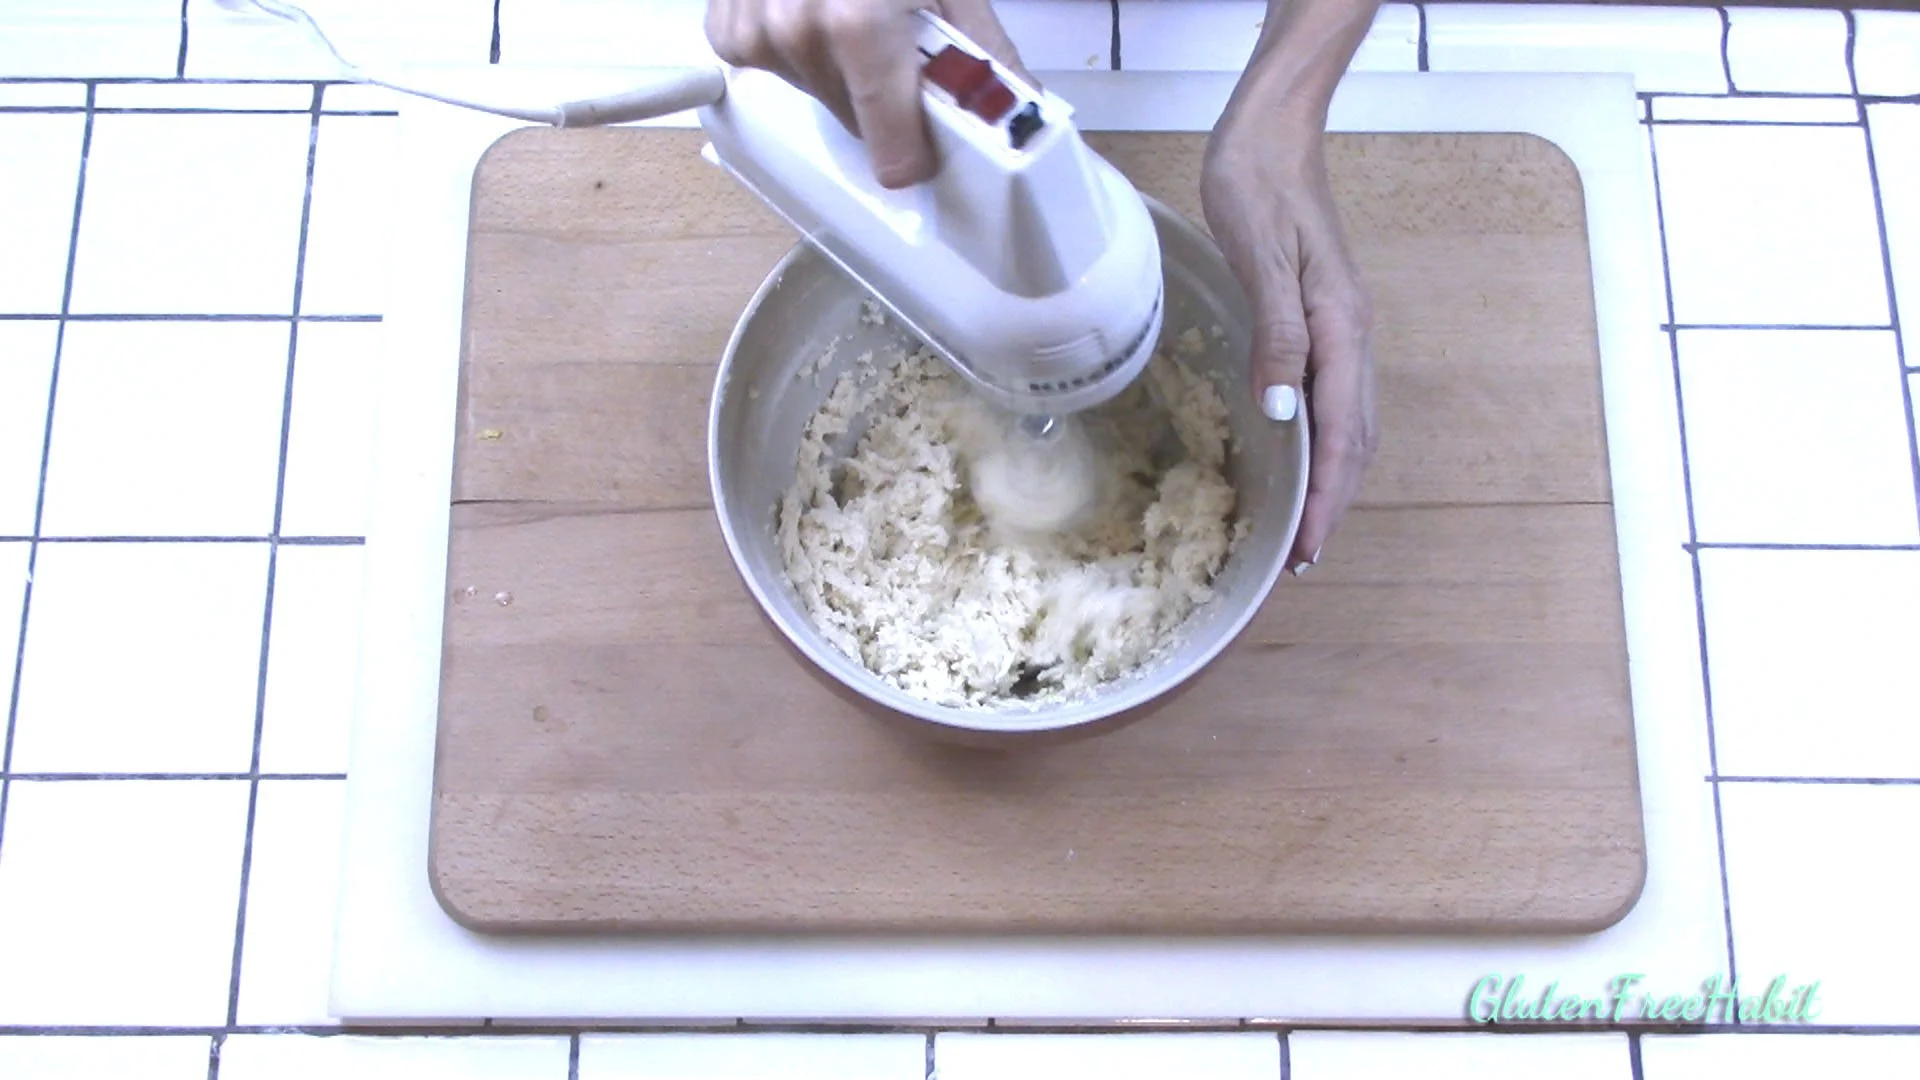
8
Mix between each addition. Dough will be sticky. This is ok. Do not add more flour.
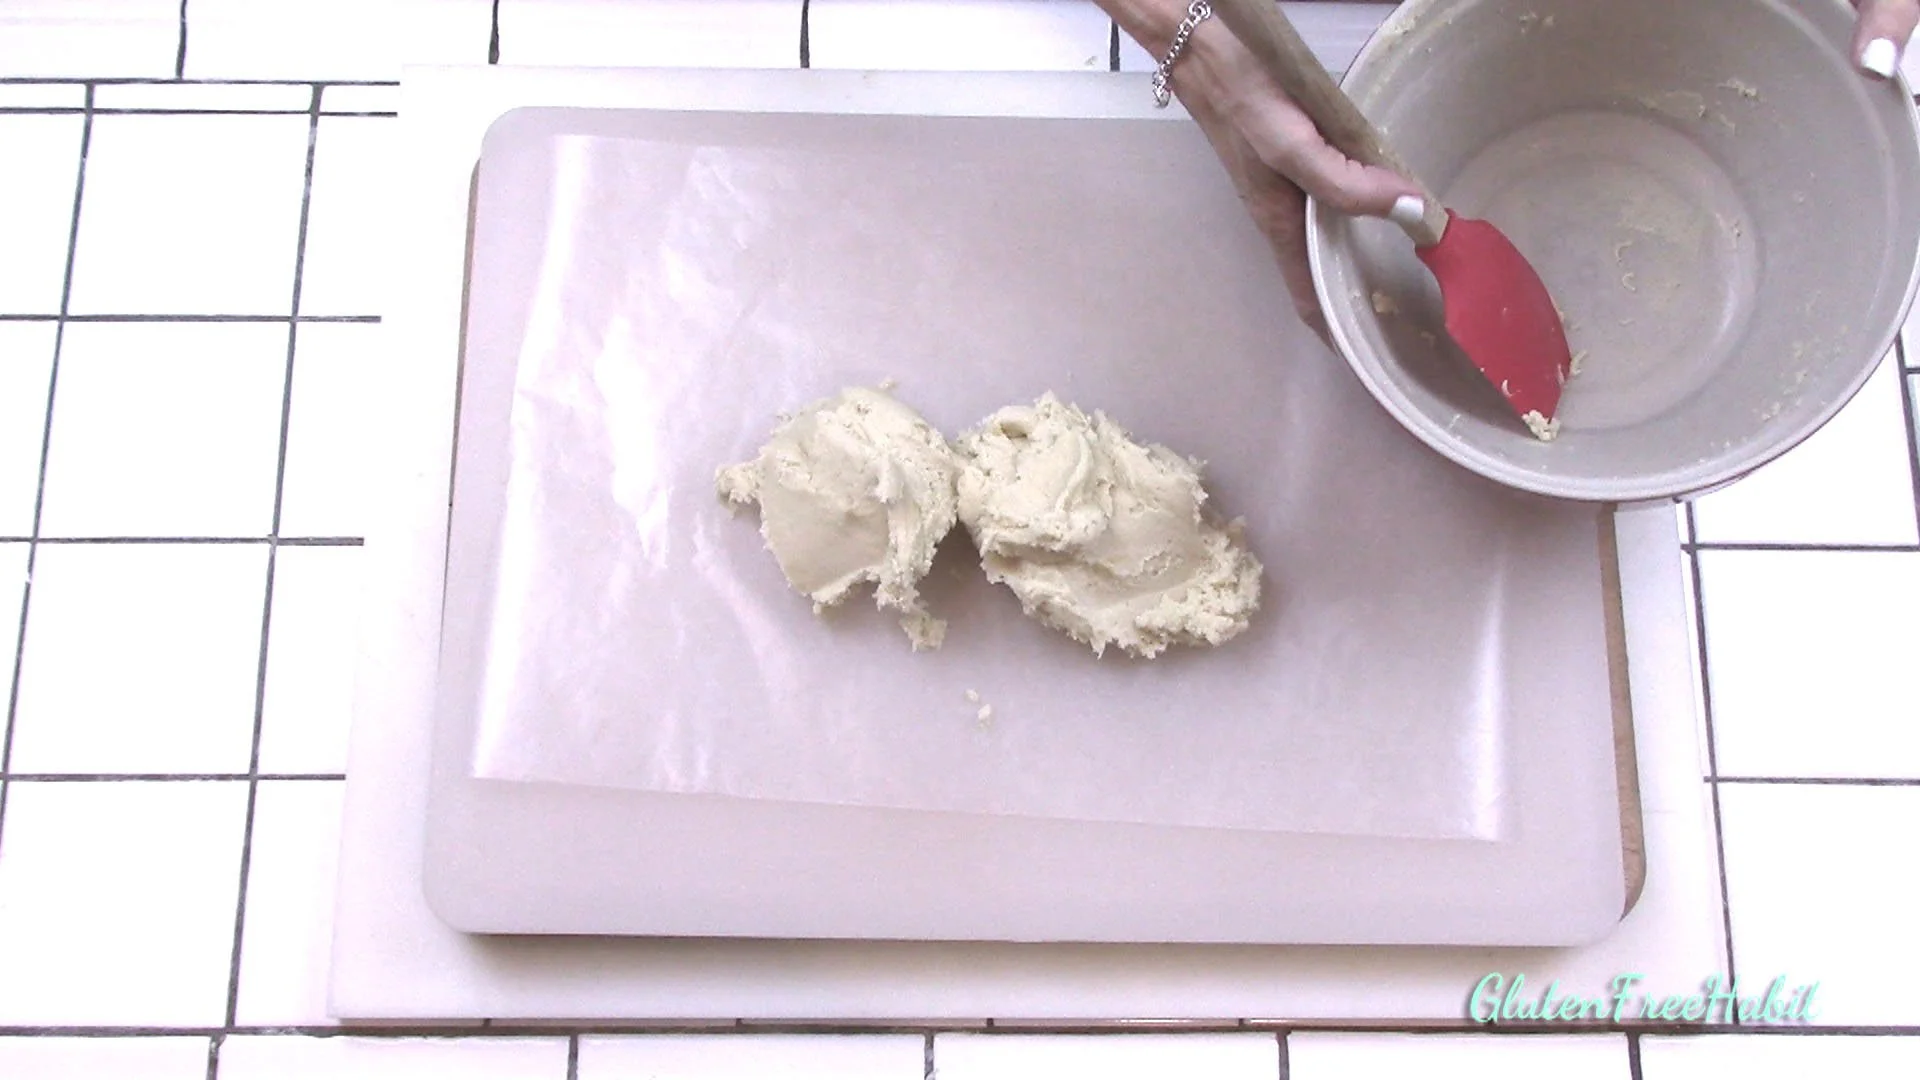
9
Lay out some waxed paper on a large cutting board (later it will be moved into fridge). Scoop dough onto waxed paper.
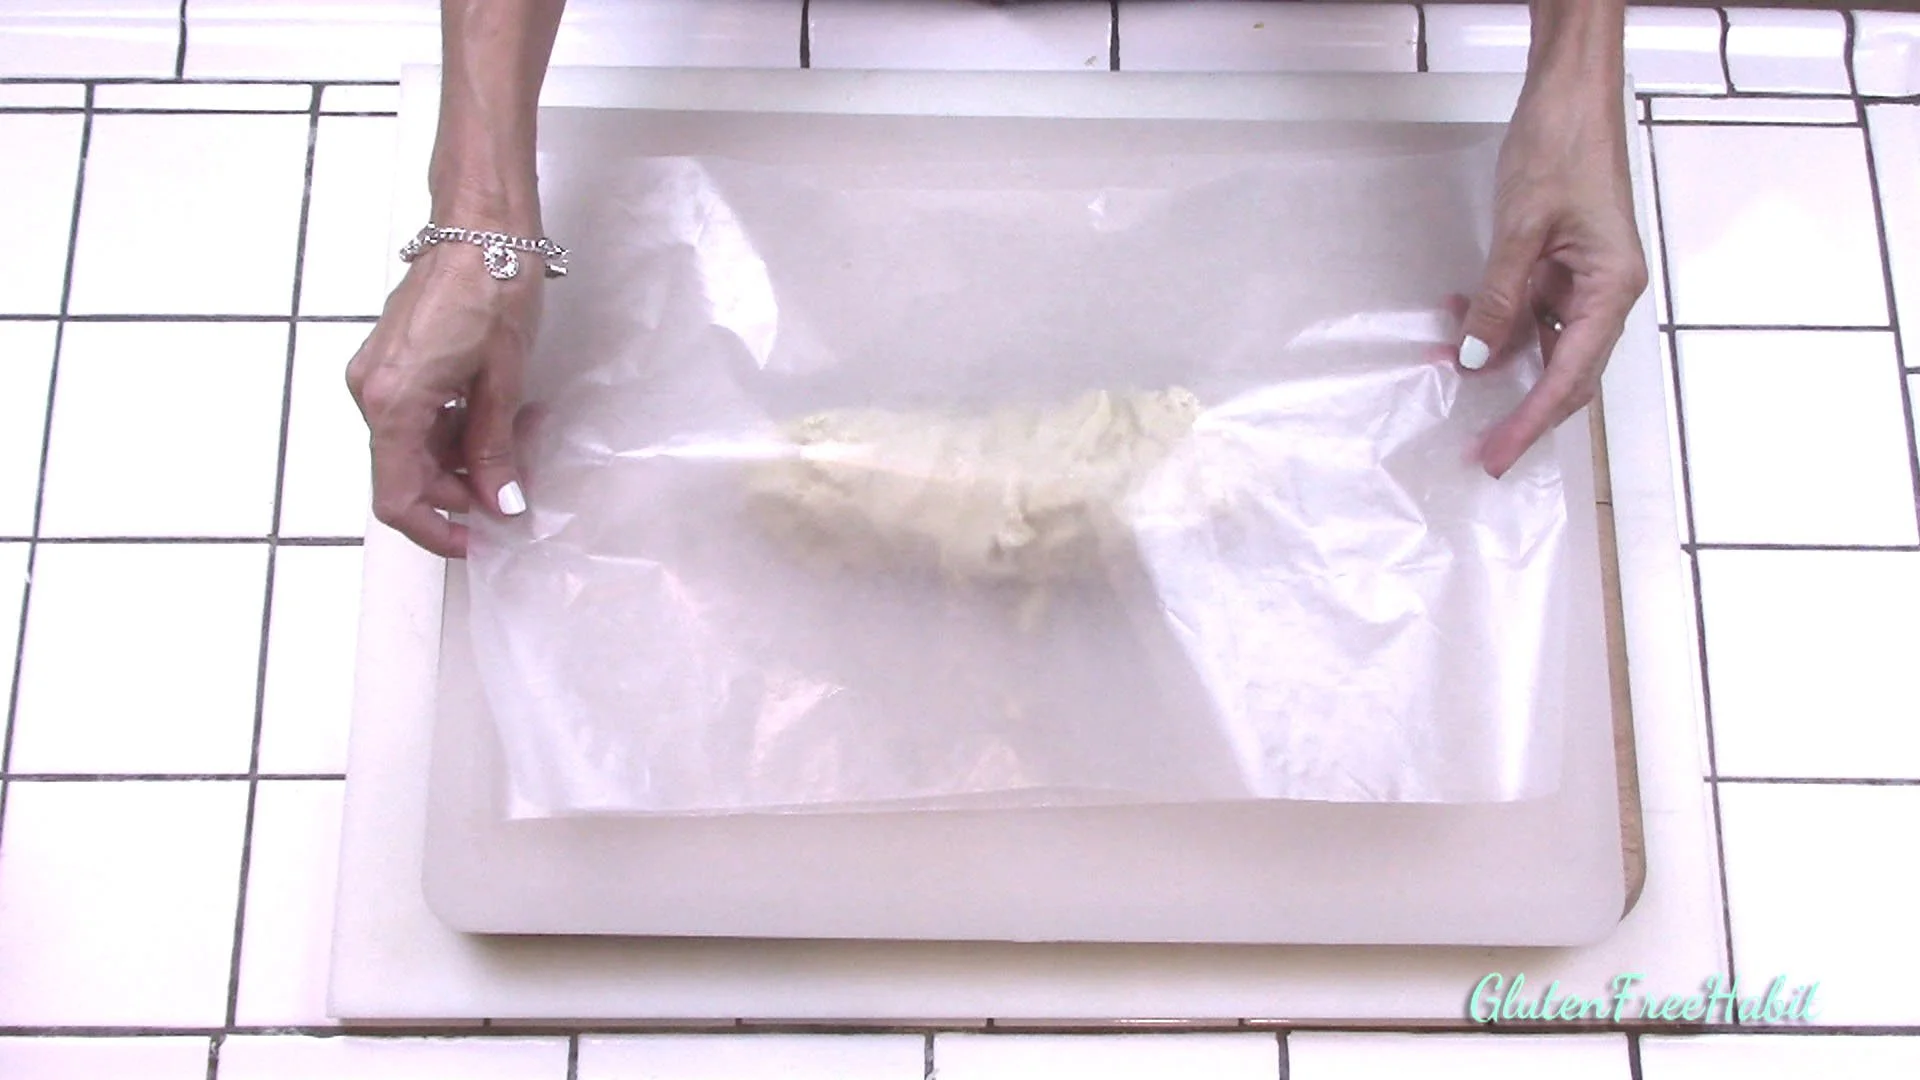
10
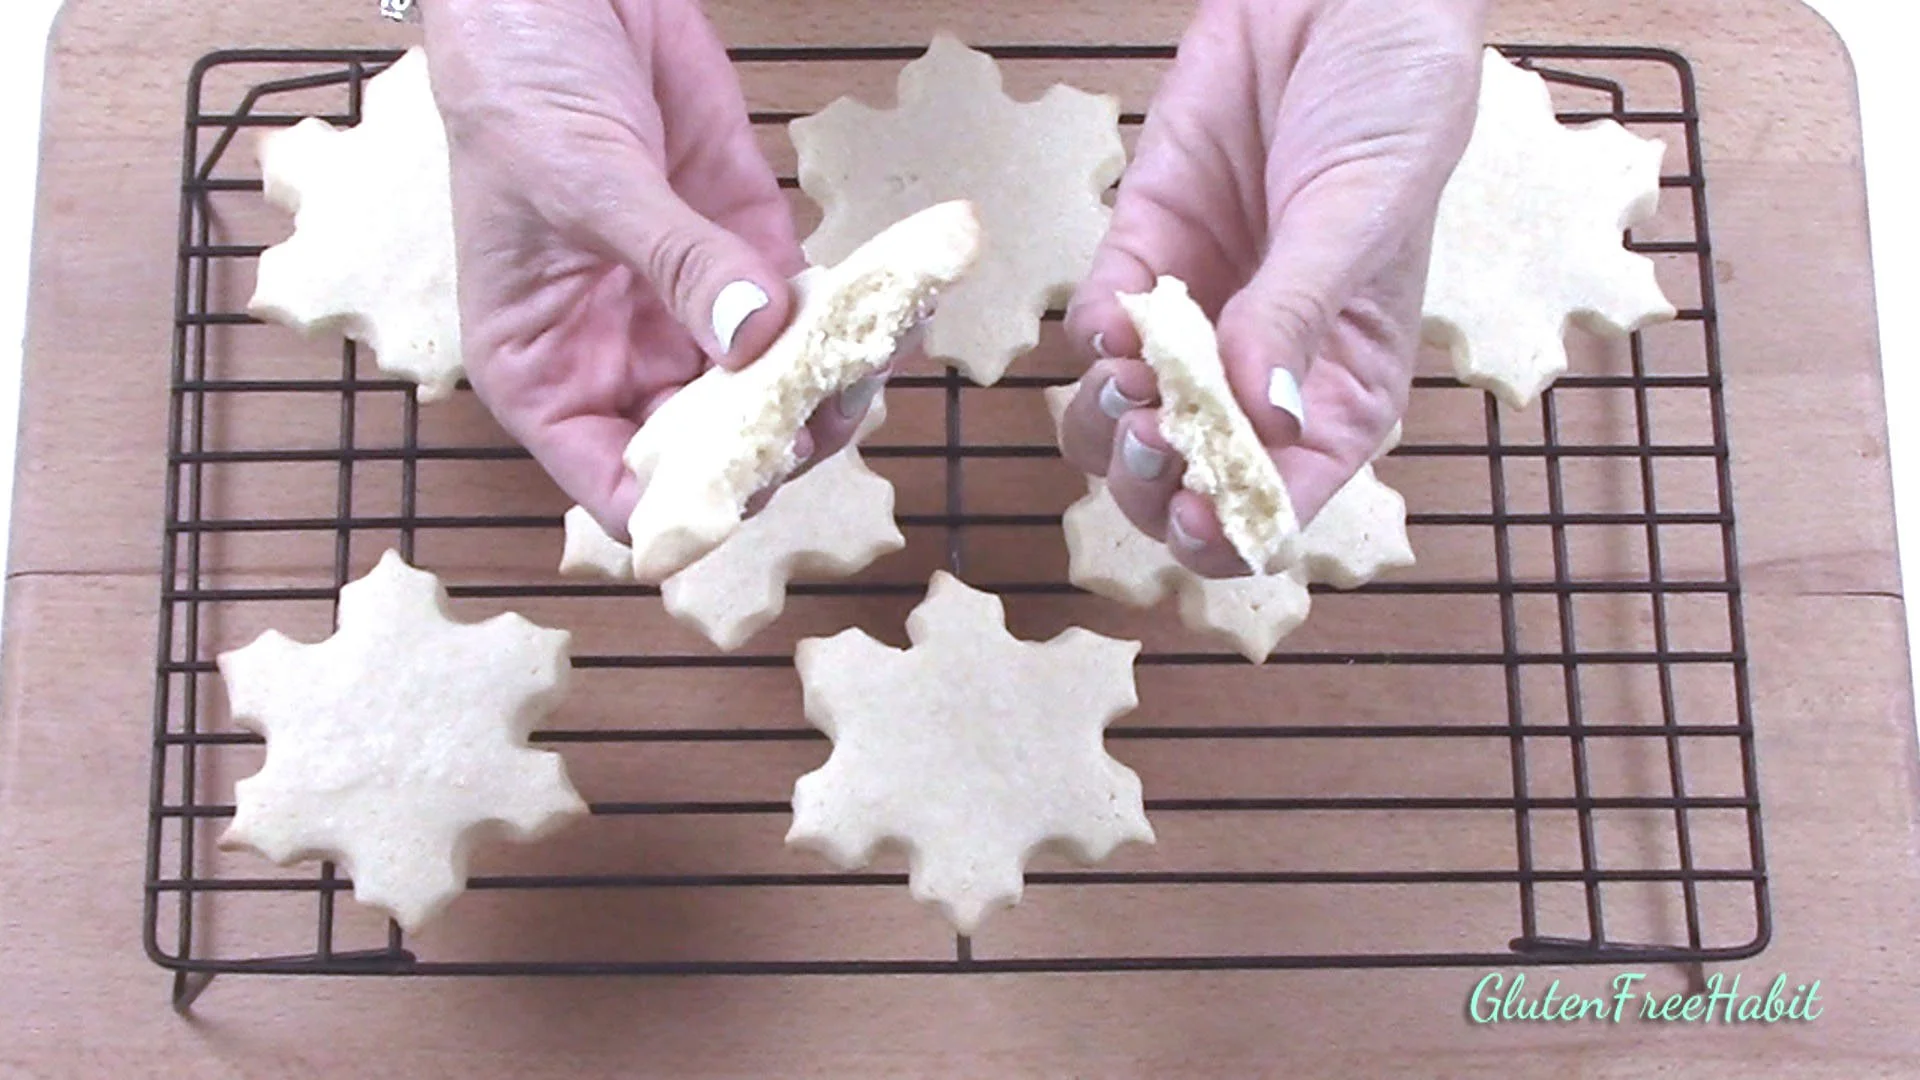
Cover with another piece of waxed paper.
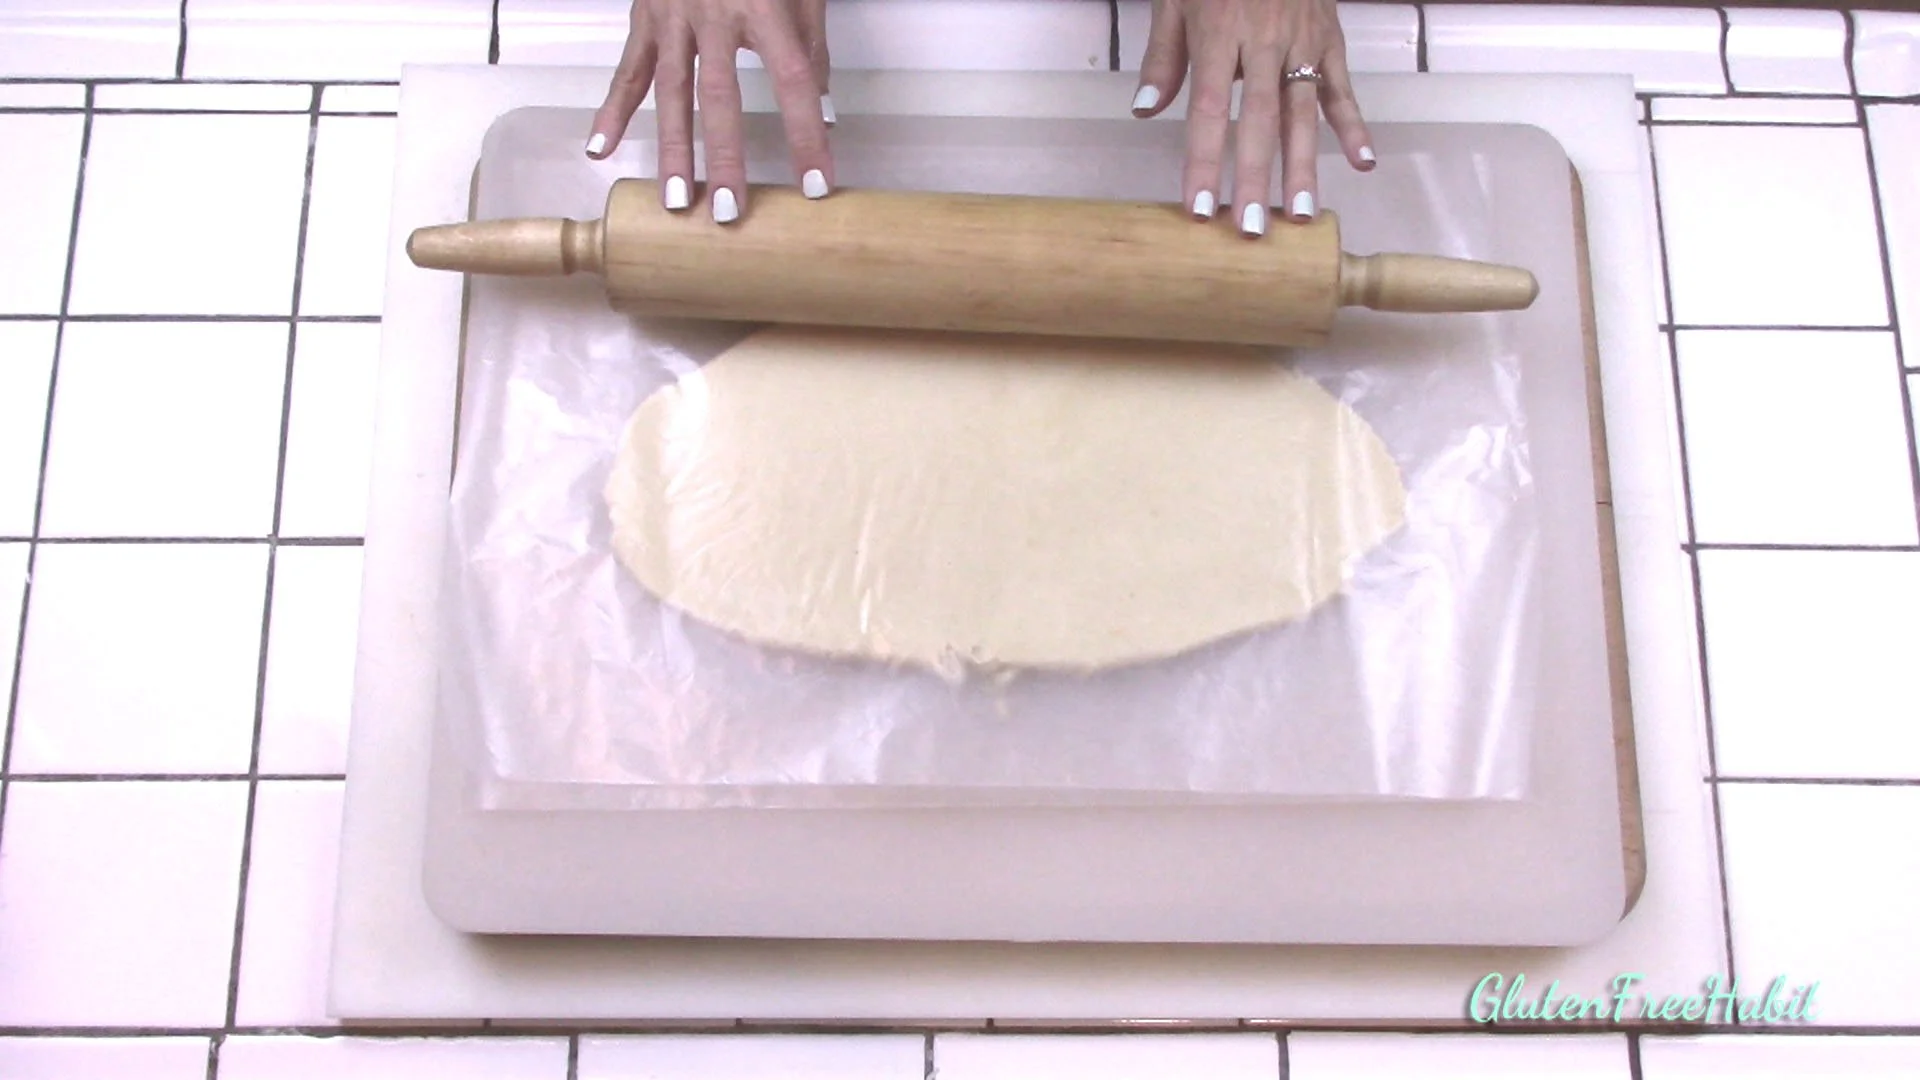
11
Roll out dough to ¼” thick. Try to make sure that edges aren’t thinner than the middle.
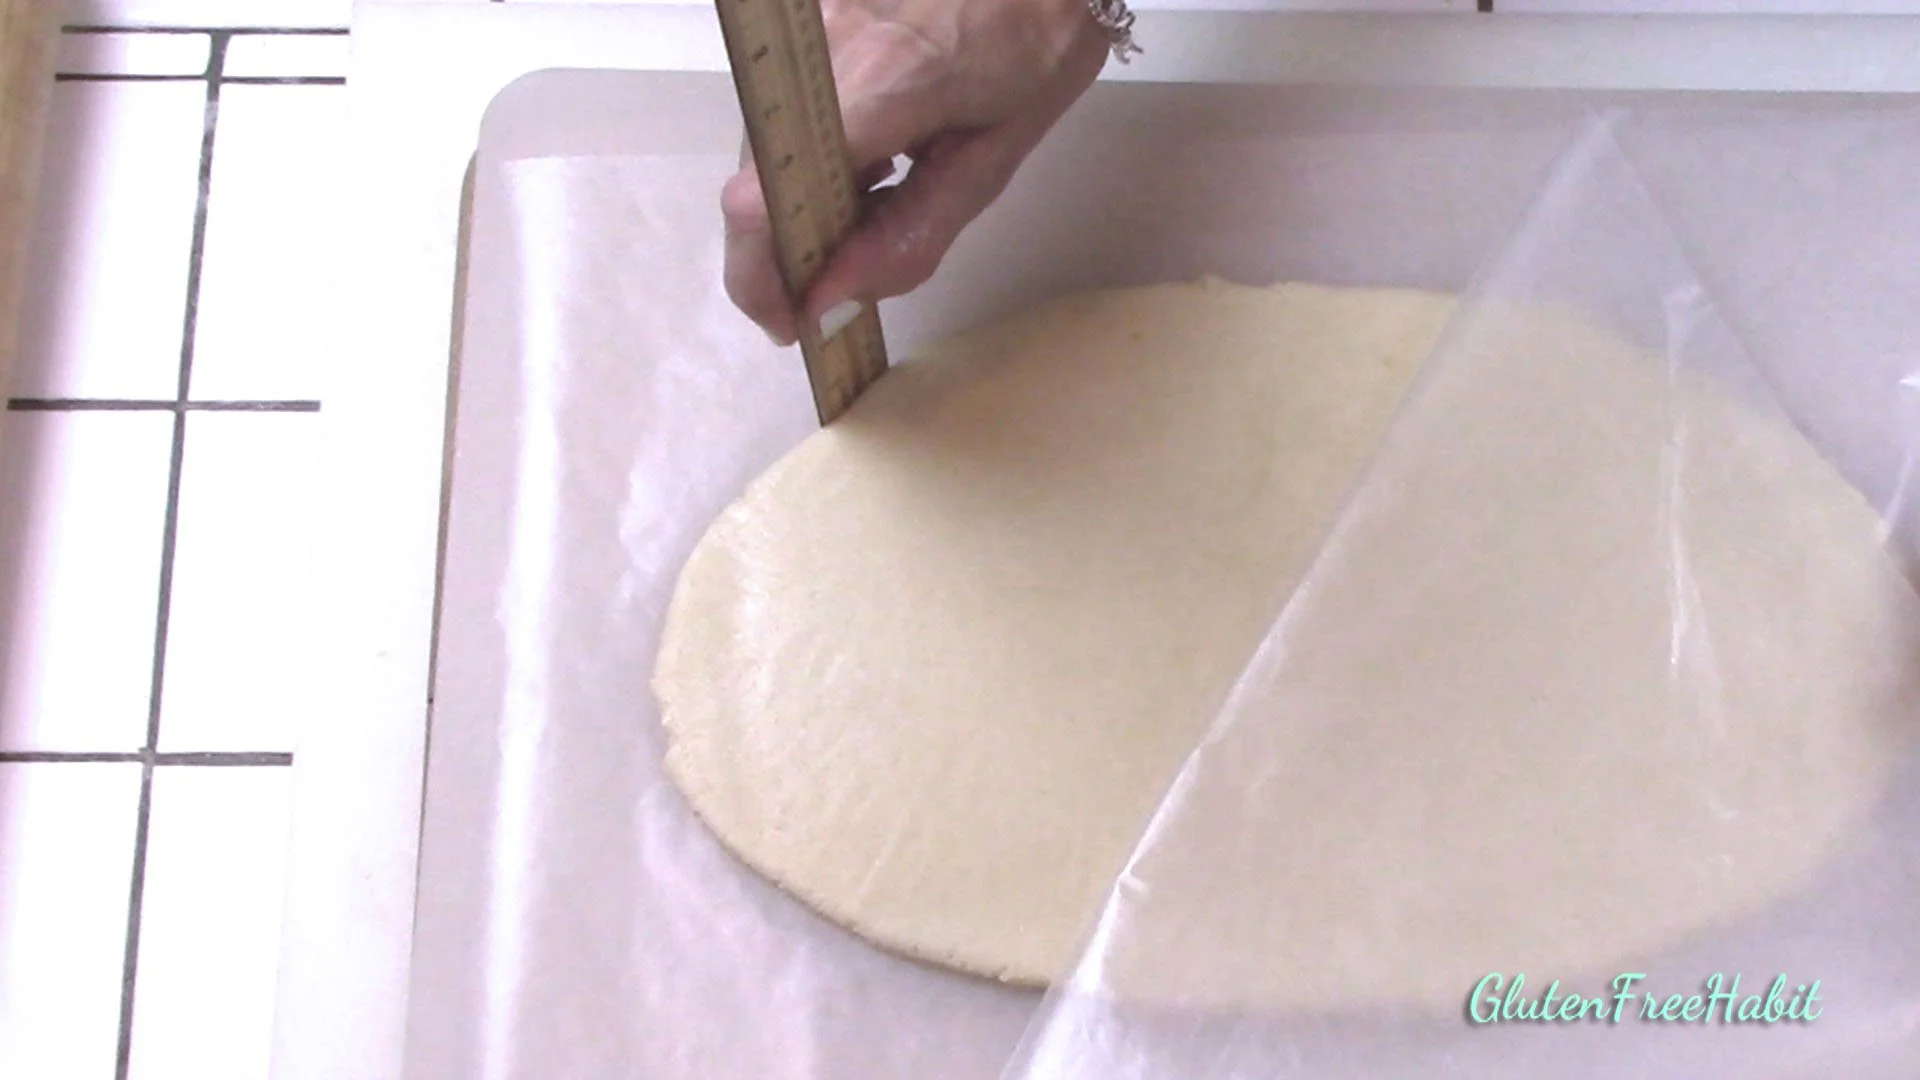
12
Use a ruler to check that edges of the dough are ¼” thick.
13
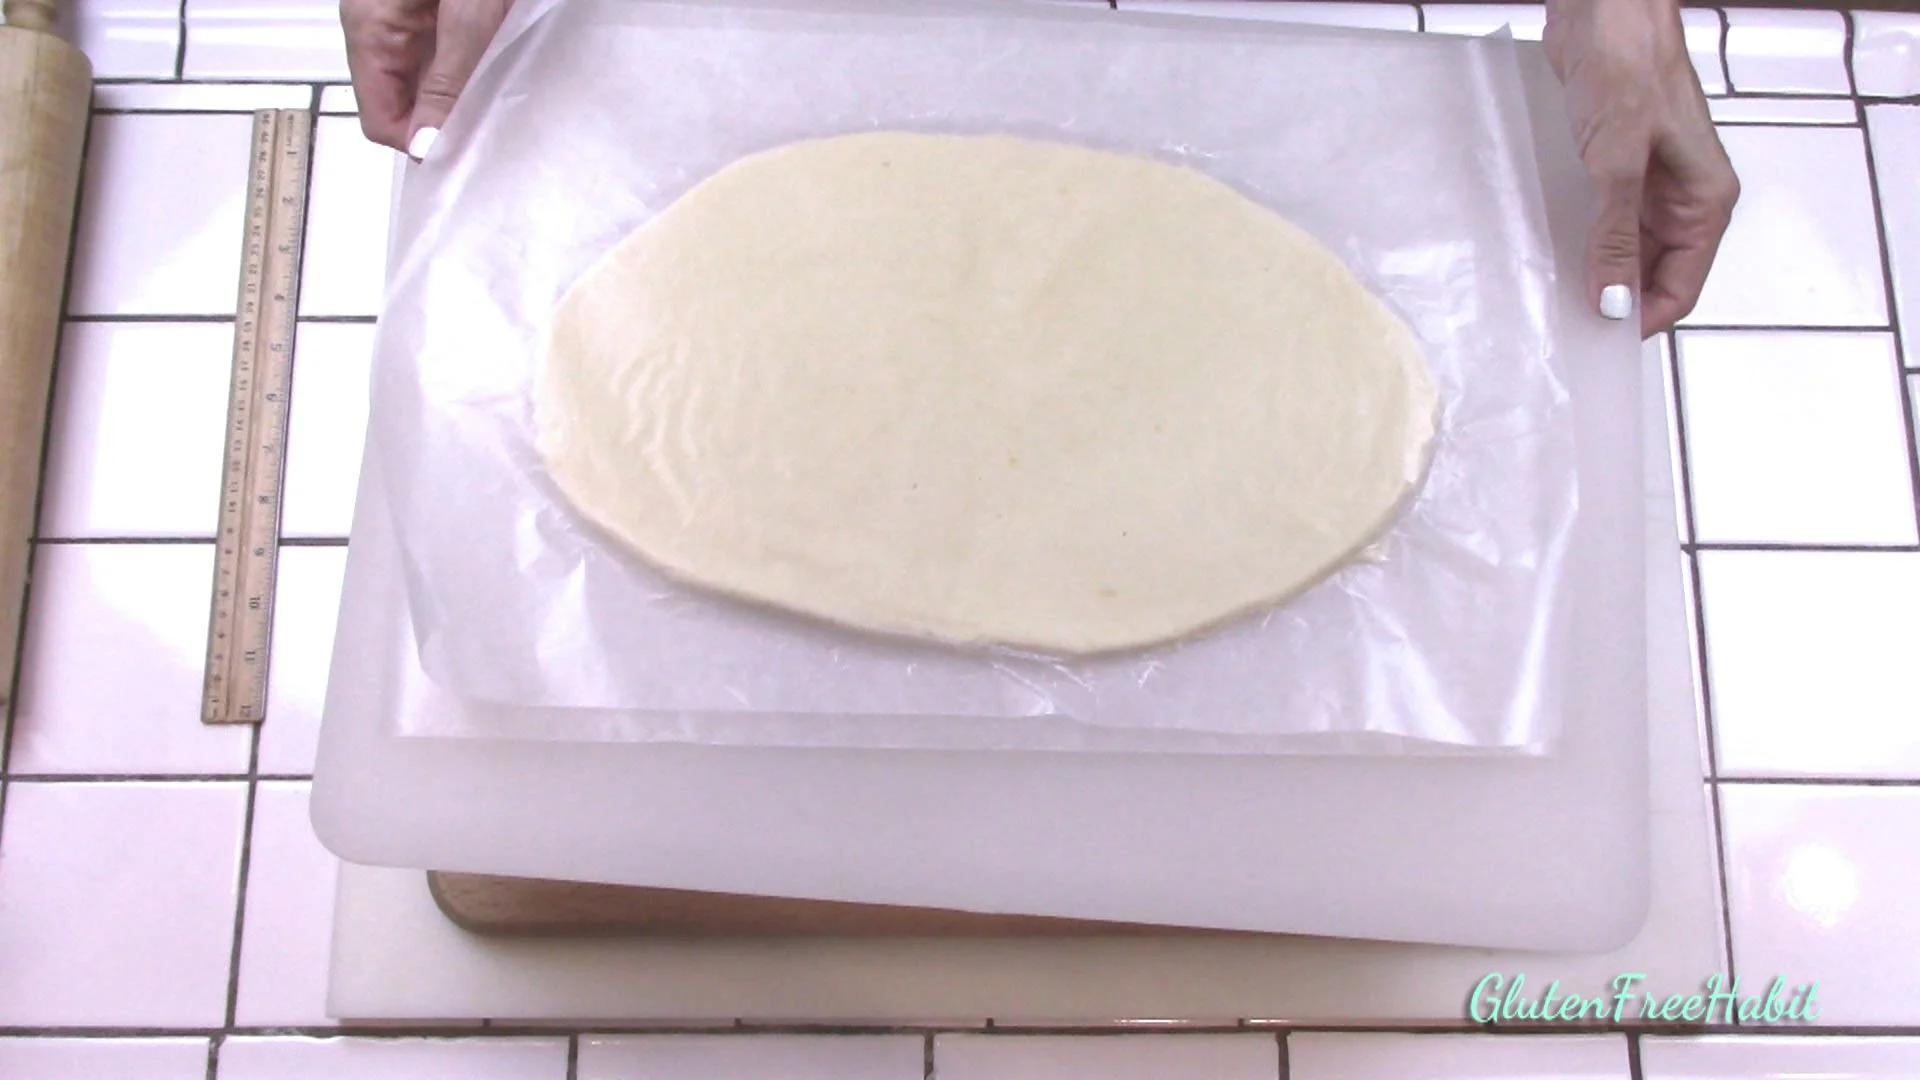
Put rolled-out cookie dough into refrigerator for 1 ½ hours. Don’t skip this step or your cookies will spread.
14
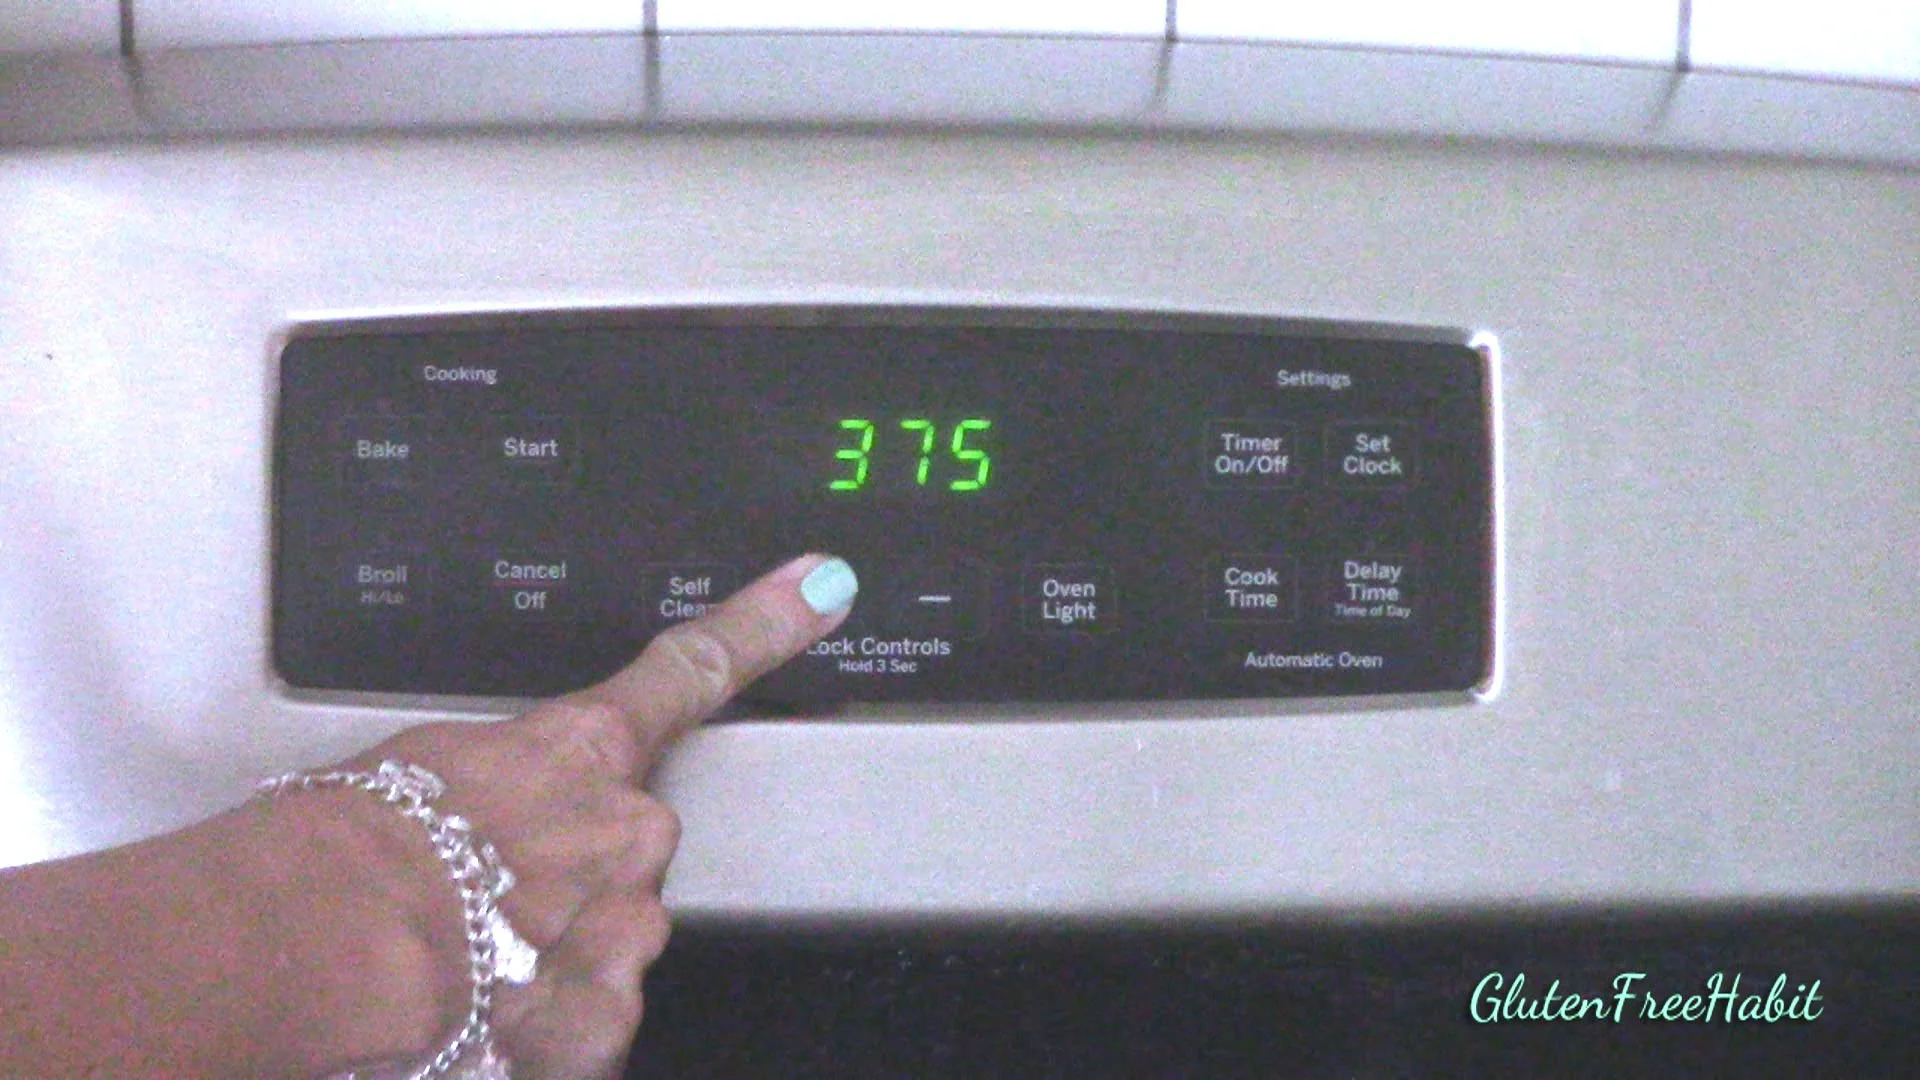
Preheat oven to 375° when necessary, so that the oven is ready when you take the cookie dough out of the fridge.
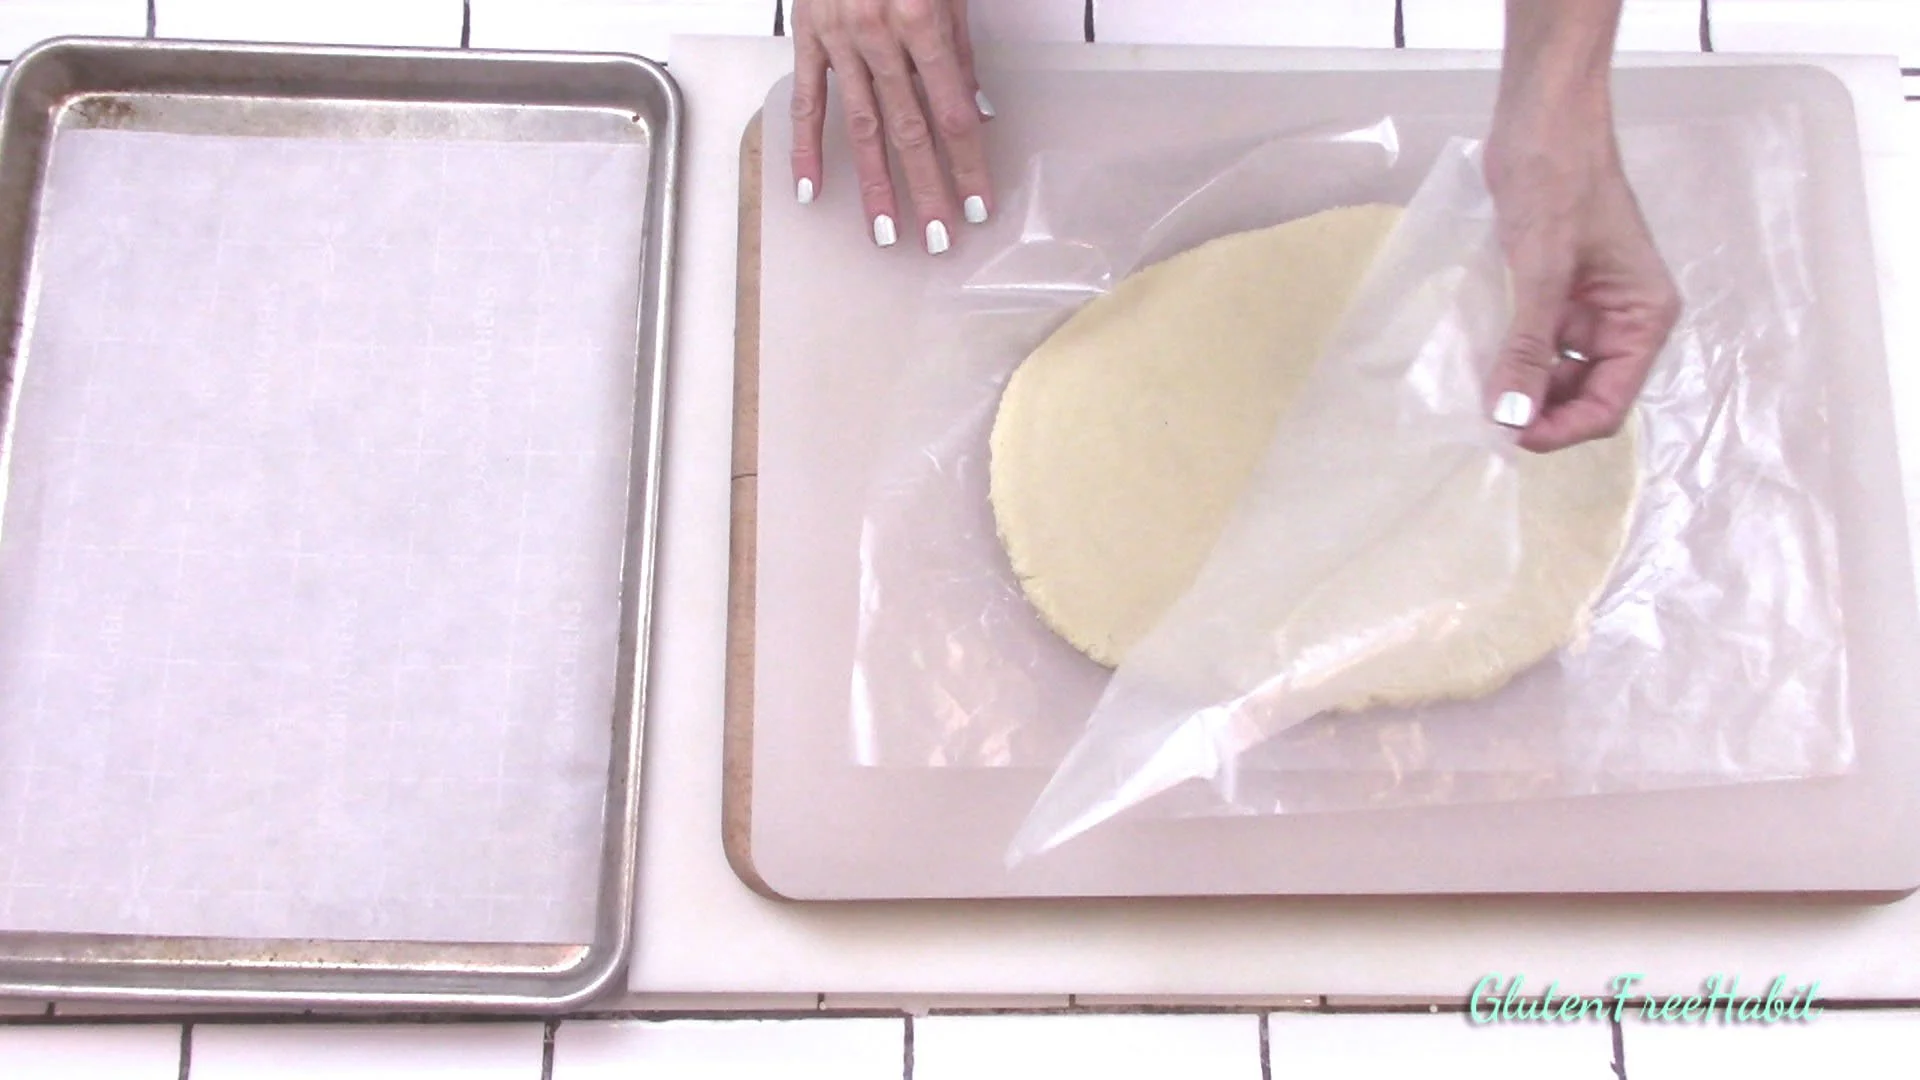
15
Take dough out of fridge after 1 ½ hours (or more). Remove top layer of waxed paper.
16
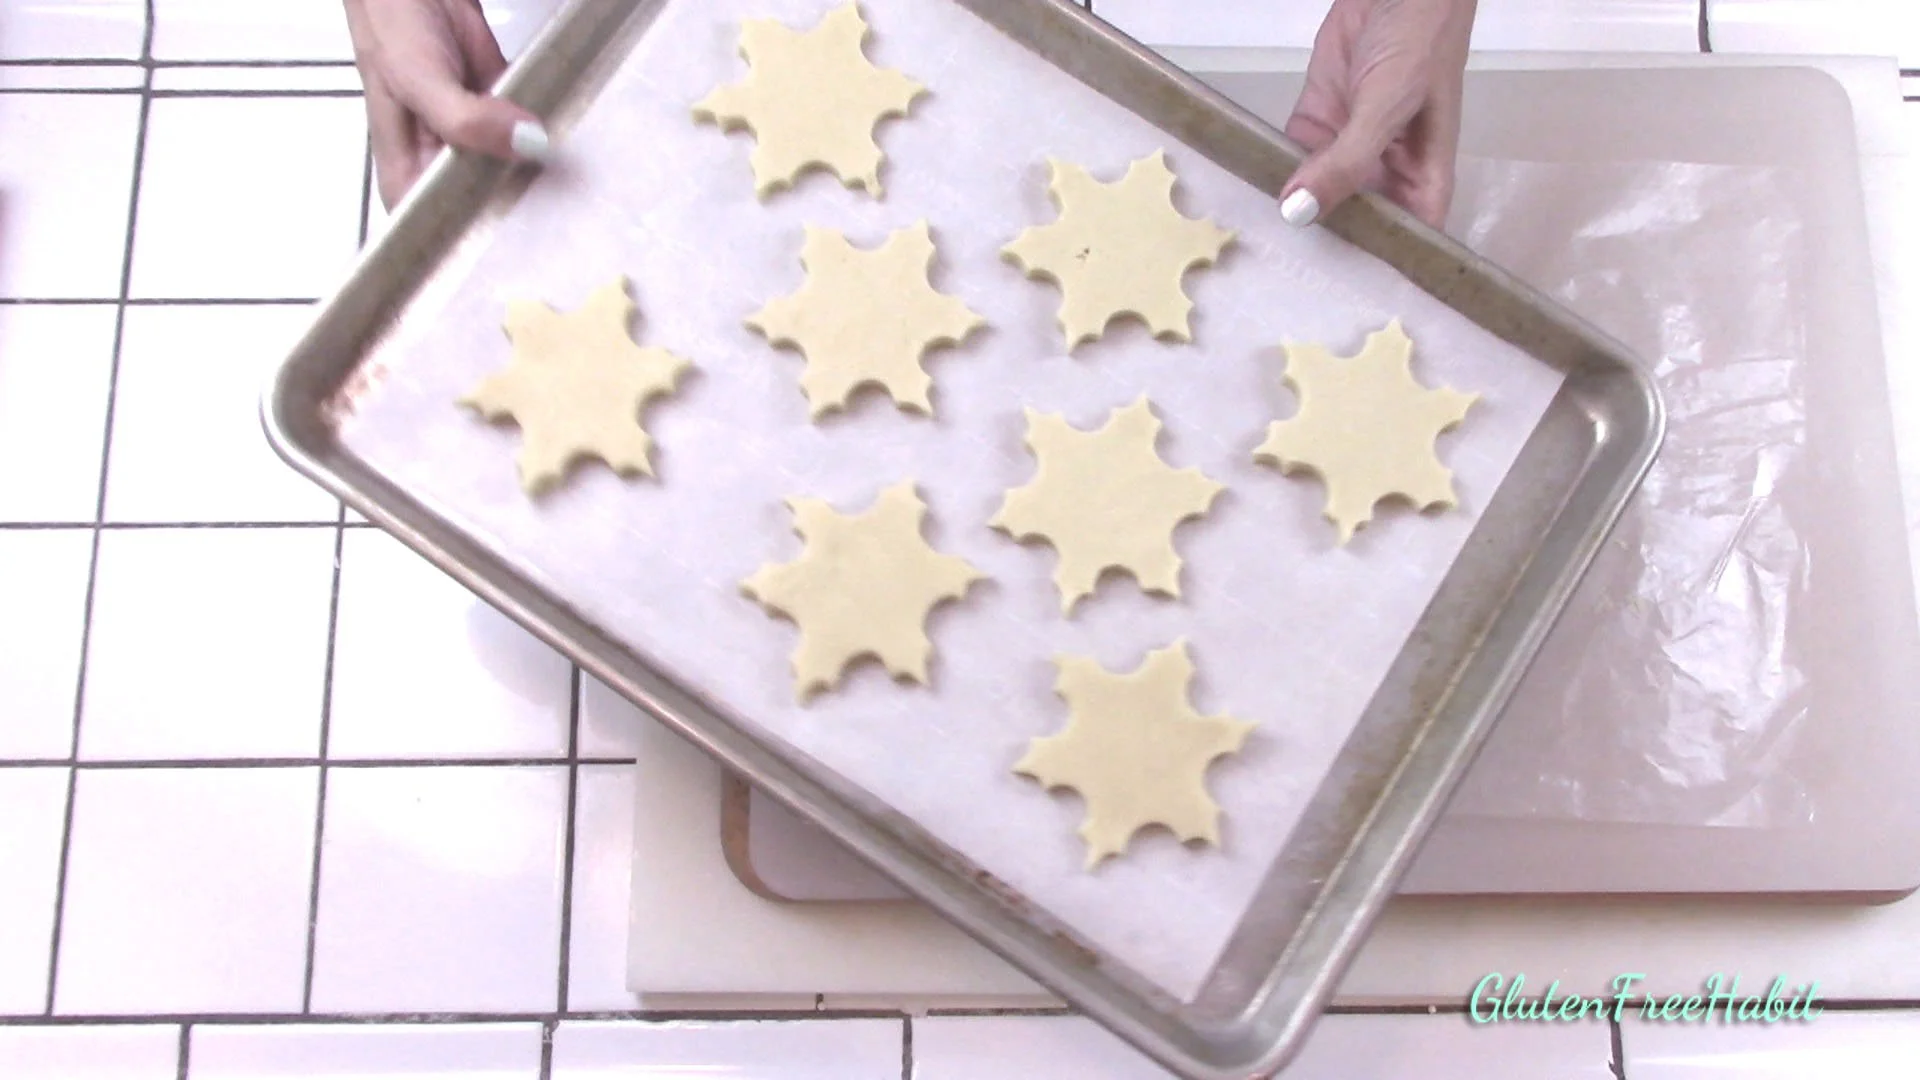
Cut out cookies. Dough will be firm. Press hard and jiggle cookie cutter to help remove it. Do not dip cookie cutter into gluten free flour.
17
Nice and thick :)
18
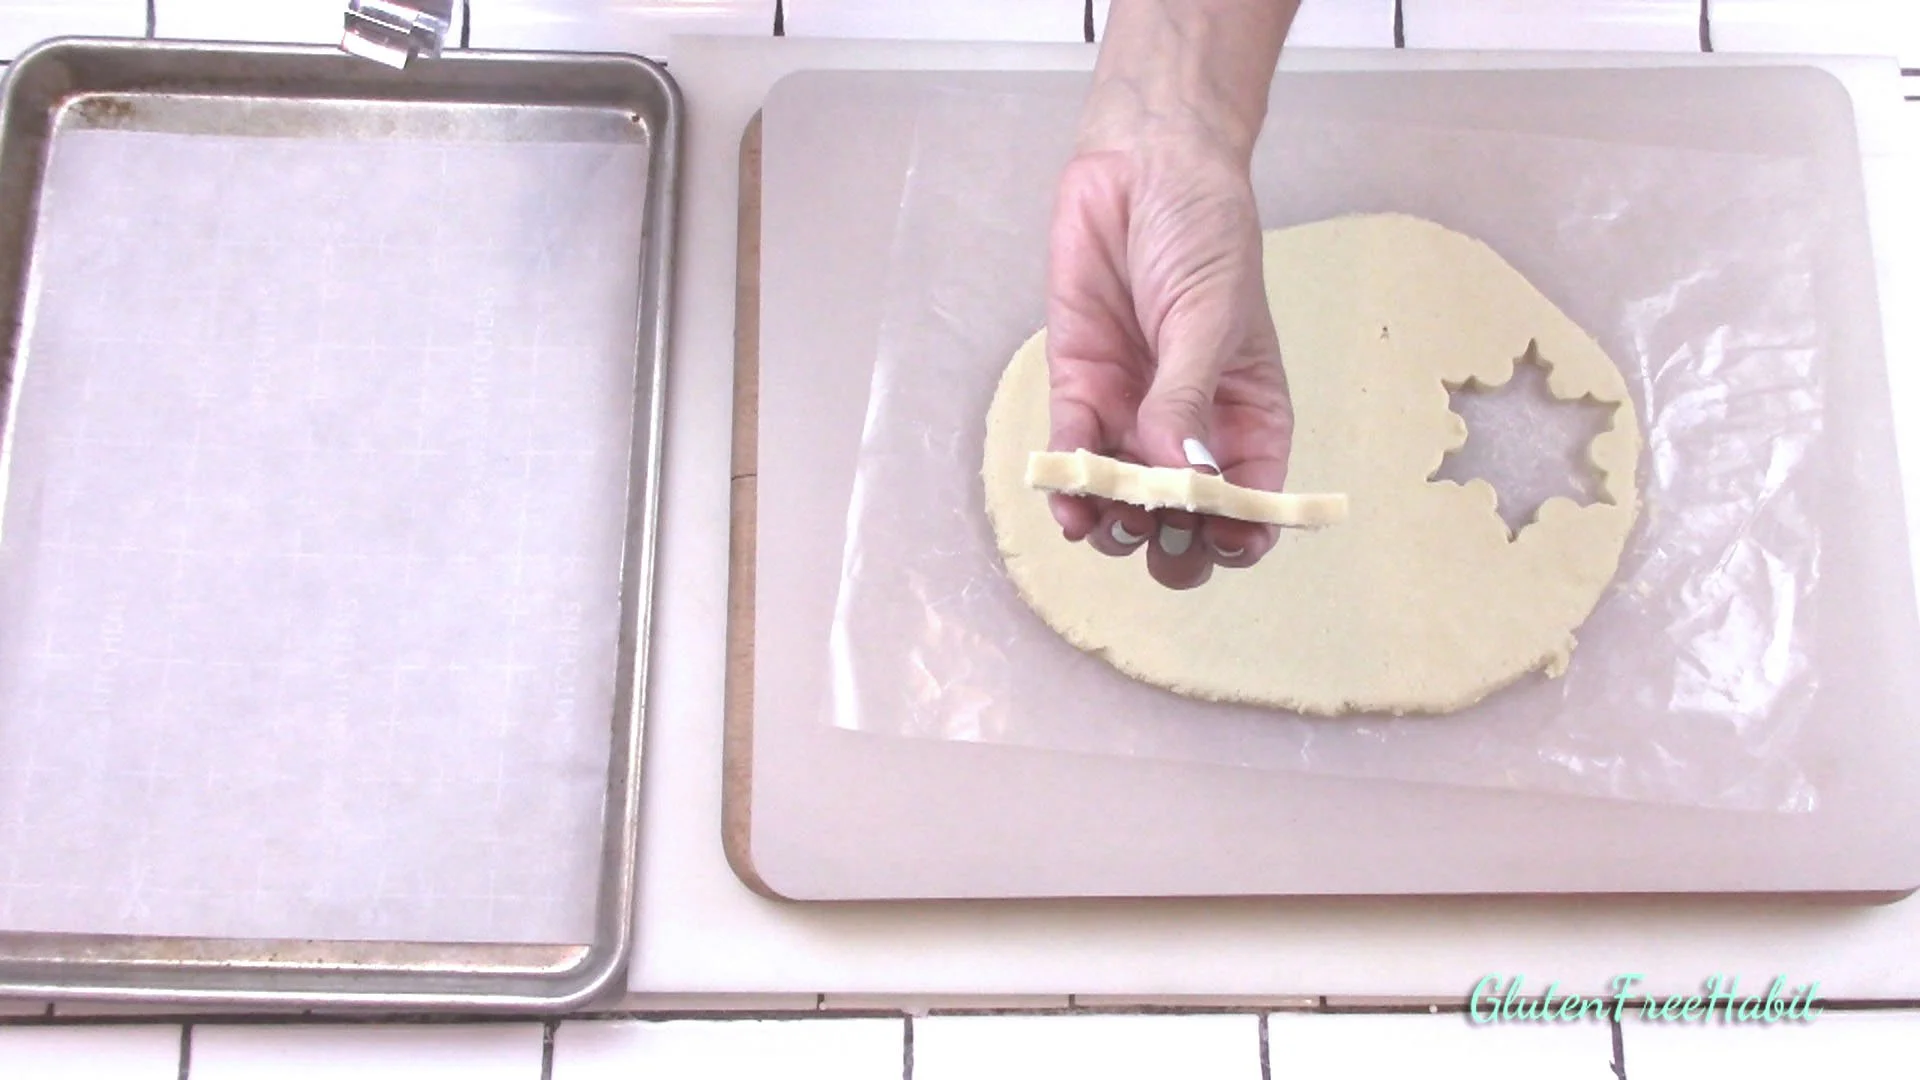
You can reshape any tiny imperfections on the cookies with your fingers before baking.
19
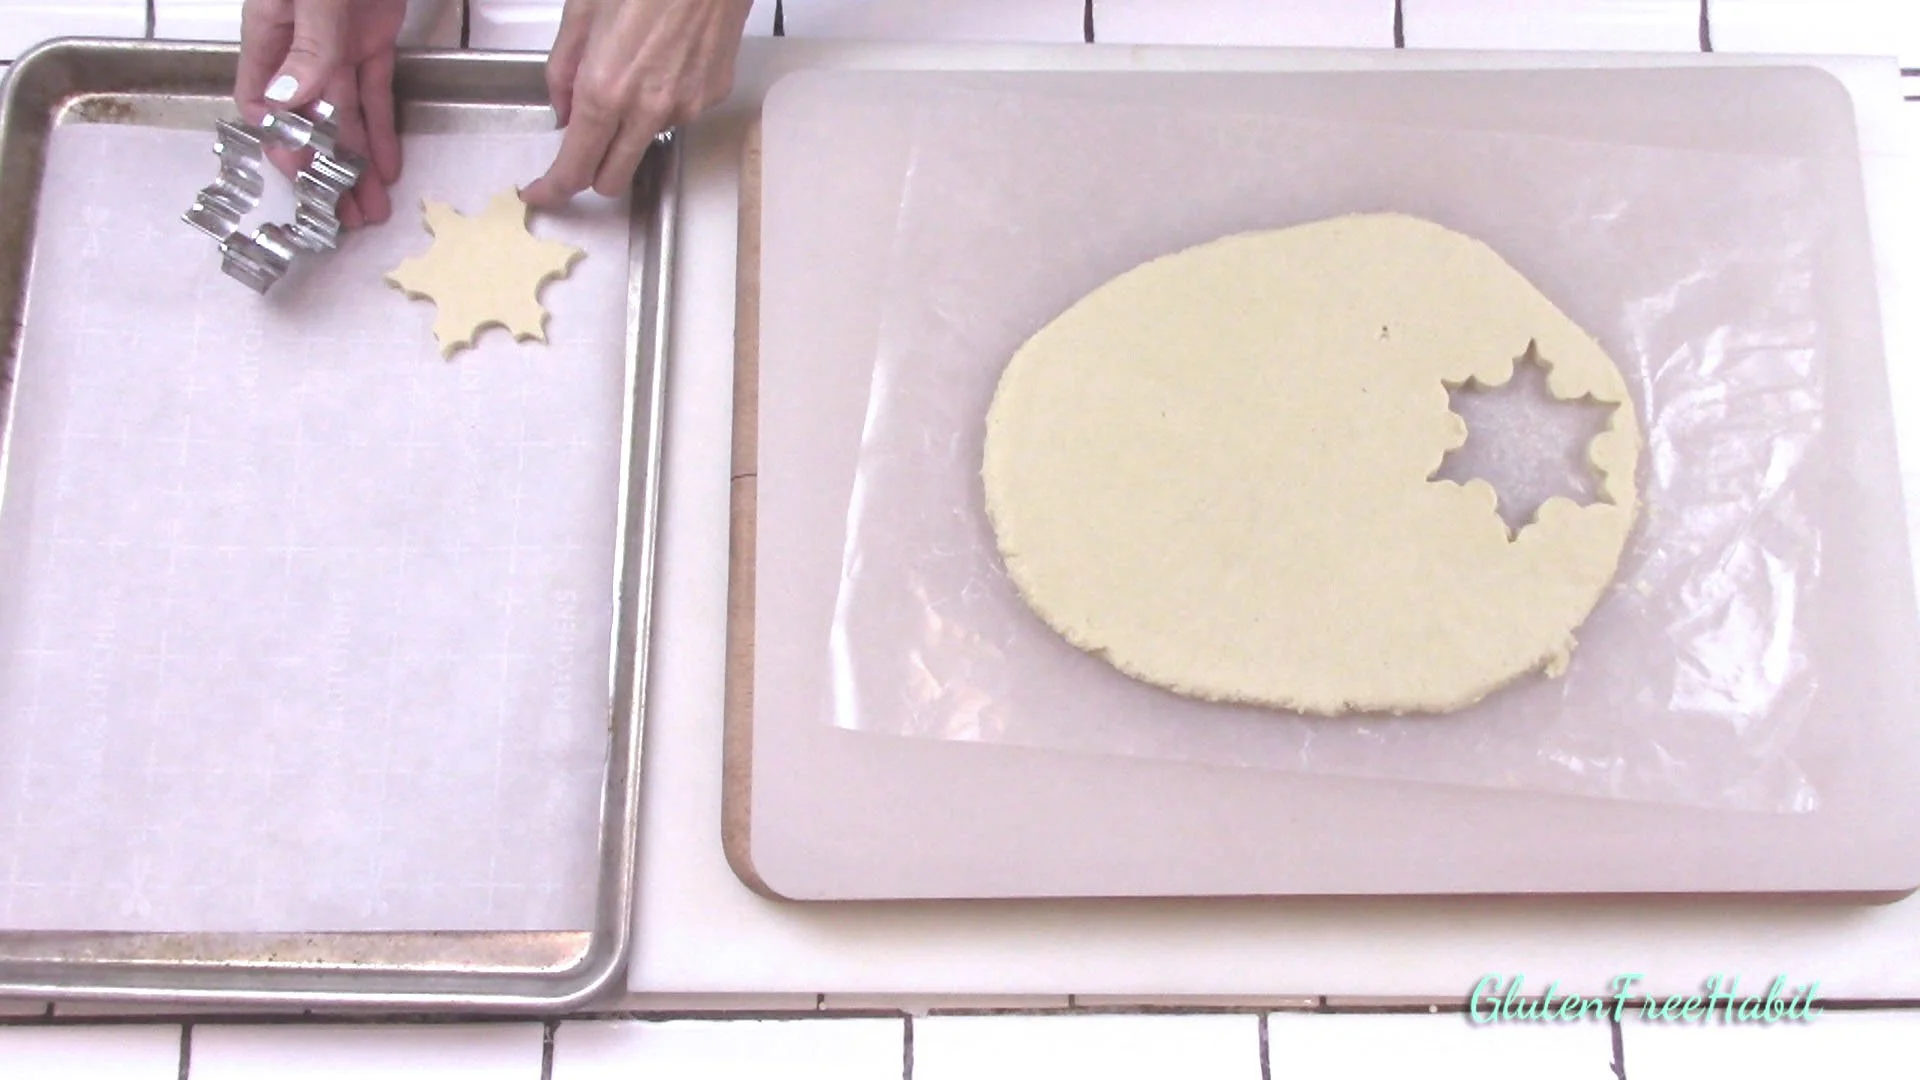
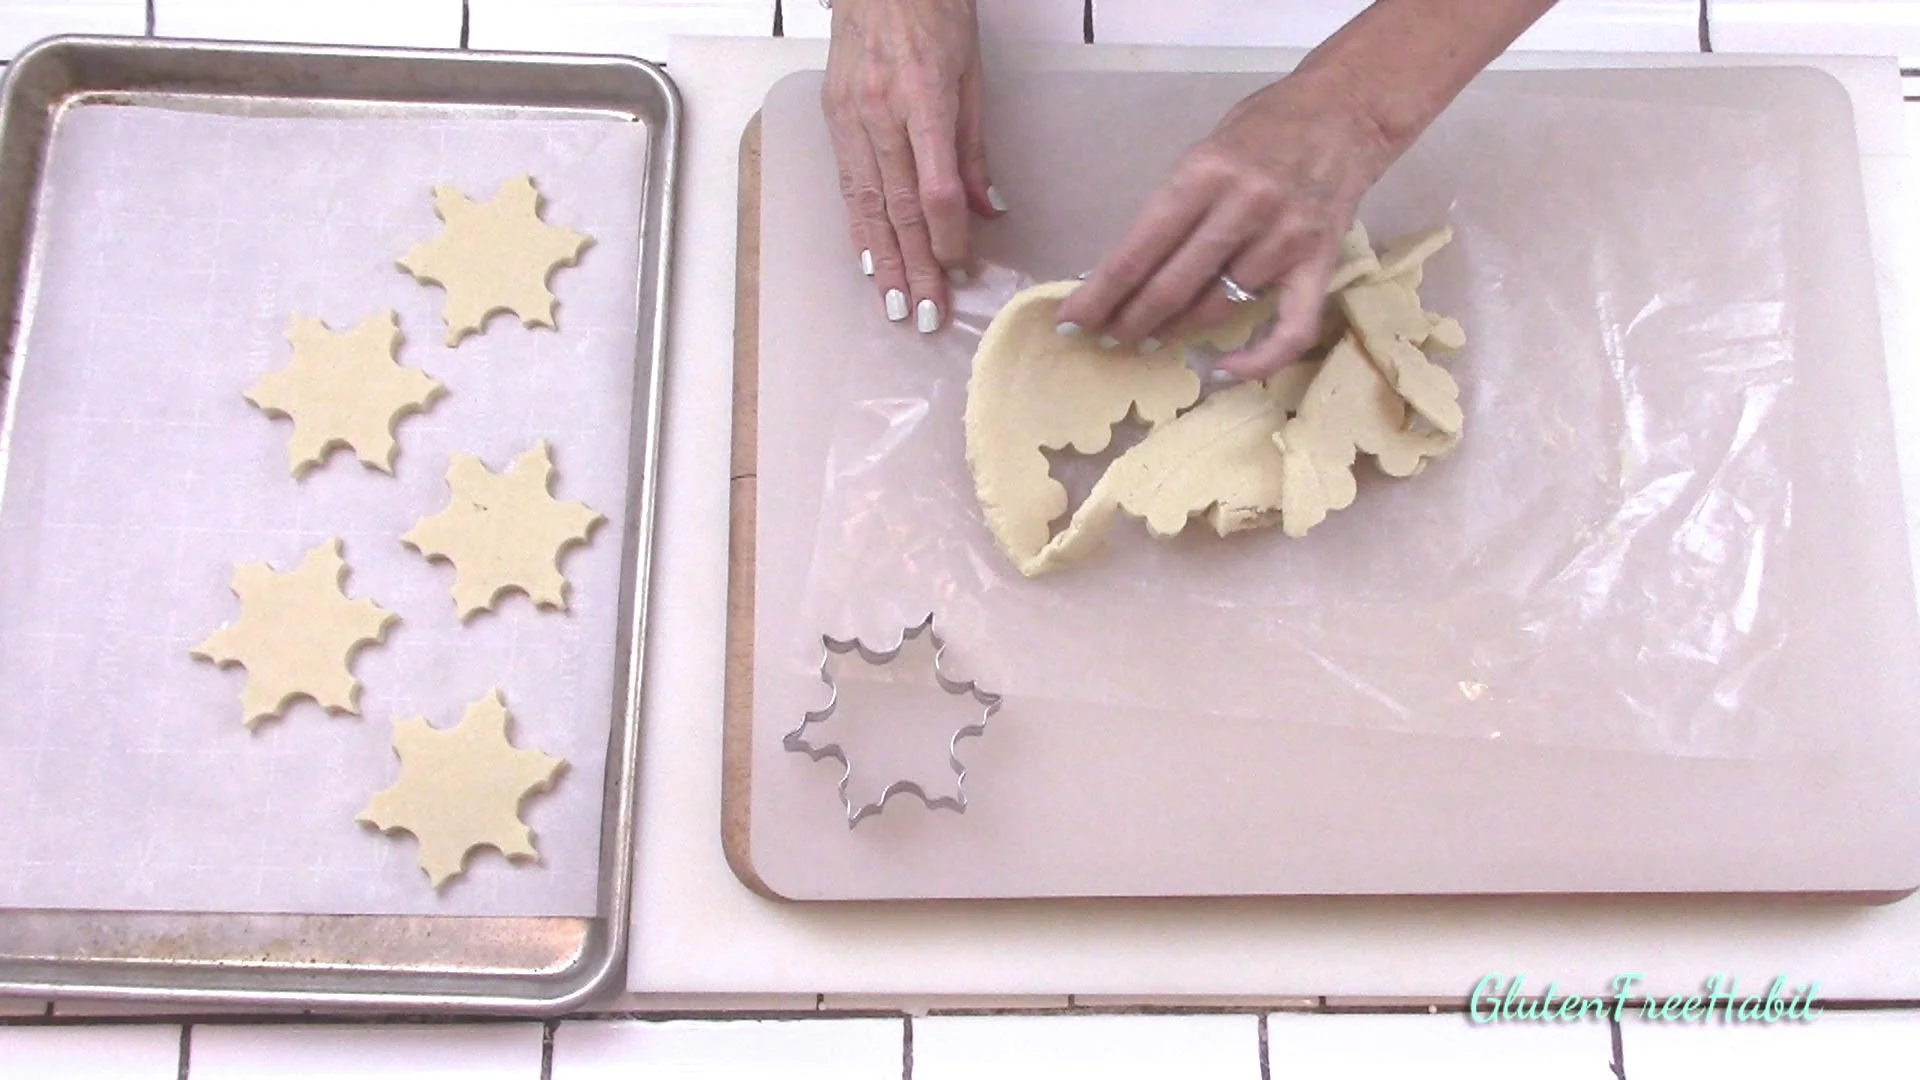
Re-roll dough as needed, cut more cookies, and repeat until dough is gone. If cookie dough softens while you are cutting them out, just put it back into the refrigerator until it firms up again.
20
Bake for about 10 minutes.
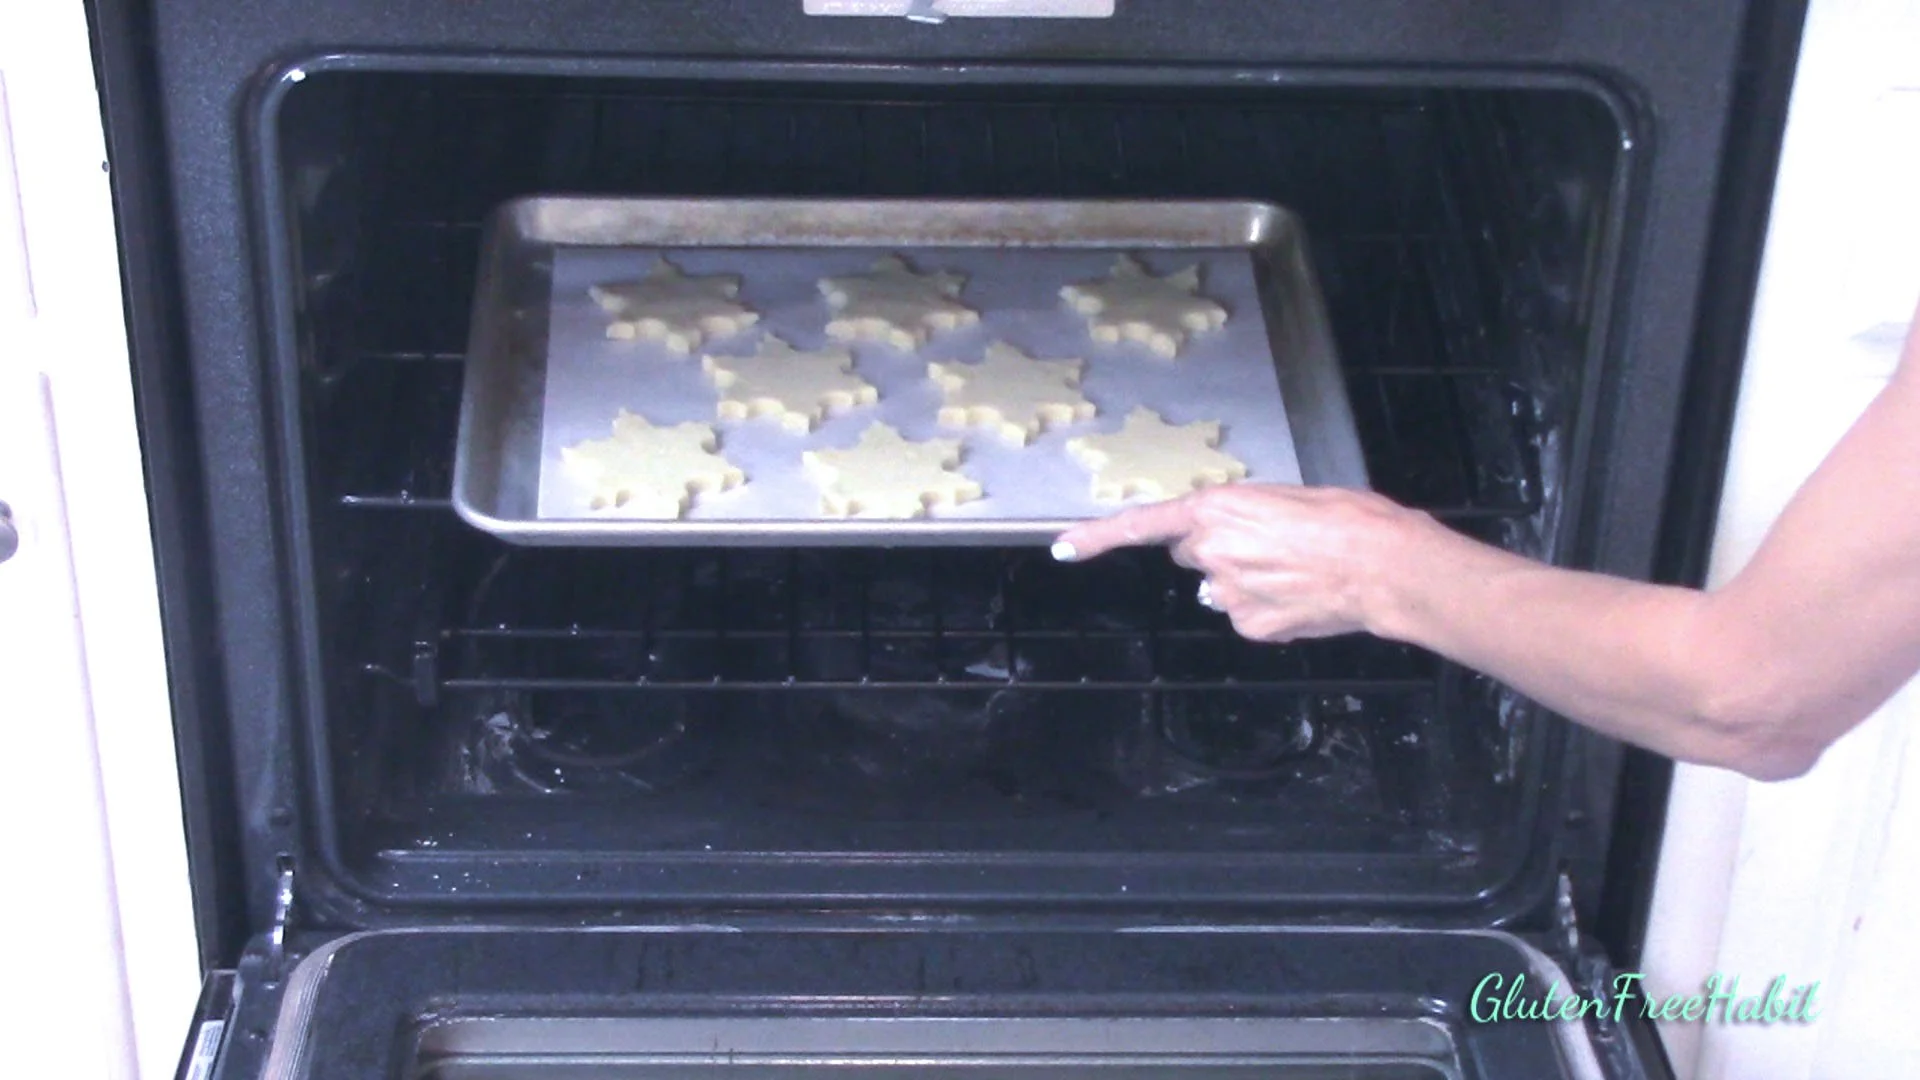
21
Although 10 minutes is perfect in my oven, every oven is different, so please keep an eye on them.
22
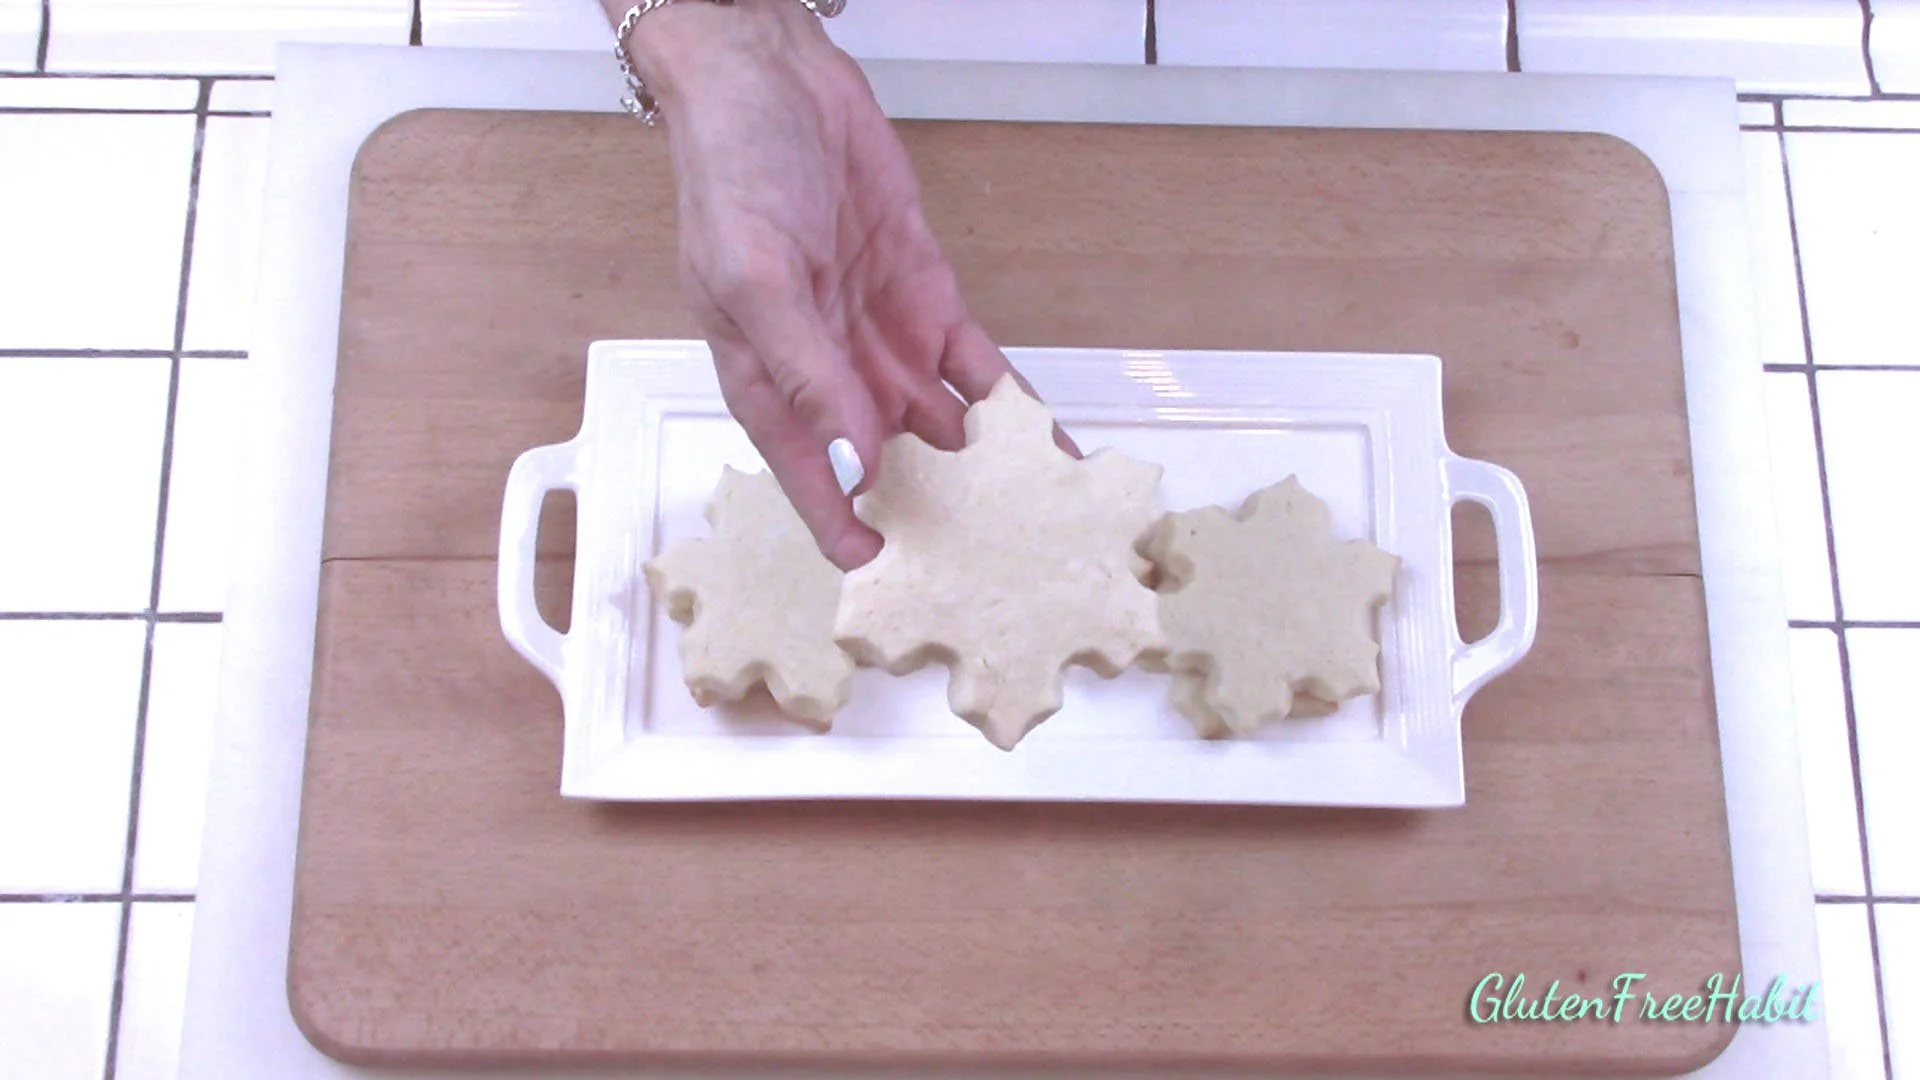
This is a perfectly baked cookie.
23
This cookie is baked just one minute longer and is overbaked. The edges should not be golden.
24
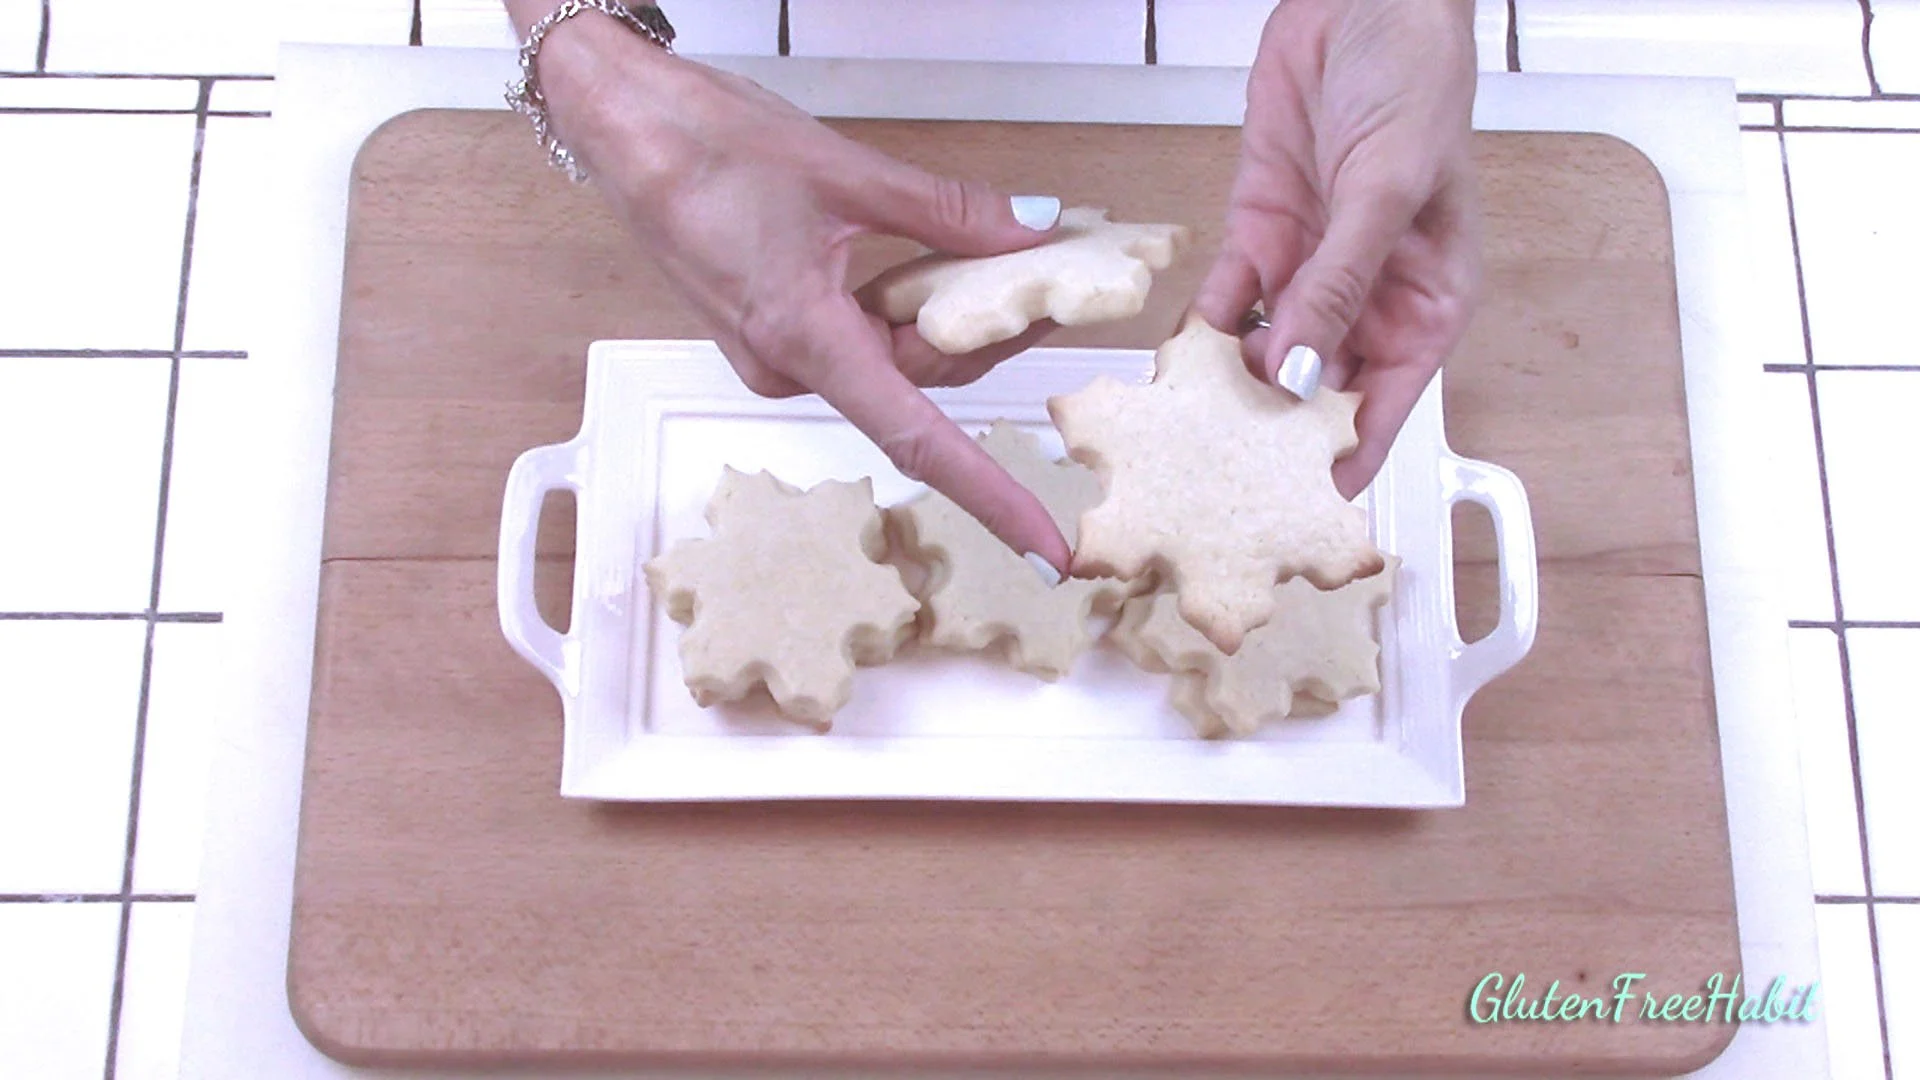
Remove cookies from oven and let sit on tray for 3 minutes before moving to cooling rack. Before this time, cookies will be too soft and may break.
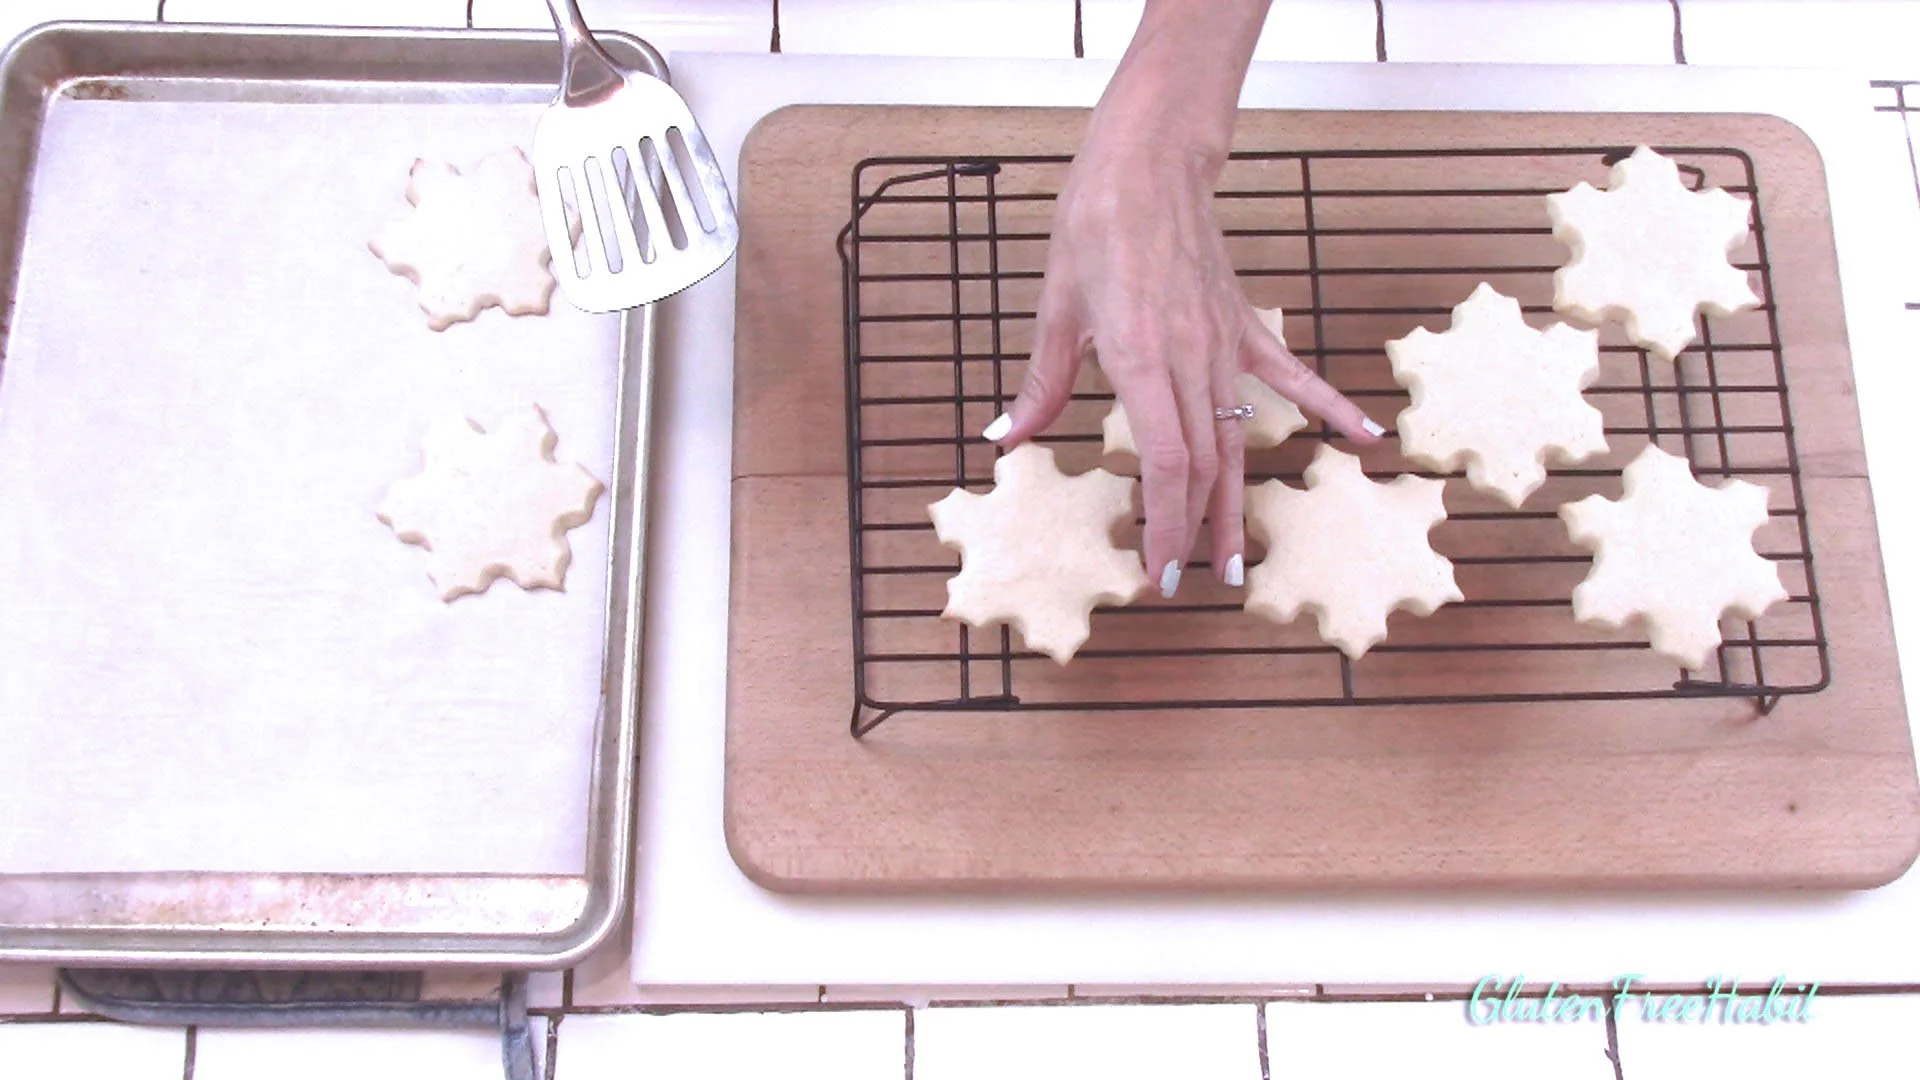
25
Carefully move cookies to a cooling rack.
26
Your cookies will be slightly soft and chewy. Allow them to cool completely before decorating.
Yay! Time to eat!
I hope you enjoy making and sharing these sugar cookie cutouts with your family and friends!
Ready to Make Gluten Free Sugar Cookie Cutouts?
Before you get to baking, make sure you have everything you need for success! Shop for gluten free flours, baking pans, cutting boards, serving dishes, and cookware in my Amazon shop!

The Recipe:
GLUTEN FREE SUGAR COOKIE CUTOUTS
INGREDIENTS
Dry Mixture:
2 cups brown rice flour (8.7 oz.)
2/3 cup tapioca flour (2.6 oz.)
2/3 cup white rice flour (3.4 oz.)
3 tsp. xanthan gum
1/2 tsp. salt
Wet Mixture:
1 cup butter (2 sticks)
1 ½ cup granulated sugar
2 tsp. vanilla
2 eggs + 2 egg yolks
2 tsp. lemon zest
DIRECTIONS
Getting Ready
Line a couple of light-colored cookie sheets with parchment paper
Set out butter to soften
Zest your lemon
Select cookie cutters
Let’s Get Started!
To a medium-sized mixing bowl, add your brown rice flour, tapioca flour, white rice flour, xanthan gum, and salt. Whisk together. Set aside.
To a large mixing bowl, add your butter and granulated sugar. Mix until well-blended.
Add eggs, yolks, vanilla, and lemon zest. Mix until well-blended.
Scrape down bowl as needed.
Add dry mix to wet mix, one half at a time, mixing between each addition. Dough will be sticky. This is ok. Do not add more flour.
Lay out some waxed paper on a large cutting board (later it will be moved into fridge).
Scoop dough onto waxed paper
Cover with another piece of waxed paper.
Roll out dough to ¼” thick. Try to make sure that edges aren’t thinner than the middle.
Use a ruler to check that edges of the dough are ¼” thick.
Put rolled-out cookie dough into refrigerator for 1 ½ hours. Don’t skip this step or your cookies will spread.
Preheat oven to 375° when necessary, so that the oven is ready when you take the cookie dough out of the fridge.
Take dough out of fridge after 1 ½ hours (or more).
Remove top layer of waxed paper.
Cut out cookies. Dough will be firm. Press hard and jiggle cookie cutter to help remove it. Do not dip cookie cutter into gluten free flour.
You can reshape any tiny imperfections on the cookies with your fingers before baking.
Re-roll dough as needed, cut more cookies, and repeat until dough is gone. If cookie dough softens while you are cutting them out, just put it back into the refrigerator until it firms up again.
Bake for about 10 minutes. Although 10 minutes is perfect in my oven, every oven is different, so please keep an eye on them. You do not want them to become golden on the edges (as with other cookies). This would be over-baked.
Remove cookies from oven and let sit on tray for 3 minutes before moving them to a cooling rack. Before this time, cookies will be too soft and may break.
Cool cookies completely before decorating.
Enjoy your cookies!

Tip: Please follow all directions exactly!! If you skip steps or swap ingredients then you may or may not like the end result :)
Tip: Don’t skip the lemon zest! It gives these cookies a delicious, mild flavor. But make sure to only zest the yellow part…the white part underneath can be bitter.
Tip: Don’t roll out the dough too thin. ¼ inch makes a perfect cookie!
Tip: If you are baking cookies of different sizes, bake the smaller cookies together on one tray because they bake quicker than the larger cookies.
Looking for Comments?
Please leave and read comments in the "Comments" section of the YouTube video above.
I can’t wait to hear from you!