
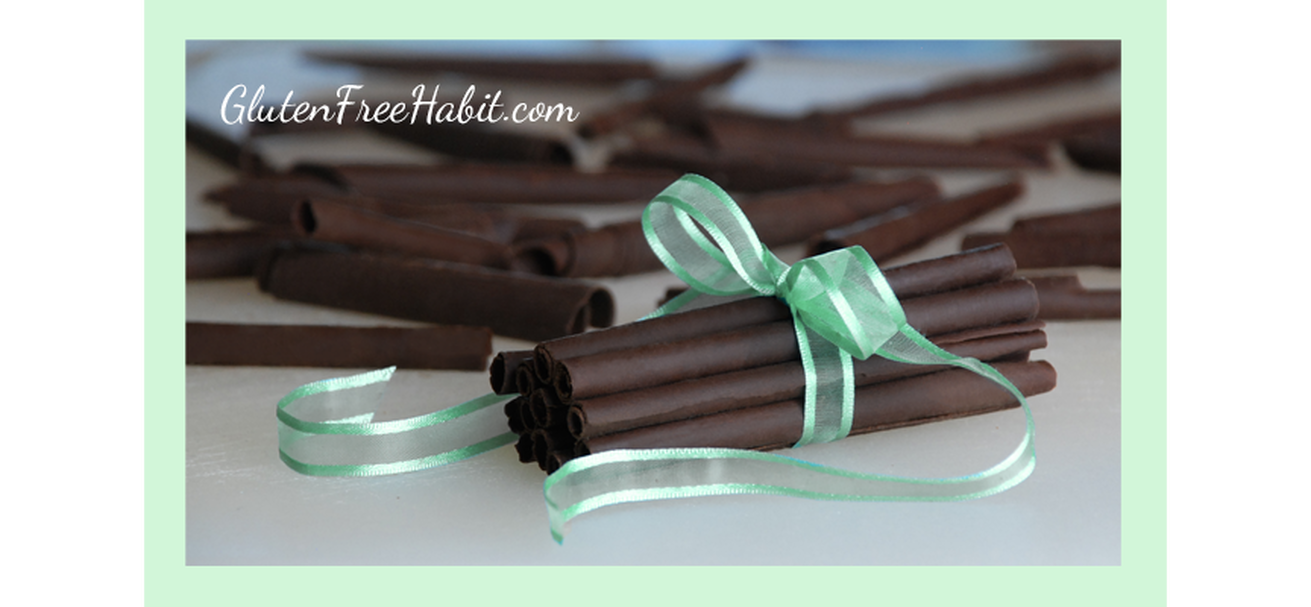
HOW TO MAKE CHOCOLATE CURLS (STOVE TOP METHOD)

|
What’s better than topping off your gluten-free dessert than with some beautiful chocolate curls?! These chocolate curls have a way of taking a gluten free dessert to the next level of WOW! Let me show you an easy way to make them, and how to temper the chocolate without a thermometer. This recipe shows you how to make chocolate curls on the stove-top, using baker's chocolate pieces. If you prefer to make your chocolate curls using the microwave oven, using chocolate chips, please see my How To Make Chocolate Curls Using Chocolate Chips (Microwave Method) recipe.
Makes: Plenty of chocolate curls to top a cake! The number will vary depending on thickness of chocolate and length of curl. |

|
SHOW ME HOW...
Click to watch this easy step-by-step video!


RECIPE LOCATED BELOW - PLEASE SCROLL DOWN

WALK ME THROUGH IT...
STEP 1
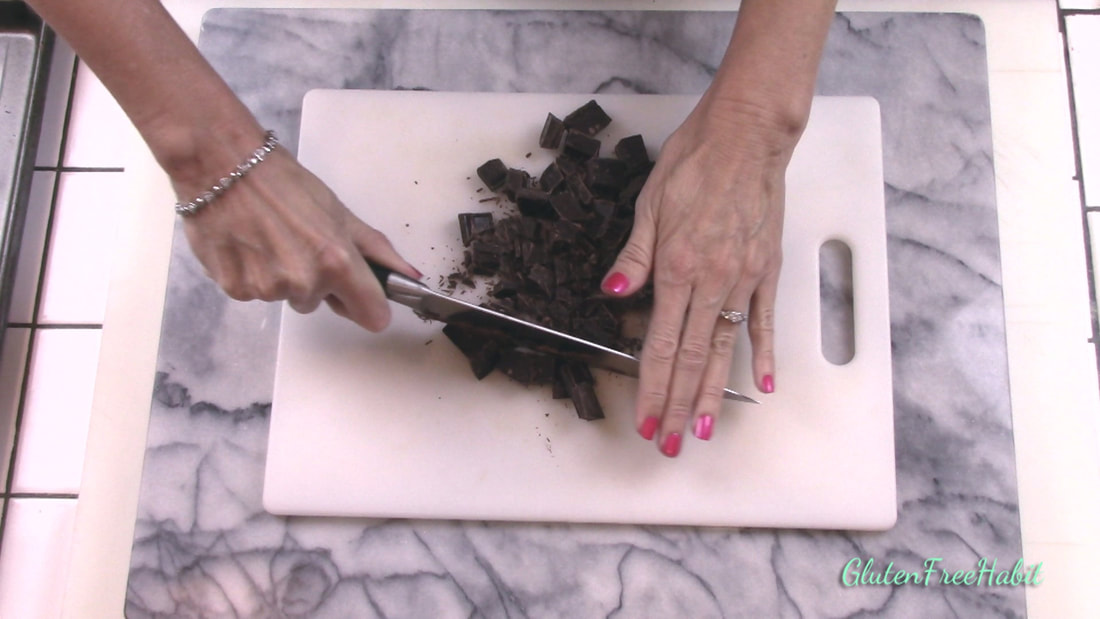
Finely chop the chocolate.
STEP 2
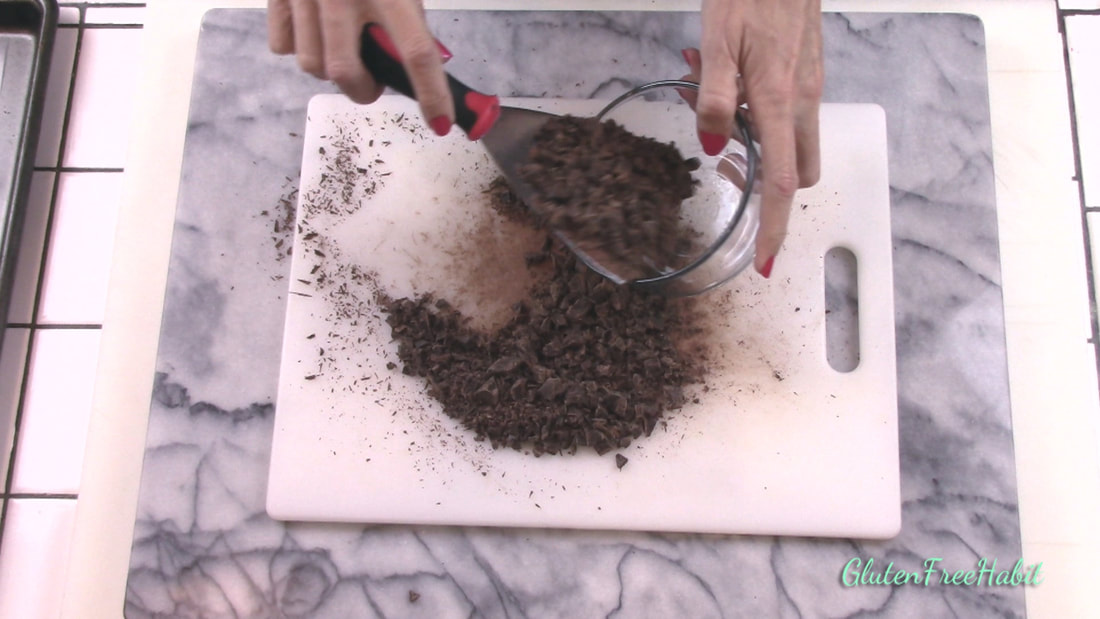
Scoop into bowl.
|
ADVERTISEMENT
|
|
STEP 3
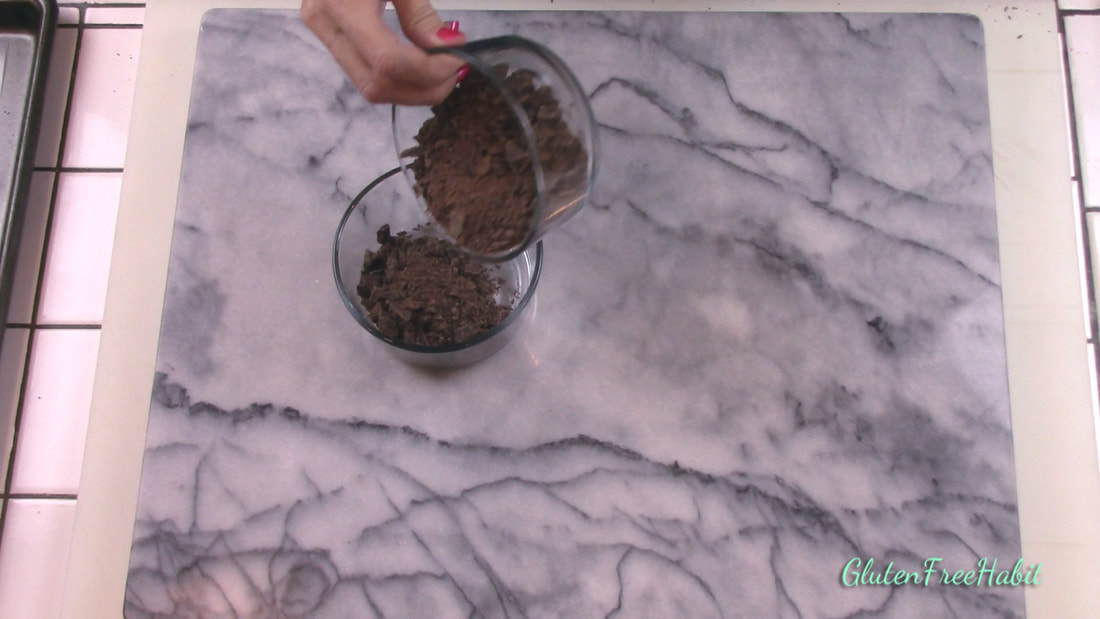
Pour 1/4 of the chocolate into another bowl. Set this one aside.
|
STEP 4
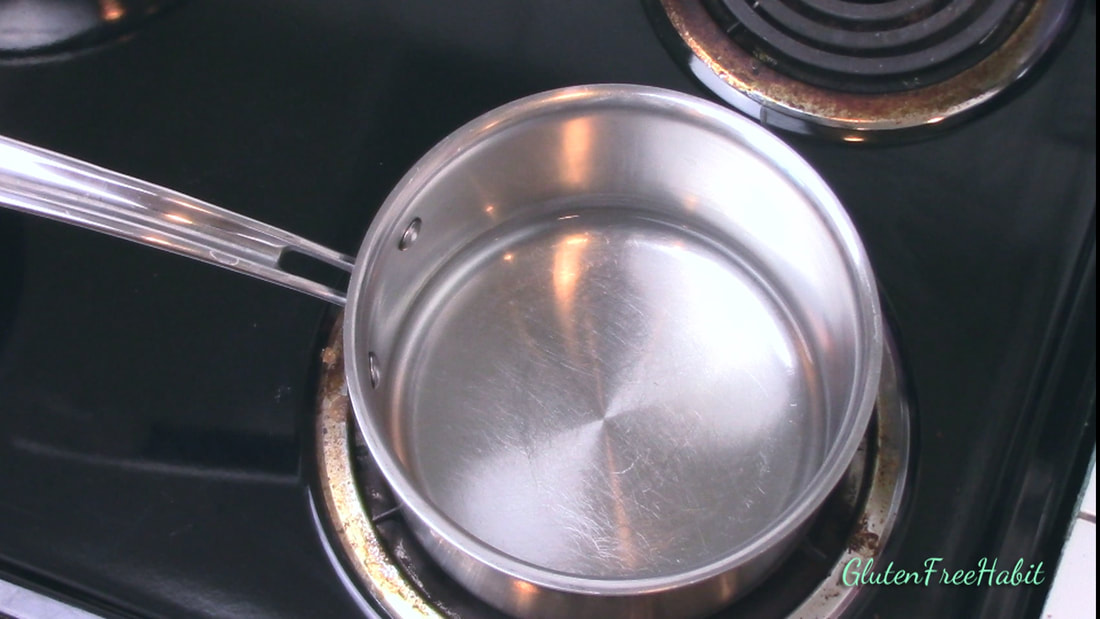
Set up a double-boiler by bringing a pot to steaming...
|
|
STEP 5
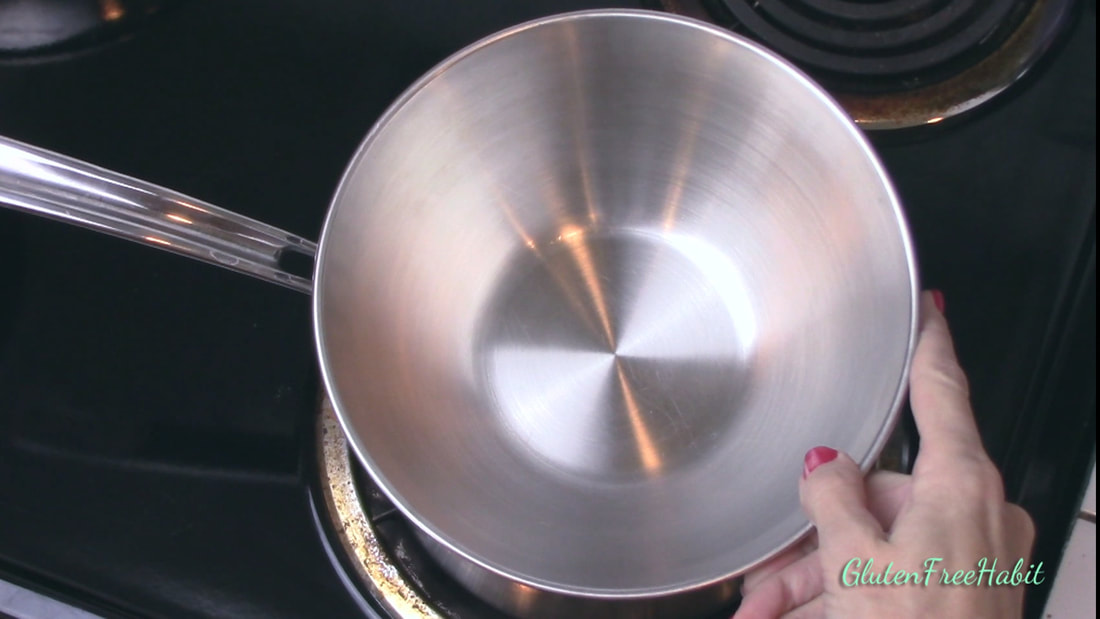
and setting the second pan on top.
|
STEP 6
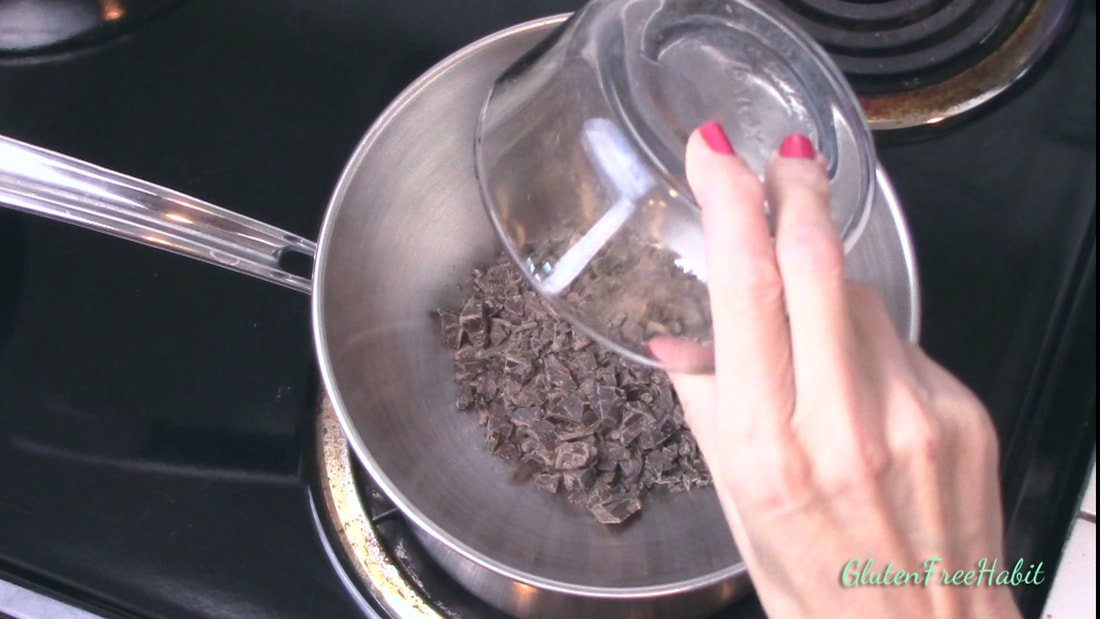
Pour in the ¾ bowl of chocolate...
|
|
STEP 7
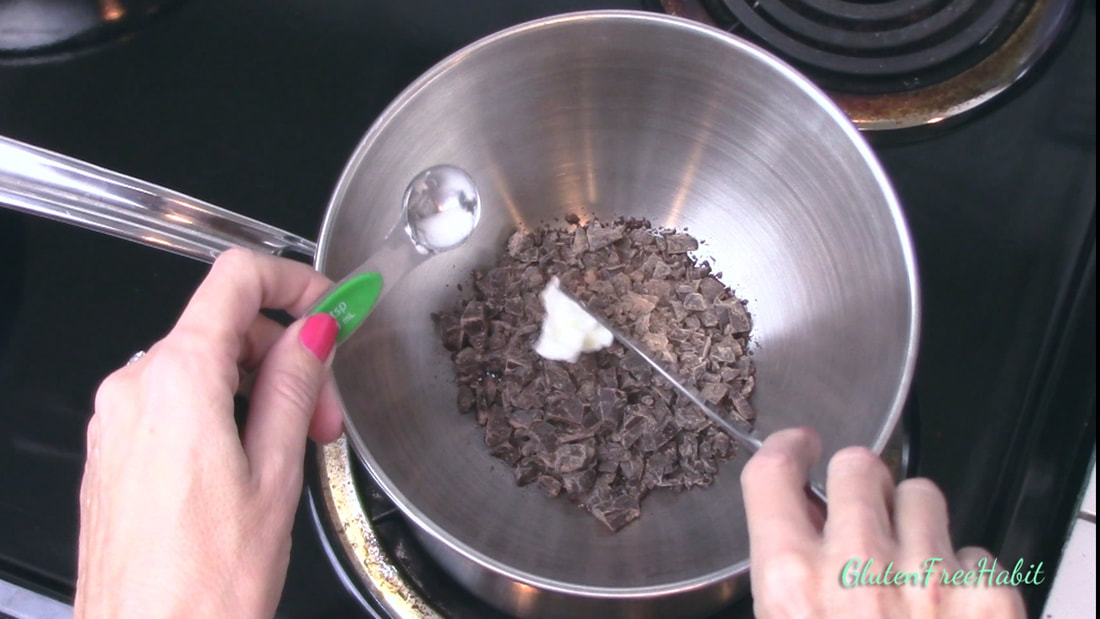
...and the shortening.
|
STEP 8
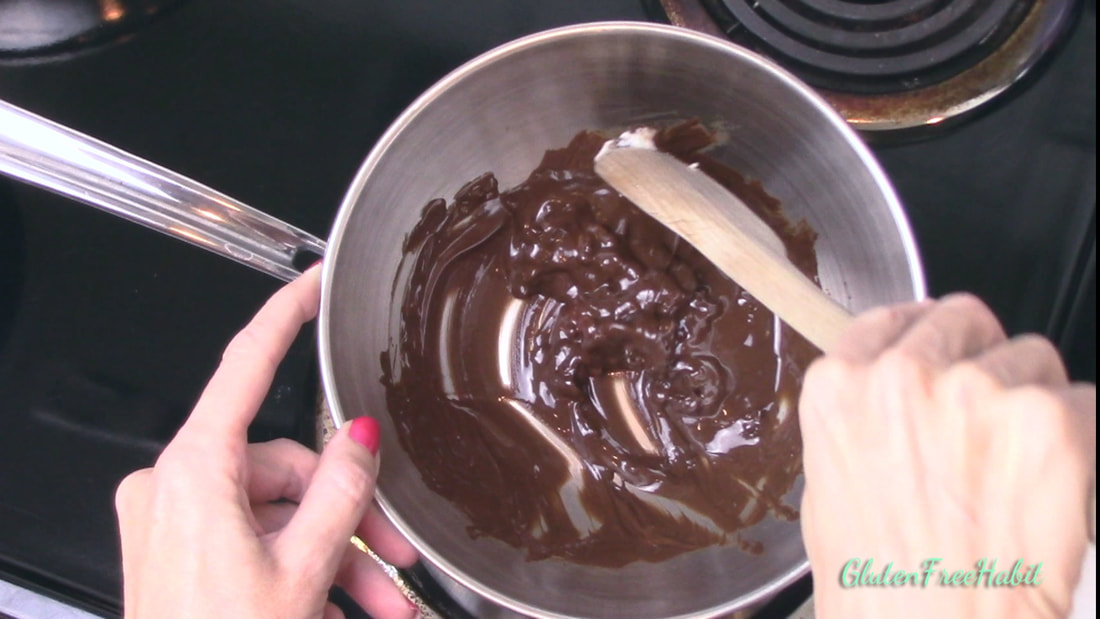
Stir continuously
|
|
STEP 9
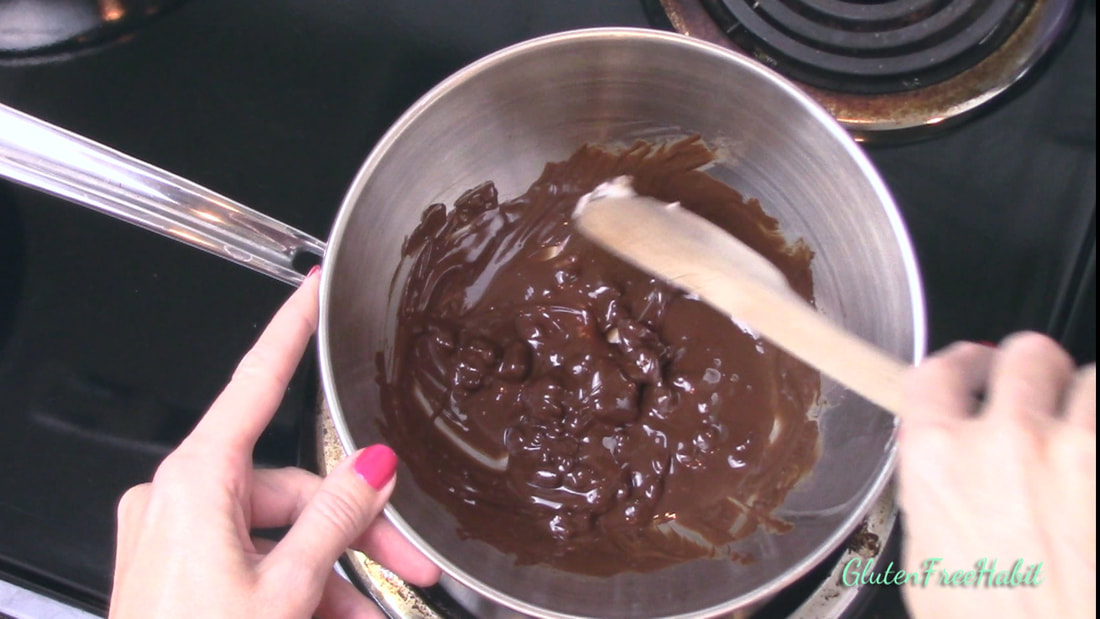
Stir until chocolate is only 75% melted. Don’t melt the chocolate all the way.
|
STEP 10
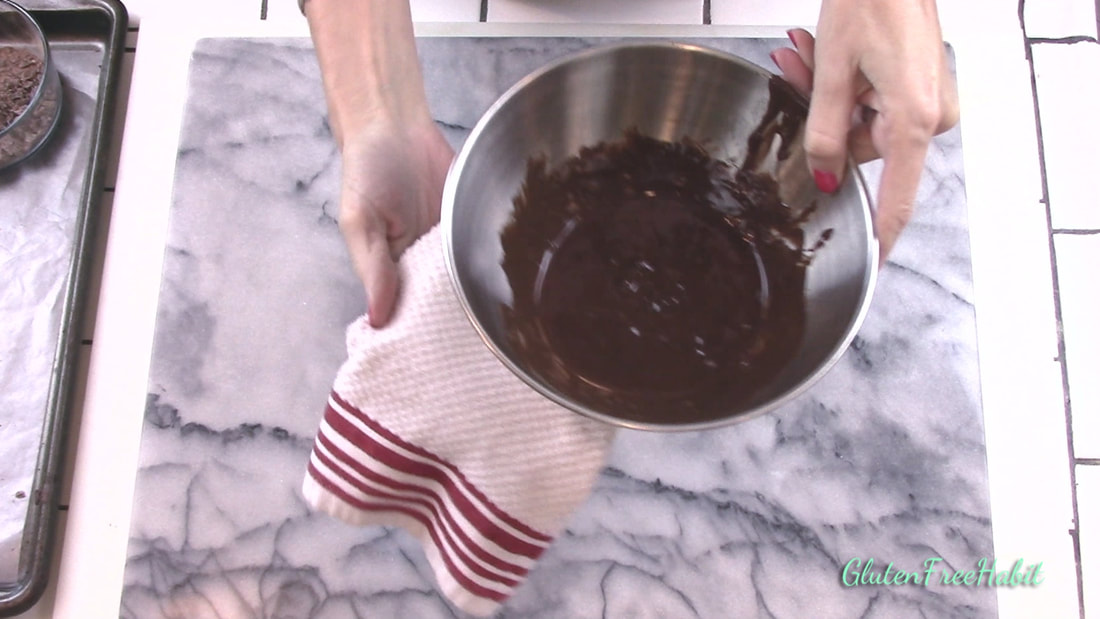
Remove bowl from heat when chocolate is 75% melted, and wipe condensation from bottom of bowl. Be very careful to not let water get into your chocolate…it will ruin it!
|
ADVERTISEMENT
|
STEP 11
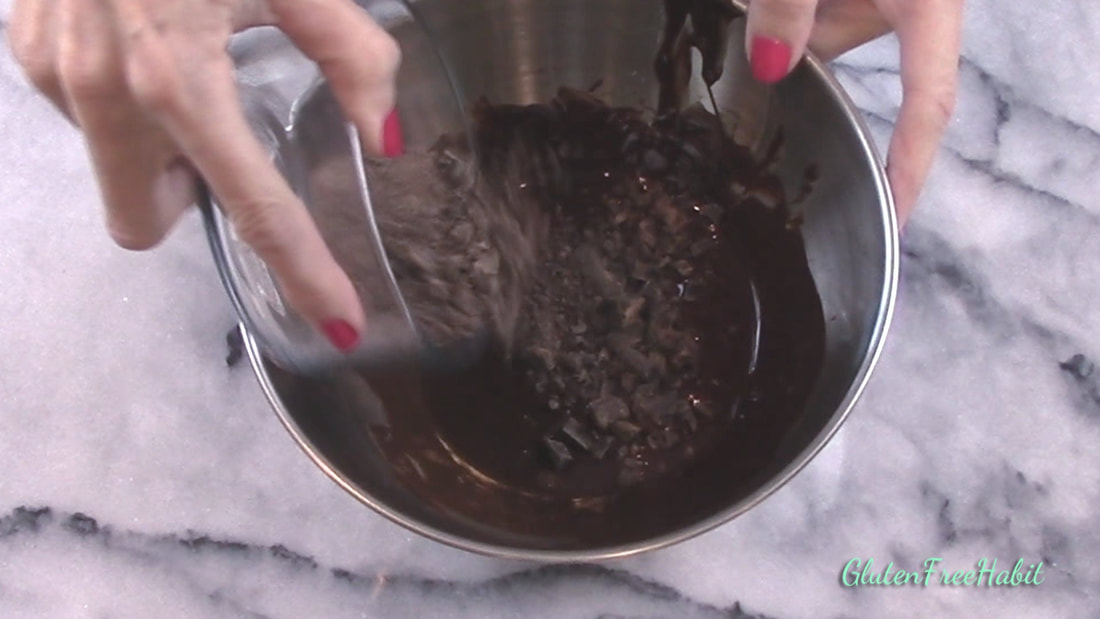
Bring chocolate bowl to your counter-top and add in the seed chocolate (the 25% that was set aside earlier).
|
STEP 12
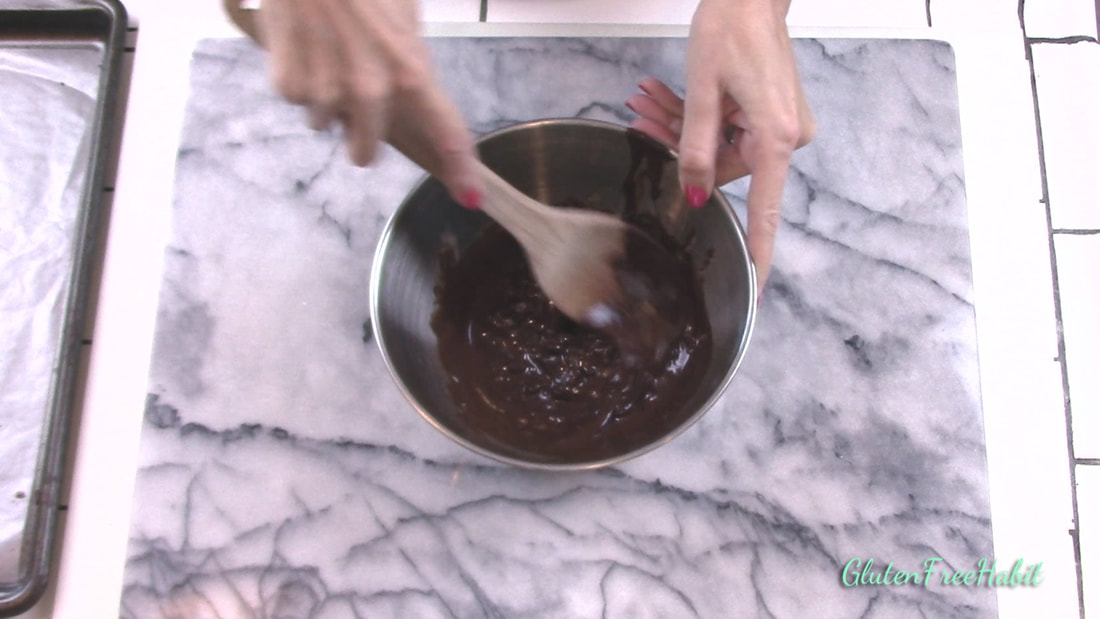
Stir vigorously. The seed chocolate is still in temper, and as it melts, and as you stir, the previously-melted chocolate will quickly cool down and come back into temper.
|
|
STEP 13
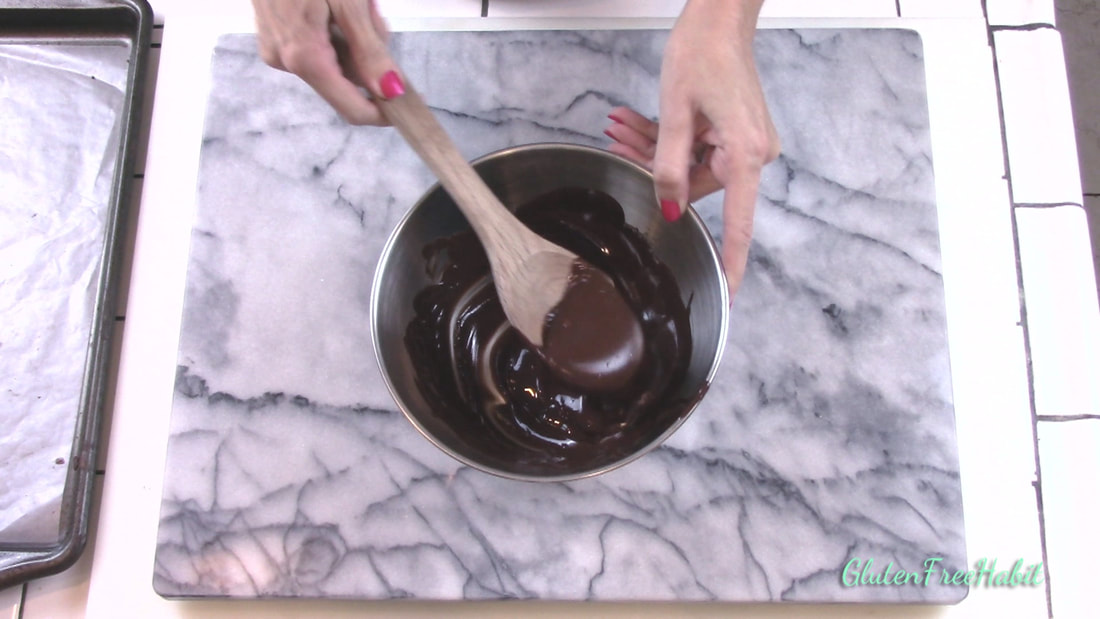
Continue stirring until chocolate is perfectly smooth.
|
STEP 14
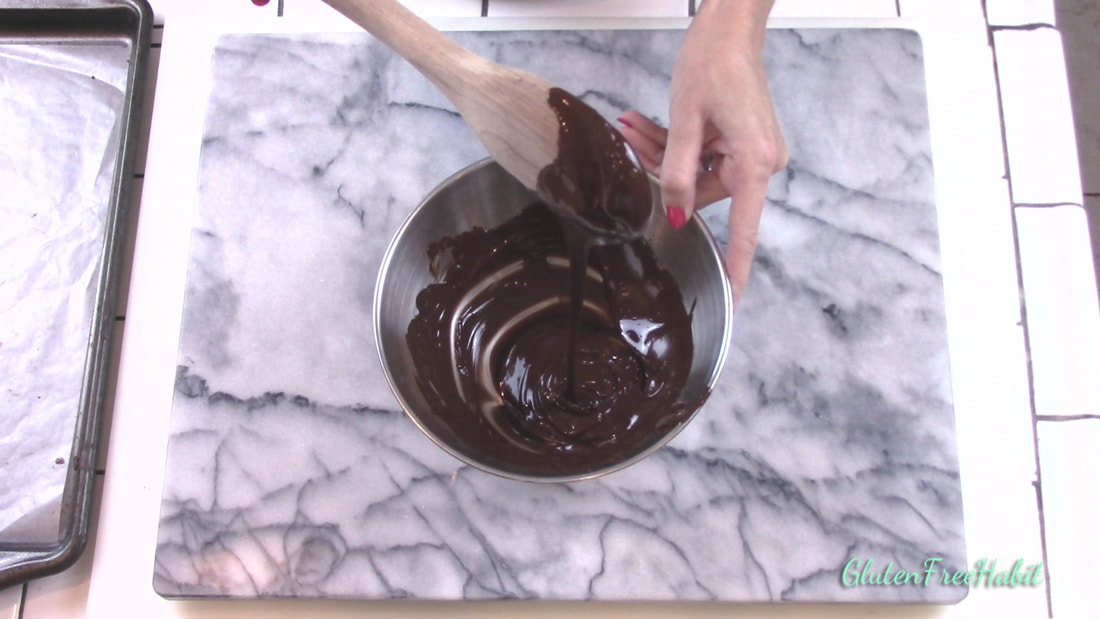
This will take a few minutes as the chocolate pieces slowly melt.
|
|
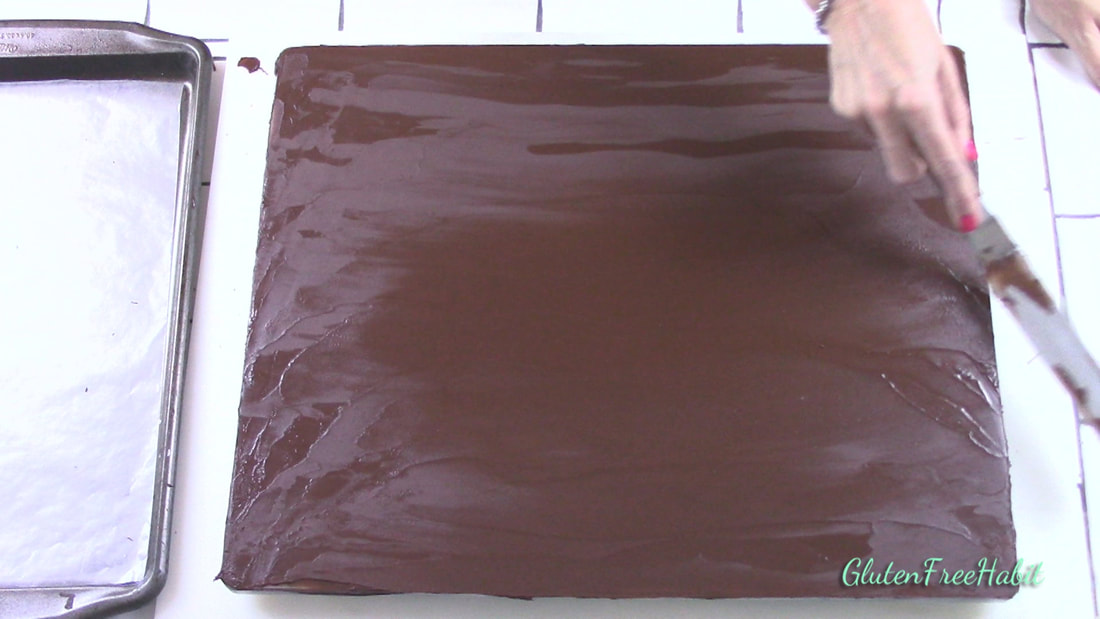
STEP 15
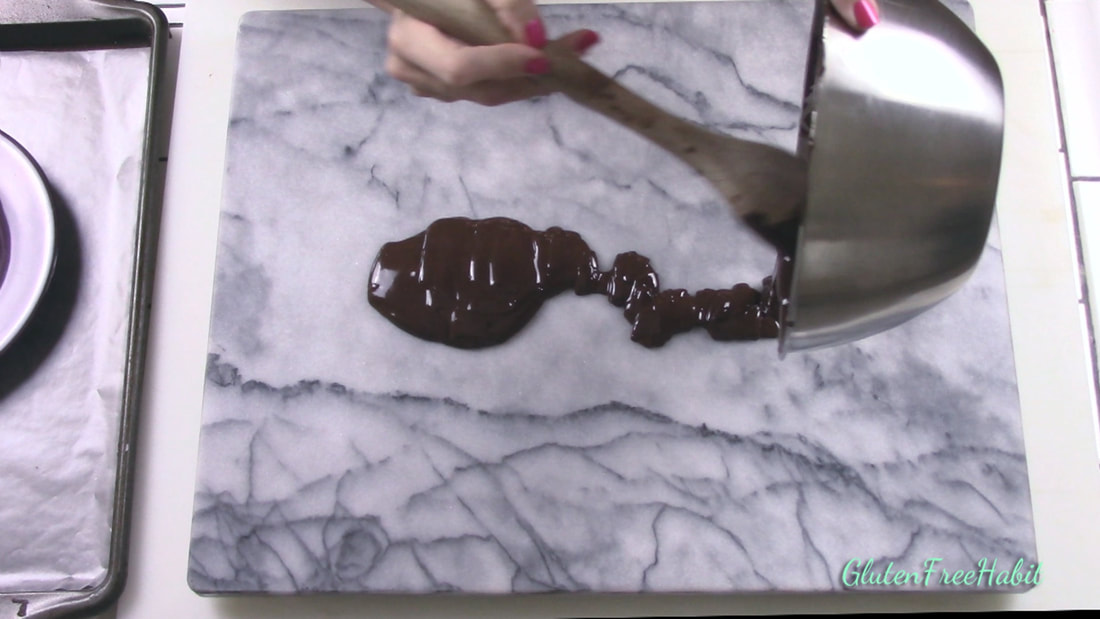
Pour the smooth chocolate onto your work surface (marble slab, the back of a clean cookie sheet, or a clean granite counter-top).
|
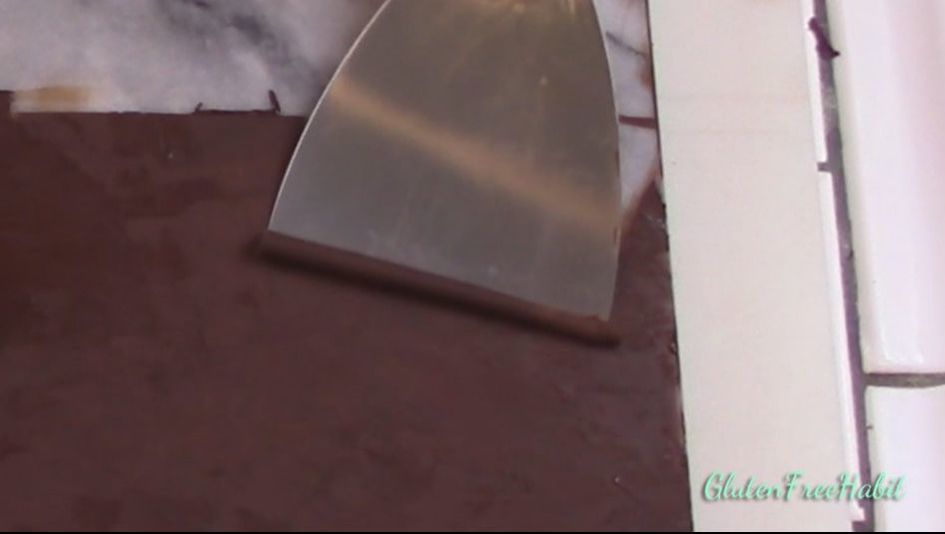
STEP 16
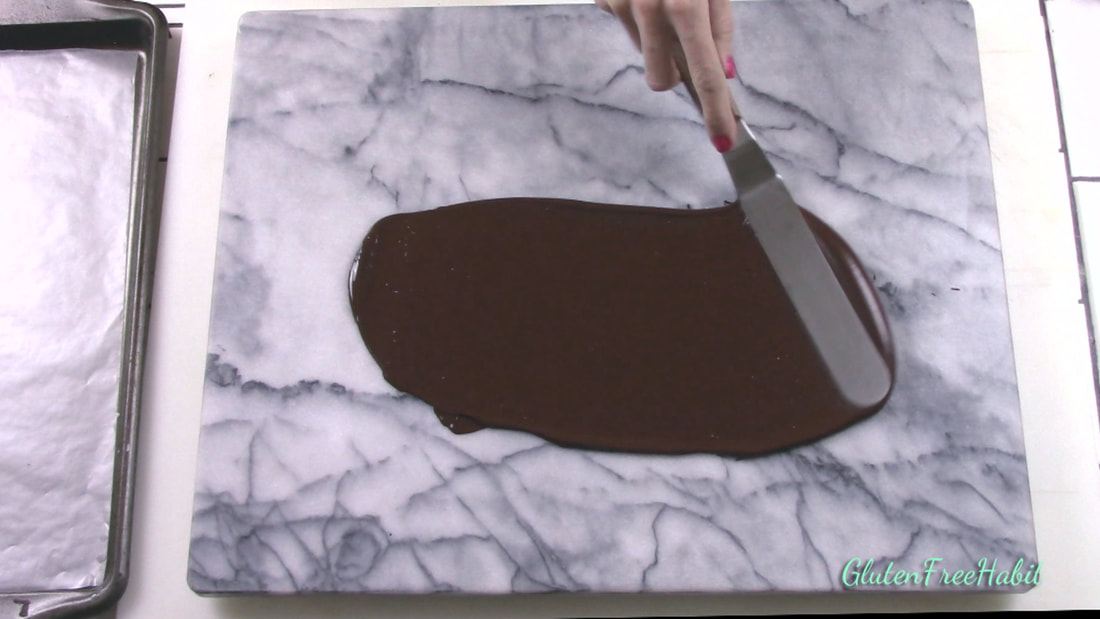
Using your off-set spatula, spread the chocolate by sweeping it back and forth to cover the surface.
|
|
STEP 17
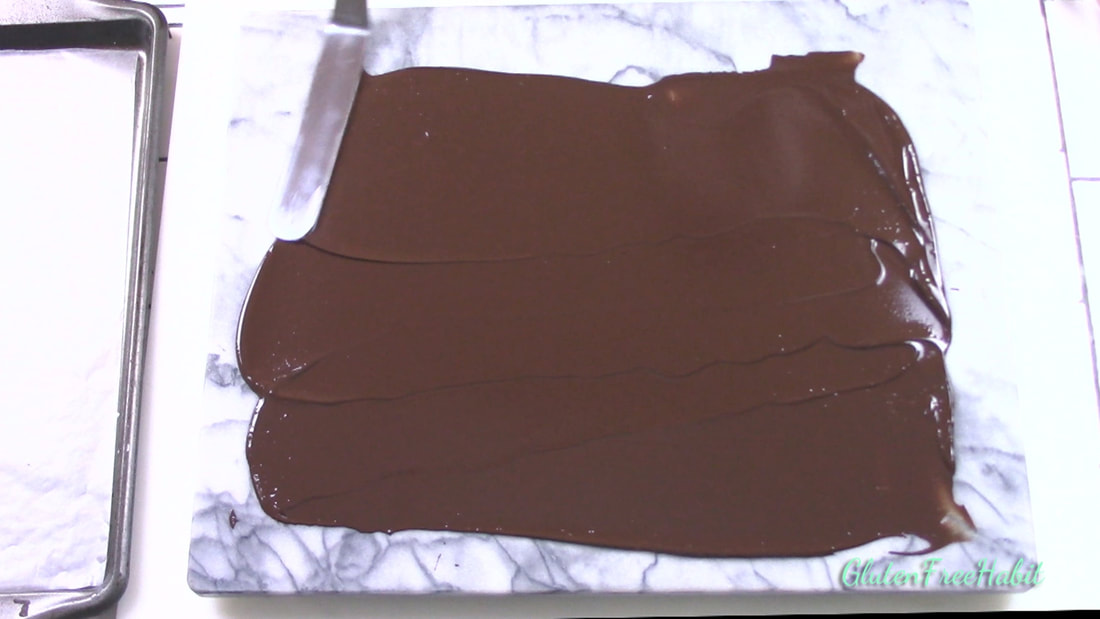
As you sweep back and forth, you are cooling down the chocolate and thinning it out.
|
STEP 18
Cover your entire work surface if needed.
|
|
STEP 19
Excess chocolate can be swiped off and put back into your bowl.
|
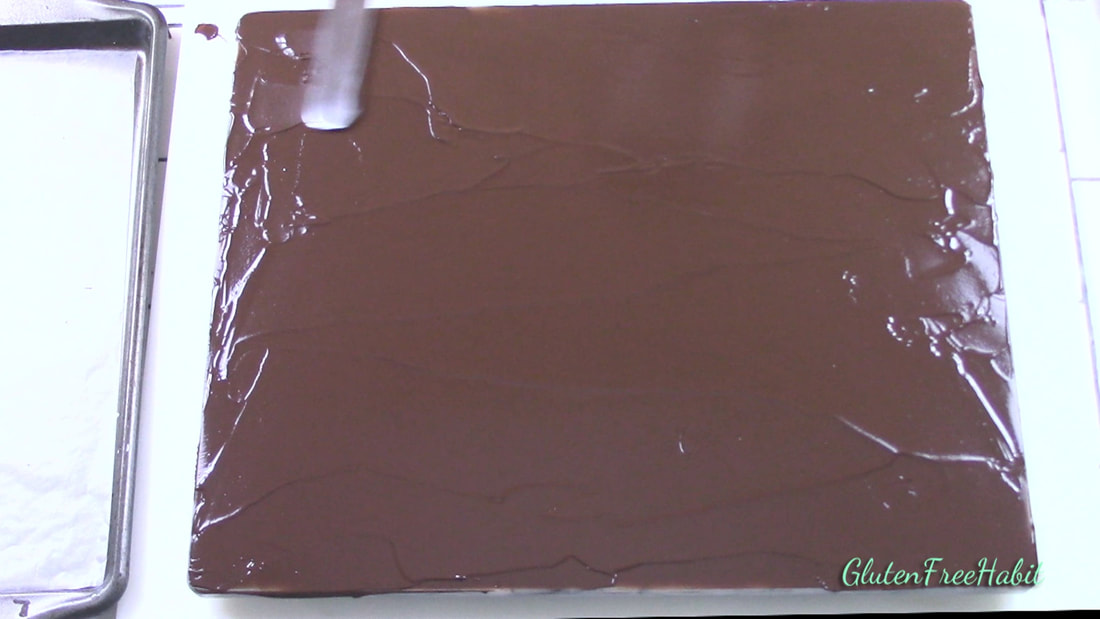
STEP 20
In a few minutes, you will see your chocolate start to become less shiny, and you will notice that it’s slightly harder to pull your spatula across. This means that it’s starting to set up. Once you see that the chocolate is mostly matte, that’s the time to stop touching it. Just let it rest for a few minutes.
|
ADVERTISEMENTS
|
|
|
|
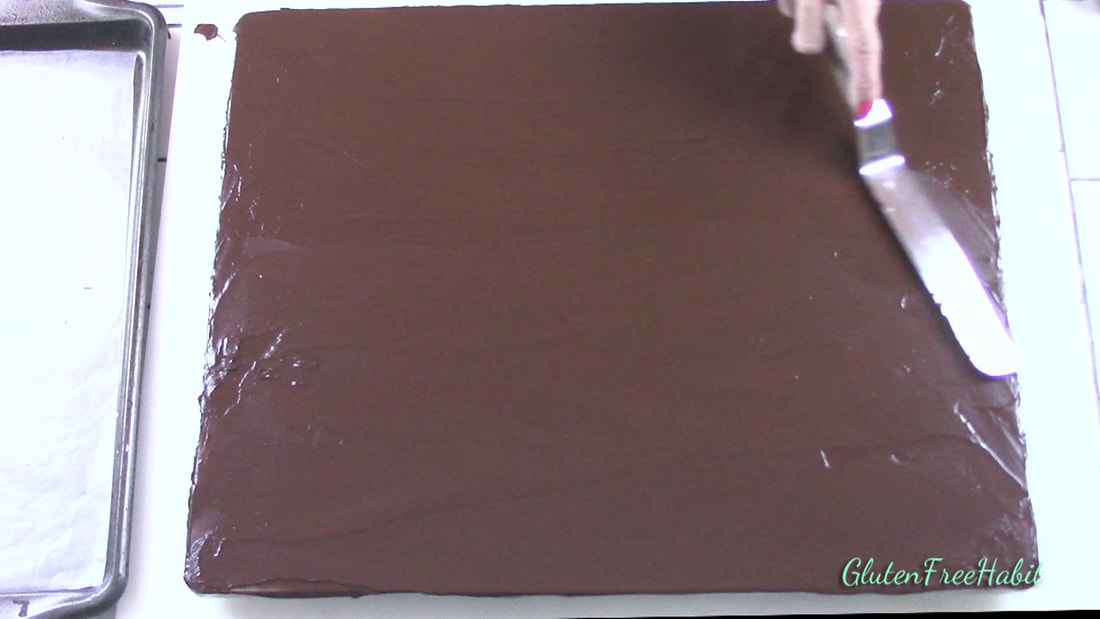
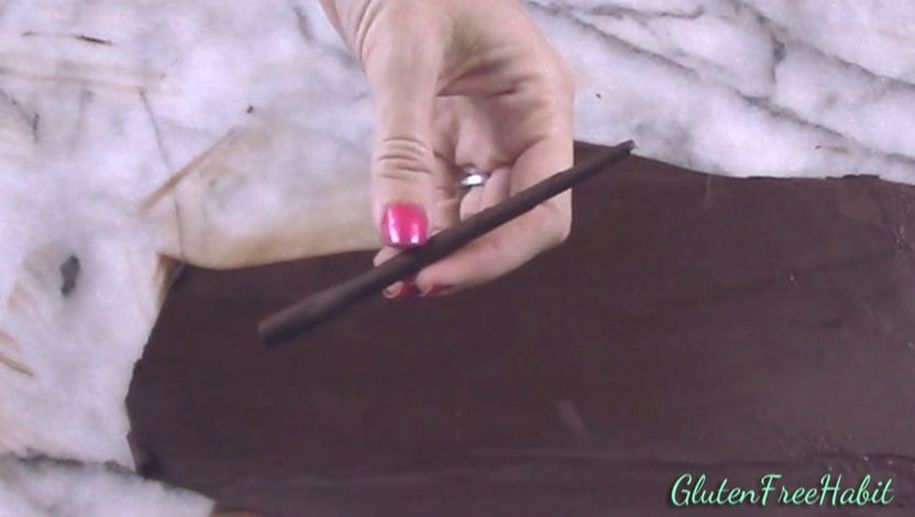
STEP 21

I like to use this spatula from the hardware department at a local store. (Don't worry, I only use it for chocolate curls!) It's inexpensive, slightly flexible, and works great.
|
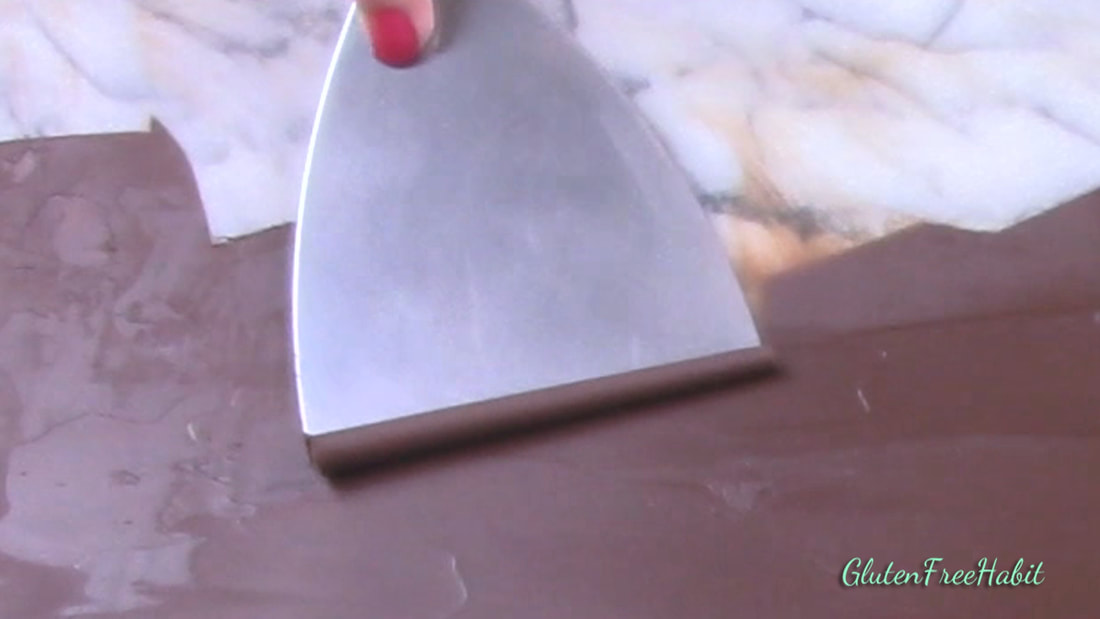
STEP 22
Try a small test curl in a corner: With your curling tool at a 45 degree angle, gently push forward. If the chocolate mushes up, as in this picture, wait a few more minutes.
|
|
STEP 23

If you get a curl, you’re ready to start!
|
STEP 24
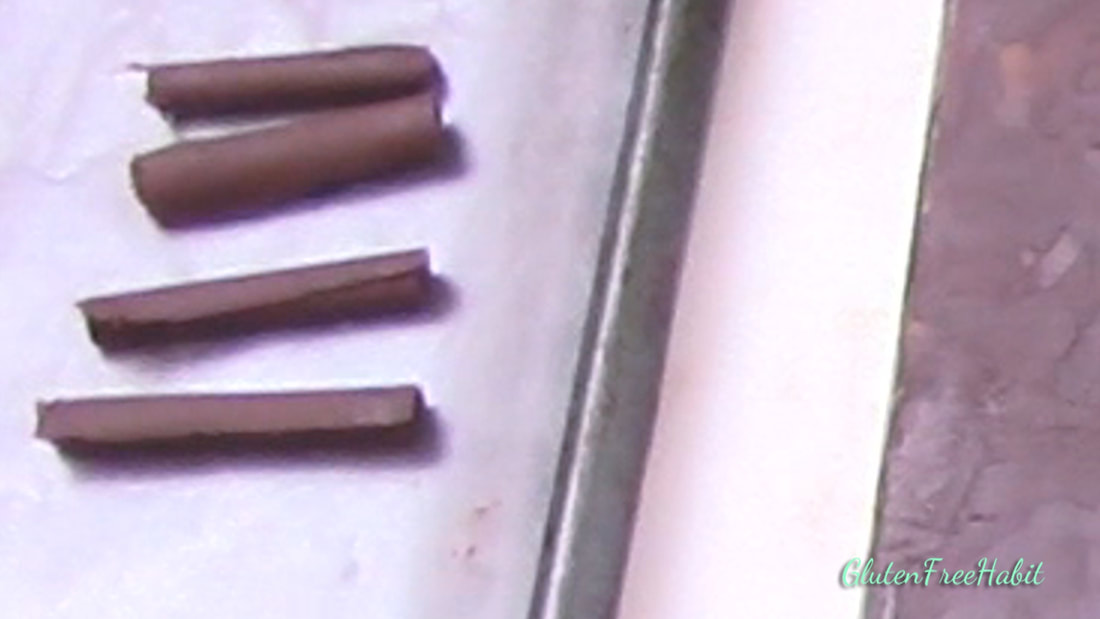
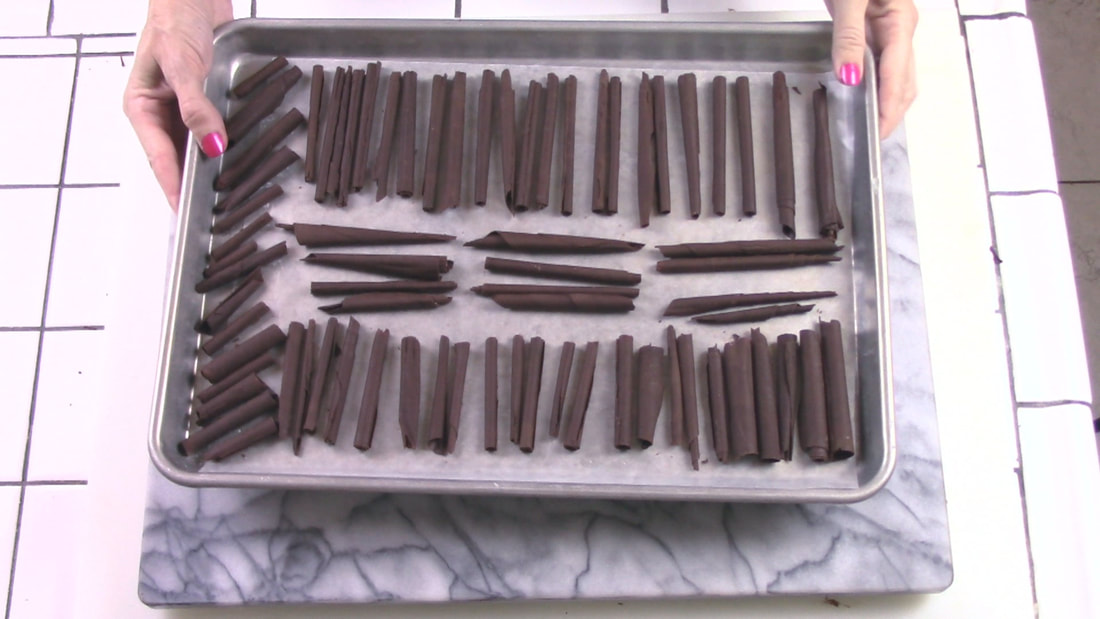
Carefully move each chocolate curl over to your waxed paper-lined tray. Don’t handle them for long as they will melt!
|
|
STEP 25
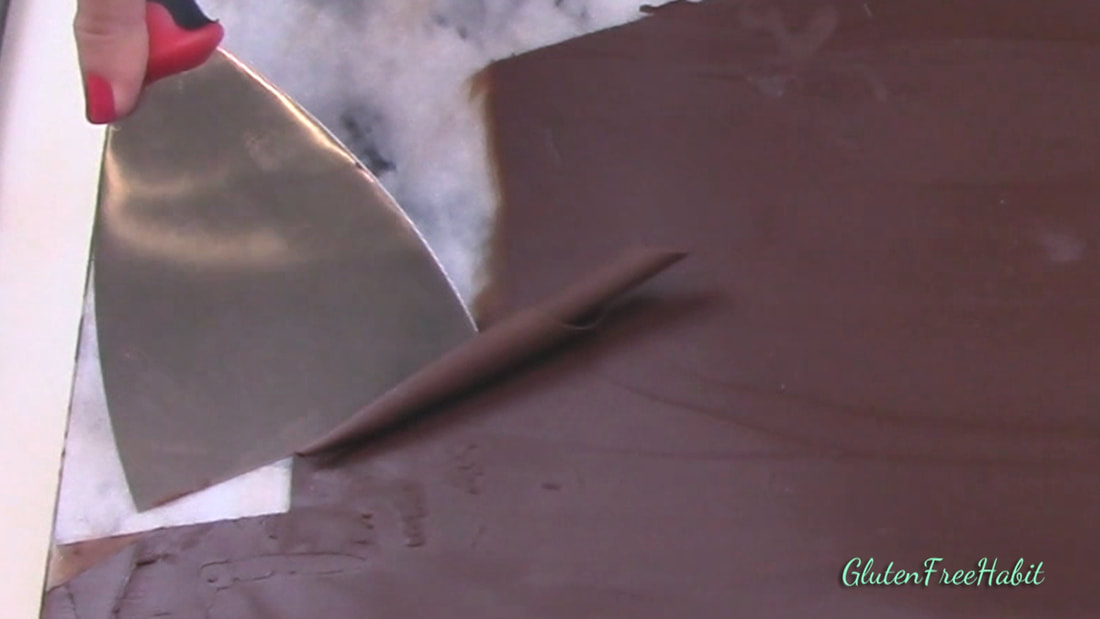
First let's start with a straight curl...
|
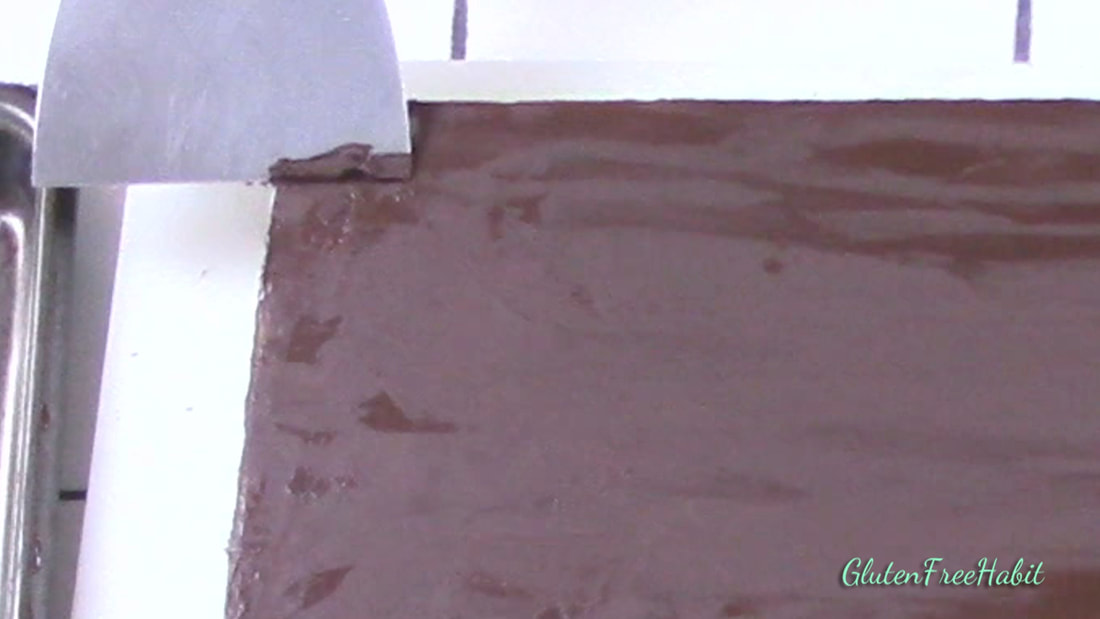
STEP 26
Using the full width of the curling tool, make your chocolate curls quickly. (As the chocolate sets more, it will become a little more difficult to make them.) With your tool at a 45-degree angle, simply push forward firmly.
|
|
STEP 27
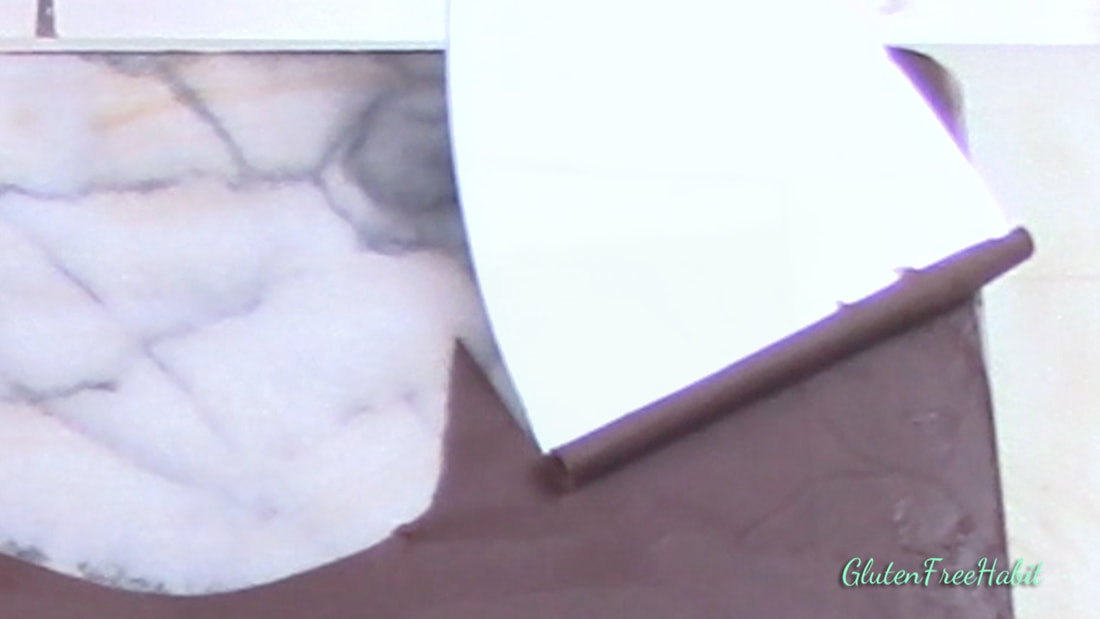
By pushing straight forward, you'll get a cigar-shaped curl.
|
STEP 28
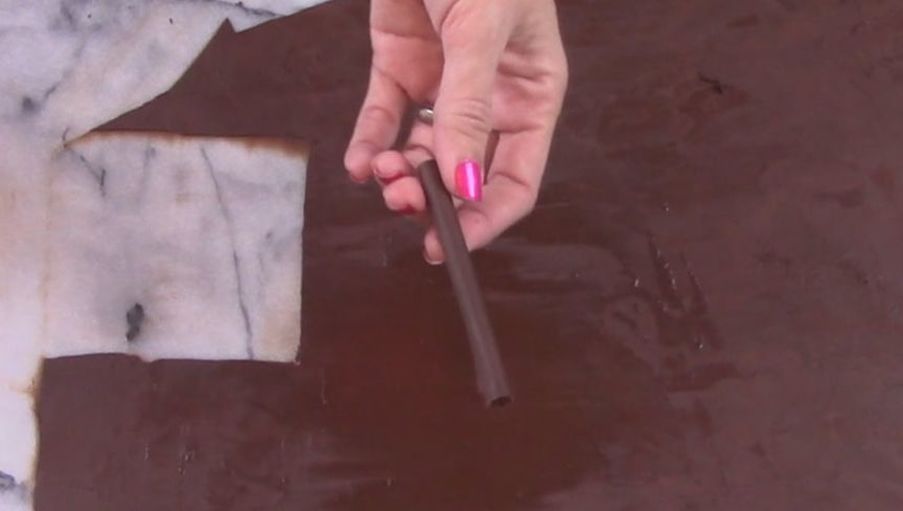
So pretty!
|
|
STEP 29

Maybe you want something a little more fancy??
|
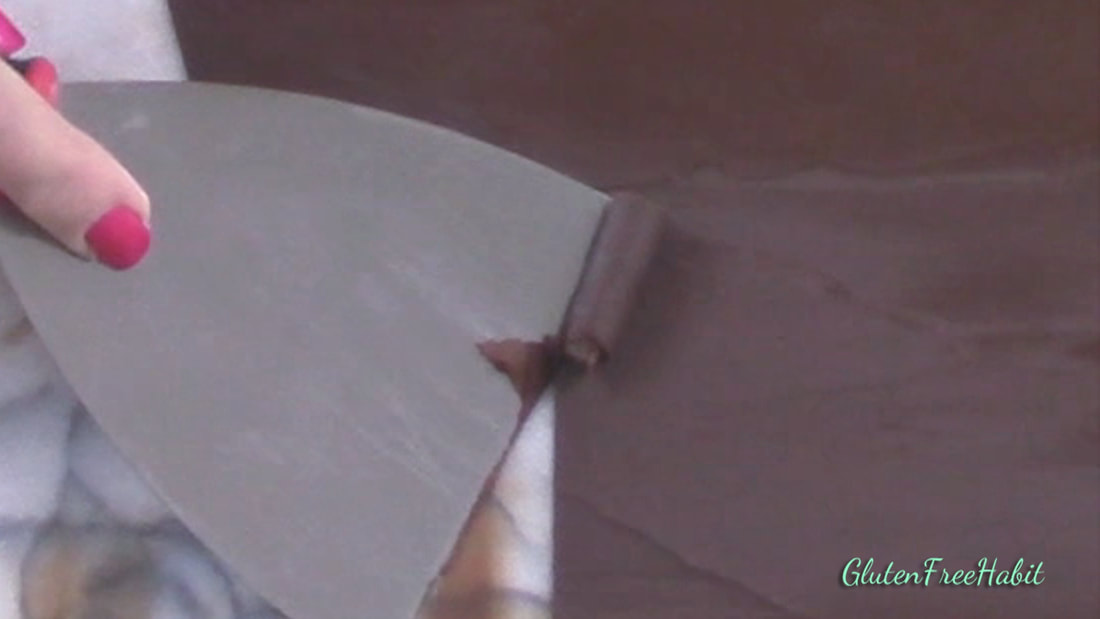
STEP 30
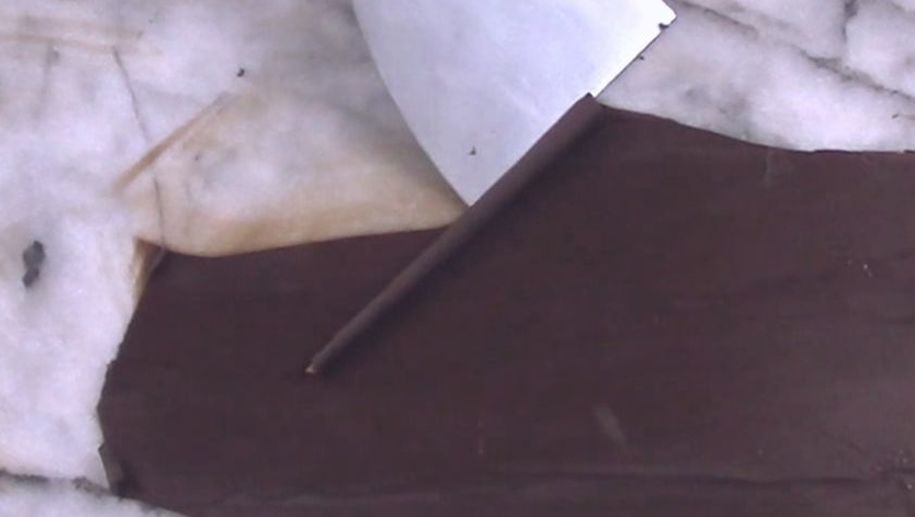
To make a spiral curl, simply push forward while at the same time sliding your tool to one side. (Like slicing sideways).
|
ADVERTISEMENT
|
STEP 31
This will give you an elegant chocolate curl with a nice spiral look.
|
STEP 32

There are many other types of curls you can make as well...
|
|
STEP 33
To make a curl that is skinnier at one end that "fans" out at the other, just use about half of the tool blade, and quickly twist your wrist while you push forward (almost like a u-turn with your tool but not quite so far).
|
STEP 34
You can also make curls as tiny as you want, by using just a tiny corner of the tool.
|
|
STEP 35

Here's my favorite trouble-shooting tip...
|
STEP 36

When your chocolate hardens too much it will be brittle and create shards. This is very pretty if this is the look you want, but if you want to bring your chocolate back to a point where it will give you curls, just get out the hair dryer!
|
|
STEP 37

Use the tiniest bit of heat (and I do mean tiny), just to barely soften it.
|
STEP 38
Look...your curls are back!
|
YAY...TIME TO EAT!
And now you can think of a beautiful gluten free dessert to go under your chocolate curls! :)
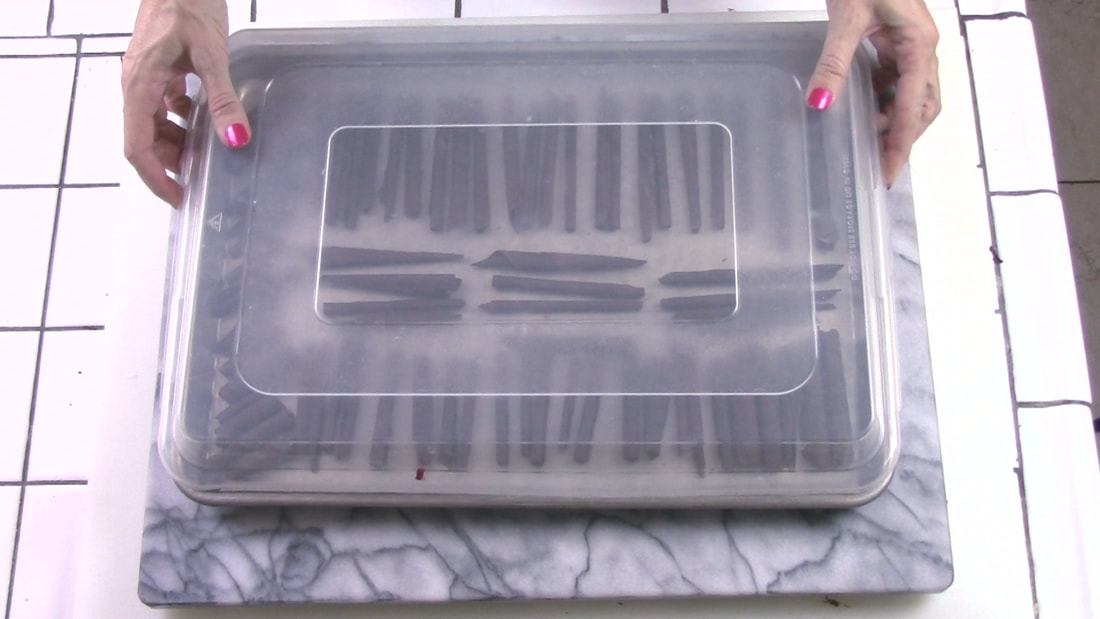
Store covered, in a single layer, preferably at room temperature if it is cool enough. If too warm, put into the fridge.
Enjoy!!
Enjoy!!

ADVERTISEMENT
READY TO MAKE SOME CURLS?
|
Chocolate curls are a lot of fun to make and they're a beautiful addition to your gluten free desserts. The easiest way to make them is on a marble pastry board because the surface stays cool. If you prefer, you can make them on the back of a large cookie sheet. Both items can be purchased in my Amazon store. Happy curling!
|
THE RECIPE...
Ingredients6 oz. good quality semi-sweet or dark chocolate
1 tsp. vegetable shortening TOOLS: Off-set spatula Curl-making tool Double-boiler Marble slab or clean cookie sheet Tray to hold curls Wax paper |
|
DirectionsGETTING READY
LET’S GET STARTED
|
Tip: Please follow all directions exactly!! If you skip steps or swap ingredients then you may or may not like the end result :)
Tip: Try to get chocolate with a high percentage of cacao. In my recipe I used a bar with 56%.
PRINTABLE VERSION OF THIS RECIPE:

WANT TO LEAVE A COMMENT?
Please leave all comments in the “Comments” section of the YouTube video. Thank you!

ADVERTISEMENT
*** I AM NOT A NUTRITIONIST OR MEDICAL PROFESSIONAL*** THE INFORMATION ON THIS WEBSITE IS NOT INTENDED TO SUBSTITUTE FOR MEDICAL TREATMENT OR ADVICE. PLEASE READ INGREDIENTS ON THIS WEBSITE AND ON PACKAGES, AND MAKE SURE THEY ARE SAFE FOR YOU PRIOR TO USING THEM IN YOUR RECIPES. WHEN IN DOUBT, CHECK WITH YOUR DOCTOR FIRST.*** THANK YOU.