
ROYAL ICING &
HOW TO DECORATE GLUTEN FREE SUGAR COOKIE CUTOUTS

|
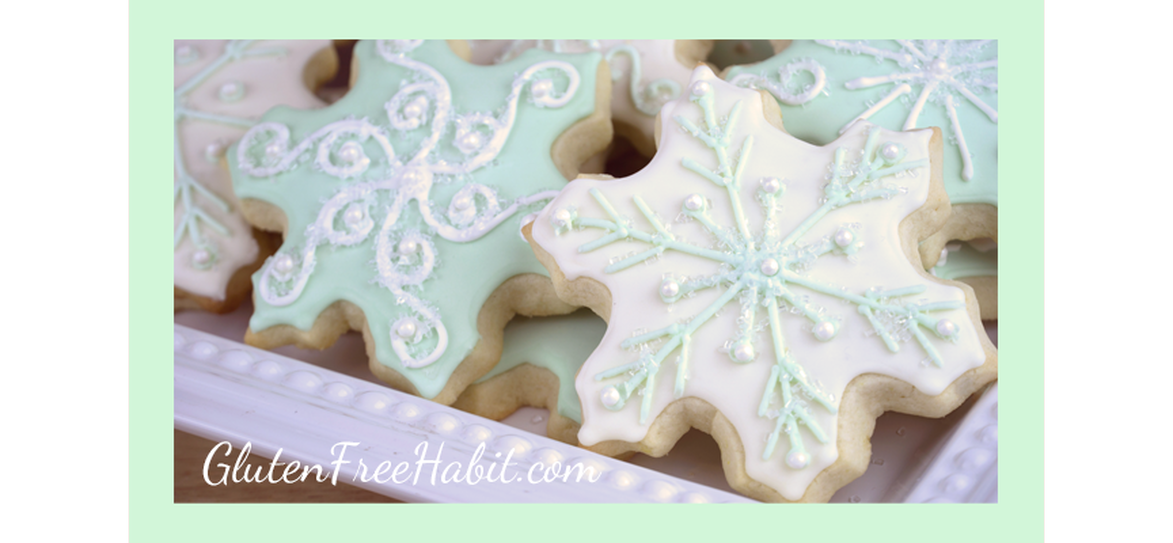
Are you looking for an icing for your gluten free sugar cookie cut-outs that tastes as good as it looks, and firms up enough to stack? Royal Icing is the answer! This icing is so easy to make, and so fun to use. Just follow the directions in my YouTube video below to learn how. Enjoy your cookies!
Makes: Enough icing for about 24 average-sized cookies (number will vary based on how thick you ice your cookies, and how many layers of colors you do. |

|
ADVERTISEMENT
SHOW ME HOW...
Click to watch this easy step-by-step video!


GLUTEN FREE RECIPE LOCATED BELOW - PLEASE SCROLL DOWN

WALK ME THROUGH IT...STEP 1
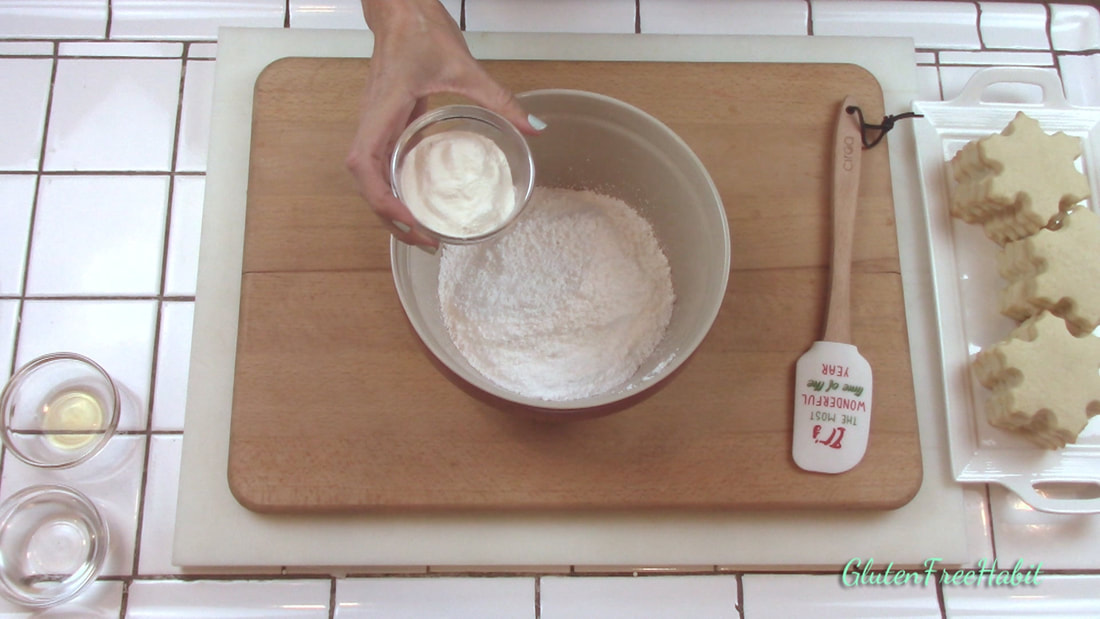
To a large mixing bowl, add the confectioner’s sugar and meringue powder.
STEP 2
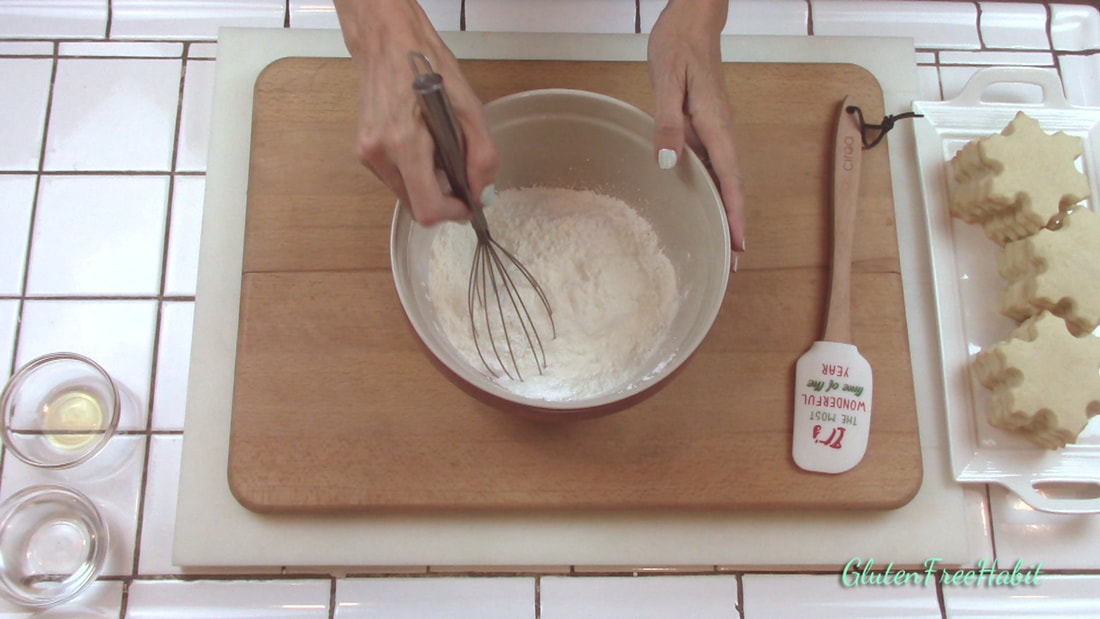
Whisk together.
|
ADVERTISEMENT
|
|
STEP 3
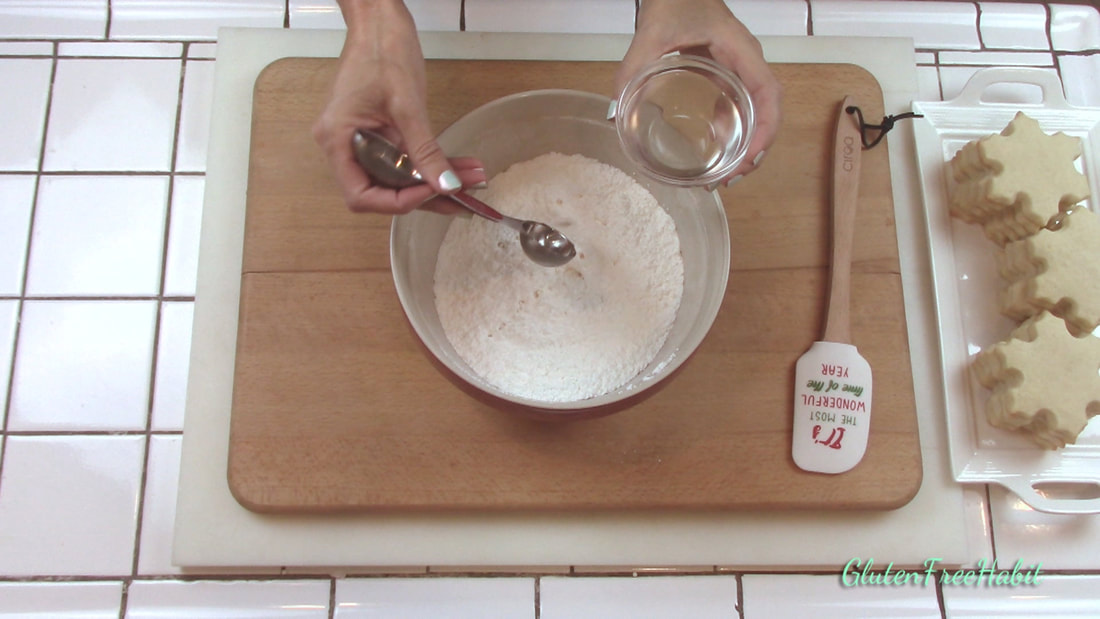
Add vanilla and 6 Tbsp. water.
|
STEP 4
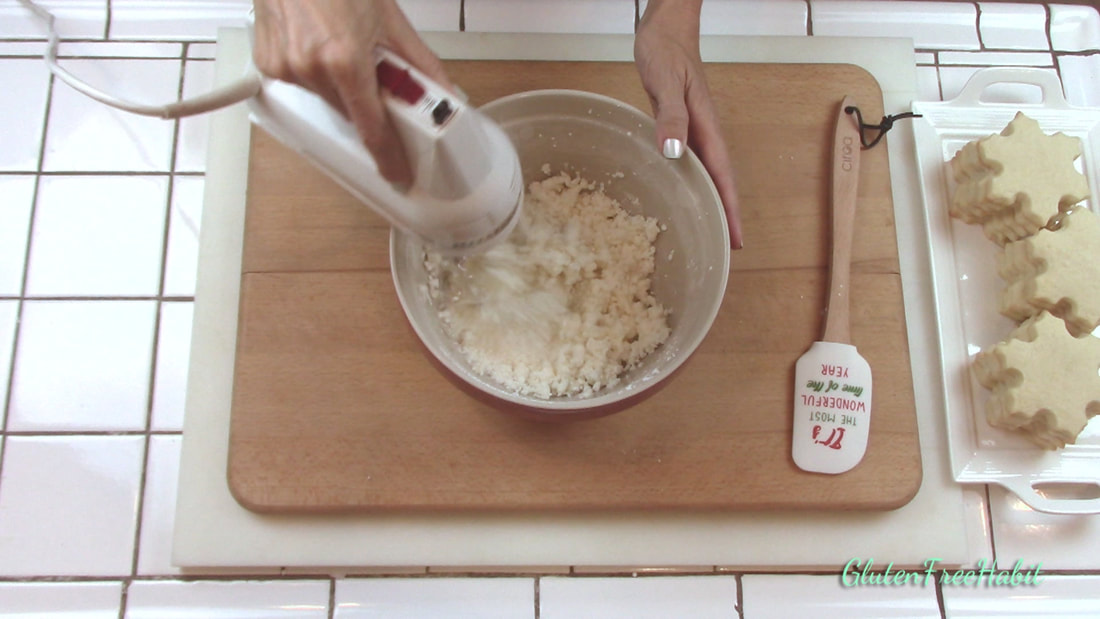
Mix for about 6-7 minutes or until thick and creamy.
|
|
STEP 5
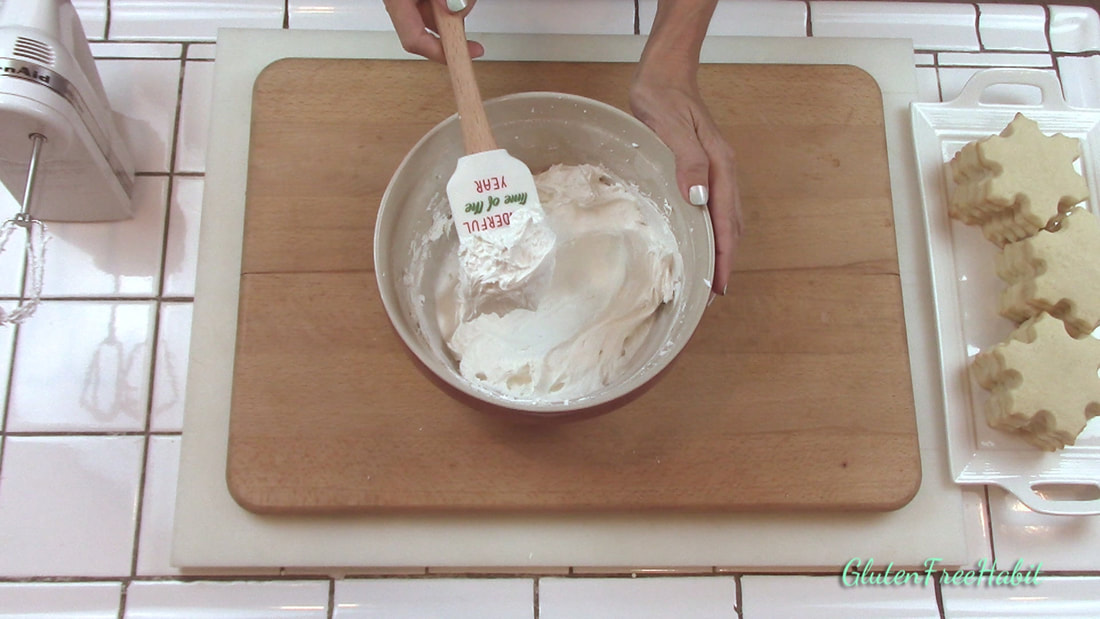
The recipe, as listed, will create a stiff consistency icing.
|
STEP 6
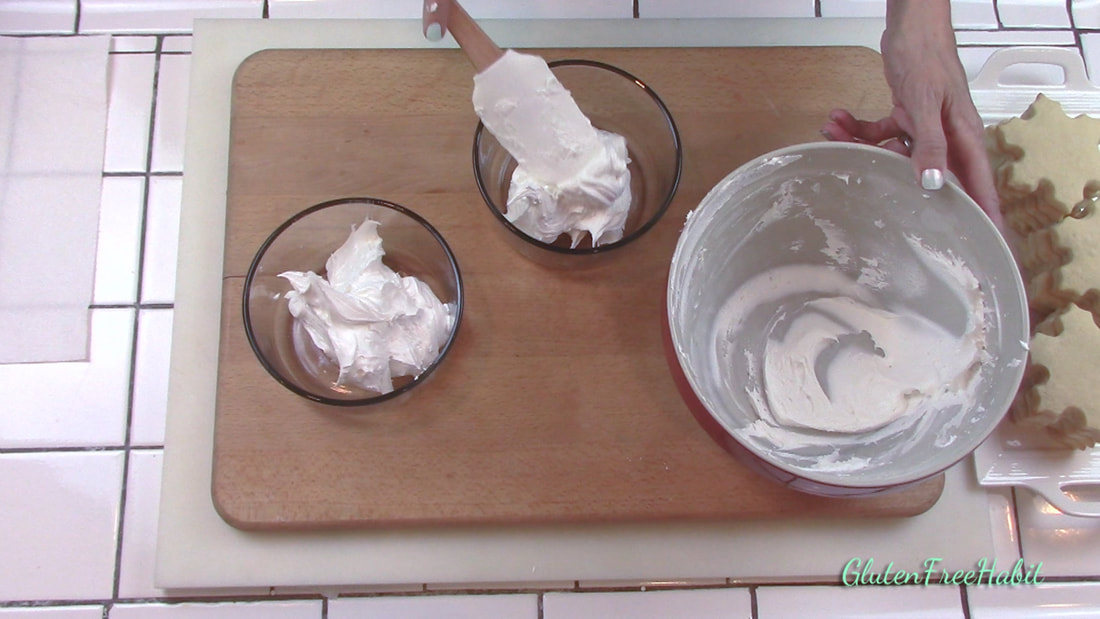
Divide icing into 2 bowls.
|
|
STEP 7
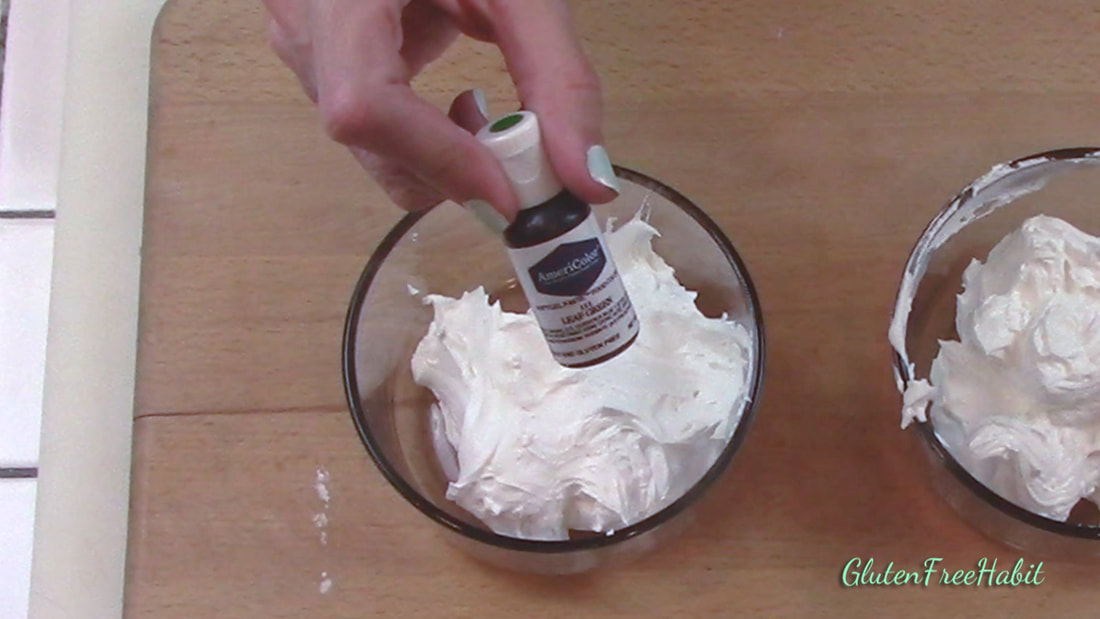
Color one bowl with a little bit of leaf green coloring.
|
STEP 8
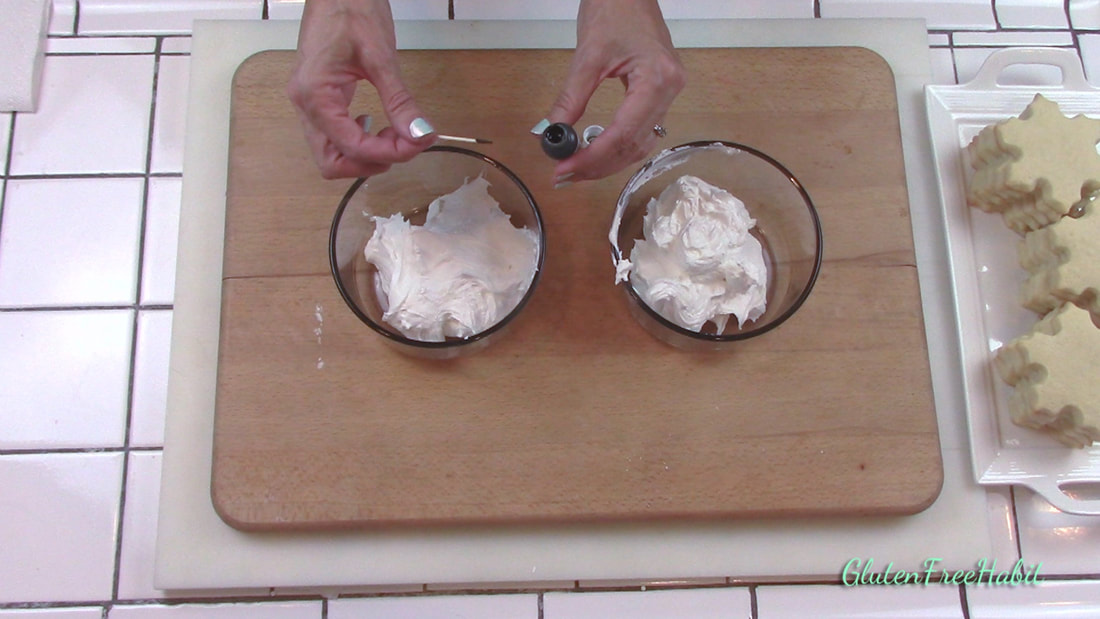
I like to use a toothpick to add just a little bit at a time. Squeezing out drops of coloring can accidentally add much more than you want. Remember...a little bit goes a long way.
|
ADVERTISEMENT
|
STEP 9
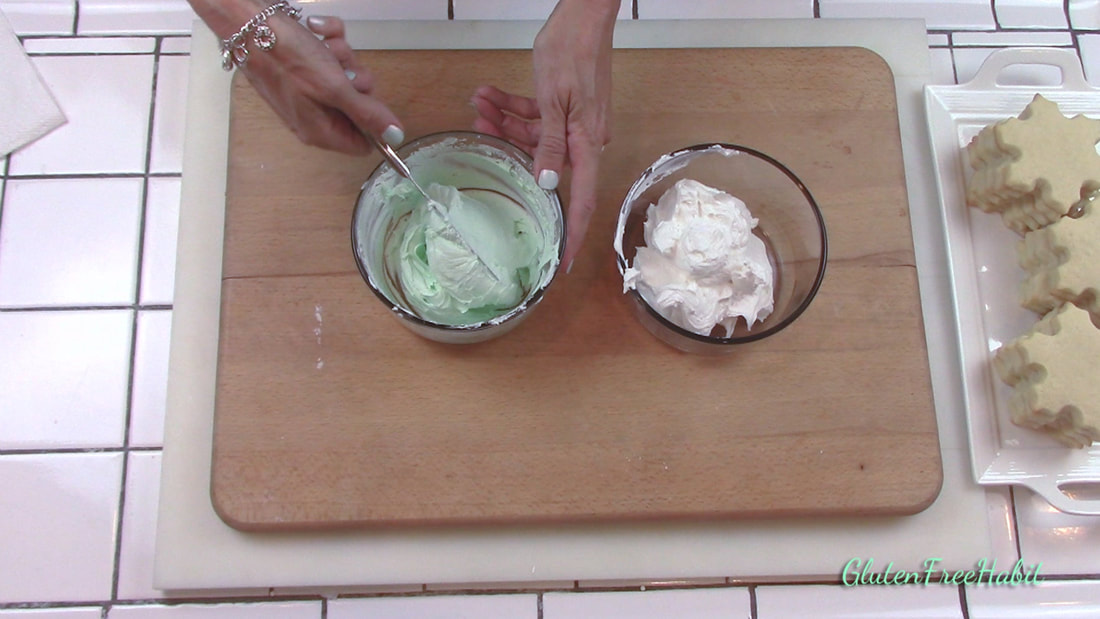
Stir thoroughly to remove any streaks of food coloring.
|
STEP 10
Add a little bit of water to thin down to medium consistency.
|
|
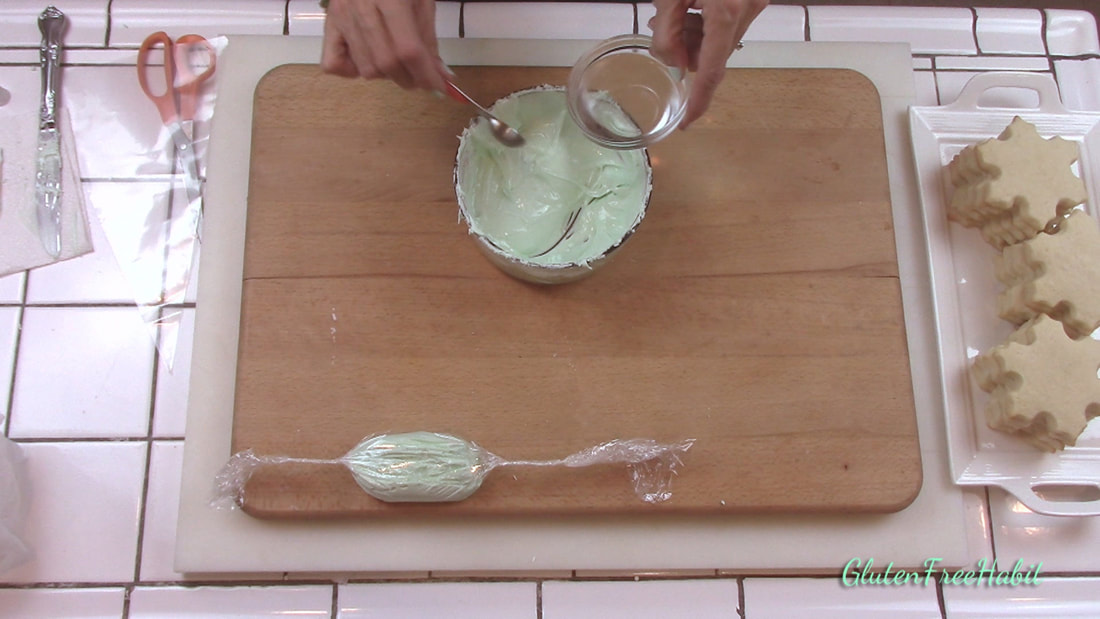
STEP 11
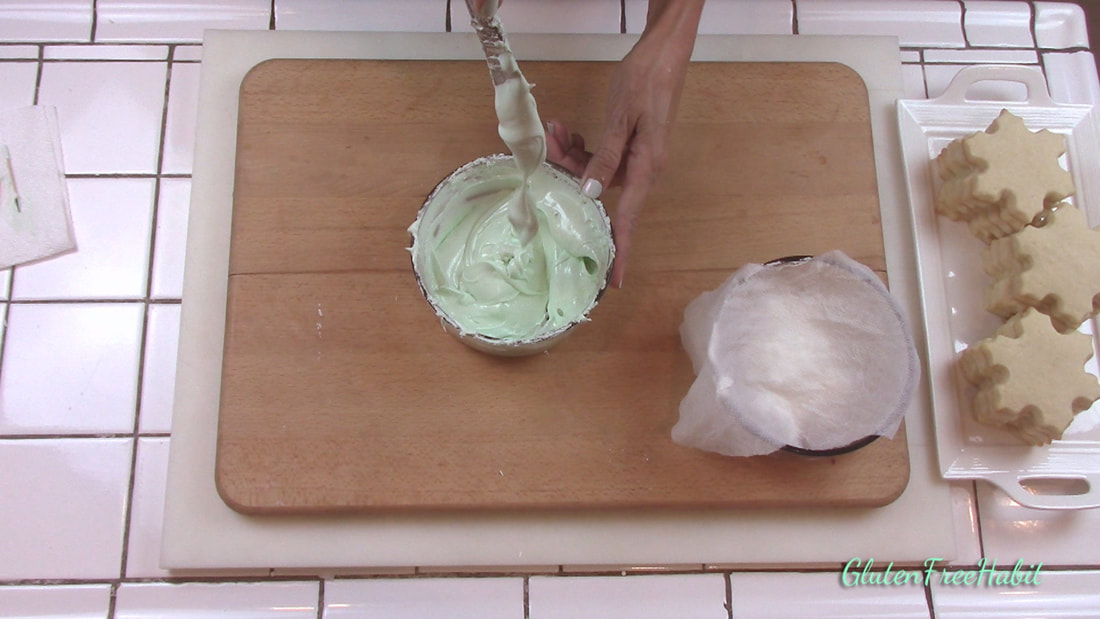
Check your consistency: To make medium consistency icing for edging the cookie, the icing should drip off the knife in little globs.
|
STEP 12
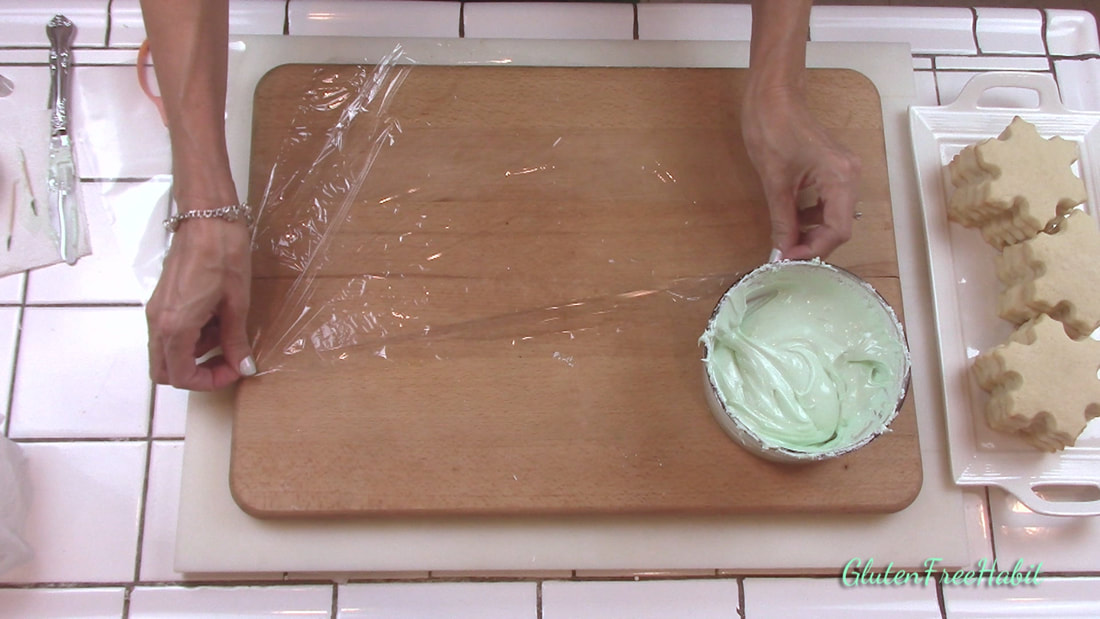
Lay out a piece of plastic wrap.
|
|
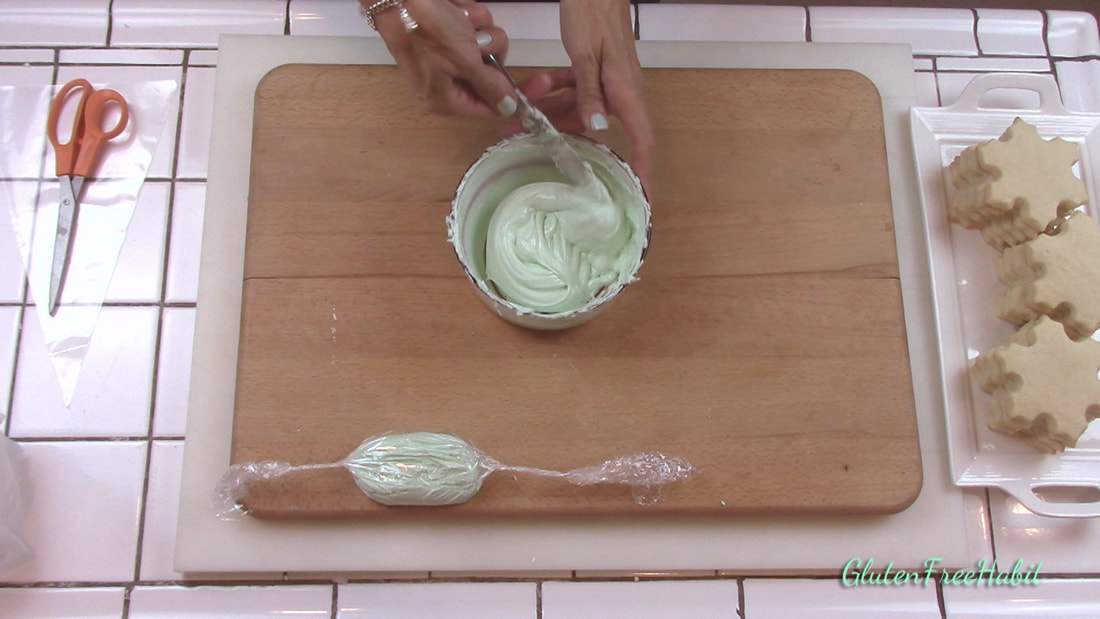
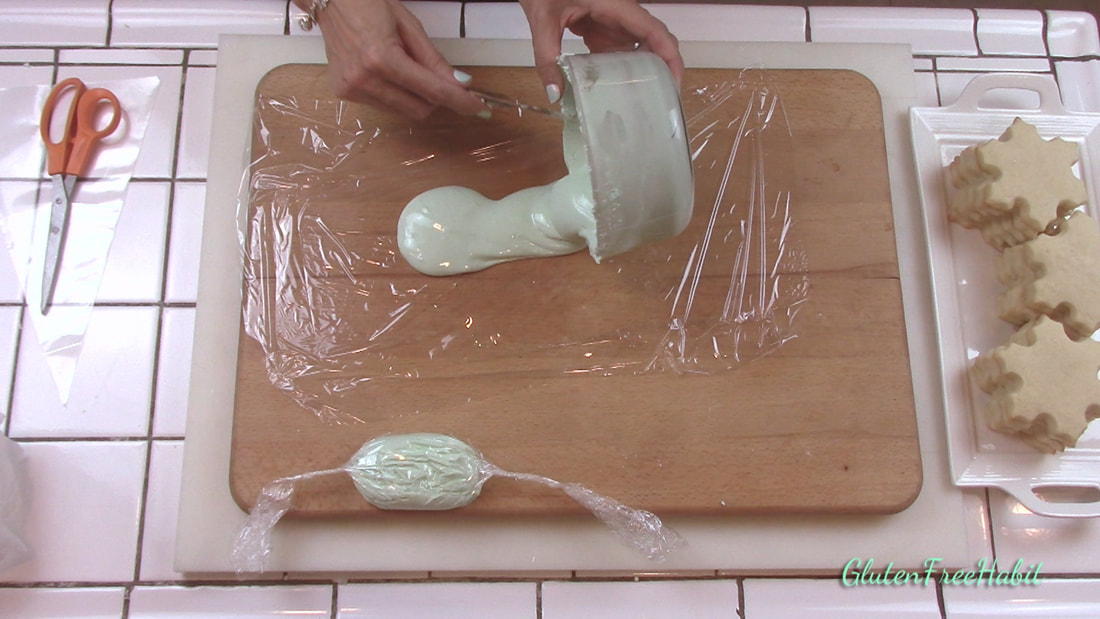
STEP 13
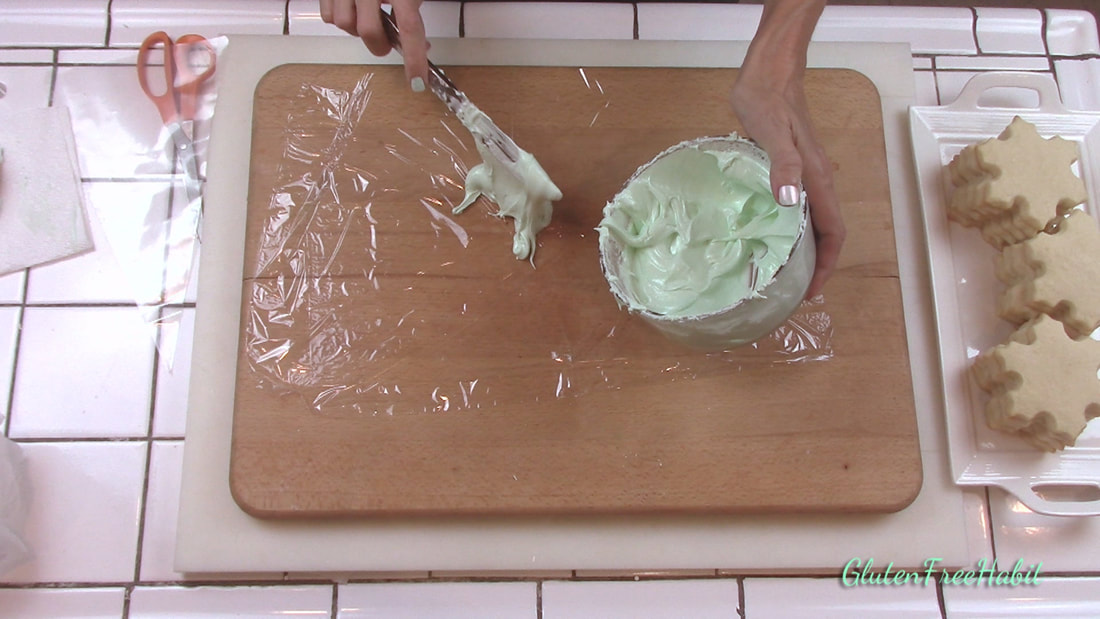
Scoop half of the mint green icing onto the center of your plastic wrap.
|
STEP 14
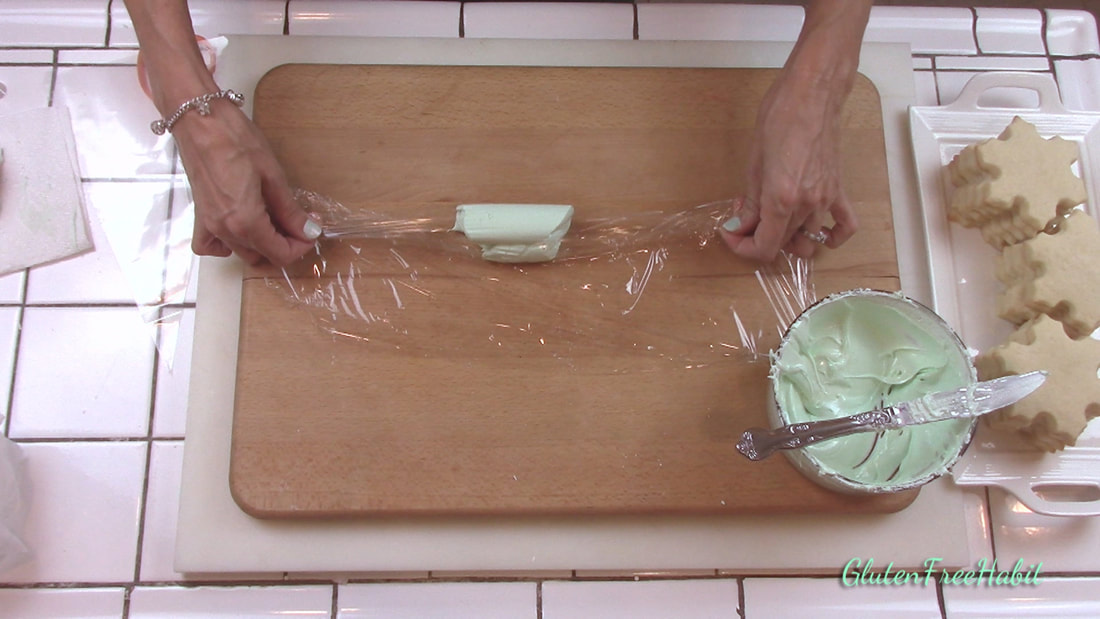
Roll up the plastic wrap, making sure to fully contain the icing.
|
|
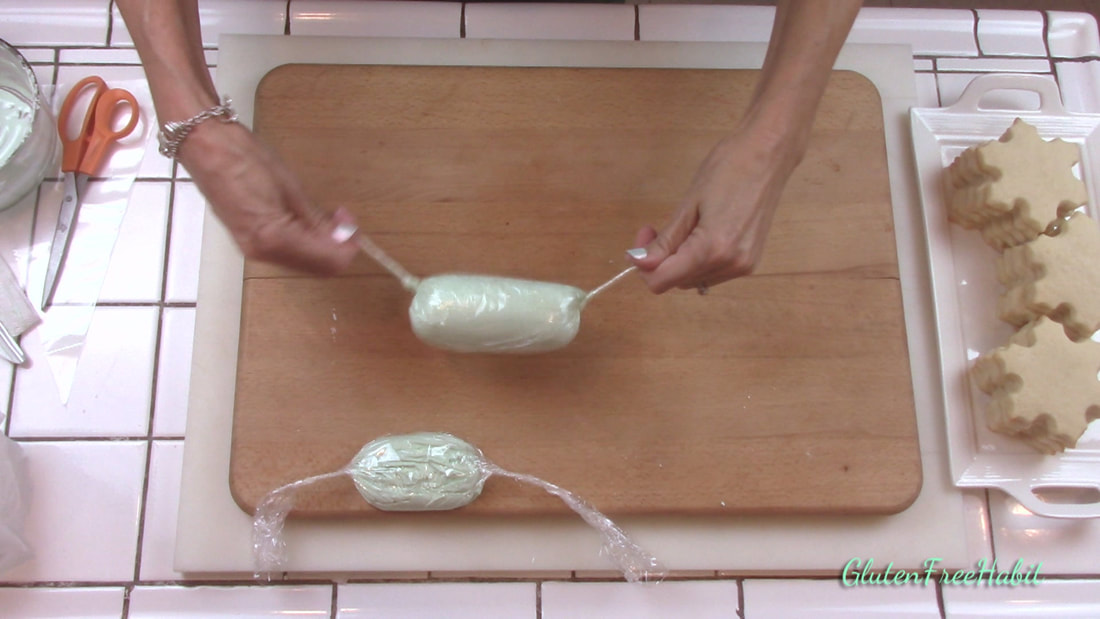
STEP 15
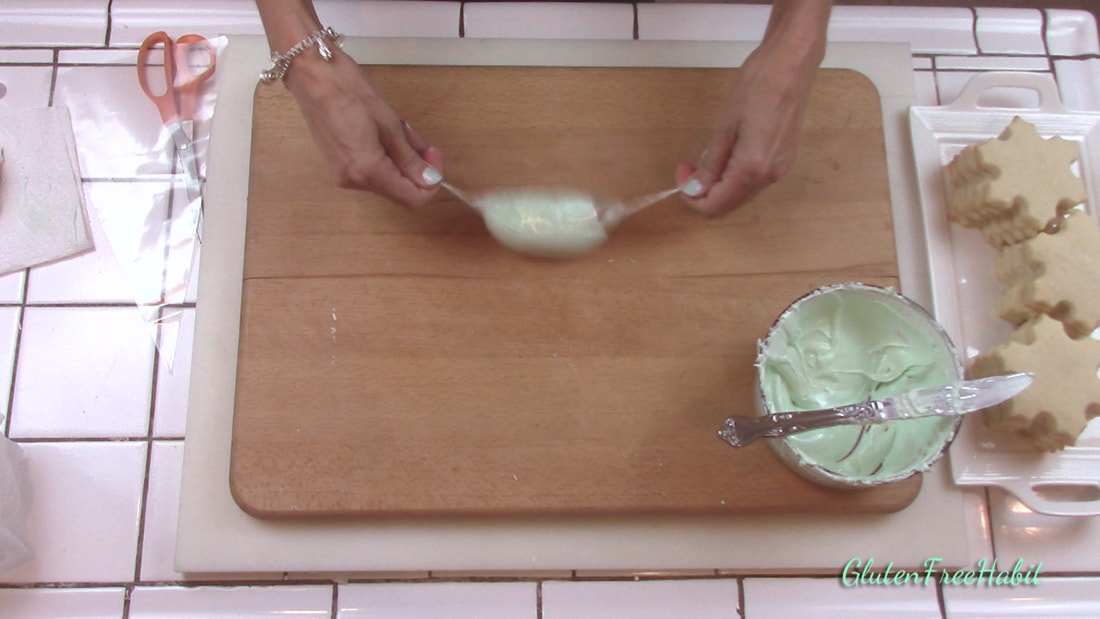
Spin the packet in a circle to close the ends. Set aside.
|
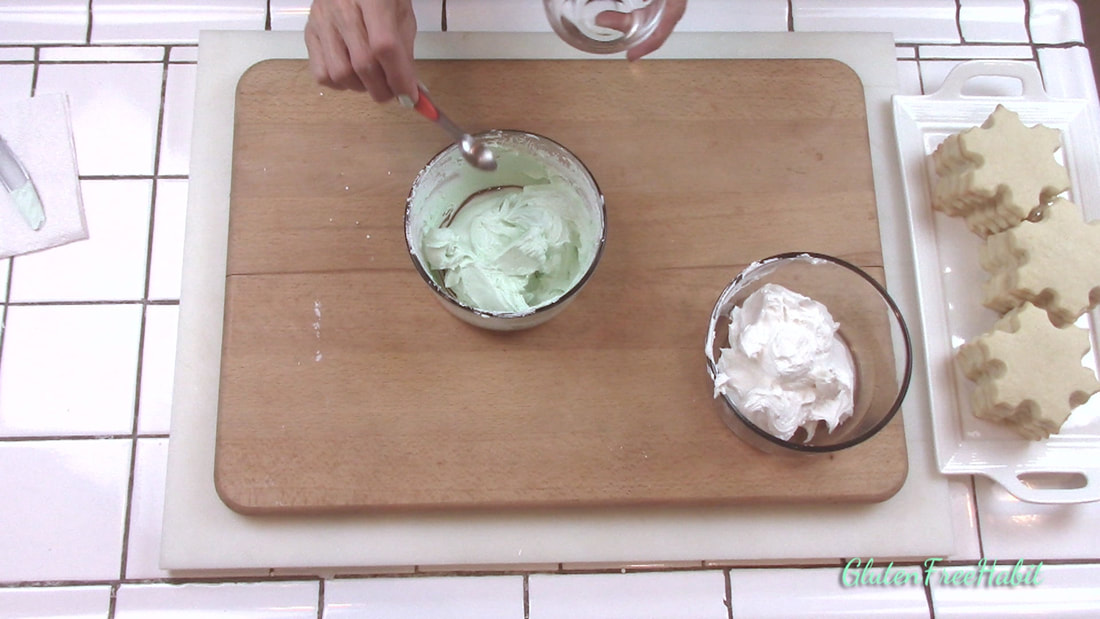
STEP 16

Before I forget...cover the white icing with a damp cloth or damp paper towel so that it doesn't form a crust.
|
|
STEP 17
Now create your "flood" consistency icing, with the remaining half. Just add a little bit more water.
|
STEP 18
Stir thoroughly.
|
|
STEP 19

Check your consistency: For flood icing, the consistency should be a little bit like shampoo. It should easily pour off your knife and blend in quickly. (Within about 10 seconds it should disappear).
|
STEP 20
Lay out a piece of plastic wrap. Pour your flood icing onto the plastic wrap.
|
|
STEP 21

If you see any air bubbles, use a toothpick to pop them.
|
STEP 22
Roll up the icing. Spin the packet to seal the ends. Set aside.
|
|
STEP 23
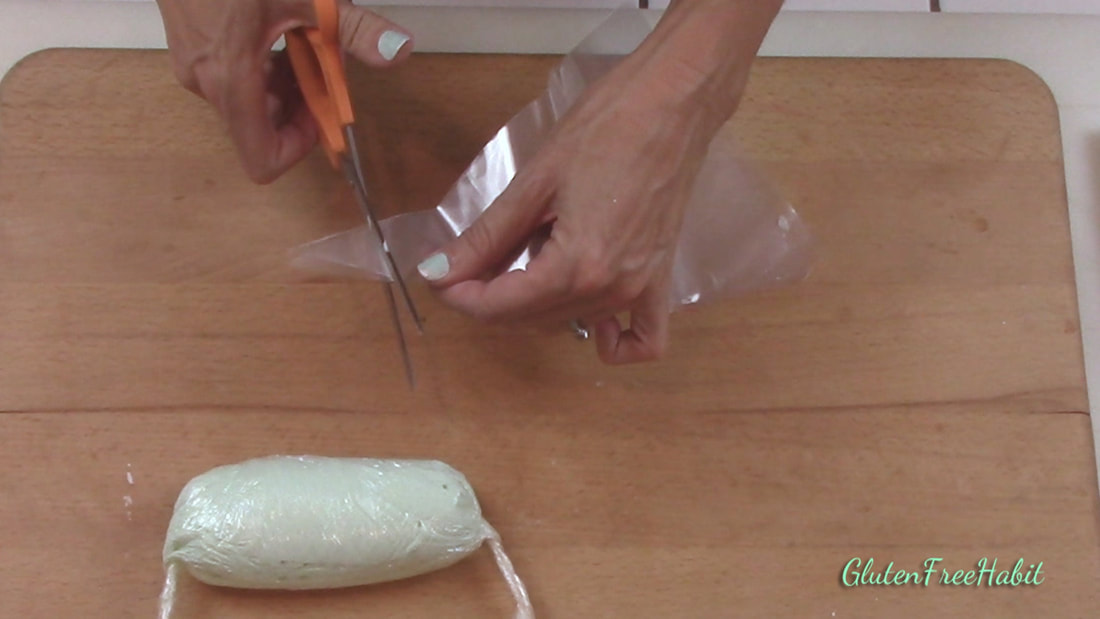
Now cut off the tip of a disposable pastry bag.
|
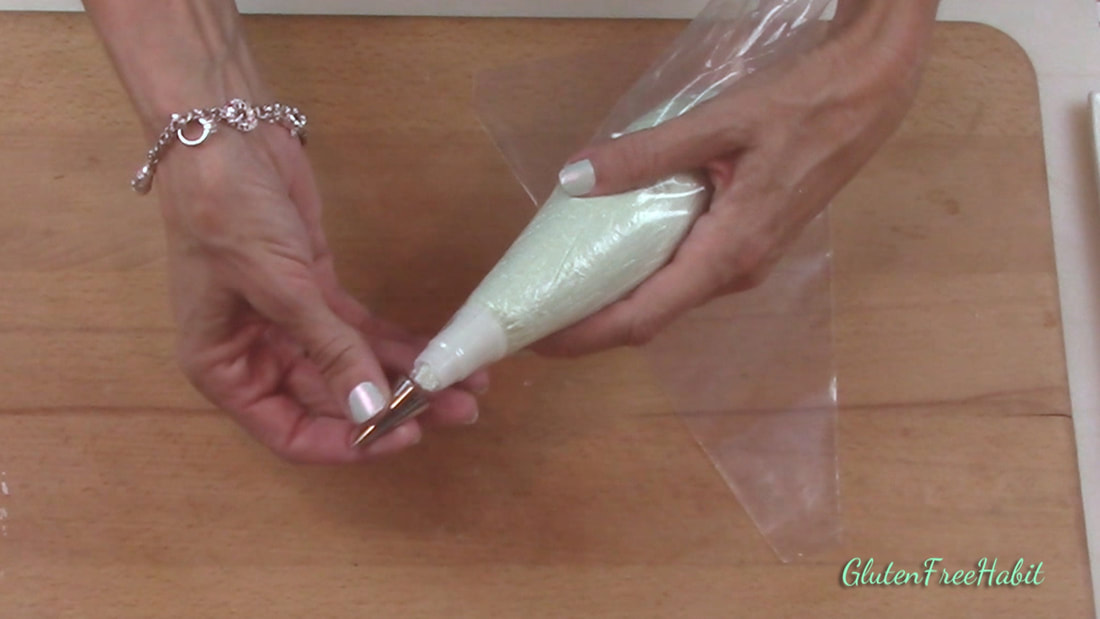
STEP 24
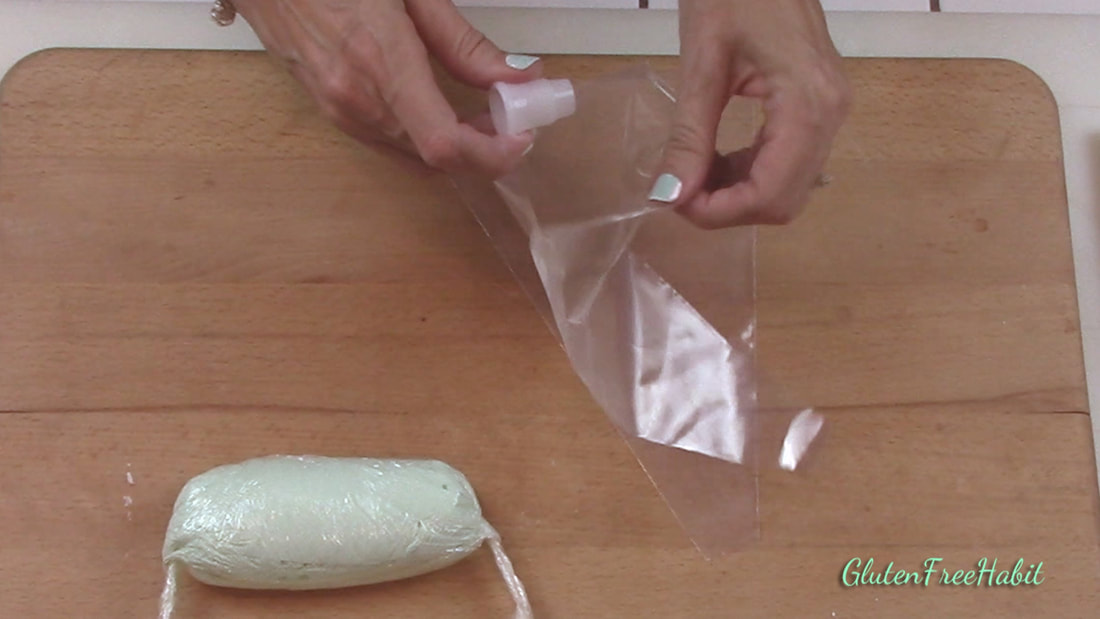
Insert a coupler.
|
|
STEP 25
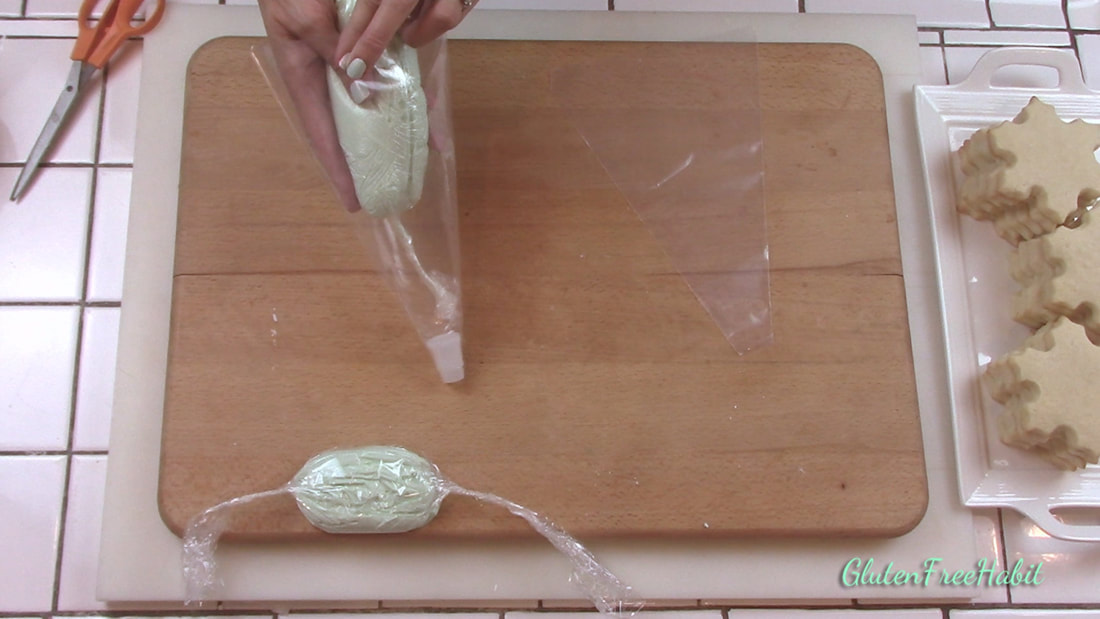
Insert icing packet into pastry bag.
|
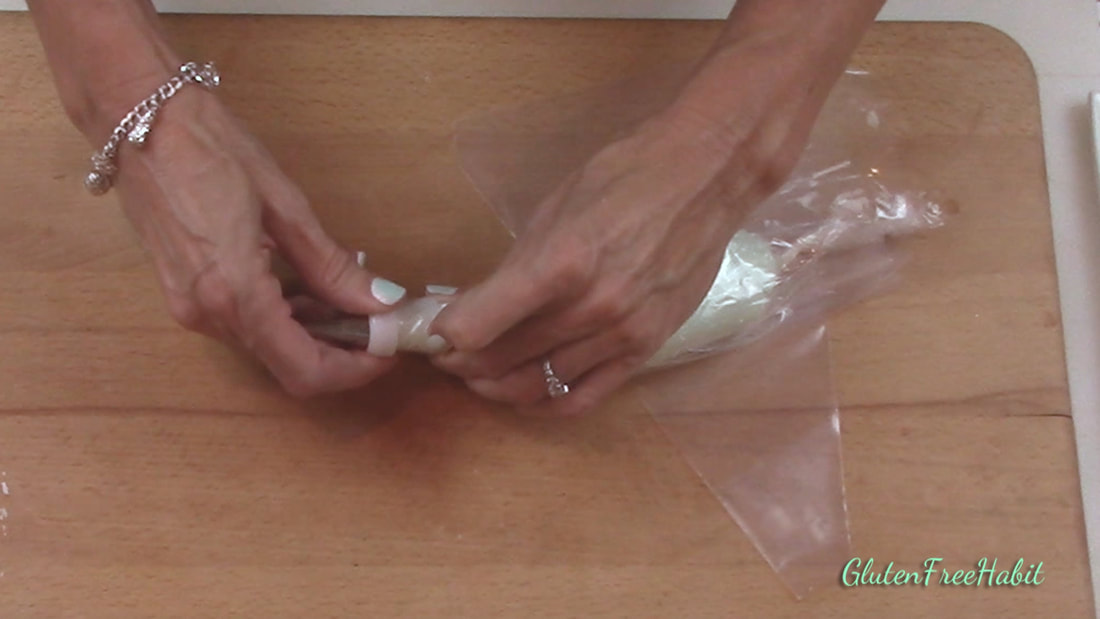
STEP 26
Pull twisted end through opening.
|
|
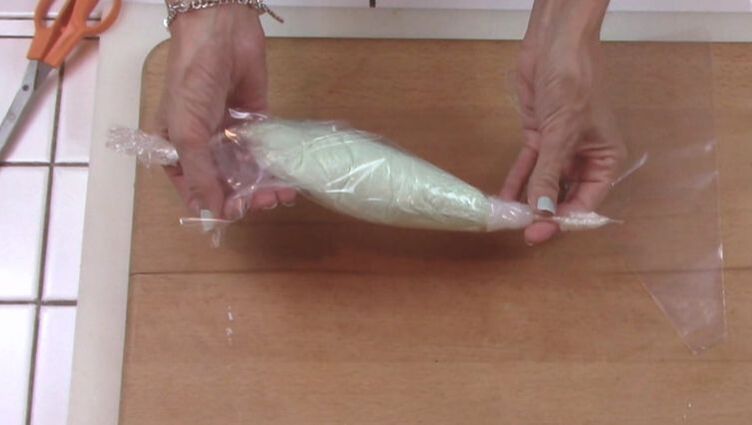
STEP 27
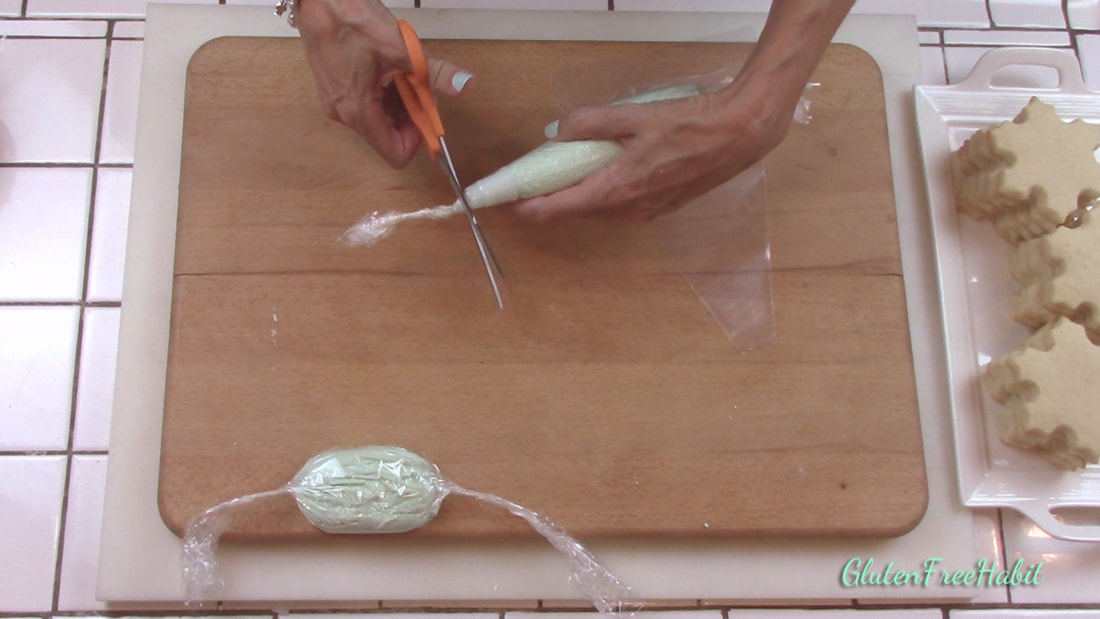
Snip off excess plastic as close to coupler as possible..
|
STEP 28
Add on your decorating tip. (For flood icing, use a #2 or #3 tip)
|
|
STEP 29
Screw on coupler.
|
STEP 30
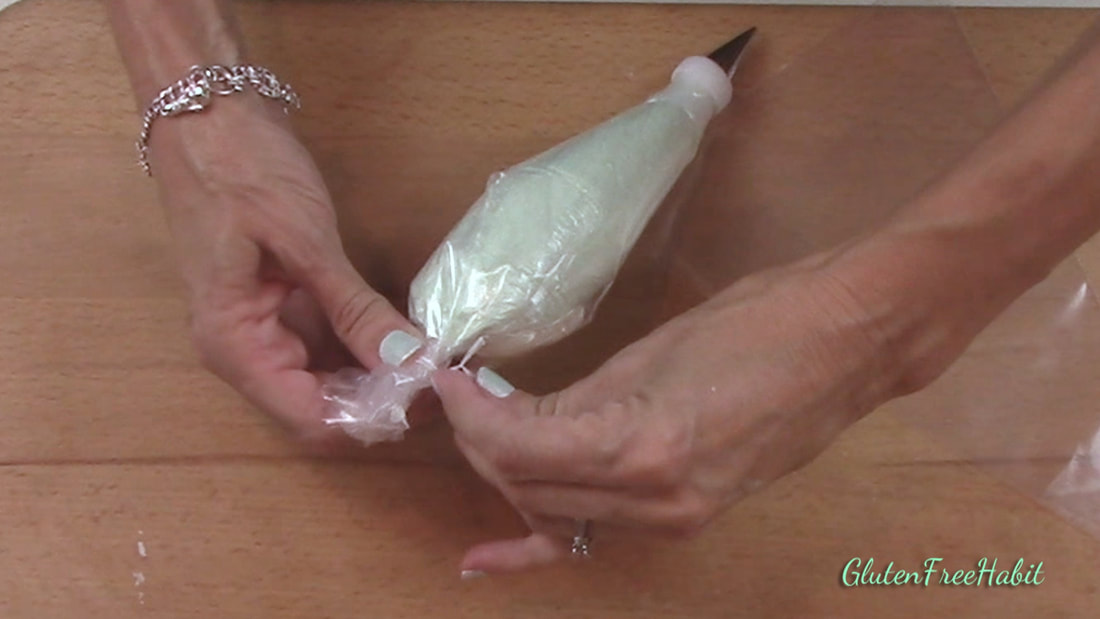
Secure with a twist tie.
* Now repeat all these steps with your white icing. In the end you should have 4 piping bags...2 green and 2 white). |
|
STEP 31
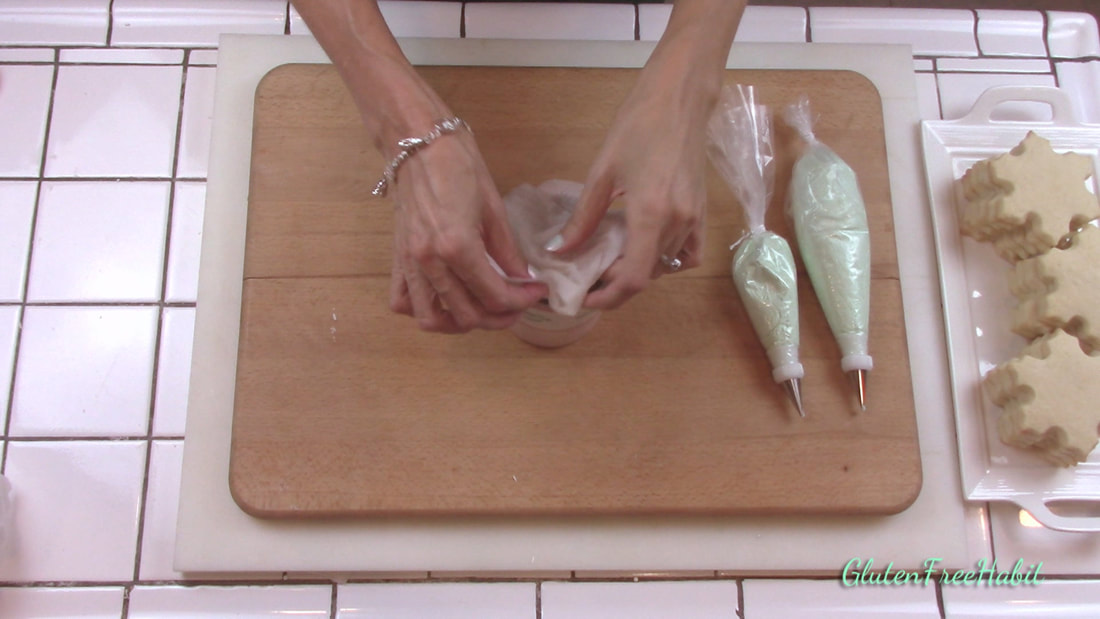
To prevent the tips from clogging, place a damp paper towel at the bottom of a mug...
|
STEP 32
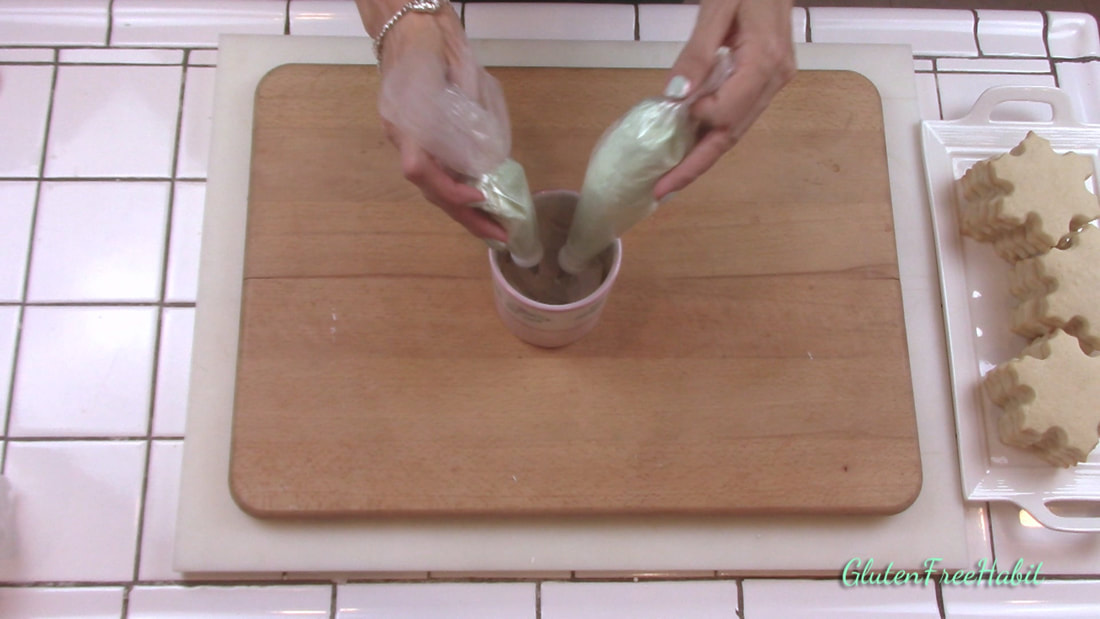
...and place piping bags, tip-side down, into the mug.
|
DECORATING THE COOKIES!
HOW TO FLOOD A COOKIE
|
STEP 33
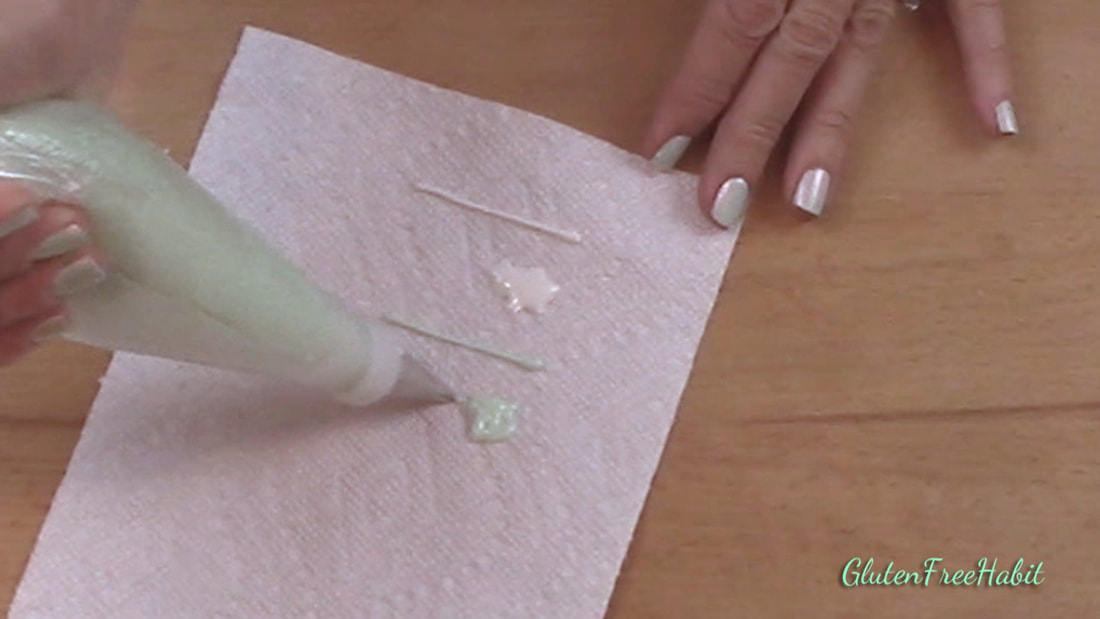
Before the icing goes onto a cookie, test it out. The medium consistency icing should make a smooth line without spreading. The flood consistency icing should spread and quickly smooth over.
|
STEP 34
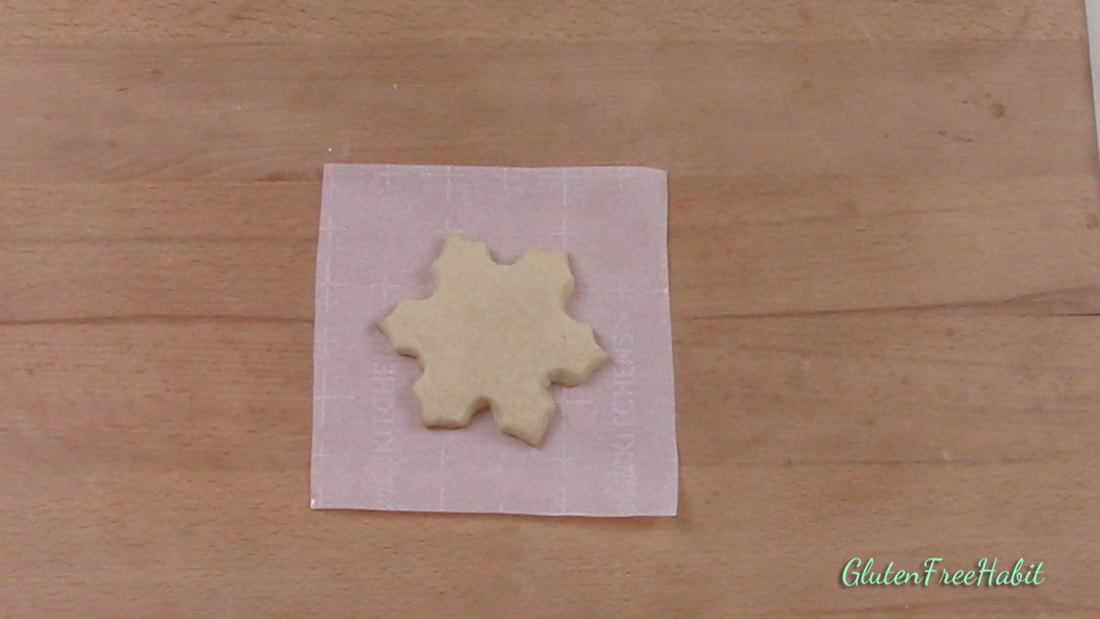
Set out a completely cooled cookie.
|
ADVERTISEMENT
|
STEP 35
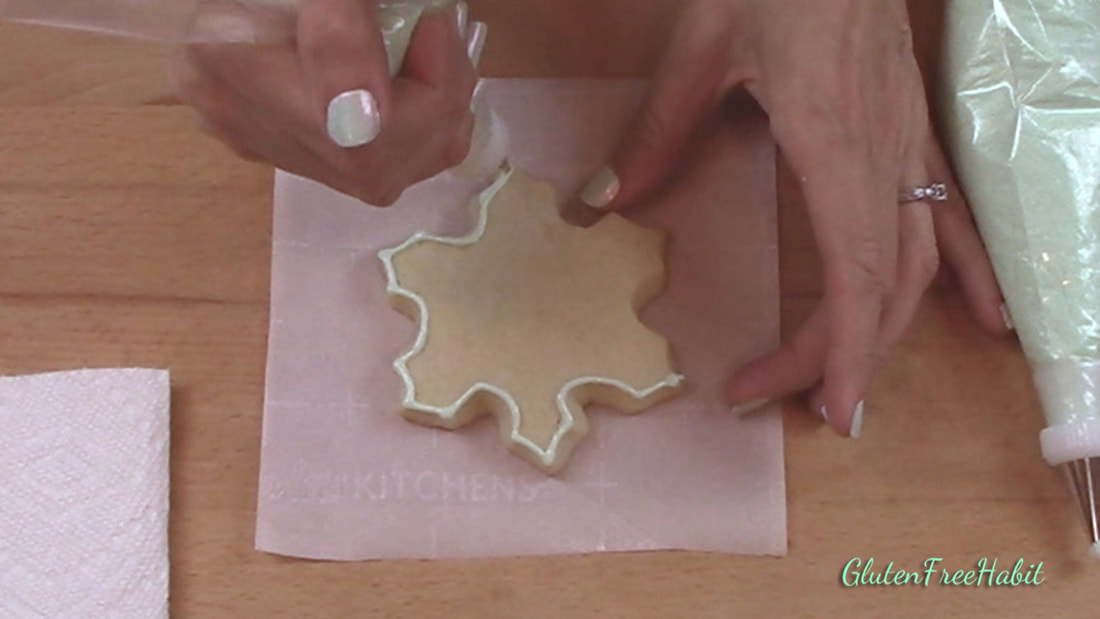
Using your medium-consistency icing, pipe a smooth line around the outer edge of the cookie.
|
STEP 36
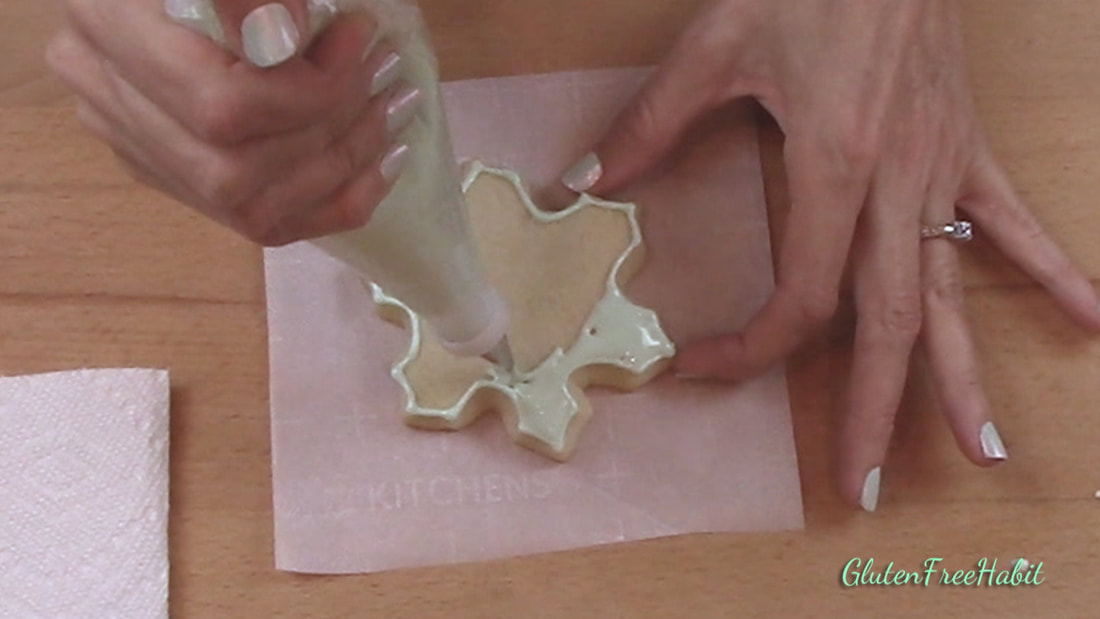
Now immediately (without letting the border dry), cover the cookie with your flood consistency icing.
|
|
STEP 37
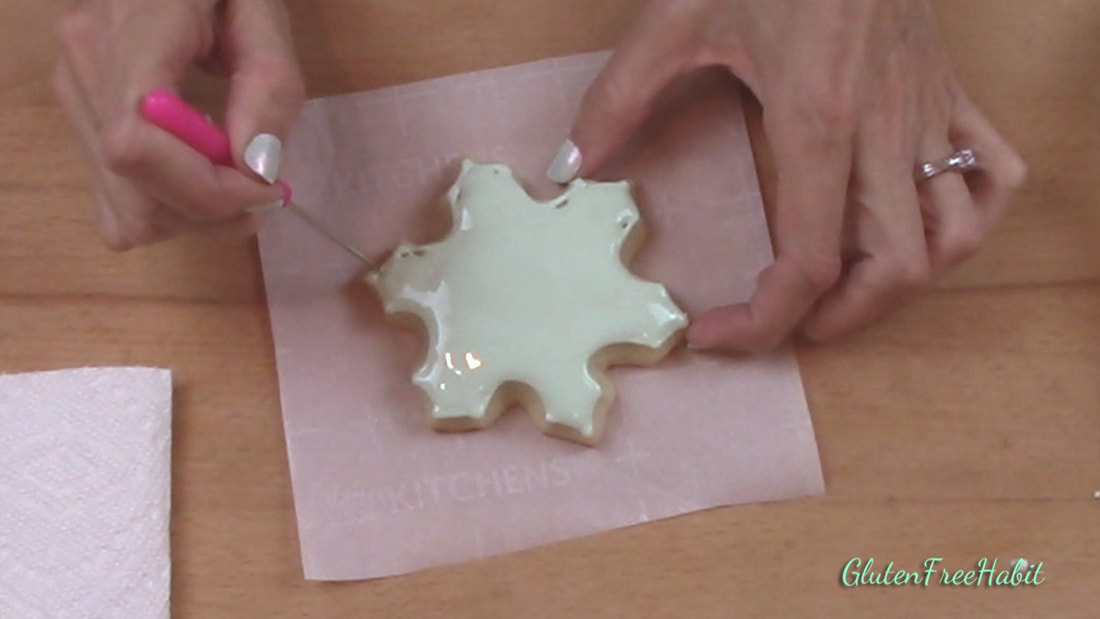
Any areas that do not fill in on their own can be filled by using your scribe tool to push the frosting around. Pop any air bubbles that you see.
|
STEP 38
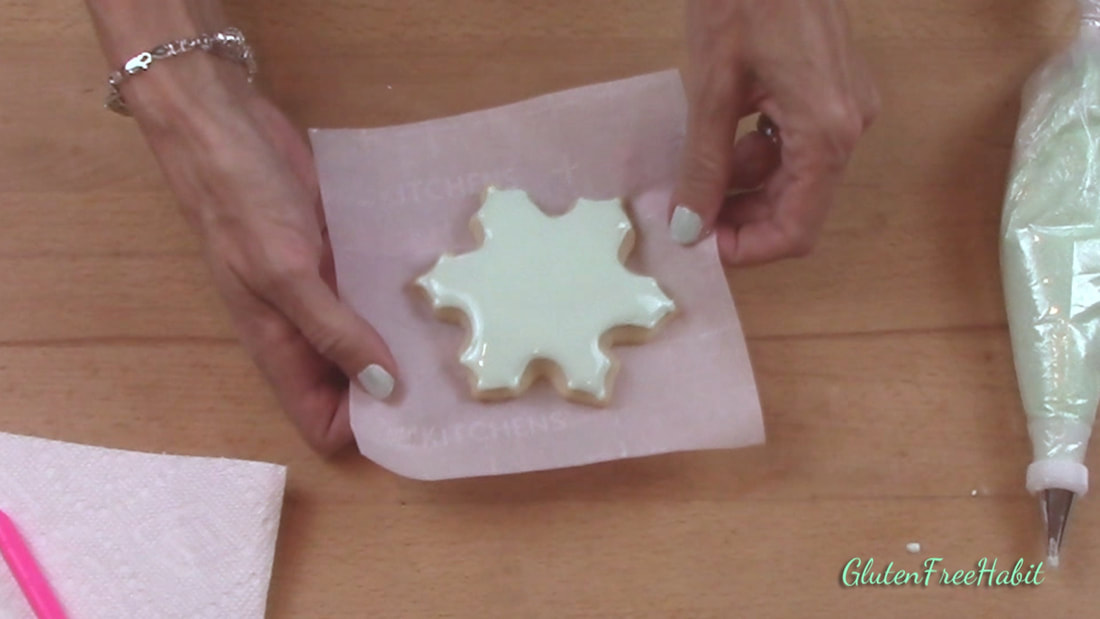
If doing wet-on-wet technique, add second color icing or decorations while icing is wet. If doing wet-on-dry technique, set cookie on cooling rack until icing is firmed up enough to pipe decorations onto.
|
WET-ON-WET TECHNIQUE
"CHRISTMAS TREE" COOKIE
|
STEP 39
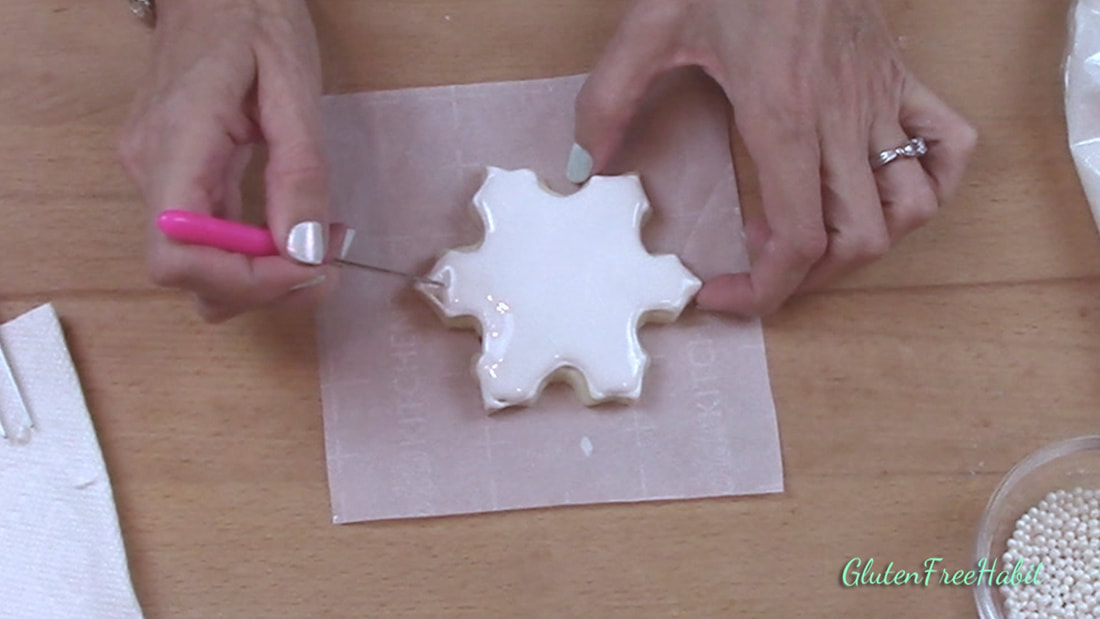
Start by flooding a cookie with flood consistency icing.
|
STEP 40
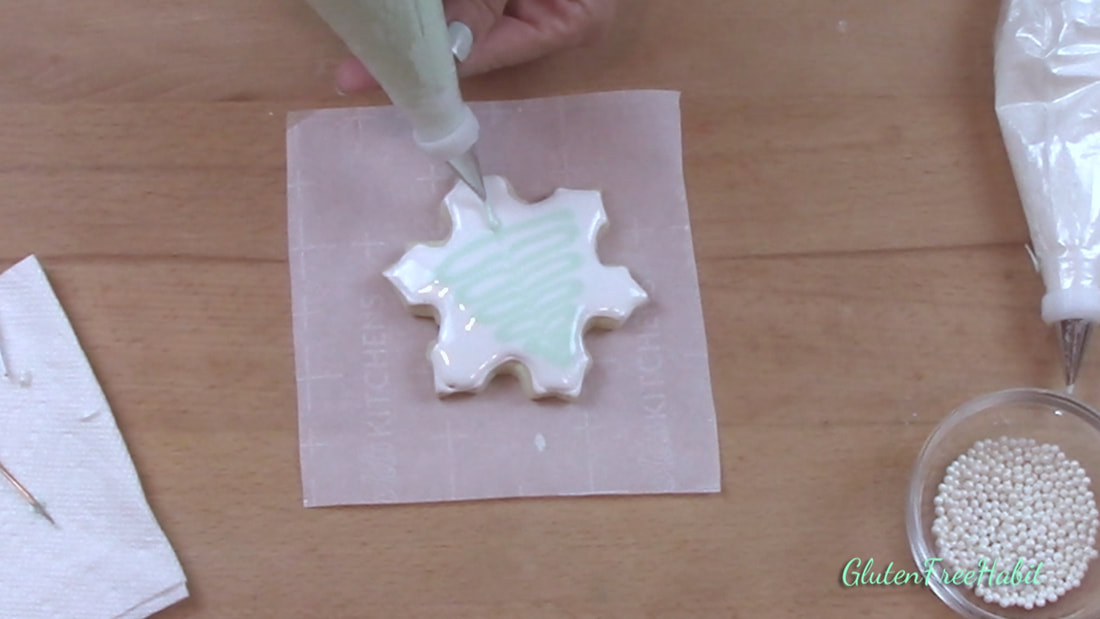
While icing is still wet, pipe on a decoration using your medium consistency icing. Here I'm just making a simple Christmas tree with back-and-forth motion. Drag a line up the middle, and add a stem.
|
|
STEP 41
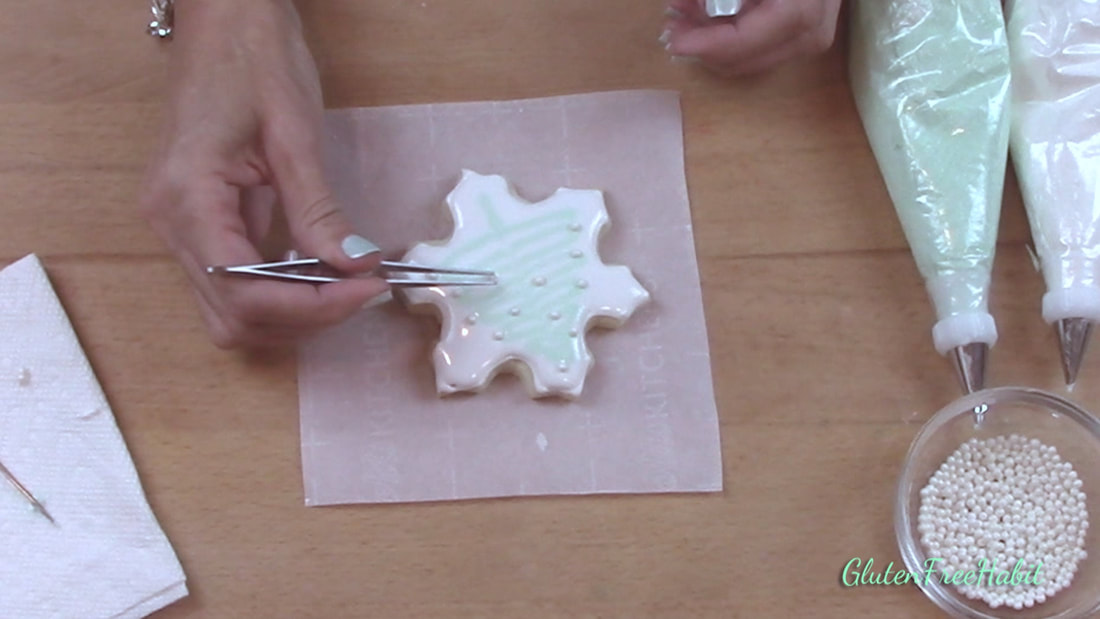
Complete the cookie with gluten free decorations.
|
STEP 42
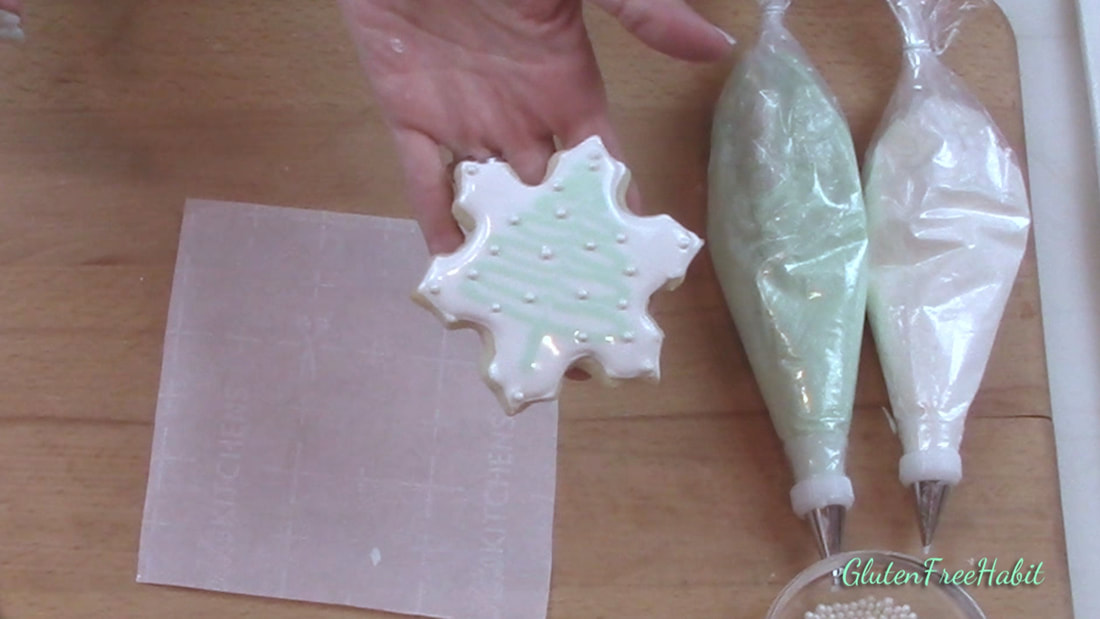
Pretty! Now set cookie aside to fully dry. Drying time will vary depending on the humidity in your kitchen and the thickness of your icing. Typically it will take about 7-8 hours to dry completely.
|
WET-ON-DRY TECHNIQUE
EXAMPLE 1 - "SCROLL" COOKIE
|
STEP 43
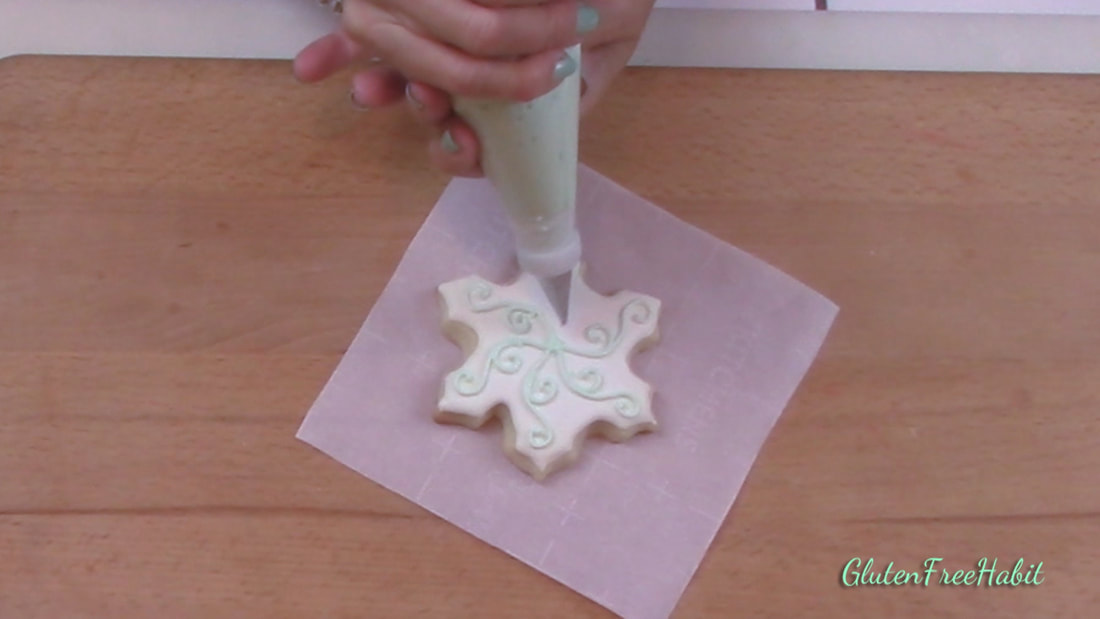
Start with a cookie that has been flooded and dried enough to pipe decorations onto. Pipe scrolls from center of cookie to outer tips. Add additional small scrolls starting about half-way down the longer scrolls.
|
STEP 44

Sprinkle with sparkle sugar.
|
|
STEP 45
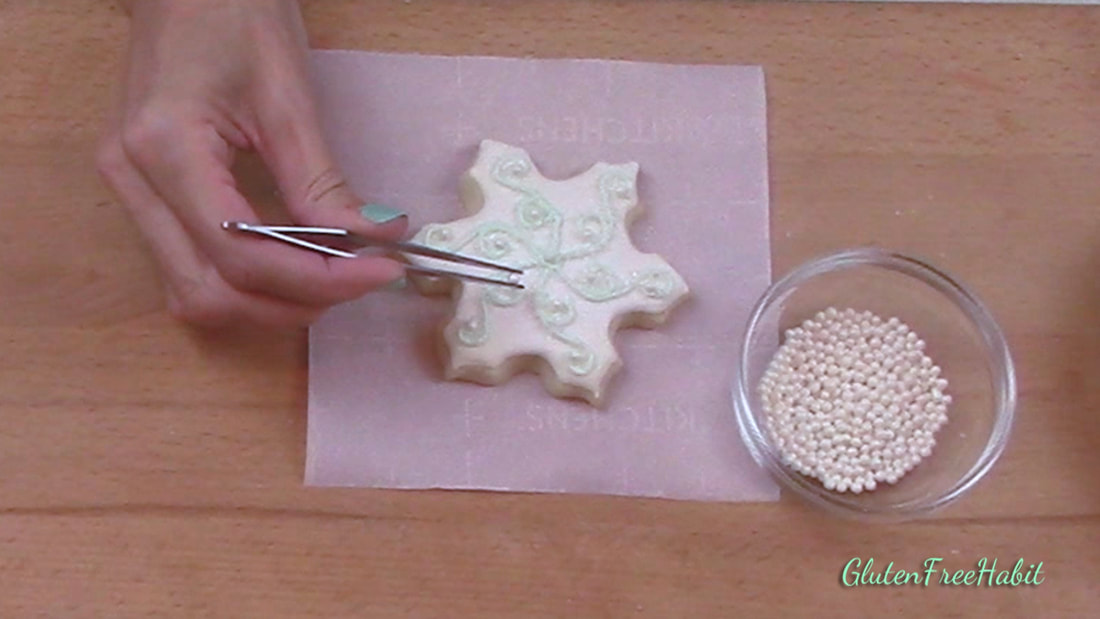
Add some gluten free pearls or other decorations.
|
STEP 46

Here's the completed scroll cookie.
|
EXAMPLE 2 - "SNOWFLAKE" COOKIE
|
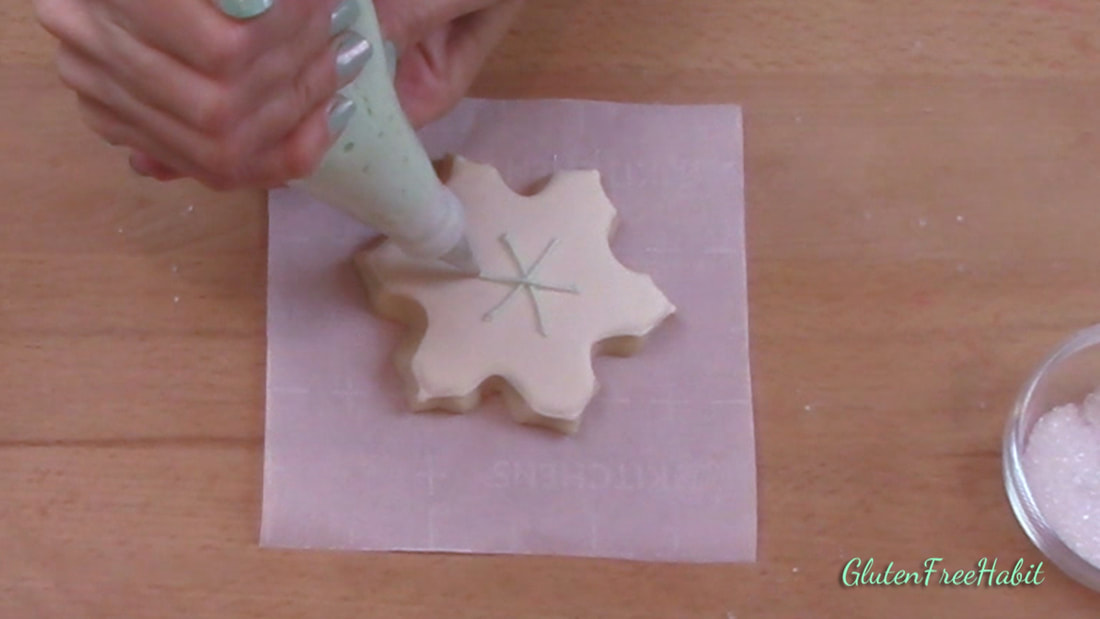
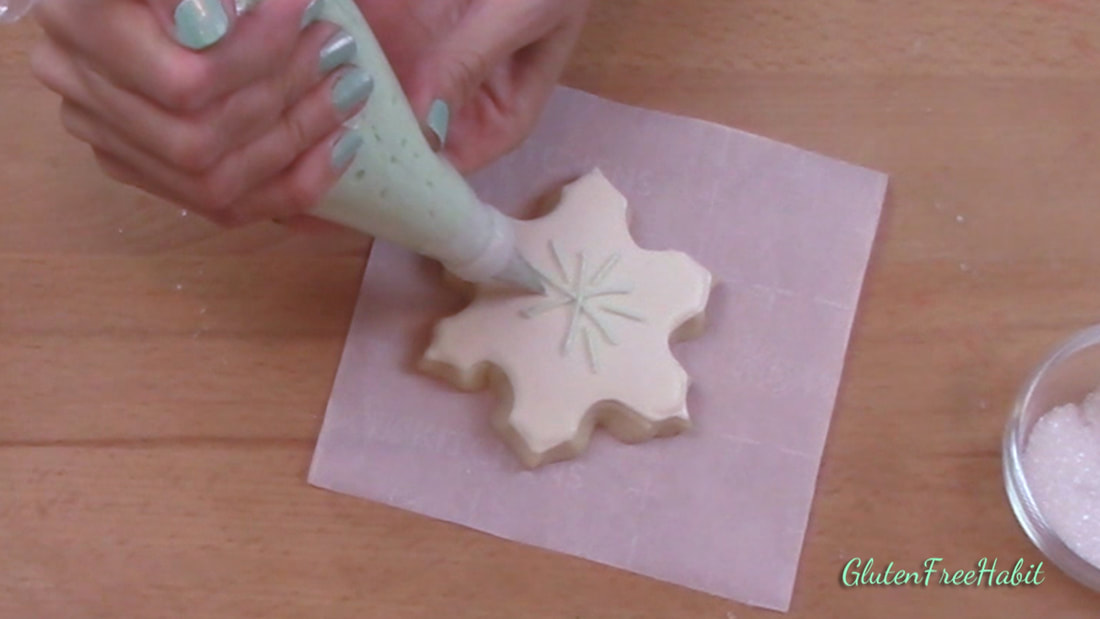
STEP 47
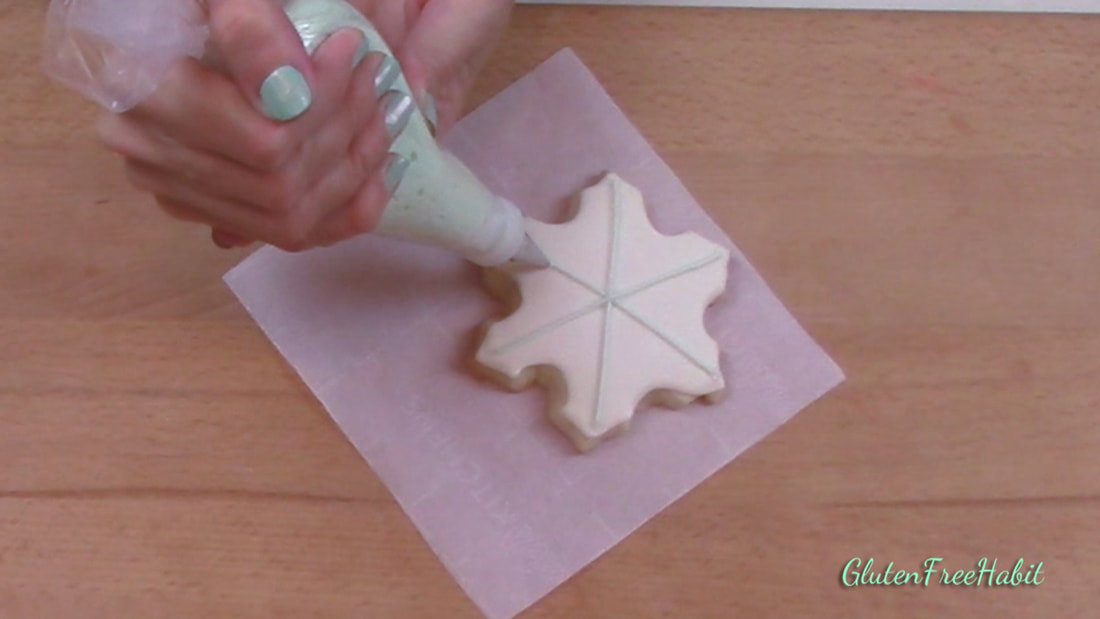
Start with a cookie that has been flooded and dried enough to pipe decorations onto. Using your medium-consistency icing, pipe 3 lines all the way across the cookie, crossing in the center.
|
STEP 48
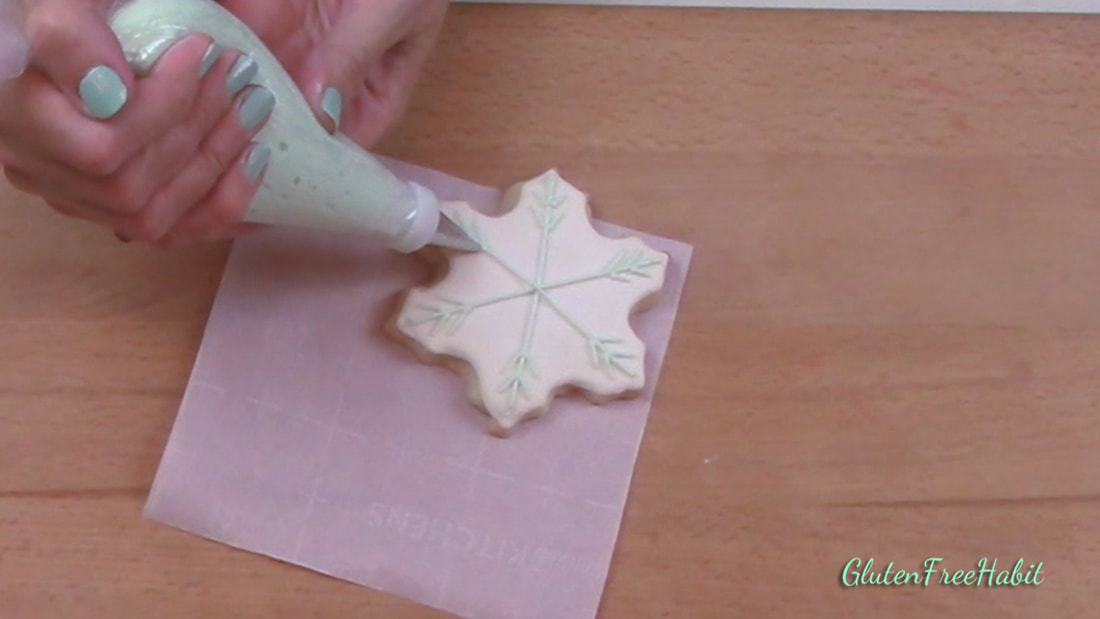
Add tiny angled lines at the tip of each long line.
|
|
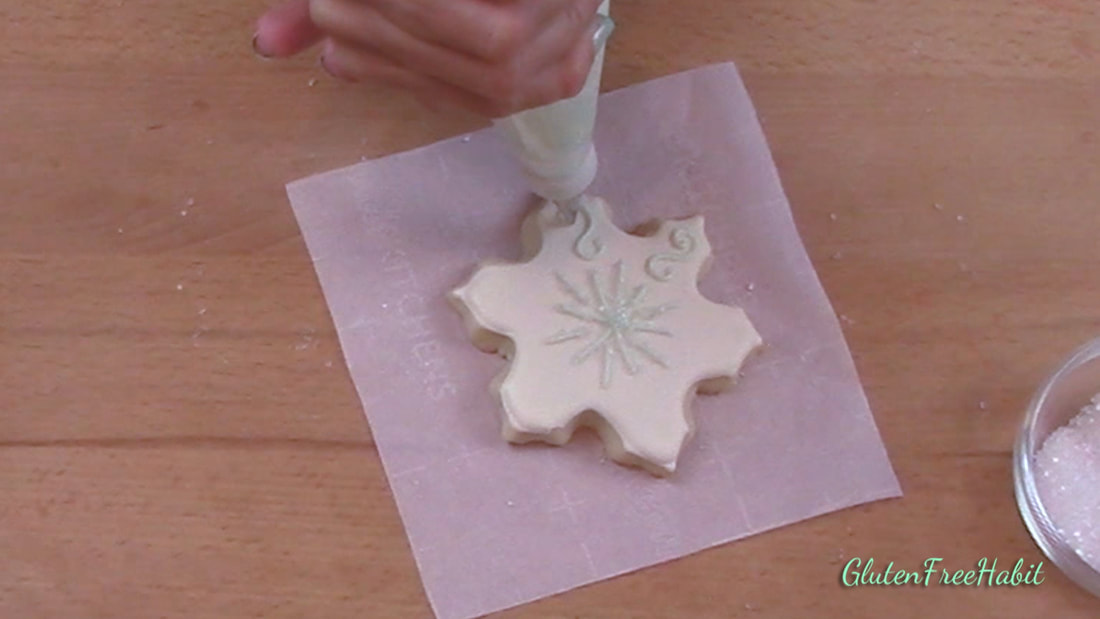
STEP 49
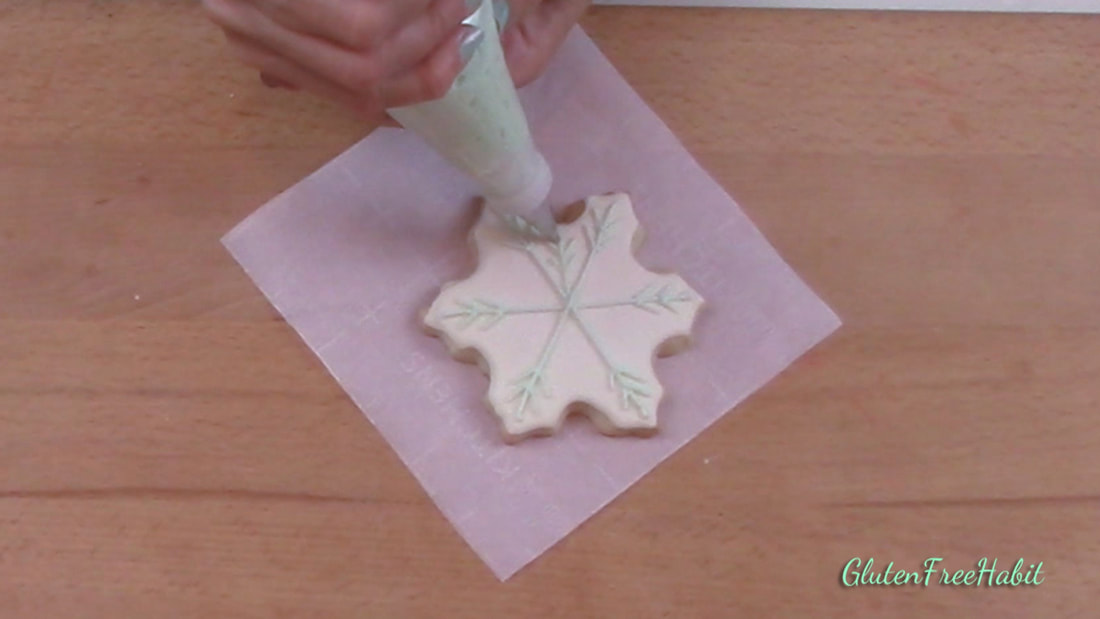
Now pipe shorter lines from the center outward. Add tiny angled lines at the tips of these lines.
|
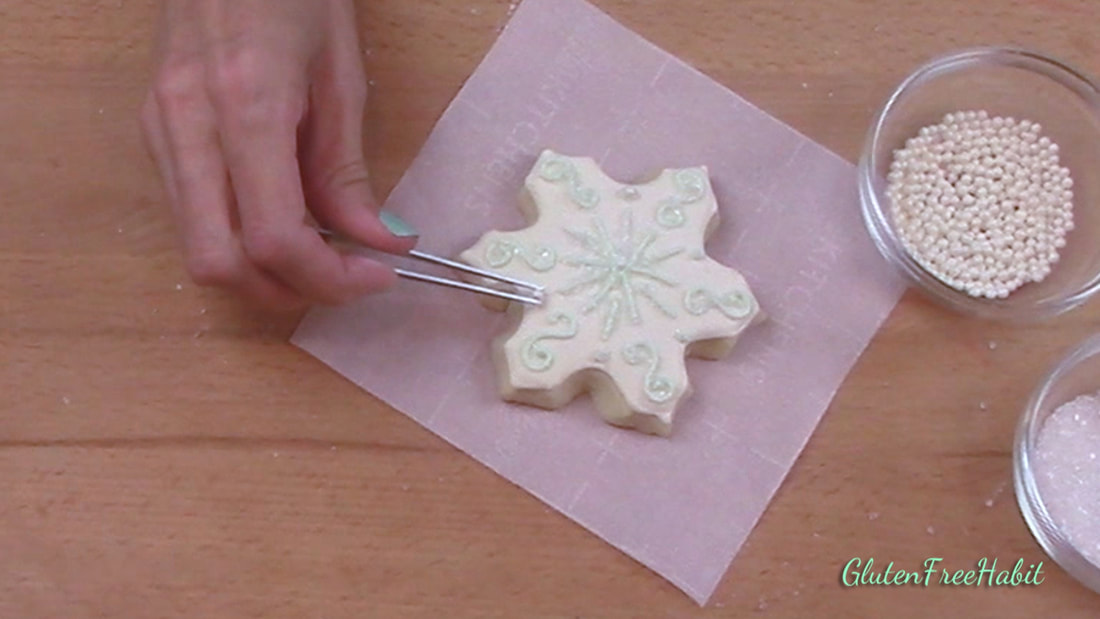
STEP 50
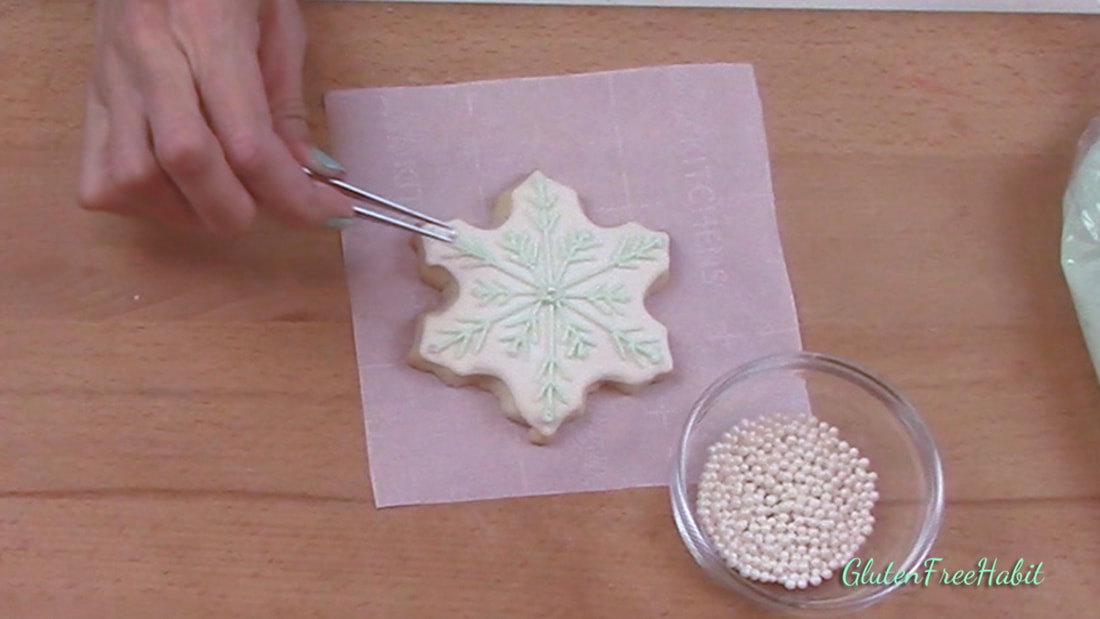
Finish the cookie with sprinkles or pearls.
|
|
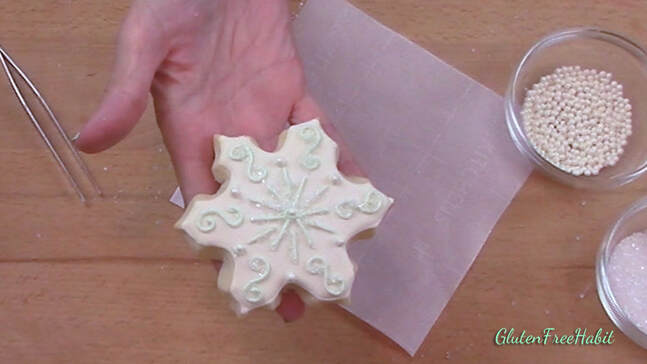
STEP 51
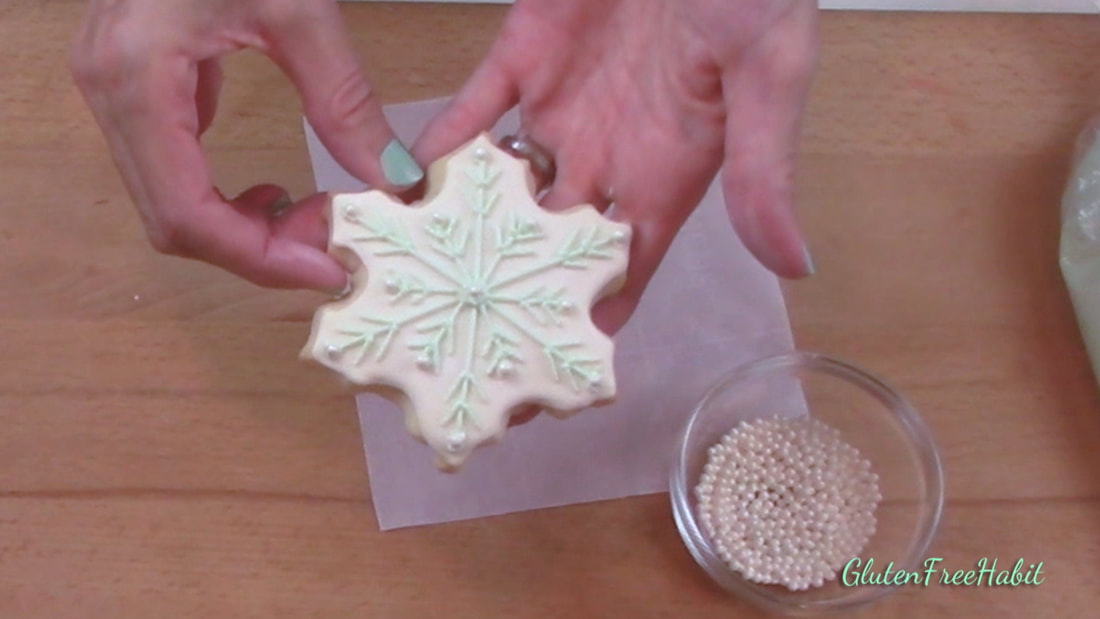
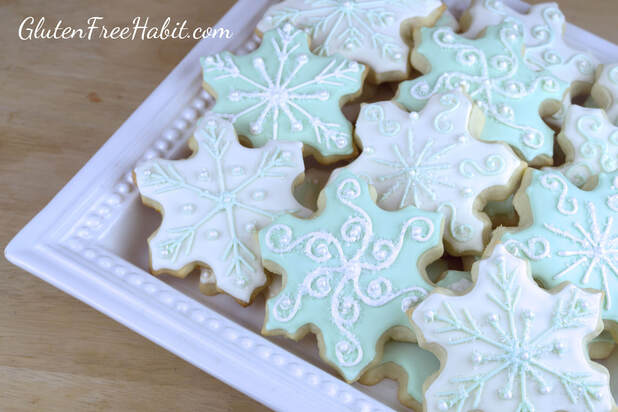
Here's the completed "Snowflake" cookie!
|
EXAMPLE 3 - "SCROLLS & SNOWFLAKE COMBINATION" COOKIE
|
STEP 52
Start with a cookie that has been flooded and dried enough to pipe decorations onto. Using medium-consistency icing, pipe 3 short lines that cross at the center.
|
STEP 53
Pipe six shorter lines between each of the longer lines.
|
|
STEP 54
Pipe a small scroll at each cookie tip.
|
STEP 55
Finish with sparkle sugar and pearls.
|
STEP 56
|
|
And finally...our finished "Scrolls & Snowflake Combination" cookie!
|
YAY...TIME TO EAT!

|
Need some small gifts to hand out? Cookies with Royal Icing make beautiful and delicious gifts. Just wait for them to fully dry, and then package them in clear treat bags. Tie with ribbon to complete the treat!
|
|
These gluten free sugar cookie cutouts with Royal Icing are a delicious, beautiful addition to any holiday celebration. Enjoy!
|
ADVERTISEMENT

READY TO MAKE SOME GLUTEN FREE ROYAL ICING?
|
Need supplies? Visit my convenient Amazon Shop to find everything you need for icing success!

|
GLUTEN FREE ROYAL ICING RECIPE
Ingredients4 cups confectioner’s sugar
4 Tbsp. gluten free meringue powder 1 tsp. vanilla 6 Tbsp. warm water + additional as needed to thin icing to desired consistency |
|
Directions
|
Tip #1: Royal icing will develop a crust quickly. Even pastry bag tips will dry and clog if not kept moist. So, as you are working, make sure to cover bowls of icing and pastry bag tips with a damp cloth.
Tip #2: When using royal icing to decorate cookies, I prefer a #2 tip to edge, and a #2 or #3 to flood.
Tip #2: When using royal icing to decorate cookies, I prefer a #2 tip to edge, and a #2 or #3 to flood.
PRINTABLE VERSION OF THIS RECIPE:

WANT TO LEAVE A COMMENT?
Please leave all comments in the "Comments" section of the YouTube video. Thank You!

ADVERTISEMENT
· *** I AM NOT A NUTRITIONIST OR MEDICAL PROFESSIONAL*** THE INFORMATION ON THIS WEBSITE IS NOT INTENDED TO SUBSTITUTE FOR MEDICAL TREATMENT OR ADVICE. PLEASE READ INGREDIENTS ON THIS WEBSITE AND ON PACKAGES, AND MAKE SURE THEY ARE SAFE FOR YOU PRIOR TO USING THEM IN YOUR RECIPES. WHEN IN DOUBT, CHECK WITH YOUR DOCTOR FIRST. *** THANK YOU.