
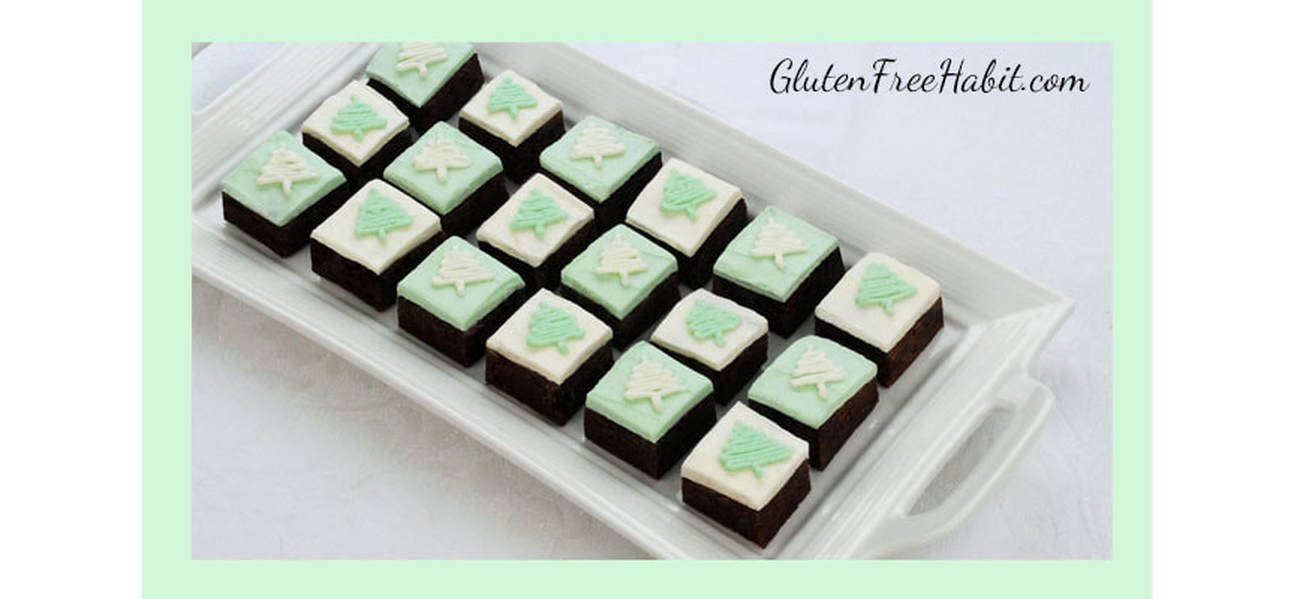
GLUTEN FREE MINT CHOCOLATE BROWNIE BITES

|
These adorable mint-chocolate brownie bites are slightly chewy, super chocolatey, and decorated for Christmas! They’re delicious with or without the frosting, and they stay moist for days. If you need a crowd-pleasing dessert for Christmas Eve, a party, or a holiday work function, this is it. These also make great gifts...but be sure to bake some for yourself and your family too!
Makes: About 25 brownie bites |

|
SHOW ME HOW...
Click to watch this easy step-by-step video!


RECIPE LOCATED BELOW - PLEASE SCROLL DOWN

WALK ME THROUGH IT...
|
STEP 1
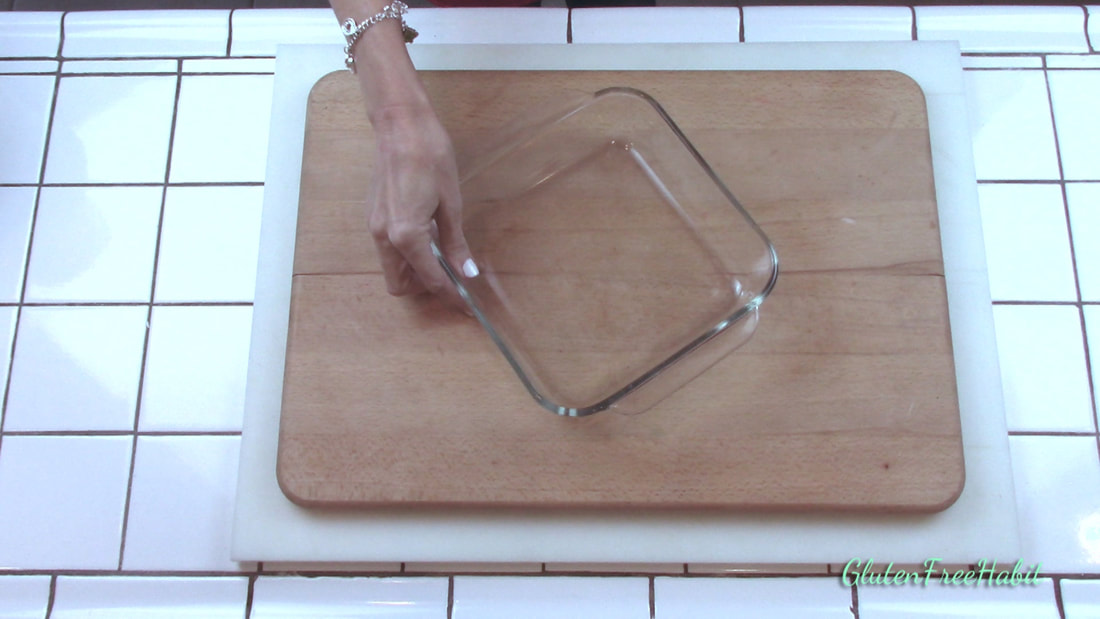
Set out an 8x8 baking pan.
STEP 2
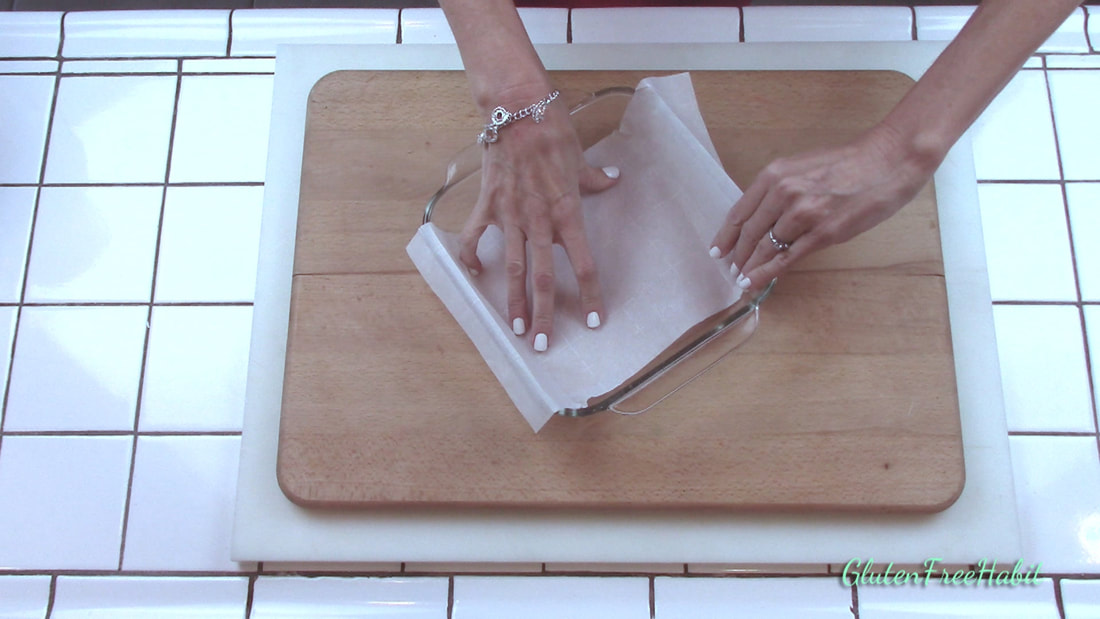
Cut parchment paper to fit 8x8 pan with a little bit hanging over the edge on two sides. (Approximately 7 ½ x 15).
|
ADVERTISEMENT
|
|
STEP 3
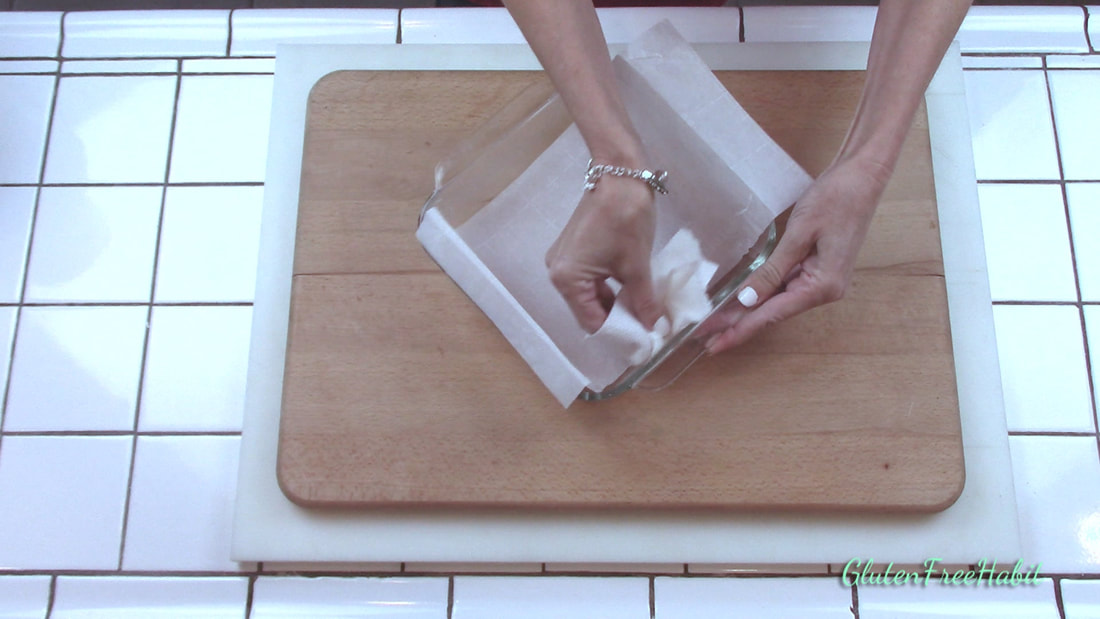
Two sides of the pan will be uncovered, and you should grease these sides.
|
STEP 4
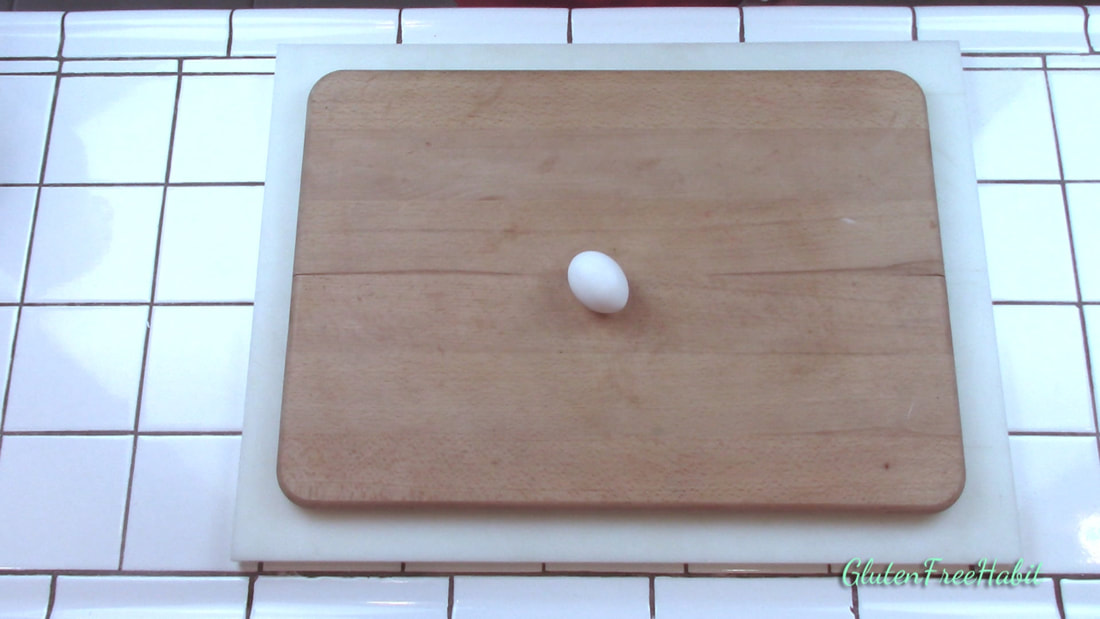
Set out egg to bring to room temp.
|
|
STEP 5
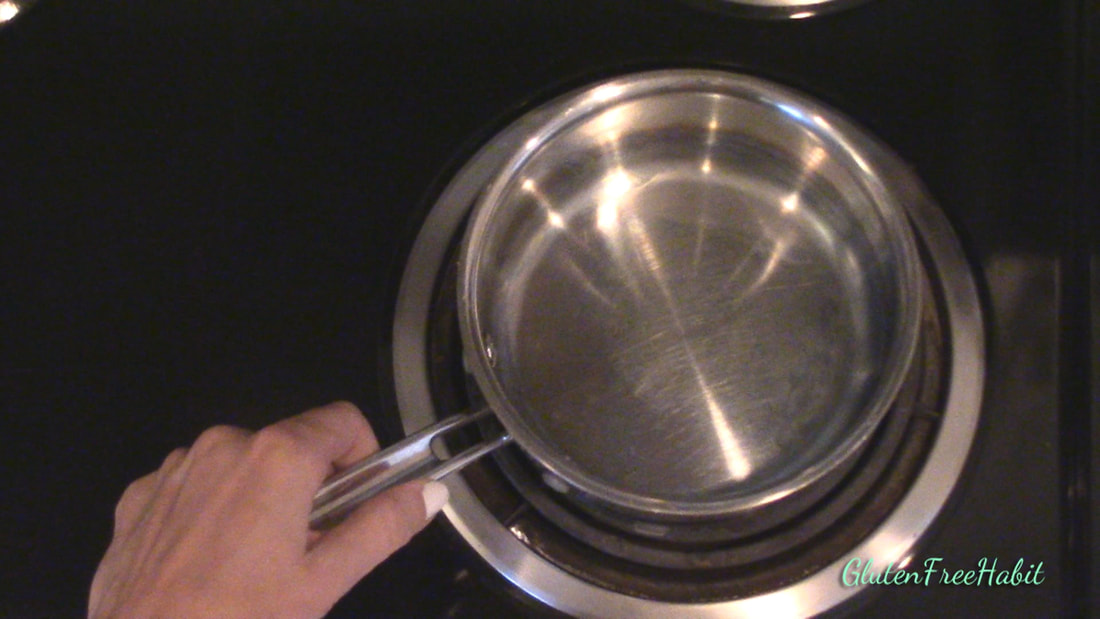
Put small saucepan onto stove.
|
STEP 6
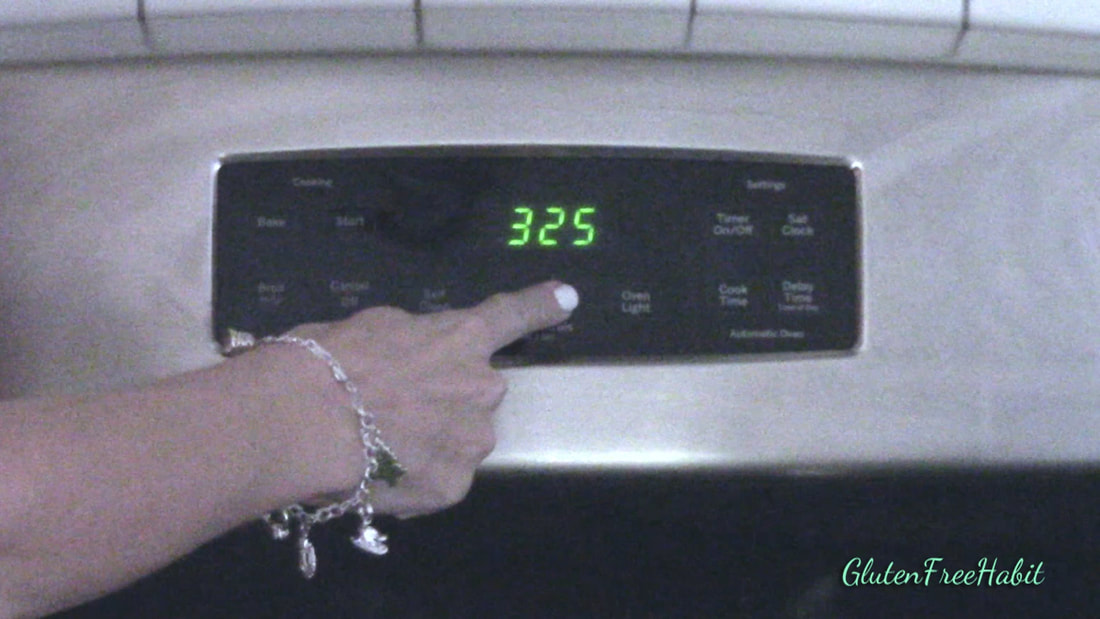
Preheat oven to 325°.
|
|
STEP 7
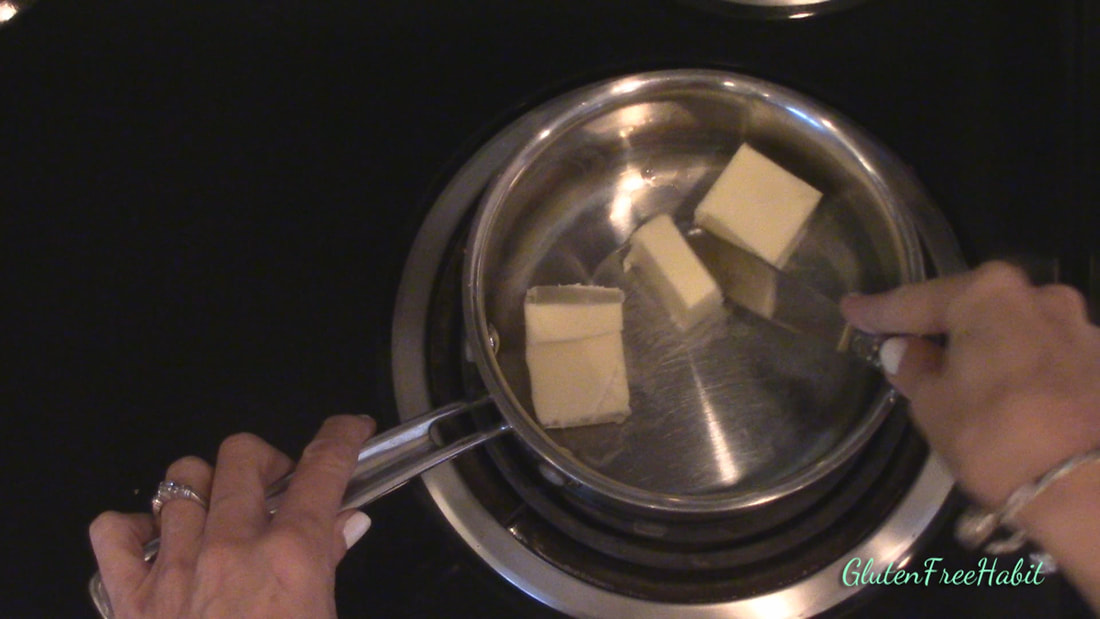
In small saucepan, melt butter on low temperature. I like to slice my butter to speed up the process.
|
STEP 8
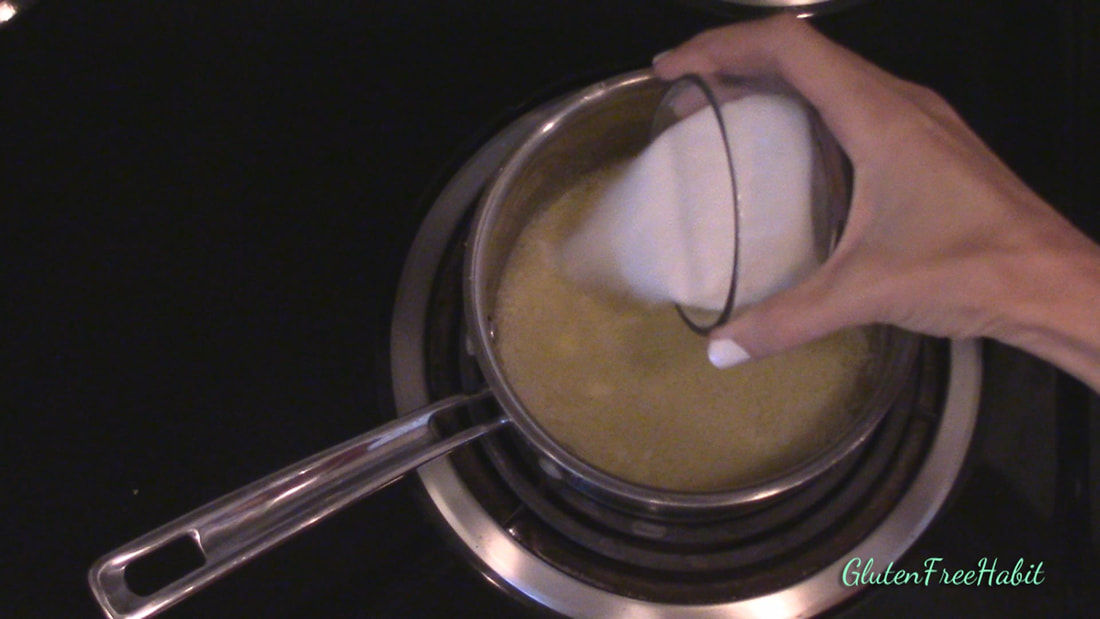
Add in granulated sugar...
|
ADVERTISEMENT
|
STEP 9
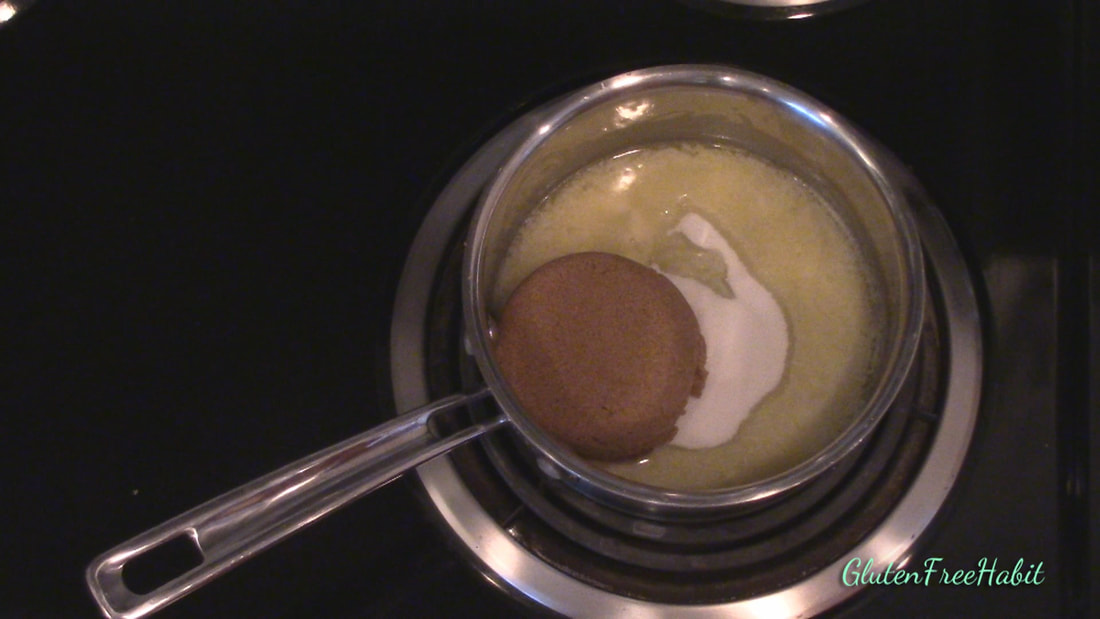
...brown sugar...
|
STEP 10
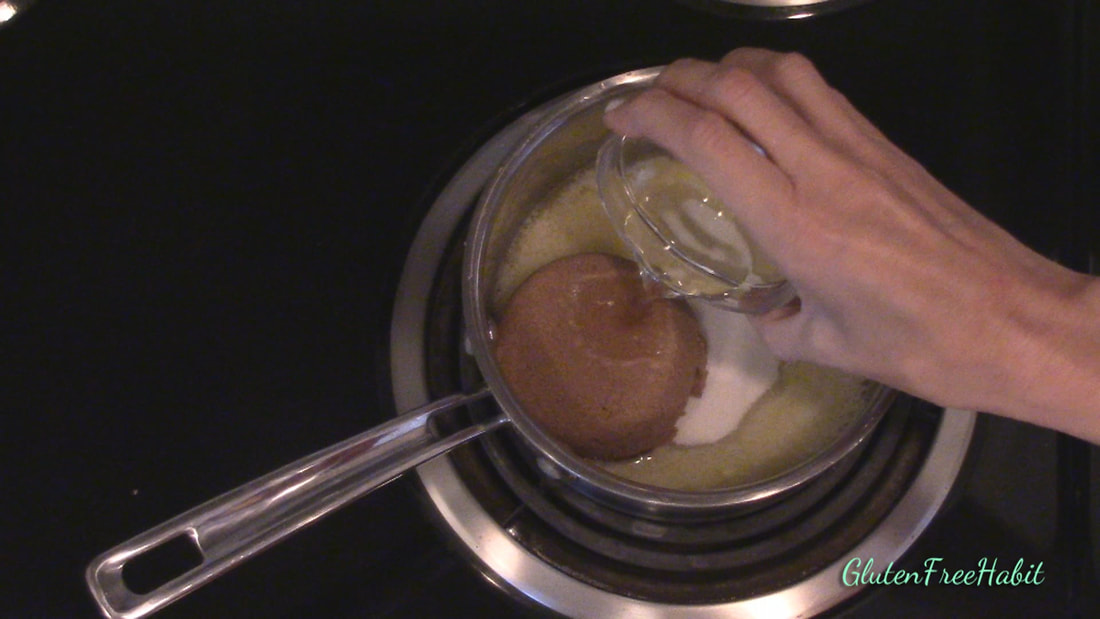
...and water...
|
|
STEP 11
Stir over low heat until mixture is completely smooth.
|
STEP 12
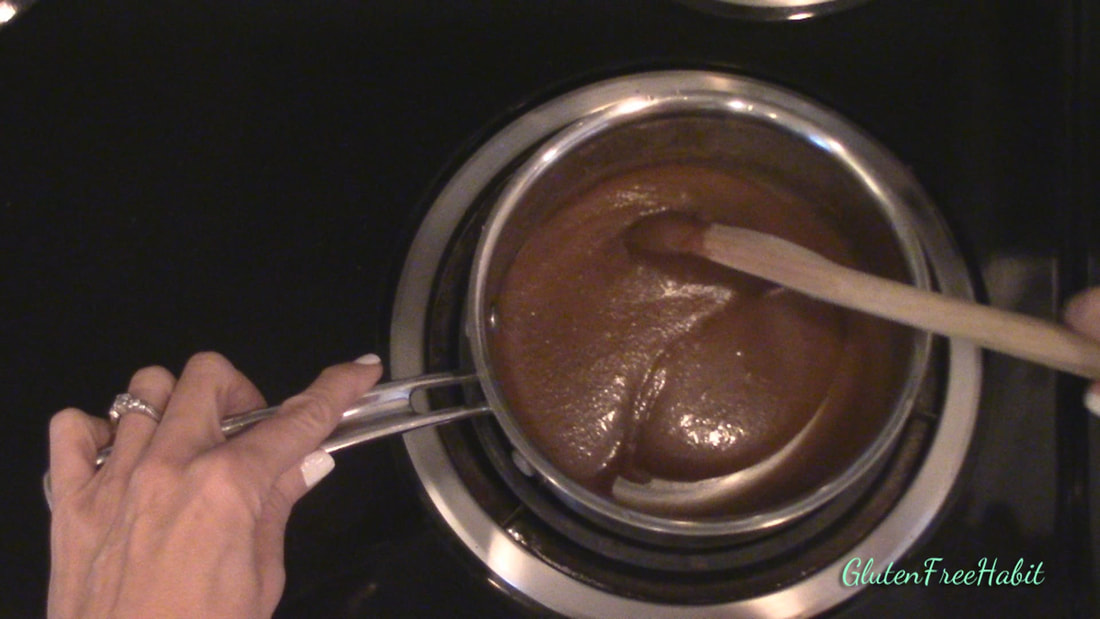
When smooth, remove from stove and set aside to cool.
|
|
STEP 13
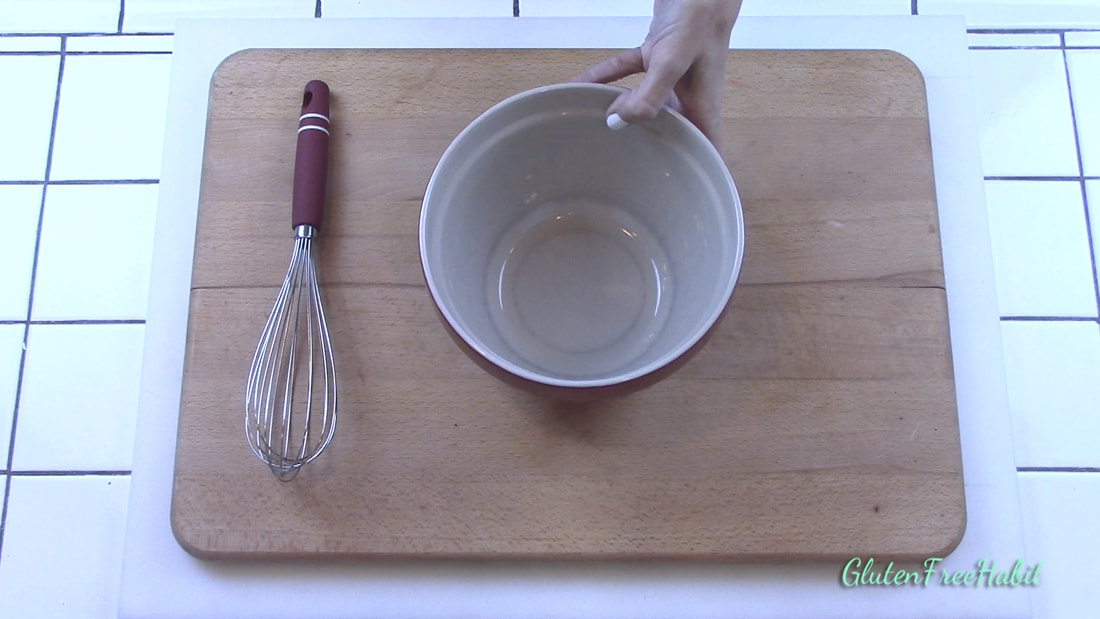
Set out a medium-sized mixing bowl.
|
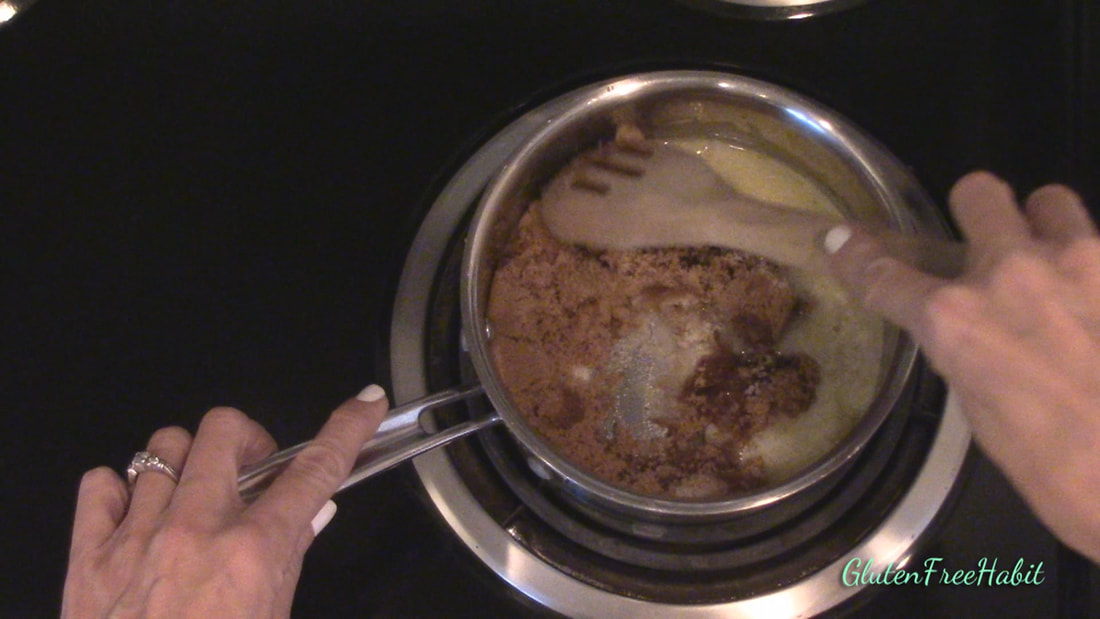
STEP 14
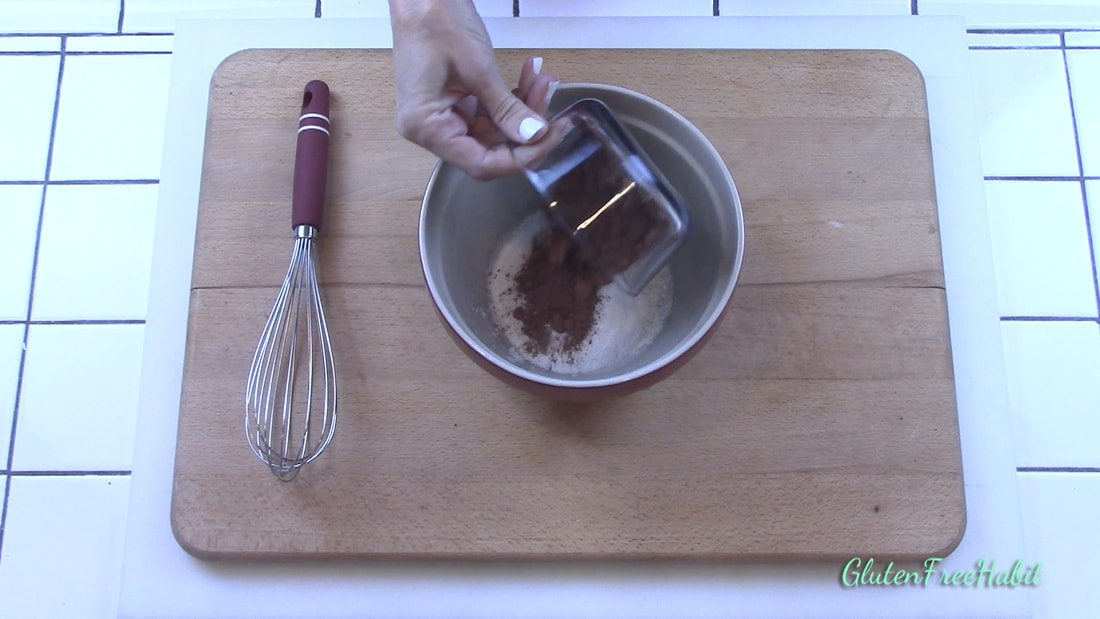
Add your dry ingredients including: brown rice flour, white rice flour, cocoa powder, salt, baking powder, and xanthan gum.
|
|
STEP 15
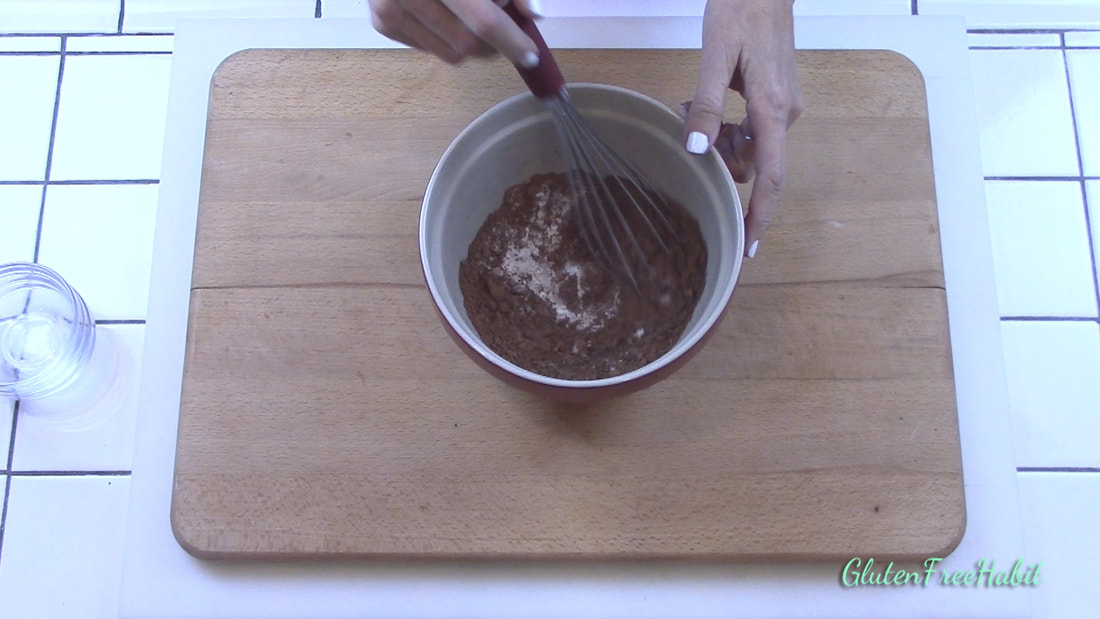
Whisk well. Set aside.
|
STEP 16
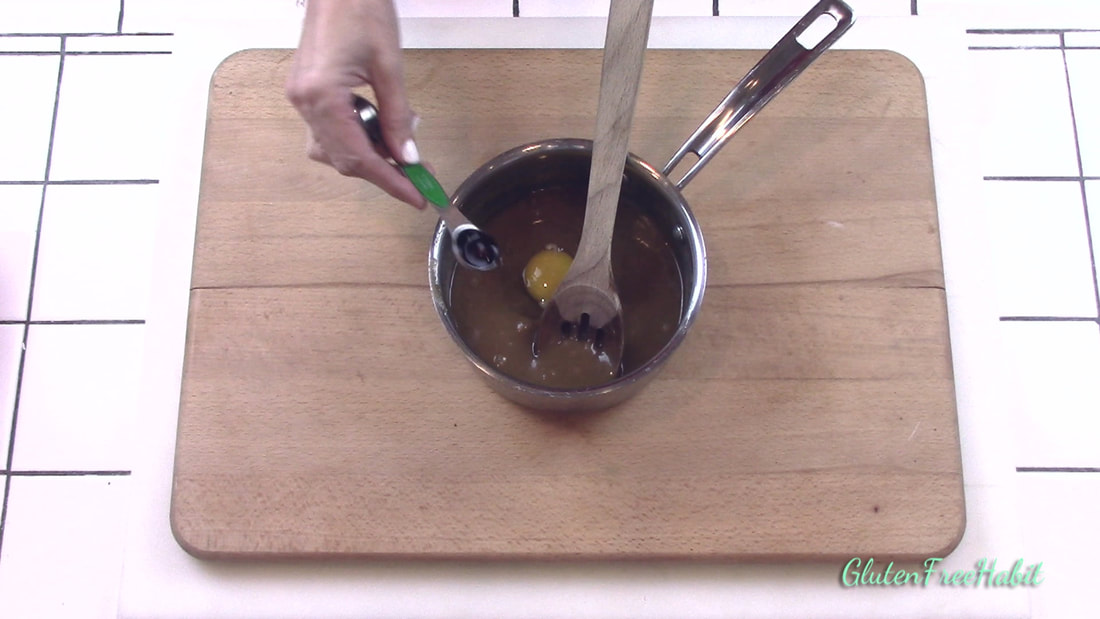
When butter/sugar mixture is mostly cooled, add in vanilla and egg.
|
ADVERTISEMENTS
|
|
|
|
STEP 17
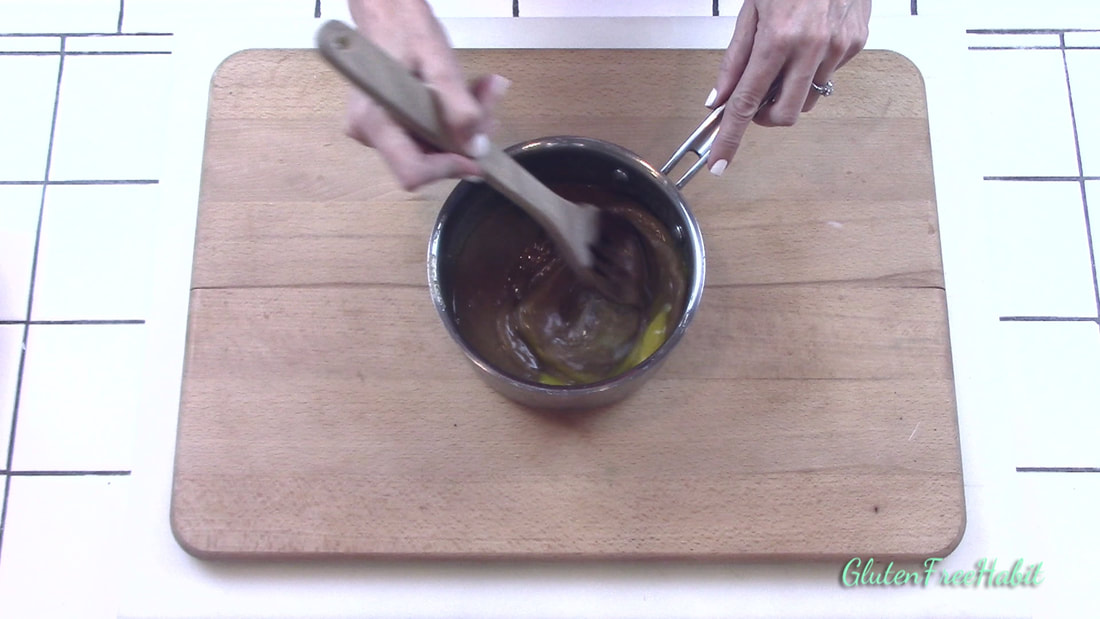
Stir.
|
STEP 18
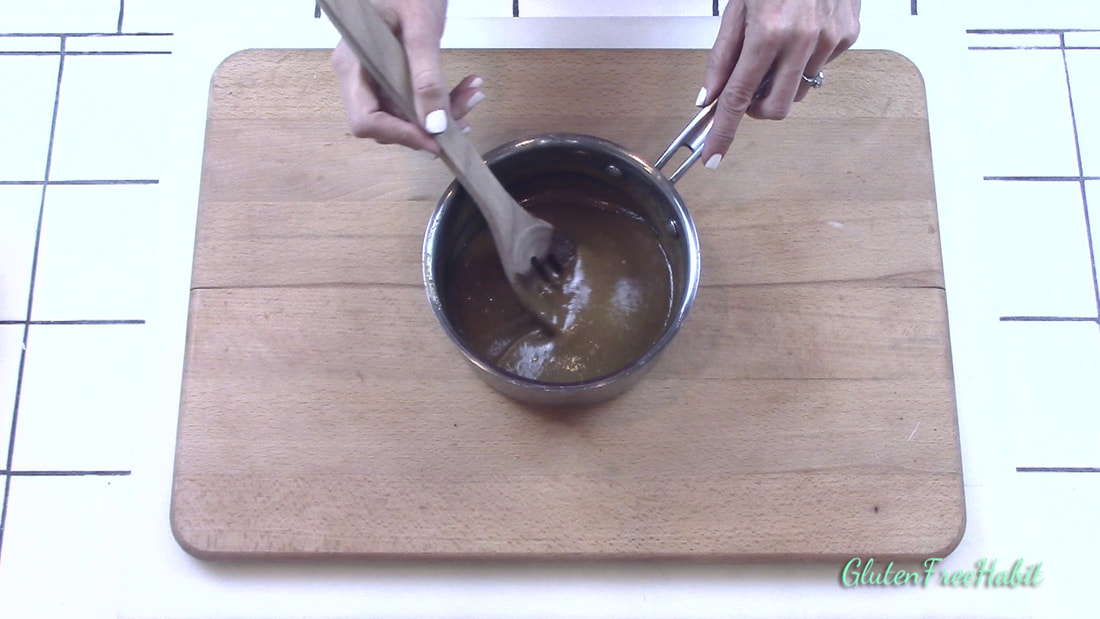
Keep stirring until thoroughly combined and smooth.
|
|
STEP 19
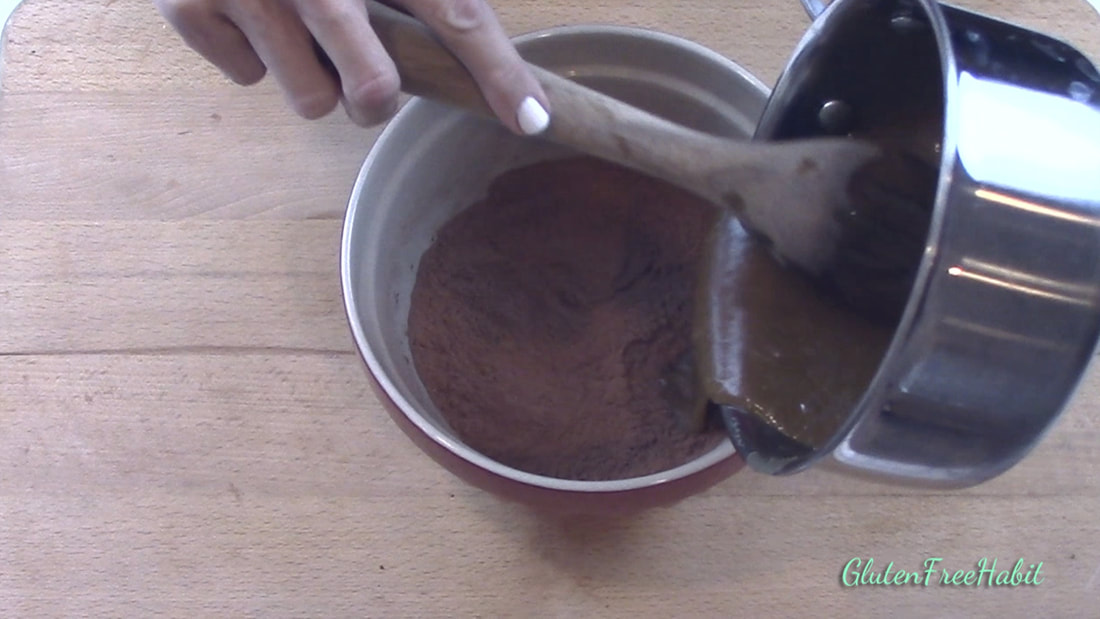
Add this wet mixture into the dry mixture.
|
STEP 20
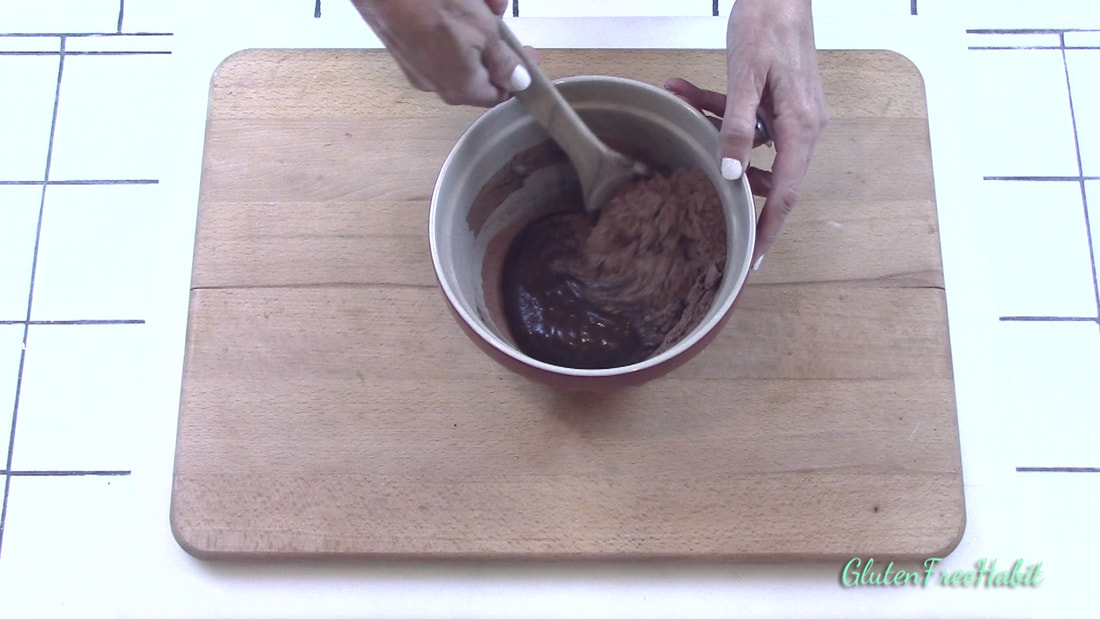
Stir thoroughly.
|
|
STEP 21
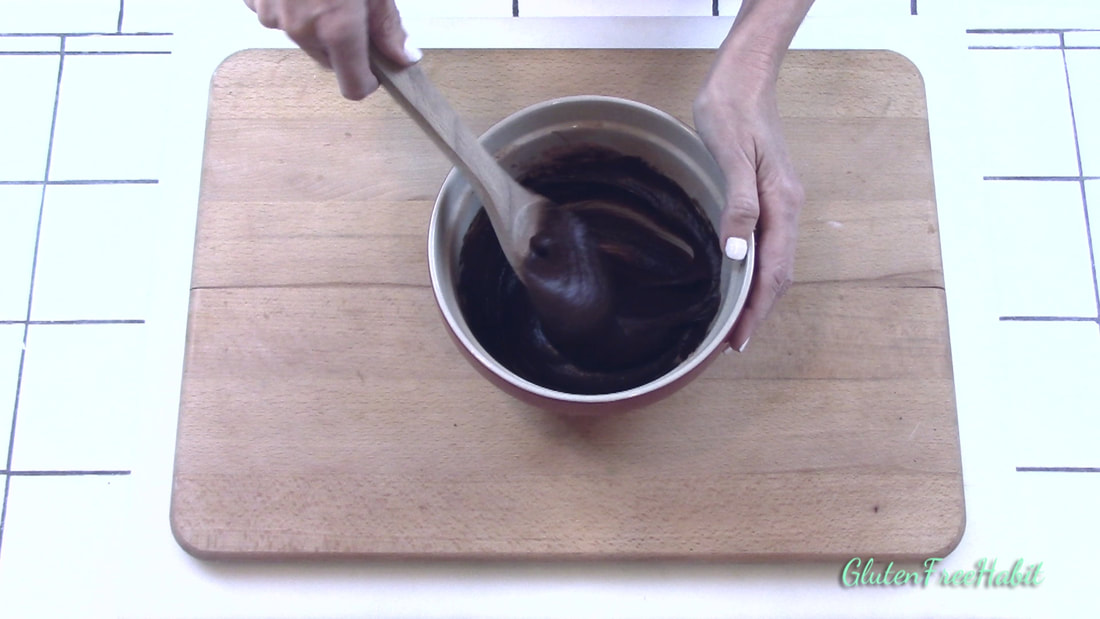
Batter will be thick...use your muscles!
|
STEP 22
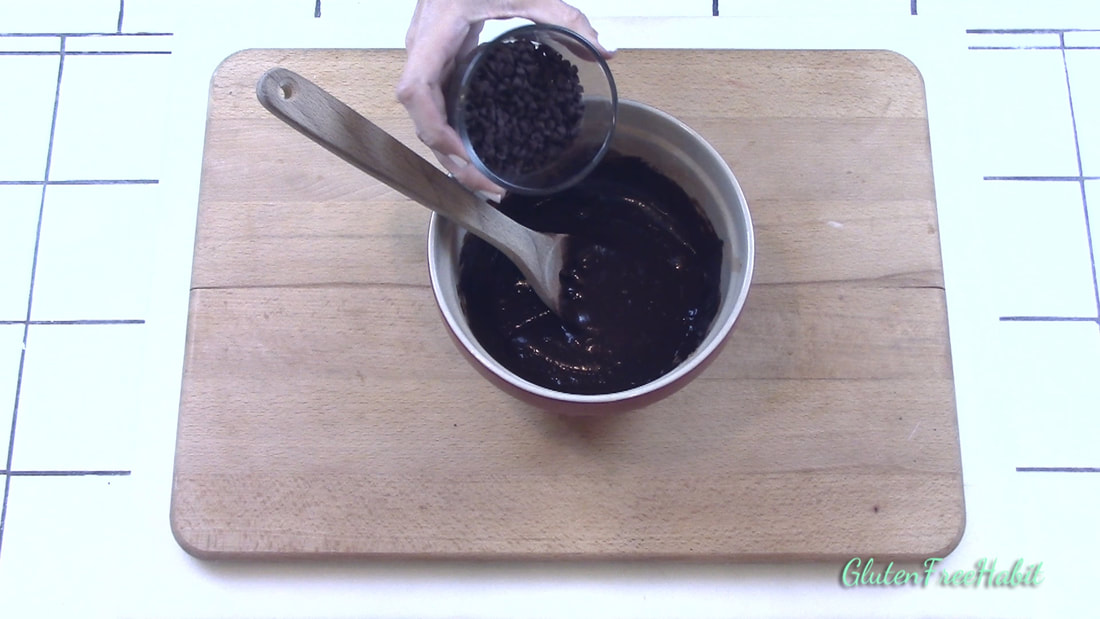
Add chocolate chips and Andes baking chips.
|
|
STEP 23
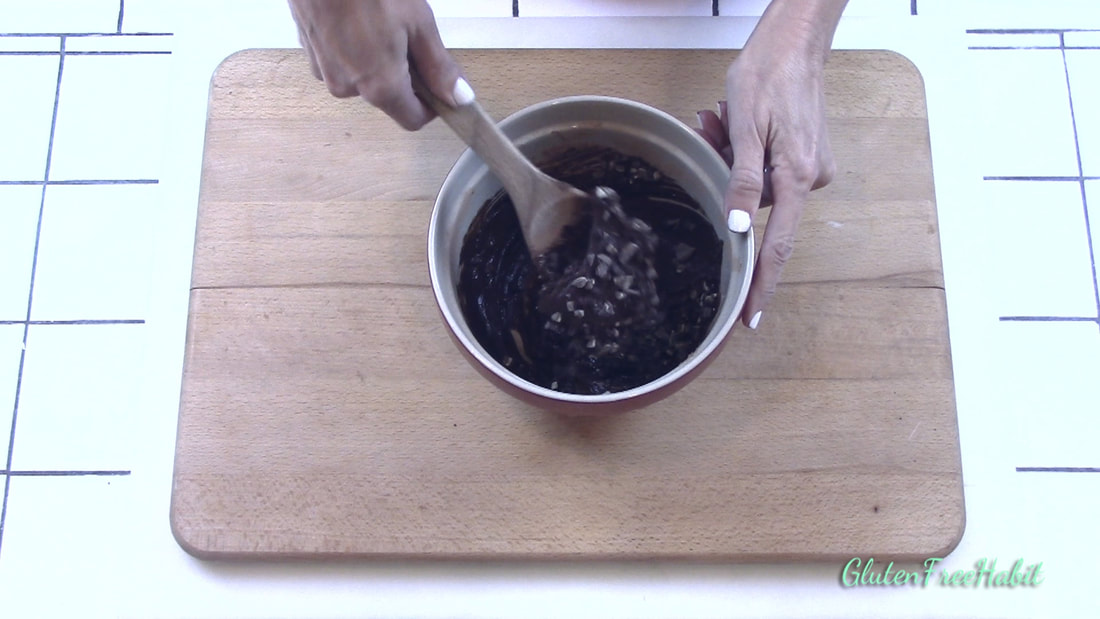
Stir well.
|
STEP 24

Scoop batter into baking pan.
|
ADVERTISEMENT
|
STEP 25
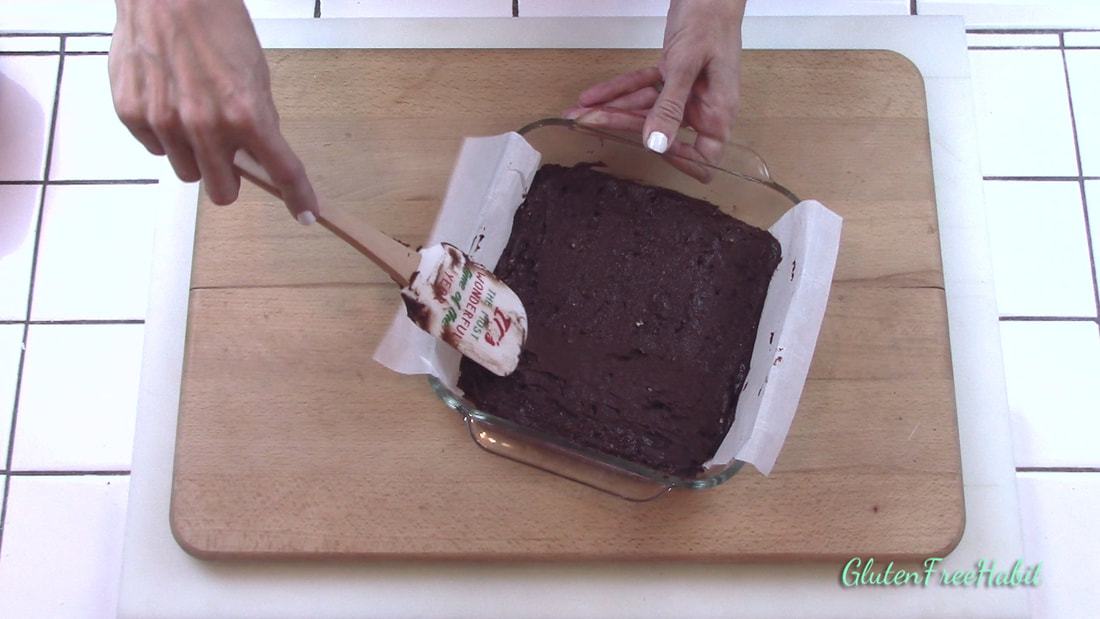
Make sure batter is level and smooth.
|
STEP 26
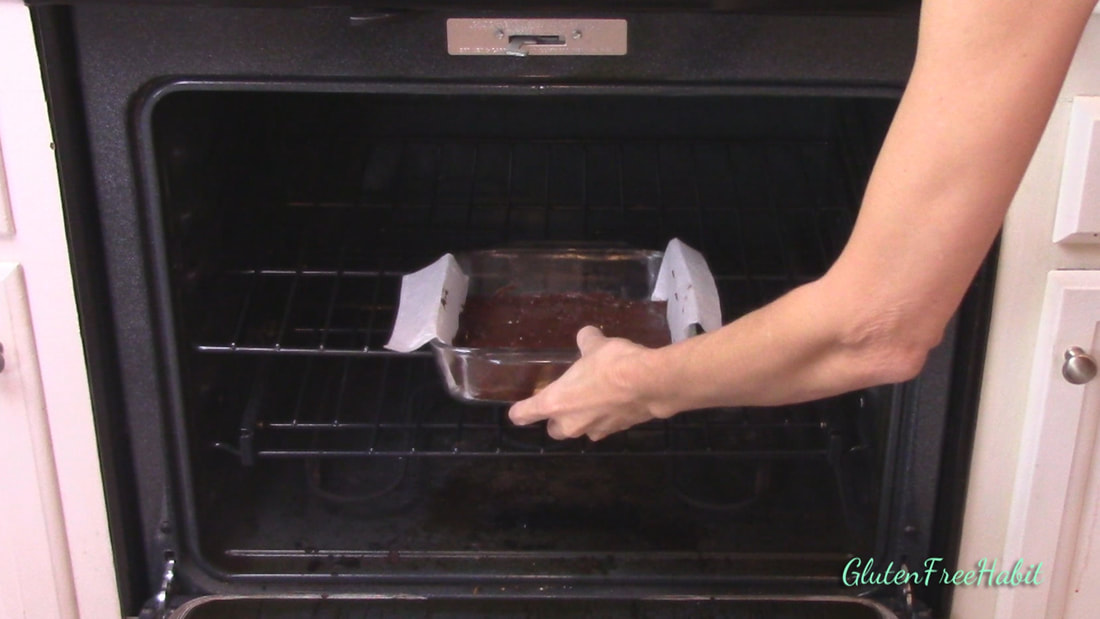
Bake 35 minutes. Don’t overcook!
|
|
STEP 27
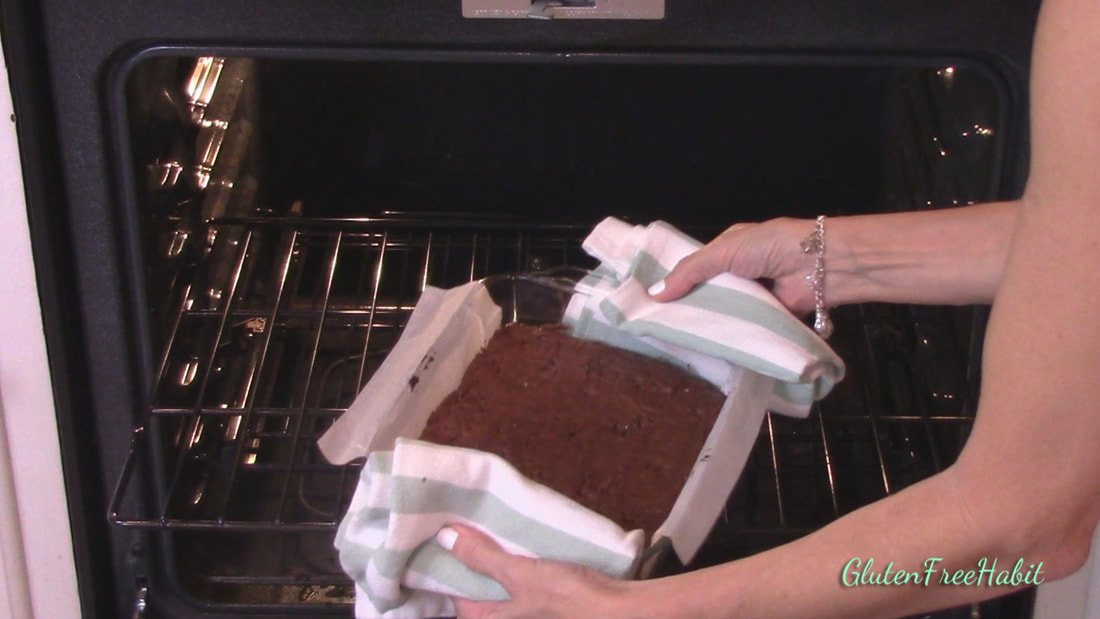
Remove from oven.
|
STEP 28
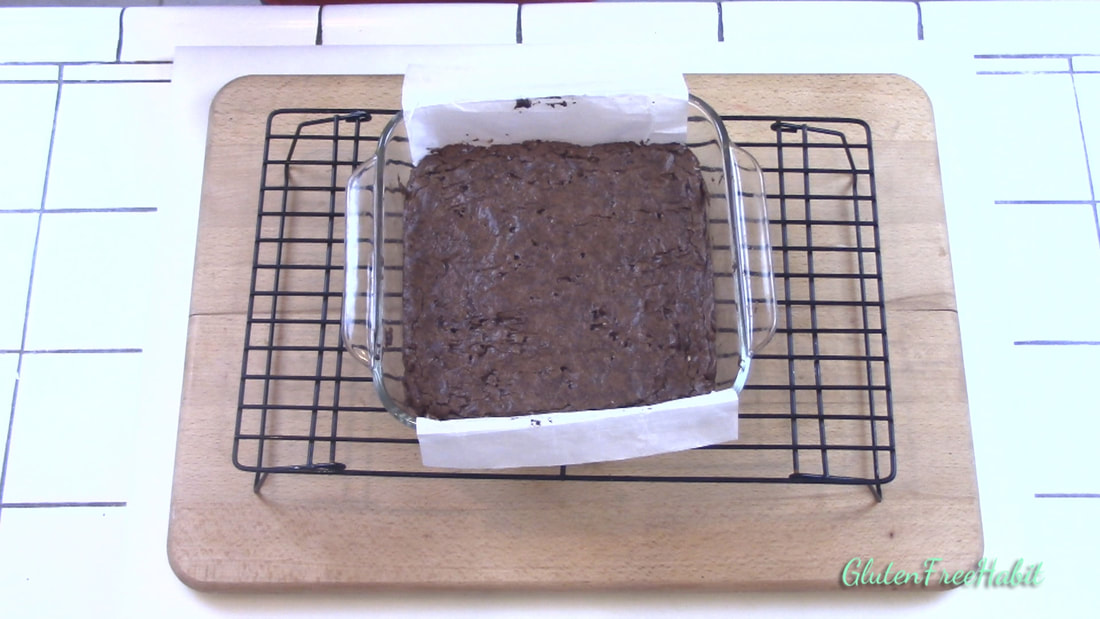
Set on cooling rack. Brownies will be very soft until fully cooled.
|
|
STEP 29
Run a knife along the two sides that don't have parchment.
|
STEP 30

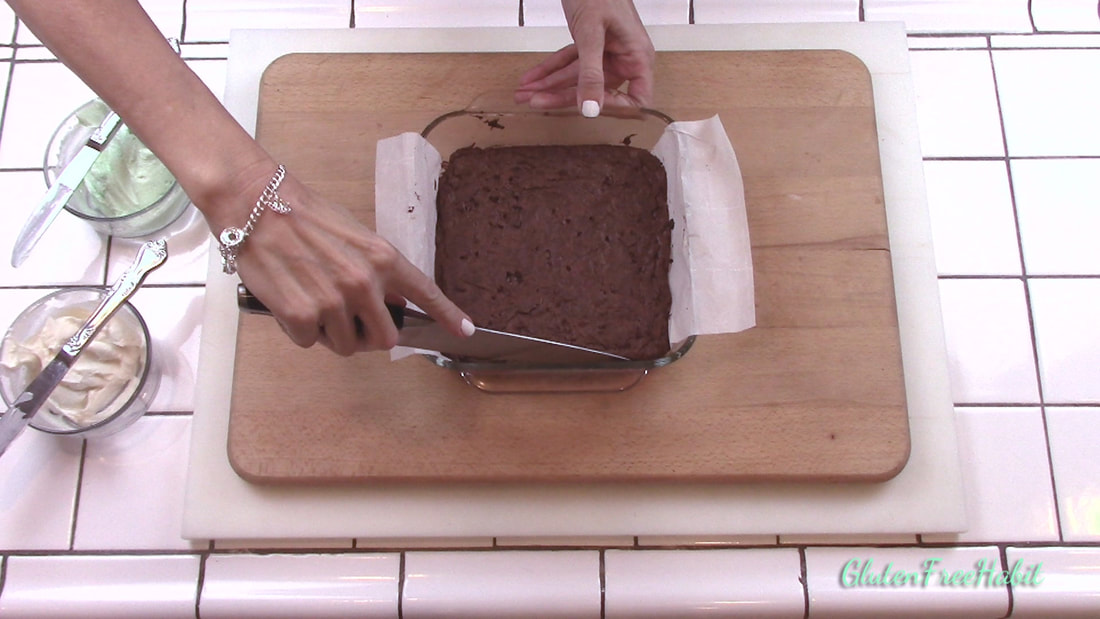
When brownies are fully cool (about 3 hours), carefully lift out of pan.
|
|
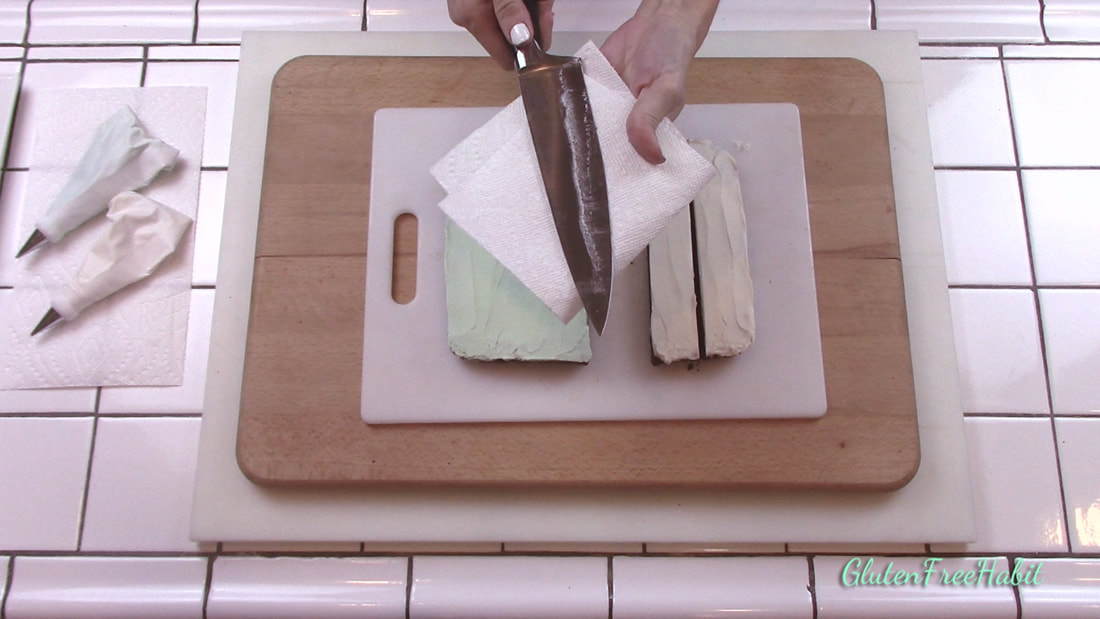
STEP 31
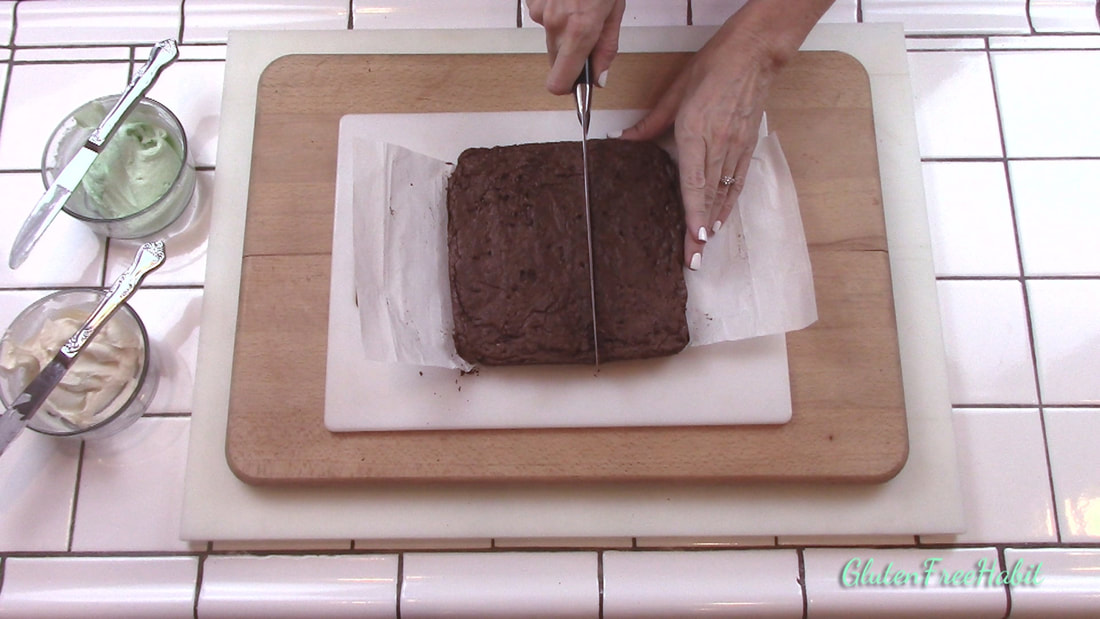
To make two different colors of brownie bites, start by trimming a tiny bit off all four sides to make nice neat edges. Now, slice your square into 2/5 and 3/5 portions (you will be making 5 even rows).
|
STEP 32
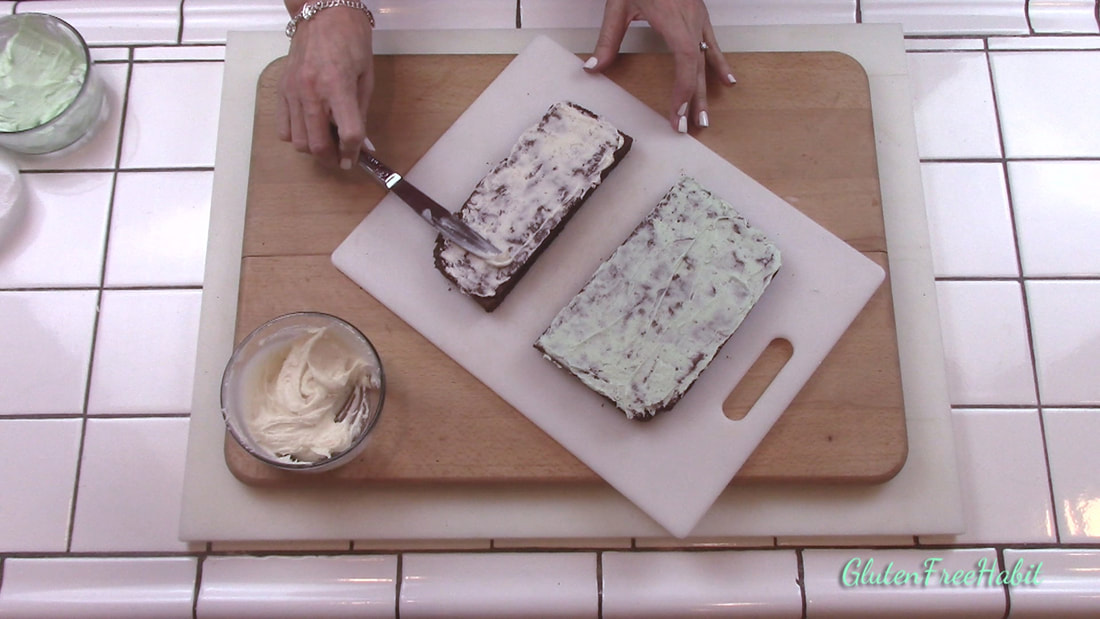
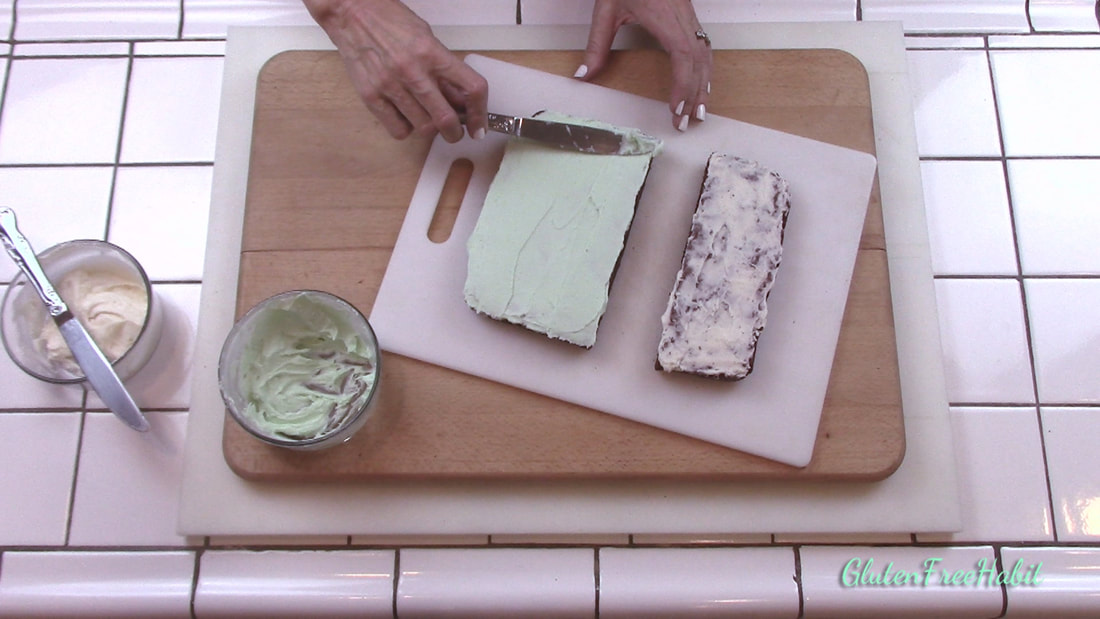
Frost one portion green, and the other white, as follows: First do a very thin “crumb coat”. This thin layer will catch the crumbs before the “real” frosting goes on.
|
ADVERTISEMENT
|
STEP 33
Set in fridge for 20 minutes for frosting to firm up.
|
STEP 34
Remove from fridge and apply final frosting layer to each piece.
|
|
STEP 35
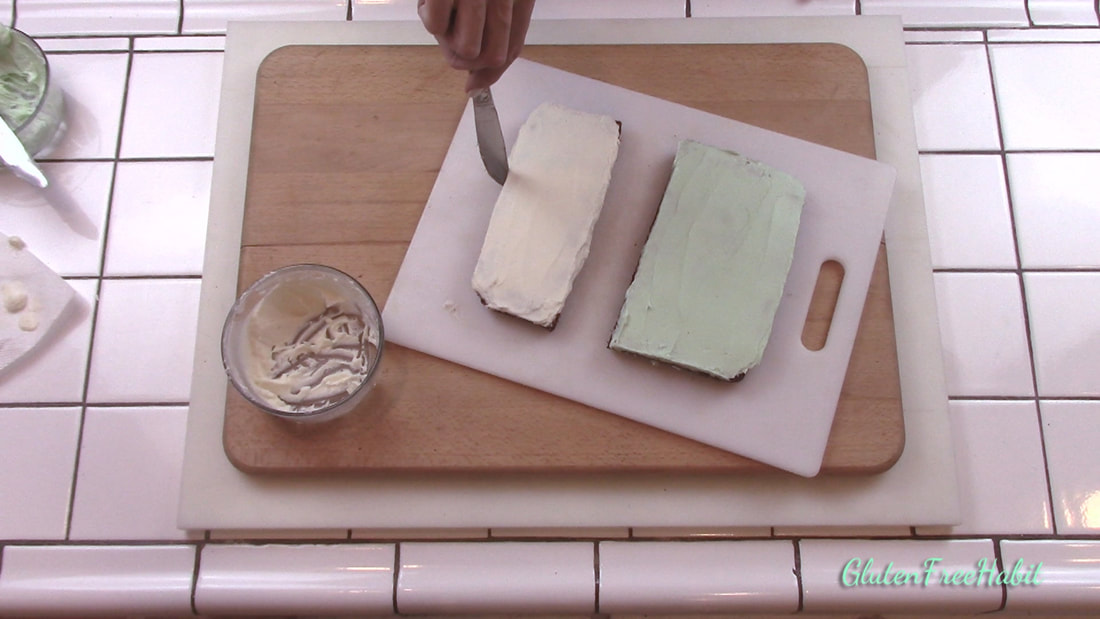
Smooth edges with the flat side of a knife. Return to fridge for another 20 minutes.
|
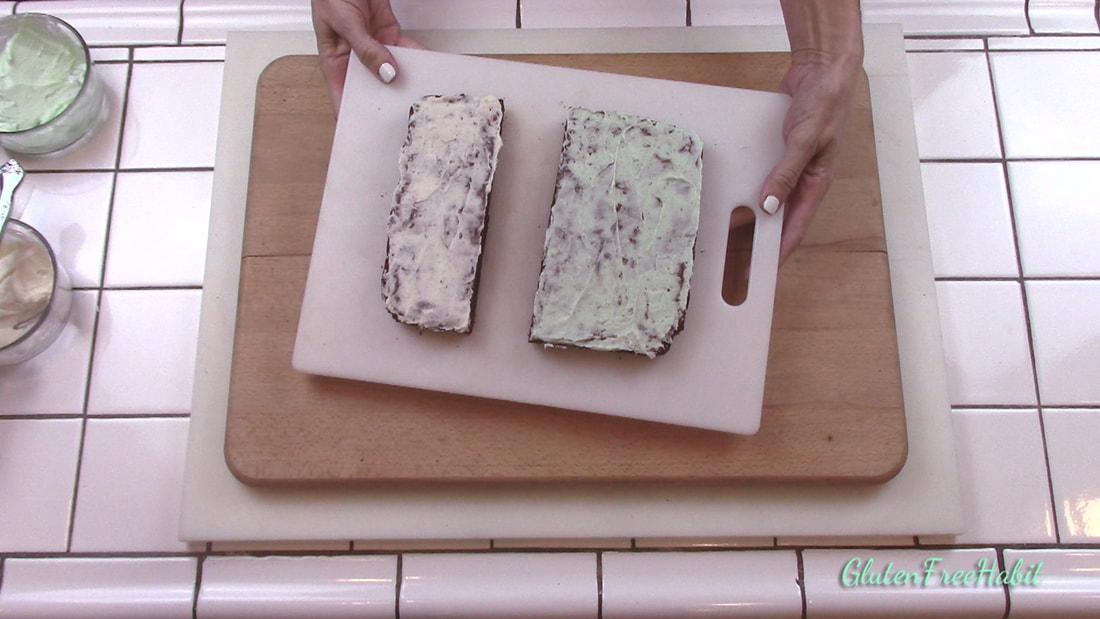
STEP 36
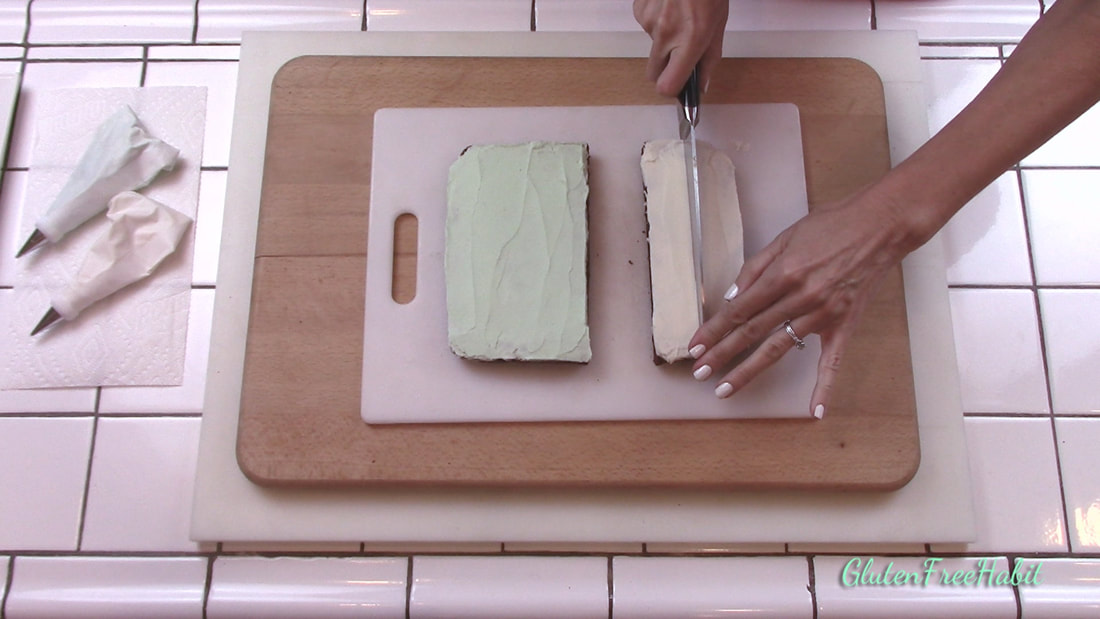
Remove from fridge. Cut brownies into neat squares as follows: Slice your smaller piece in half lengthwise...
|
|
STEP 37
...and the larger piece into thirds lengthwise.
|
STEP 38
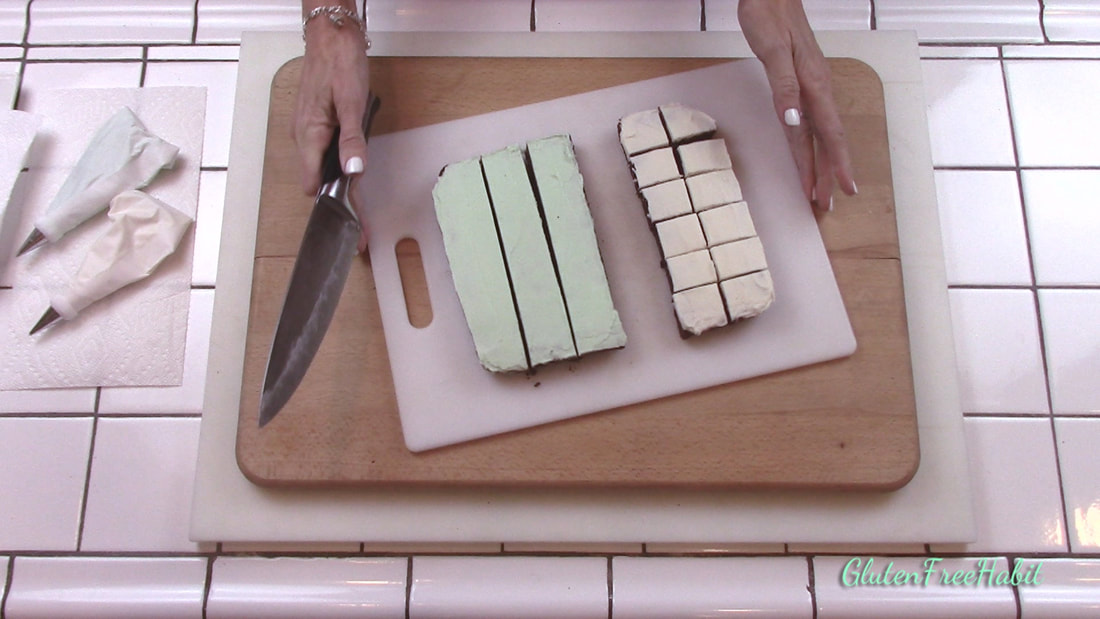
Clean knife after every slice, or after every few slices, to avoid getting crumbs on frosting.
|
|
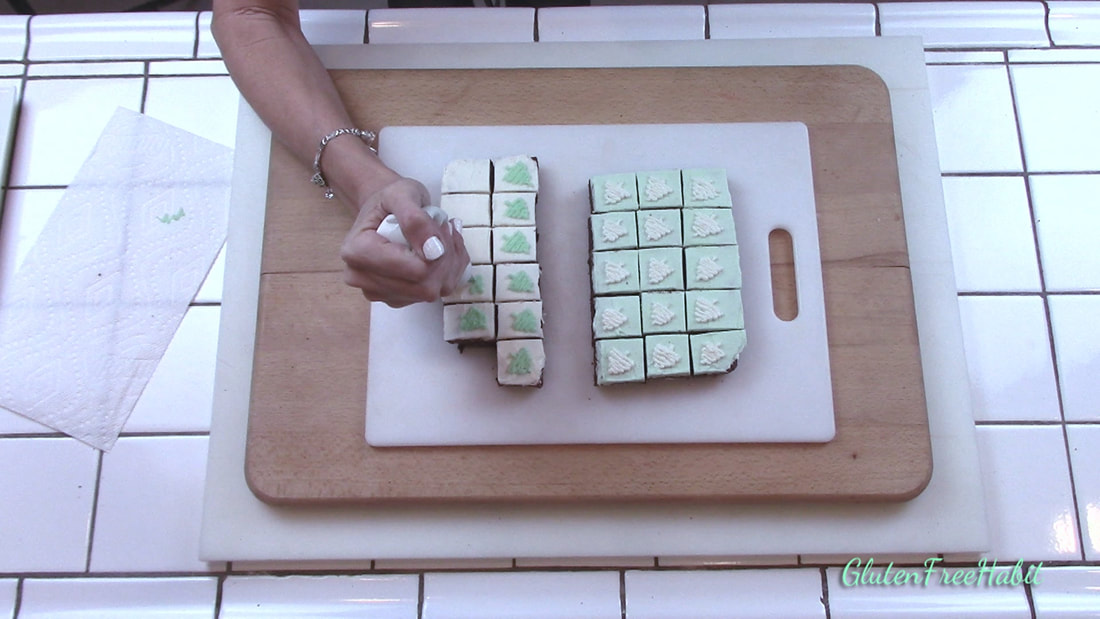
STEP 39
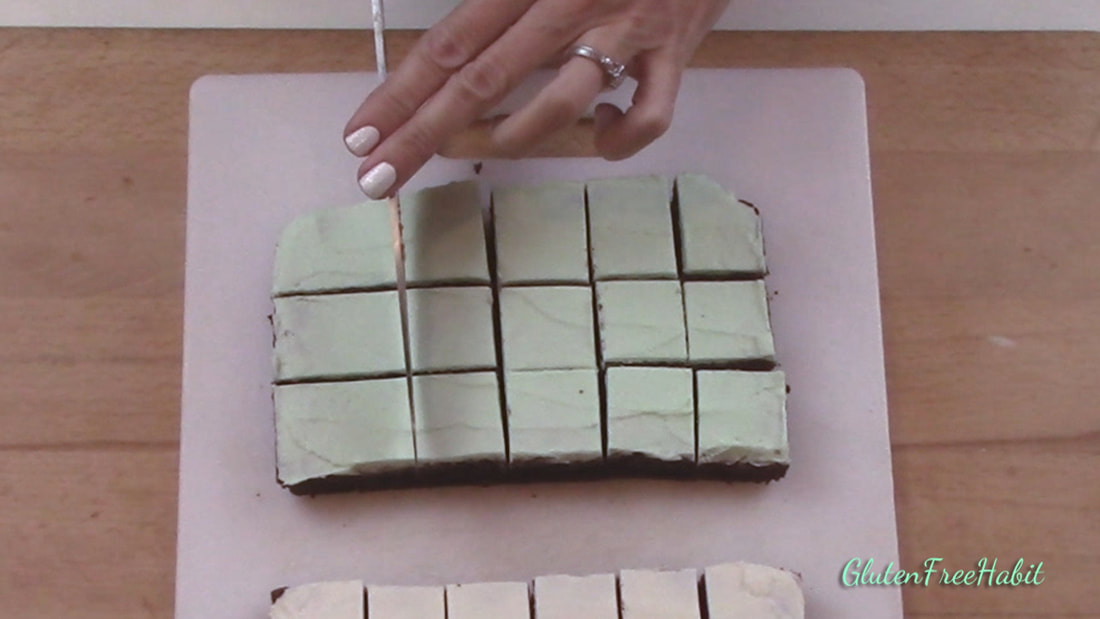
Turn and cut into 5 pieces going the other direction (total of 25 brownie bites).
|
STEP 40
If frosting was in the fridge, make sure to set it on the counter for 15 minutes or so before piping decorations.
|
ADVERTISEMENT
|
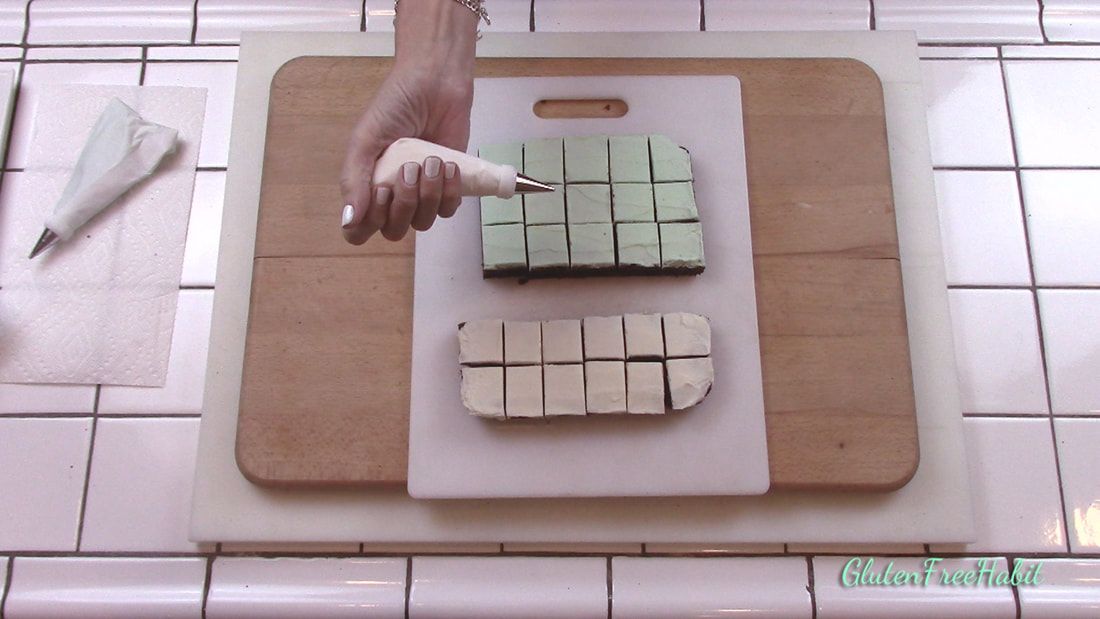
STEP 41
Pipe on decorations (white on green/green on white).
|
STEP 42
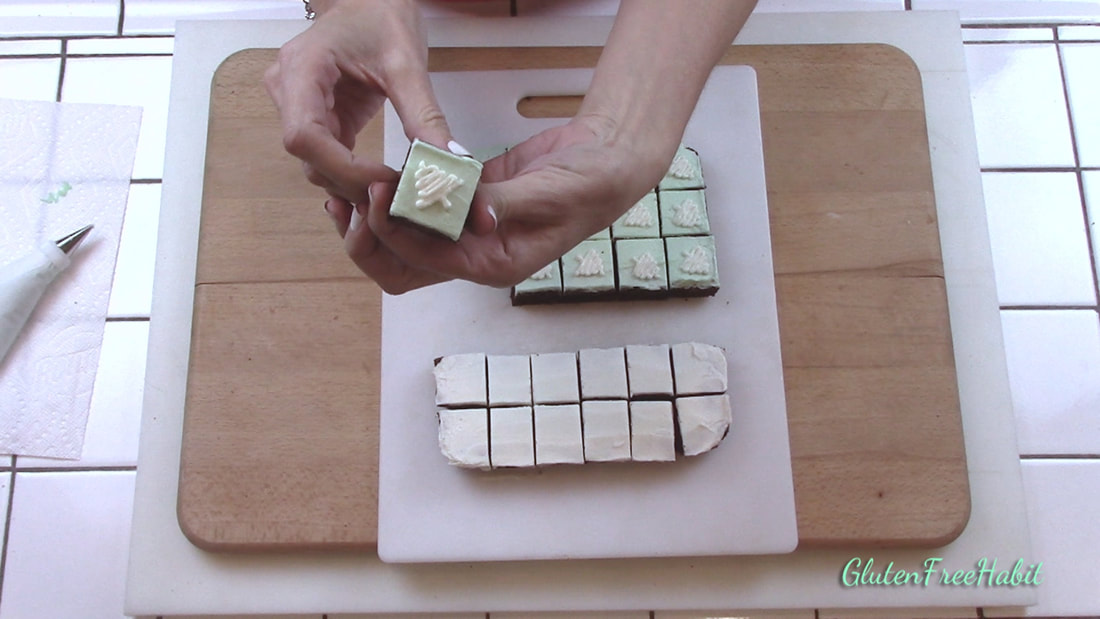
So cute!
|
|
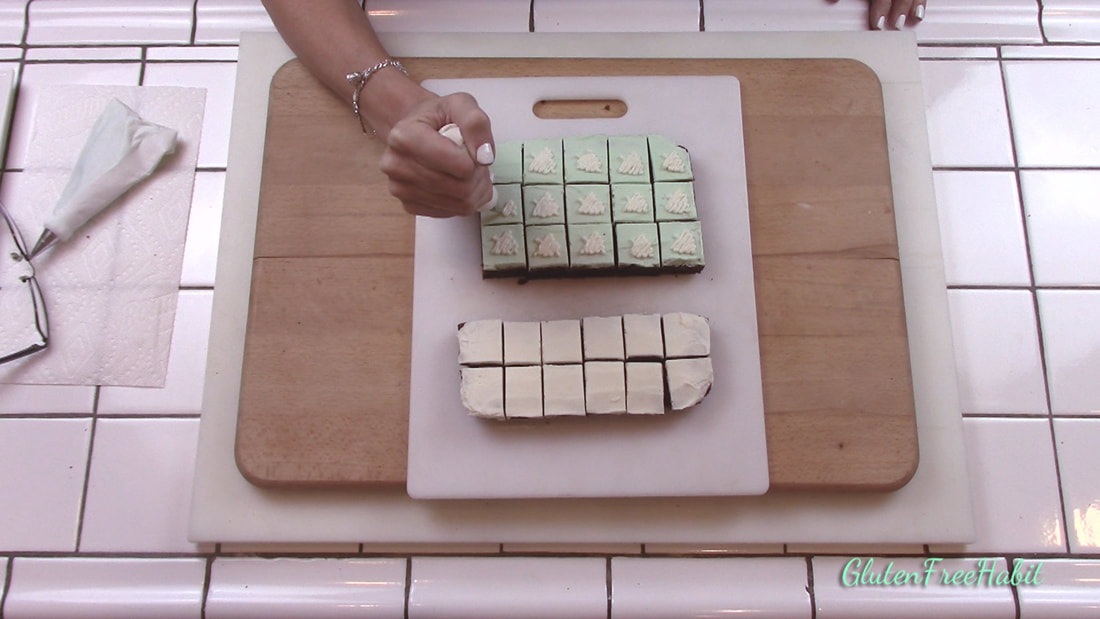
STEP 43
Experiment with fun designs...Christmas trees, stars, stripes, etc.
|
STEP 44
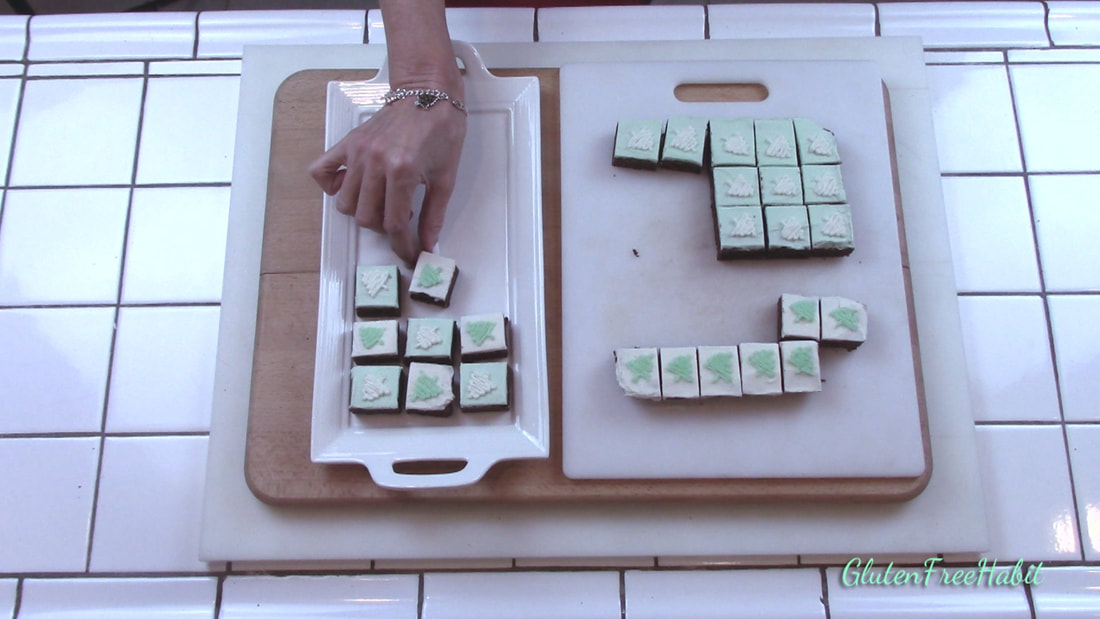
Transfer to serving dish and thaw fully before serving.
|
YAY...TIME TO EAT!
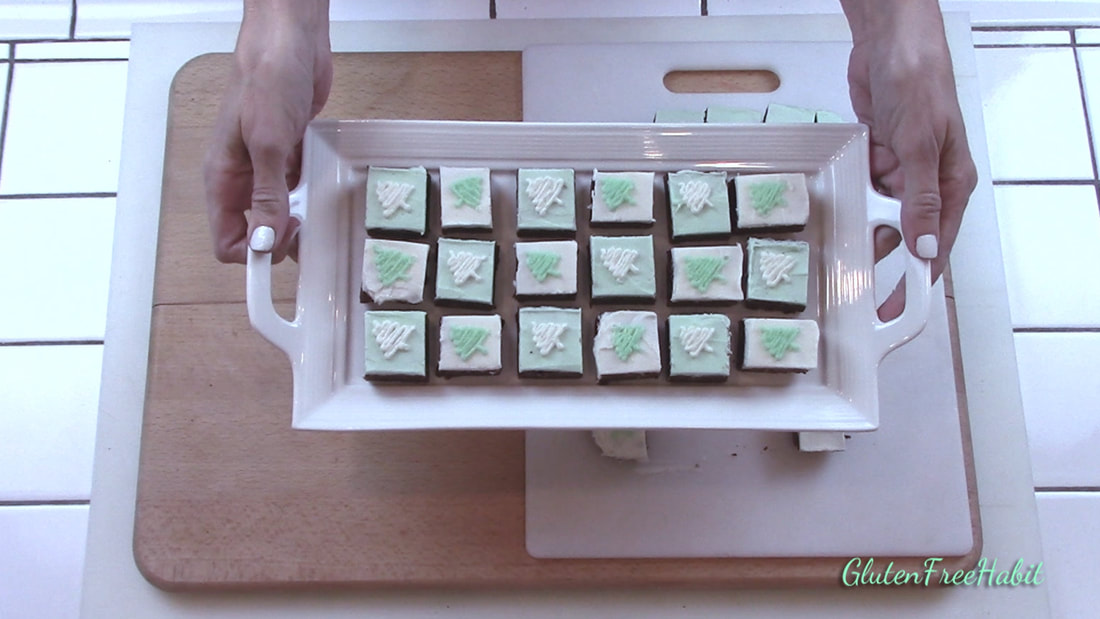
These brownie bites are delicious and pretty too!

ADVERTISEMENT
READY TO MAKE SOME BROWNIE BITES?
Make sure to start with all the right tools! Shop for gluten free flours, serving dishes, and cookware in my Amazon shop!
THE RECIPE
IngredientsDry Mixture:
1/3 cup brown rice flour 1/3 cup white rice flour 1/2 cup unsweetened cocoa powder 1/4 tsp. salt 1/4 tsp. baking powder 1/2 tsp. xanthan gum Wet Mixture: 1 stick butter 1/3 cup granulated sugar 2/3 cup dark brown sugar 1 Tbsp. water 1 tsp. vanilla 1 large egg Add-Ins: 1/3 cup semi-sweet mini- chocolate chips ¼ cup Andes mint baking chips Frosting: (optional) ½ batch of my Vanilla Buttercream Frosting Green food coloring |
|
DirectionsGetting Ready:
Let's Get Started:
If frosting your brownie bites, continue with the following directions...
|
Tip: Please follow all directions exactly!! If you skip steps or swap ingredients then you may or may not like the end result :)
Tip: Make these brownie bites with or without frosting, or prepare an assortment to please everyone!
Tip: Make these brownie bites with or without frosting, or prepare an assortment to please everyone!
PRINTABLE VERSION OF THIS RECIPE:

WANT TO LEAVE A COMMENT?
Please leave all comments in the "Comments" section of the YouTube video. Thank You!

ADVERTISEMENT
*** I AM NOT A NUTRITIONIST OR MEDICAL PROFESSIONAL*** THE INFORMATION ON THIS WEBSITE IS NOT INTENDED TO SUBSTITUTE FOR MEDICAL TREATMENT OR ADVICE. PLEASE READ INGREDIENTS ON THIS WEBSITE AND ON PACKAGES, AND MAKE SURE THEY ARE SAFE FOR YOU PRIOR TO USING THEM IN YOUR RECIPES. WHEN IN DOUBT, CHECK WITH YOUR DOCTOR FIRST.*** THANK YOU.