How to Make White Chocolate Curls + Pastels

Chocolate curls are such a beautiful way to dress up any dessert. These curls are made with white chocolate and can be colored to coordinate with any theme. Chocolate curls can be a little tricky until you get the hang of it, but they’re well worth the effort! Just watch the video below and before you know it you'll have beautiful pastel-colored white chocolate curls!
Makes: Number of curls depends on thickness of chocolate and length of curls

Show Me How

Walk Me Through It
1
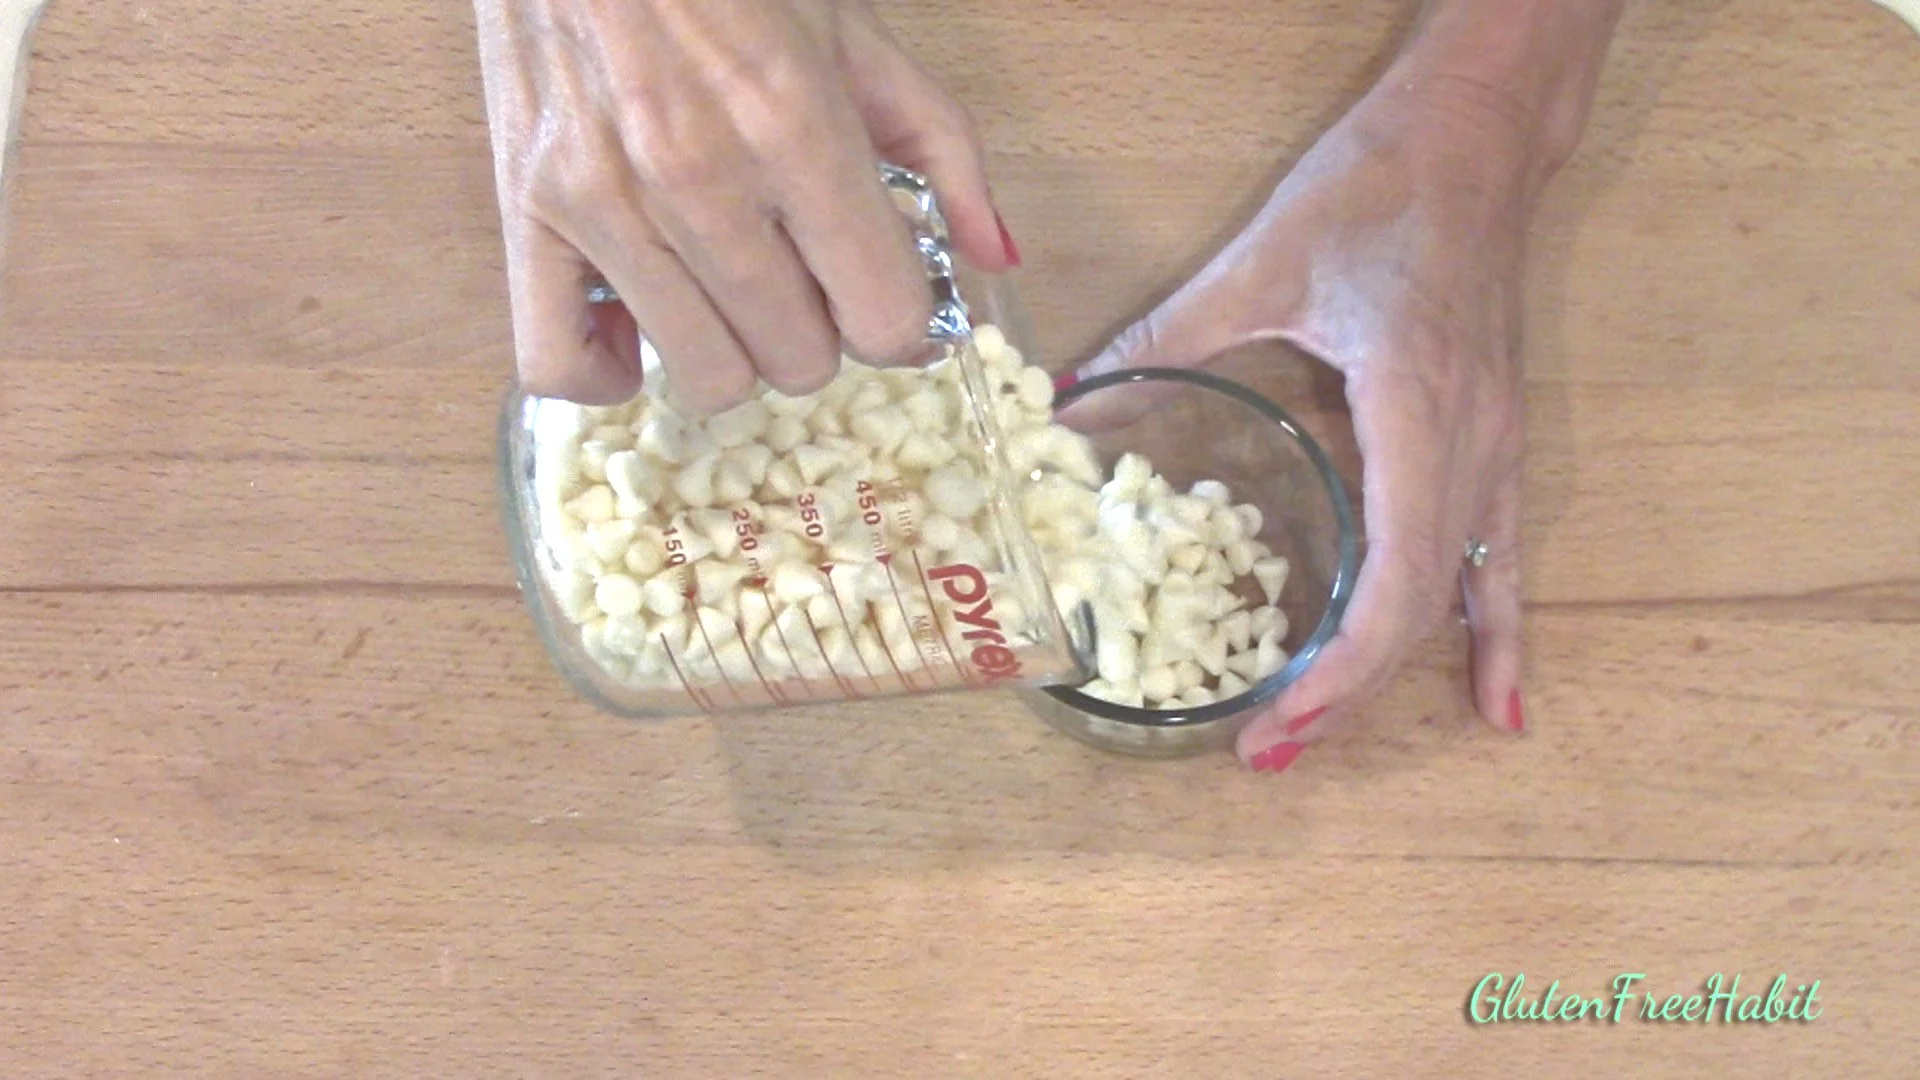
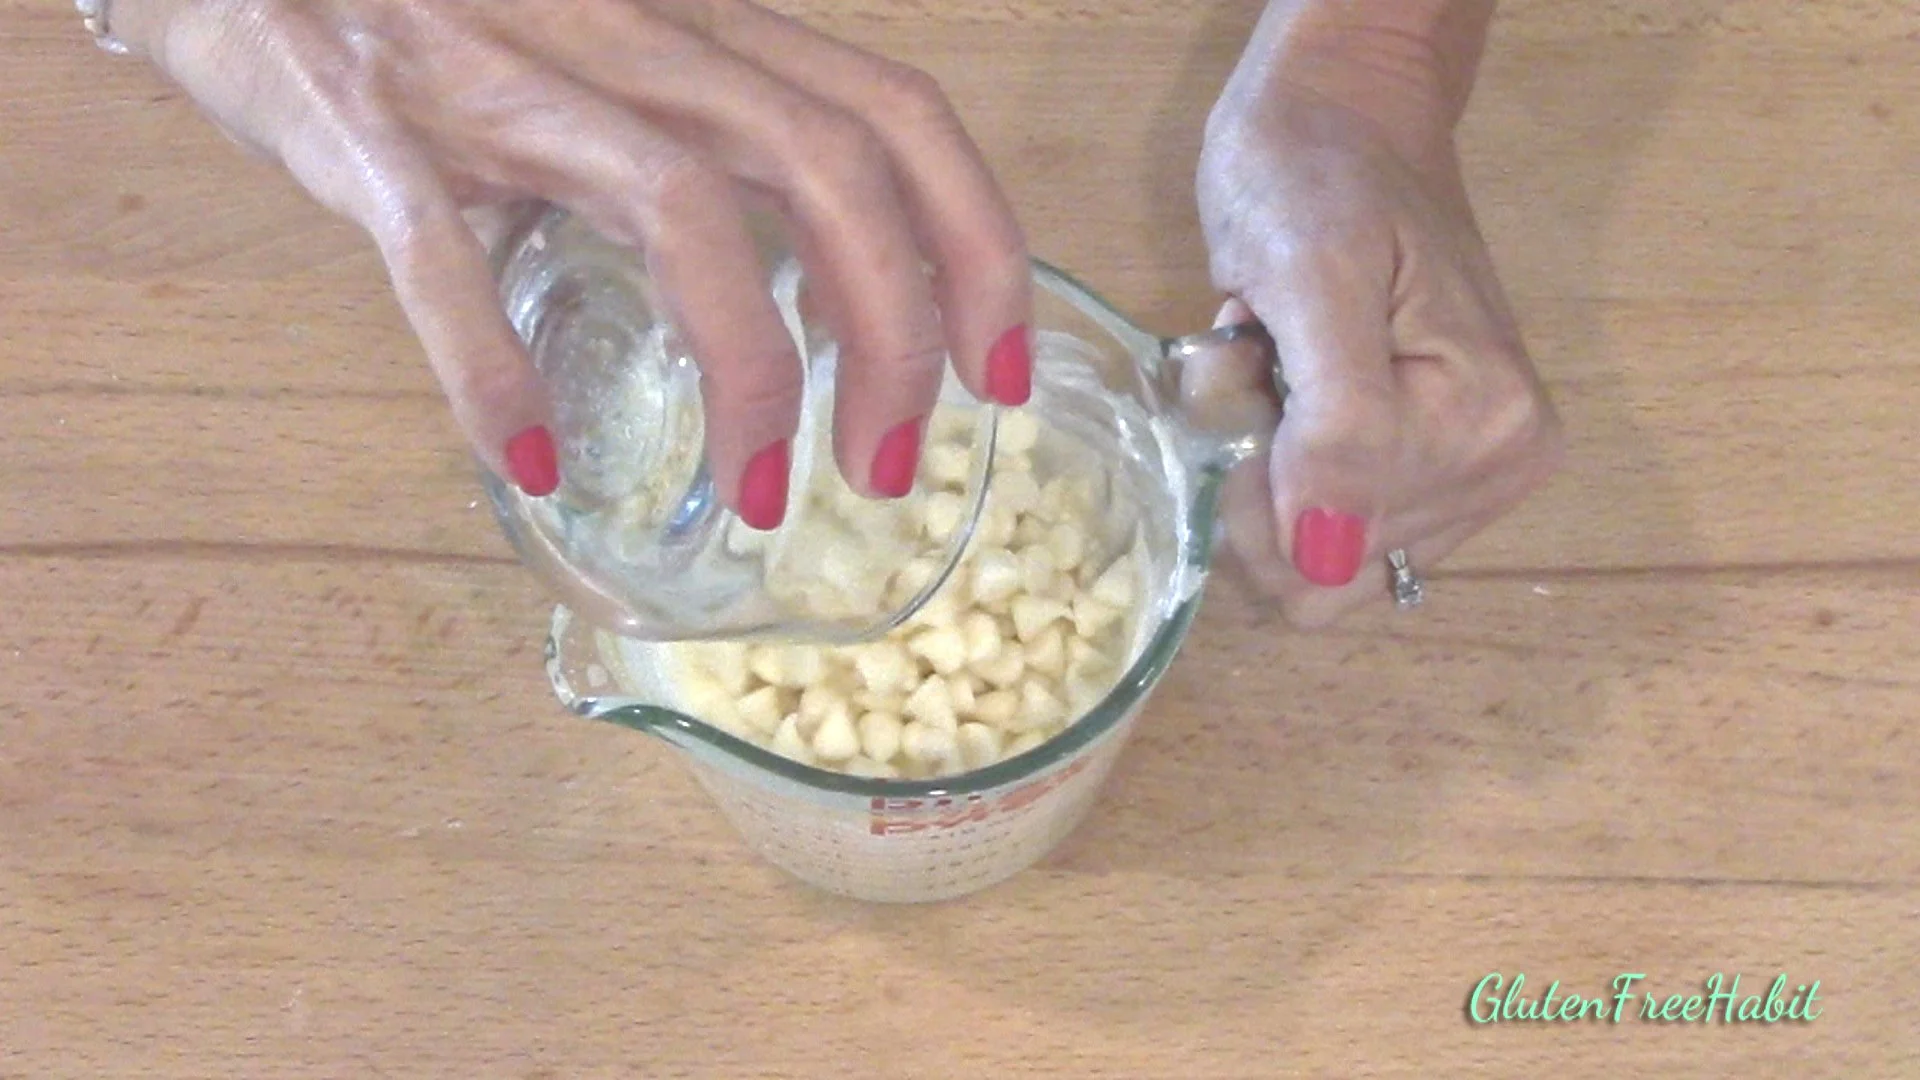
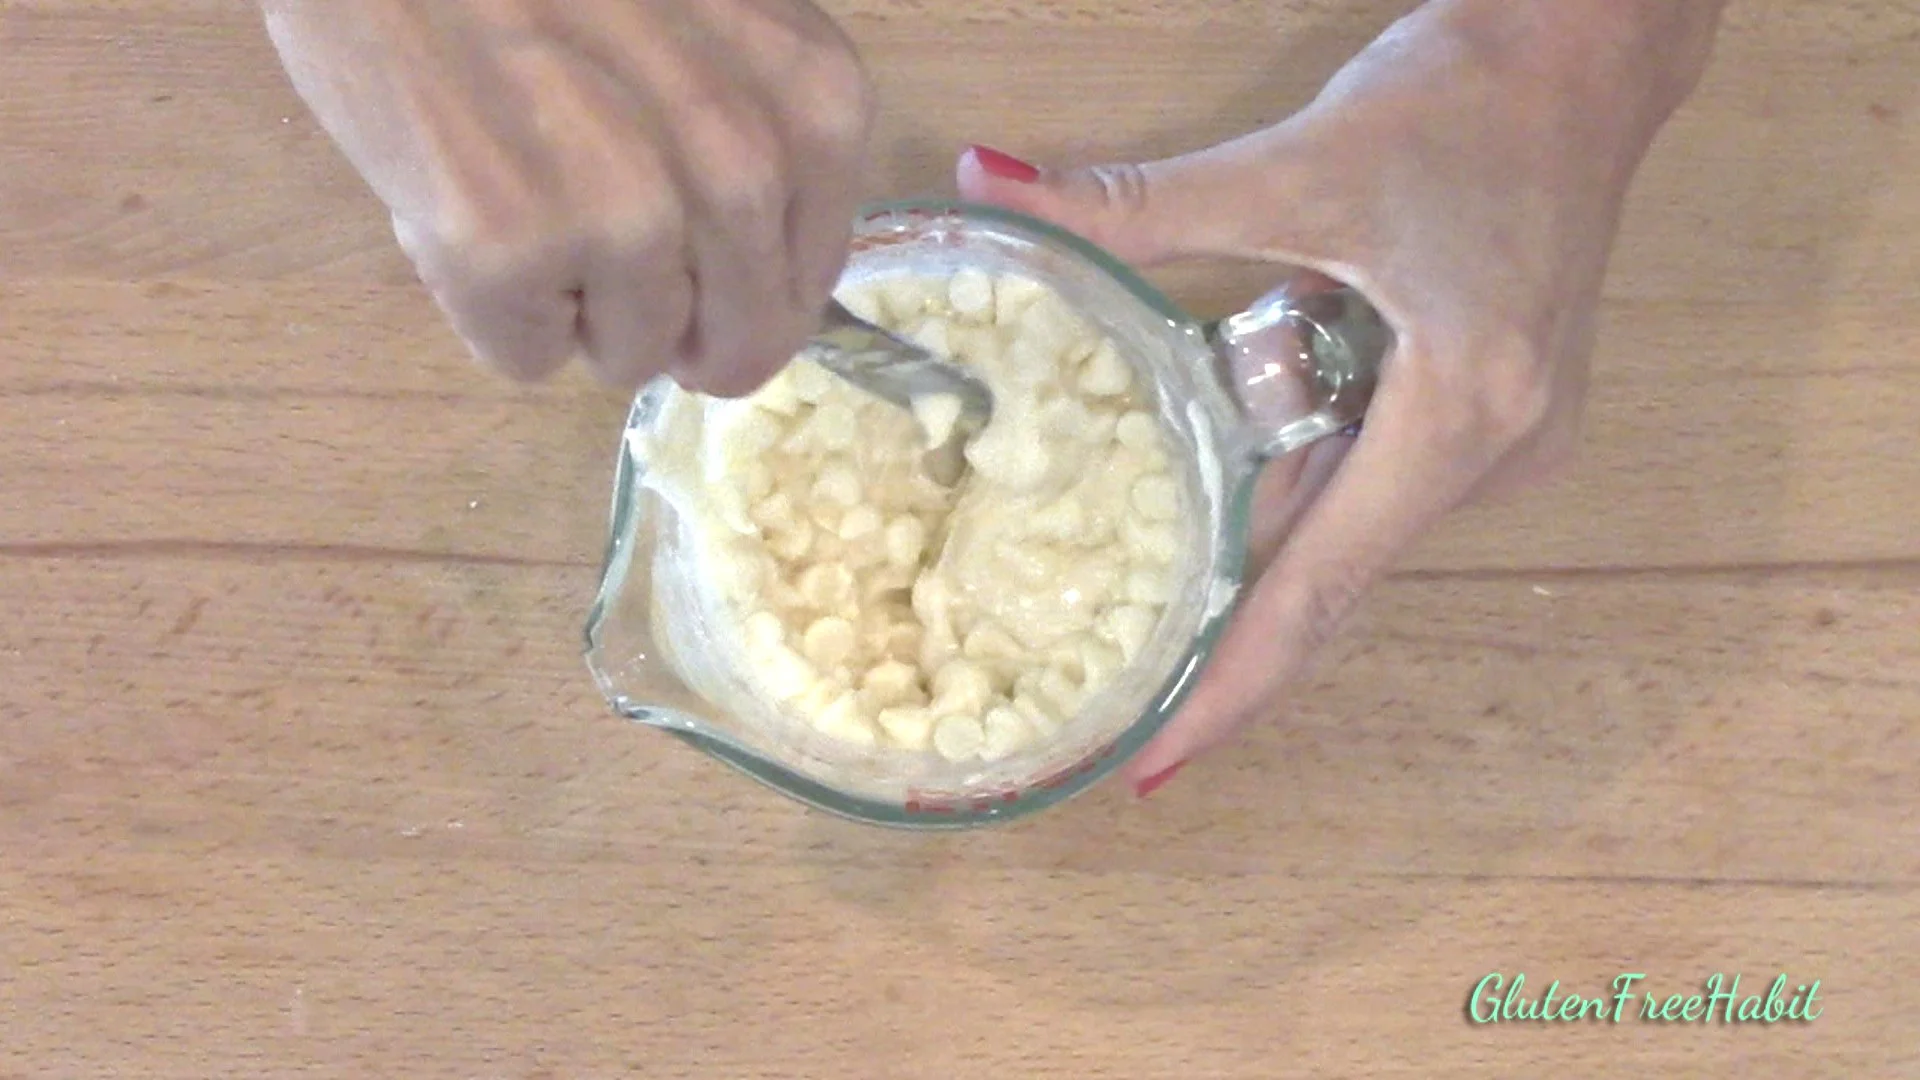
Separate out about ¼ cup or a little less of the chips and set aside for later.
2
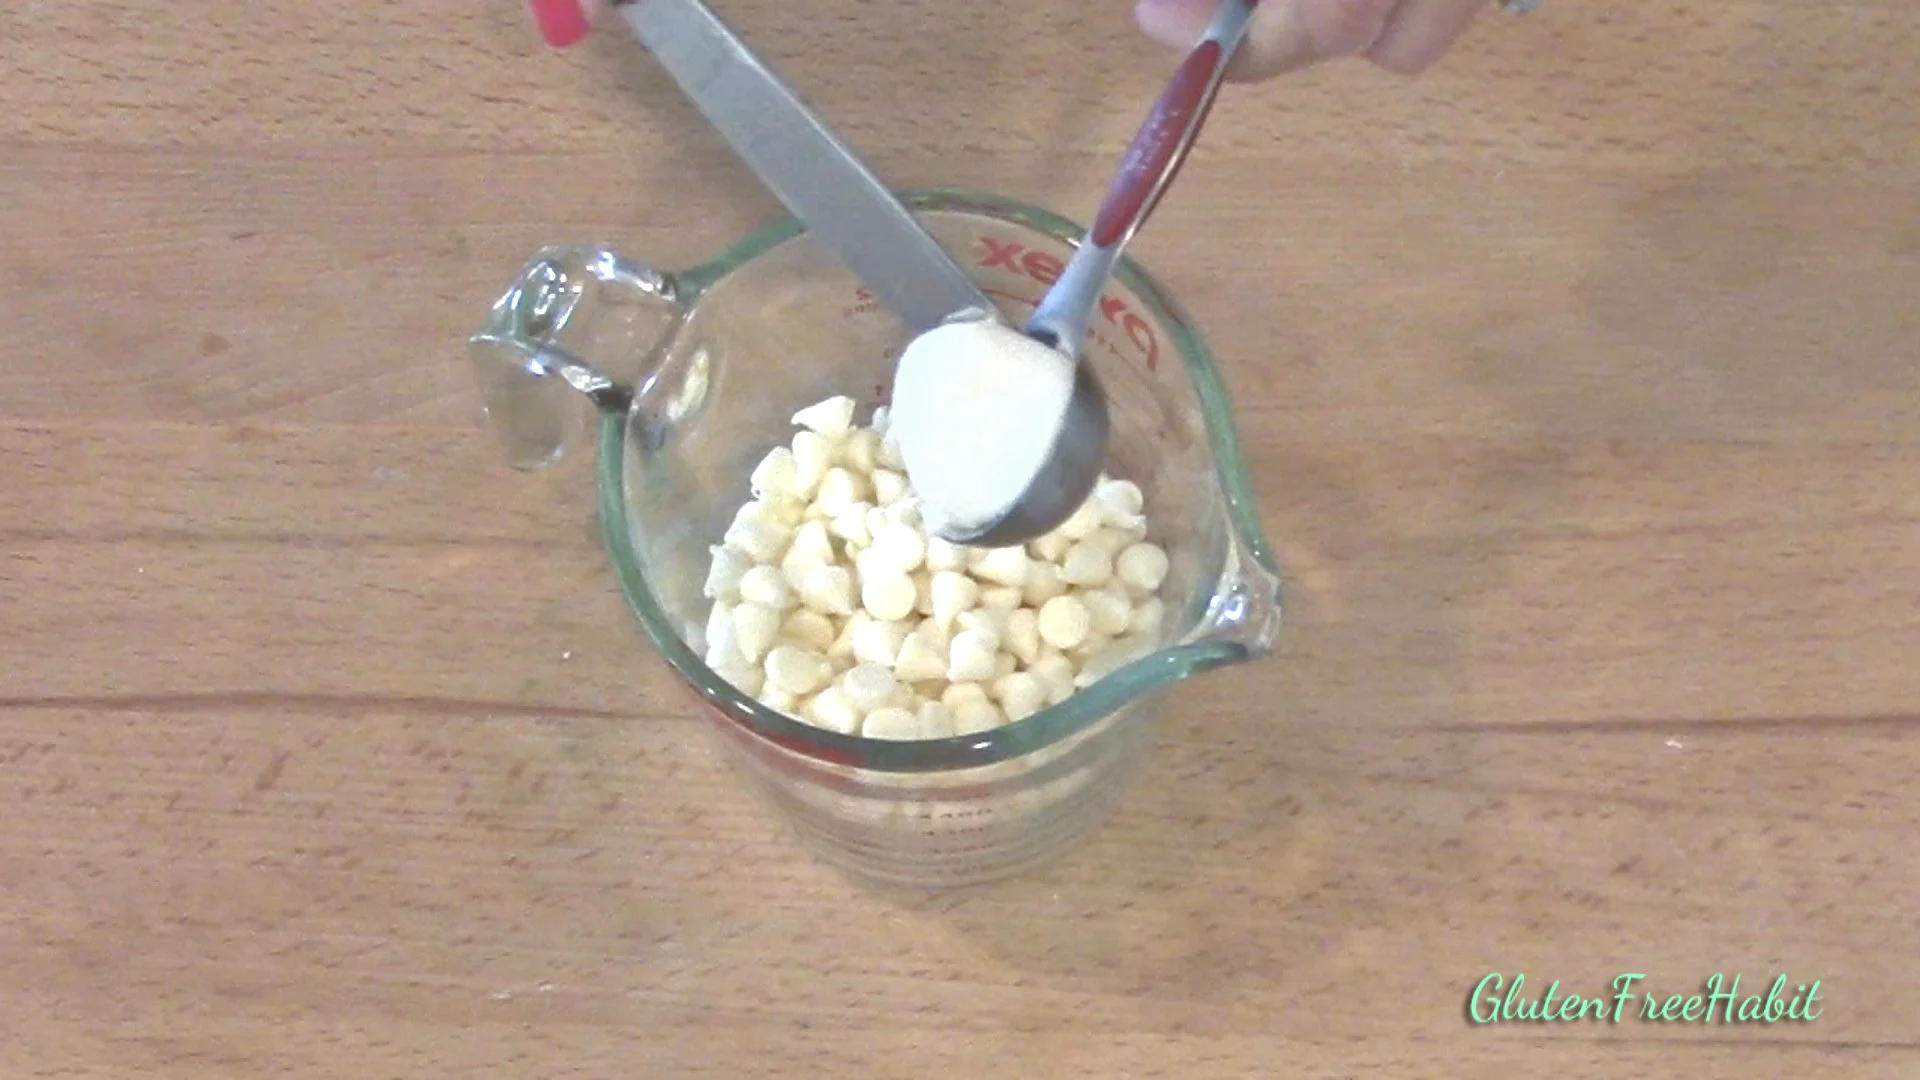
In a microwaveable cup or bowl, add shortening and the remaining ¾ cup of chips.
3
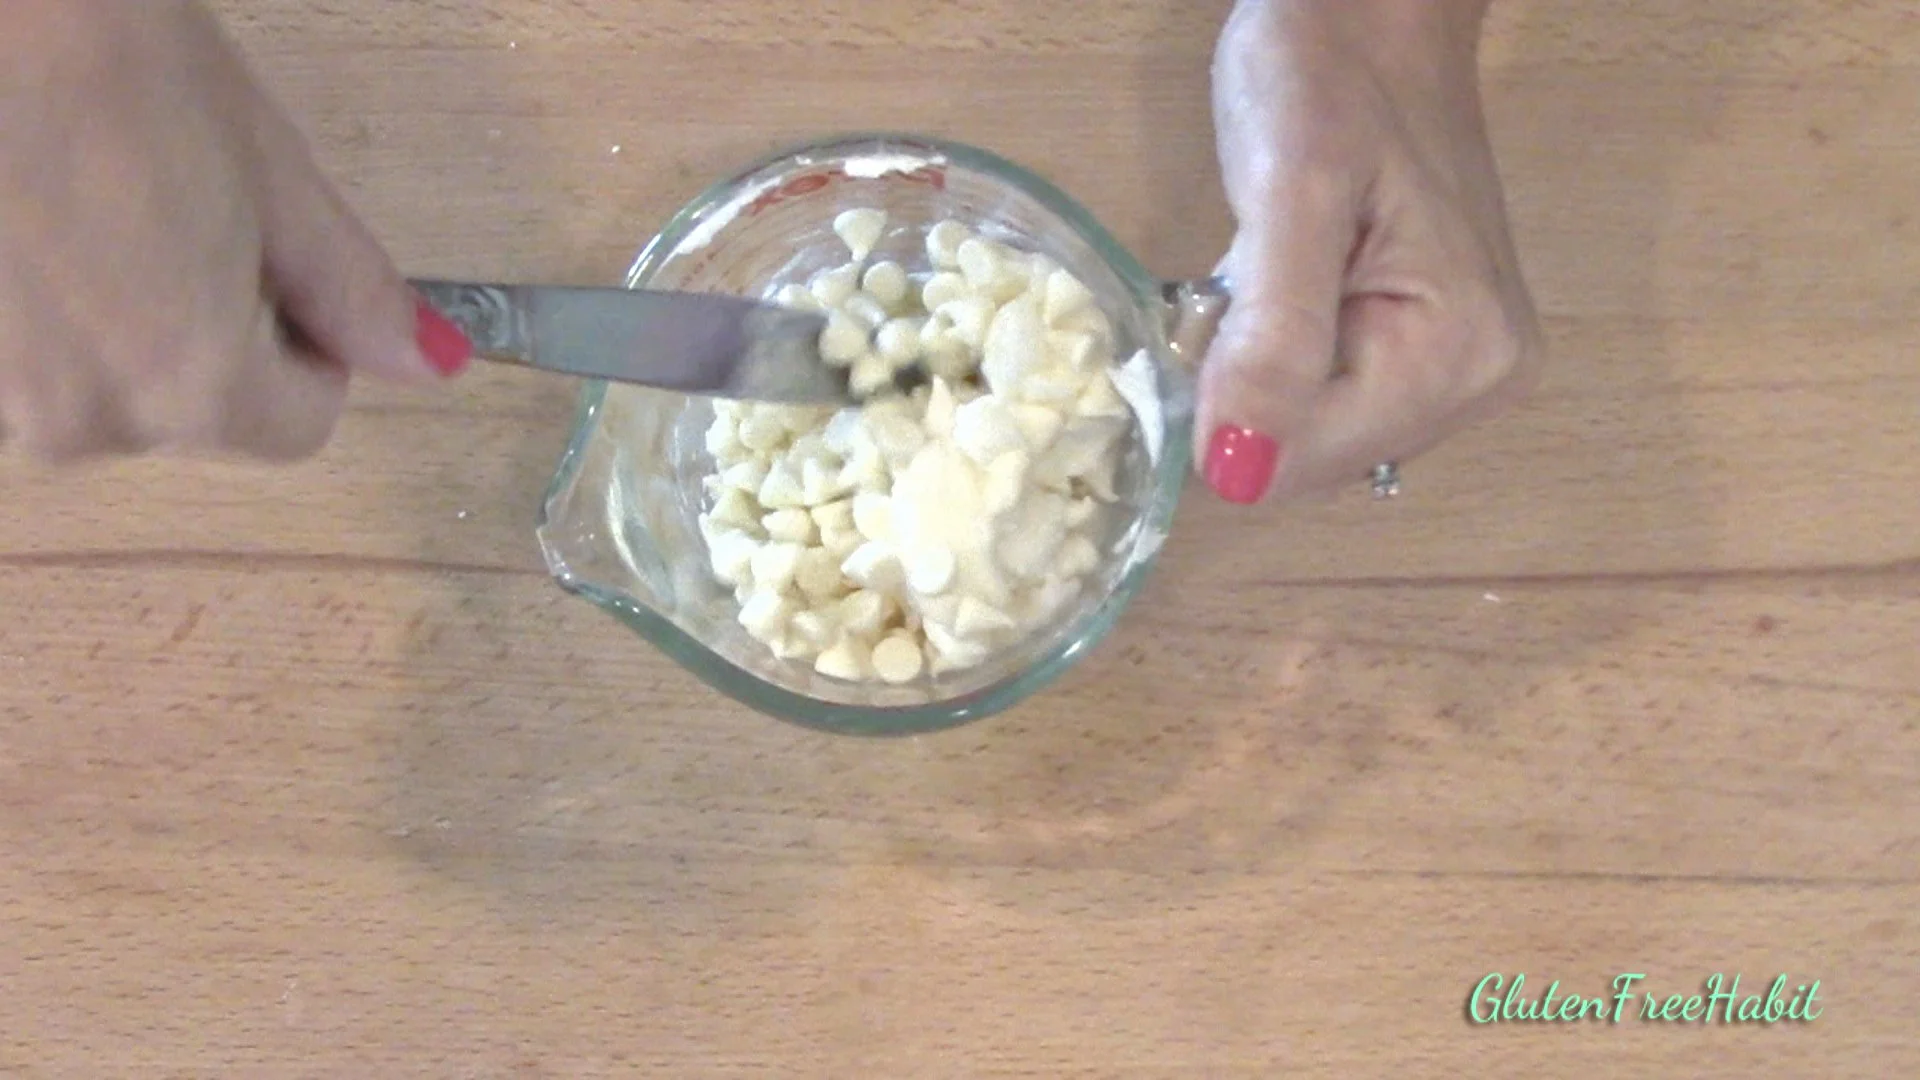
Microwave the chips/shortening mix for 45 seconds at 50% power. Stir.
4
Chips will not be ready yet, but it's important to go slowly. Patience is key here and every microwave heats differently.
5
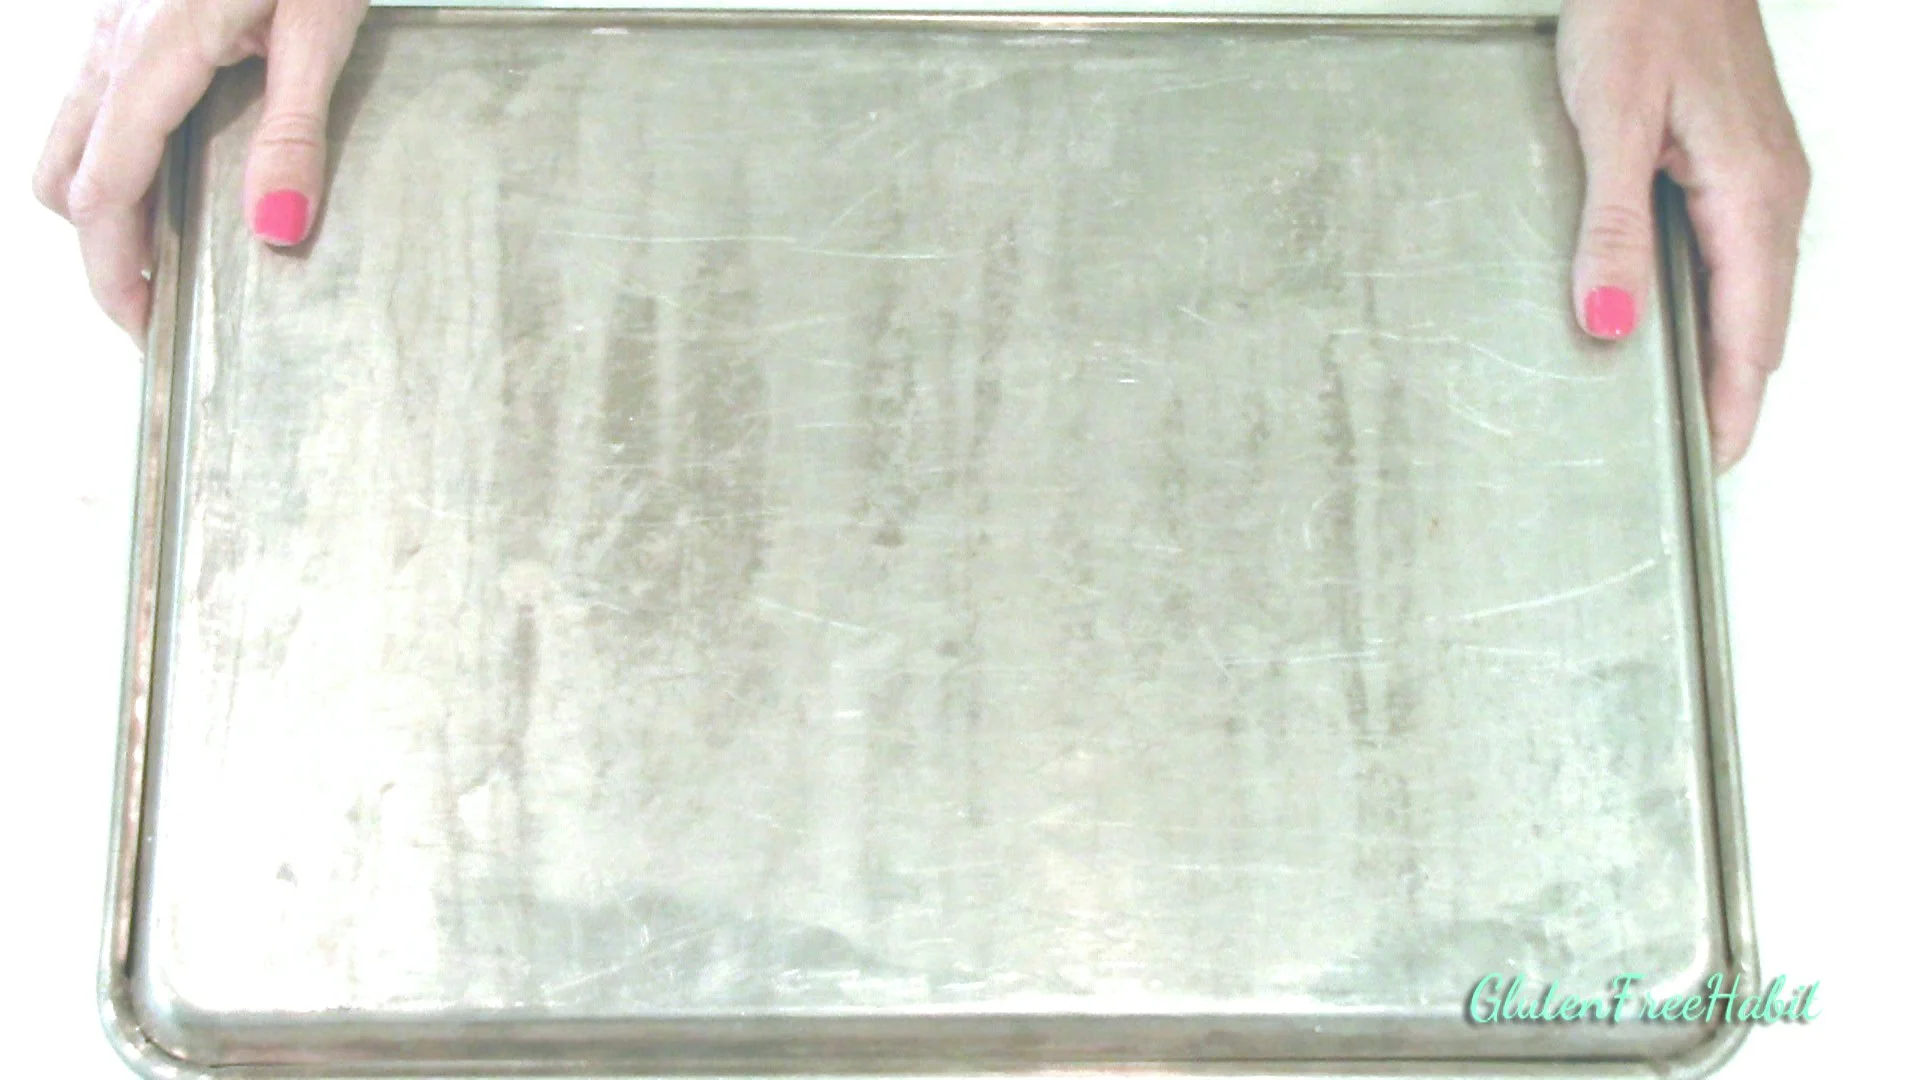
Microwave again for 45 seconds at 50% power. Stir.
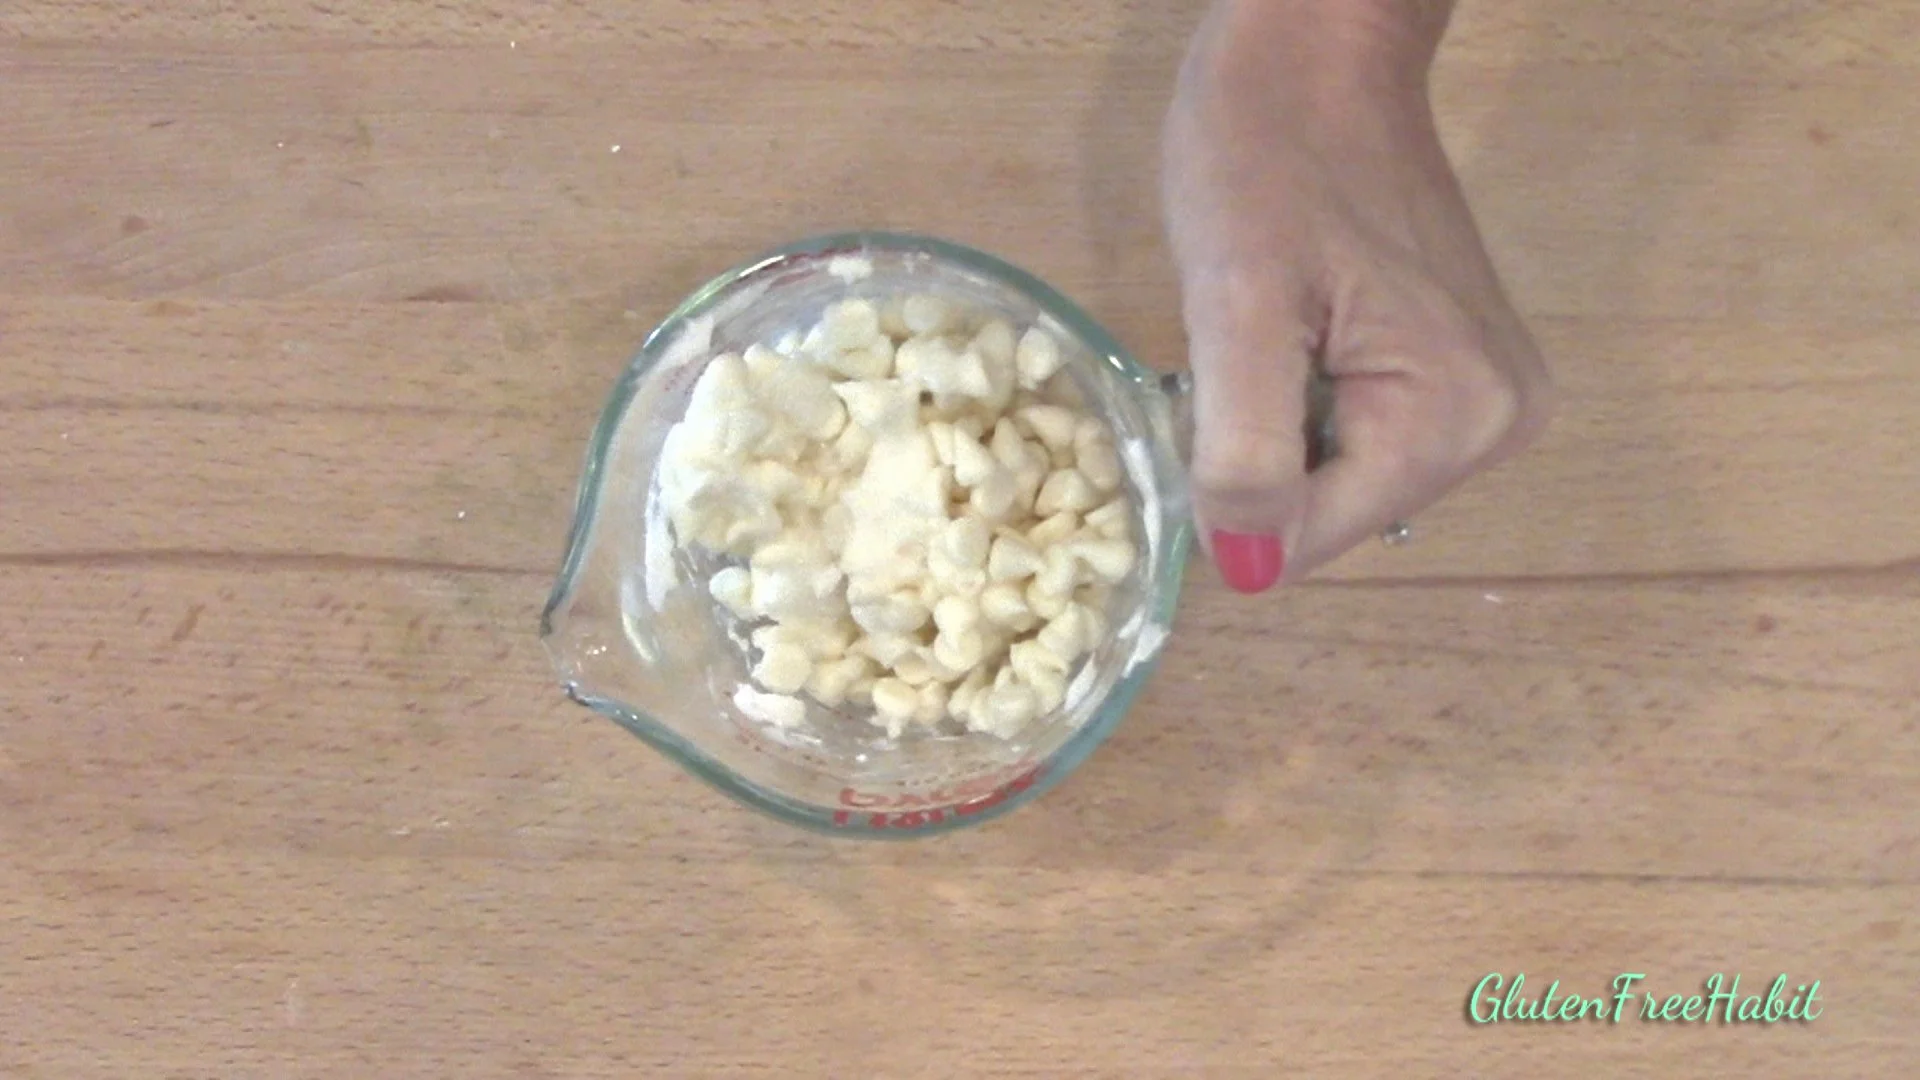
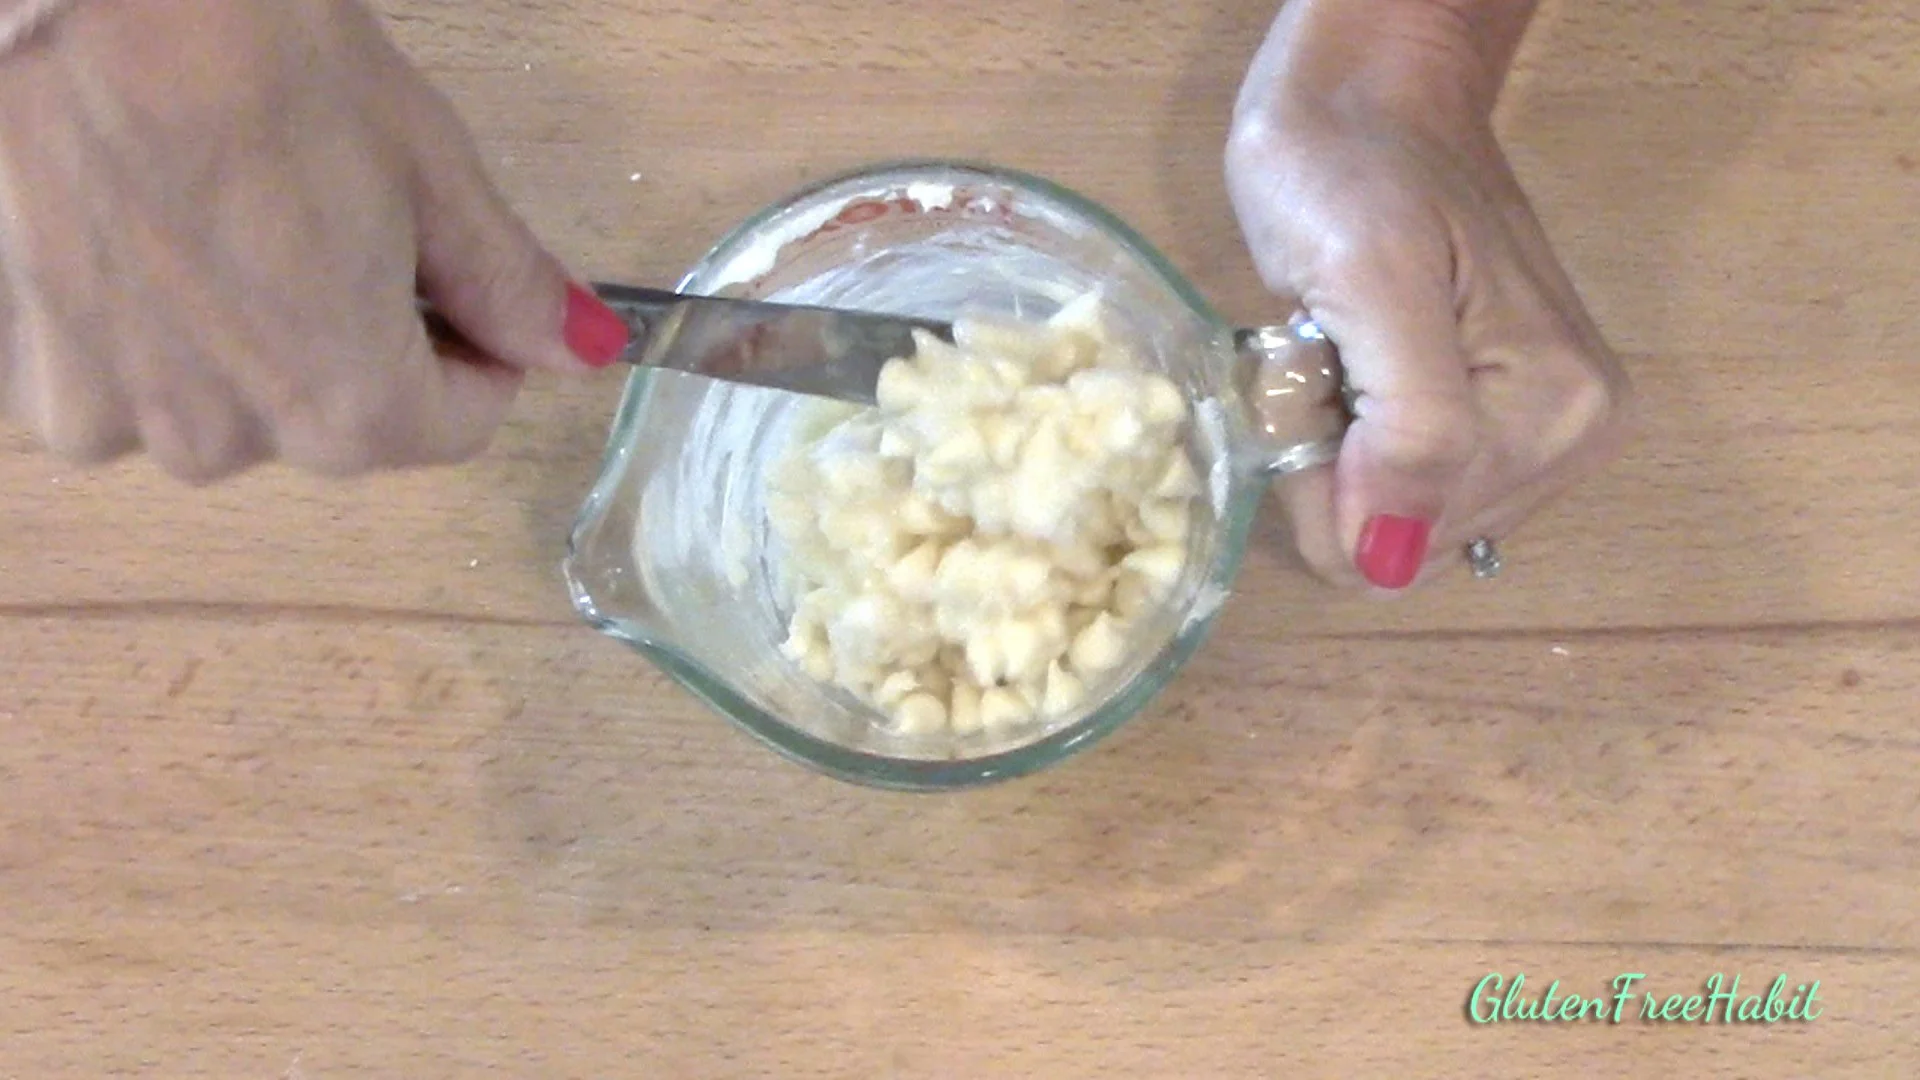
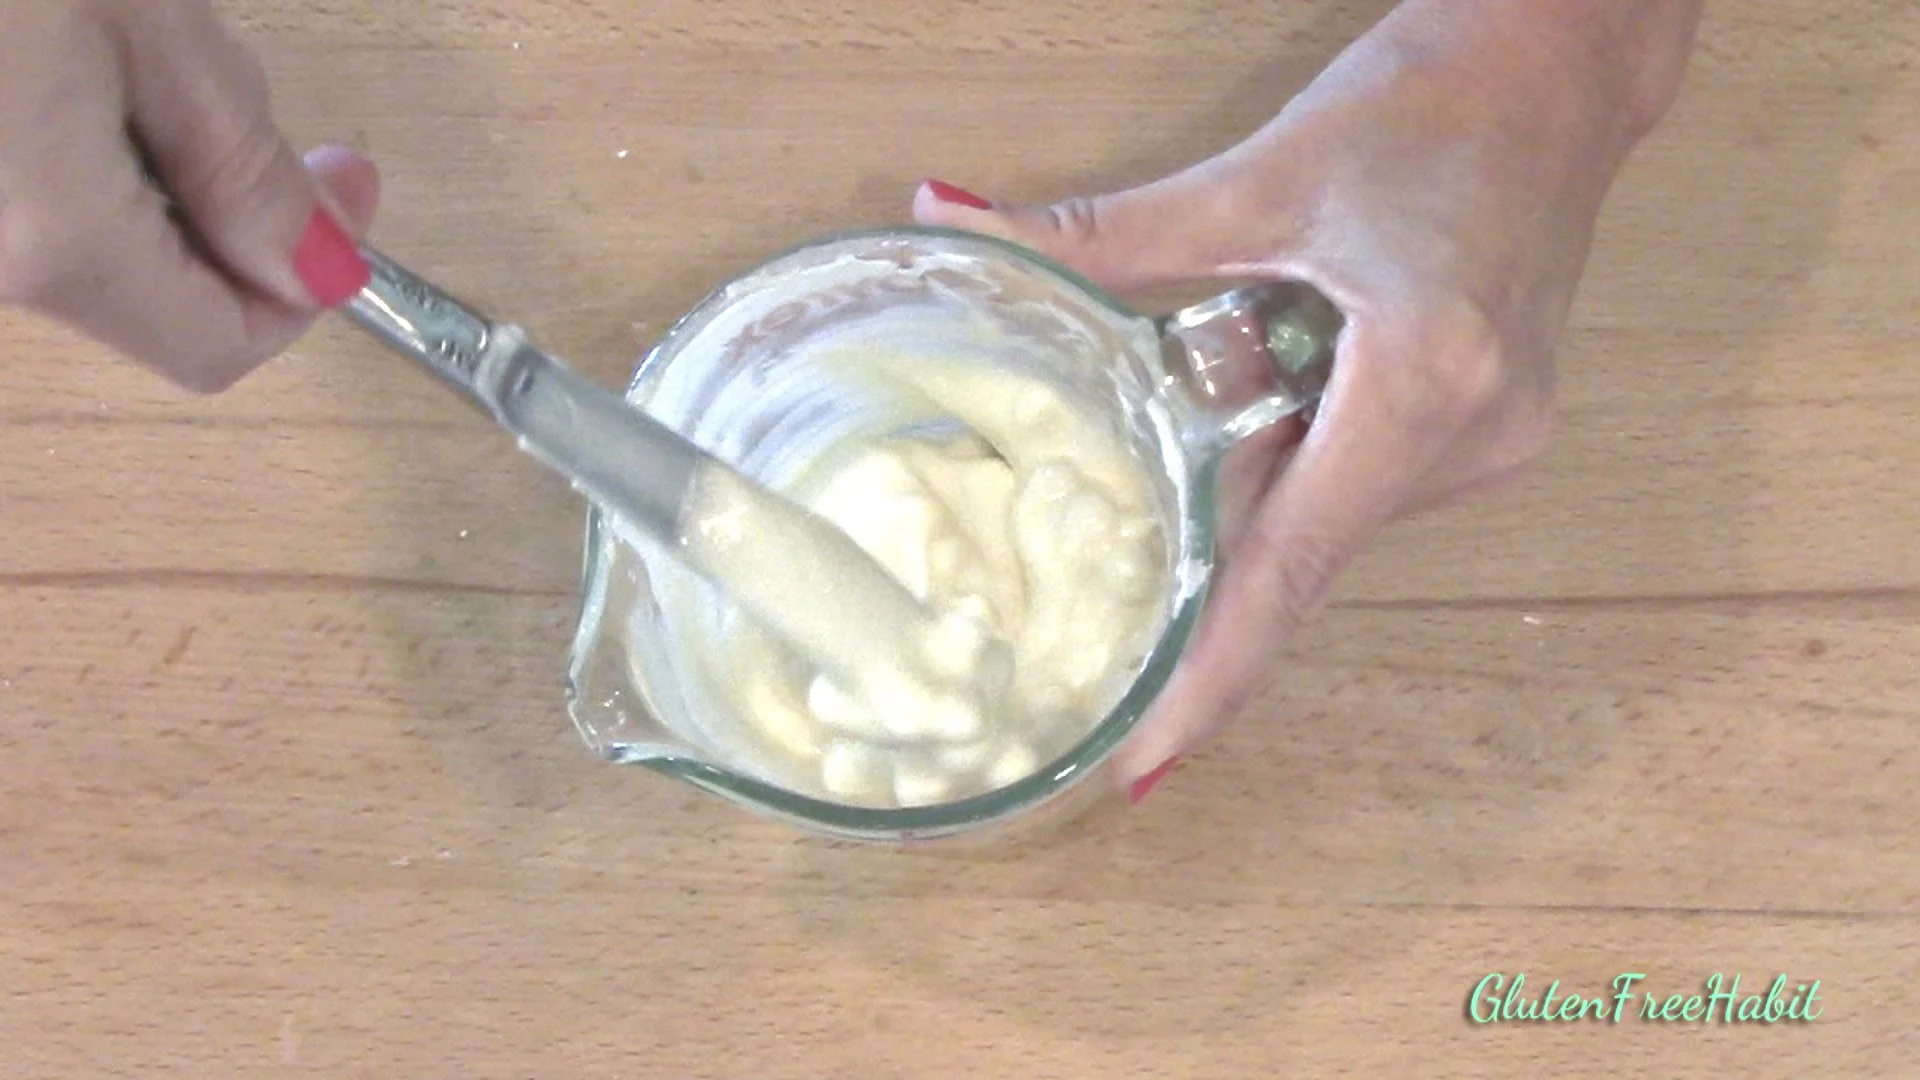
Observe how much of the chocolate is melted. Remember, you want to have remaining chunks of chips that have NOT MELTED yet. Resist the temptation to melt them all the way.
6
At this point, depending on your microwave, you may need to put your chips in for another 30 seconds at 50% power, or start going at 10-15 second increments at 50% power. Stir.
7
Continue these steps at 10-15 second increments until chocolate is melty with chunks of chips remaining.
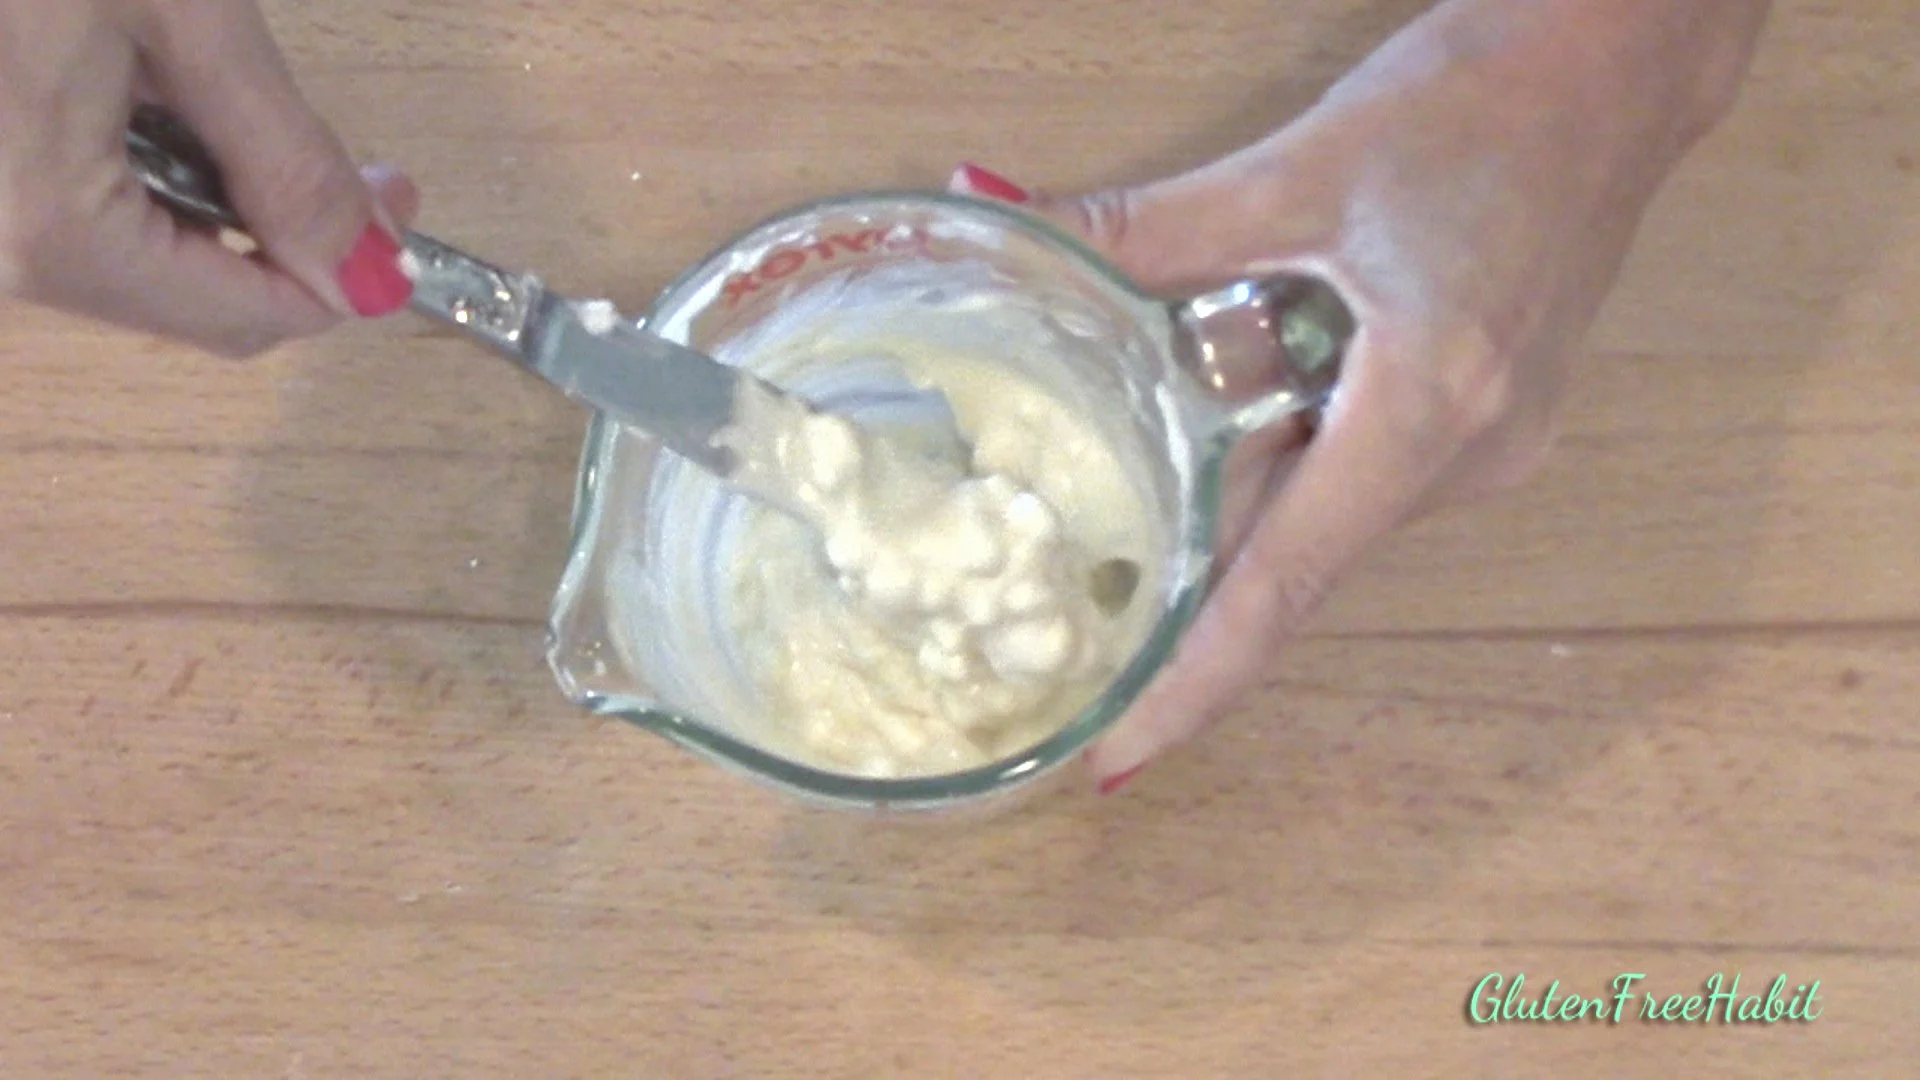
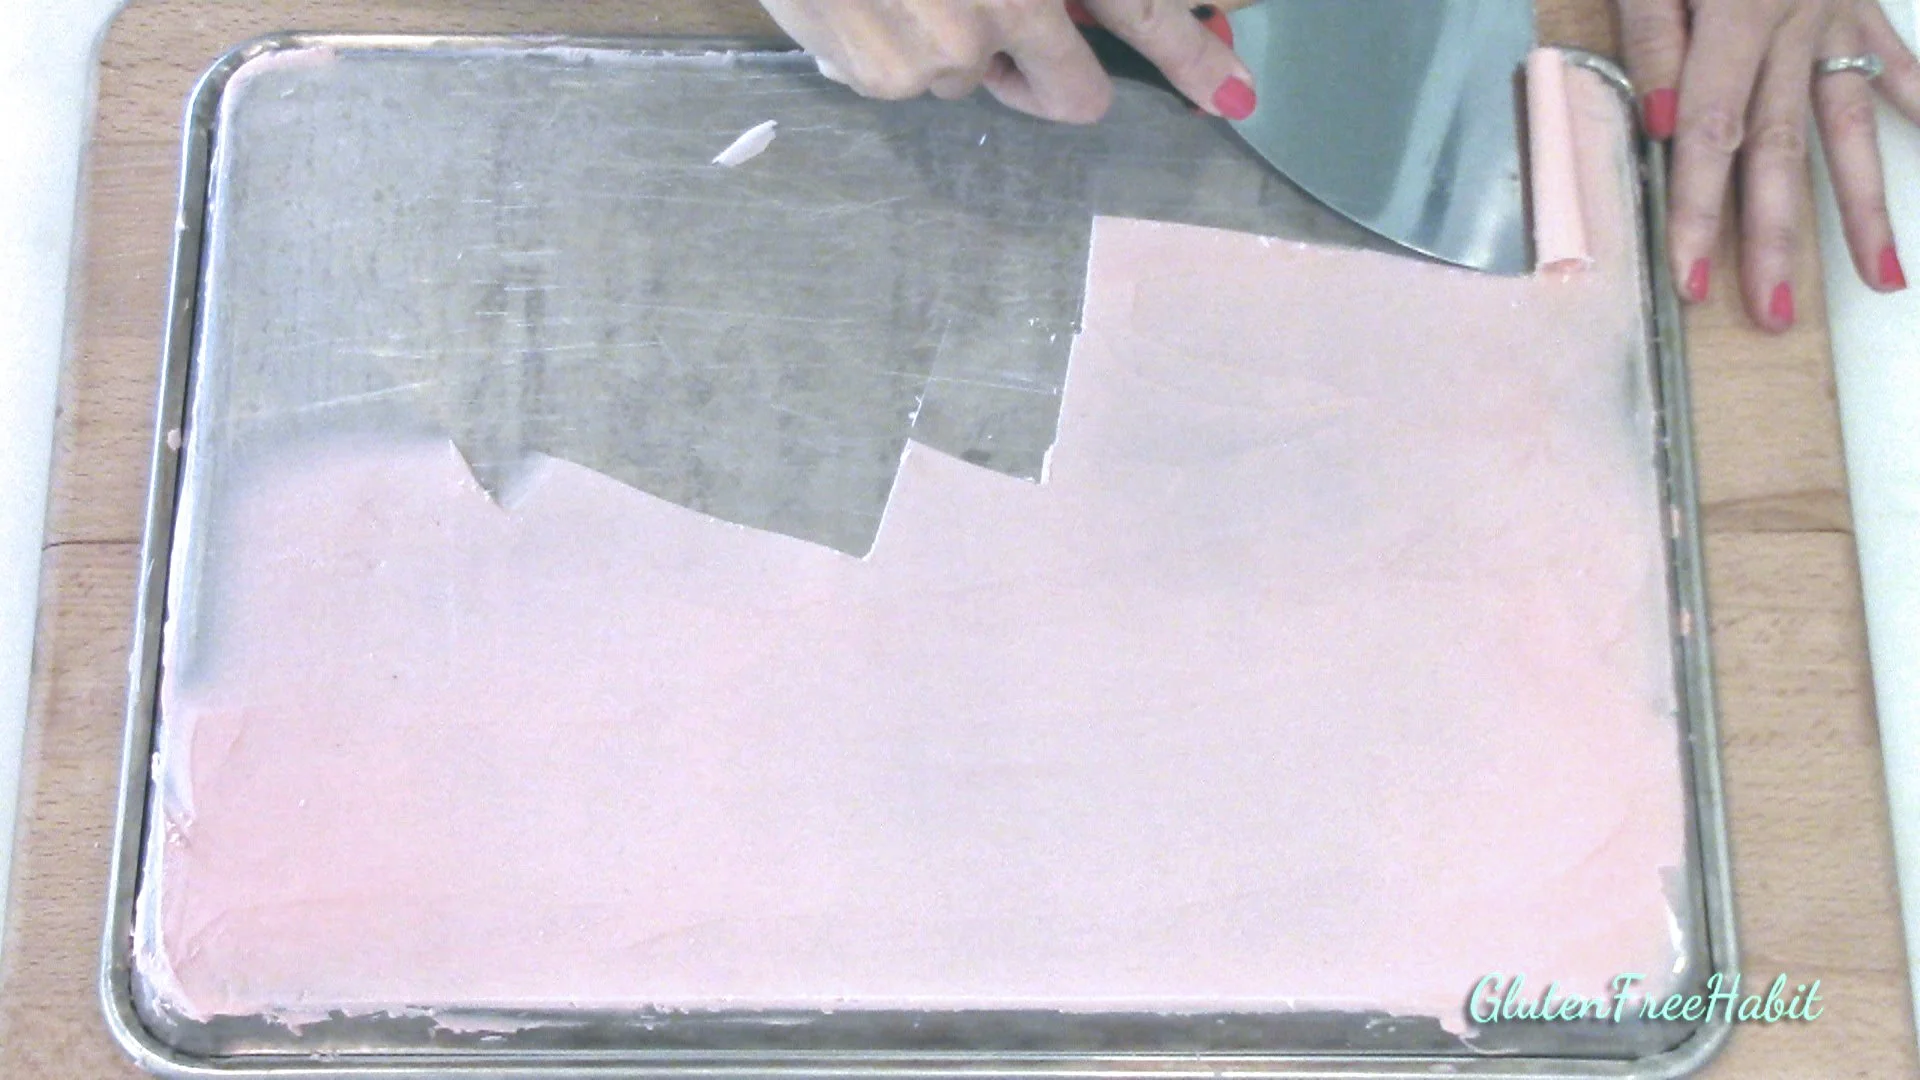
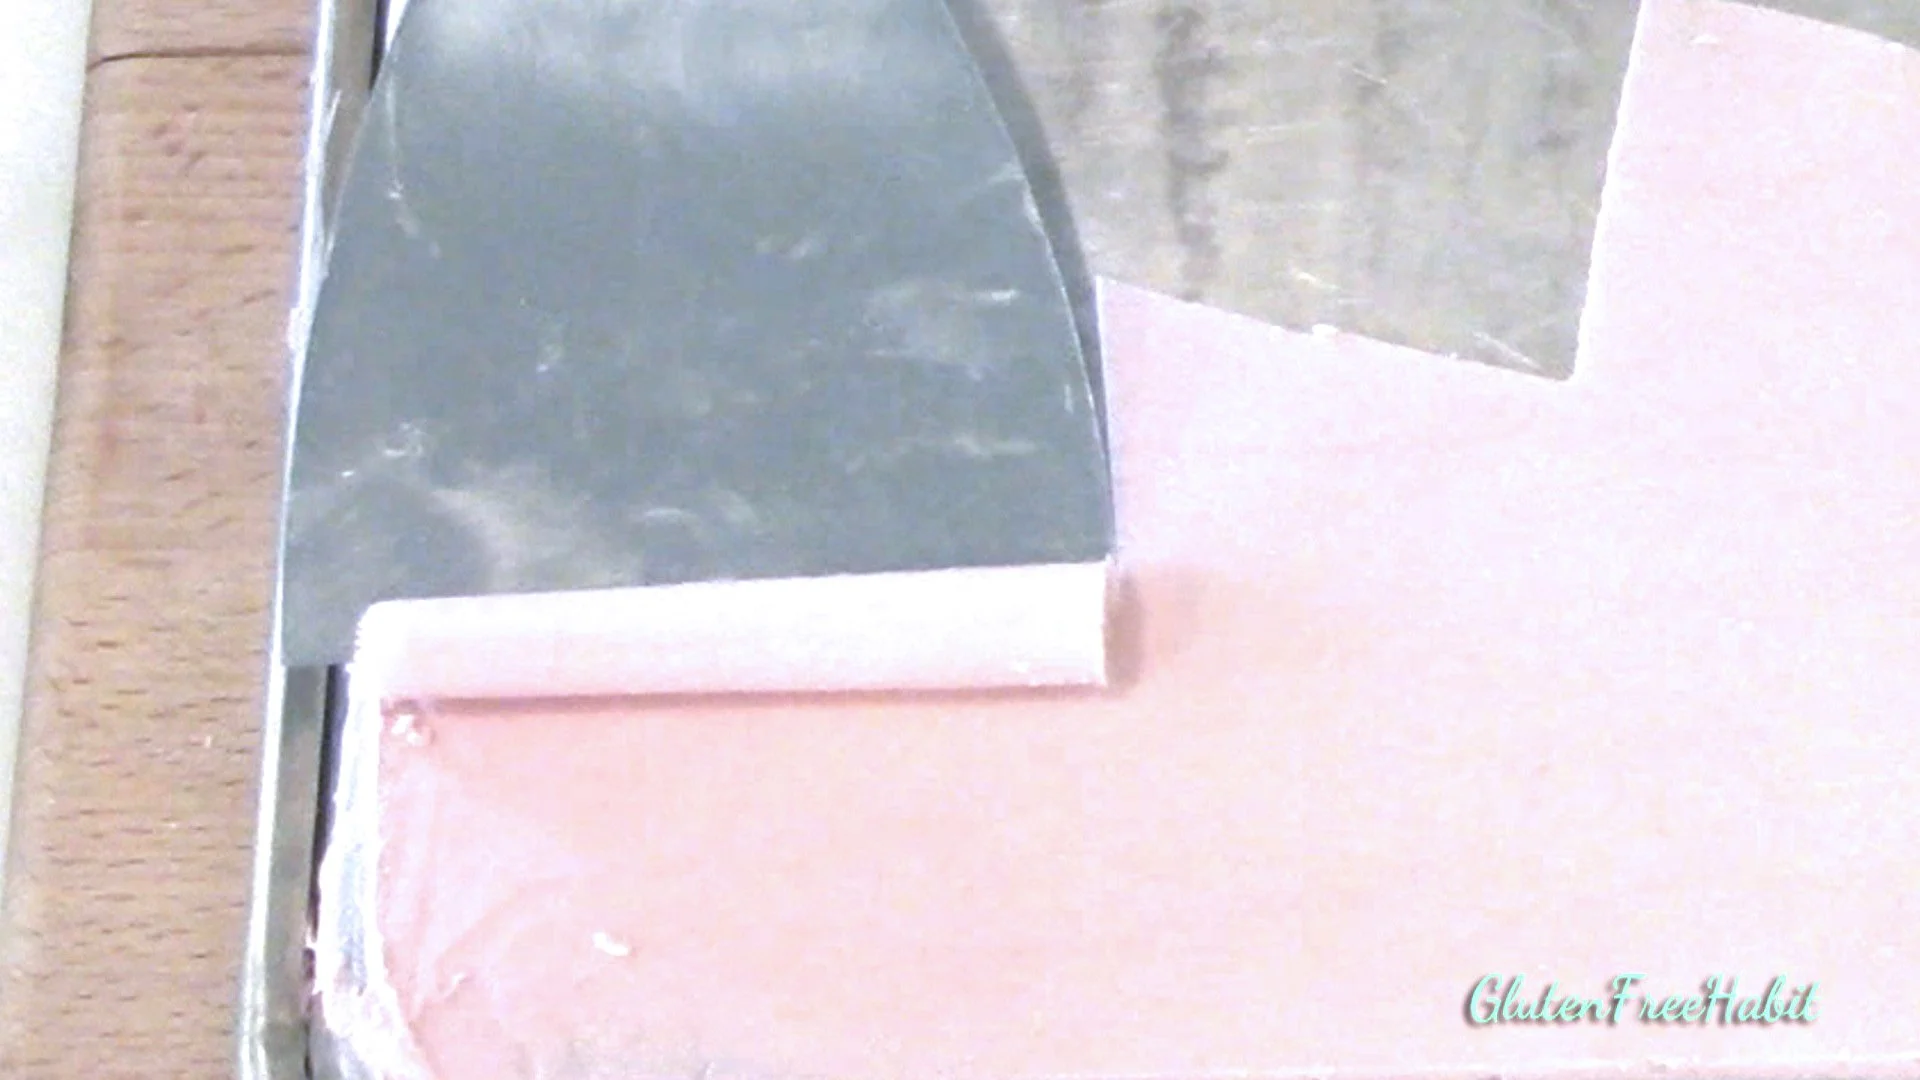
8
Once chocolate is about 75%-80% melted with chunks of chips remaining, add in remaining chips.
9
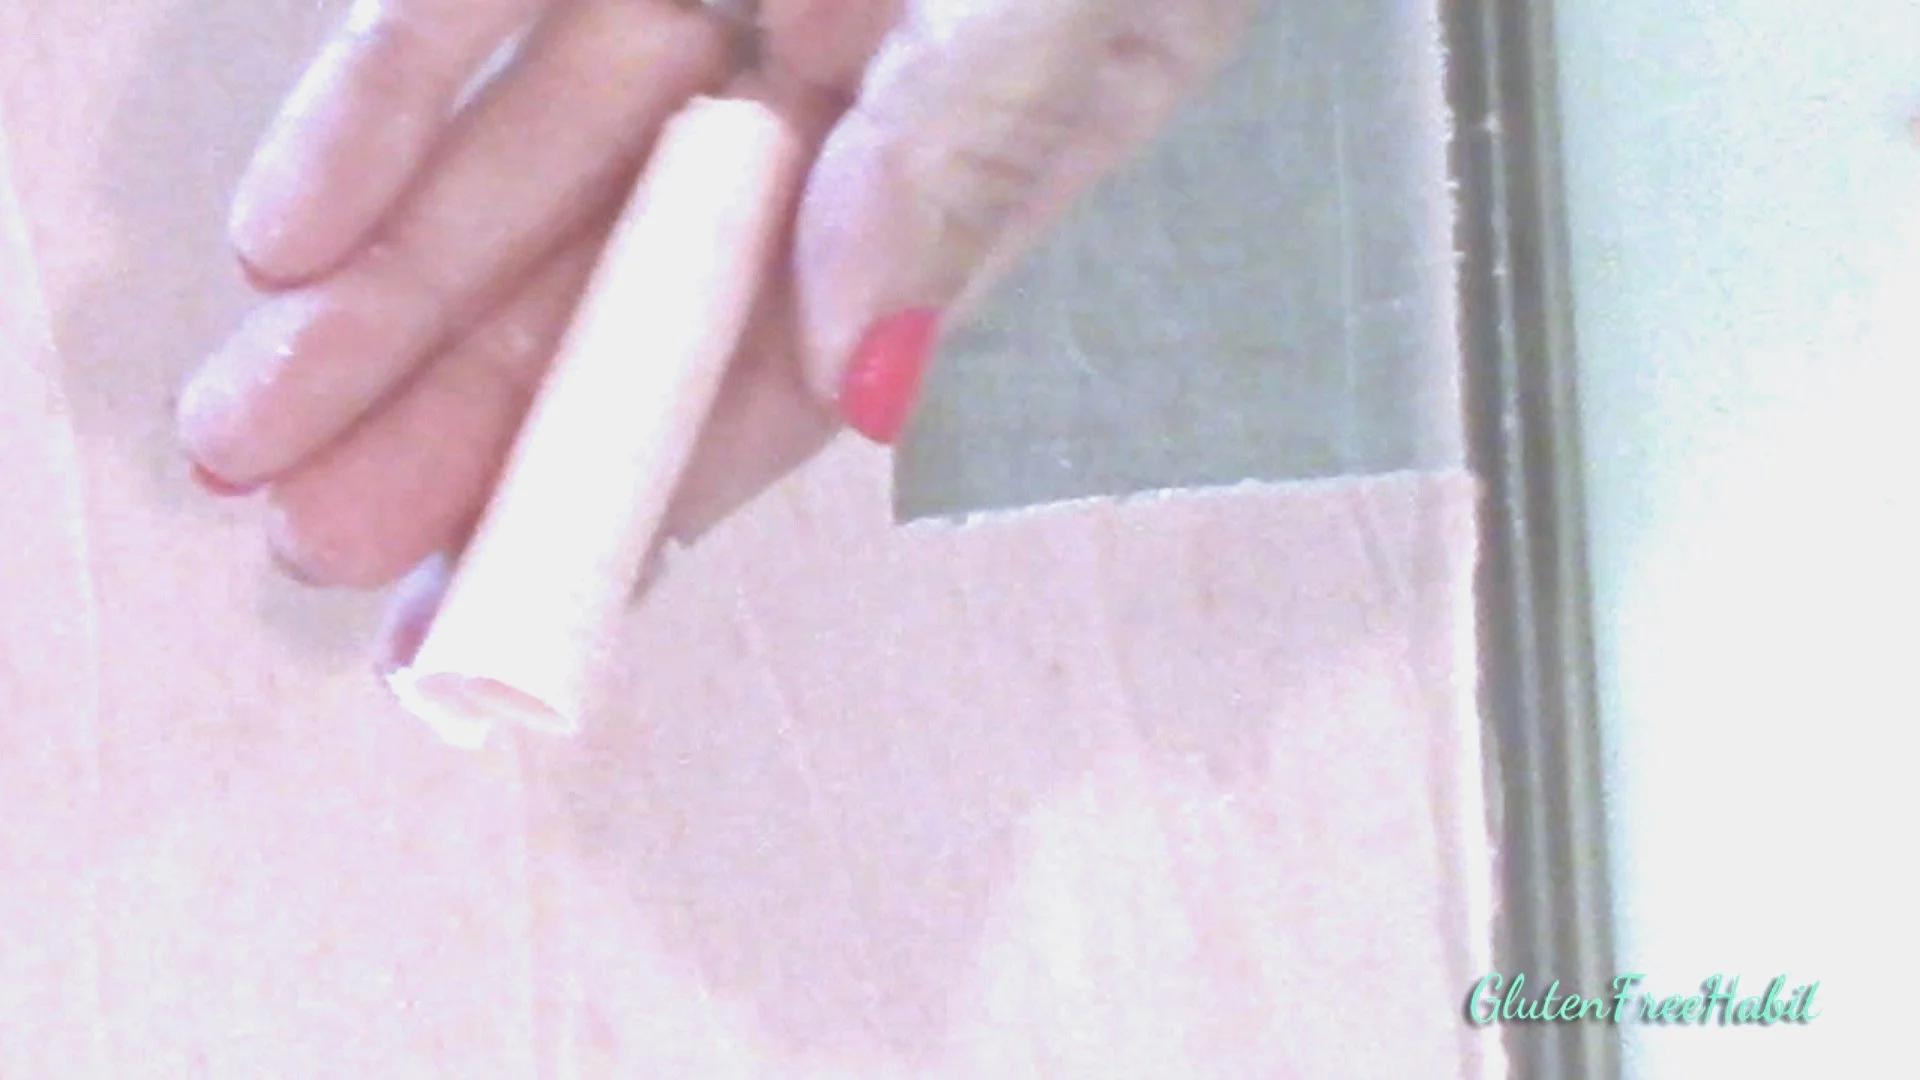
Stir vigorously. New chips will melt as you stir. Stirring and adding in the new chips will act to cool the chocolate, bringing it back to a tempered state.
10
You may need to let the chocolate sit for a minute before stirring, to allow the new chips to soften.
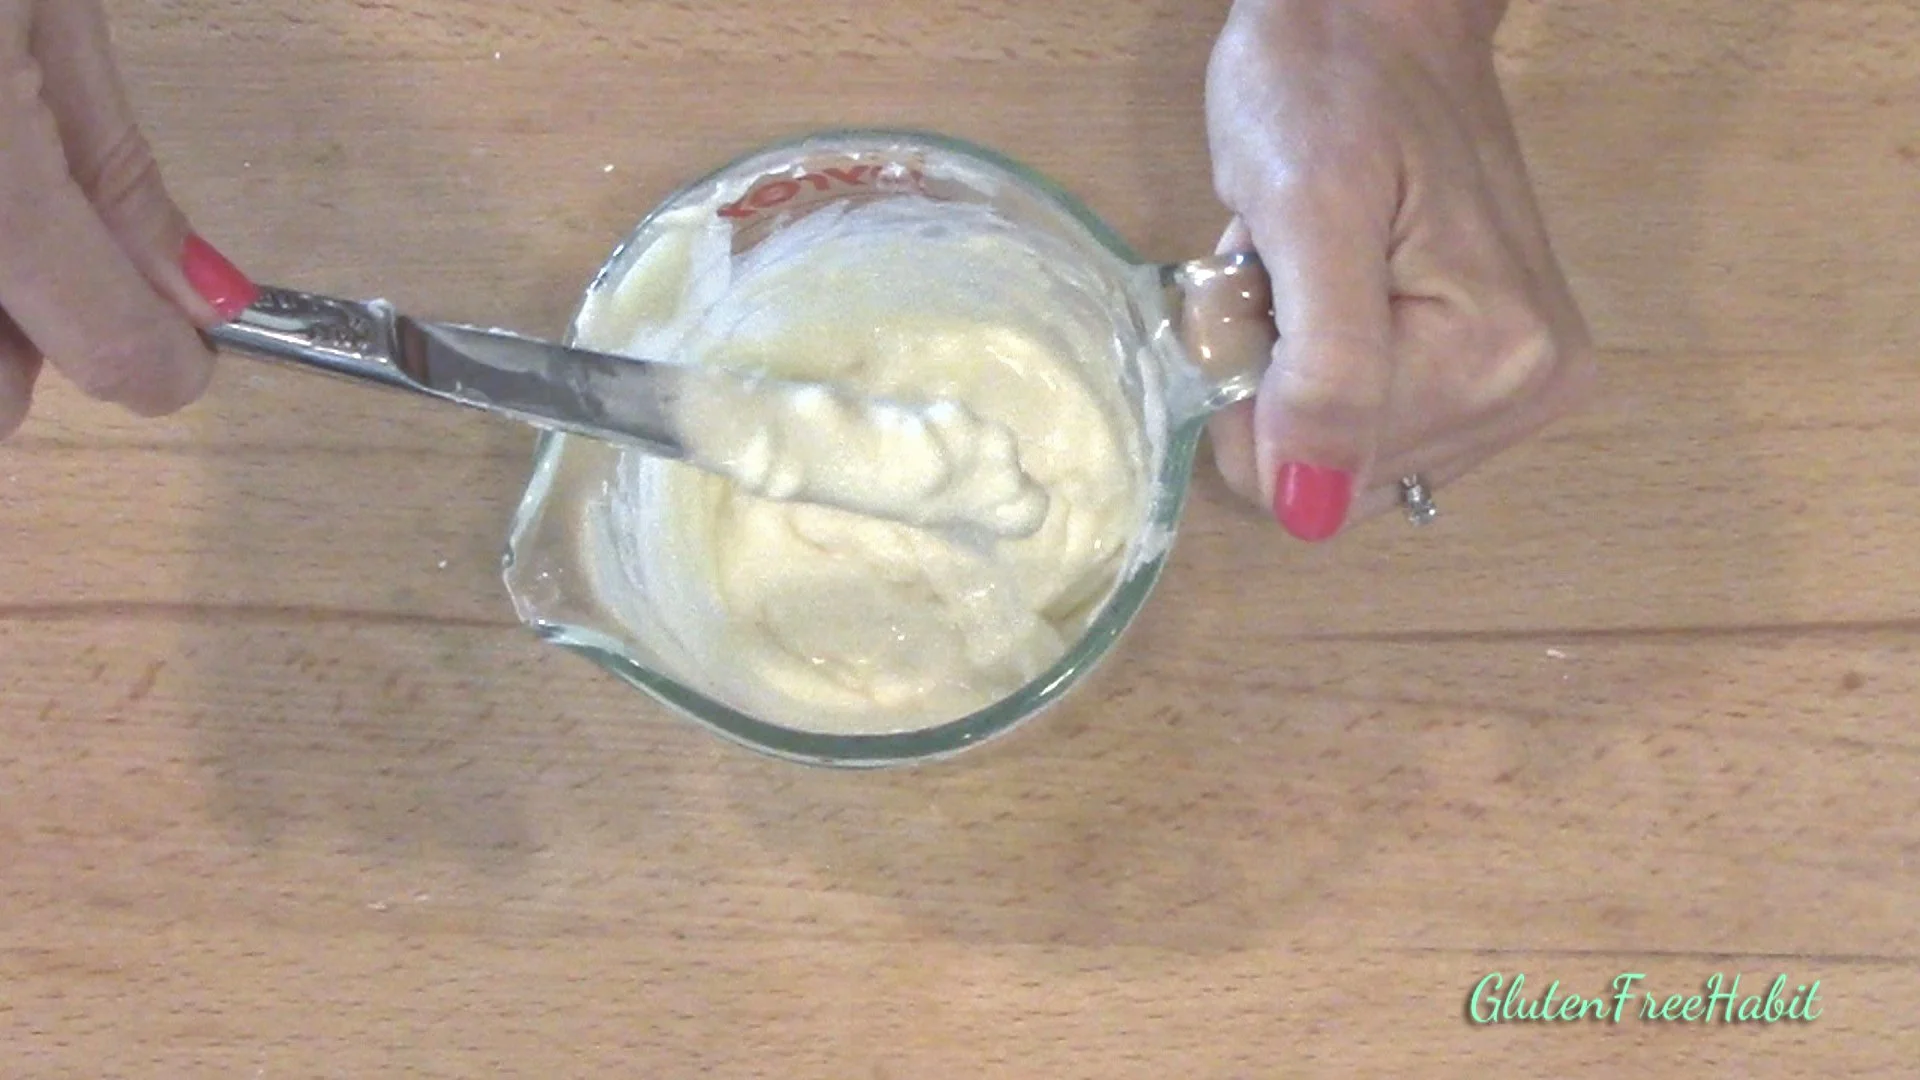
11
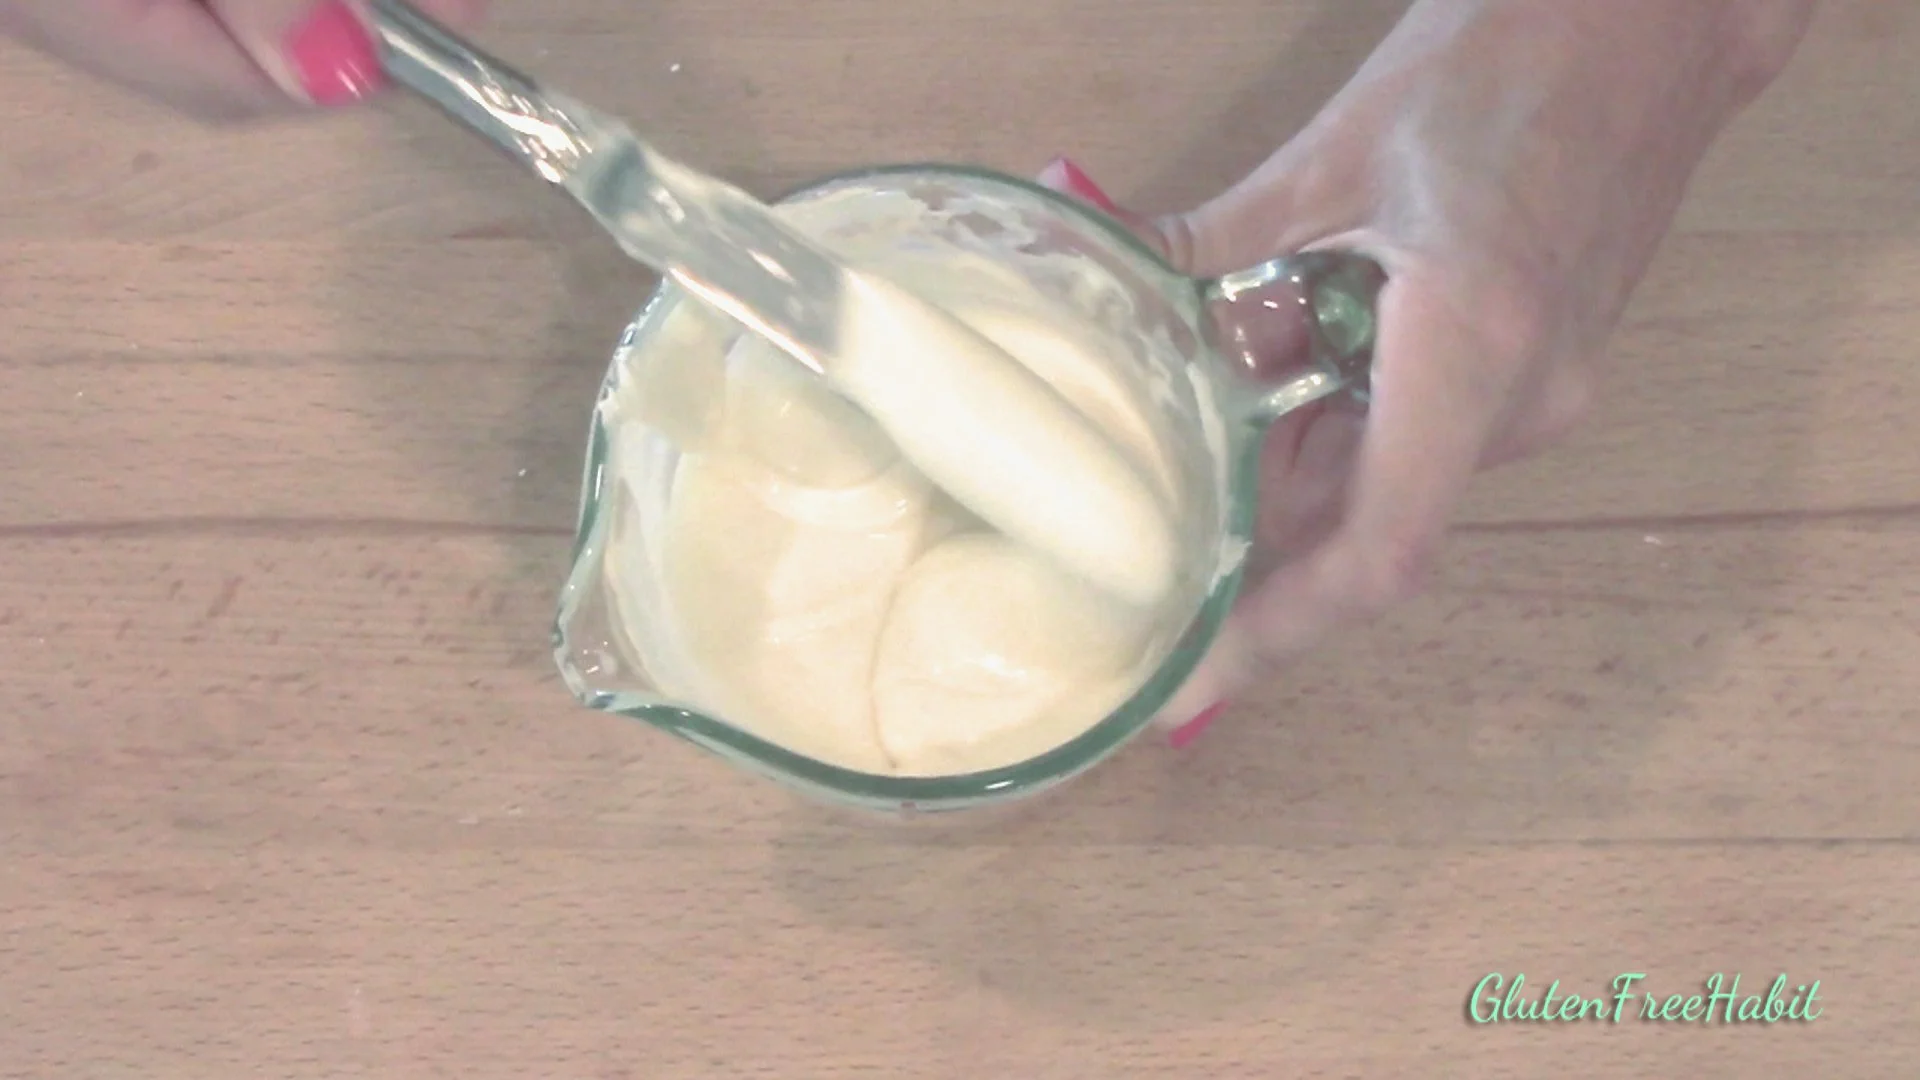
Stir until perfectly smooth, with no chunks remaining.
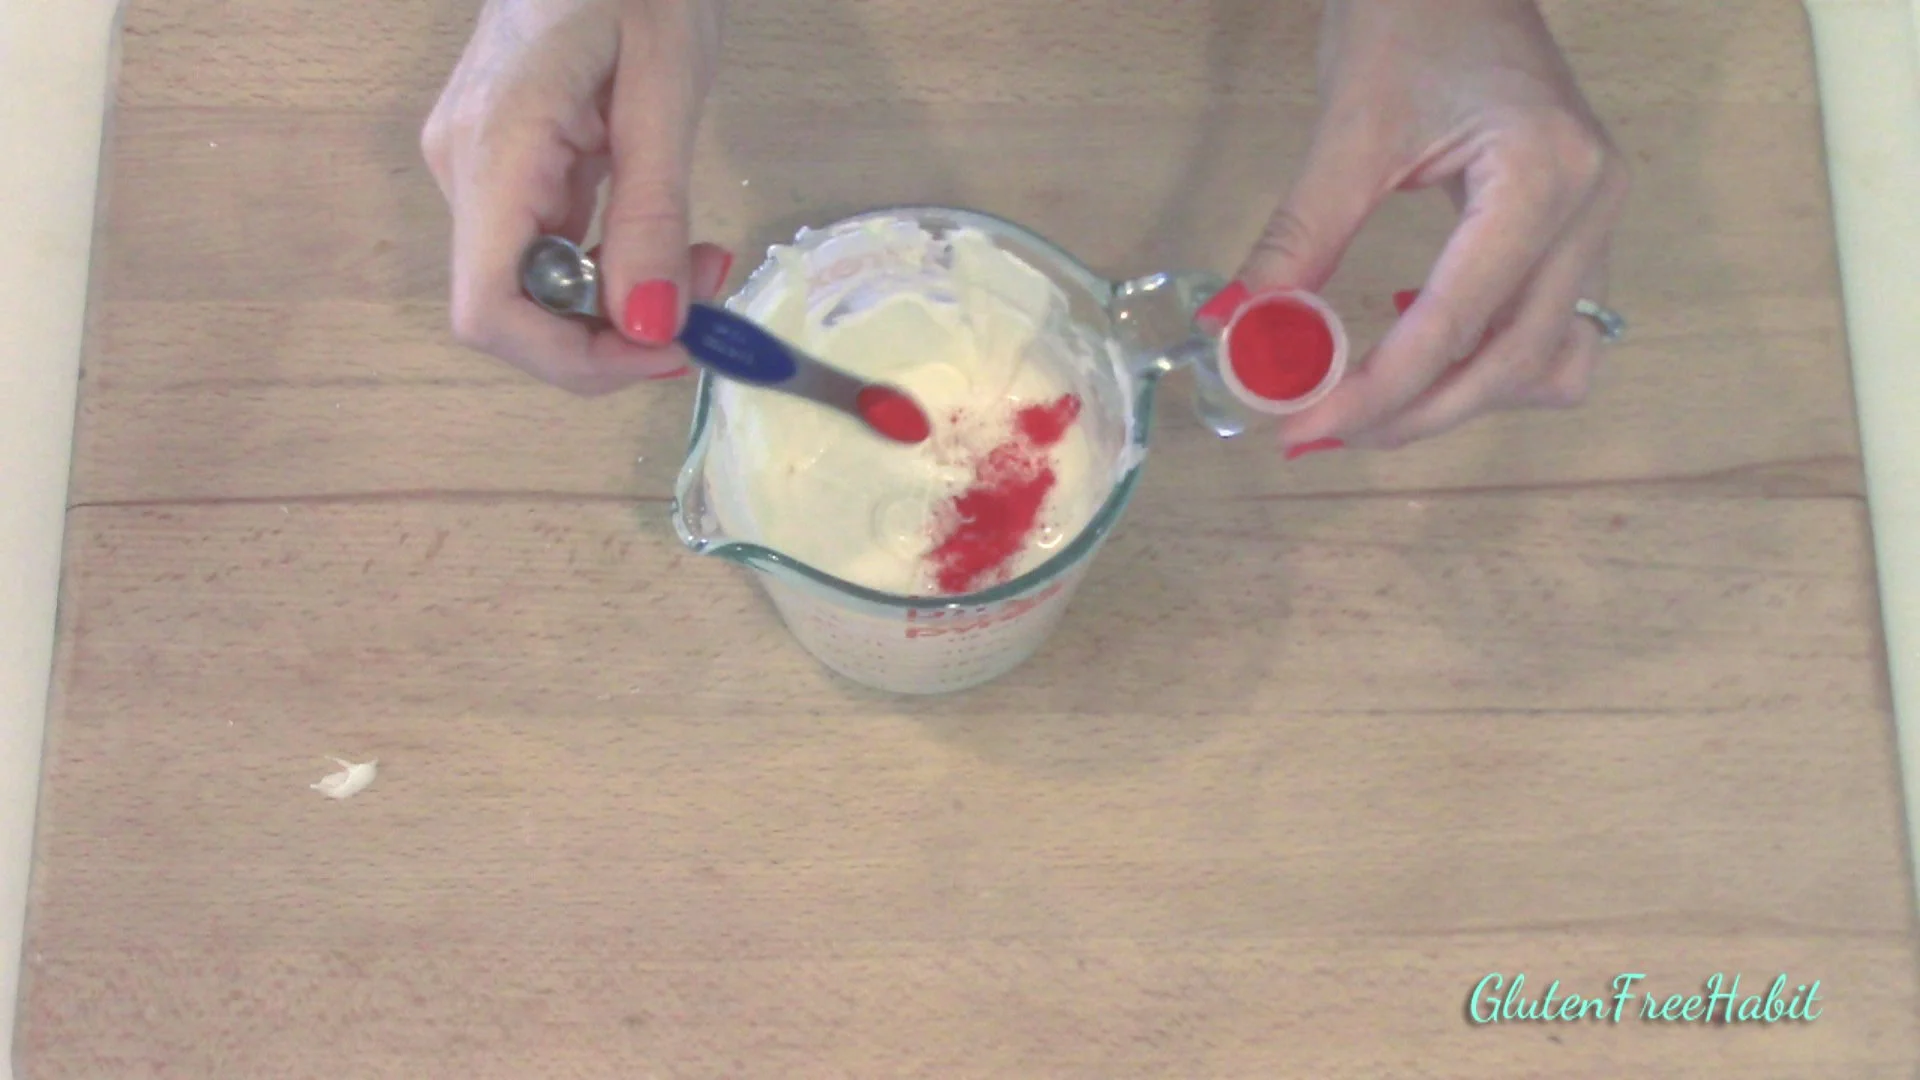
12
Add in desired amount of gluten free powdered food coloring.

13
Stir thoroughly until no streaks remain.
14
Place empty baking sheet in fridge for about 30 seconds to one minute. Warning: if you leave your tray in the refrigerator much longer, this will cause your chocolate to set up too quickly, and your curls will crumble.
15
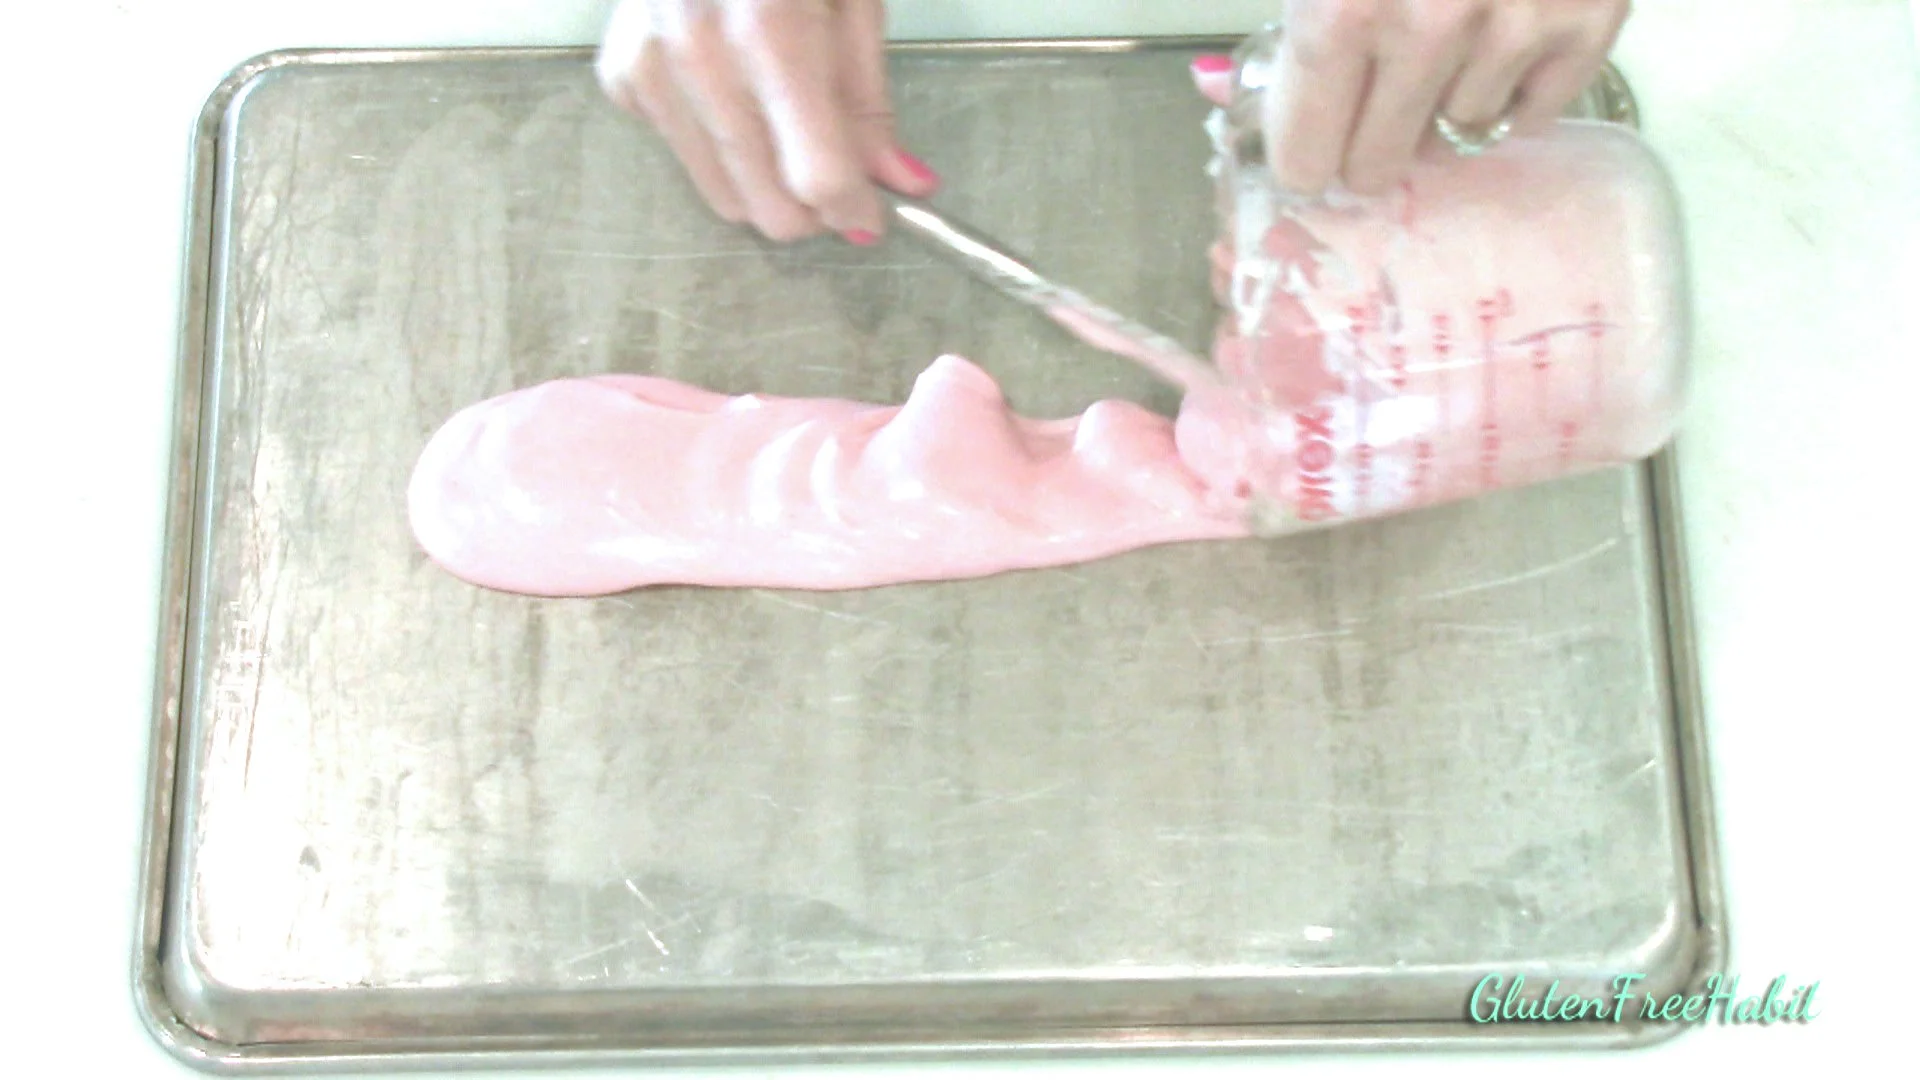
Remove chilled pan from fridge, and place upside down on work surface. Pour melted chocolate onto back of pan.
16
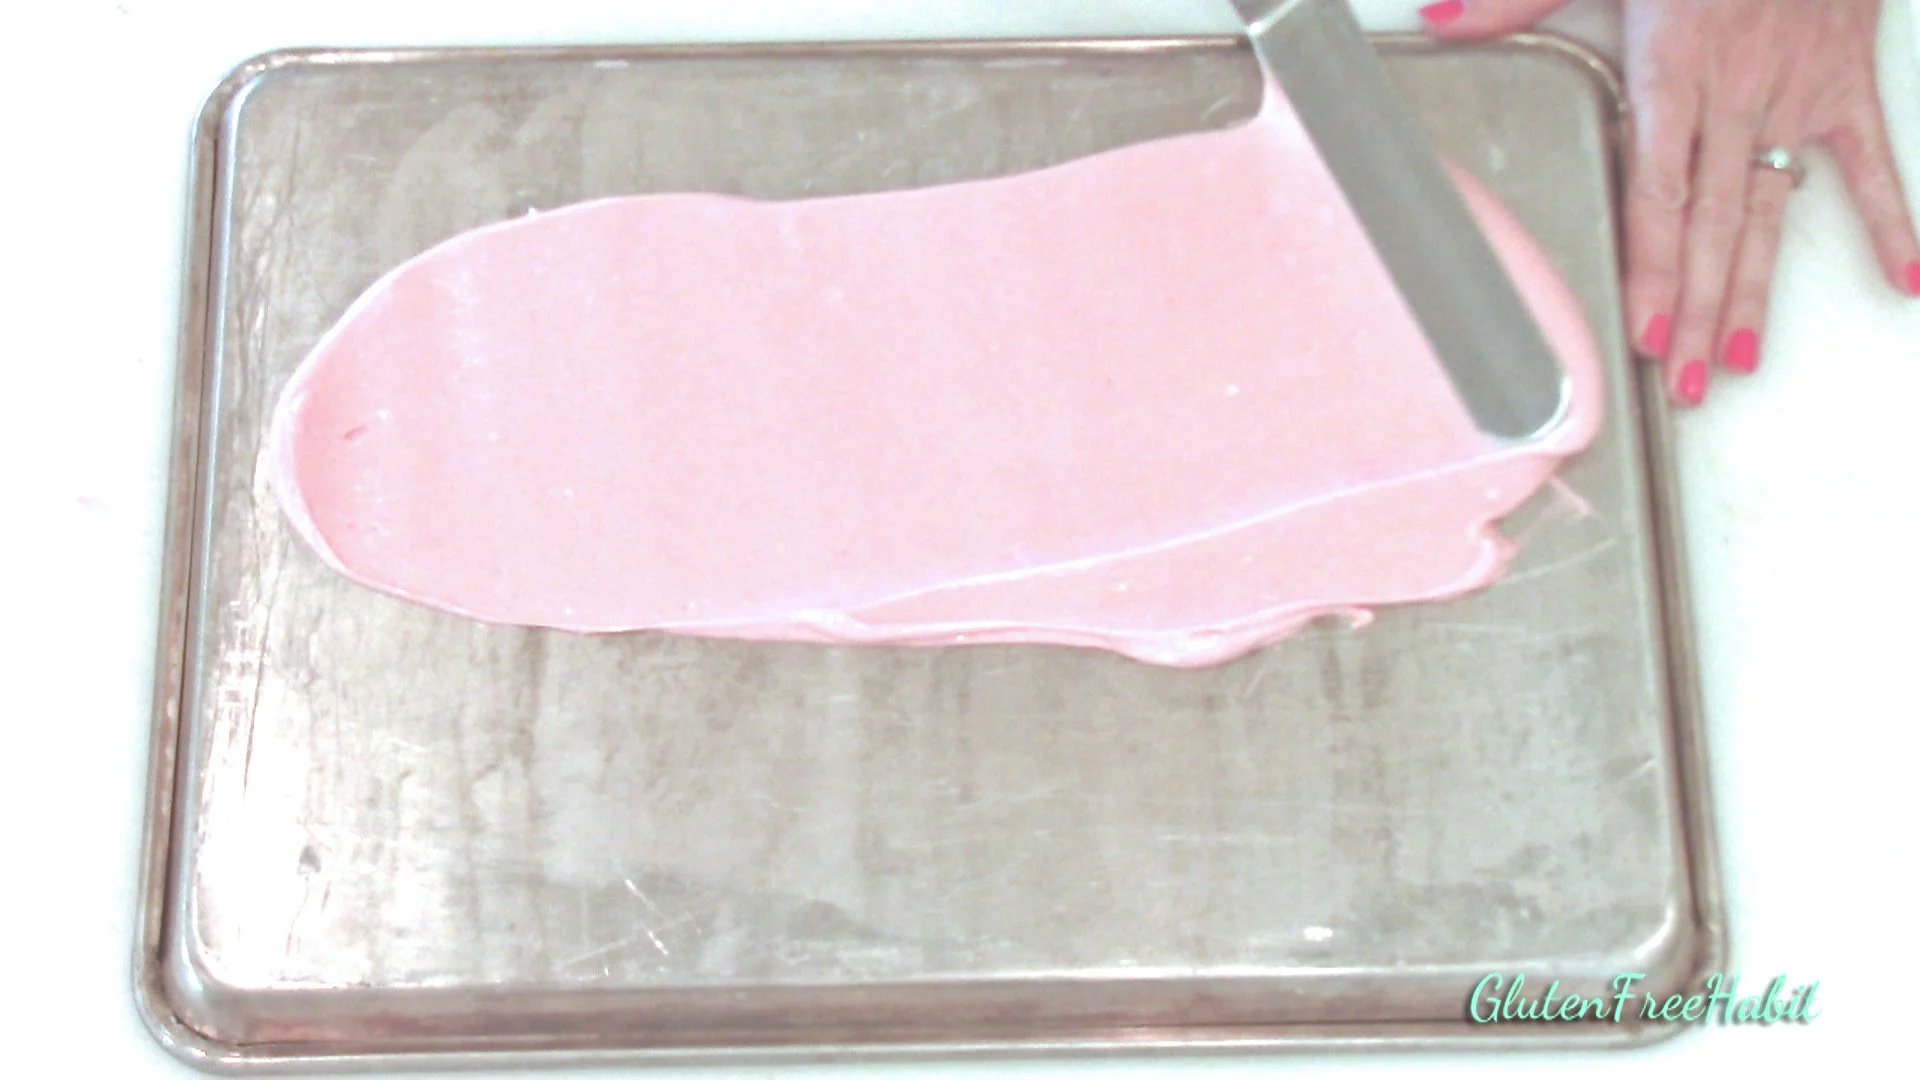
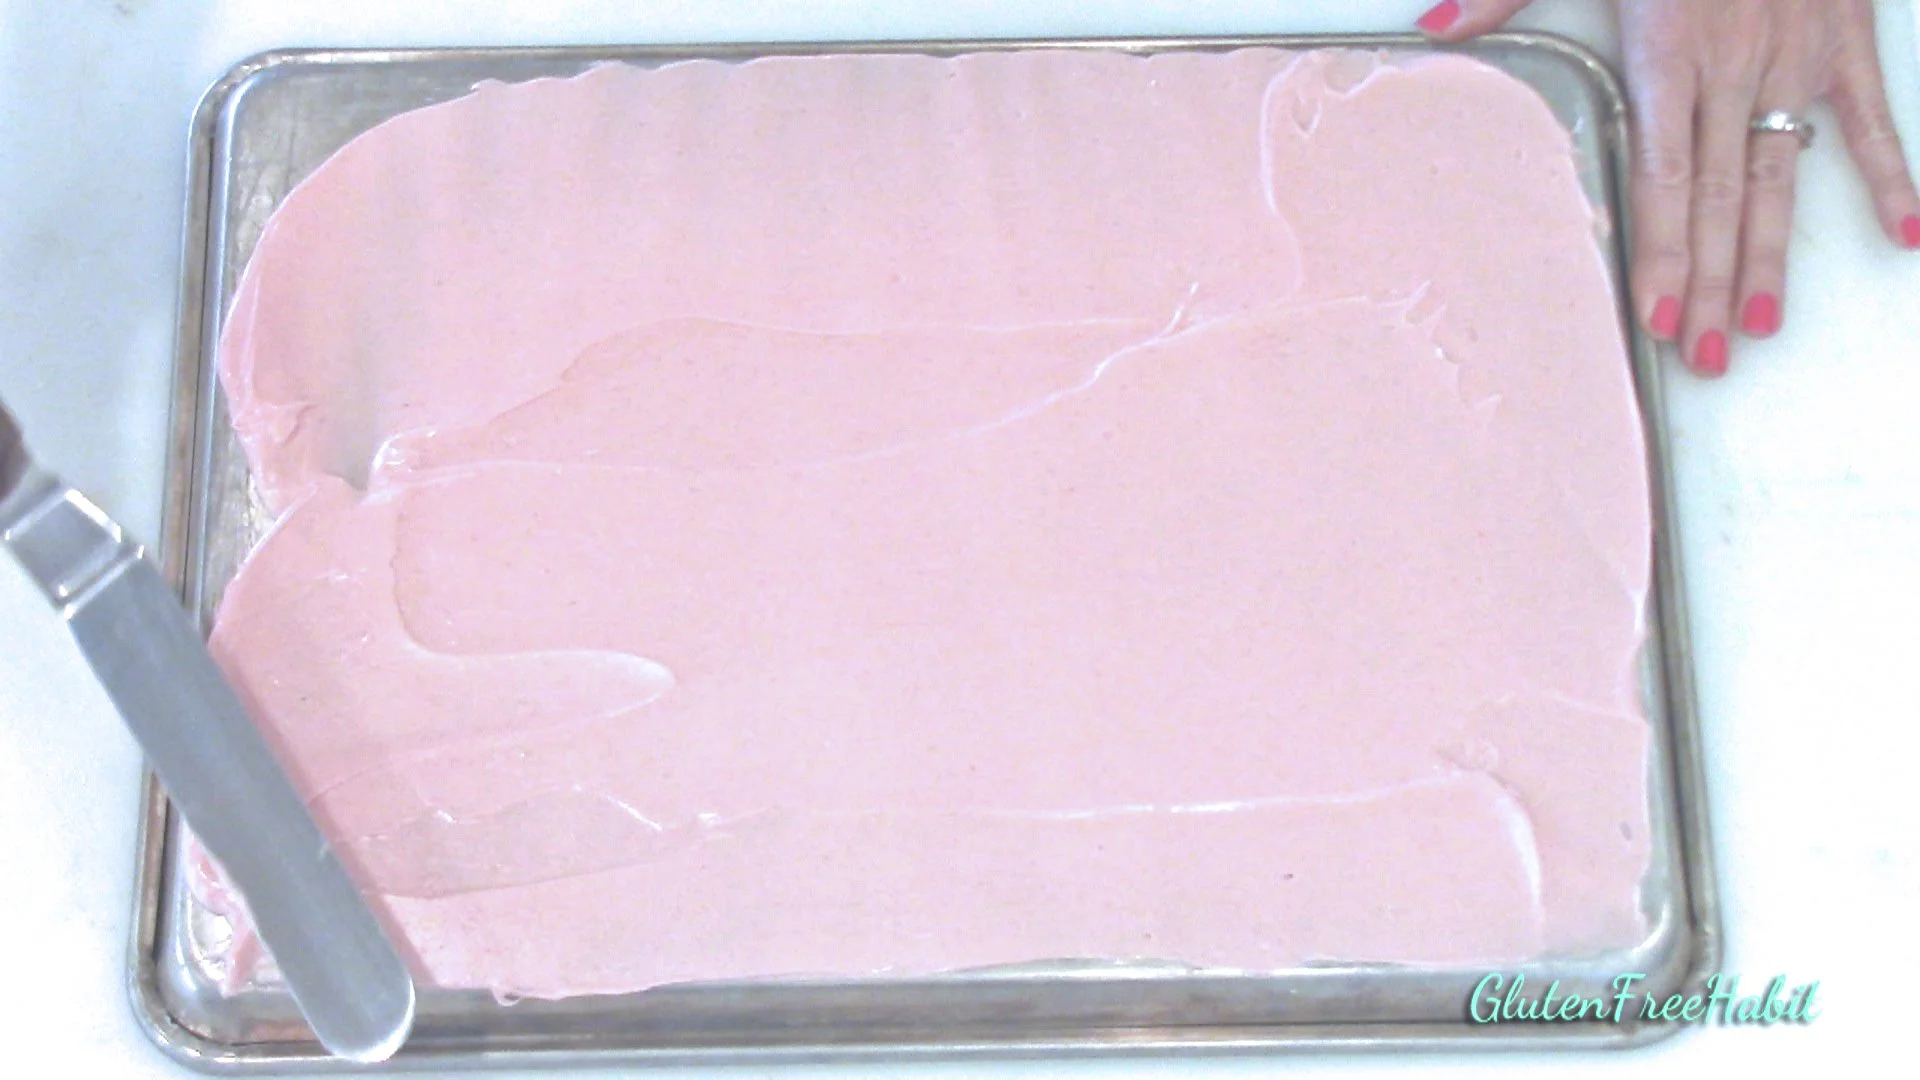
Spread with off-set spatula back and forth.
17
Cover the entire surface if needed.
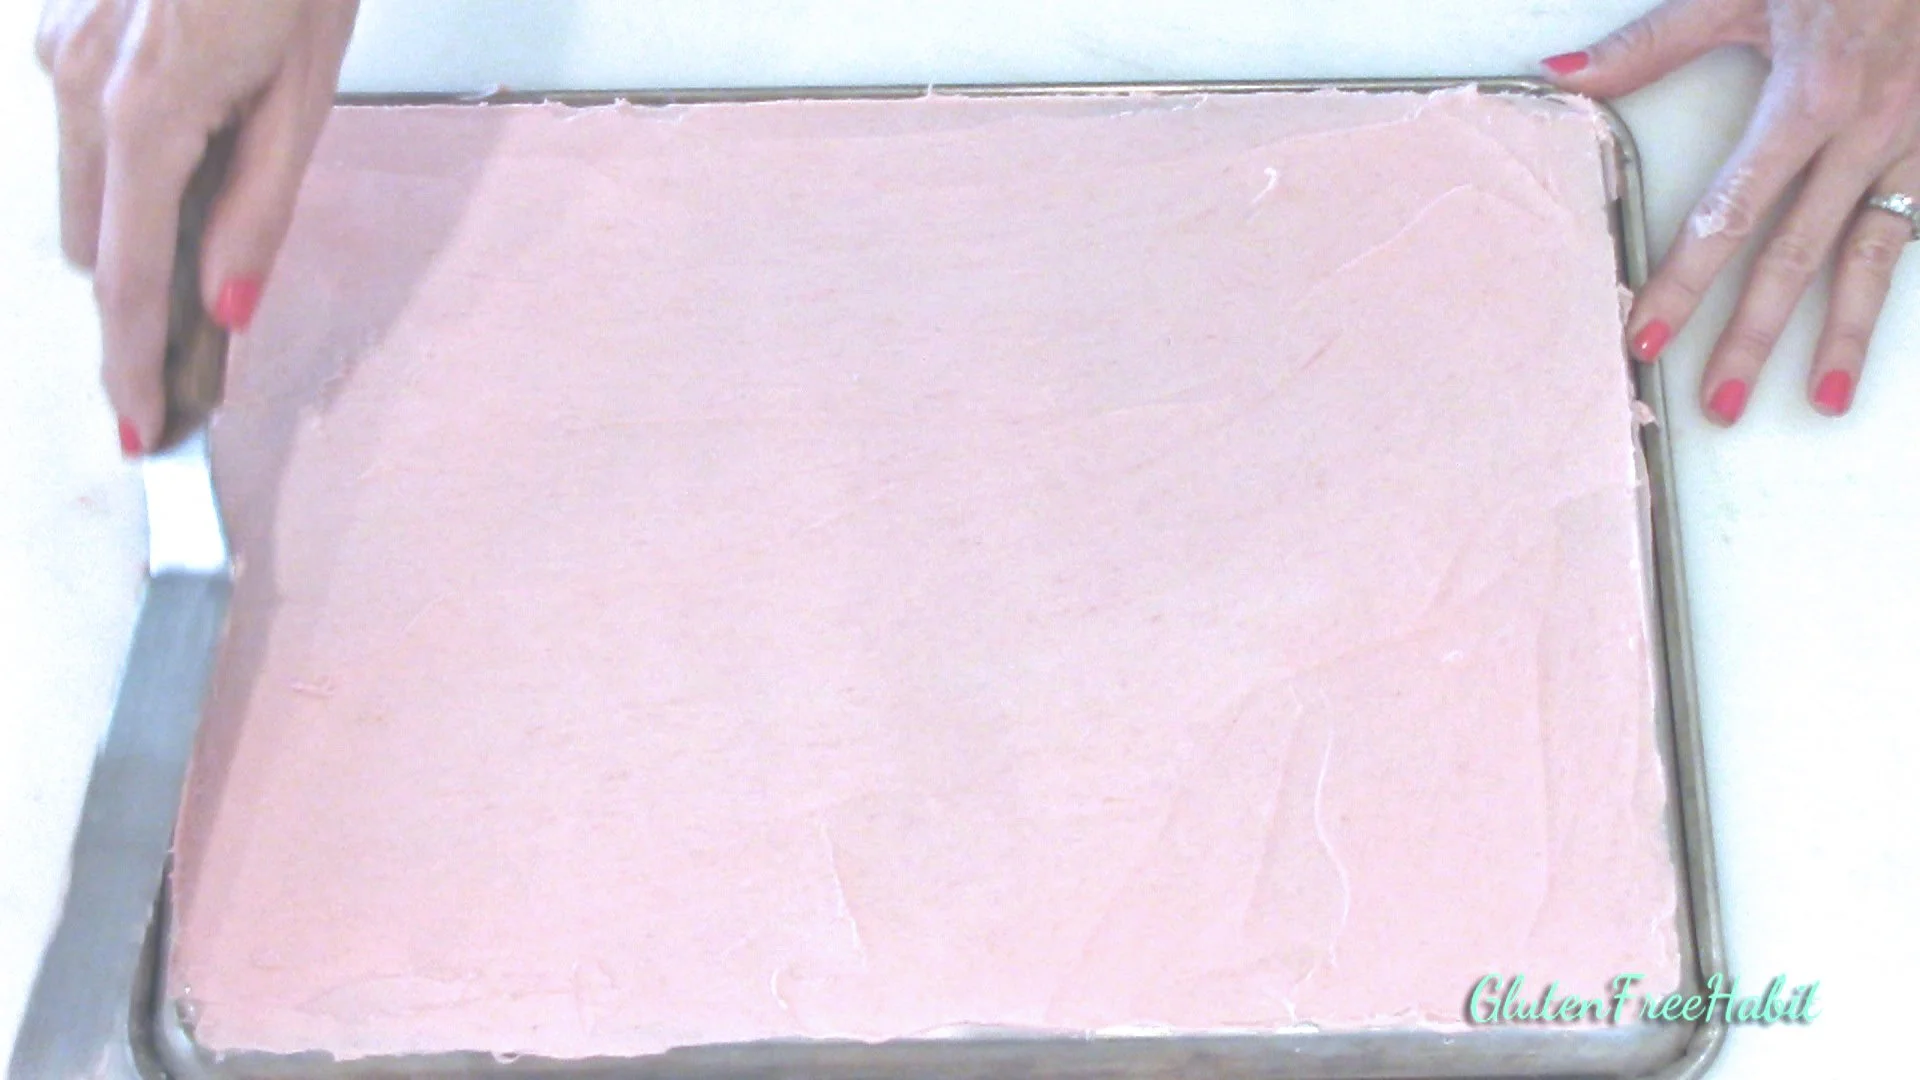
18
As you spread your chocolate, it will thin out, cool down, and chocolate will begin to set. You will notice this as the chocolate will start to lose its shine.
19
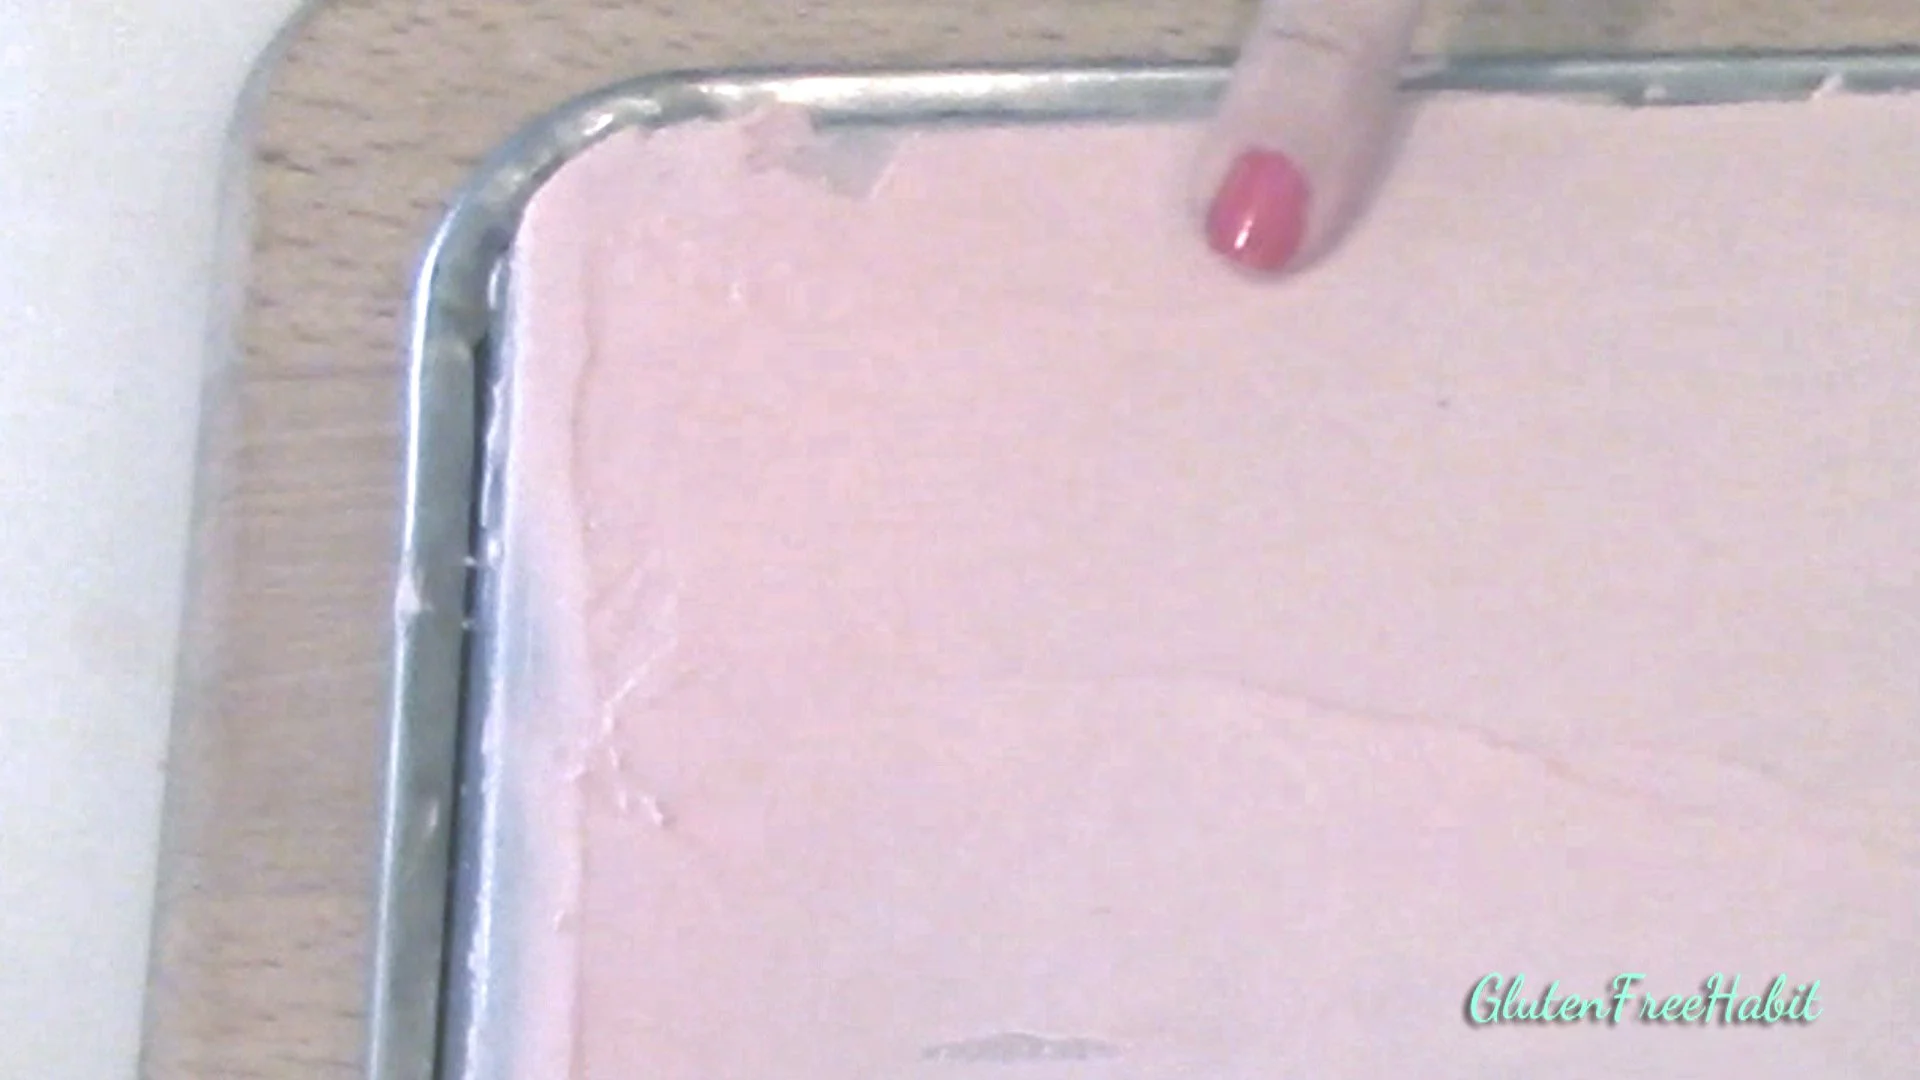
Test chocolate by lightly pressing a finger to it. It should leave a light fingerprint, but not an indentation.
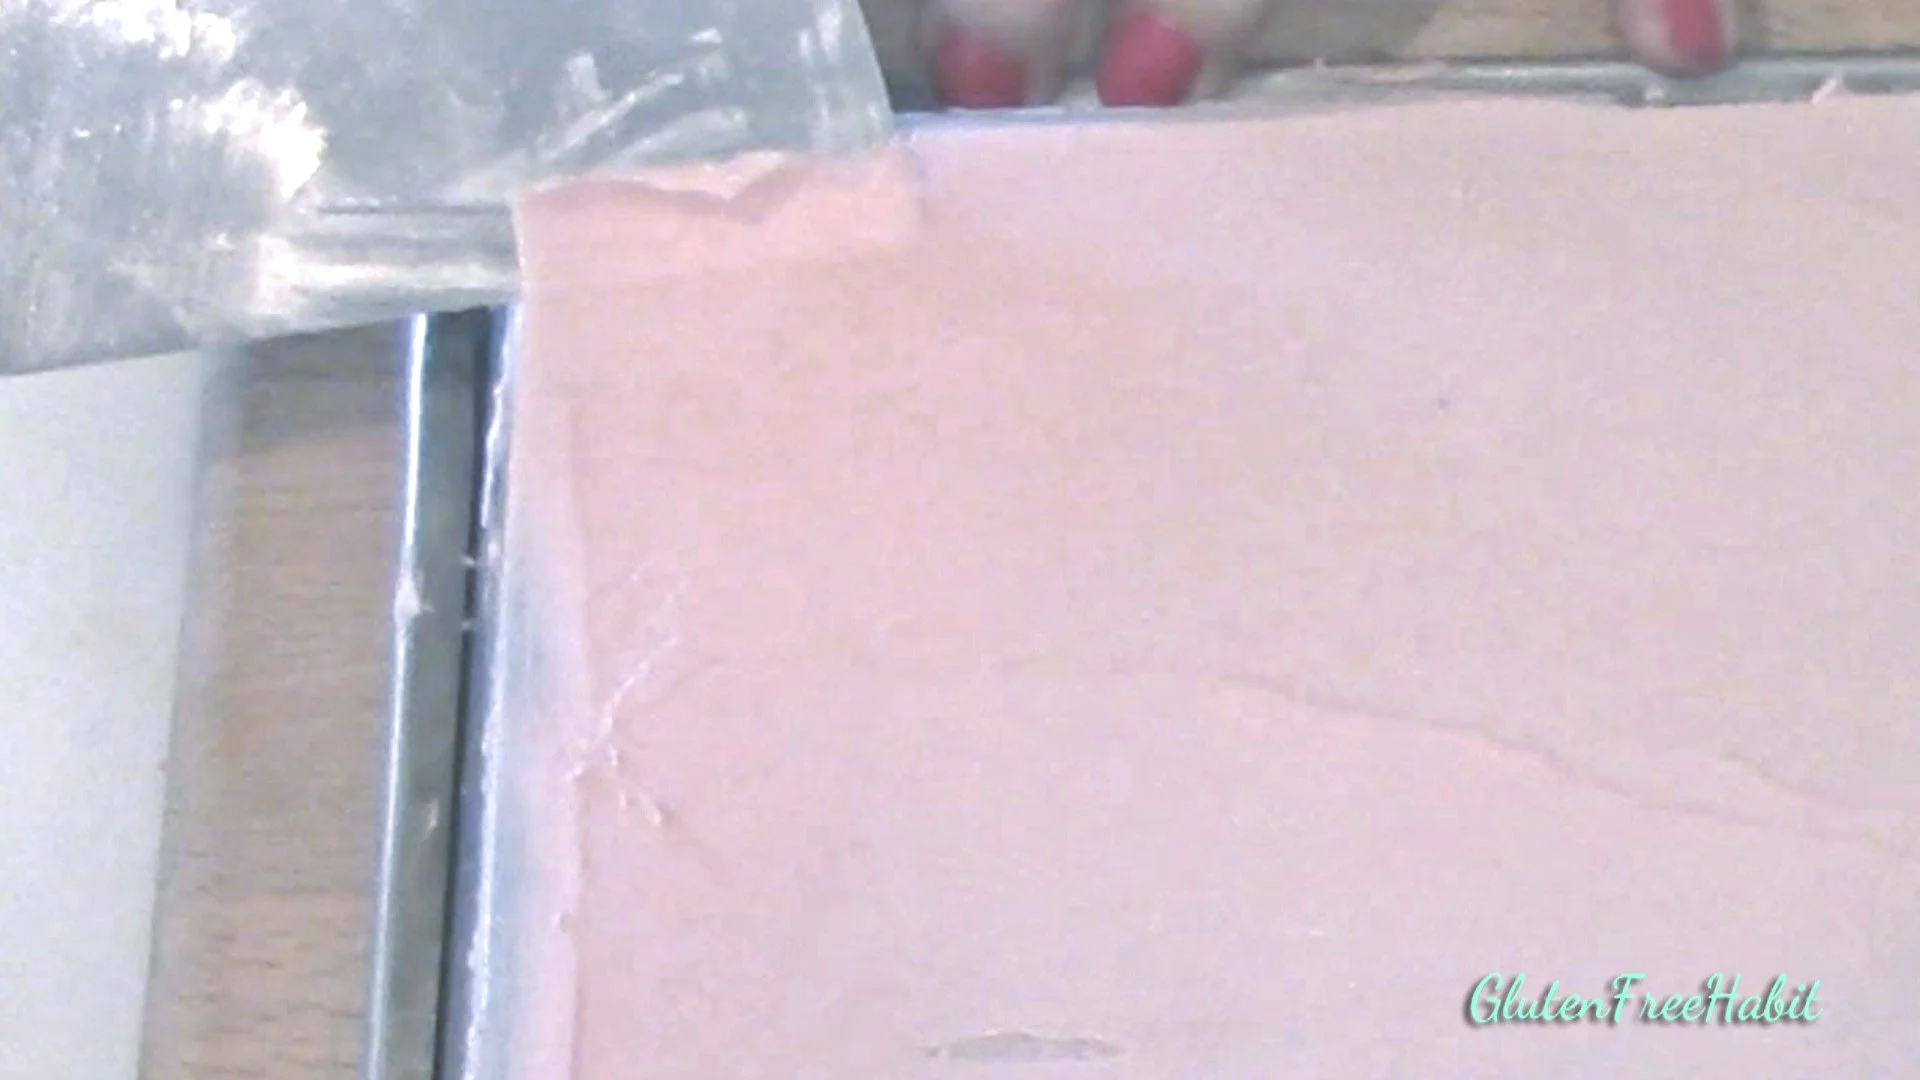
20
Test a corner of the chocolate with your curl-making tool: Hold pan with one hand, and with the other hand, angle tool at about 45 degrees, and push tool forward. If chocolate mushes up without curling, wait a few more minutes for it to set.
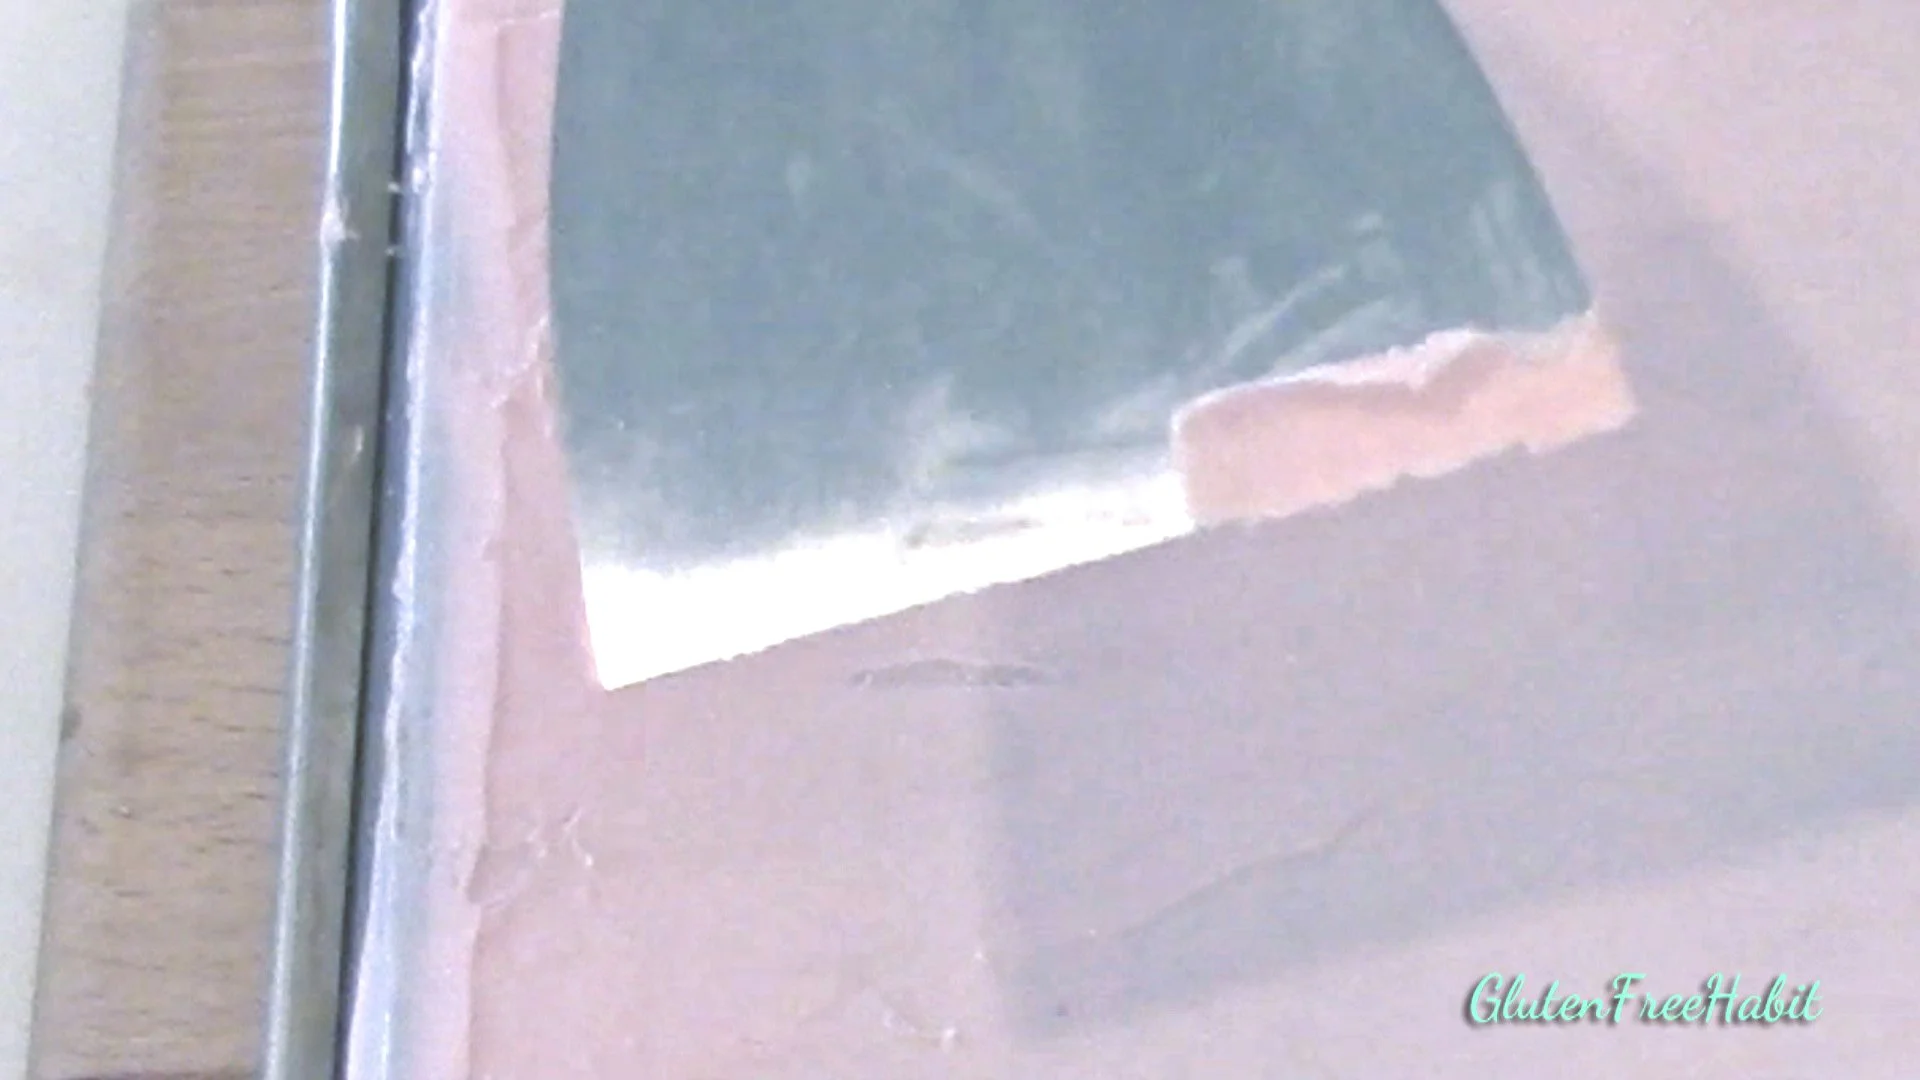
21
Test again. Repeat until the chocolate curls. If chocolate crumbles, the chocolate has set too much and must be re-softened.

22
To do this, use a hairdryer, aimed at your chocolate, for just a few seconds to barely soften the chocolate. (Funny, I know, but it works).
When the chocolate curls, you're ready!

23
When chocolate is just right, make curls quickly.
24
Create curls in different shapes and sizes for an interesting look on your dessert.
25
Try different styles by pushing straight ahead or in a curve, using the entire width of the tool, or just an edge of it. Experiment and have fun!
26
Gently move curls to your waxed-paper-lined pan using your tool. If it’s a warm day or if it's warm in your kitchen, cover your curls and set tray in fridge. They will set nicely and be able to be handled to decorate your dessert.
Yay! Time to Eat!

Now place your curls on your dessert to give it some extra WOW!
Ready to Make Some White Chocolate Curls?
Before you get to baking, make sure you have everything you need for success! Shop for gluten free flours, baking pans, cutting boards, serving dishes, and cookware in my Amazon shop!

The Recipe:
HOW TO MAKE WHITE CHOCOLATE CURLS
* IMPORTANT…When measuring out your flours, DO NOT scoop your measuring cup into a tub or bag. This will result in using more flour than called for. Instead, pour or spoon the flour into your measuring cup, and level off with flat side of a knife. If possible, measure your flours by weight for best accuracy.
INGREDIENTS
1 Tbsp. vegetable shortening
1 cup WHITE chocolate chips (or good quality white chocolate)
Gluten free food coloring (powdered ONLY). Do not use a water-based coloring as it will ruin the chocolate.
DIRECTIONS
Getting Ready:
Set out a clean baking pan or marble slab, off-set spatula, microwaveable bowl or cup, and a pastry scraper or flexible sharp-edged spatula for making curls.
Make space in your fridge for the baking pan
Line a plate or baking pan with waxed paper for completed curls
Let’s Get Started:
Separate out about ¼ cup or a little less of the chips and set aside for later.
In a microwaveable cup or bowl, add shortening and the remaining ¾ cup of chips. **The goal for the white chocolate chips is to melt them about 75%-80% of the way at 50% power. Then, quickly cool down the chocolate with the remaining chips to bring them back to a tempered state. Do not melt entirely in microwave at full power. Yes, it’s easier and quicker, but you won’t get the end result that you want. Been there…done that.
Microwave the chips/shortening mix for 45 seconds at 50% power. Stir. **Chips will not be ready yet but it’s important to go slowly. Patience is key here and every microwave heats differently.
Microwave again for 45 seconds at 50% power. Stir. Observe how much of the chocolate is melted. Remember, you want to have remaining chunks of chips that have NOT MELTED yet. Resist the temptation to melt them all the way. At this point, depending on your microwave, you may need to put your chips in for another 30 seconds at 50% power, or start going at 10-15 second increments at 50% power. Stir.
Continue these steps at 10-15 second increments until chocolate is melty with chunks of chips remaining.
Once chocolate is about 75%-80% melted with chunks of chips remaining, add in remaining chips and stir vigorously. New chips will melt as you stir. Stirring and adding in the new chips will act to cool the chocolate, bringing it back to a tempered state. You may need to let the chocolate sit for a minute to allow the new chips to soften. Stir until perfectly smooth, with no chunks remaining.
Add in desired amount of powdered food coloring and stir thoroughly.
Place empty baking sheet in fridge for about 30 seconds to one minute. Warning: if you leave your tray in the refrigerator much longer, this will cause your chocolate to set up too quickly, and your curls will crumble.
Remove chilled pan from fridge, place upside down on work surface, and pour melted chocolate onto back of pan. Spread with off-set spatula back and forth, covering the entire surface.
As you spread your chocolate, it will thin out, cool down, and chocolate will begin to set. You will notice this as the chocolate will start to lose its shine.
Test chocolate by lightly pressing a finger to it. It should leave a light fingerprint, but not an indentation.
Test a corner of the chocolate with your curl-making tool: Hold pan with one hand, and with the other hand, angle tool at about 45 degrees, and push tool forward. If chocolate mushes up without curling, wait a few more minutes for it to set more. Test again. Repeat until the chocolate curls. If chocolate crumbles, the chocolate has set too much and must be re-softened. To do this use a hairdryer, aimed at your chocolate, for just a few seconds to barely soften the chocolate (funny, I know, but it works).
Create curls in different shapes and sizes for an interesting look on your dessert. Try different styles by pushing straight ahead or in a curve, using the entire width of the tool, or just an edge of it. Experiment and have fun!
Gently move curls to your waxed-paper-lined pan using your tool. If it’s a warm day or warm in your kitchen, cover your curls and set tray in fridge. They will set nicely and be able to be handled to decorate your dessert.

Tip: Please follow all directions exactly!! If you skip steps or swap ingredients then you may or may not like the end result :)
Tip: Make your chocolate curls a day in advance of making your dessert. If your kitchen is cool, you can cover them and leave them out. If it’s a little warm, put them in the fridge in an airtight/shallow/wide/rigid storage container to protect from moisture, and from being crushed by kids going in and out of the fridge :)
Looking for Comments?
Please leave and read comments in the "Comments" section of the YouTube video above.
I can’t wait to hear from you!