How to Make Chocolate Curls (Microwave)
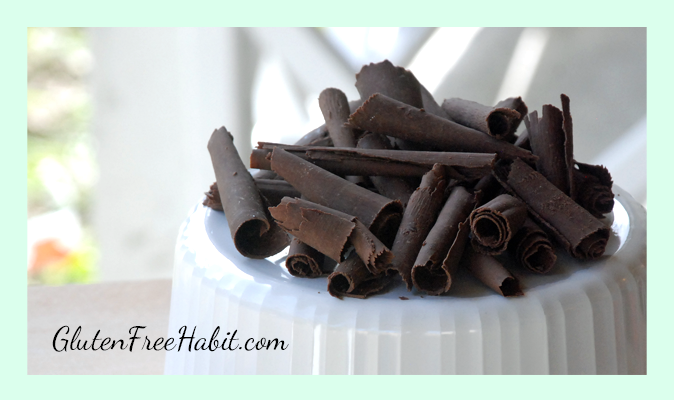
Ahhh, chocolate curls…so beautiful, and yet so likely to make you want to scream in frustration - at least until you’ve learned the easy way to make them. Do your chocolate curls crumble? Turn into mush? Fail to set? I’ve been there! Here's a microwave method using regular chocolate chips. They make beautiful curls to top your desserts, and your friends and family will be amazed by your endless talents!
If you prefer the traditional stove-top method, please see my How To Make Chocolate Curls (Stovetop-Method) recipe.
Makes: Plenty of chocolate curls to top a cake!
The number will vary depending on thickness of chocolate and length of curl.

Show Me How

Walk Me Through It
1
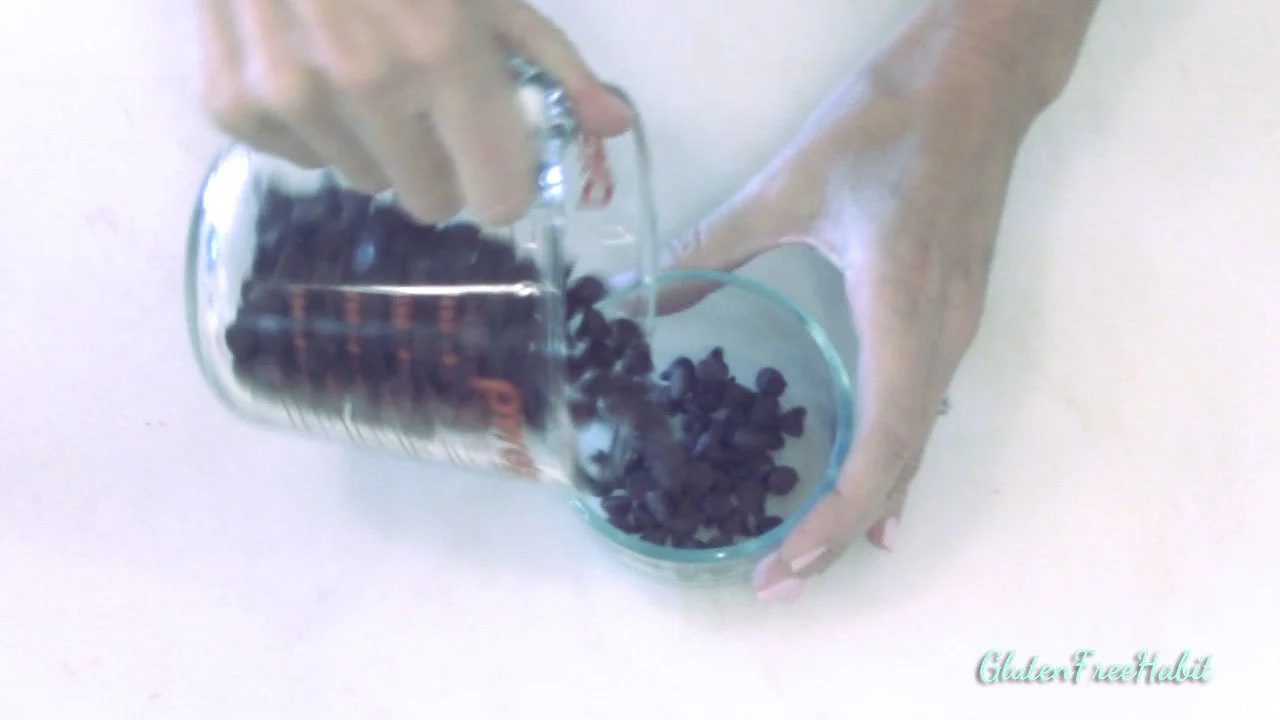
Separate out about ¼ cup or a little less of the chips and set aside for later.
2
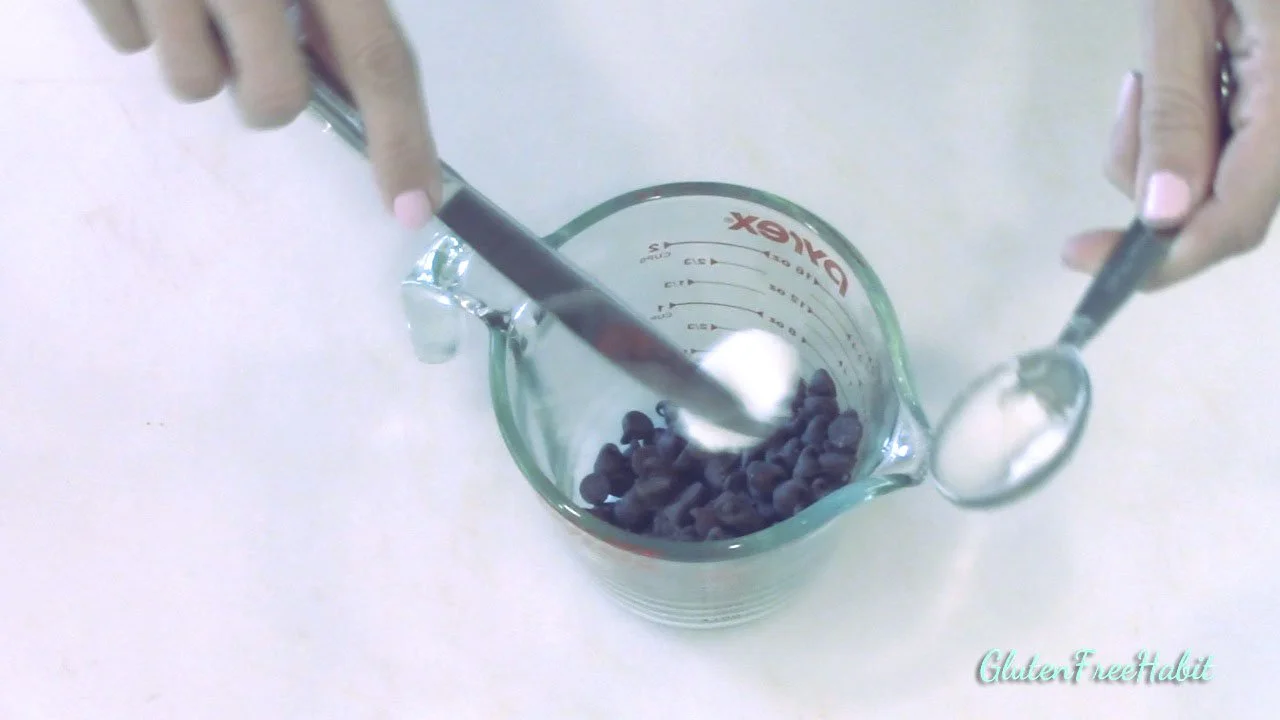
In a microwaveable cup or bowl, add shortening to the remaining ¾ cup of chips.
3
Stir.
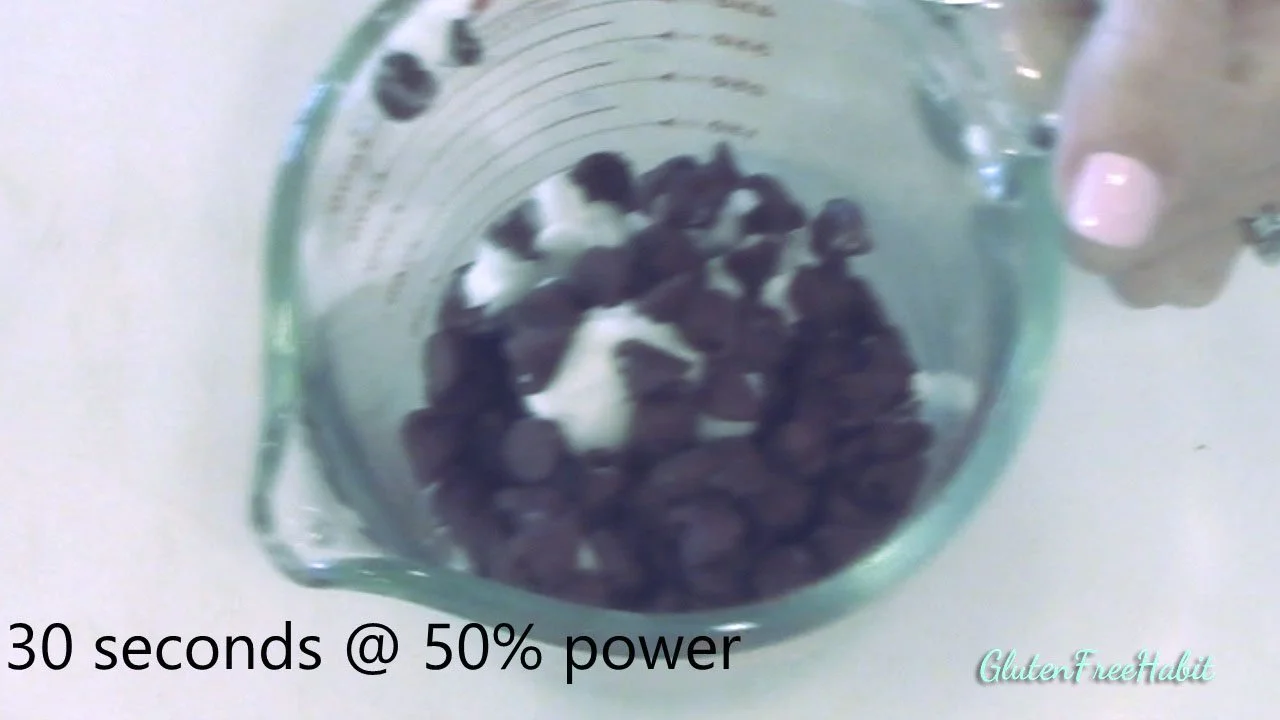
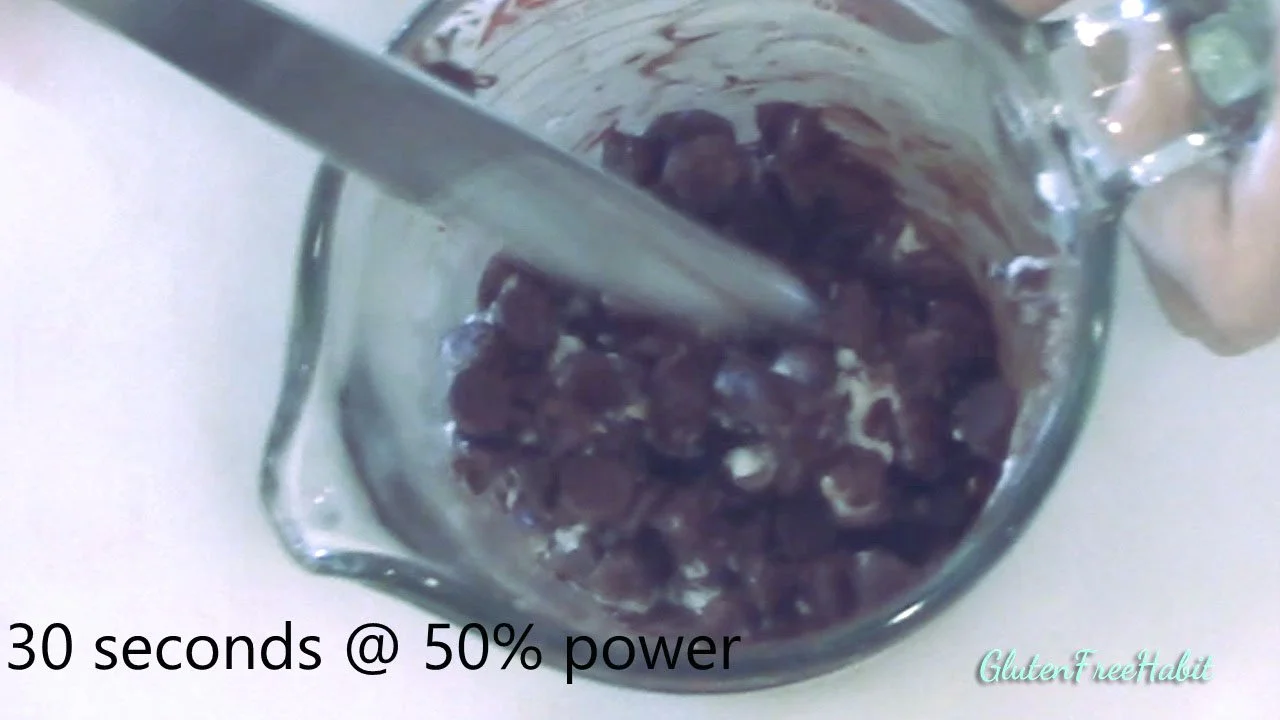
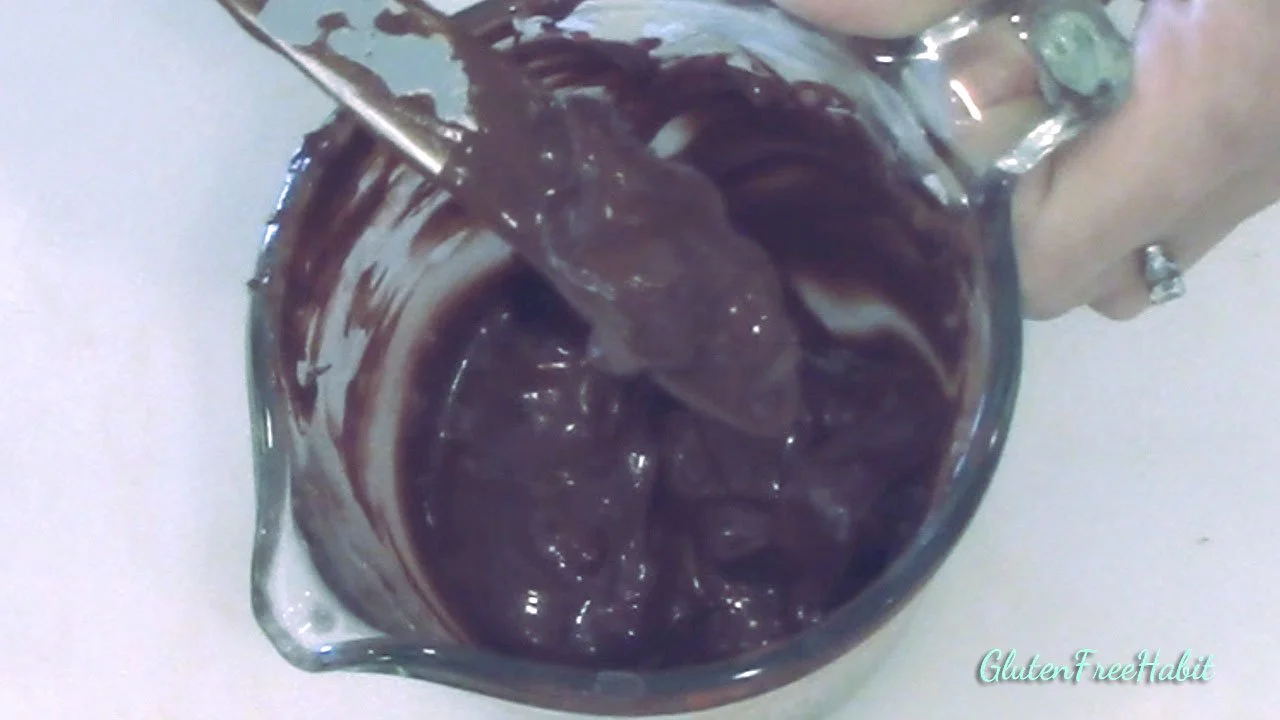
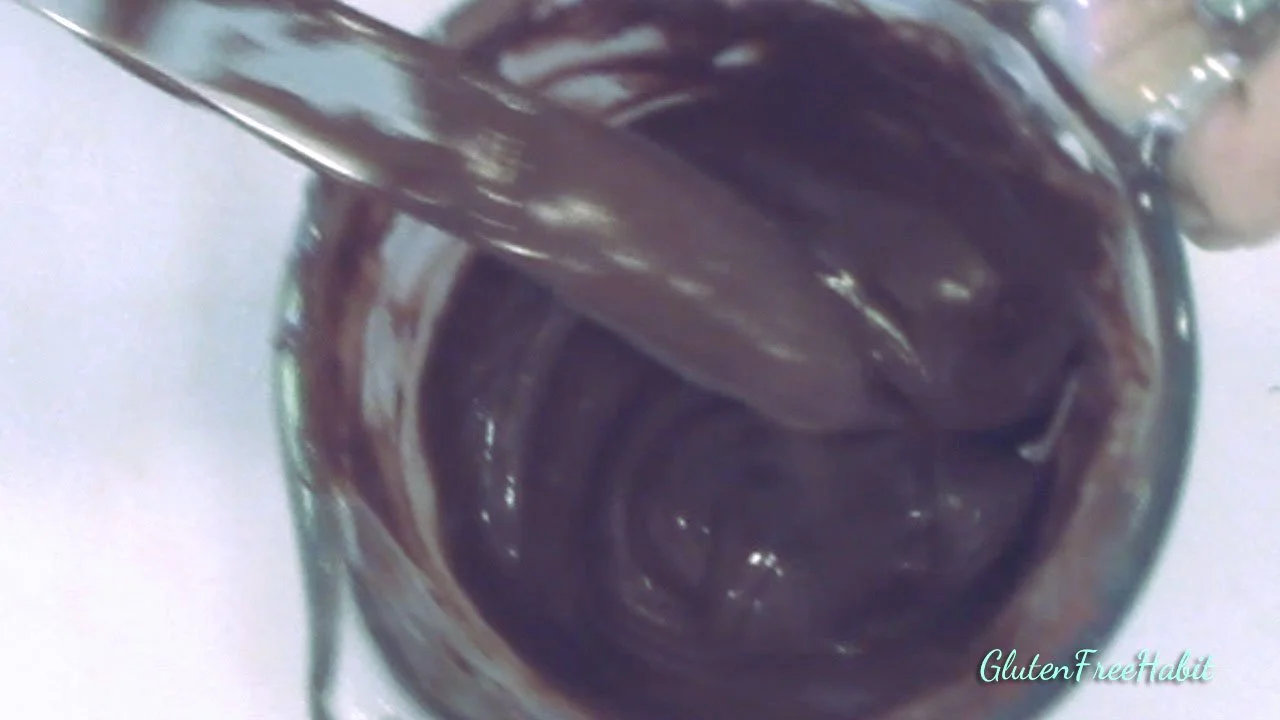
4
Microwave the chips/shortening mix for 30 seconds at 50% power. **Chips will not be ready yet but it’s important to go slowly. Patience is key here and every microwave heats differently.
5
Stir. **The goal for the chocolate chips is to only melt them about 75%-80% of the way at 50% power. Then, quickly cool down the chocolate with the remaining chips to bring them back to a tempered state.
6
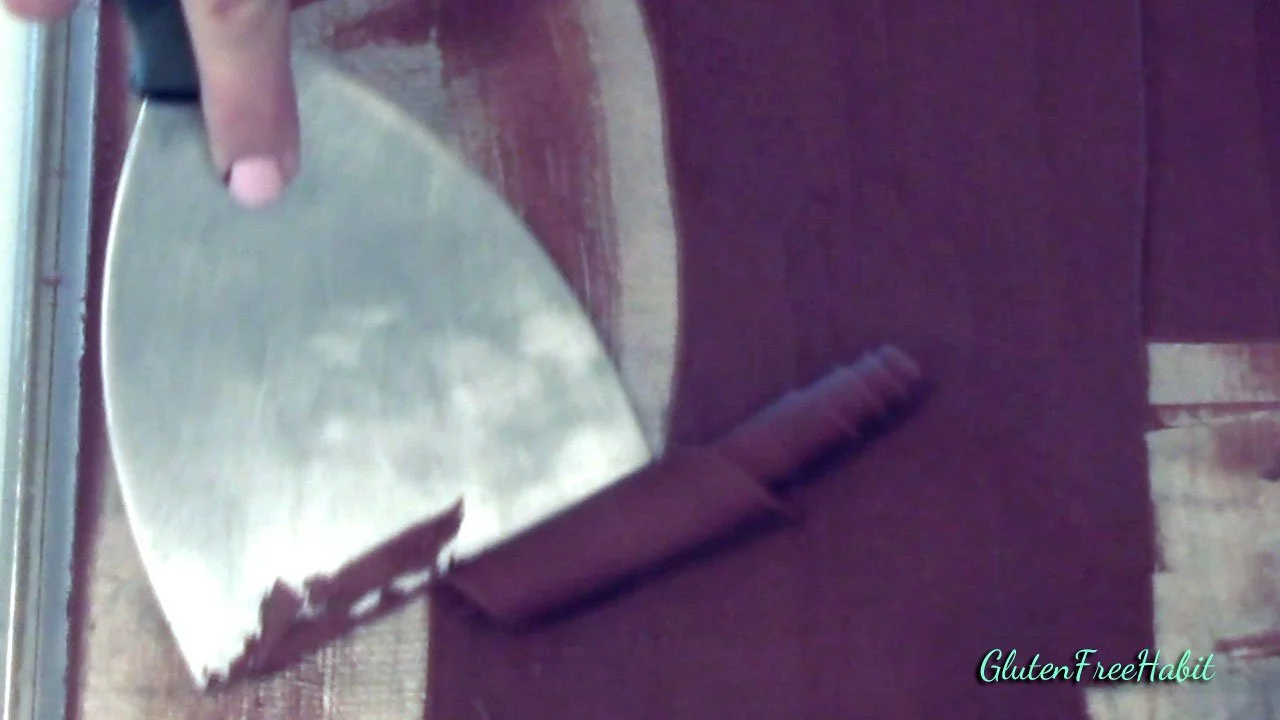
Do not melt entirely in microwave at full power. Yes, it’s easier and quicker, but you won’t get the end result that you want. Been there…done that.
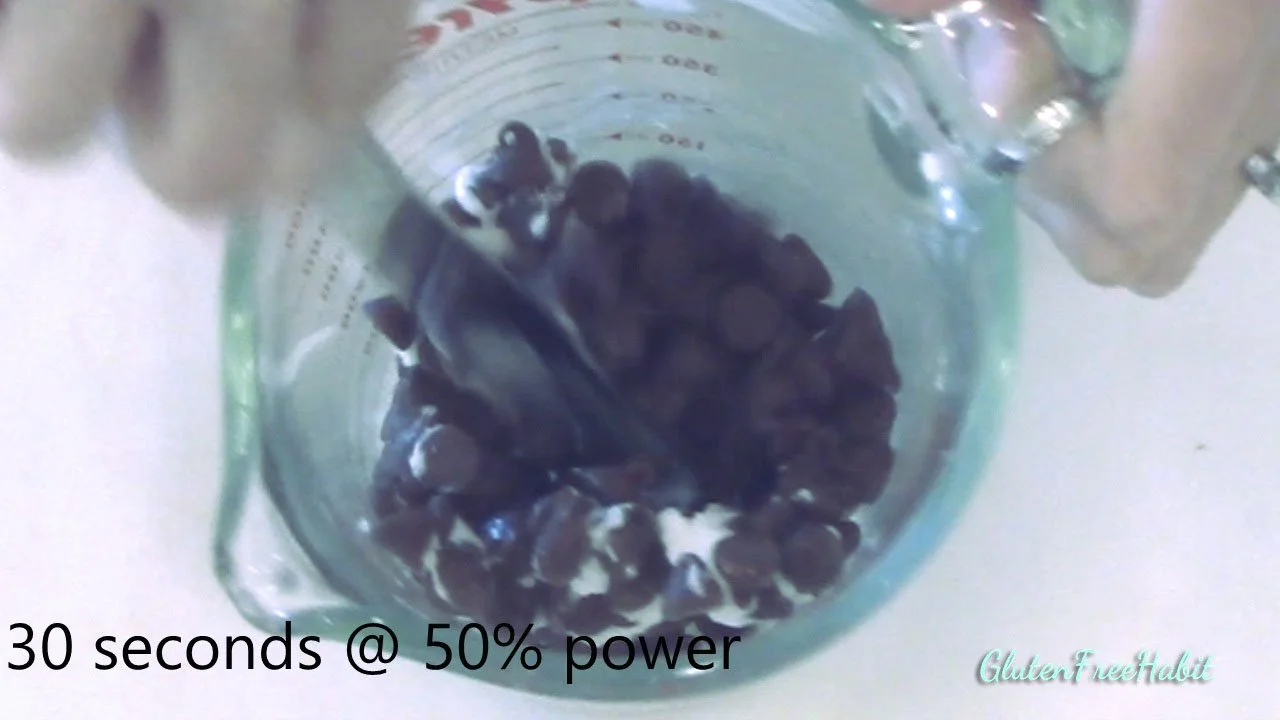
Check to see how melted the chocolate is.
7
These chips are not melted enough.
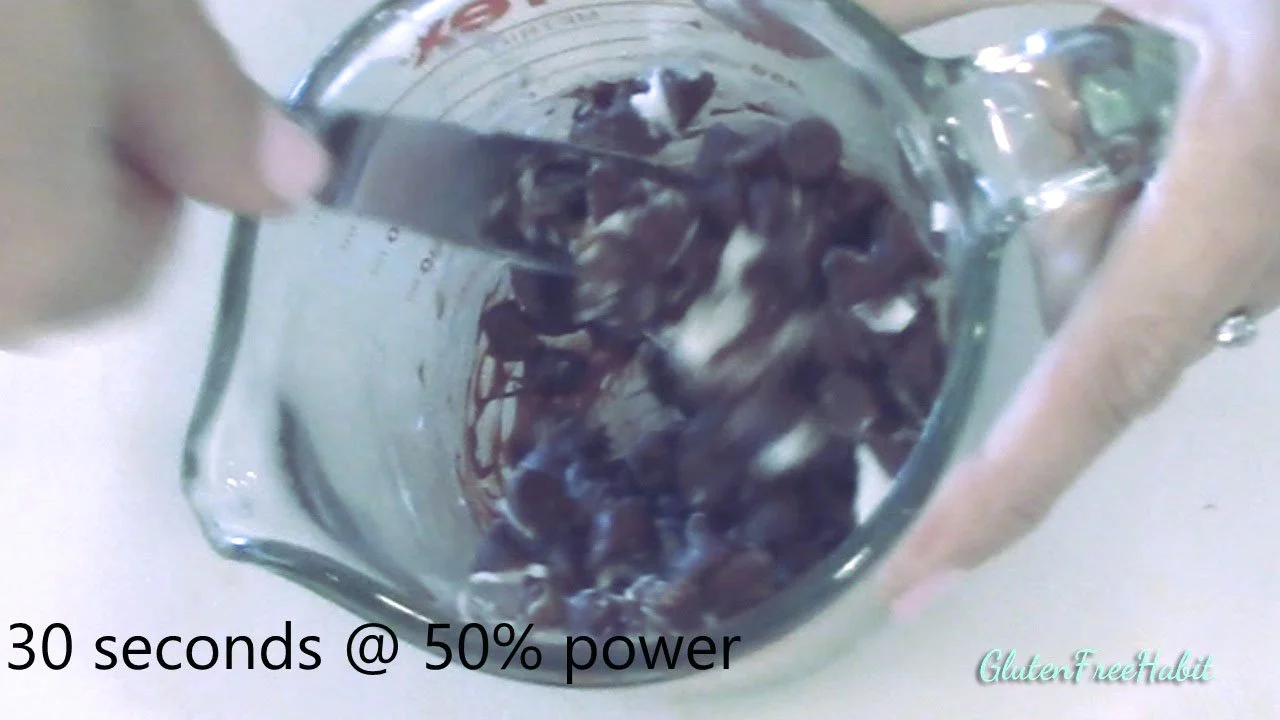
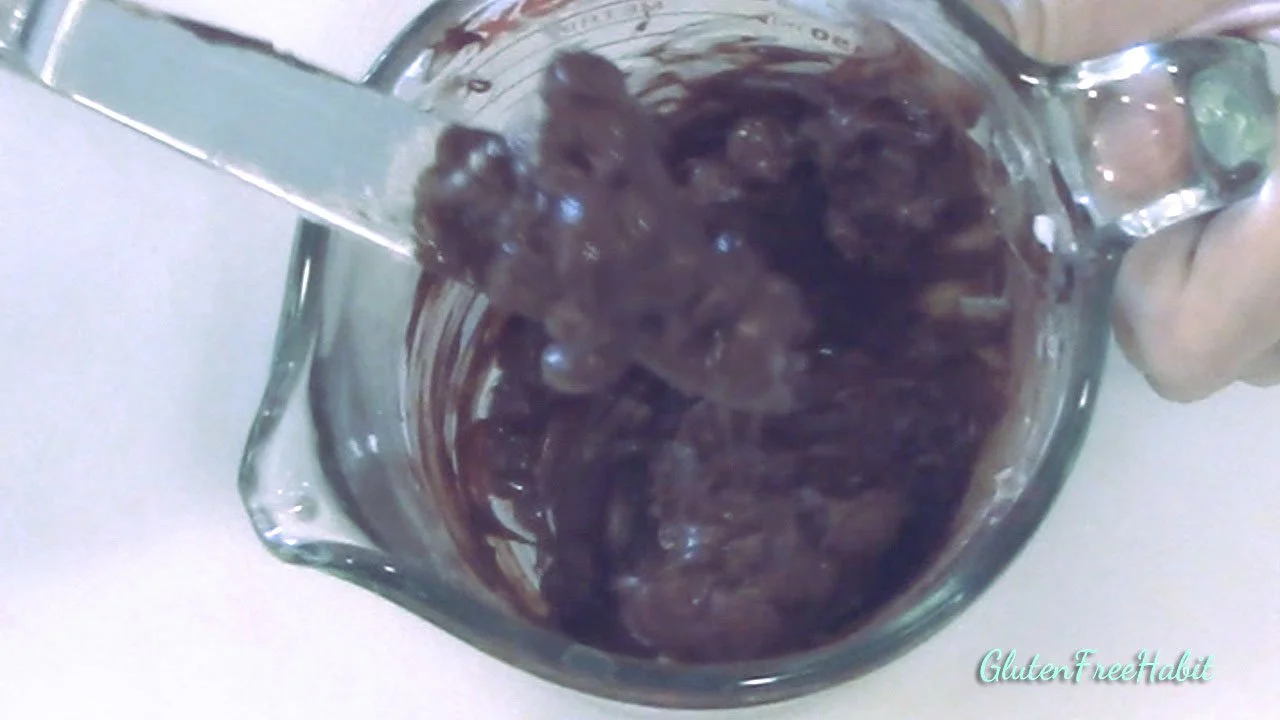
8
Microwave for 30 seconds more at 50% power. Stir again. When chocolate starts to melt more quickly, only heat in 15 second increments. Remember, in the end you want to have remaining chunks of chips that have not melted yet. Resist the temptation to melt them all the way.
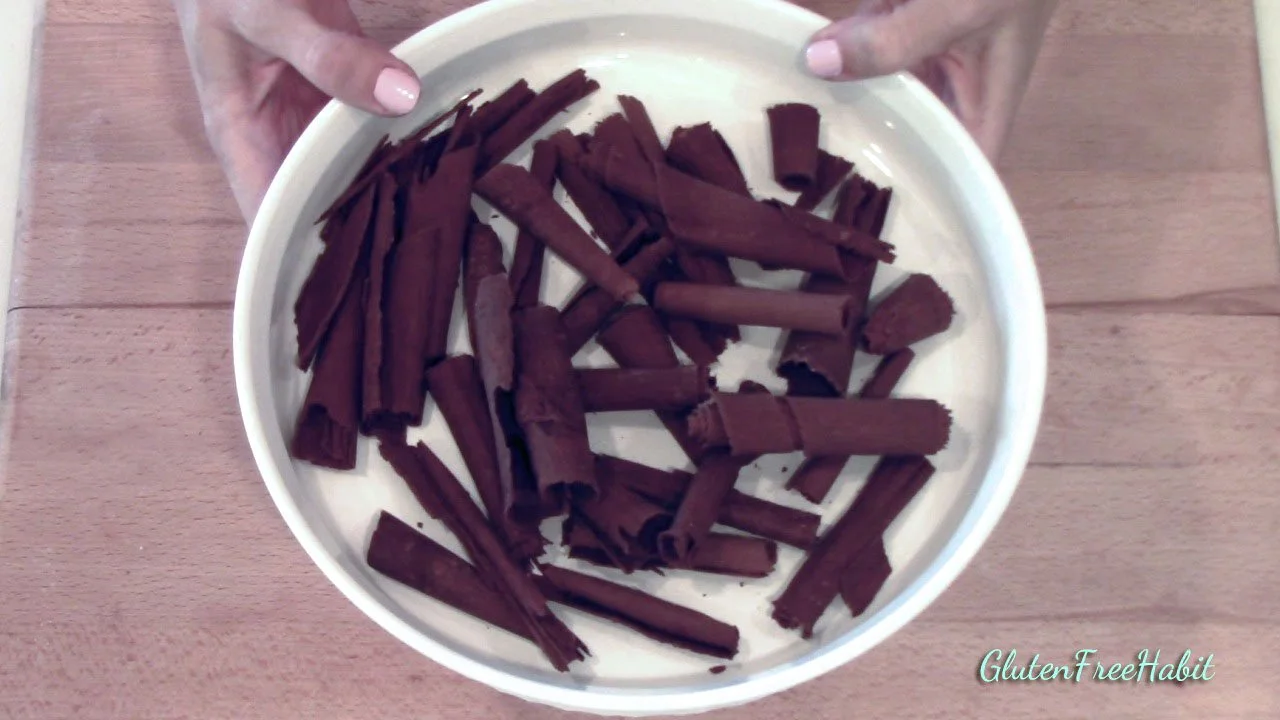
9
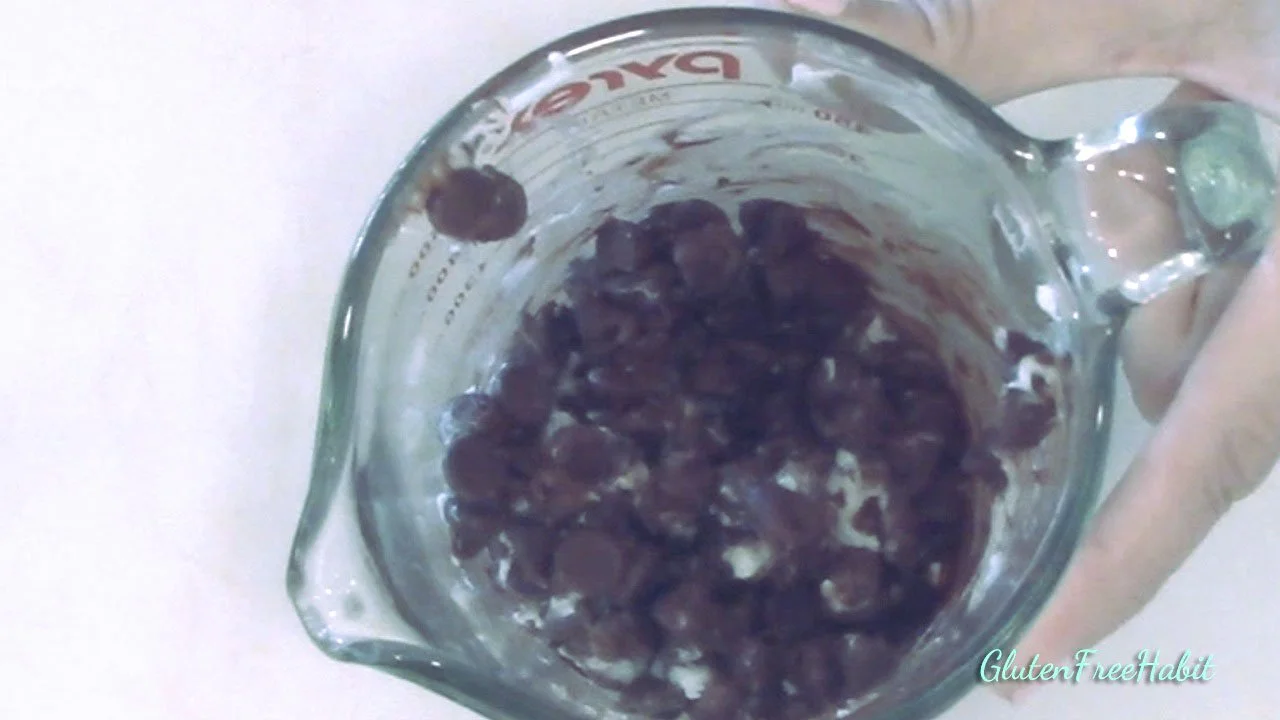
Look at your chocolate and see how it's melting. This looks much more melted now. Let's start 15 second increments.
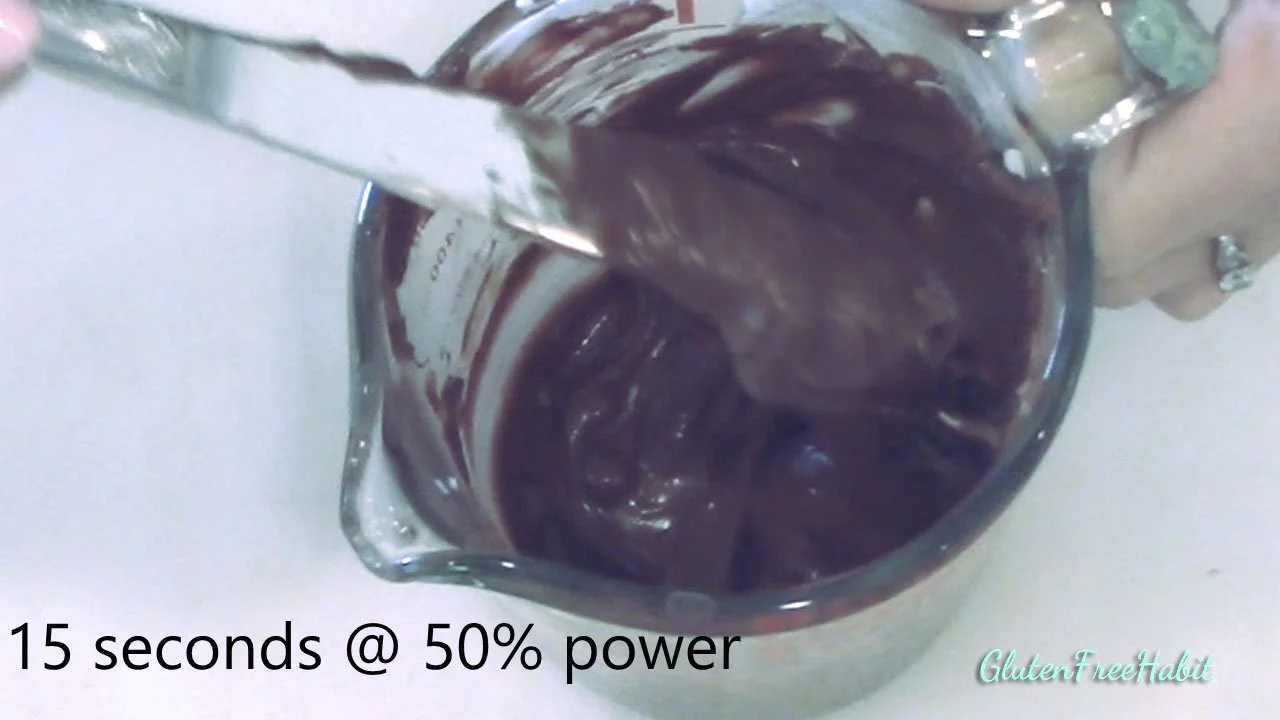
10
Heat for 15 seconds at 50% power. Stir. This looks perfect. About 70-80% of the chips are melted with chunks of chocolate still remaining.
11
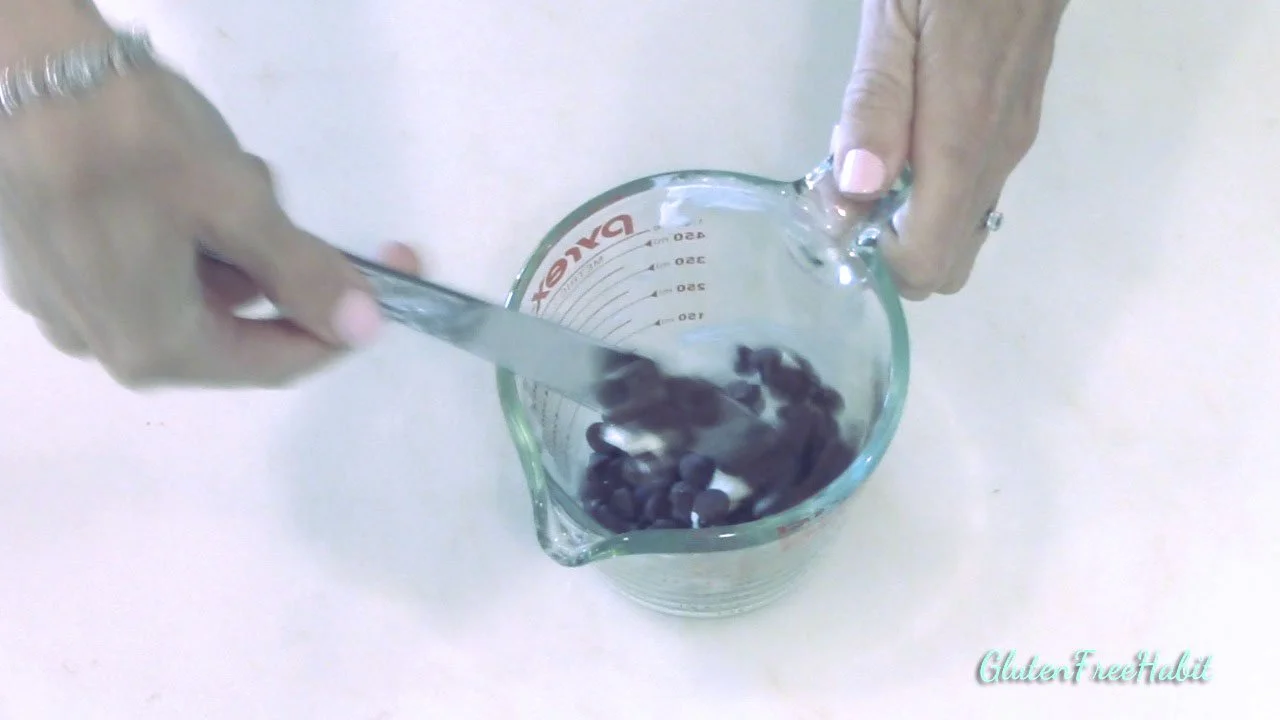
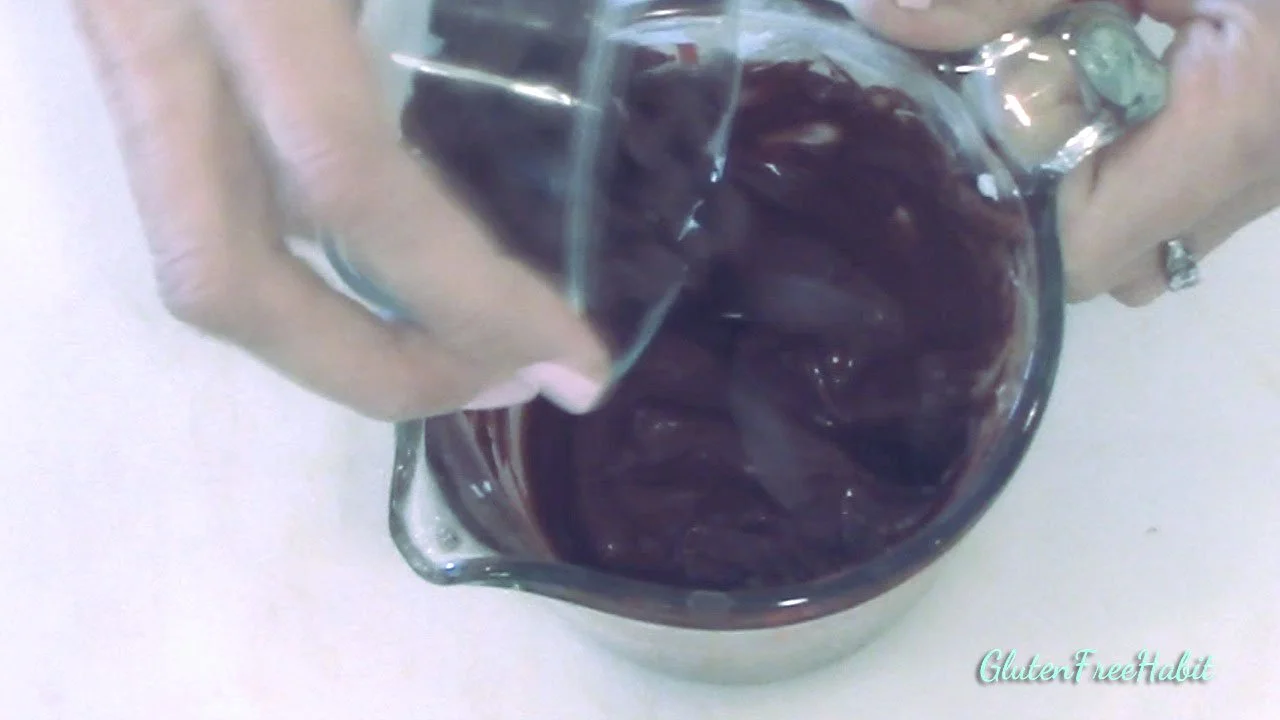
Now add in remaining chips and stir.
12
New chips will melt as you stir. Stirring in the chips act to cool the chocolate, bringing it back to a tempered state. You may need to let the chocolate sit for a minute to allow the new chips to soften. a little bit.
13
Stir until smooth, with no chunks remaining.
14
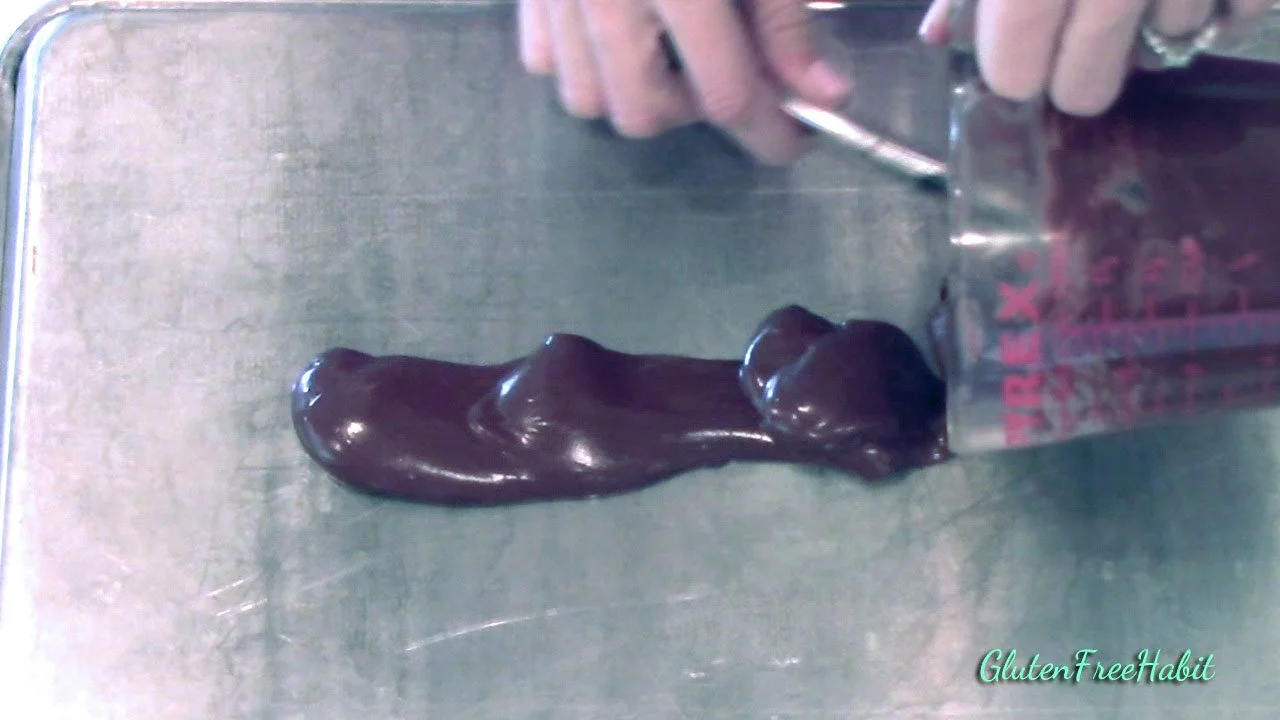
Place baking pan in fridge for about one minute. Warning: if you leave it in the refrigerator much longer, it will become too cold, and this will cause your chocolate to set up too quickly. This will cause your curls to crumble. Place your pan upside down and pour melted chocolate onto pan.
15
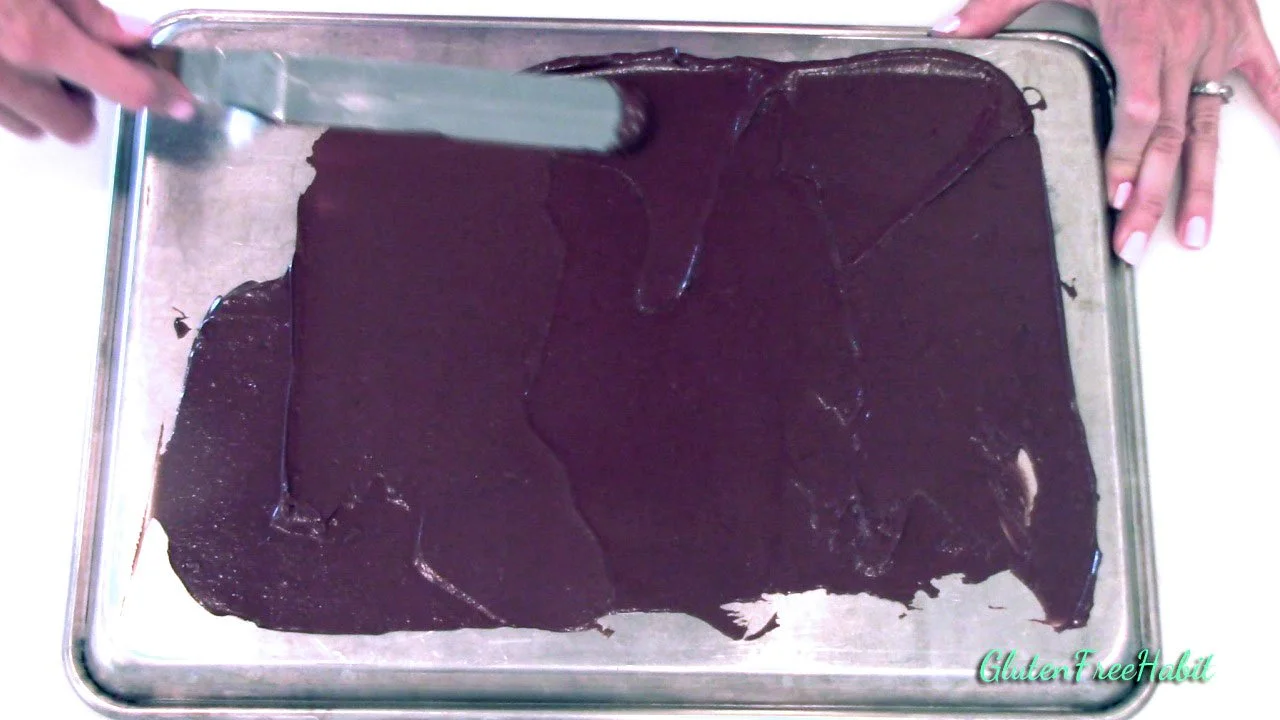
Spread with off-set spatula.
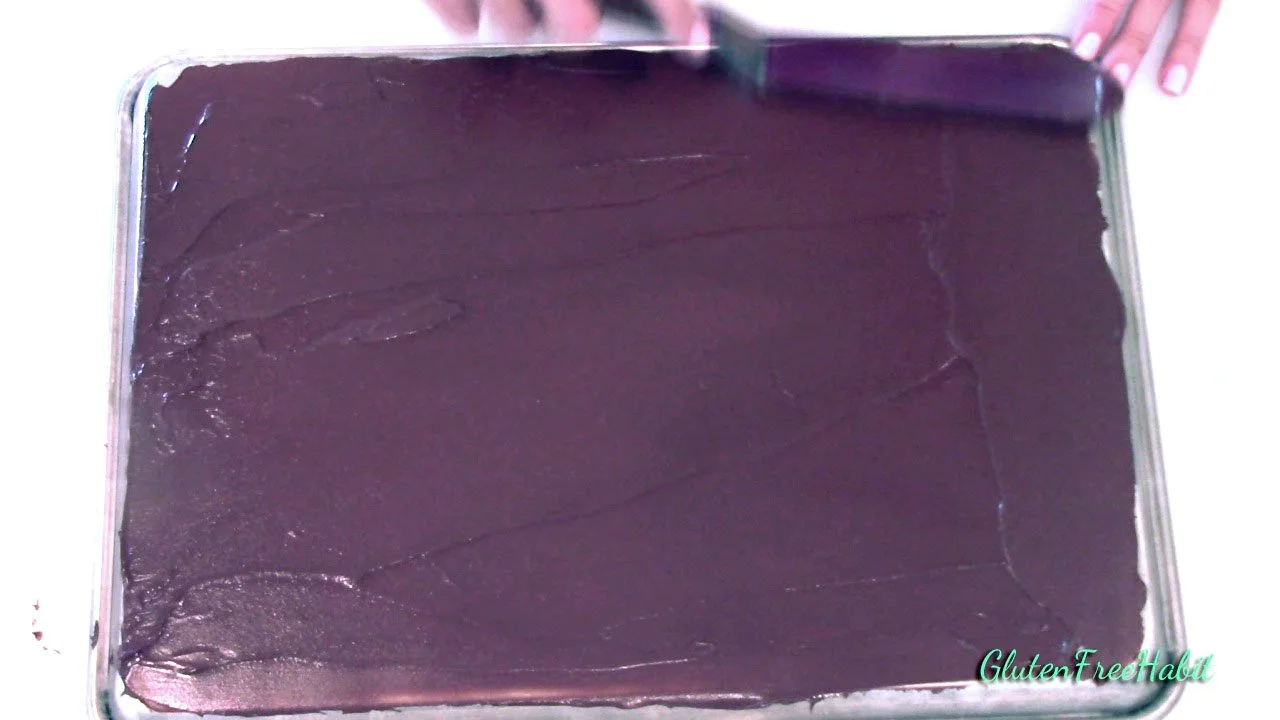
16
Cover entire surface if needed. As you spread, your chocolate will begin to cool and set. You will notice this as the chocolate will start to lose its shine.
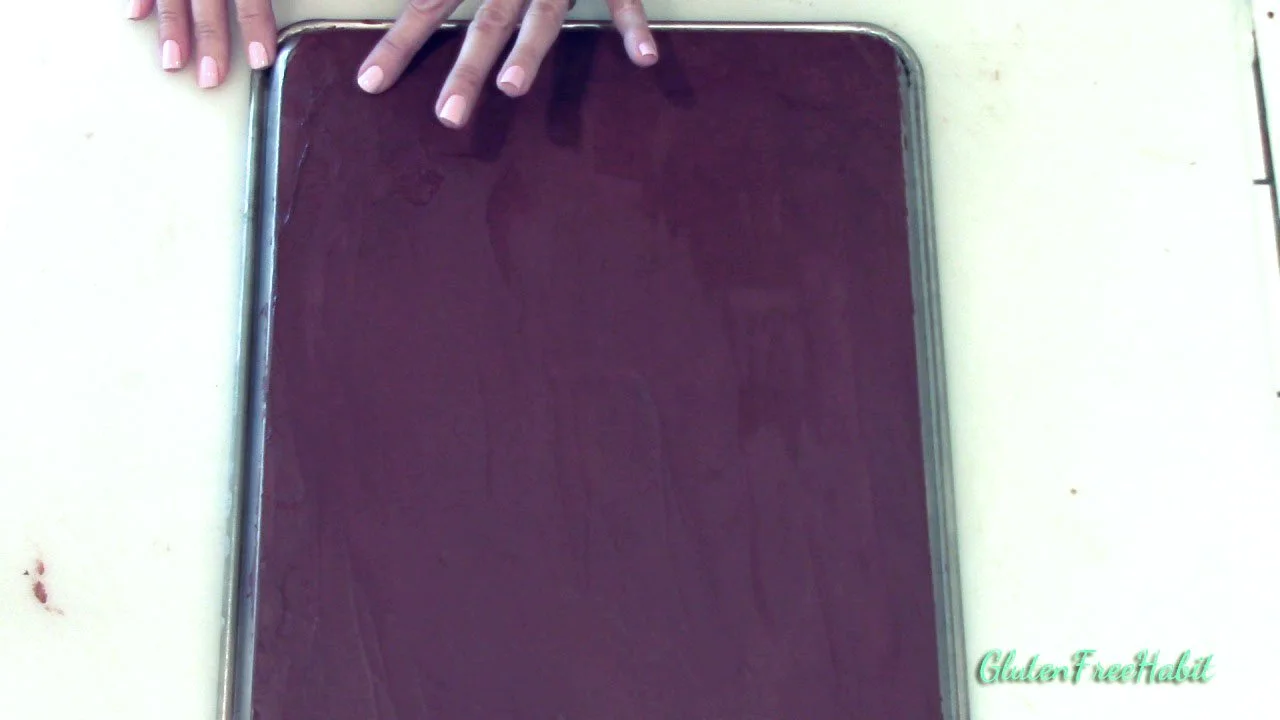
17
When chocolate appears to have set, test by lightly pressing a finger to it. It should leave a light fingerprint, but not an indentation.
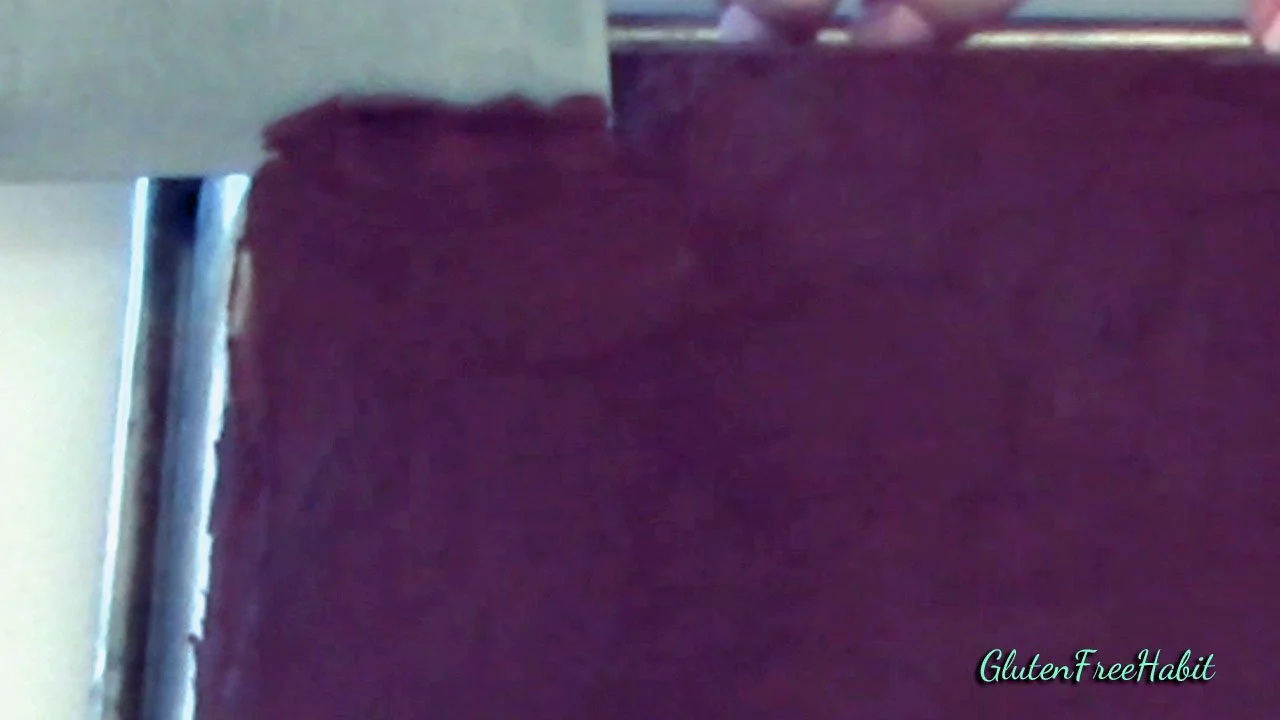
18
Test a corner of the chocolate with your tool: Hold pan, angle tool at about 45 degrees, and push forward.
19
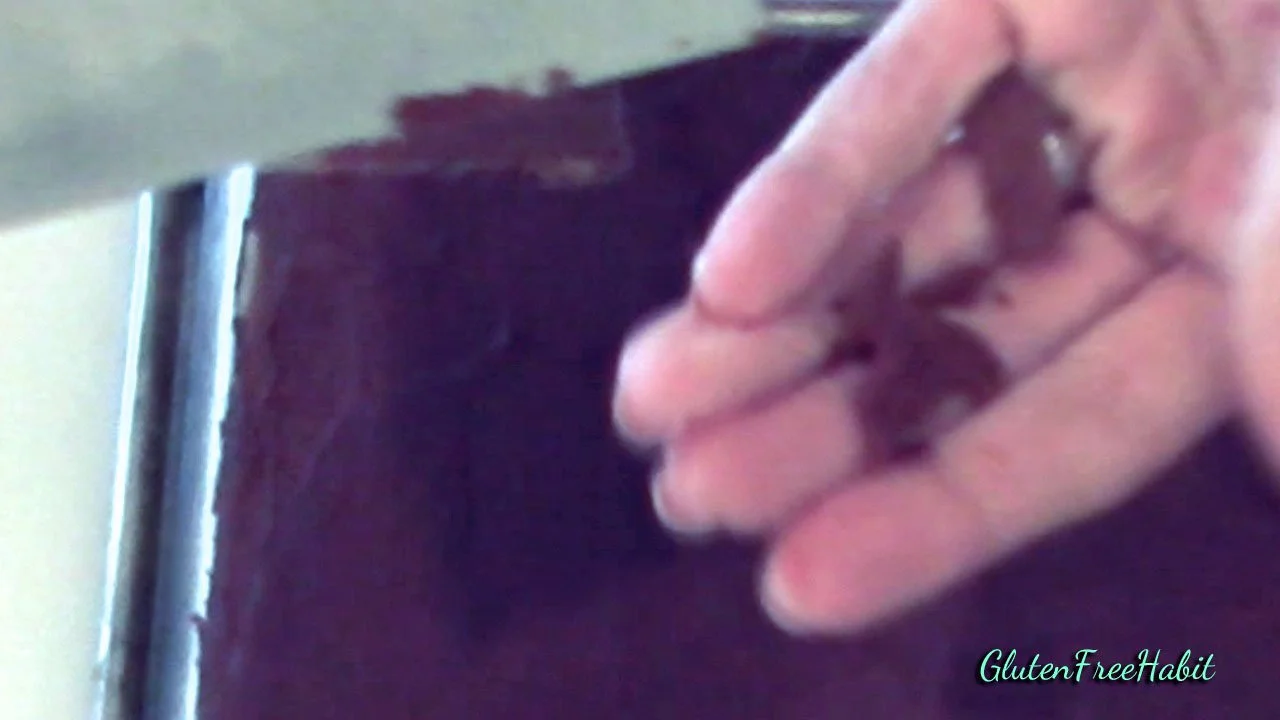
If chocolate mushes up like this without curling, wait a few more minutes for it to set. Test again. Repeat until the chocolate curls. (If chocolate crumbles, the chocolate has set too much and must be re-softened.) A tiny bit of heat from a hair dryer on low setting can help with this :)
20
Success! Create curls in different shapes and sizes for an interesting look on your dessert. Try different styles of curls: Push straight ahead for a regular curl.
21
Slide your tool to the side as you push forward for a spiral curl.
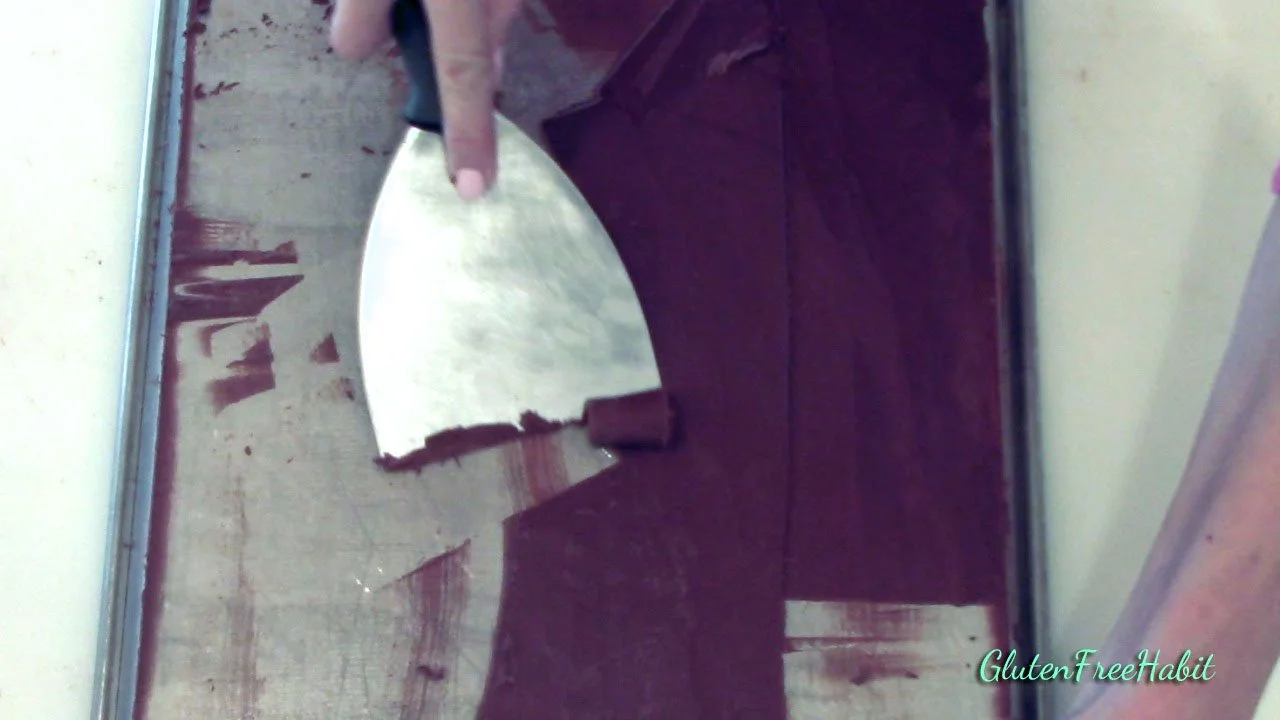
22
Use just the corner of your tool for a tiny curl

23
And curve your wrist in an arc pattern to get a trumpet-style curl (with one end larger than the other). The possibilities are endless!
24
Carefully store your chocolate curls until used on your dessert.
Yay! Time to Eat!
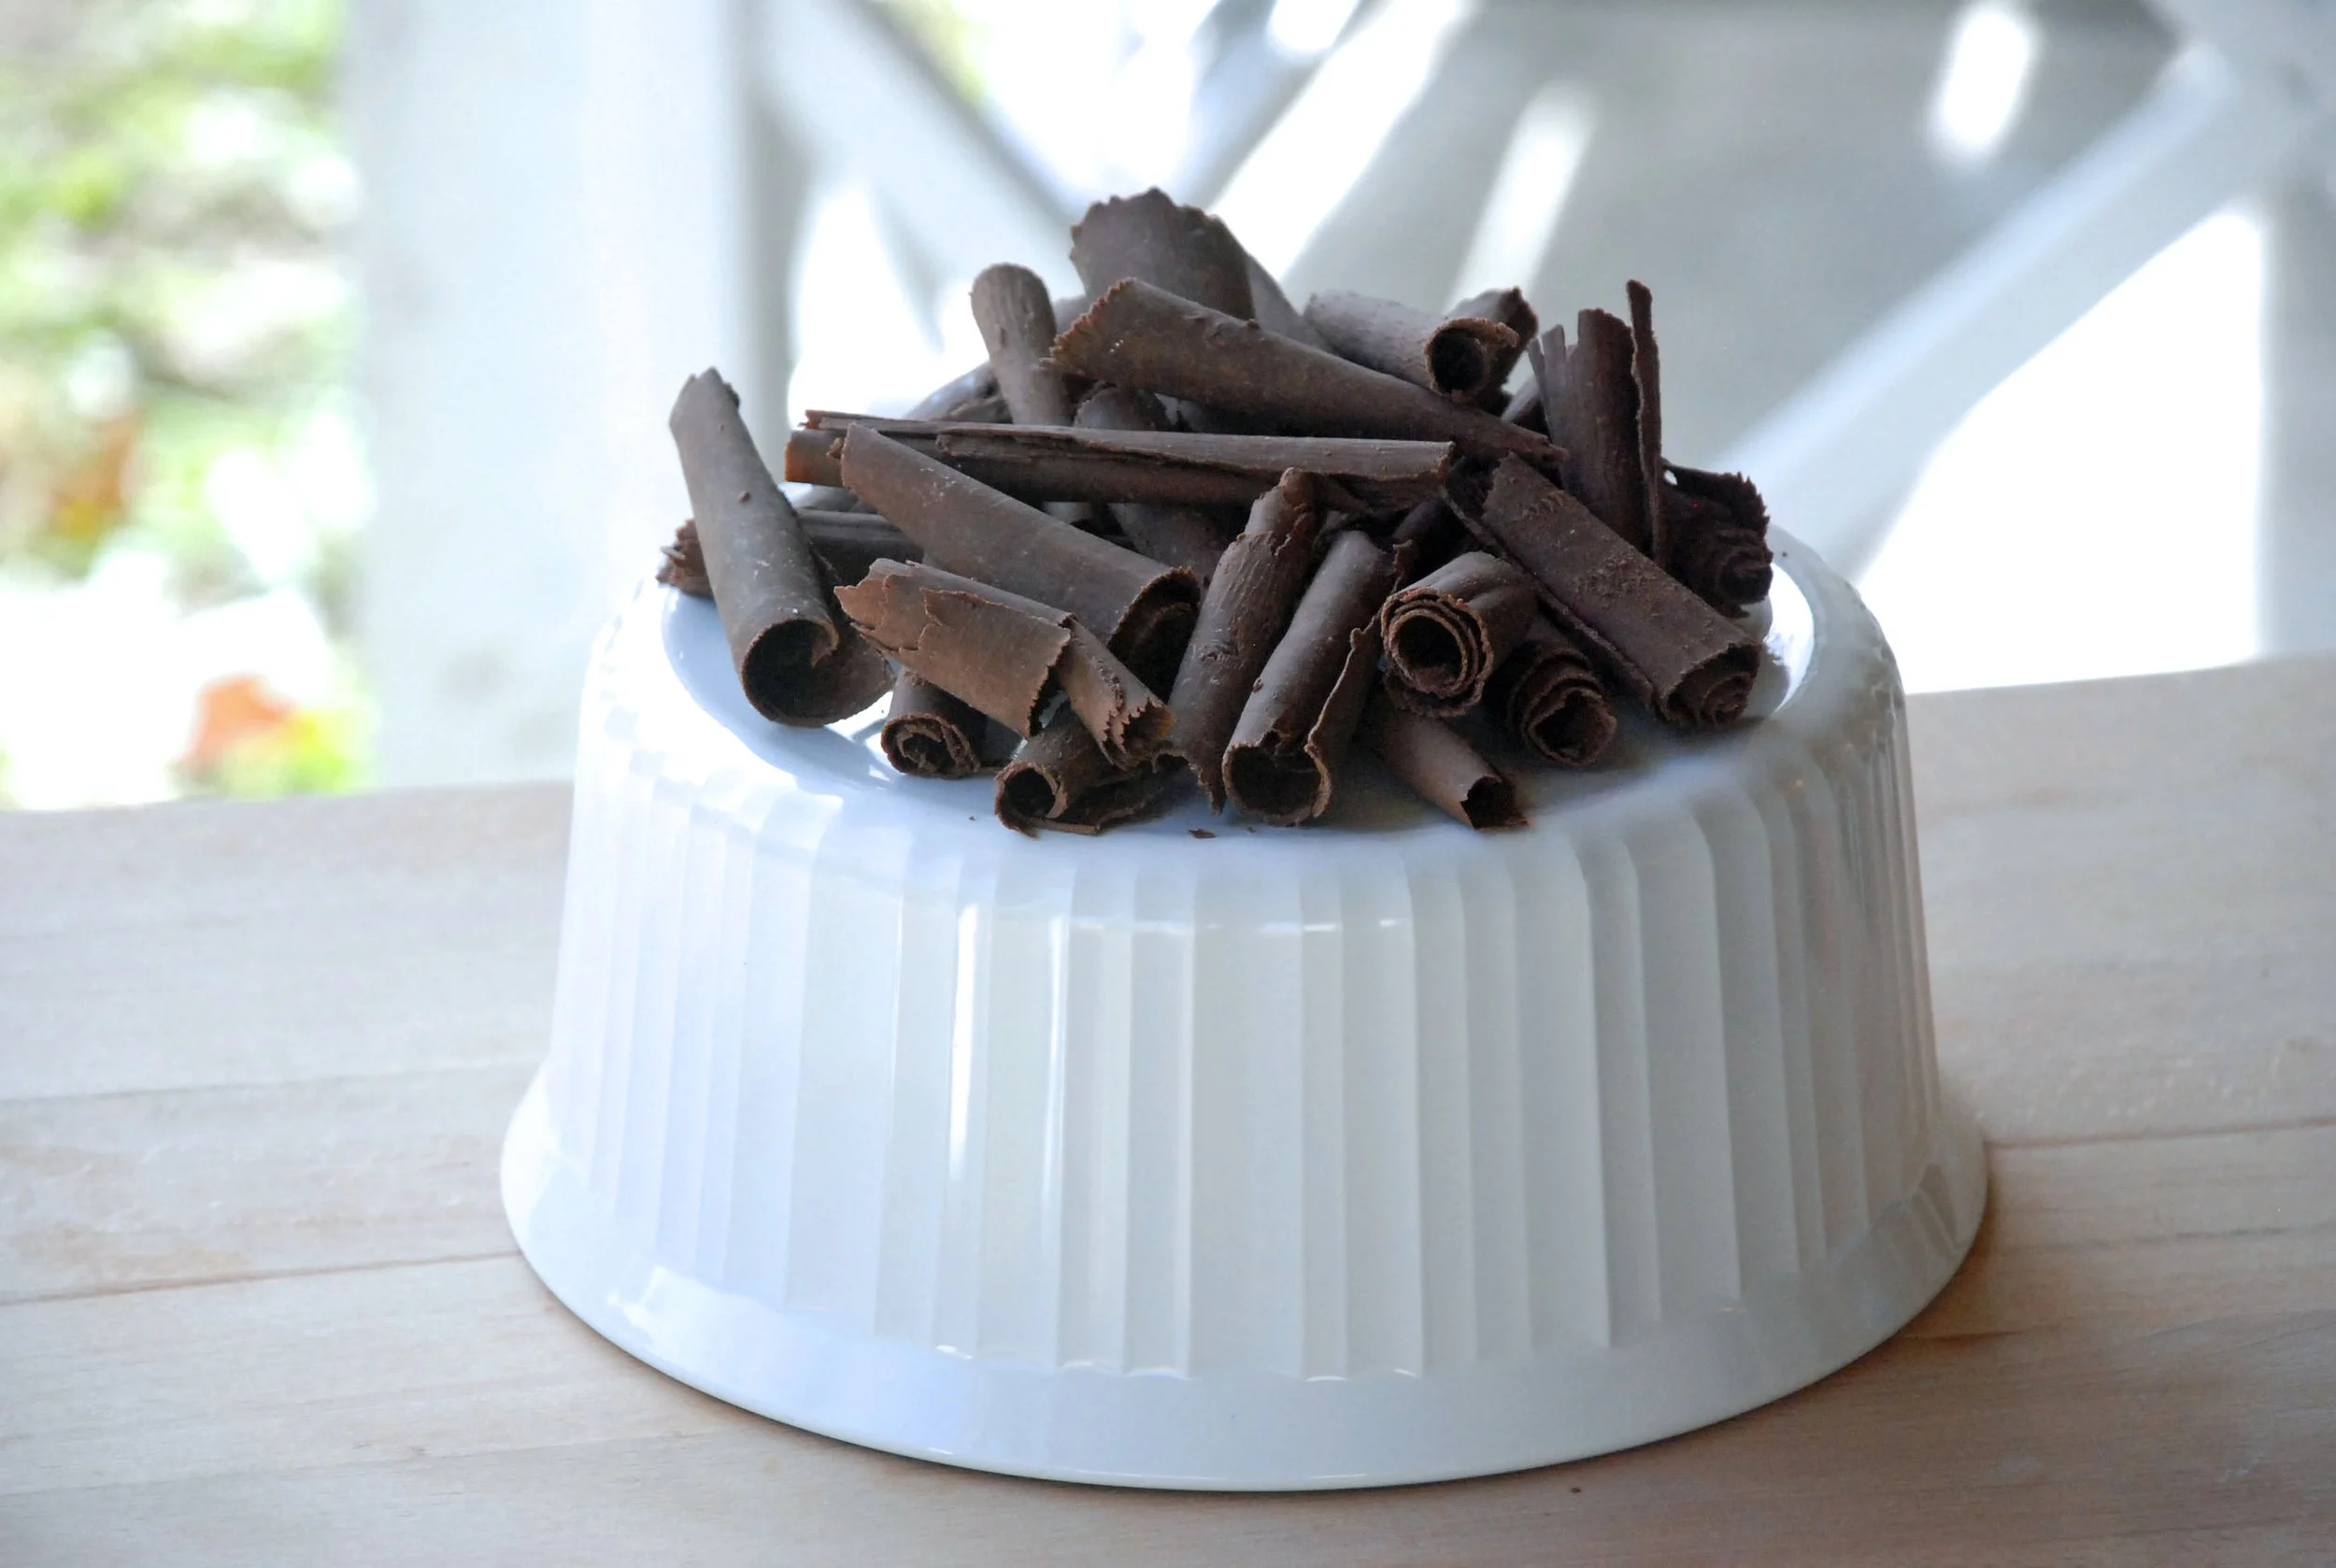
Mound your chocolate curls on a cake top for a dramatic effect, or place a single curl on an individual dessert. Either way, chocolate curls always add a touch of elegance!
Ready to Make Some Chocolate Curls?
Before you get to baking, make sure you have everything you need for success! Shop for gluten free flours, baking pans, cutting boards, serving dishes, and cookware in my Amazon shop!

The Recipe:
GLUTEN FREE CHOCOLATE CURLS (MICROWAVE)
INGREDIENTS
1 Tbsp. vegetable shortening
1 cup chocolate chips
DIRECTIONS
Getting Ready
Set out a clean baking pan, off-set spatula, microwaveable bowl or cup, and a pastry scraper or flexible sharp-edged spatula for making curls.
Make space in your fridge for the pan.
Prepare a plate or baking pan with waxed paper for completed curls.
Let’s Get Started
Separate out about ¼ cup or a little less of the chips and set aside for later.
In a microwaveable cup or bowl, add shortening to the remaining ¾ cup of chips. Stir.
Microwave the chips/shortening mix for 30 seconds at 50% power. Stir. **Chips will not be ready yet but it’s important to go slowly. Patience is key here and every microwave heats differently. The goal for the chocolate chips is to only melt them about 75%-80% of the way at 50% power. Then, quickly cool down the chocolate with the remaining chips to bring them back to a tempered state. Do not melt entirely in microwave at full power. Yes, it’s easier and quicker, but you won’t get the end result that you want. Been there…done that.
Microwave again for 30 seconds at 50% power. Stir. Observe how much of the chocolate is melted. Remember, in the end you want to have remaining chunks of chips that have not melted yet. Resist the temptation to melt them all the way.
At this point, depending on your microwave, you may need to heat your chips for another 30 seconds at 50% power, or start doing 10-15 second increments at 50% power. Microwave and stir.
Continue these steps at 10-15 second increments until chocolate is melty with chunks of chips remaining.
Once chocolate is about 75%-80% melted with chunks of chips remaining, add in remaining ¼ cup of chips and stir. New chips will melt as you stir. These chips, and the stirring, act to cool the chocolate, bringing it back to a tempered state. You may need to let the chocolate sit for a minute to allow the new chips to soften. Stir until smooth, with no chunks remaining.
Place baking pan in fridge for about one minute. Warning: if you leave it in the refrigerator much longer, it will become too cold, and this will cause your chocolate to set up too quickly. This will cause your curls to crumble.
Place your pan upside down and pour melted chocolate onto pan. Spread with off-set spatula back and forth, covering the entire surface.
As you spread, your chocolate will begin to cool and set. You will notice this as the chocolate will start to lose its shine.
When chocolate appears to have set, test by lightly pressing a finger to it. It should leave a light fingerprint, but not an indentation.
Test a corner of the chocolate with your tool: Hold pan, angle tool at about 45 degrees, and push forward. If chocolate mushes up without curling, wait a few minutes for it to set. Test again. Repeat until the chocolate curls. If chocolate crumbles, the chocolate has set too much and must be re-softened. A tiny bit of heat from a hair dryer on low setting can help with this!
Create curls in different shapes and sizes for an interesting look on your dessert. Try different styles by pushing straight ahead or in a curve, using the entire width of the tool, or just an edge of it. Experiment and have fun!
Gently move curls to waxed paper using your tool. Your chocolate curls can be left, covered, on the counter if your room is cool. If it’s a warm day, cover in airtight container and set in fridge. They will set nicely and be able to be handled to decorate your dessert.

Tip: Please follow all directions!! If you skip steps or swap ingredients then you may or may not like the end result :)
Looking for Comments?
Please leave and read comments in the "Comments" section of the YouTube video above.
I can’t wait to hear from you!