Gluten Free Valentine’s Cupcakes

Who doesn't love a cupcake? These gluten free sweet treats have an even sweeter message! Pretty two-tone buttercream frosting tops these moist chocolate cupcakes. The chocolate decorations will help you share the love. XOXO
Makes: 12 cupcakes

These cupcakes are a three-step process (chocolate decorations, cupcakes, frosting). I recommend making the chocolate decorations the day before, then the cake and frosting the next day. Have fun!
Show Me How
Walk Me Through It
The Cupcakes
1
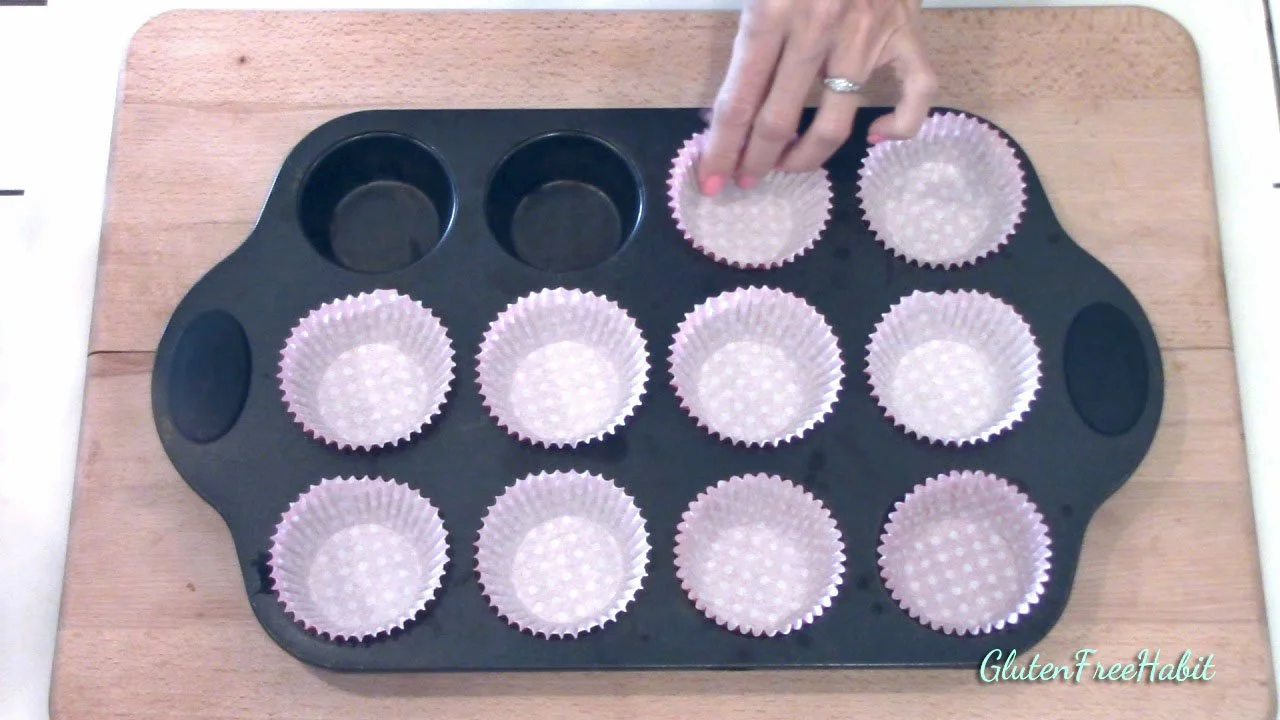
Getting Ready: Put paper liners into your cupcake tray. Preheat oven to 350 degrees.
2
To a medium-sized mixing bowl, add the white rice flour, potato starch, tapioca flour,
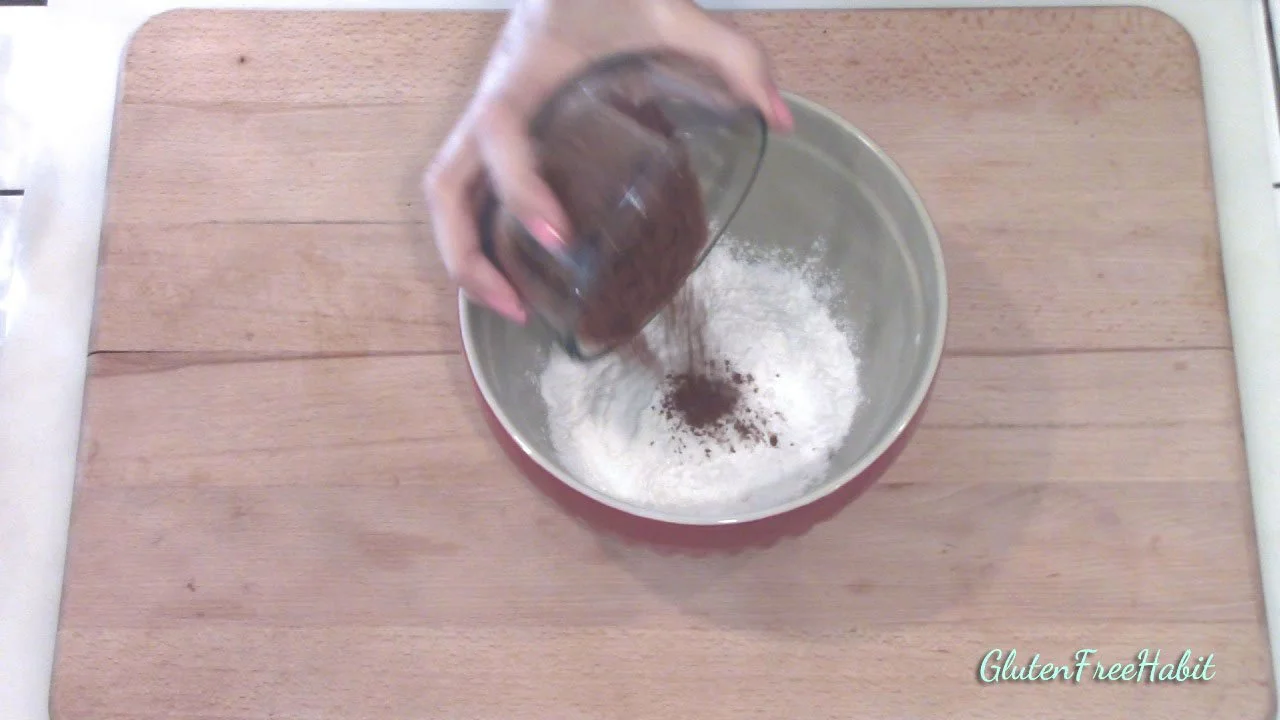
3
cocoa powder, baking powder, baking soda, and salt.
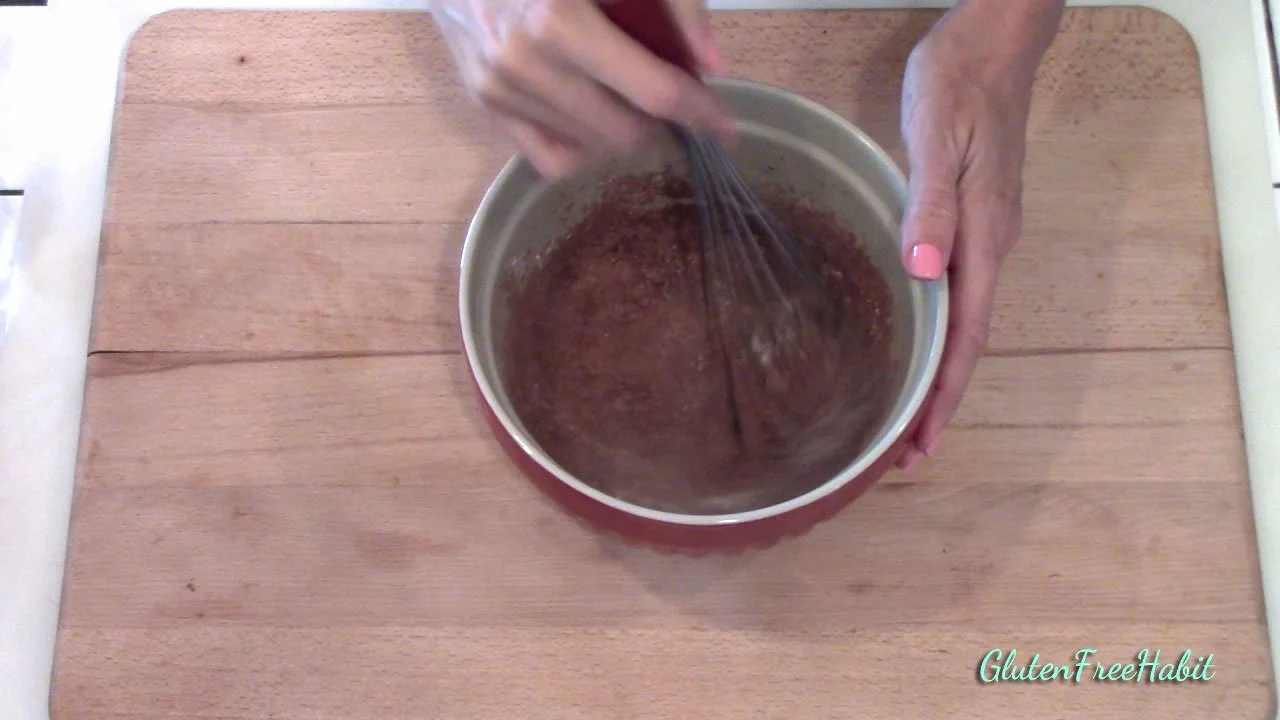
4
Whisk together.
5
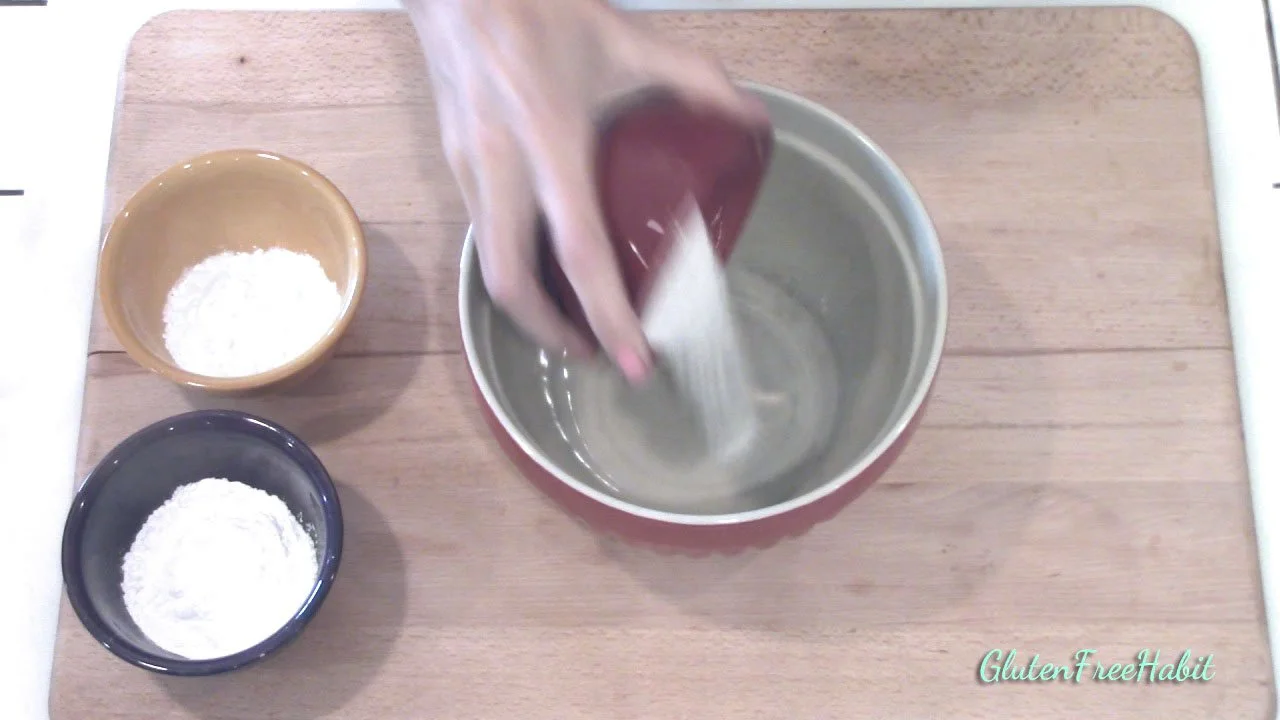
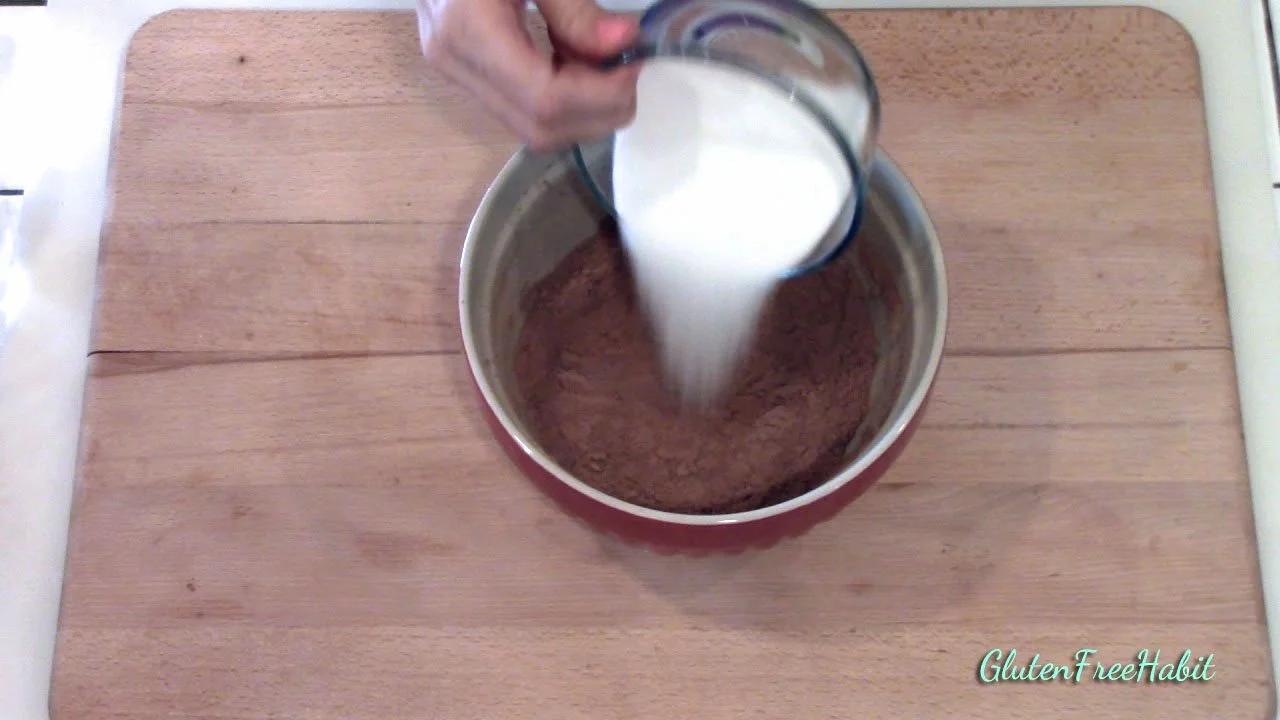
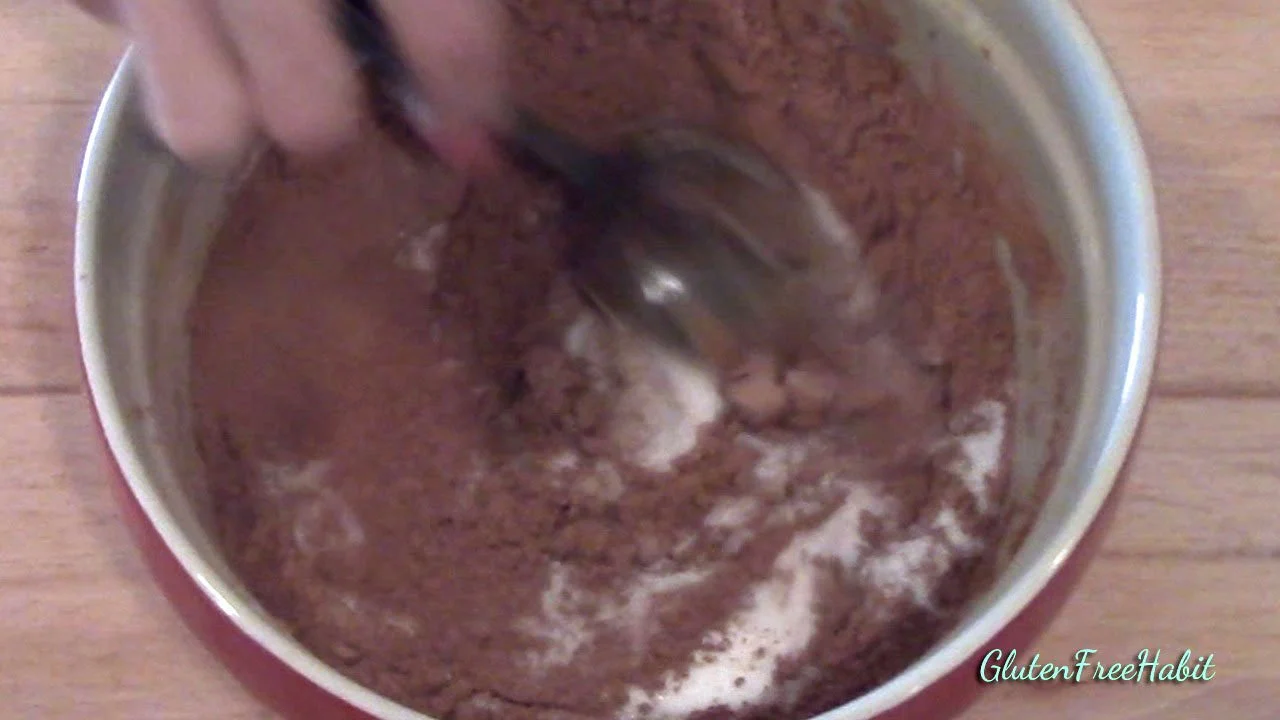
Add in the sugar,
6
and stir or whisk together.
7
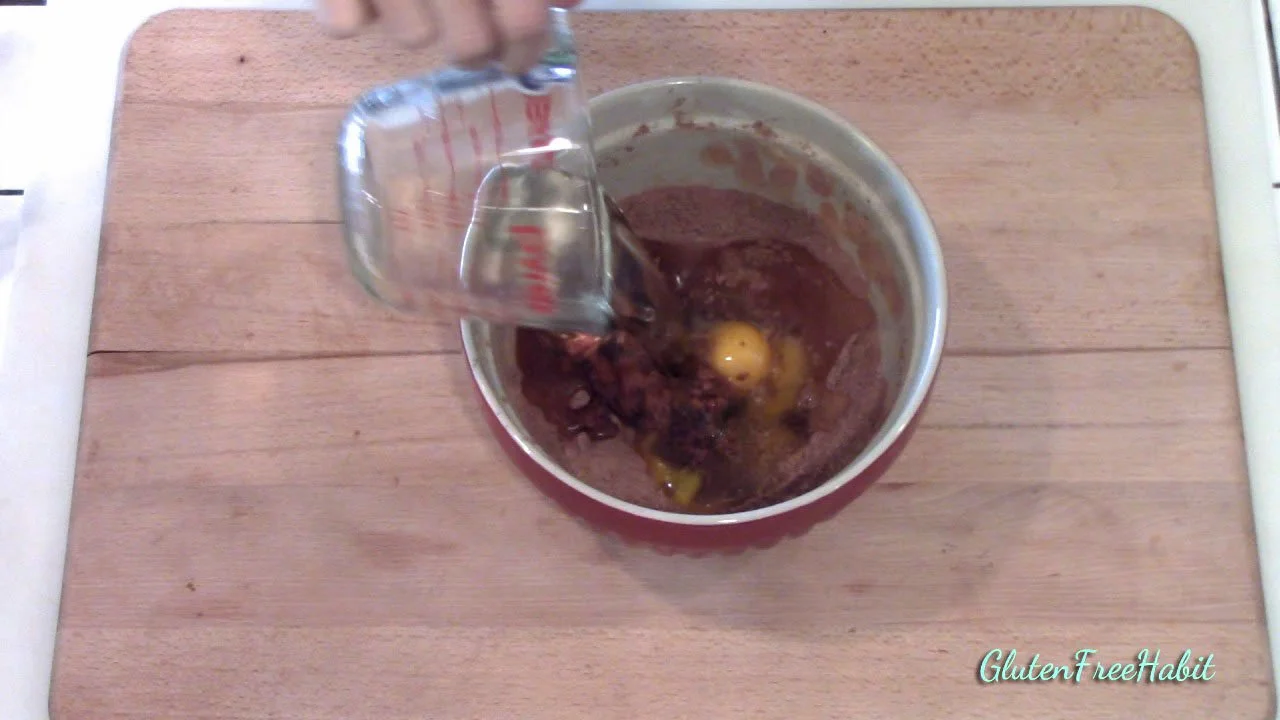
Now add in the egg, water, oil, and vanilla.
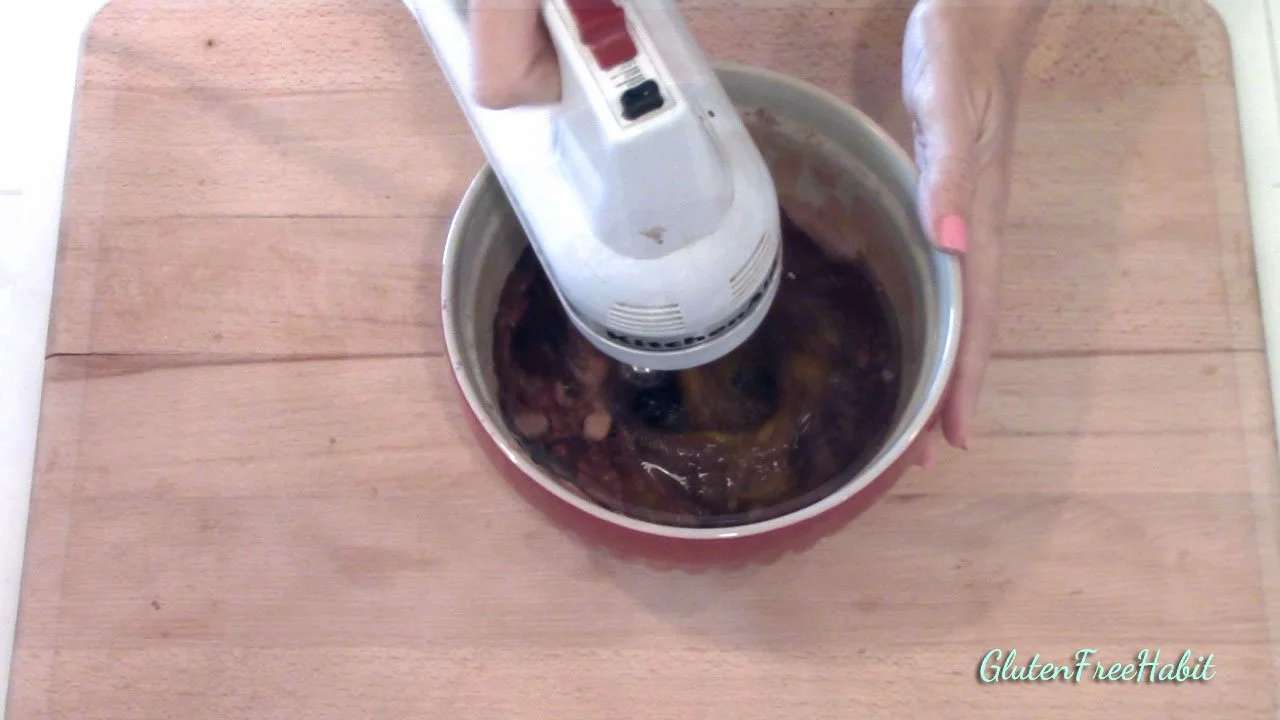
8
Beat on low speed until combined.
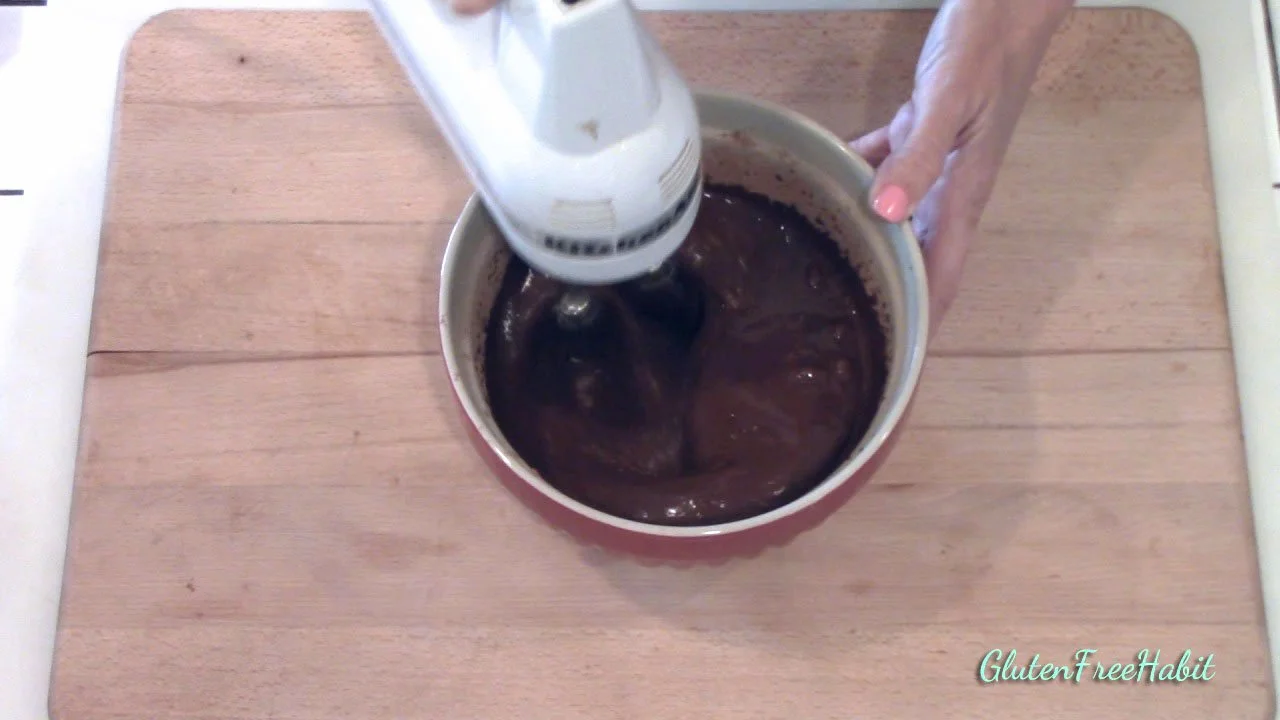
9
Then, beat on medium speed for two-three minutes. Batter will be thin -don’t worry! You can pour your batter into a tall measuring cup for easy pouring if you like, but this is not necessary.
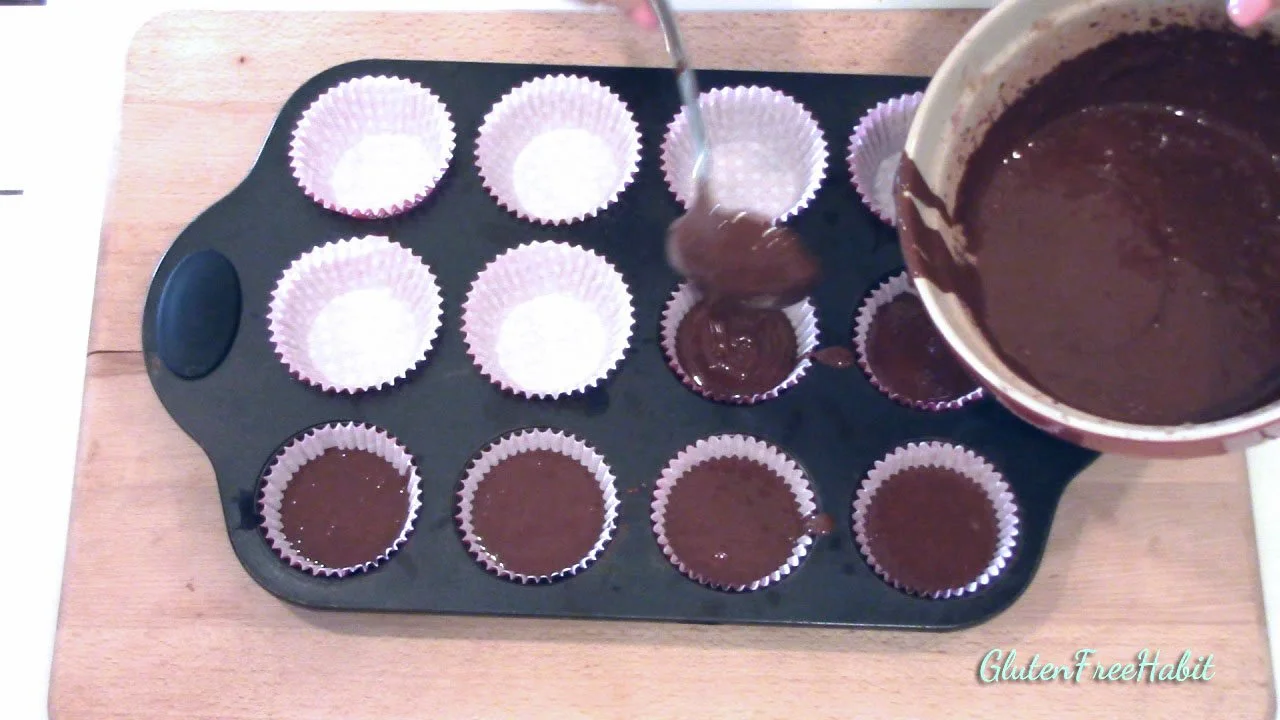
10
Fill cupcake liners 2/3 full and place into oven immediately (I use a measuring cup to scoop 1/4 cup of batter into the liners. This works out perfectly for 12 cupcakes). Bake for about 18 minutes or just until a toothpick inserted into the center of a cupcake comes out clean.
Delicious!
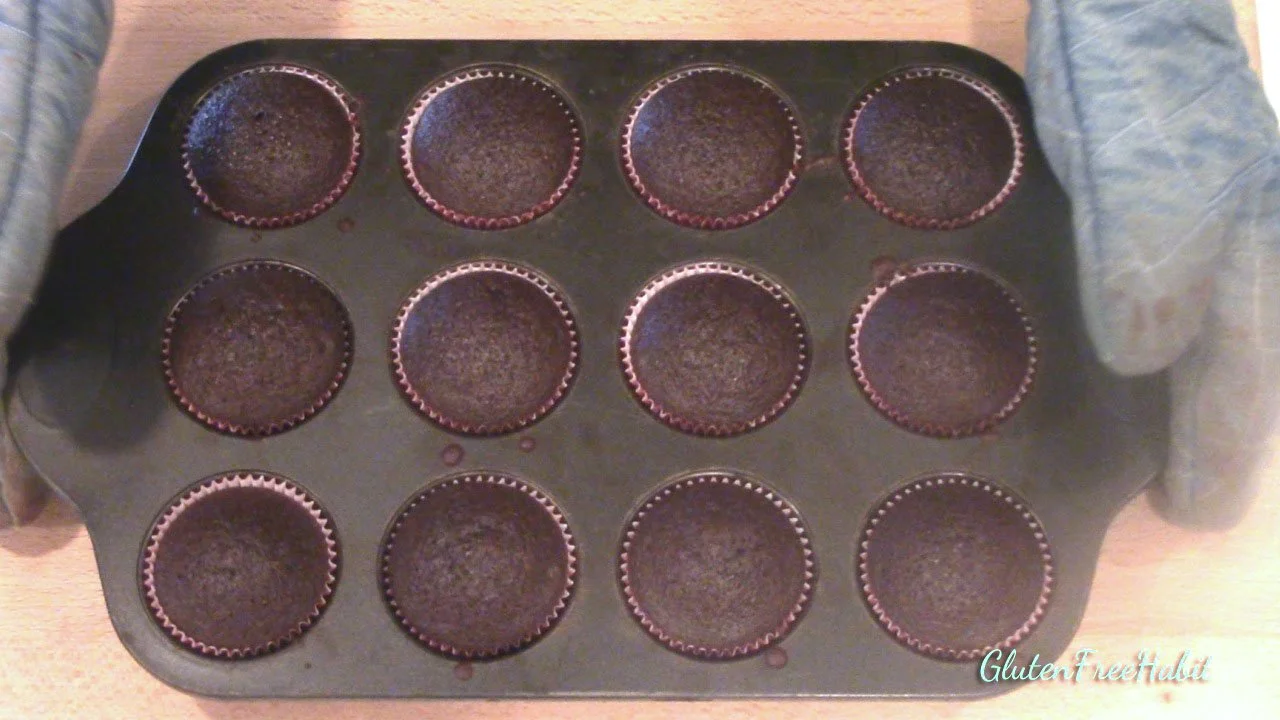
Remove cupcakes carefully, as they will be hot and soft. Let cool completely before frosting.
The Chocolate Decorations

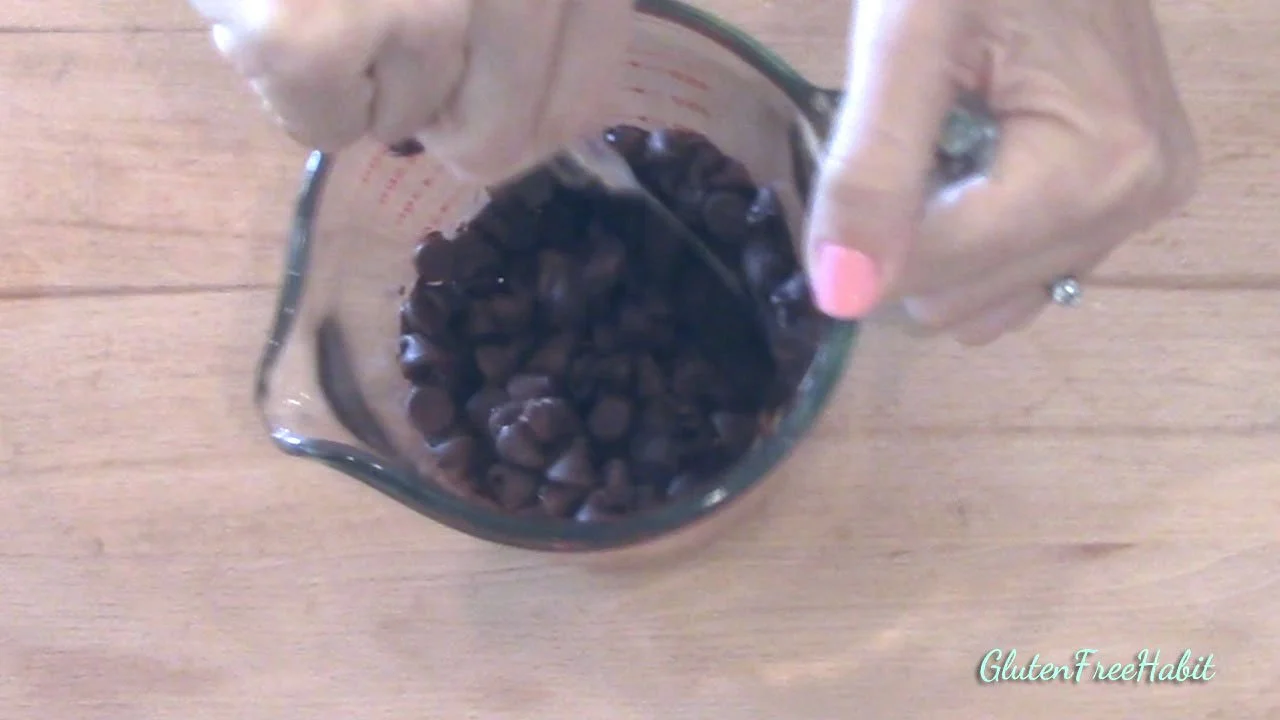
1
Set aside 1/4 of the chips in a separate bowl to use later. Microwave the remaining chips at 50% power for 30 seconds. Stir the chips. They won't be ready yet, but it's good to go slowly. We only want to melt the chocolate about 80% of the way.
2
Microwave again at 50% power for 30 seconds more. Stir.
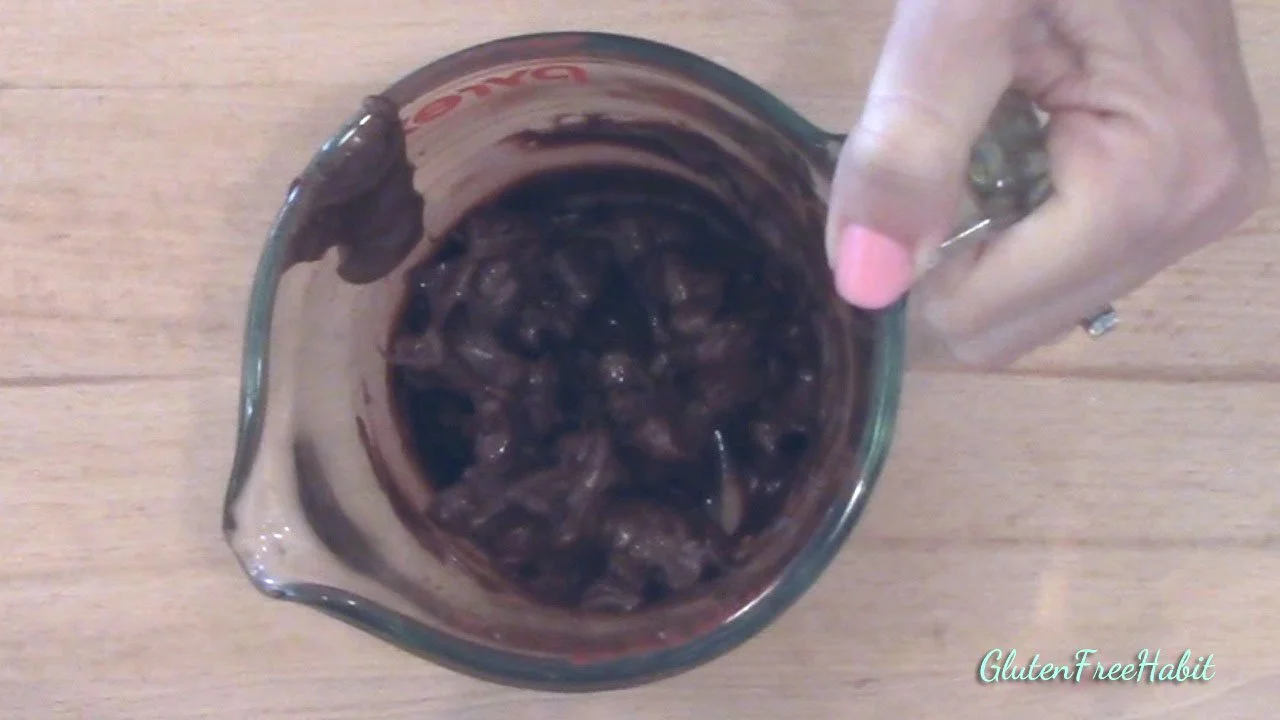
3
Continue melting chocolate in 30-second increments until the chocolate starts to melt. Then switch to 15-second increments. The chocolate in the picture above is starting to melt. Switch to 15-second increments now.
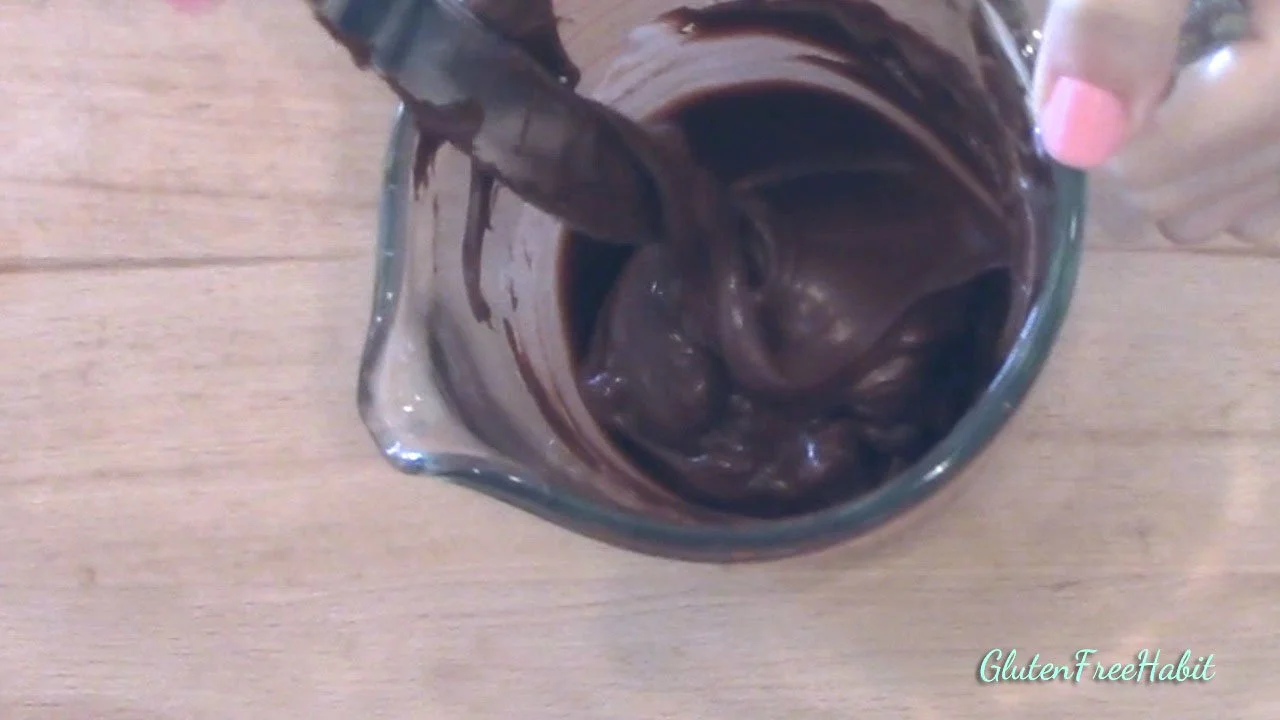
4
Microwave and stir. This chocolate is 80% melted with chunks of chips remaining. Perfect. Remember, we don't want to melt the chocolate all the way.

5
Pour in the chips that were set aside.
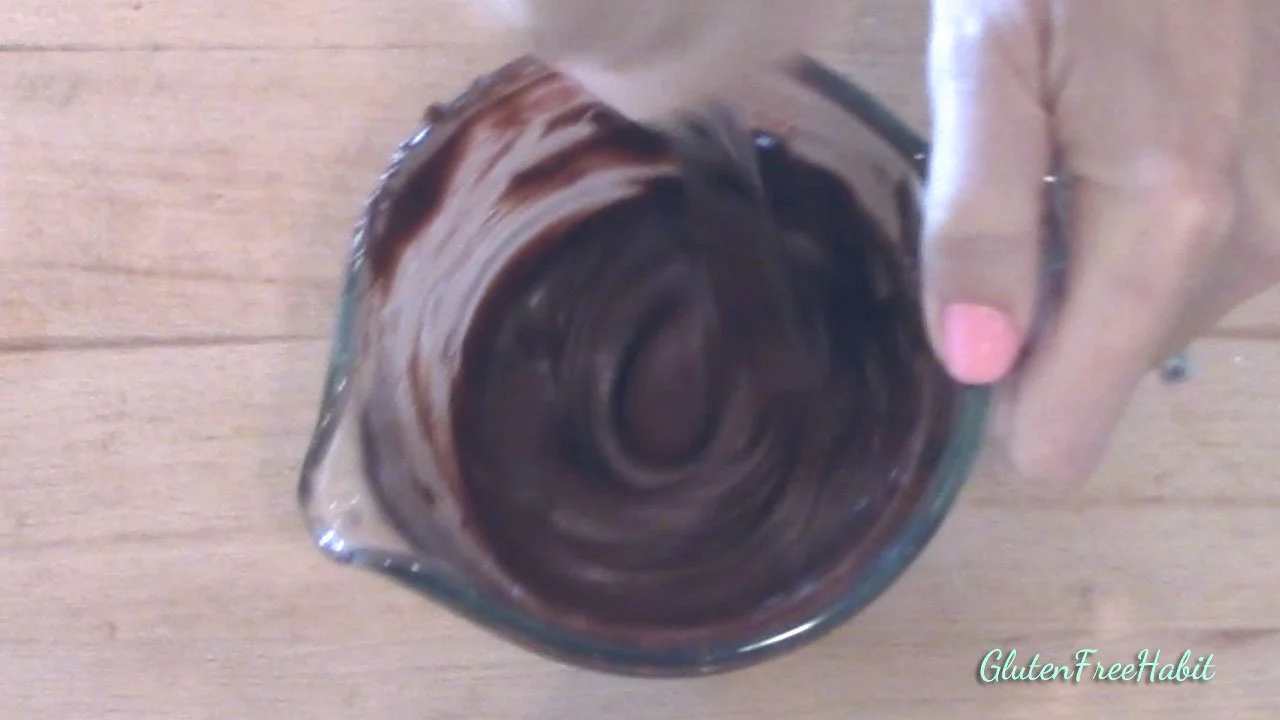
6
Stir vigorously. The new chips and the stirring action will help to quickly cool down the chocolate and re-temper it. If your chocolate doesn't temper correctly, the chocolate decorations will not set well, and will melt easily. Continue stirring until chocolate is perfectly smooth.

7
Prepare a pastry bag with a #3 tip.
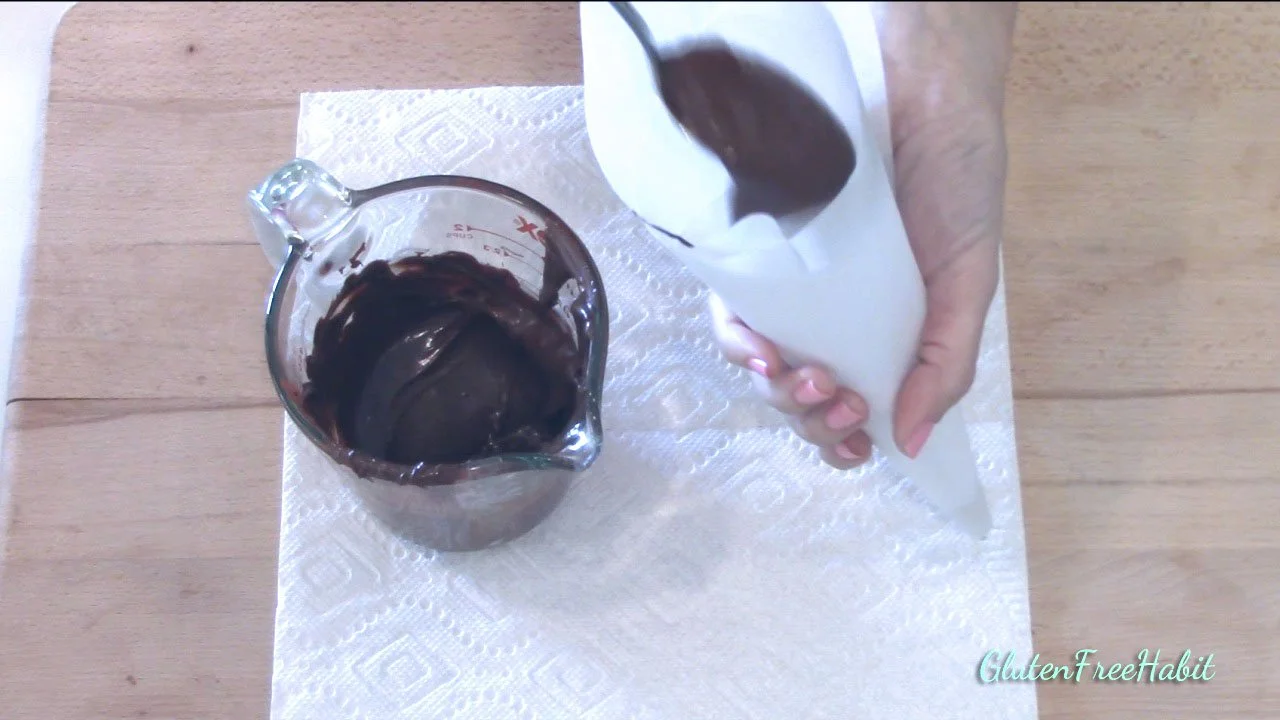
8
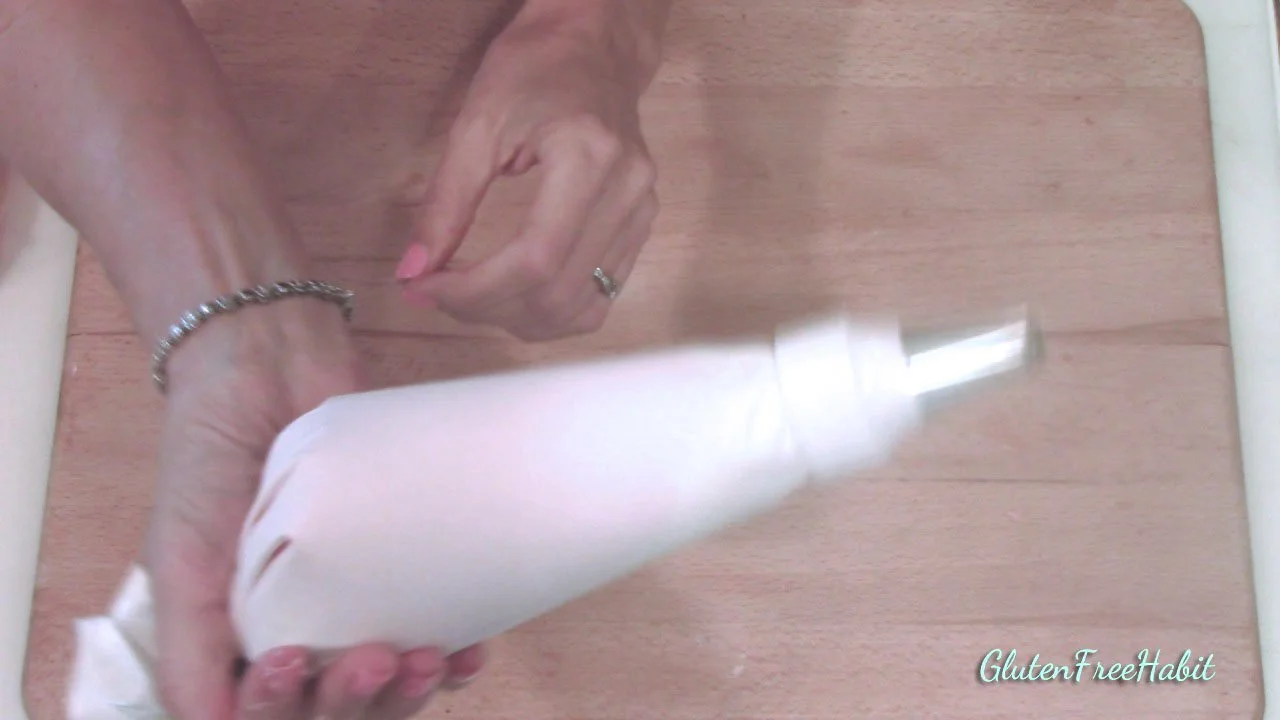
Spoon chocolate into pastry bag.
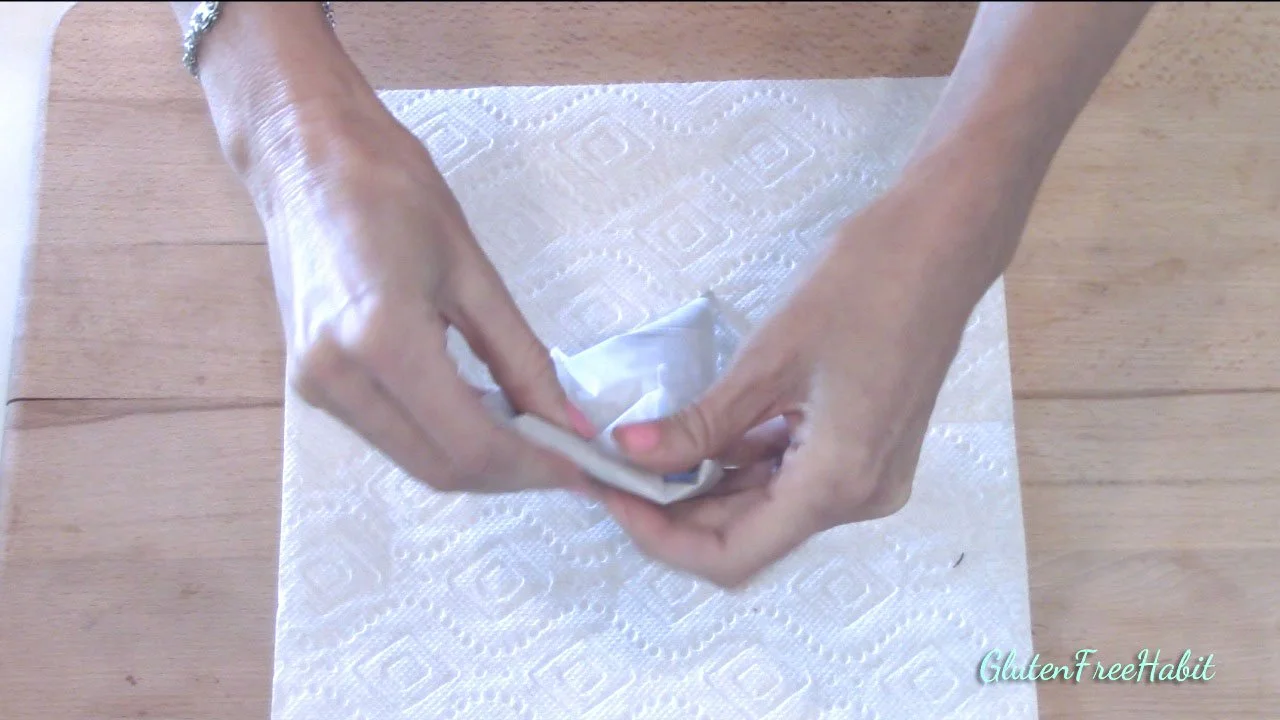
9
Fold shut. Test chocolate to make sure it comes out smoothly.
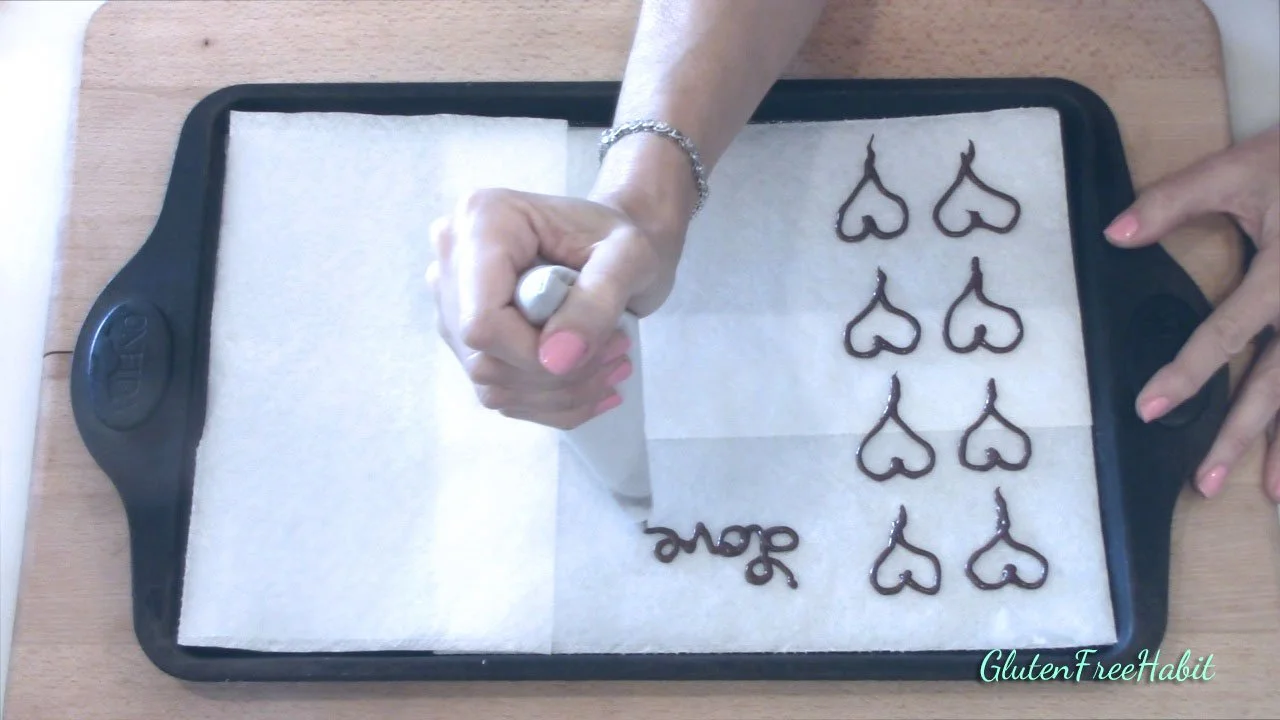
10
Pipe decorations onto waxed paper.
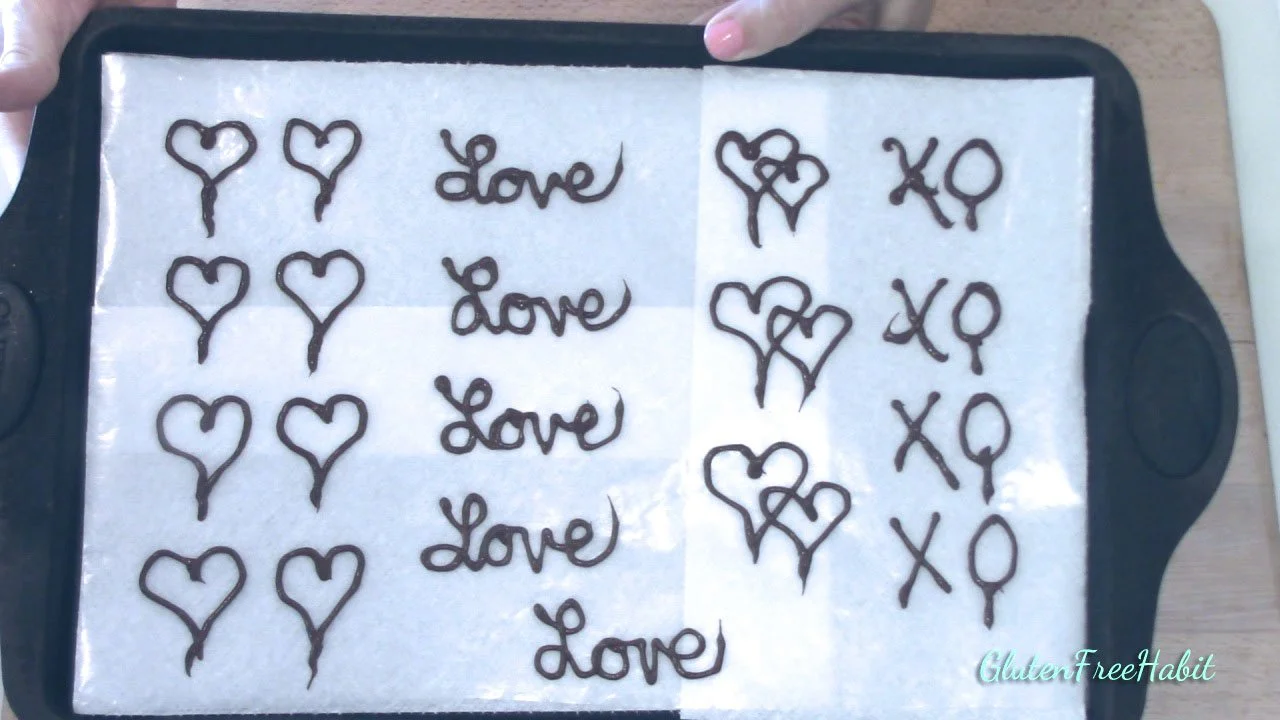
11
Cover and set in refrigerator. When decorations are set, use spatula to loosen from baking sheet. To avoid melting, handle as little as possible when placing onto your cupcakes.
The Frosting

1
Soften the butter ahead of time. To a medium-sized bowl, add the butter, vanilla,
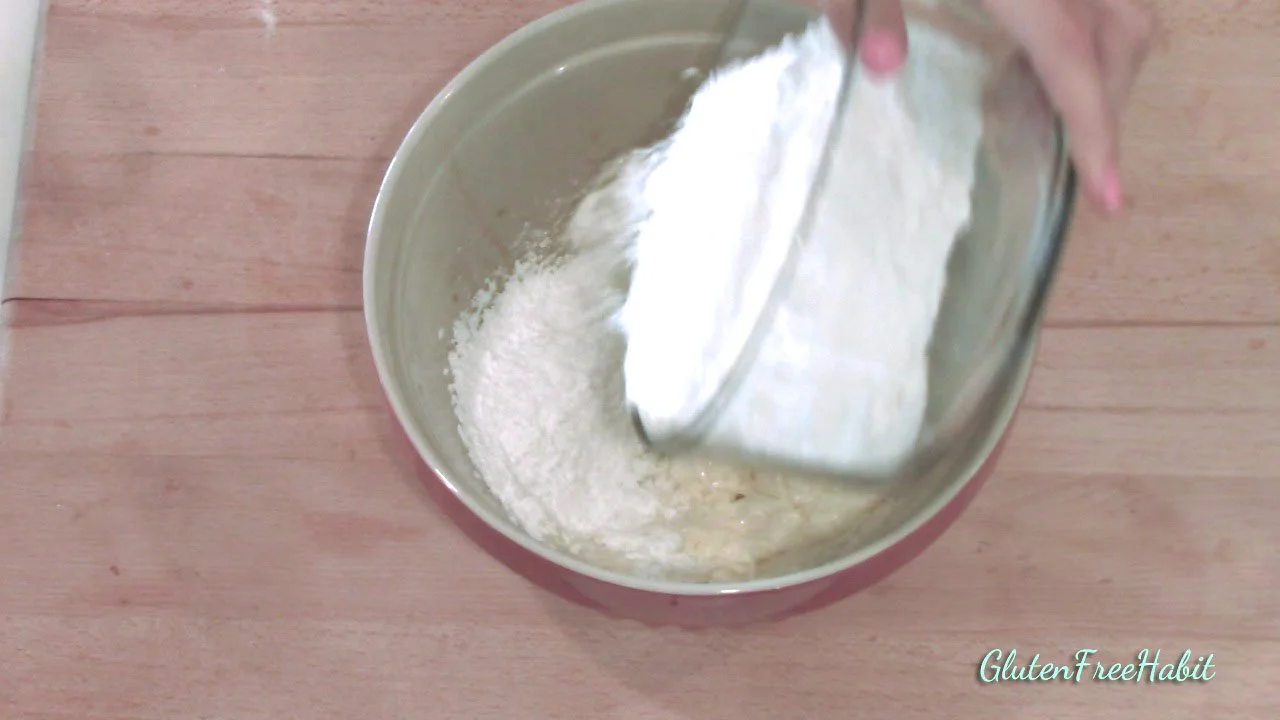
2
and confectioner's sugar.
3
Mix on low speed until sugar is incorporated.
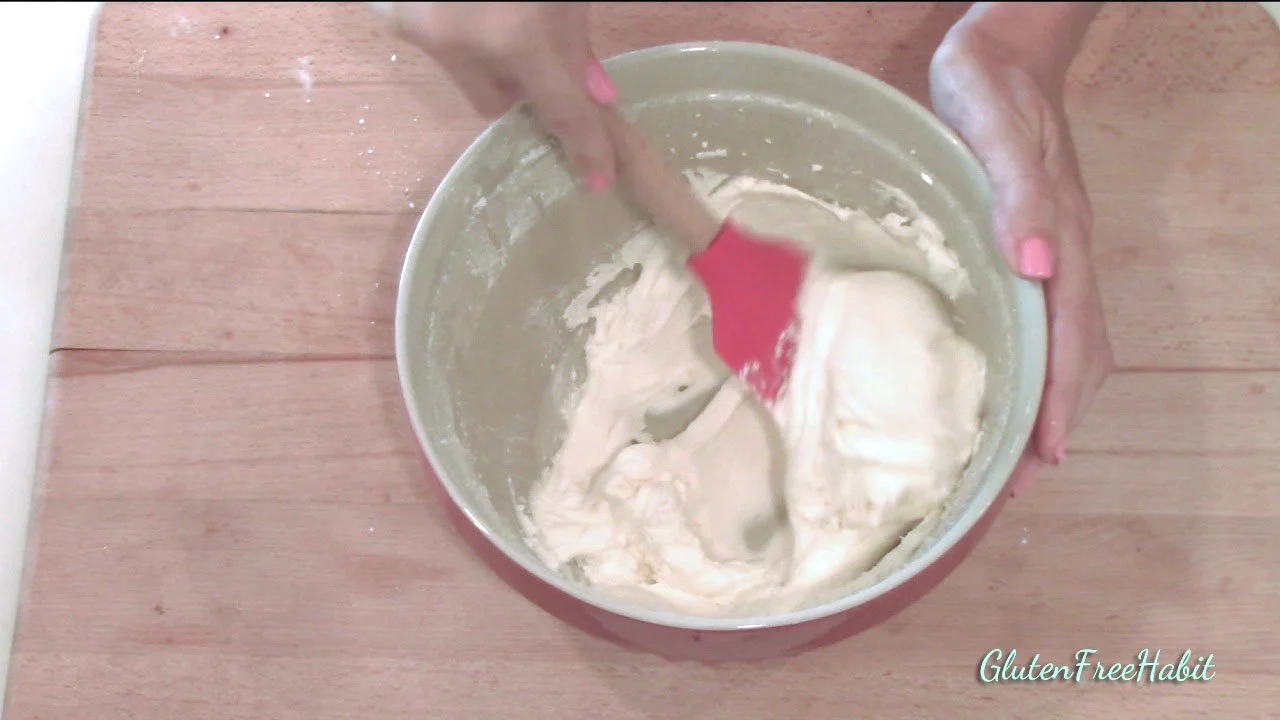
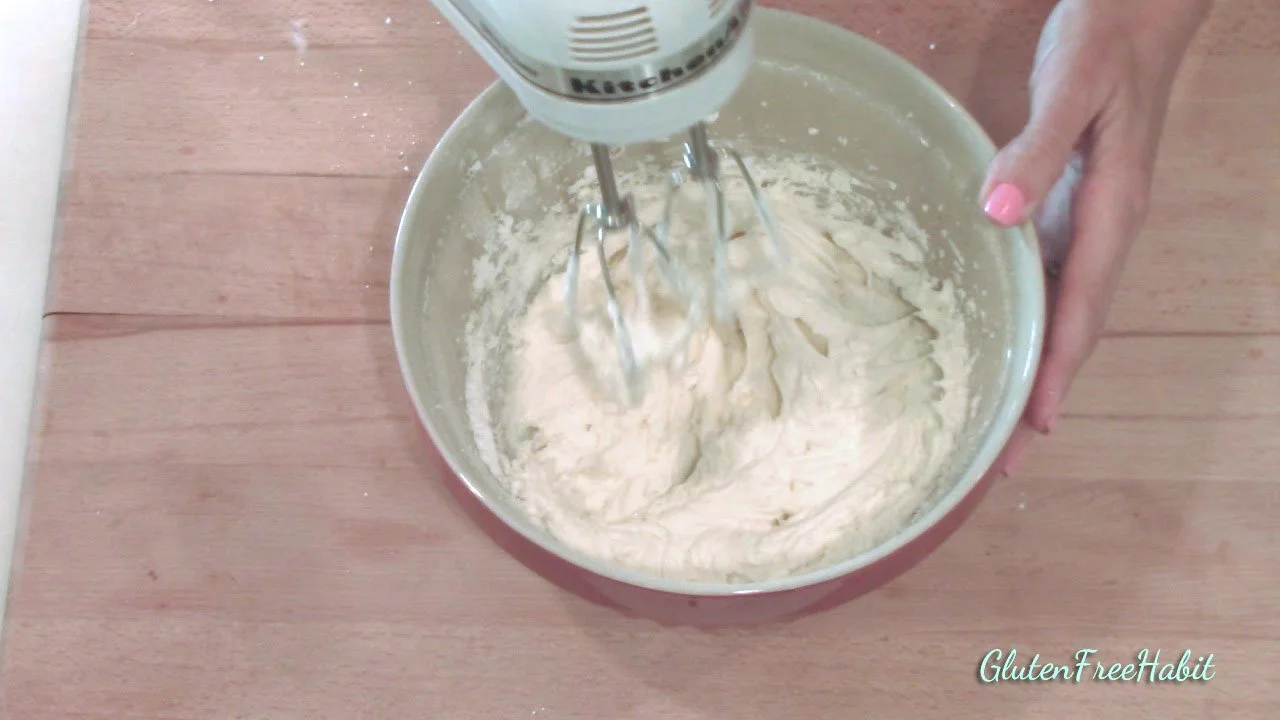
4
Increase speed and mix until fluffy. If needed, add milk to thin the frosting, one teaspoon at a time, mixing after each addition, until desired consistency is reached. To thicken the frosting, add a little bit more confectioner’s sugar.
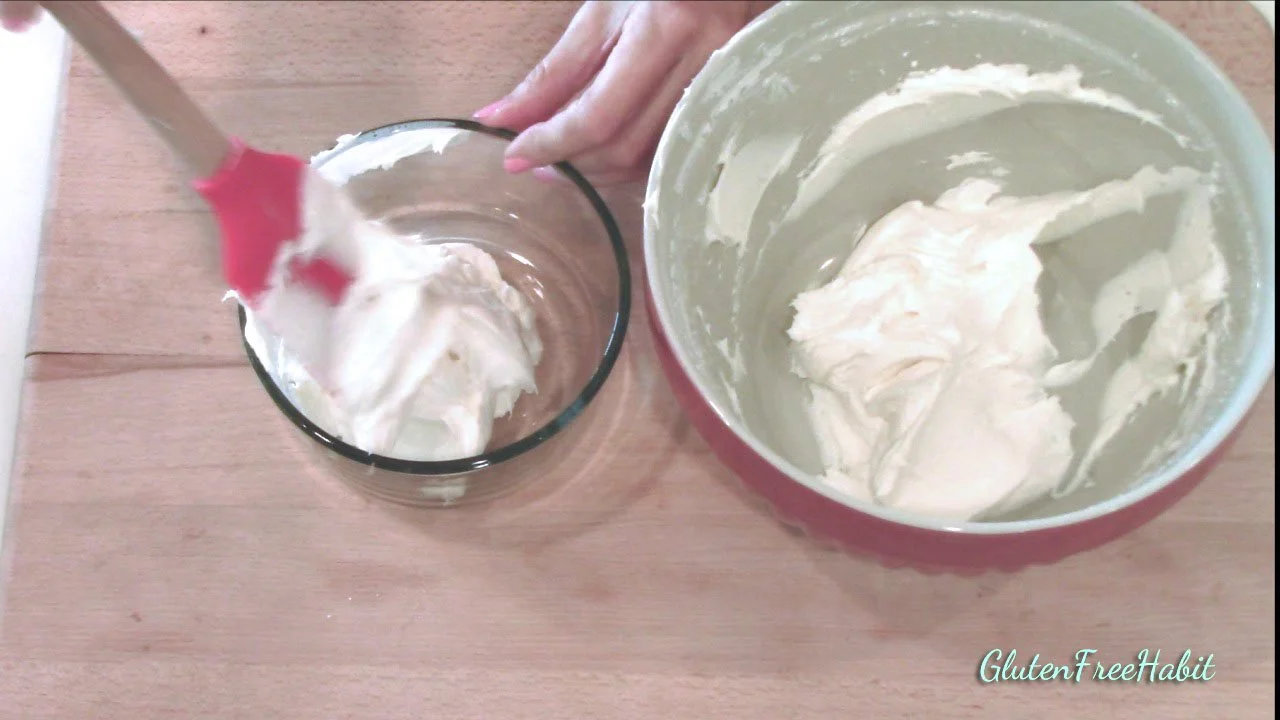
5
Divide out half of the frosting into a second bowl.

6
Add in some red GF food coloring to one of the bowls.
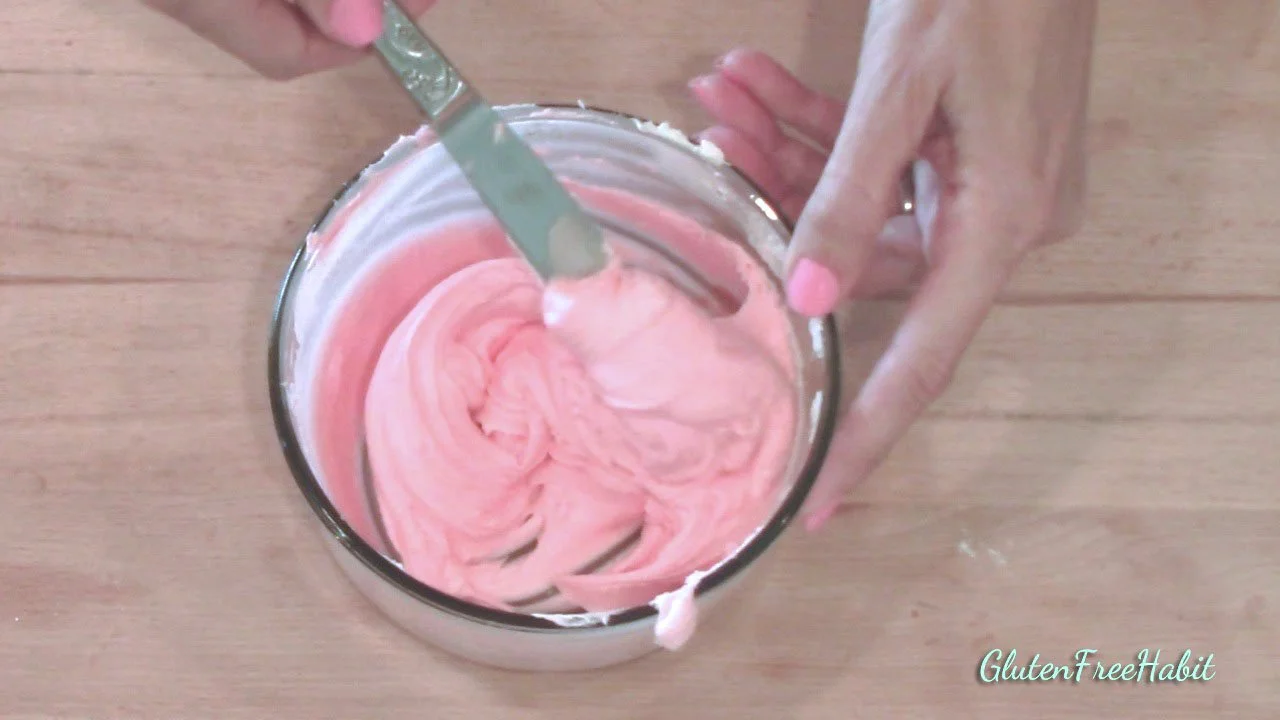
7
Stir until all streaks of food coloring are blended in.
8
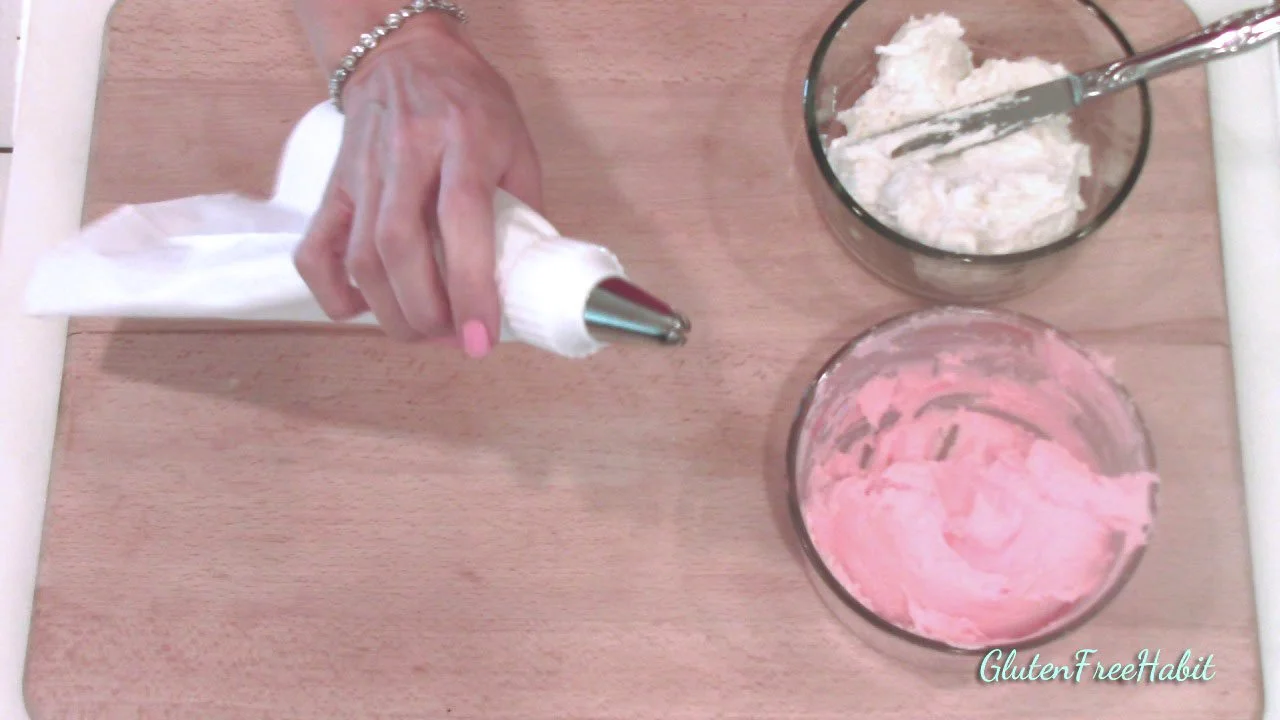
Prepare a pastry bag with a #2D piping tip.
9
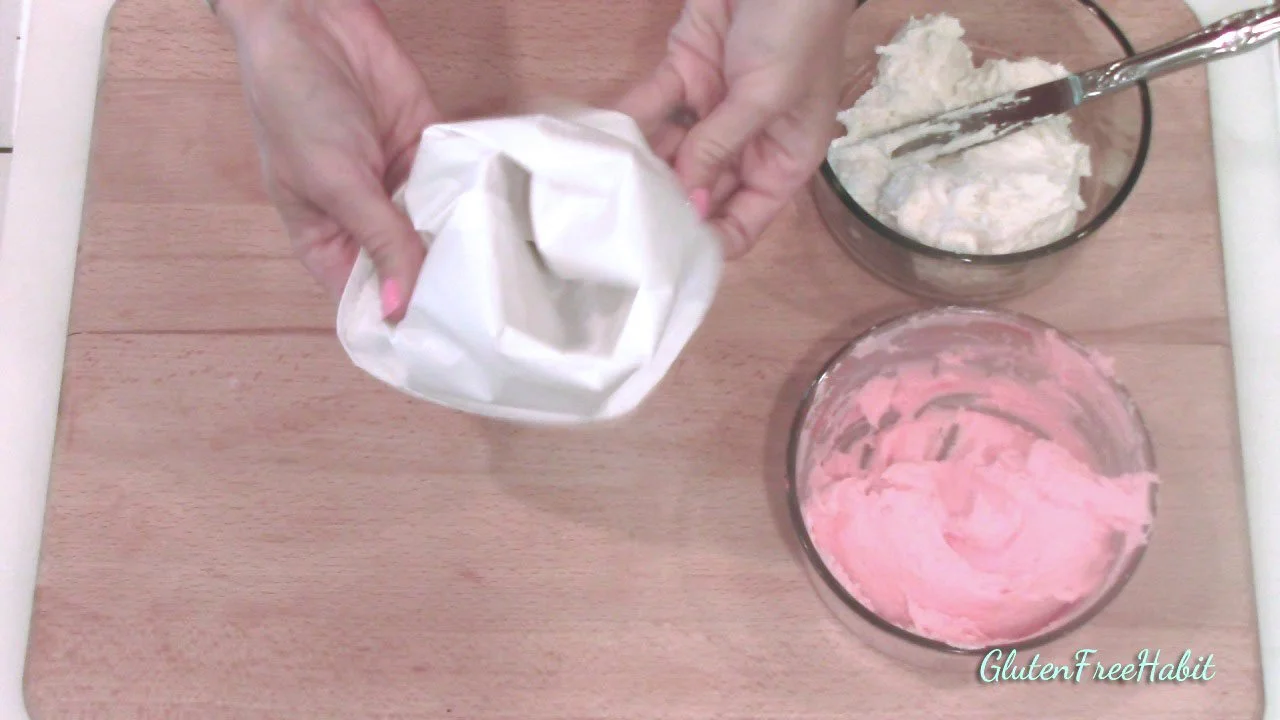
Turn cuff of bag over.
10
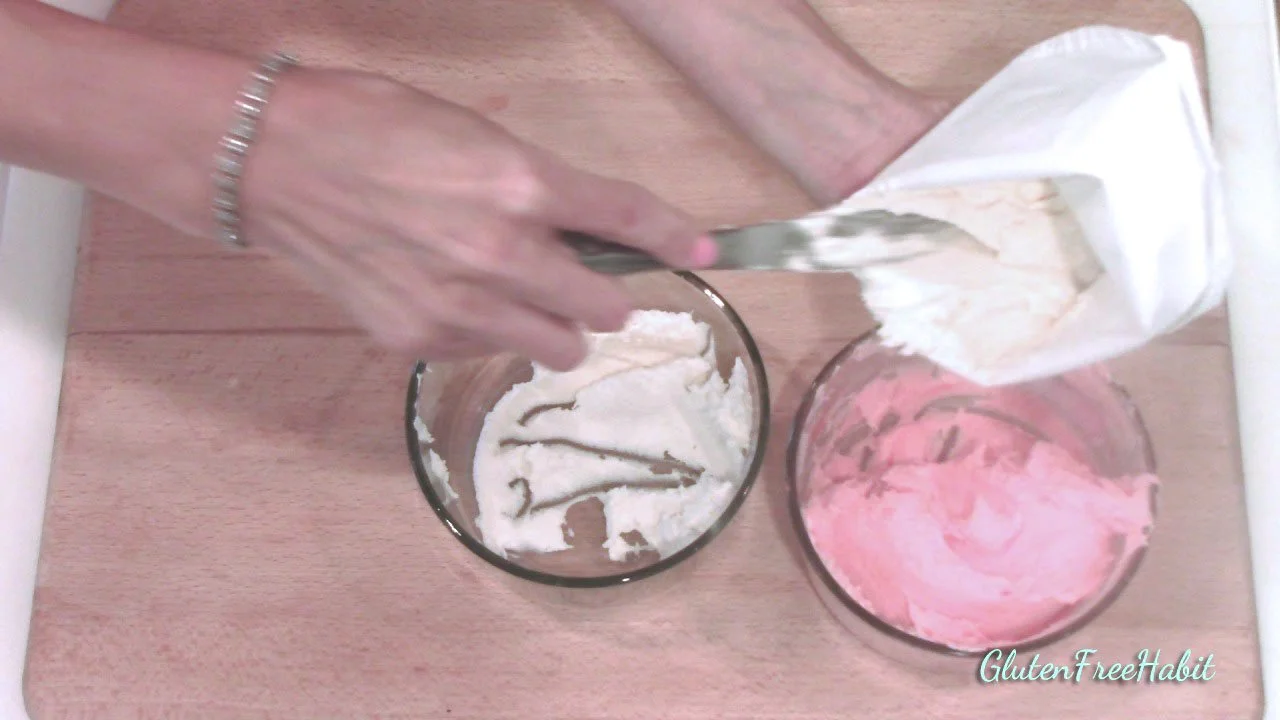
Fill one side of bag with the white frosting.

11
Layer pink frosting on top of the white. Unfold the cuff.
12
Twist end of bag and press frosting forward toward the tip.
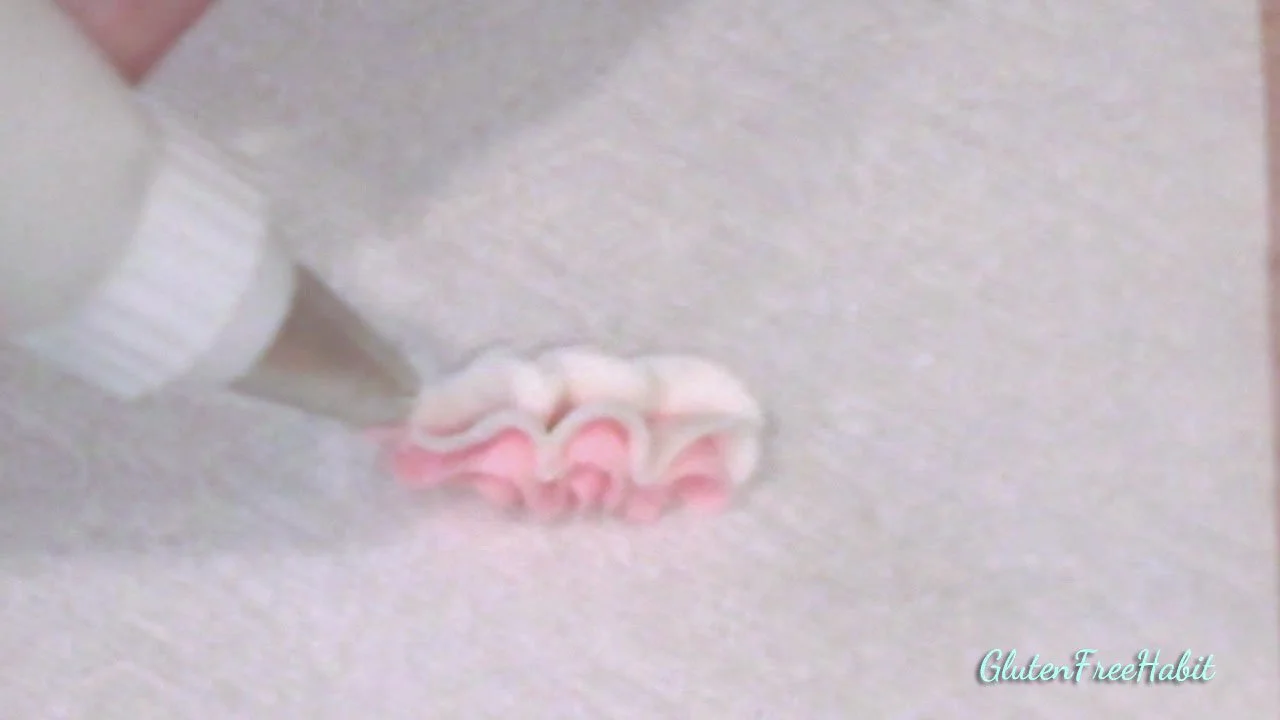
13
Press out a little frosting to prepare bag. Beautiful!
Putting It All Together
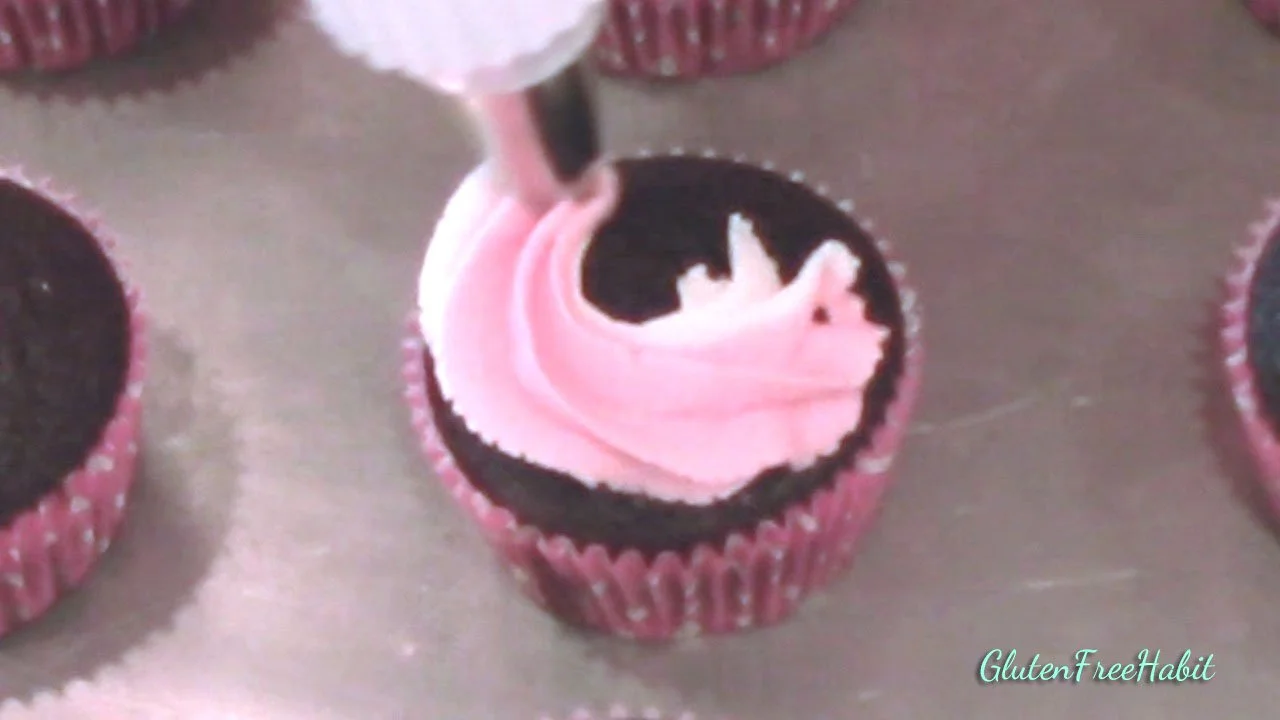
1
Holding nozzle vertically, press on bag from the twisted (closed) end, and start to swirl frosting around the cupcake's outer edge.
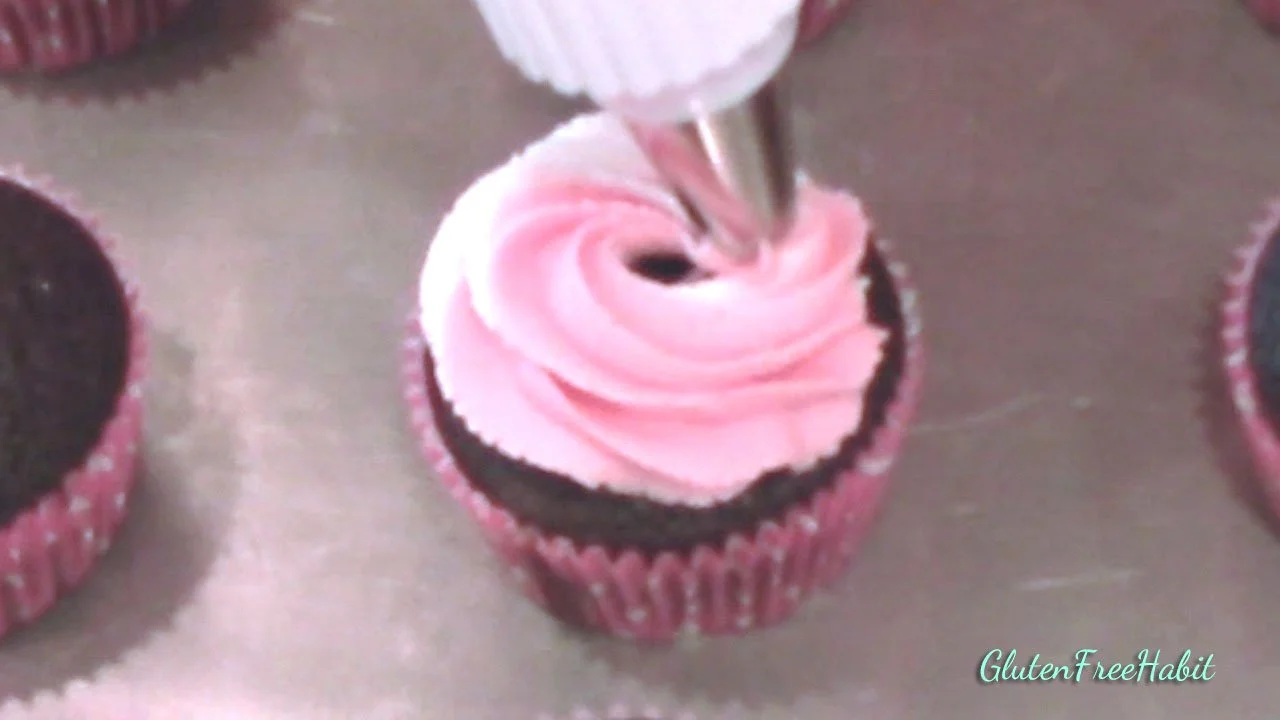
2
When one frosting circle is complete, continue around and around, reducing the size of the circle as you go, until you reach the top. It should take about three circles to complete the frosting.

3
At the top, press tip in slightly and pull out vertically as you release pressure on the pastry bag.
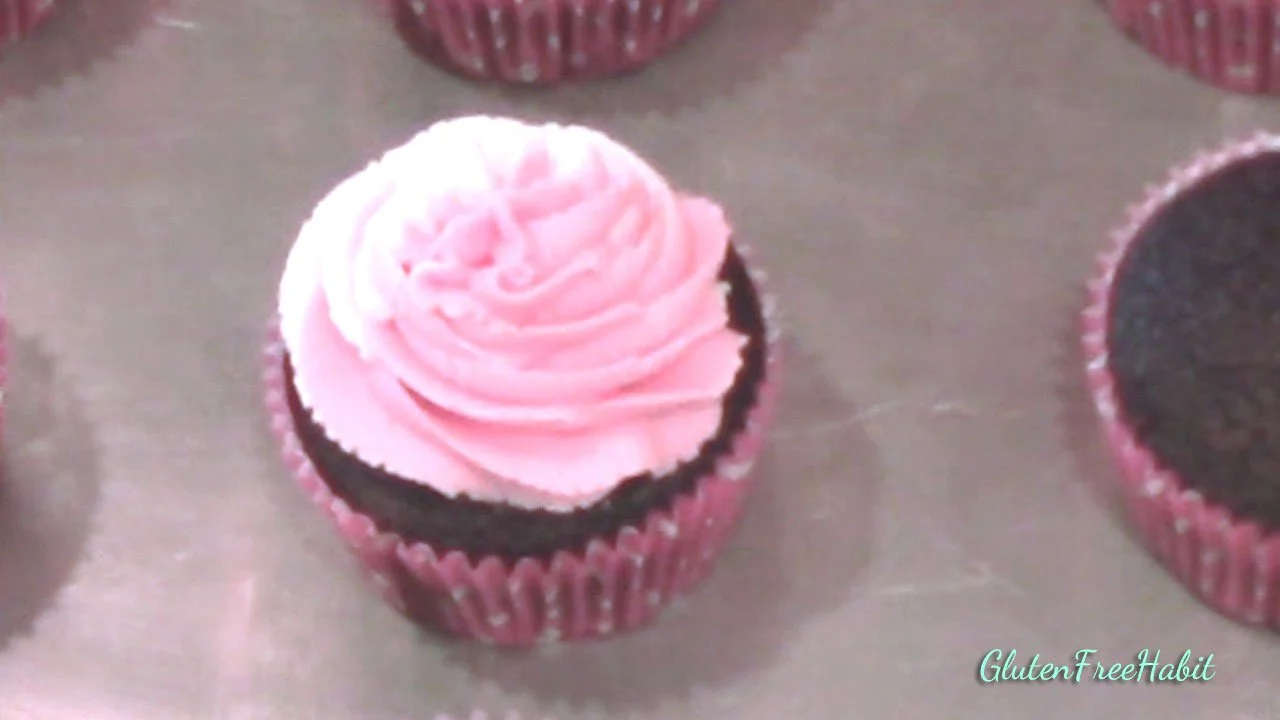
4
Pretty!

5
Gently loosen chocolate decorations from cookie sheet with a spatula.
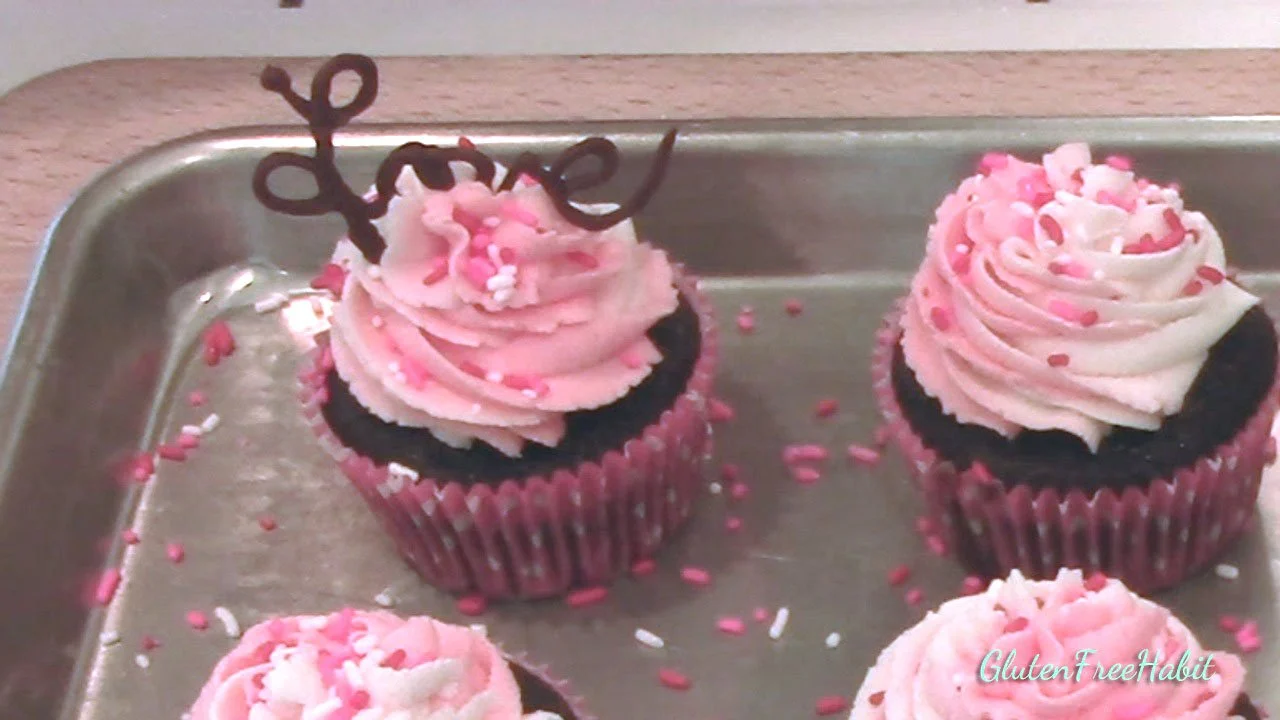
6
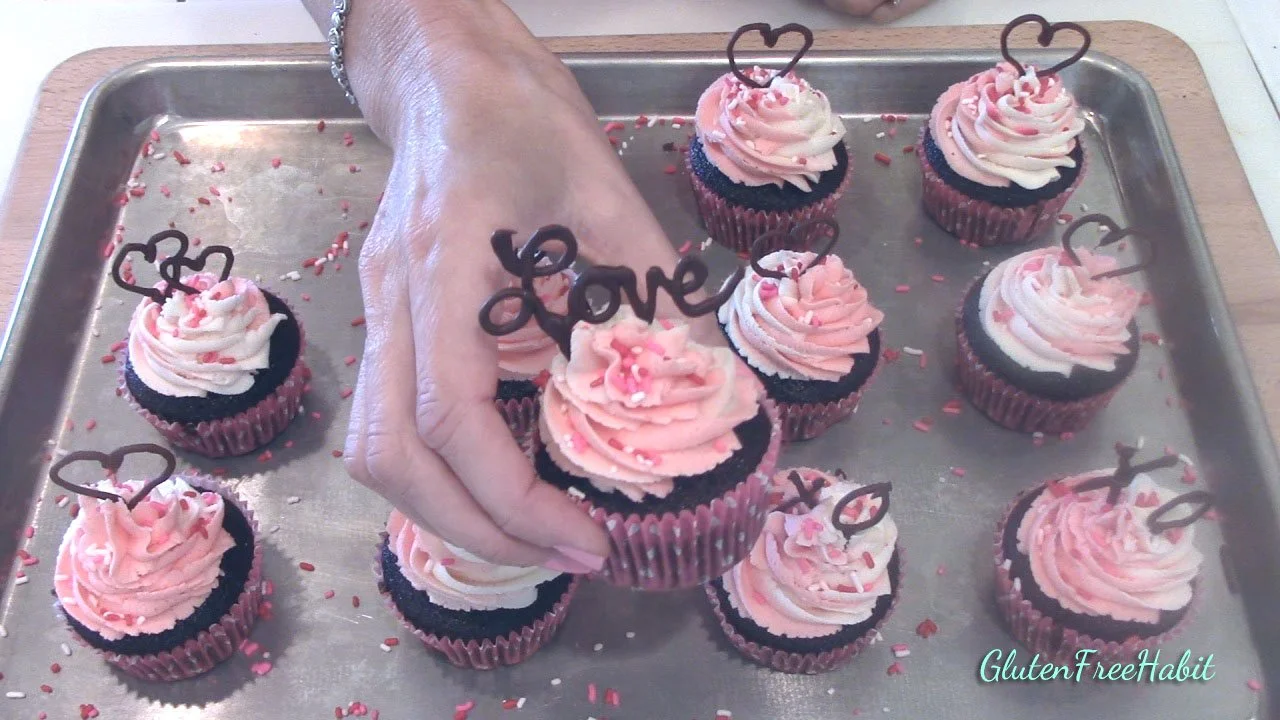
Place decorations on cupcakes. Be careful not to handle them for very long, as the warmth of your hands will cause them to melt!
7
Add sprinkles if you like!
8
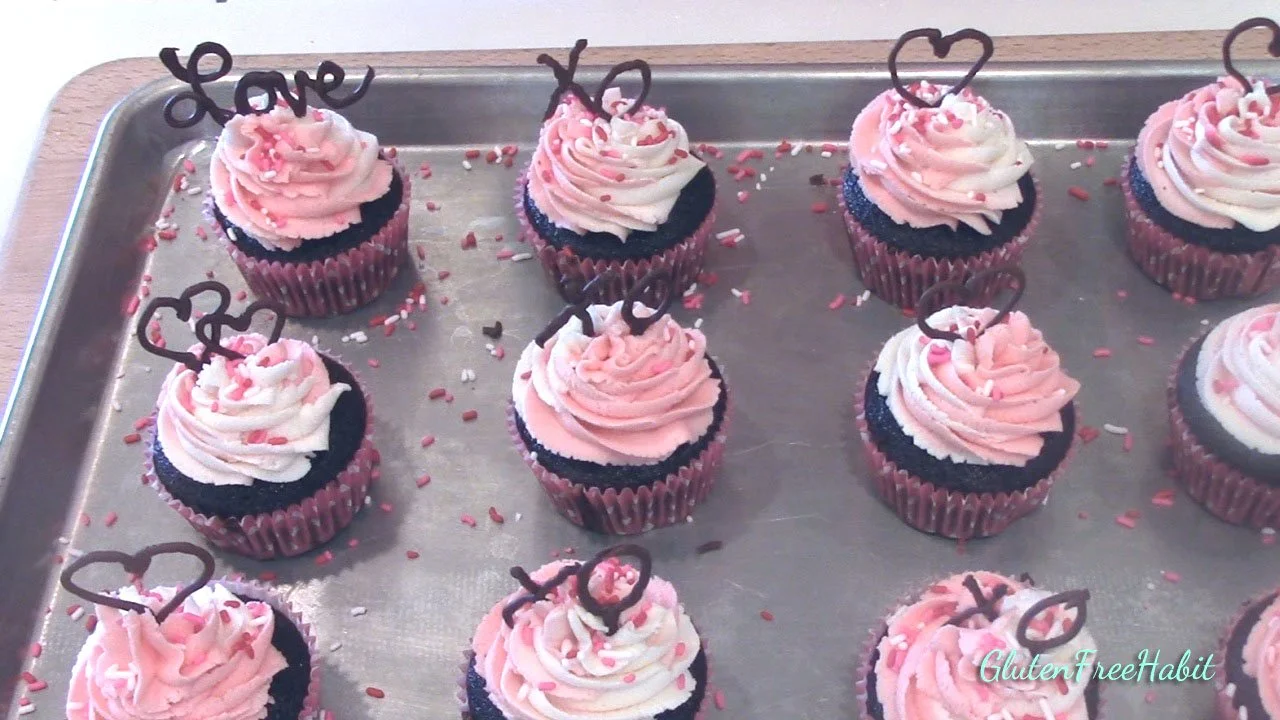
Look how adorable!
Yay! Time to Eat!

A sweet treat with an even sweeter message!
Ready to Make Some Gluten Free Valentine’s Cupcakes?
Before you get to baking, make sure you have everything you need for success! Shop for gluten free flours, baking pans, cutting boards, serving dishes, and cookware in my Amazon shop!

The Recipe:
GLUTEN FREE VALENTINE’S CUPCAKES
The Cupcakes:
INGREDIENTS
1/2 cup white rice flour (2.4 oz.)
1/4 cup potato starch (1.3 oz.)
1/4 cup tapioca flour (1.0 oz.)
1/2 cup cocoa powder (1.4 oz.)
1 tsp. baking powder
1/4 tsp. baking soda
1/2 tsp. salt
1 cup sugar
1 large egg
1 cup water
1/4 cup vegetable oil
1 tsp. vanilla
DIRECTIONS
Getting Ready
Put paper liners into your cupcake tray.
Preheat oven to 325 degrees
Let’s Get Started
In medium mixing bowl, stir or whisk together the white rice flour, potato starch, tapioca flour, cocoa powder, baking powder, baking soda, and salt.
Add in the sugar and stir together.
Now add in the egg, water, oil, and vanilla
Beat on low speed until combined. Then beat on medium speed for 2 - 3 minutes.
Batter will be thin - don’t worry! You can pour your batter into a tall measuring cup for easy pouring if you like, but this is not necessary.
Fill cupcake liners 2/3 full and place into oven immediately (I use a ¼ cup measuring cup to scoop batter into the liners and this works out perfectly to 12 cupcakes).
Bake for about 18 minutes or just until a toothpick inserted into the center of a cupcake comes out clean.
Remove cupcakes carefully, as they will be hot and soft. Let cool completely before frosting.

The Buttercream Frosting:
INGREDIENTS
1 cup butter
4 cups confectioner’s sugar (more or less, depending on desired consistency)
2 tsp. vanilla
A few tsp. milk (as needed for correct consistency)
Gluten Free food coloring
OTHER
pastry bag
decorating tip #2D
sprinkles (optional)
DIRECTIONS
Getting Ready
Soften the butter
Let’s Get Started
To a medium-sized mixing bowl, add in the butter, sugar, and vanilla.
Mix on low speed until sugar is incorporated.
Increase speed and mix until fluffy.
If needed, add milk one teaspoon at a time, mixing after each addition, until desired consistency is reached. To thicken, add a little bit more confectioner’s sugar.
Split frosting into two bowls.
Add GF food coloring to one bowl. Stir well until all streaks are gone.
The Chocolate Decorations
INGREDIENTS
3/4 cup chocolate chips
OTHER
pastry bag or parchment triangles
cookie sheet
#3 piping tip
waxed paper
DIRECTIONS
Set aside 1/4 of the chips to use later.
Microwave the remaining chips at 50% power for 30 seconds.
Stir the chips. They won't be ready yet, but it's good to go slowly. We only want to melt the chocolate about 80% of the way.
Microwave again at 50% power for 30 seconds more.
Stir. Continue melting chocolate in 30-second increments until the chocolate starts to melt. Then switch to 15 second increments.
Continue the pattern of heating/stirring until the chocolate is 80% melted and you have chunks of chocolate remaining. Don't melt the chocolate all the way!
Once chocolate is melted 80%, pour in chips that were set aside.
Stir vigorously. The new chips and the stirring action will help to quickly cool down the chocolate and re-temper it. If your chocolate doesn't temper correctly, the chocolate decorations will not set well, and will melt too easily.
Continue stirring until chocolate is perfectly smooth.
Spoon chocolate into pastry bag. Fold shut. Test chocolate to make sure it comes out smoothly.
Pipe decorations onto the waxed paper.
Cover and set in refrigerator.
When decorations are set, use spatula to gently loosen from baking sheet.
To avoid melting, handle as little as possible when placing onto your cupcakes.
Looking for Comments?
Please leave and read comments in the "Comments" section of the YouTube video above.
I can’t wait to hear from you!