Gluten Free Pie Crust

Everyone needs a buttery, flaky, delicious, dependable gluten free pie crust around holiday time (because special times call for special pies!) And if it's easy to make like this one...even better! Gluten free pie crust success is achieved not just in the ingredients, but also in the process. Follow each step exactly and you will be enjoying pie in no time! These directions are for blind-baking a pie crust for no-bake gluten-free pies such as custard, cream, pudding, etc., but of course, you can use this crust for any pie your heart desires.
Makes: One double gluten free pie crust, or one single gluten free pie crust + a little extra for decorations or cinnamon sugar treats.

Show Me How

Walk Me Through It

1
Getting Ready: In a small bowl, add ice to about ¼ c water. Set aside.
2
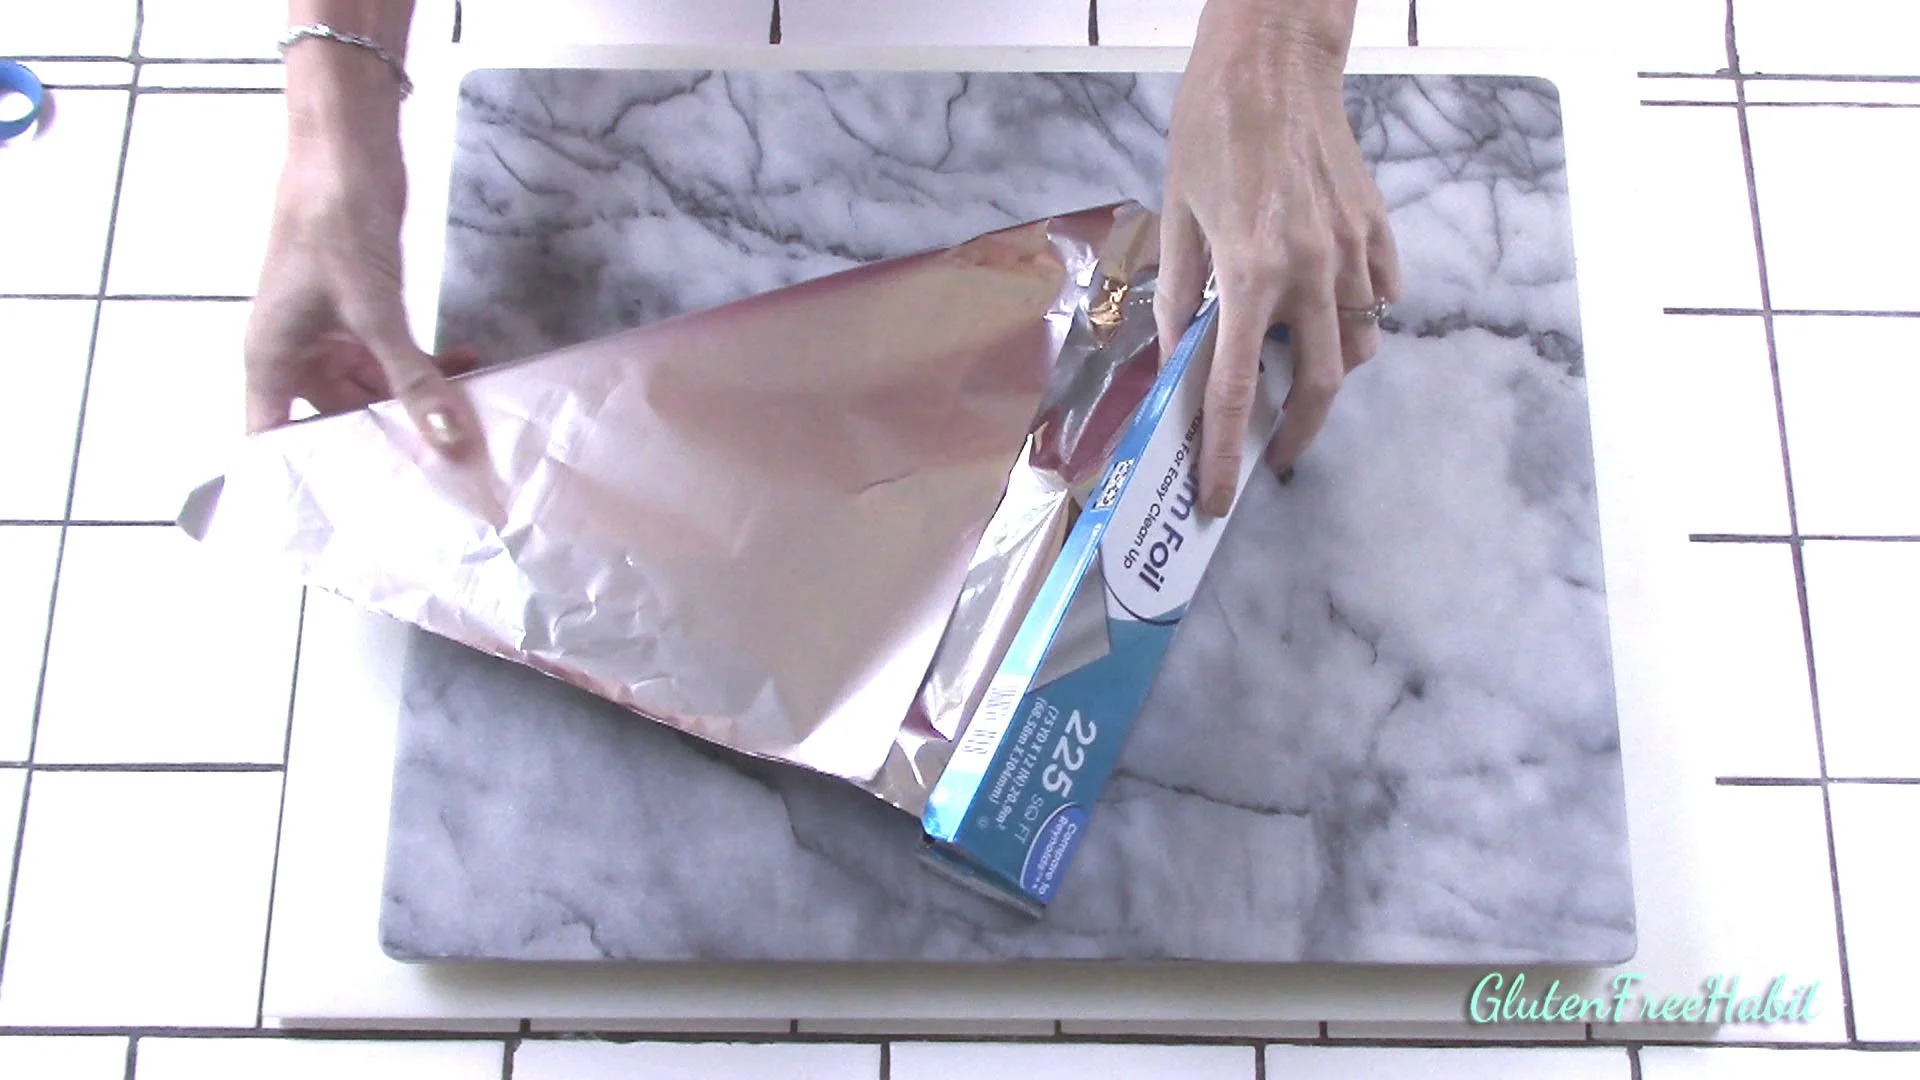
Prepare a tinfoil ring to protect edges of pie crust as it bakes. Start by tearing off a square of foil.

3
Fold tinfoil in half.
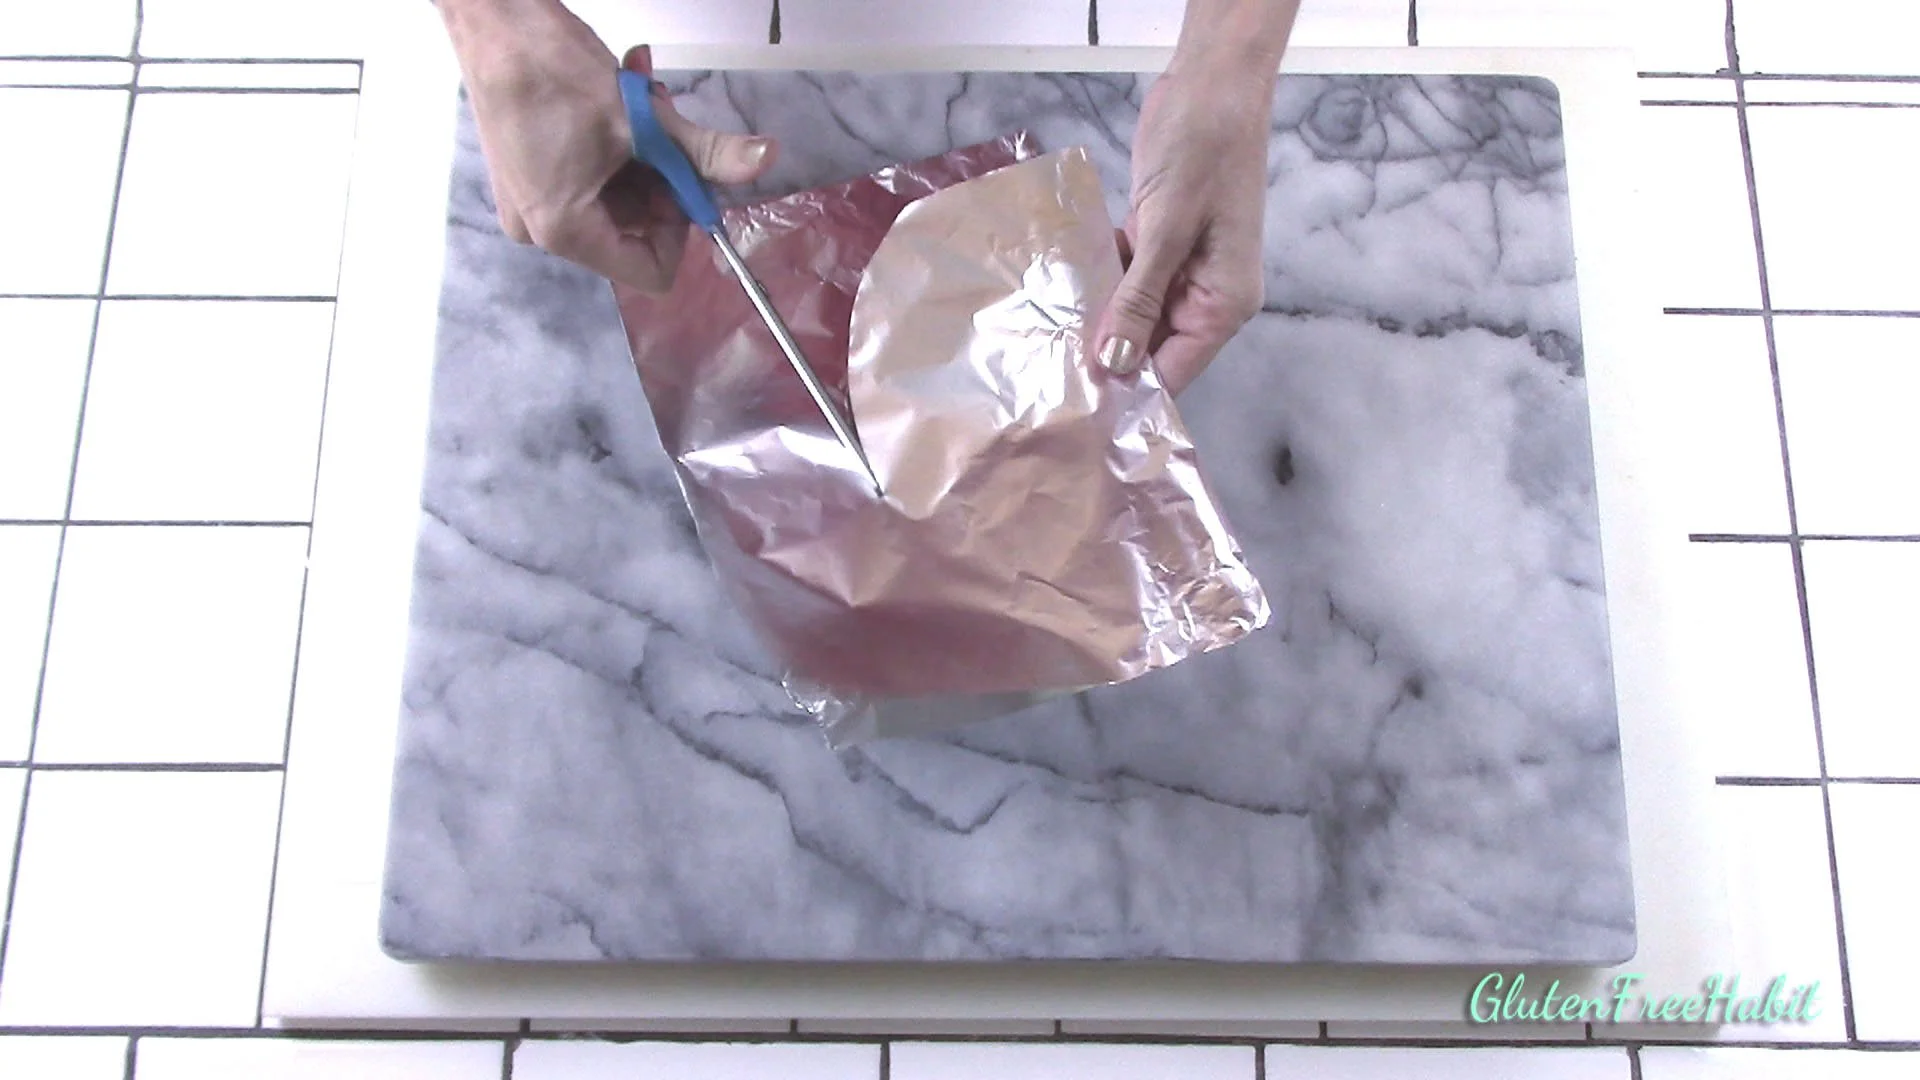
4
From the folded edge, cut out a half-circle.
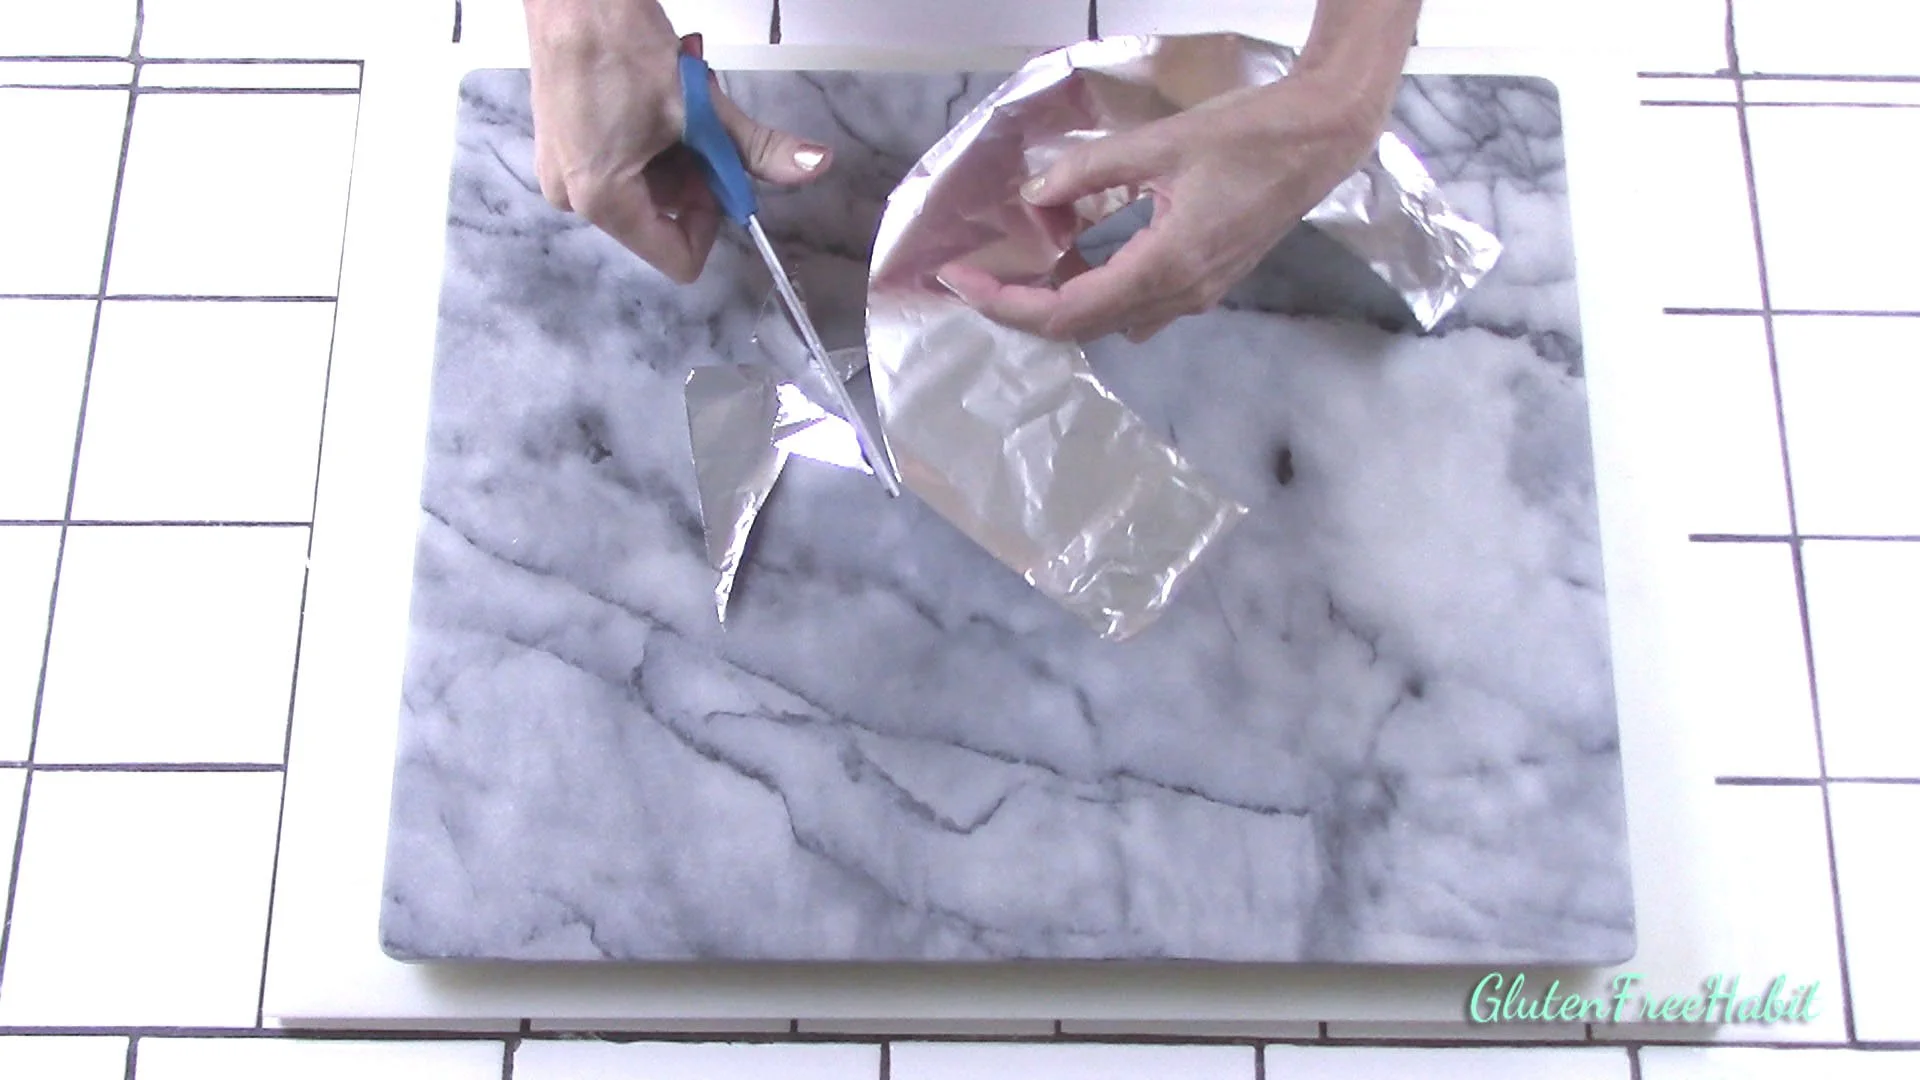
5
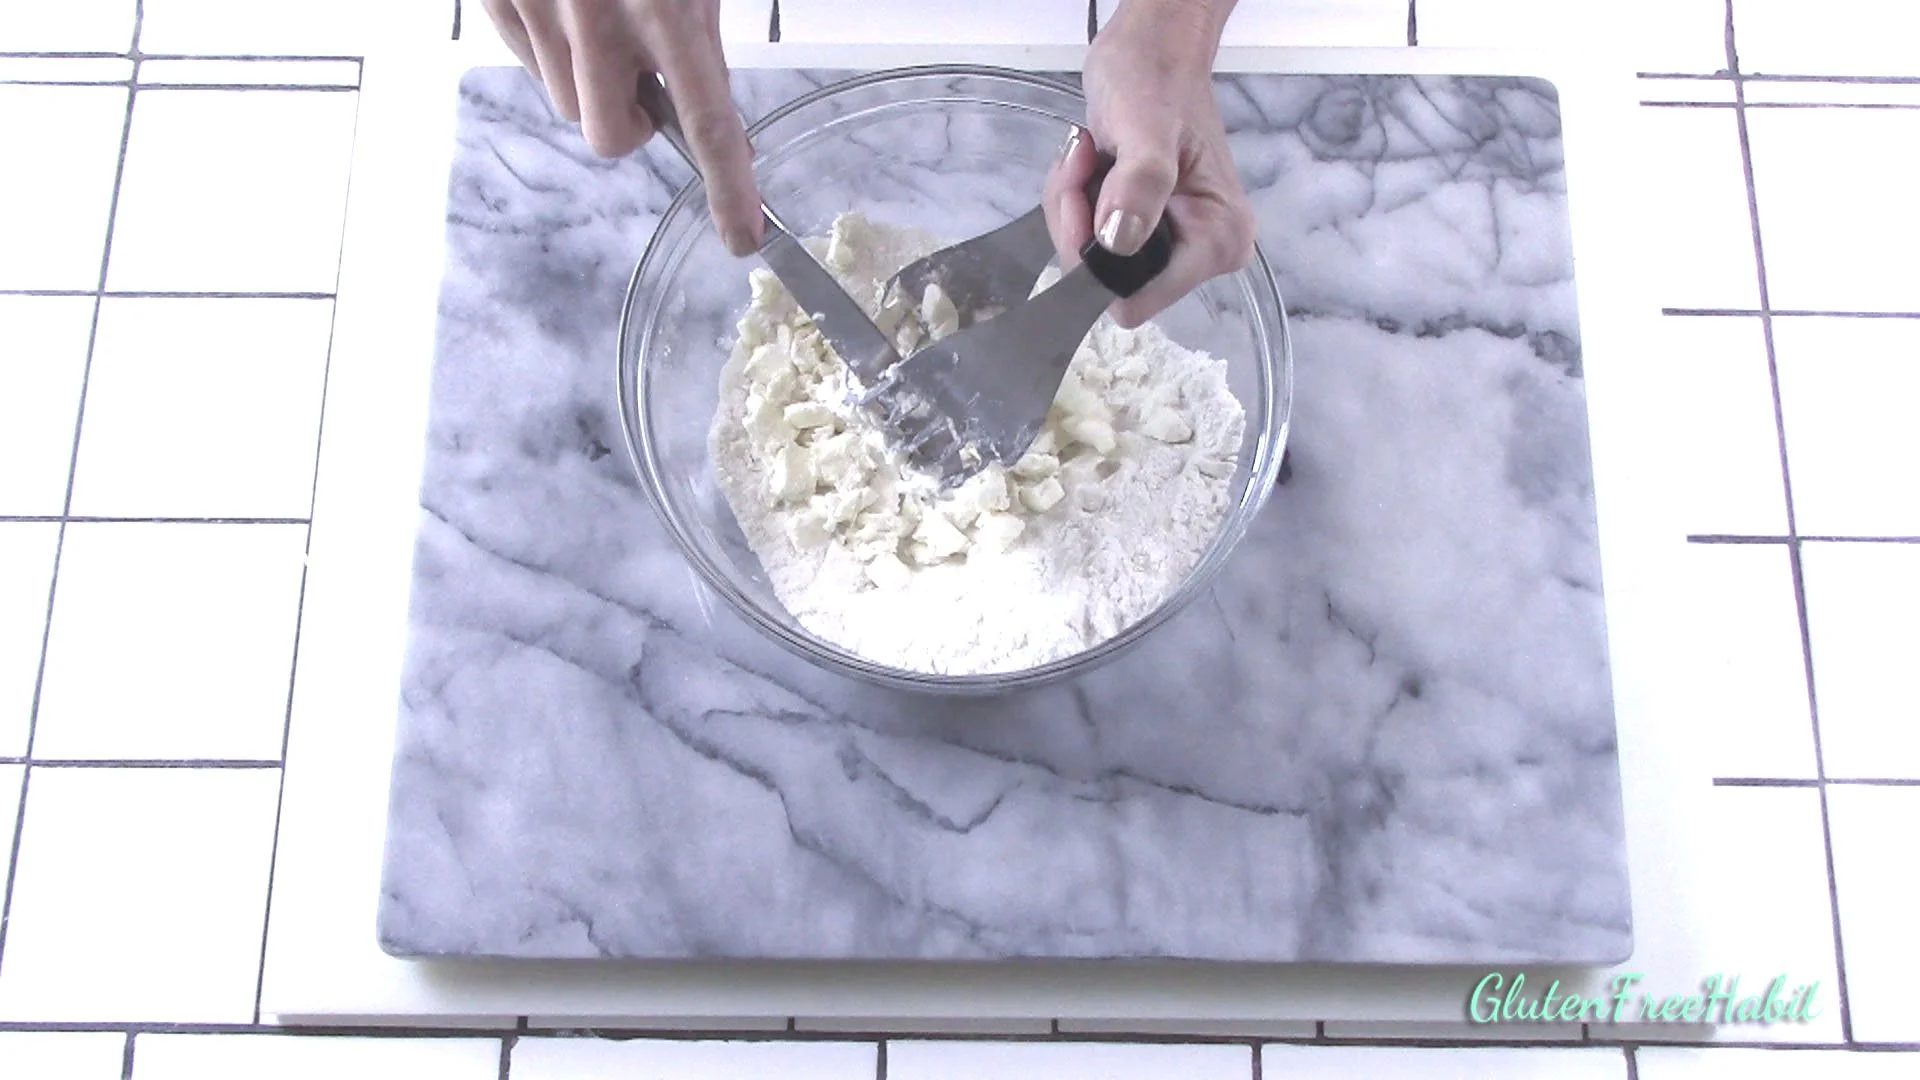
Trim off the two corners on the open edge.
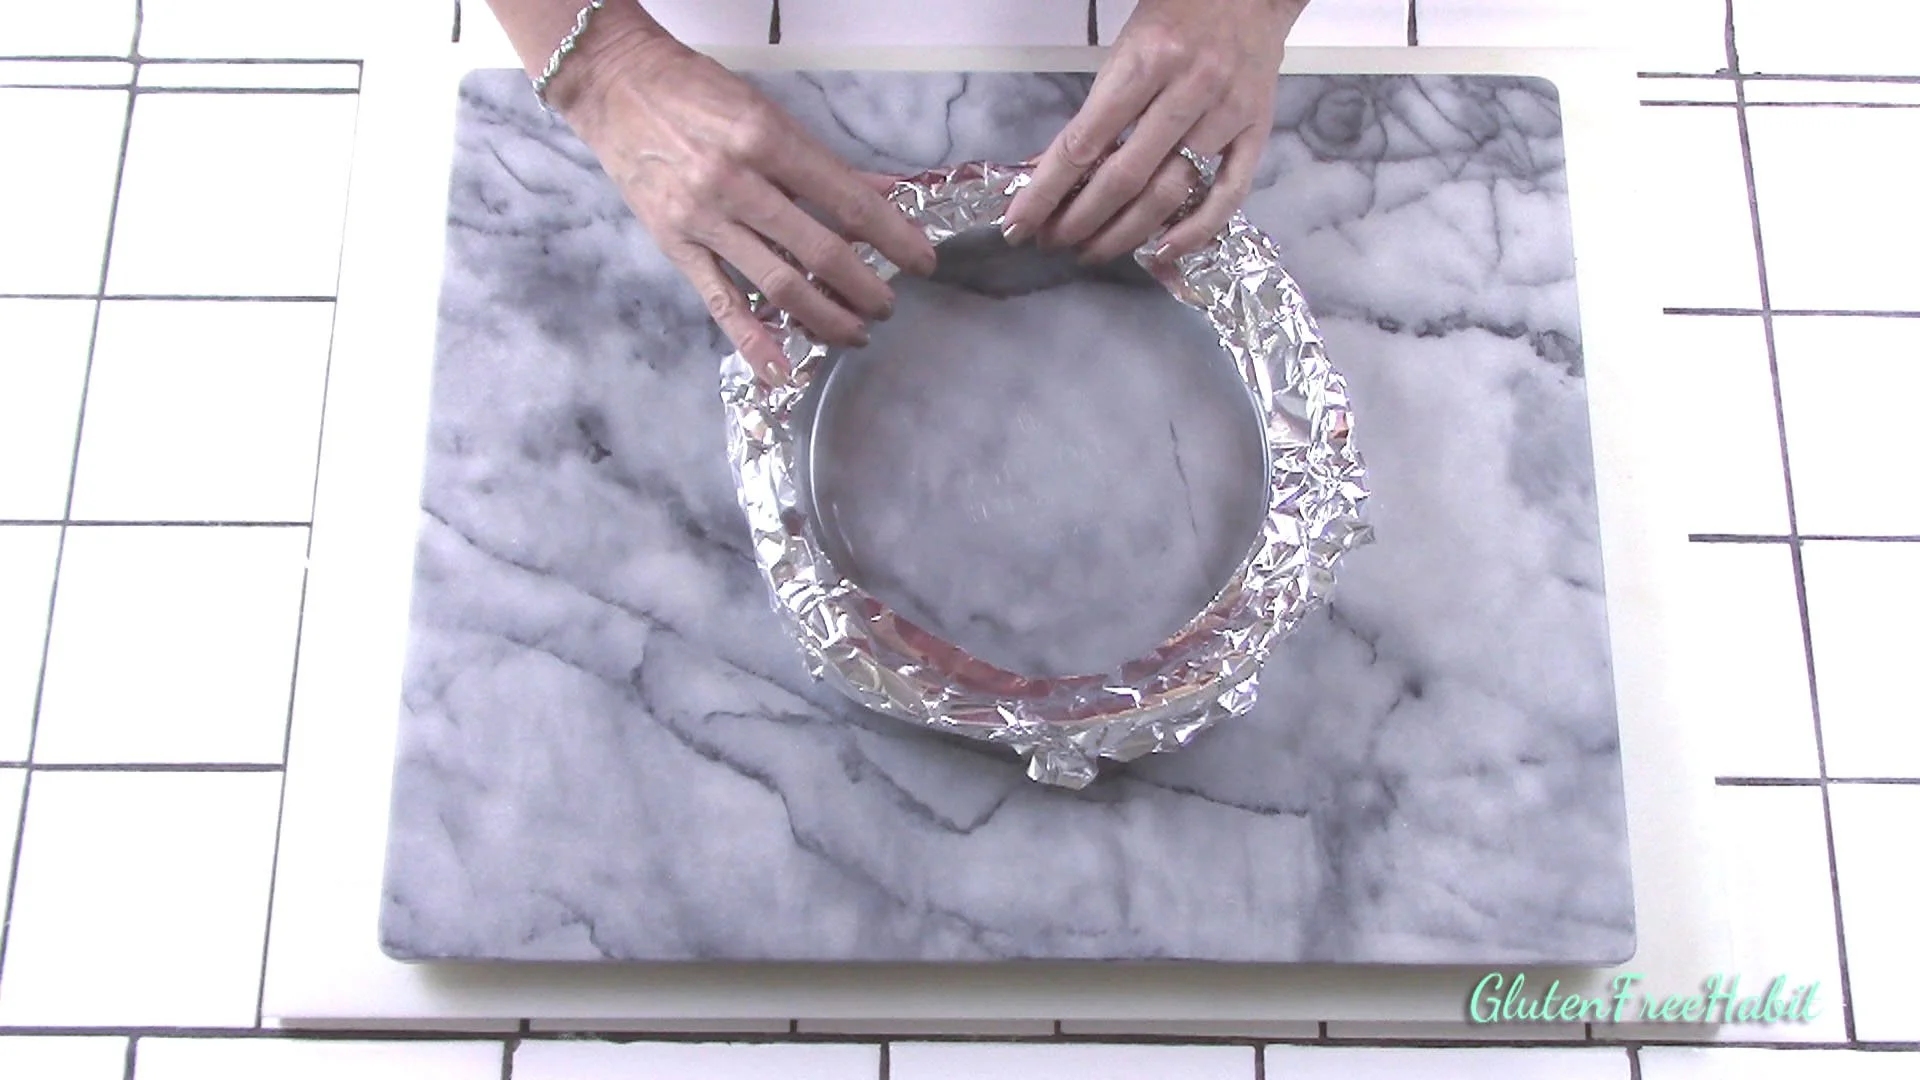
6
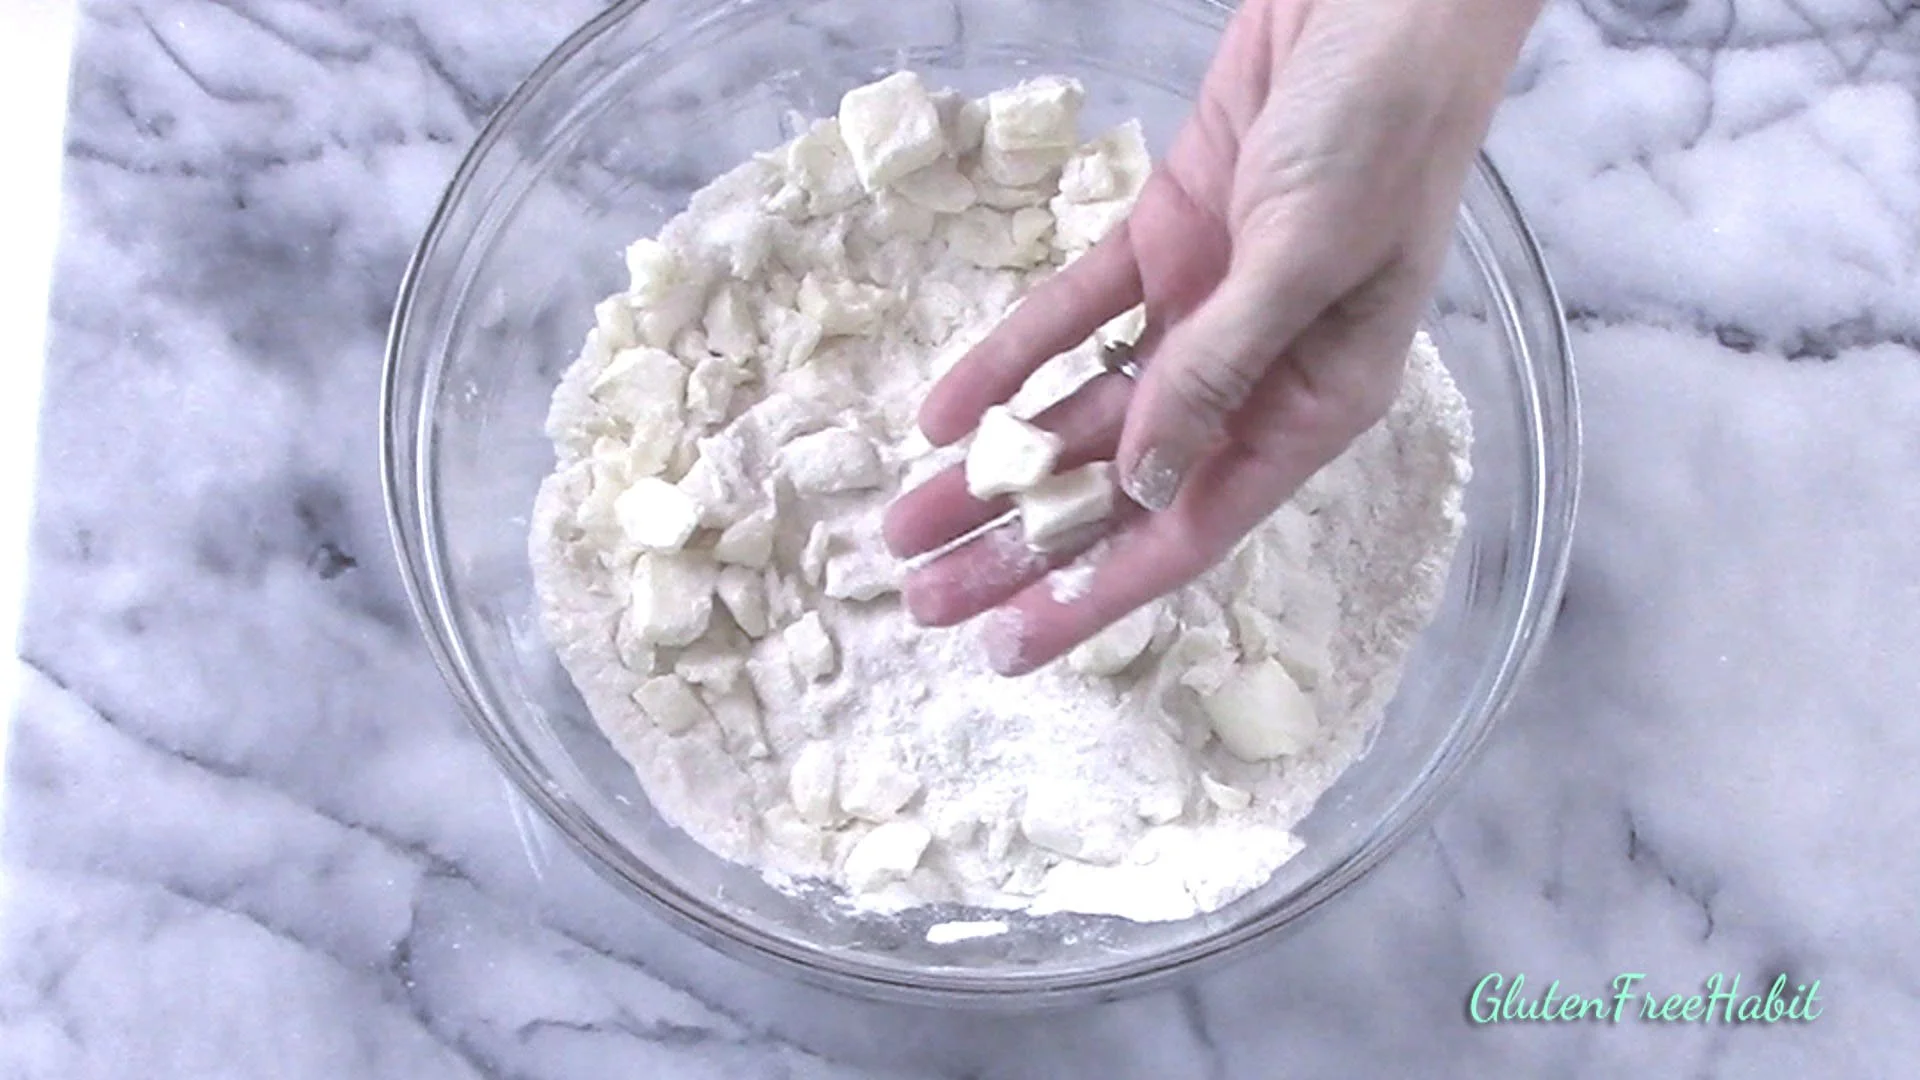
Shape it to fit around the top edge of your pie plate.
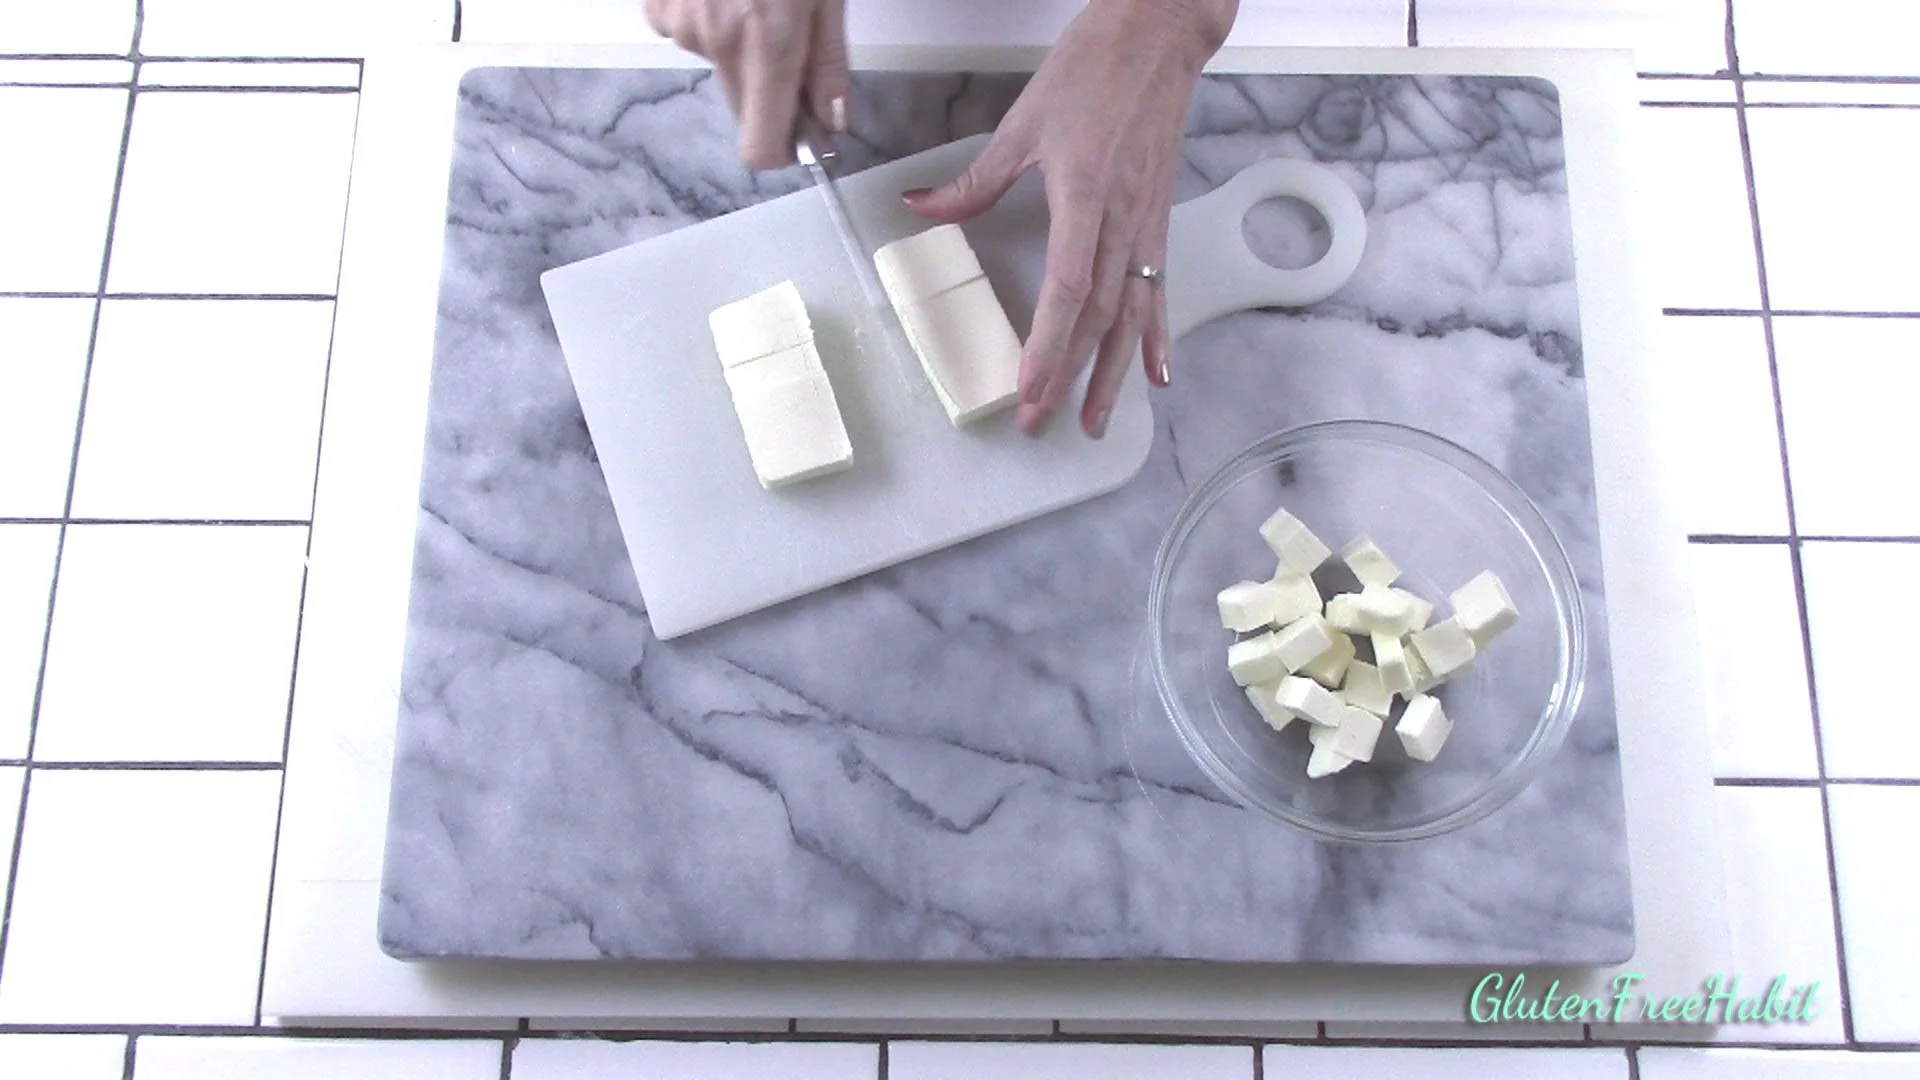
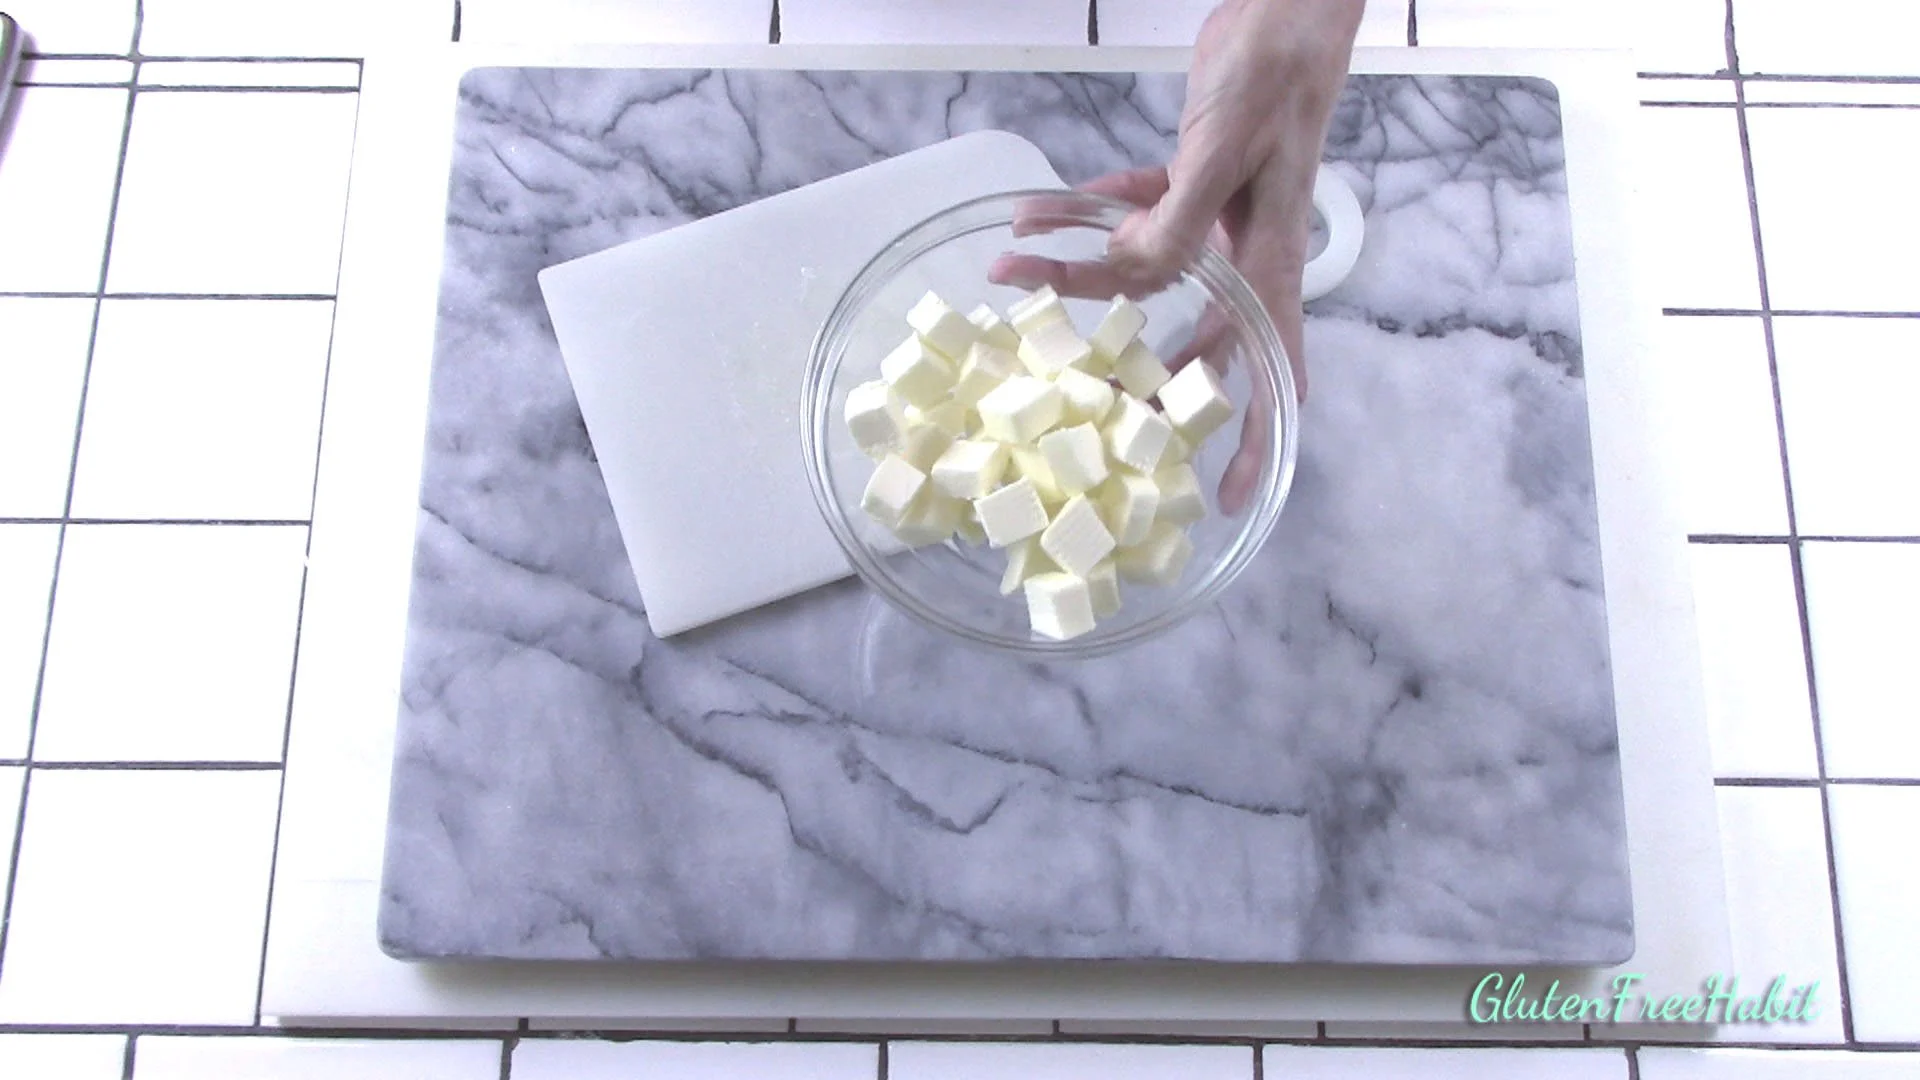
7
Cut butter into small cubes (about ½” – ¾”).
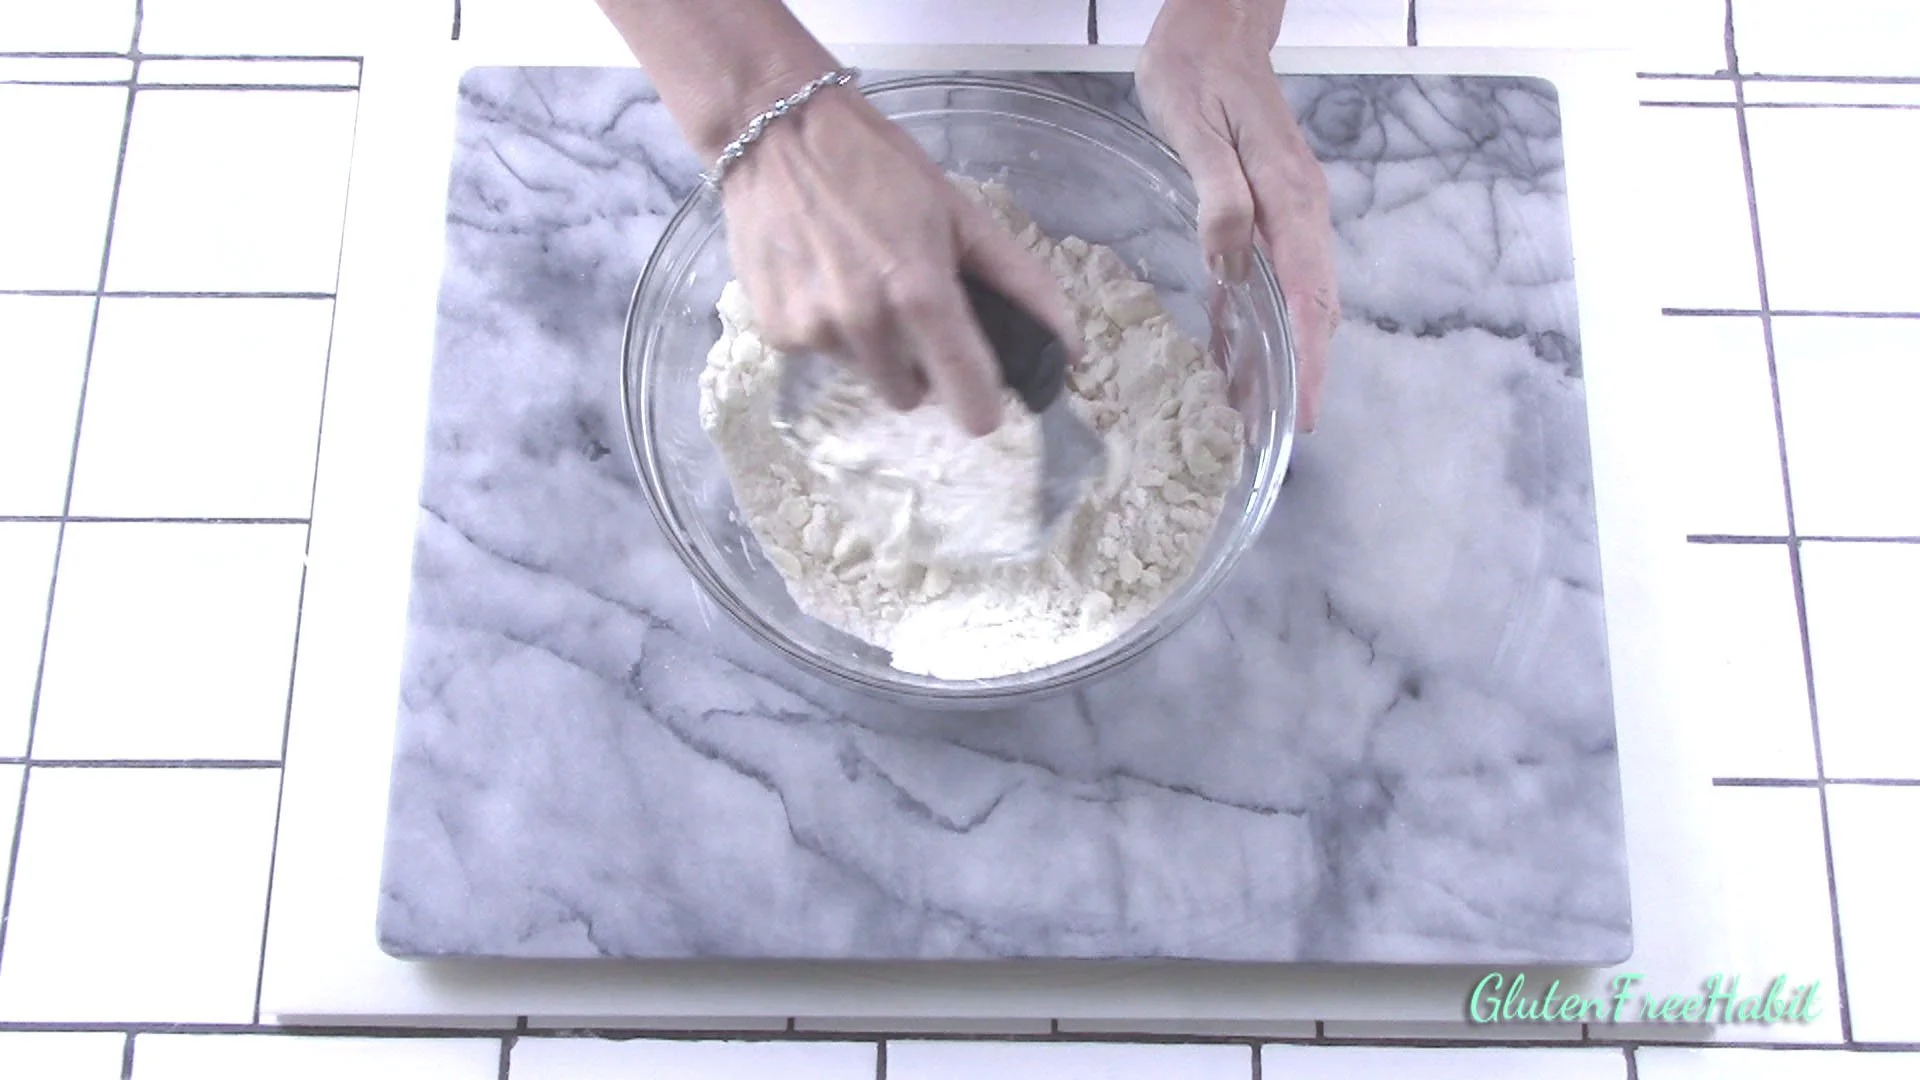
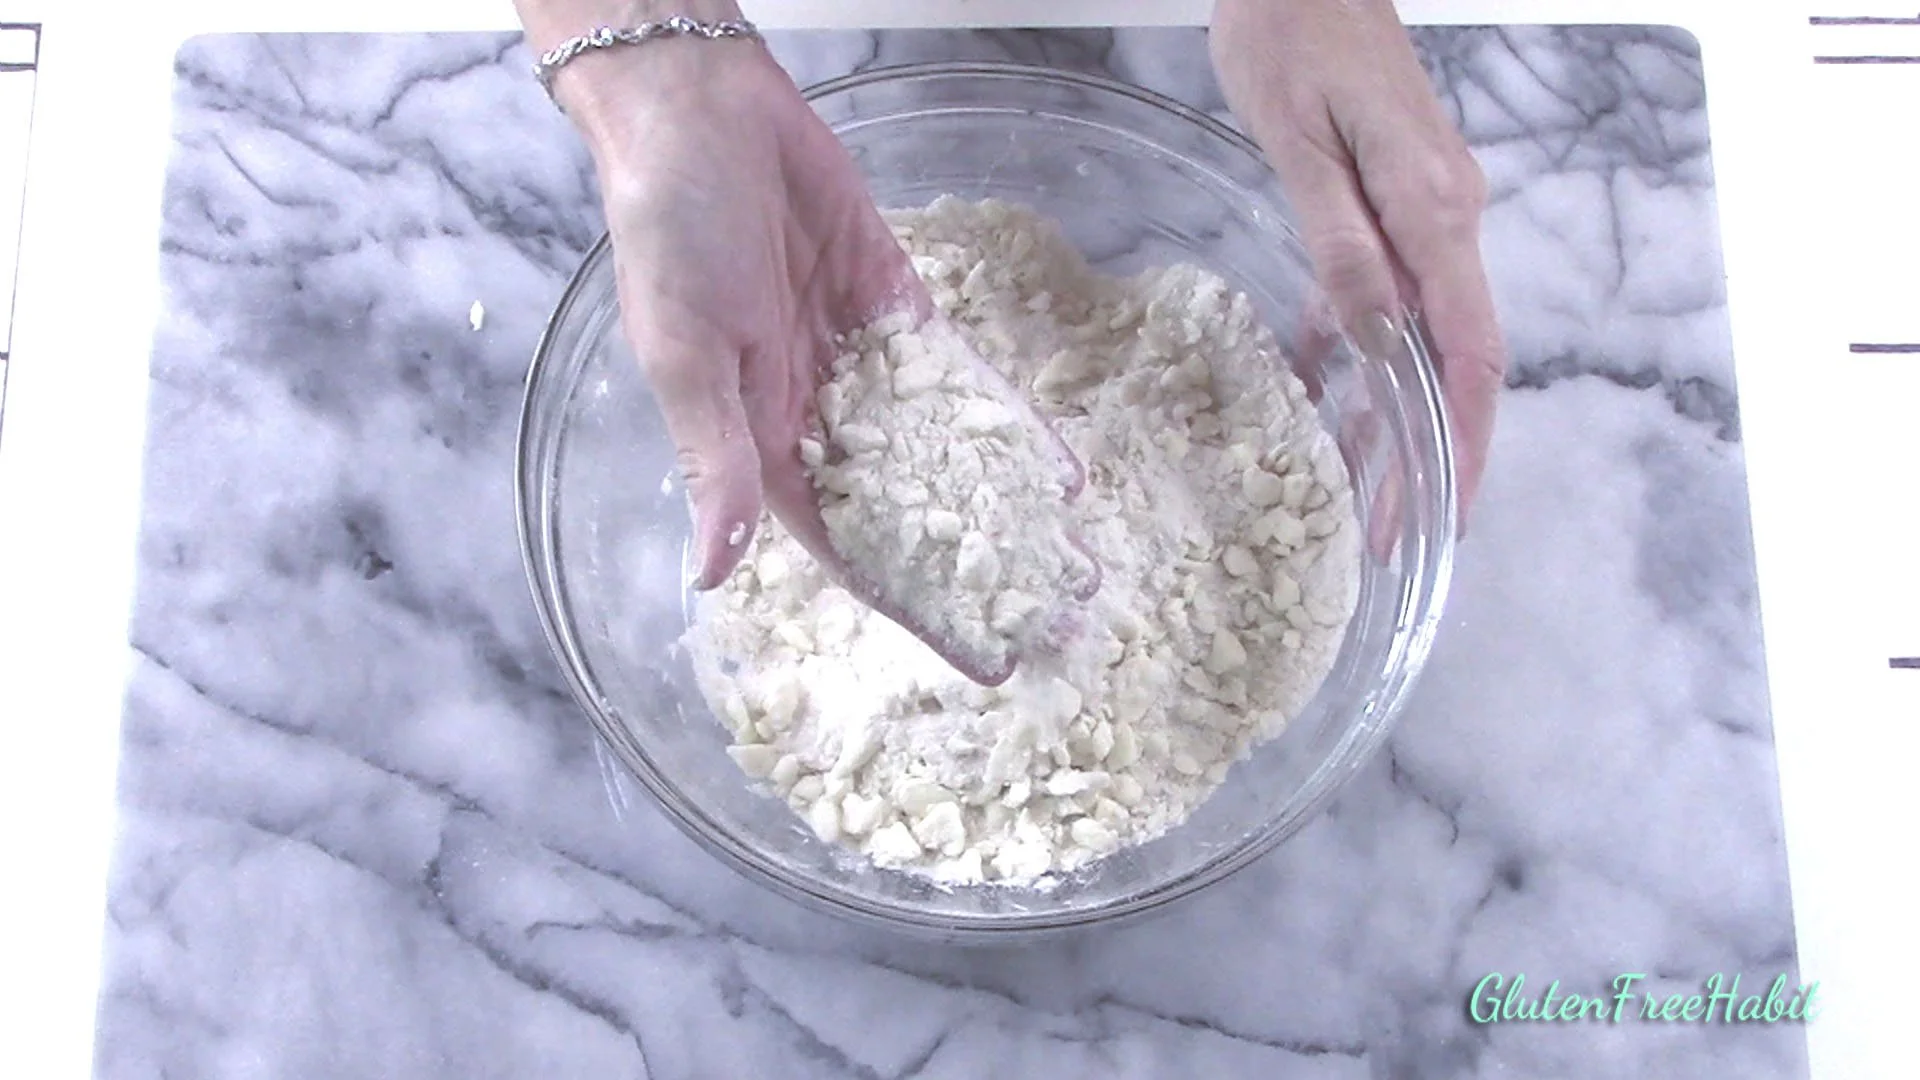
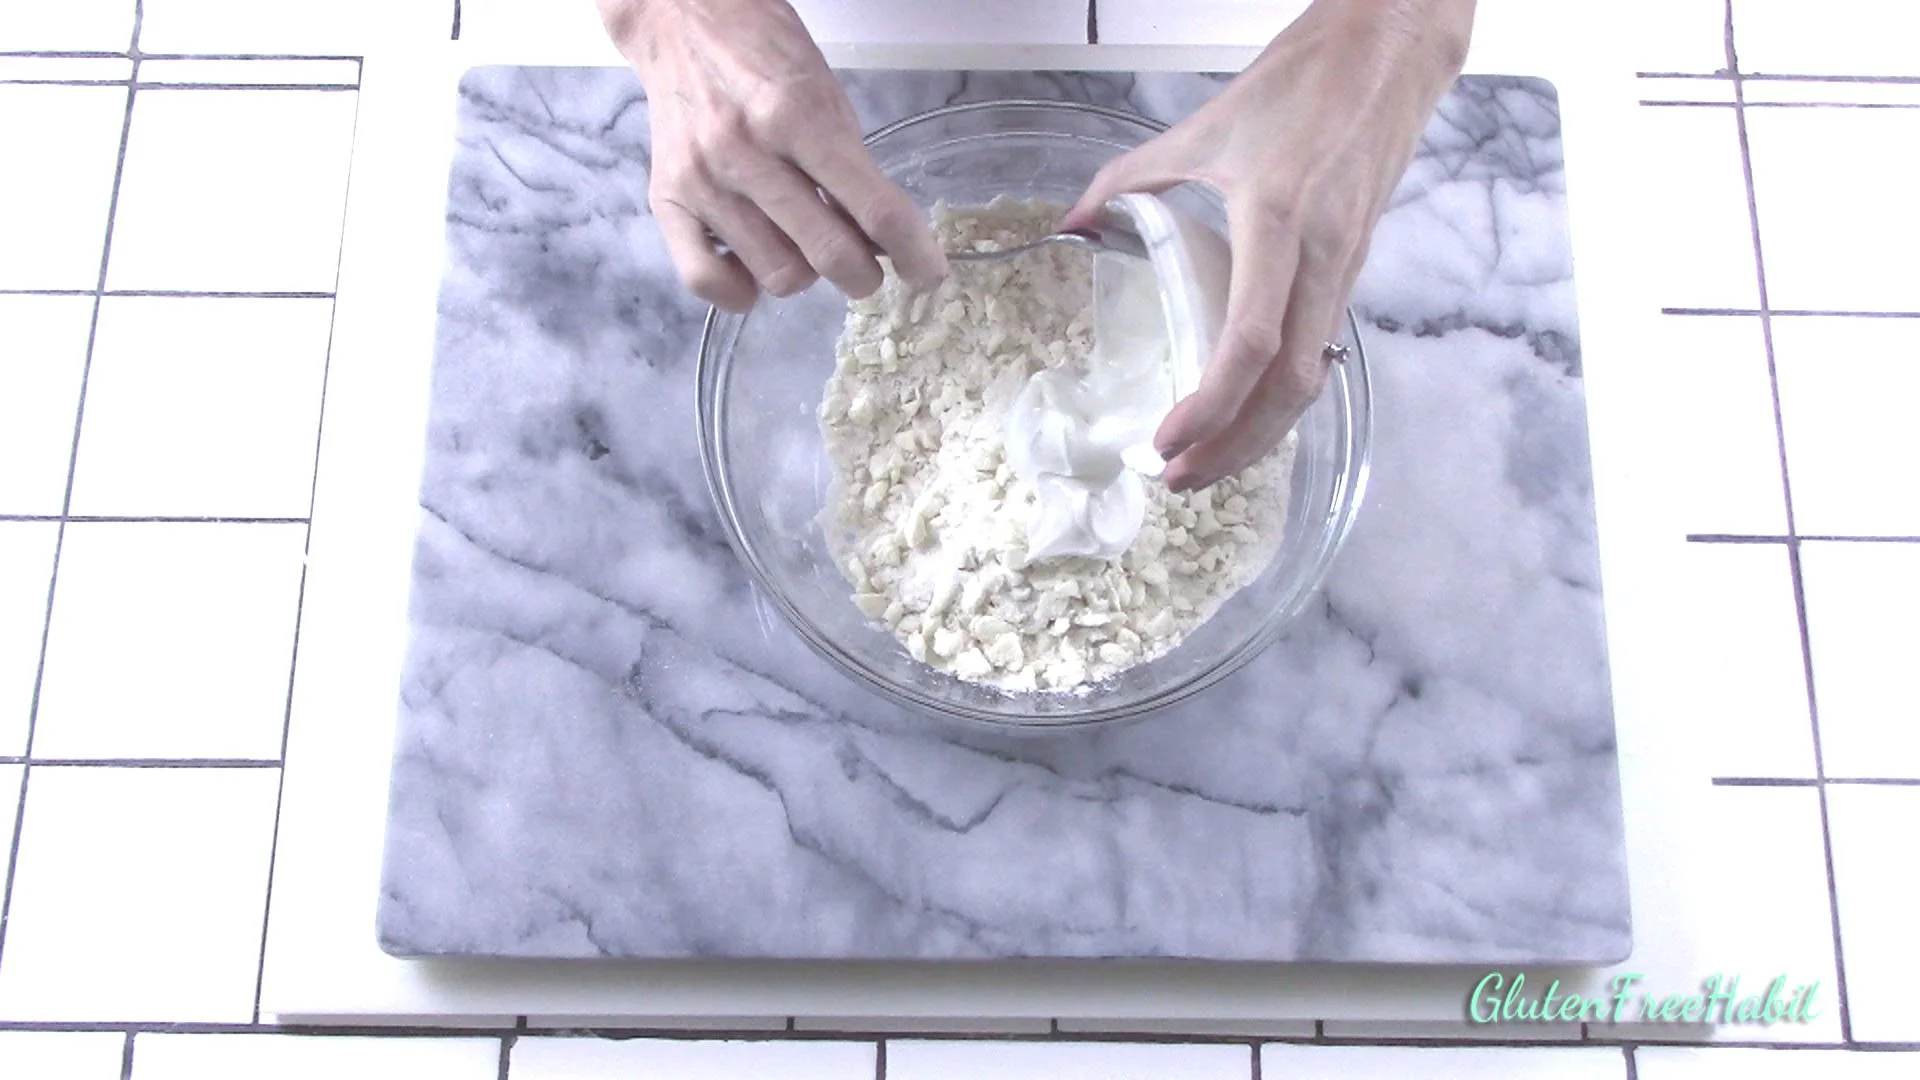
8
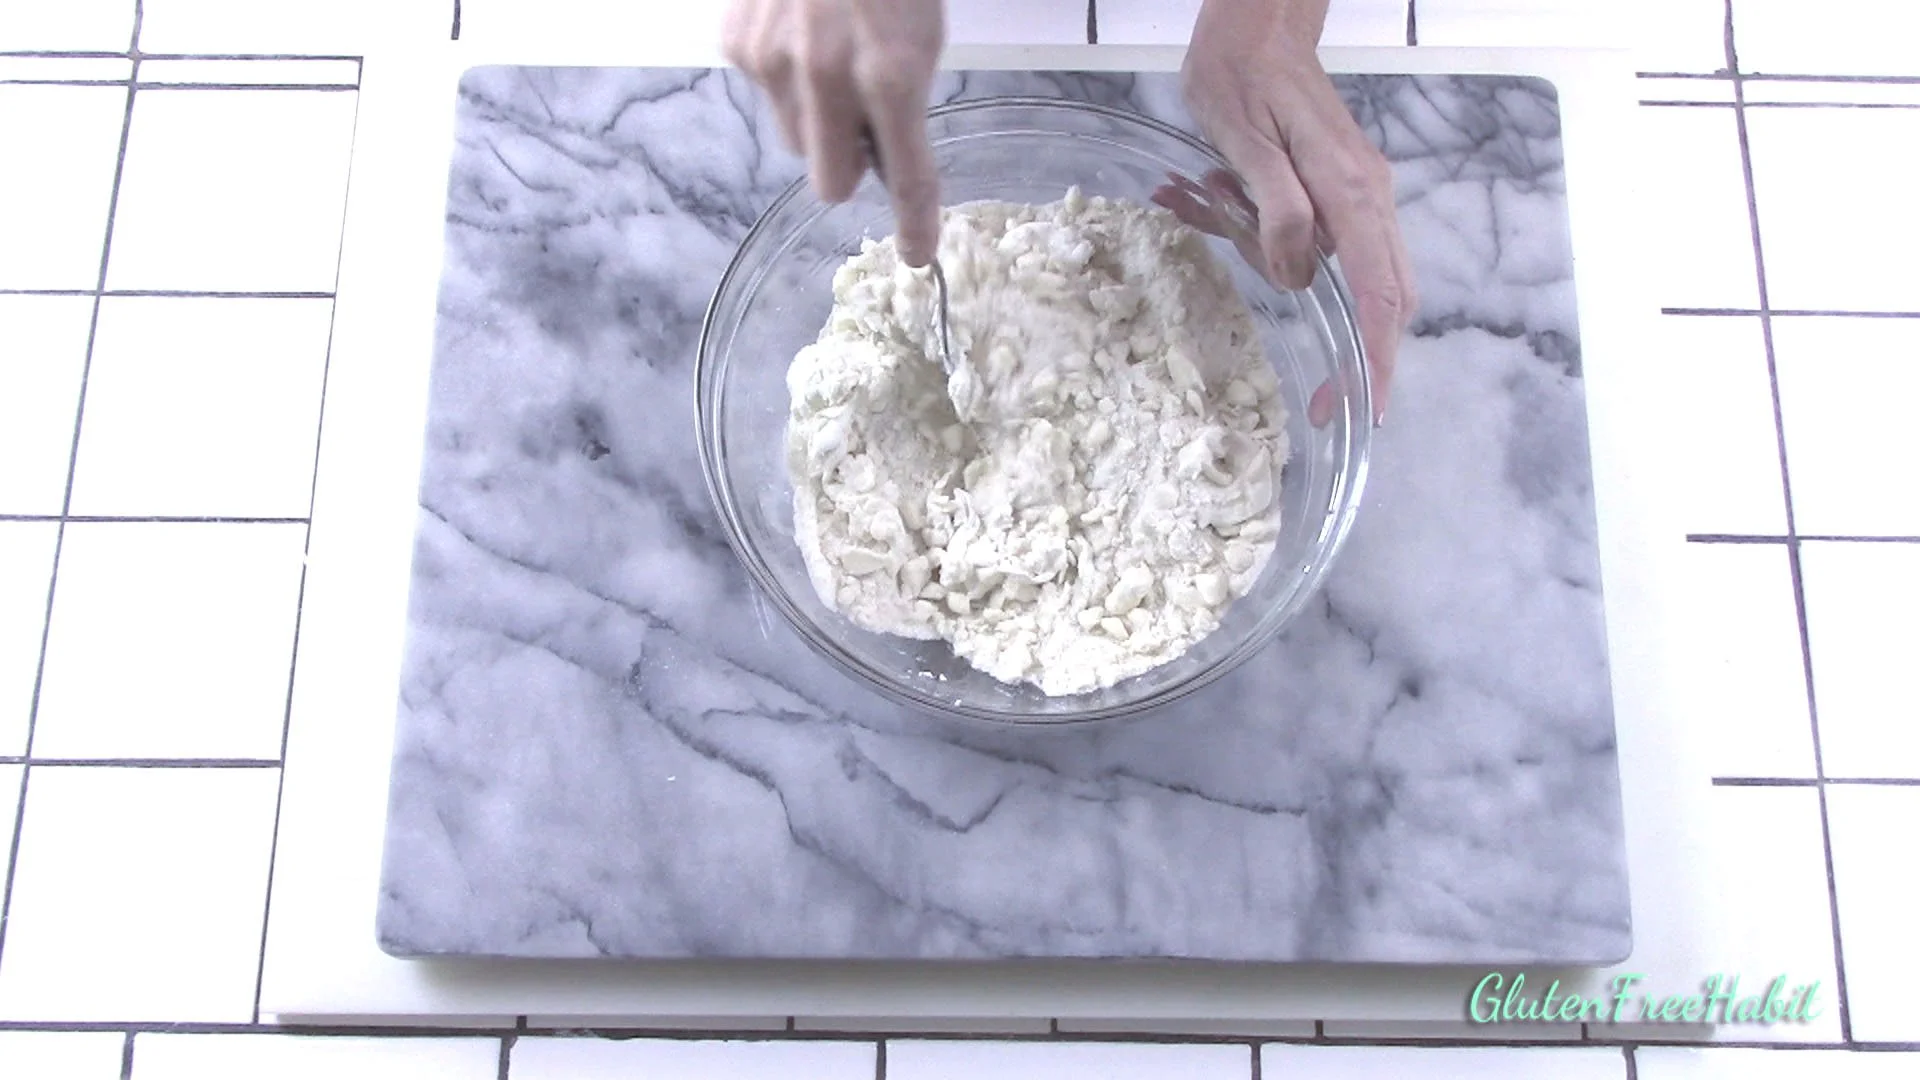
Put butter into freezer.
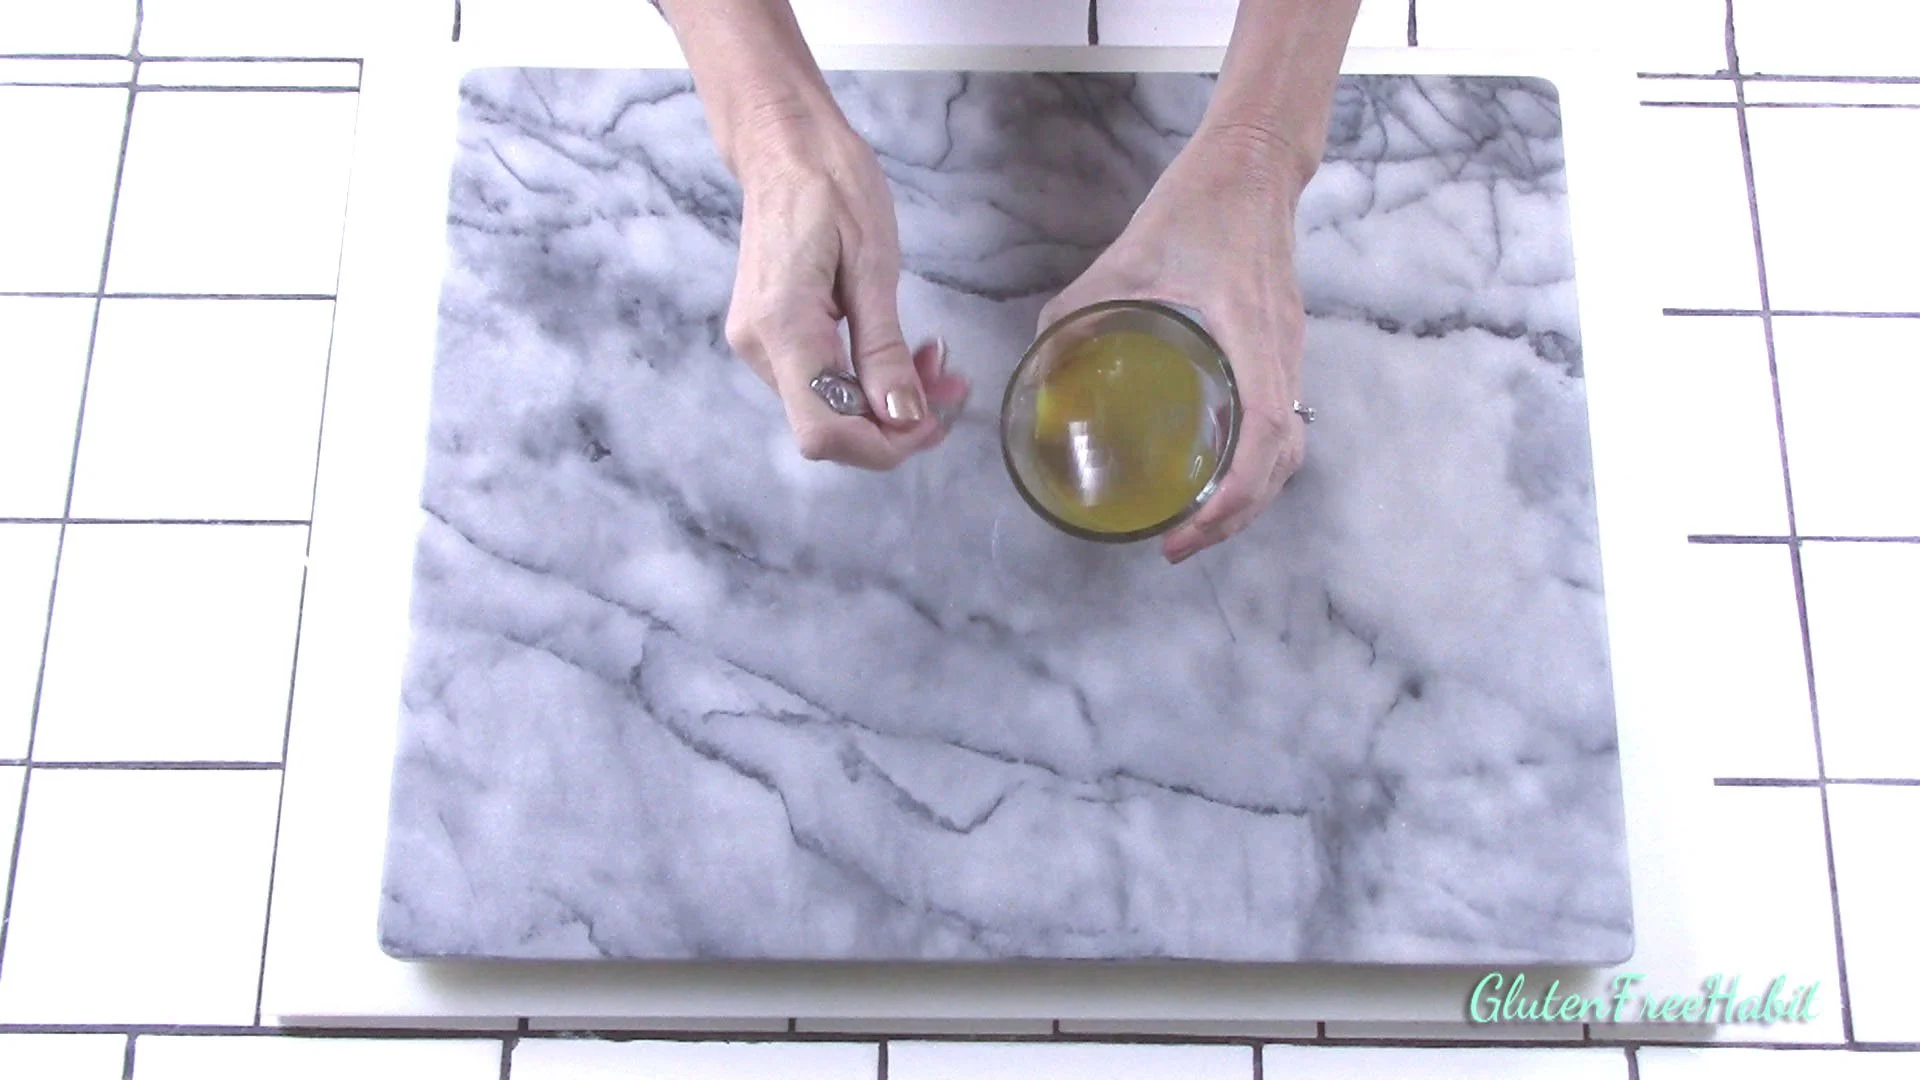
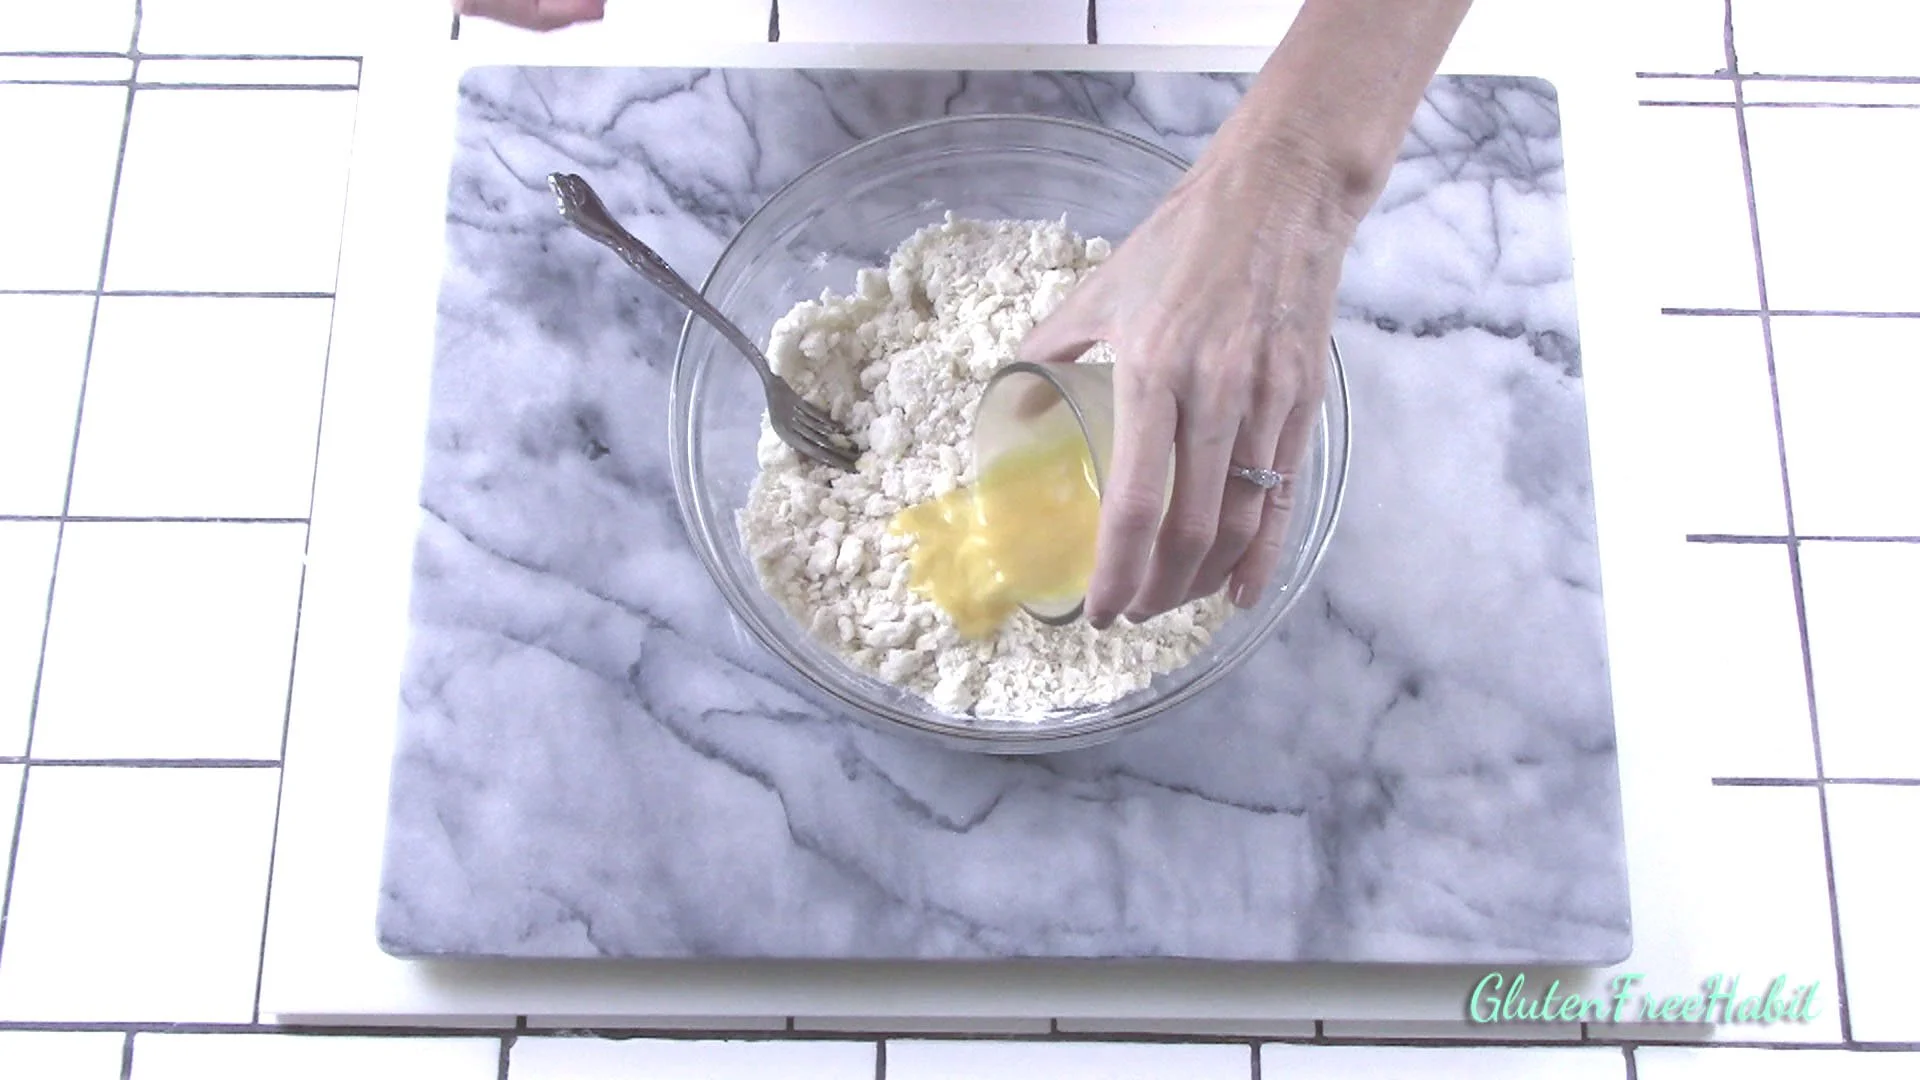
9
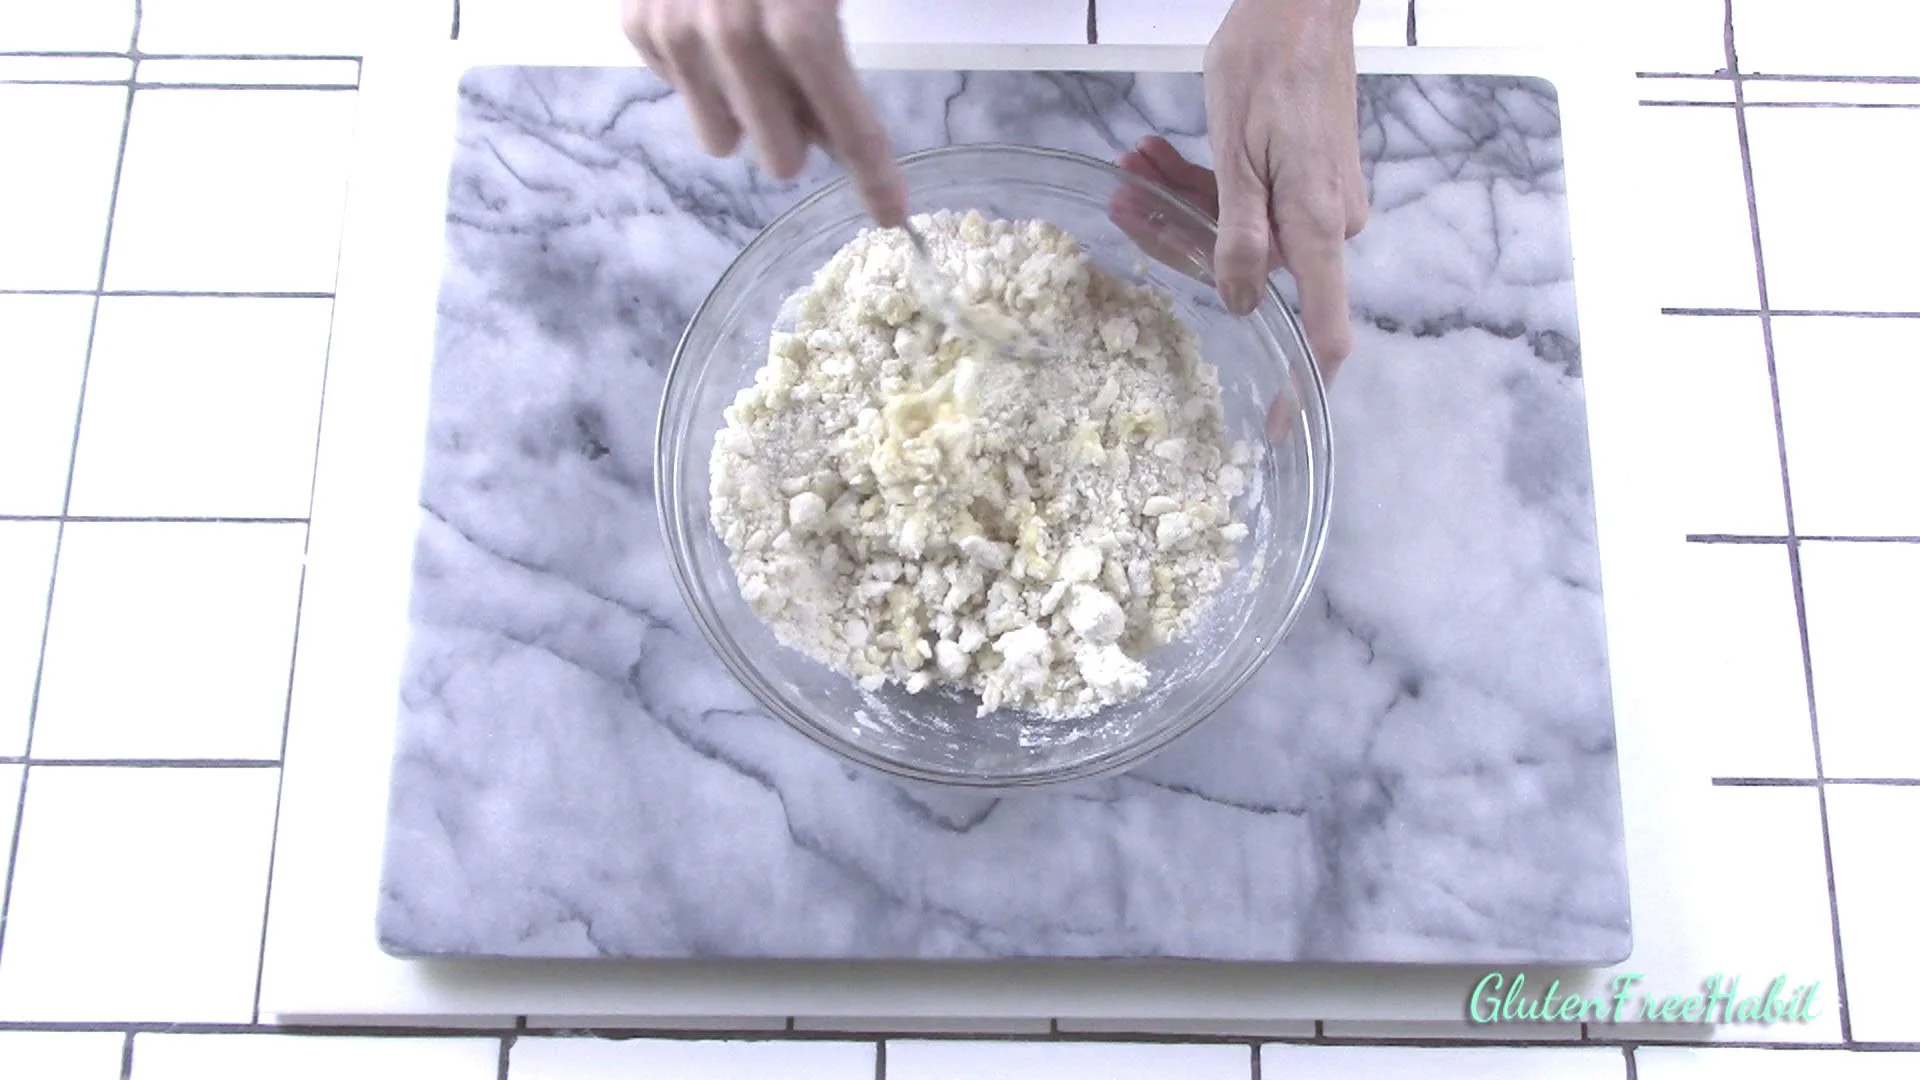
Crack the egg into a small bowl and whisk. Put into refrigerator.
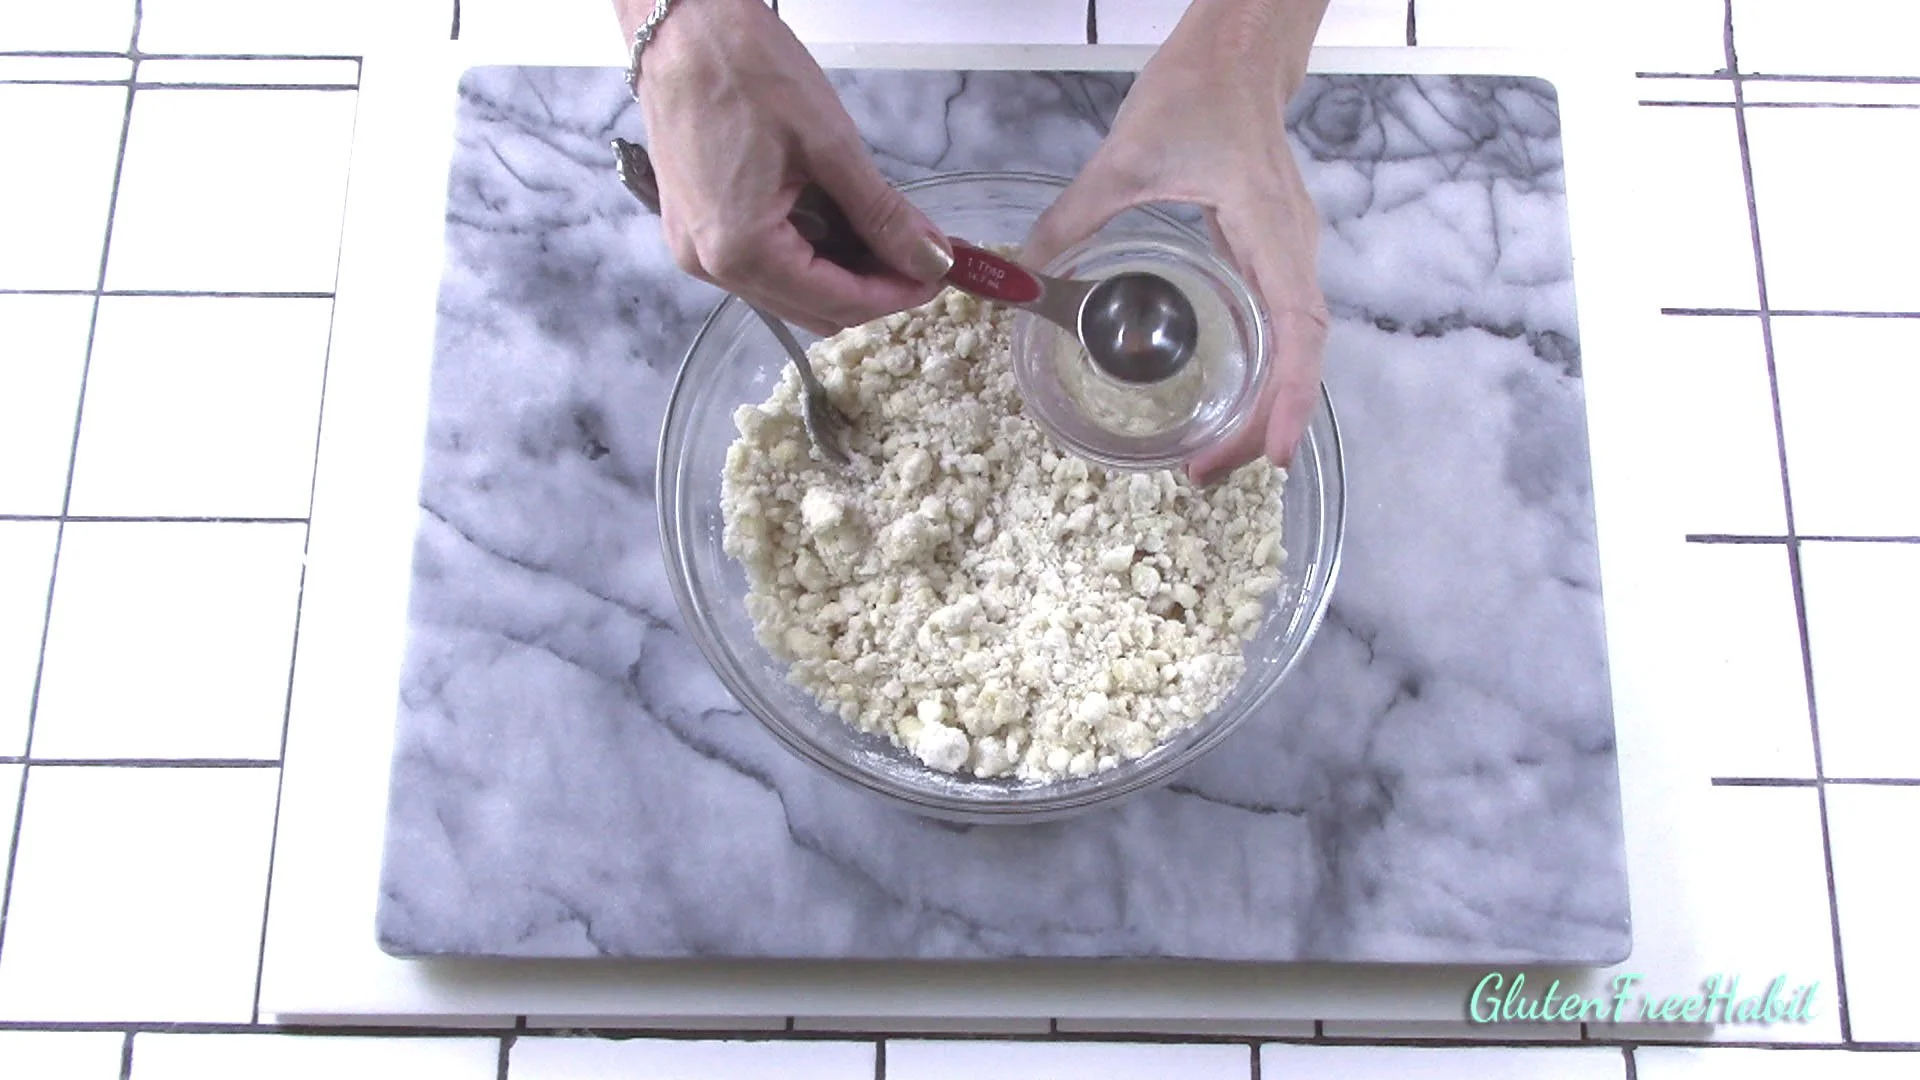
10
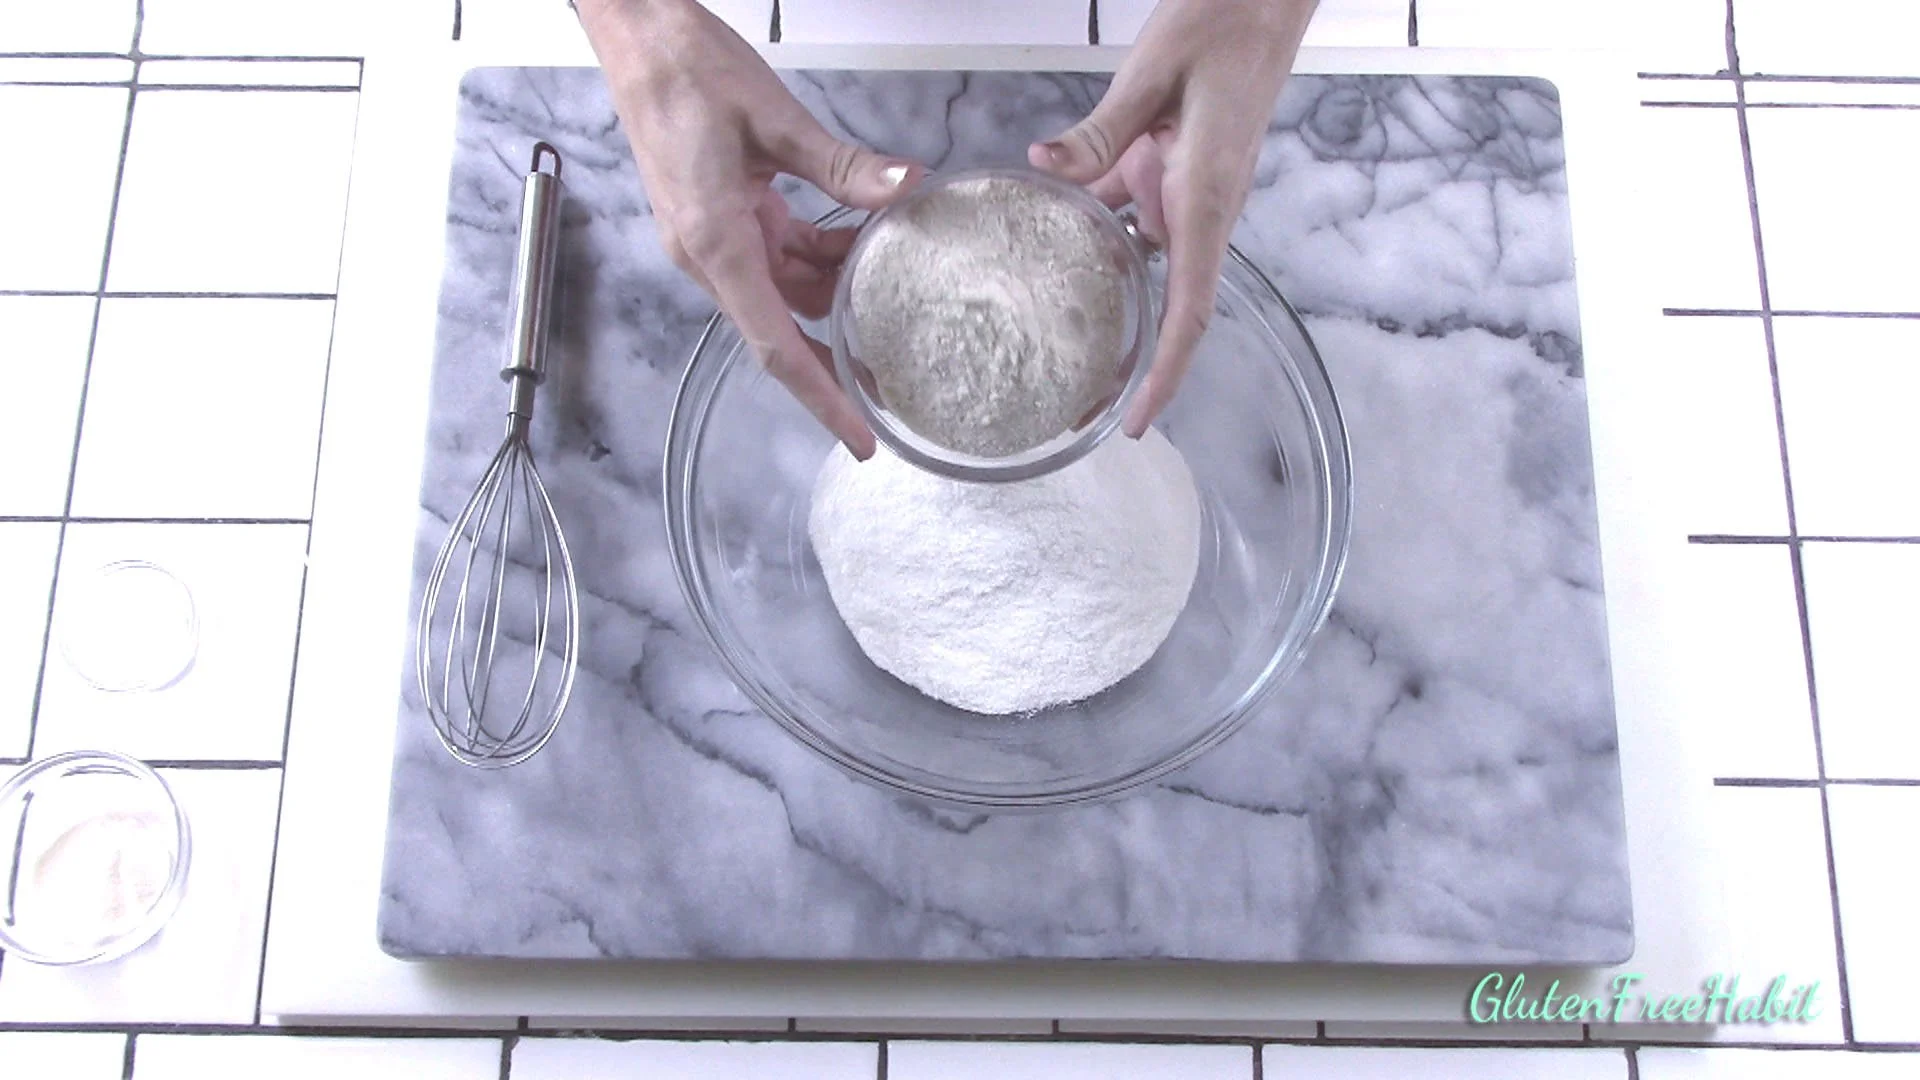
To a large mixing bowl, add white rice flour, brown rice flour, salt, xanthan gum, and sugar.
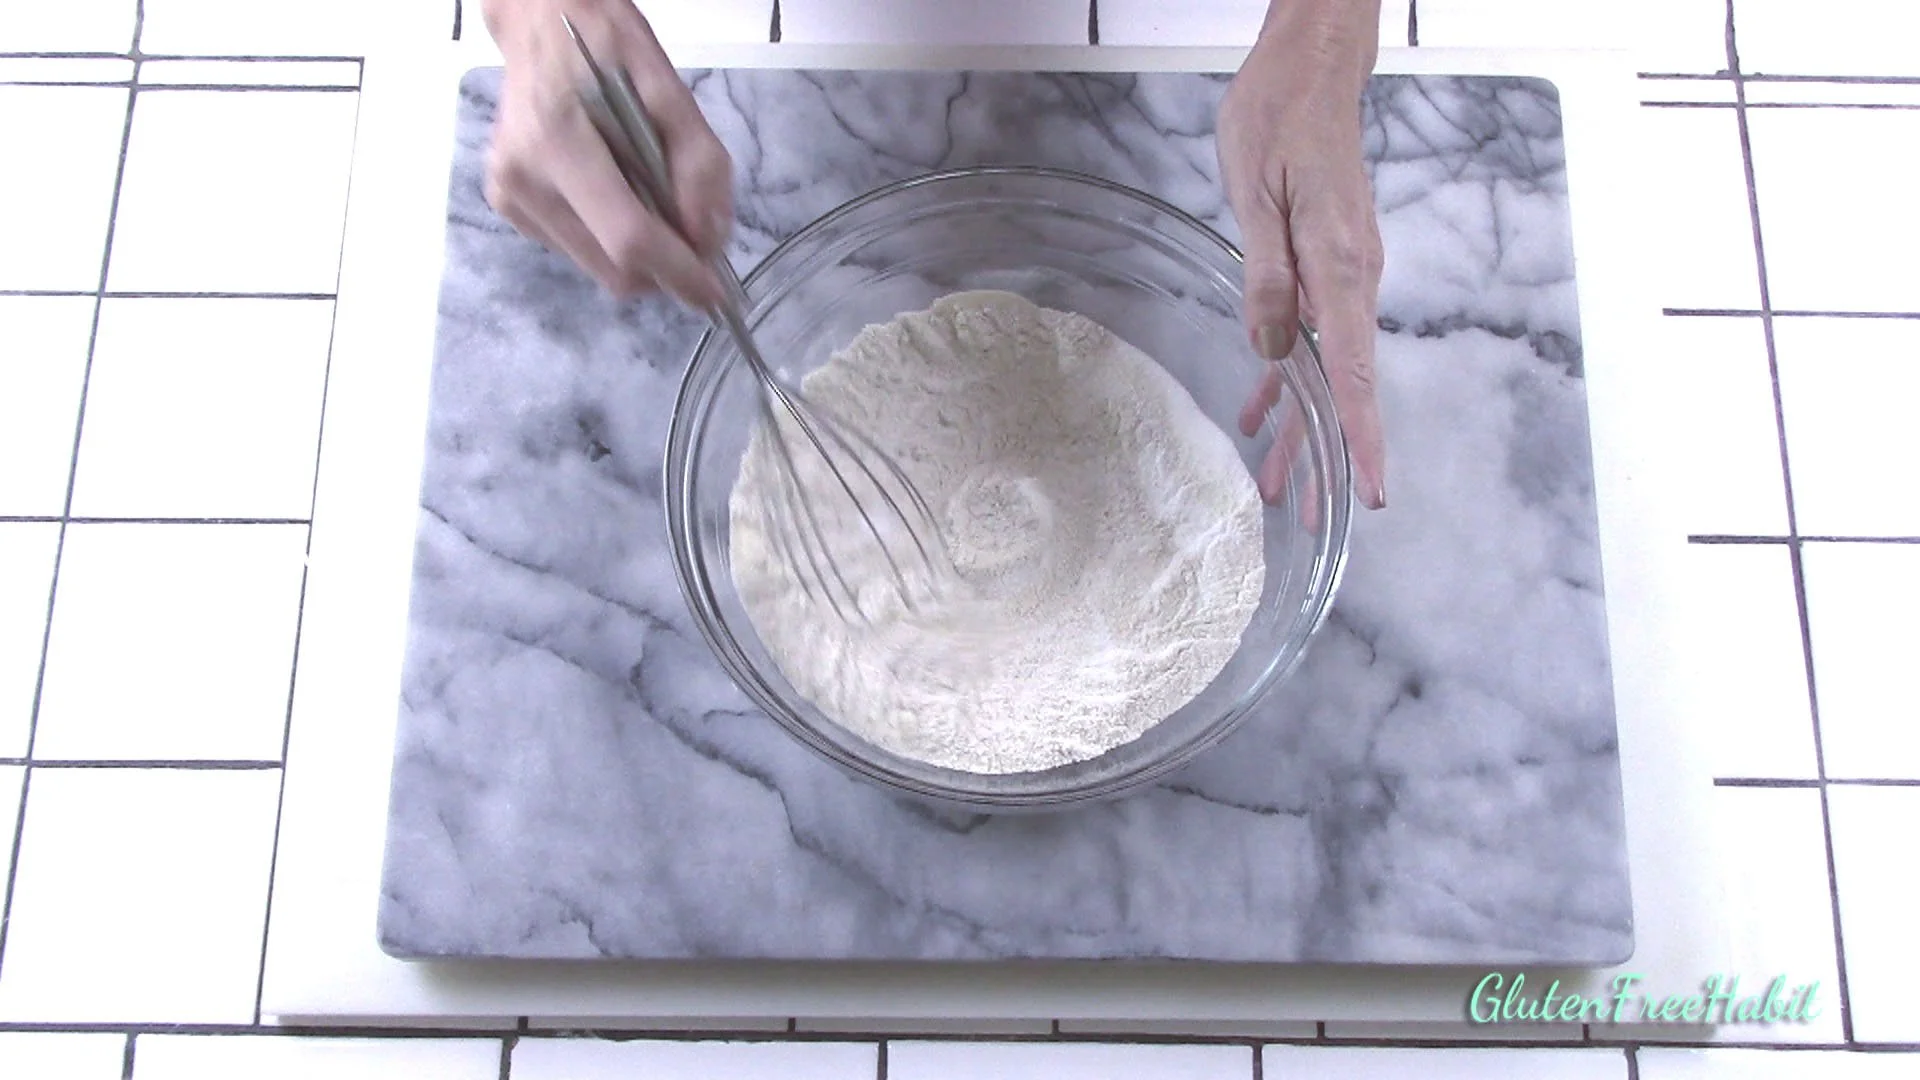
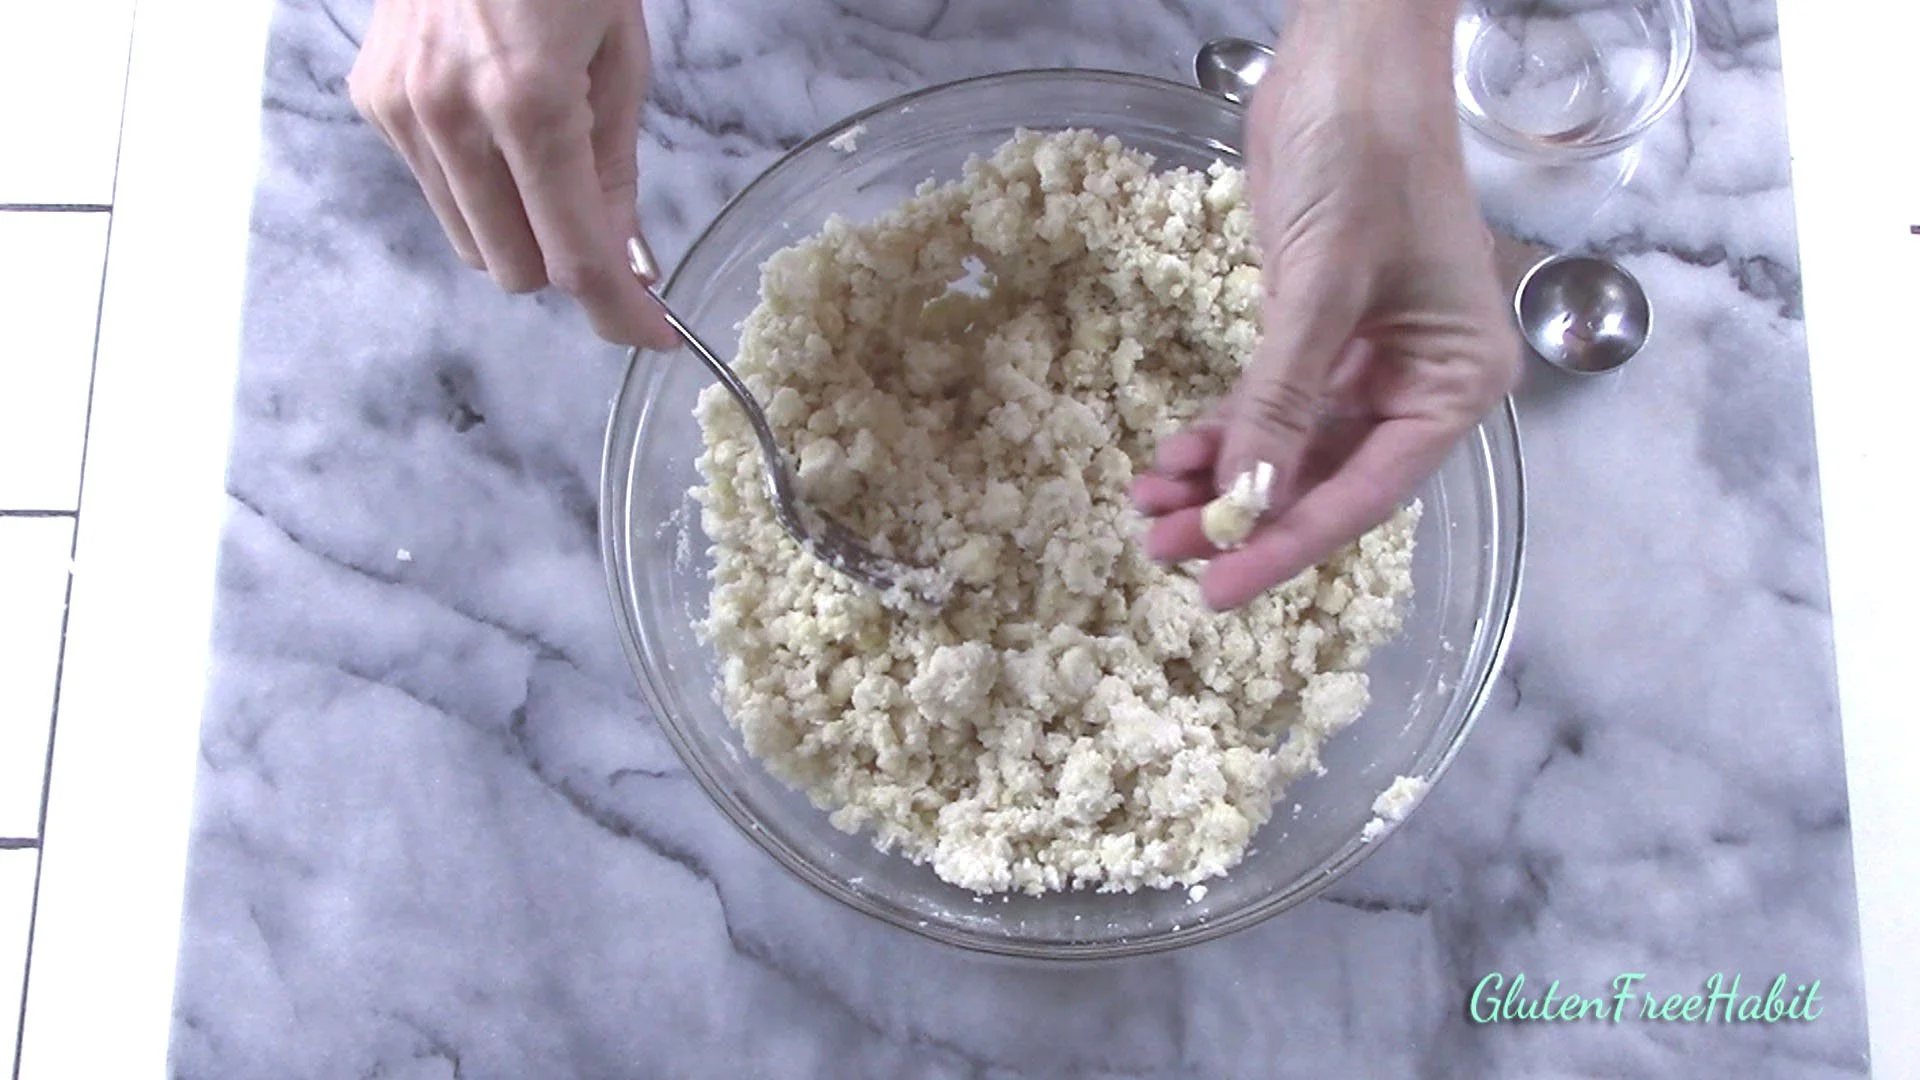
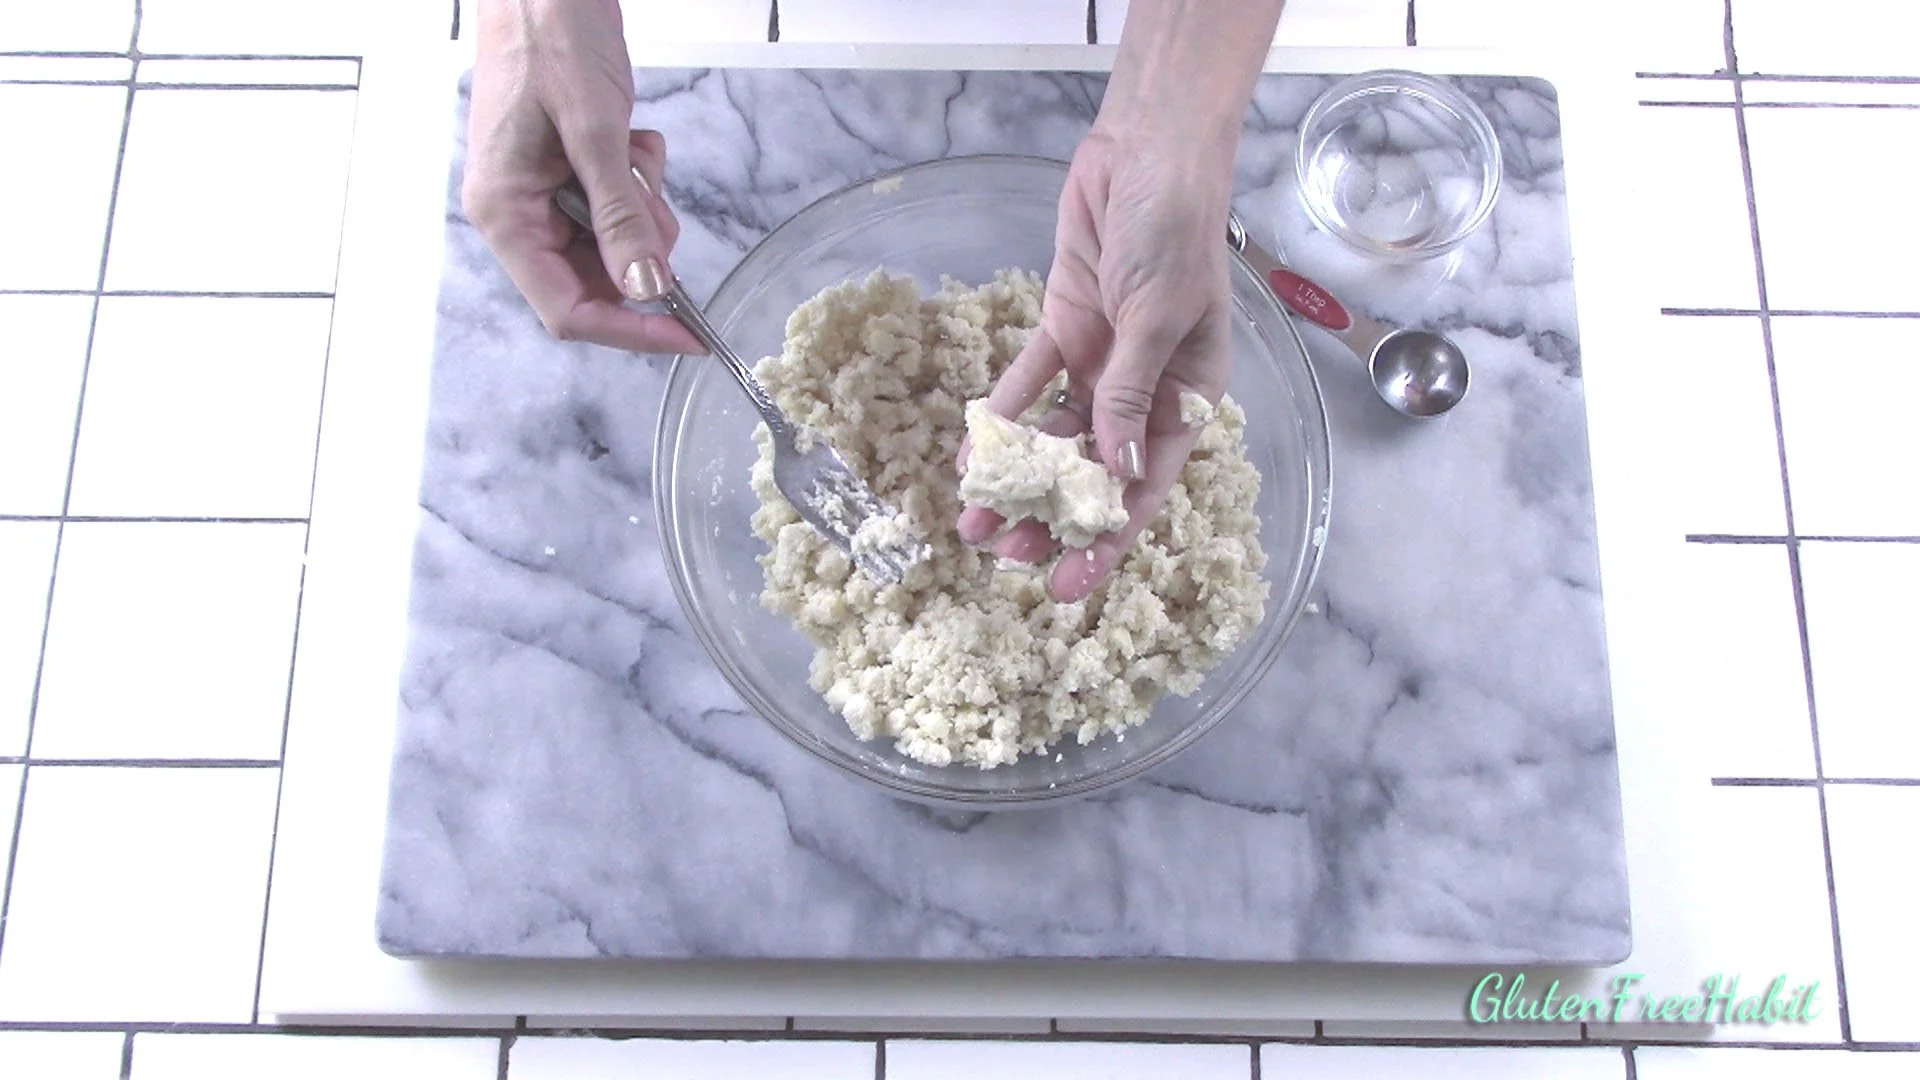
11
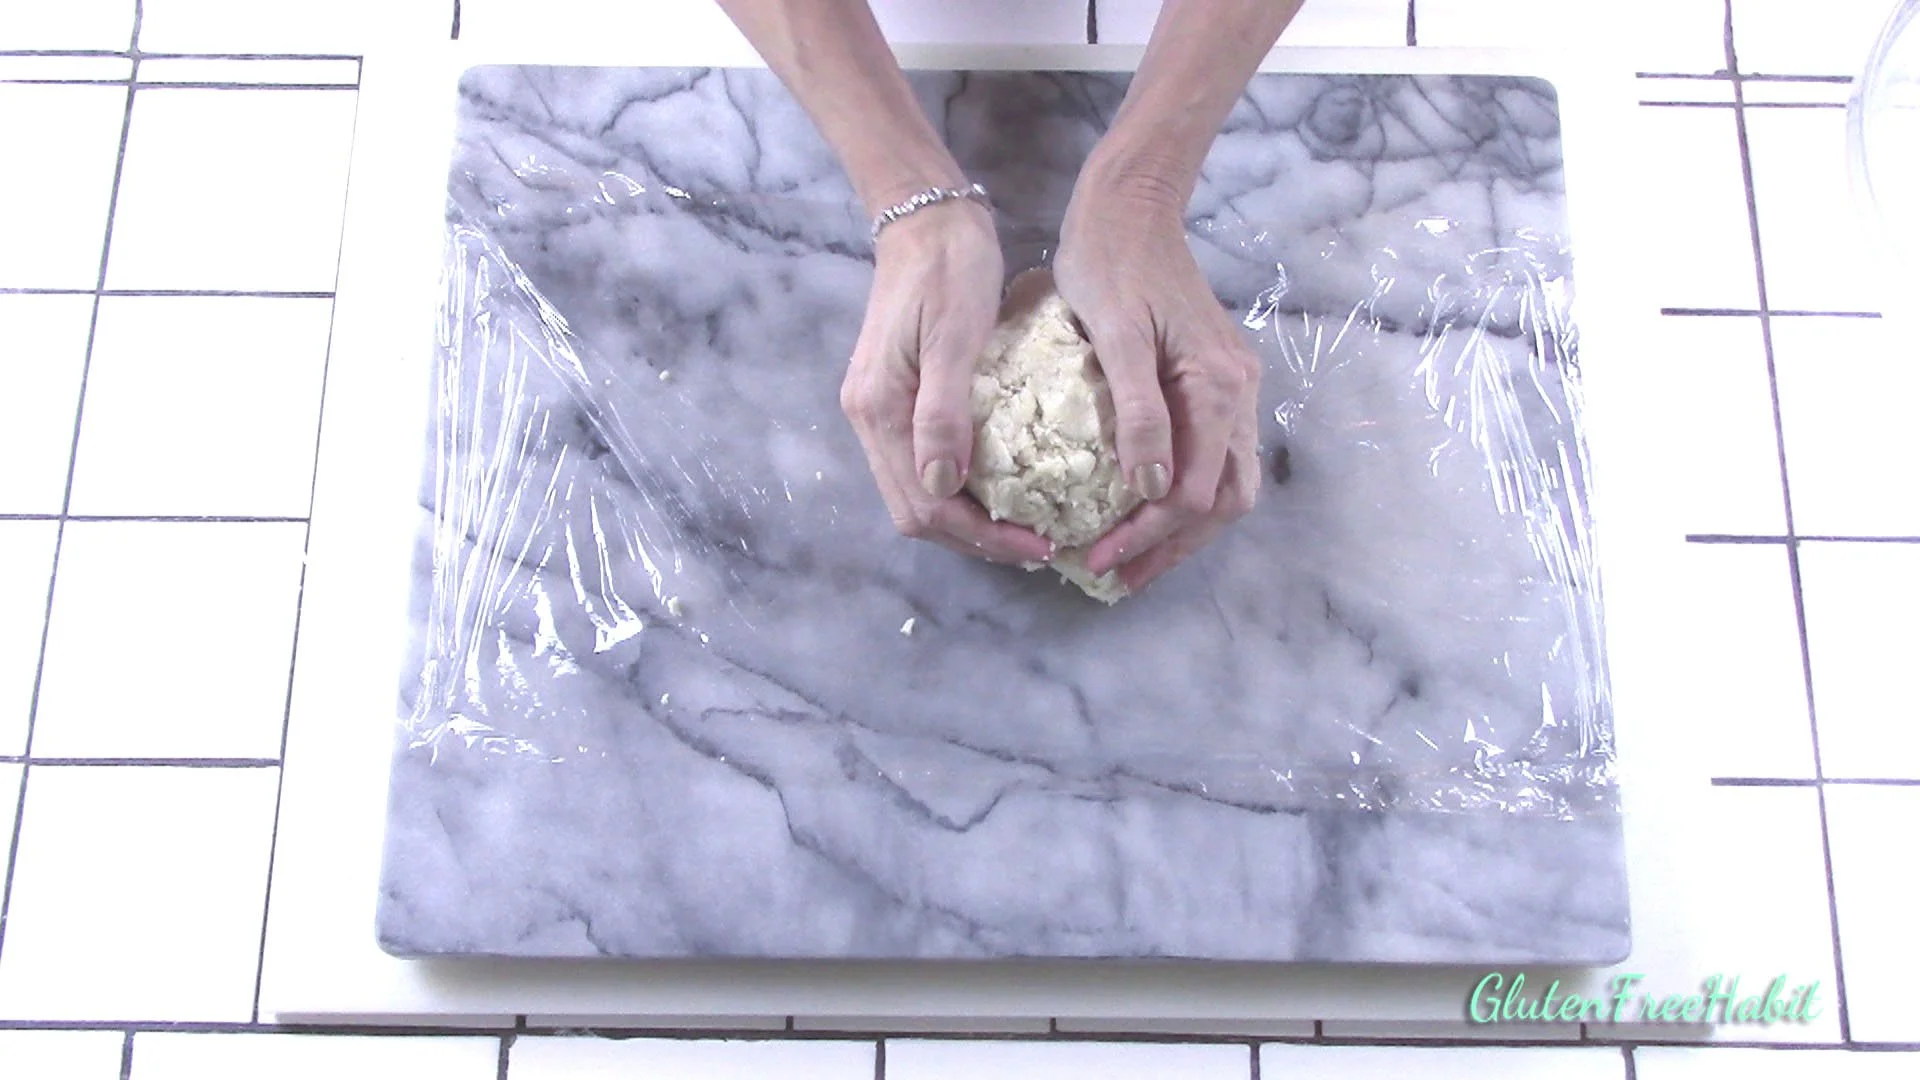
Whisk well.
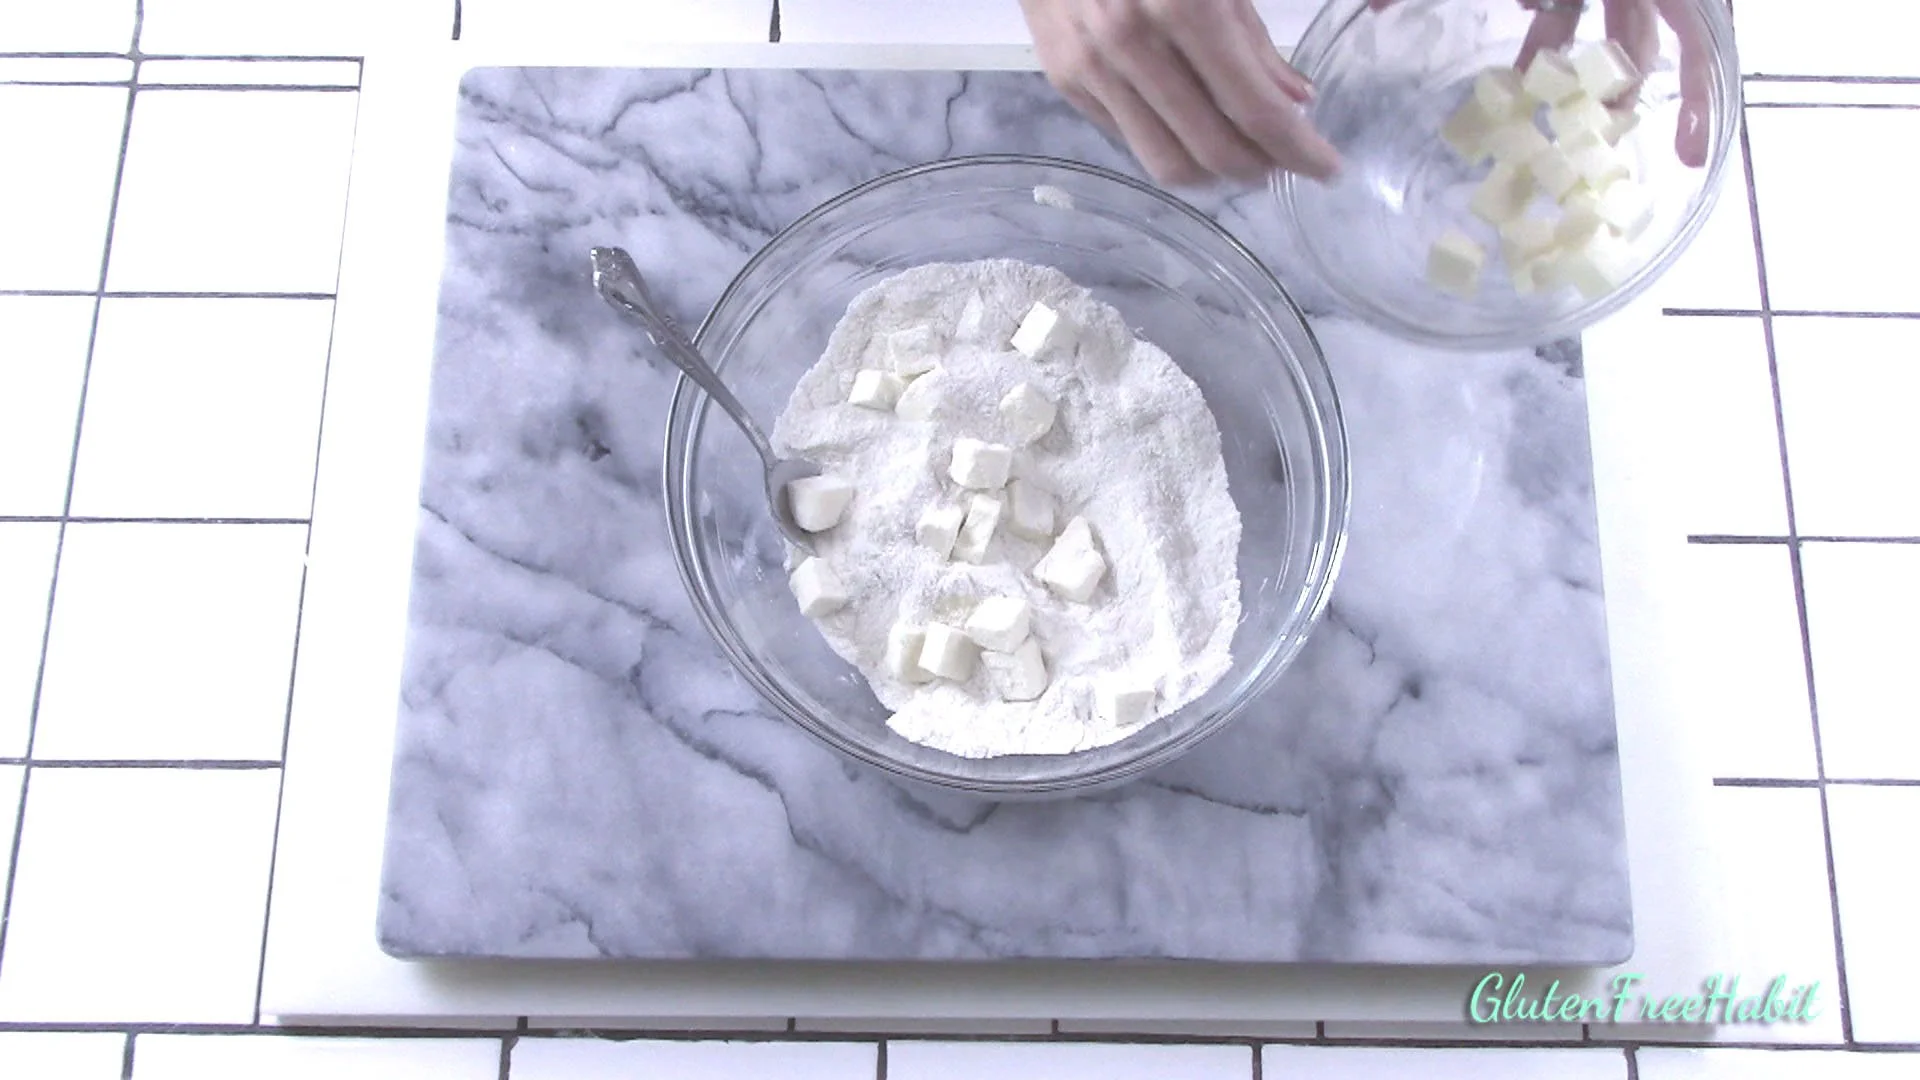
12
Add in butter, separating cubes, and dispersing throughout flour mixture.
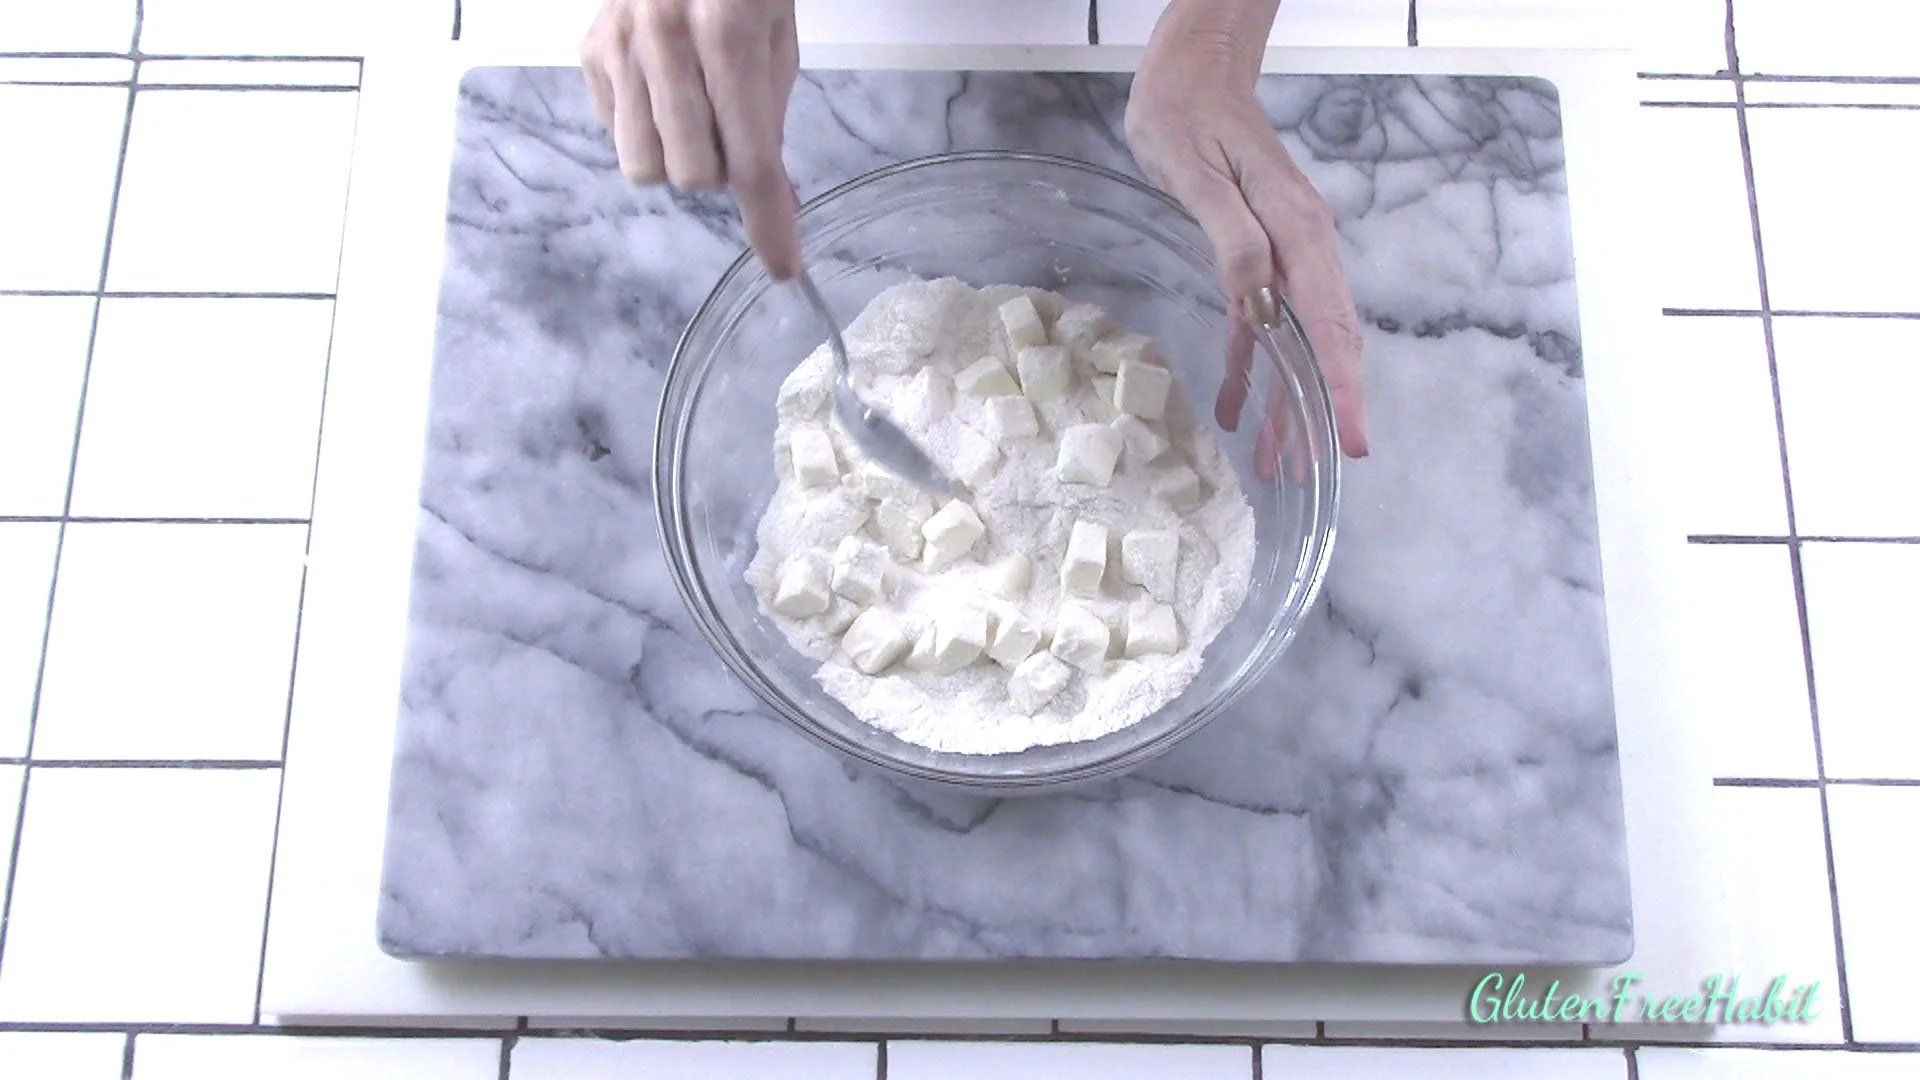
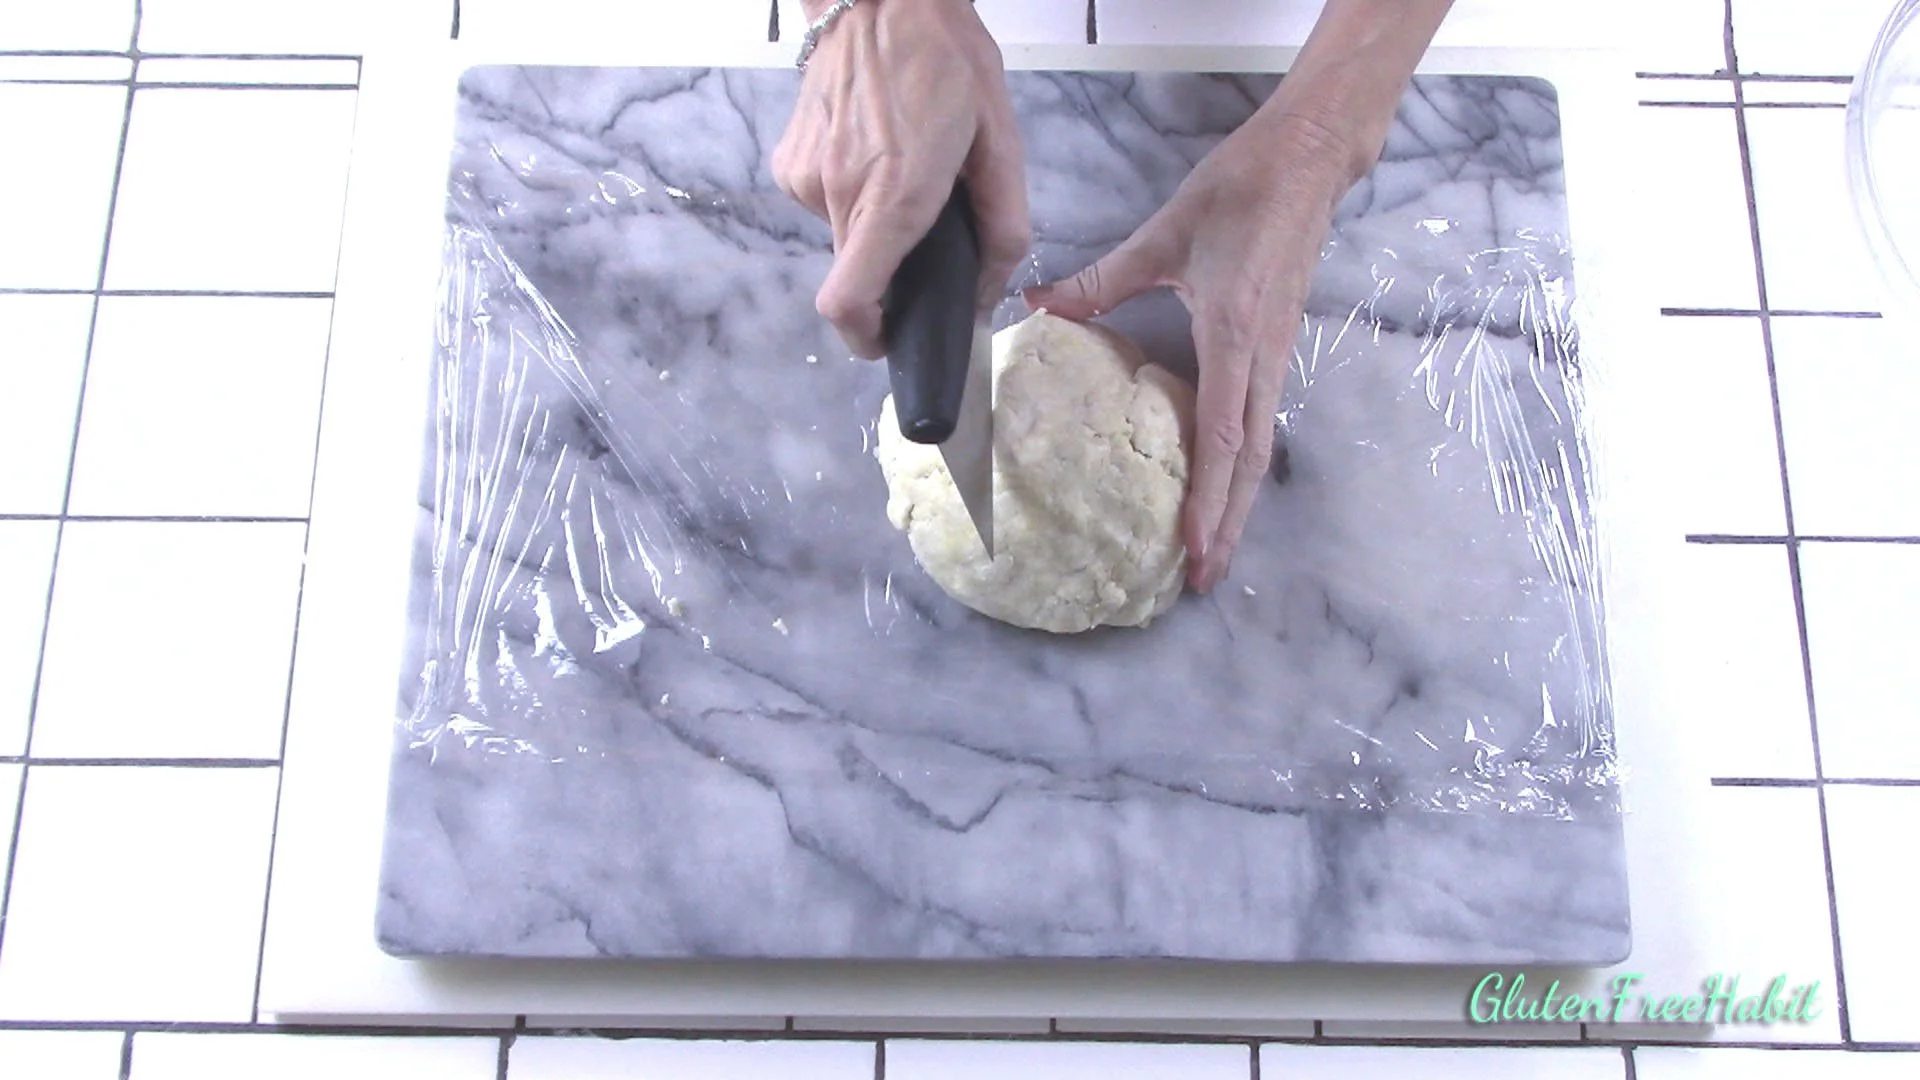
13
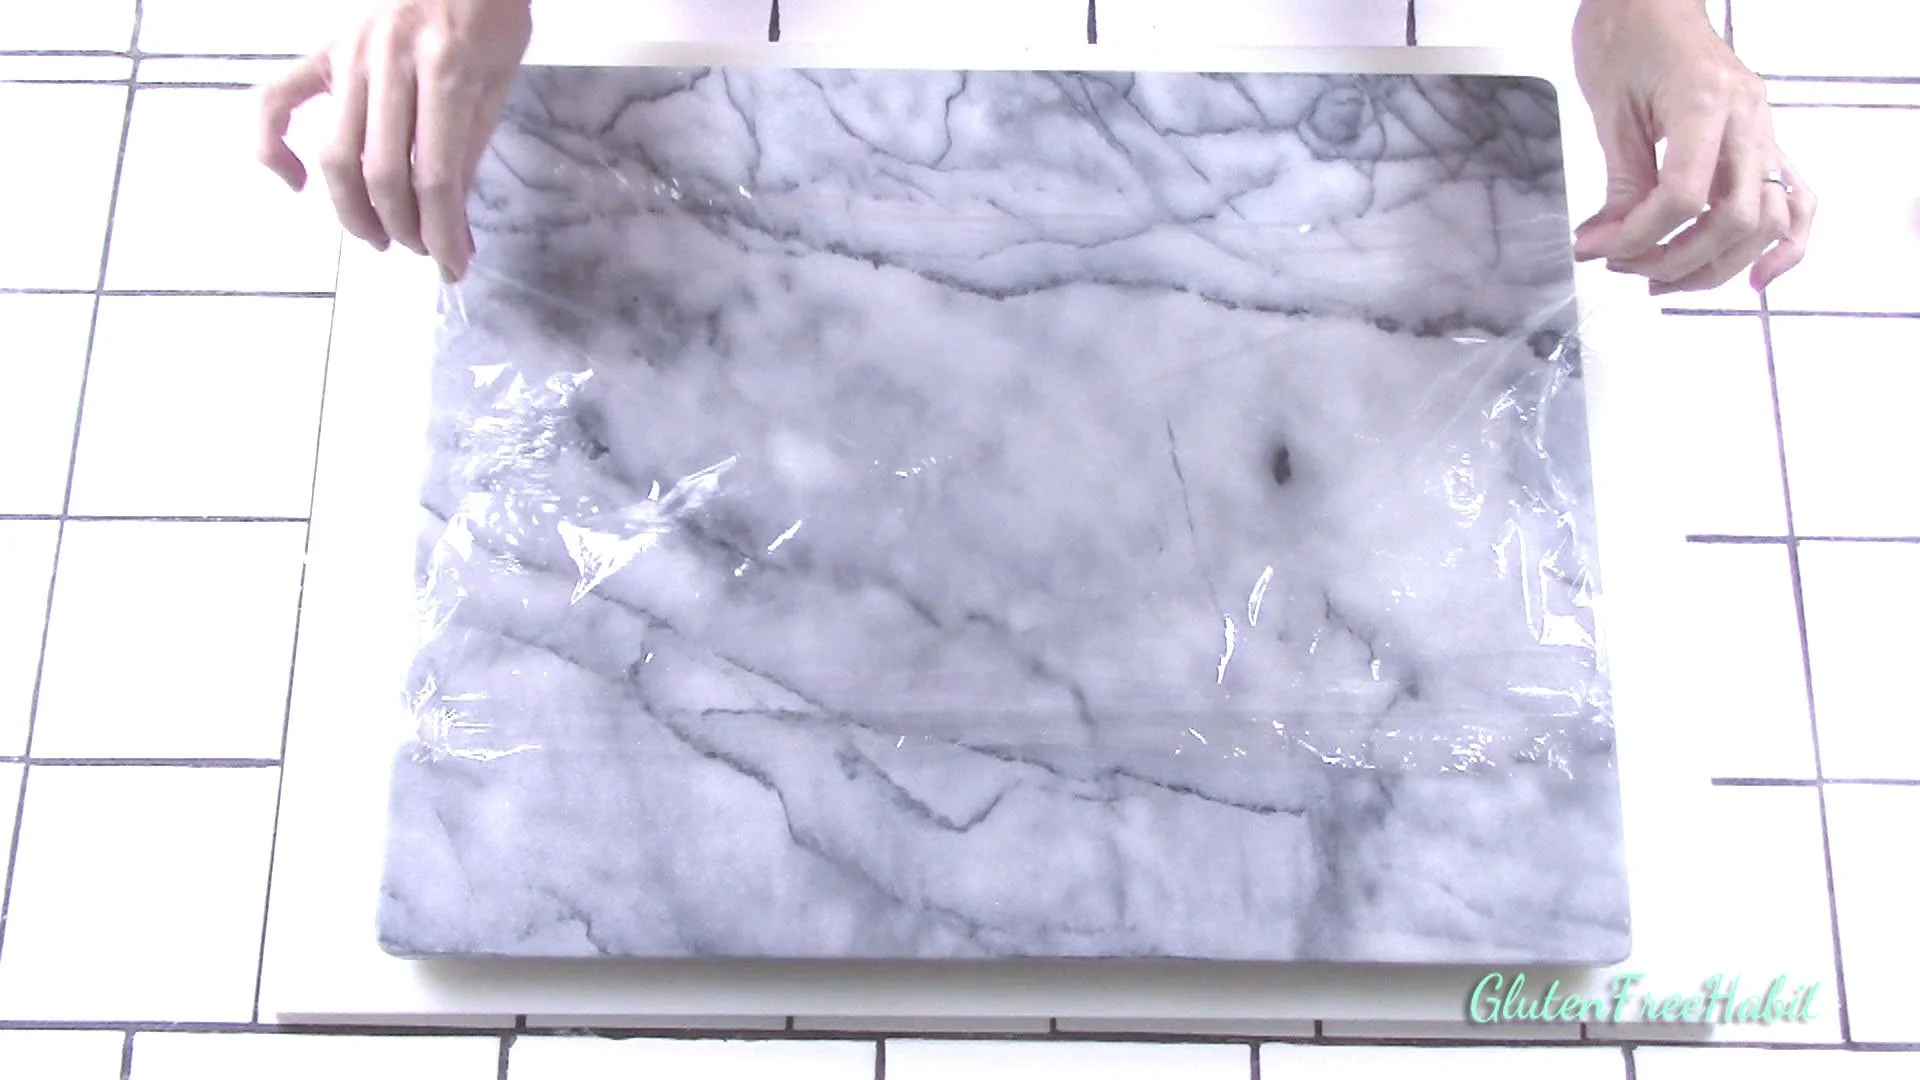
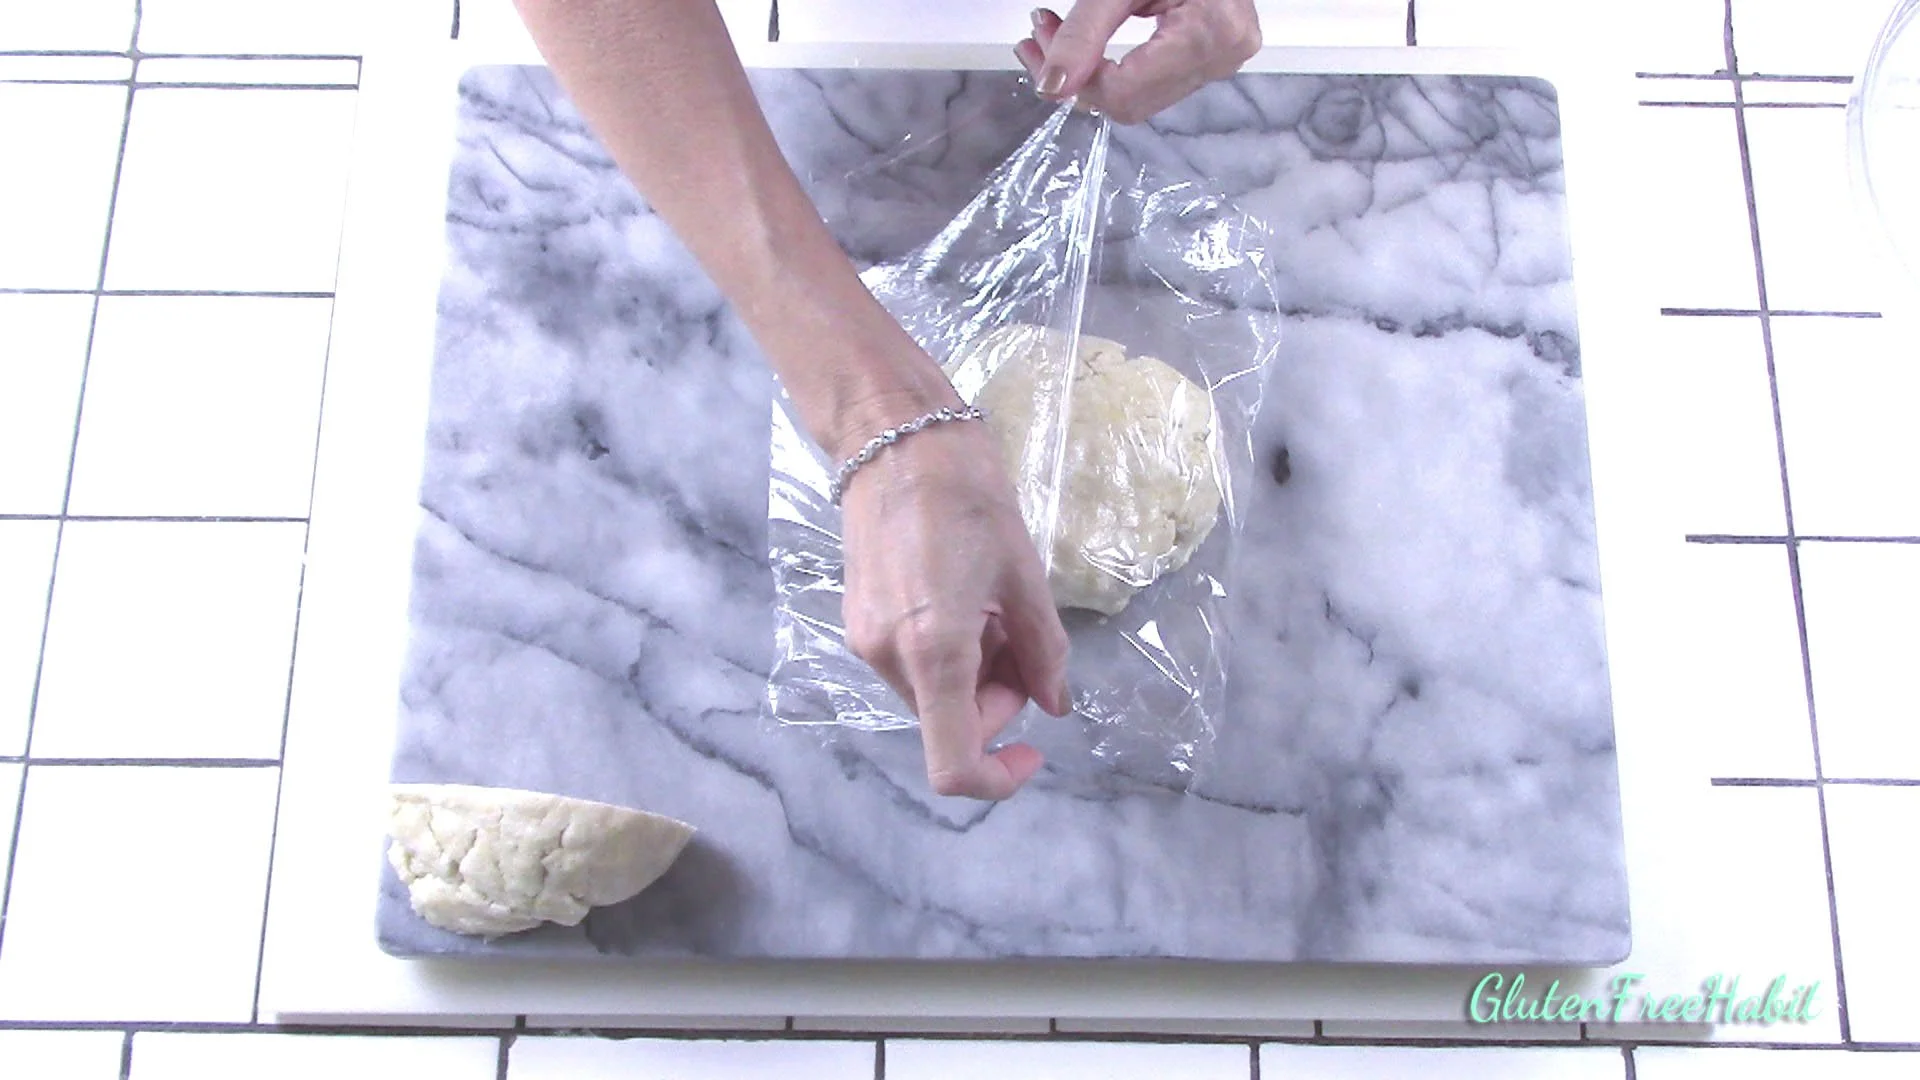
Stir to coat butter cubes with flour.
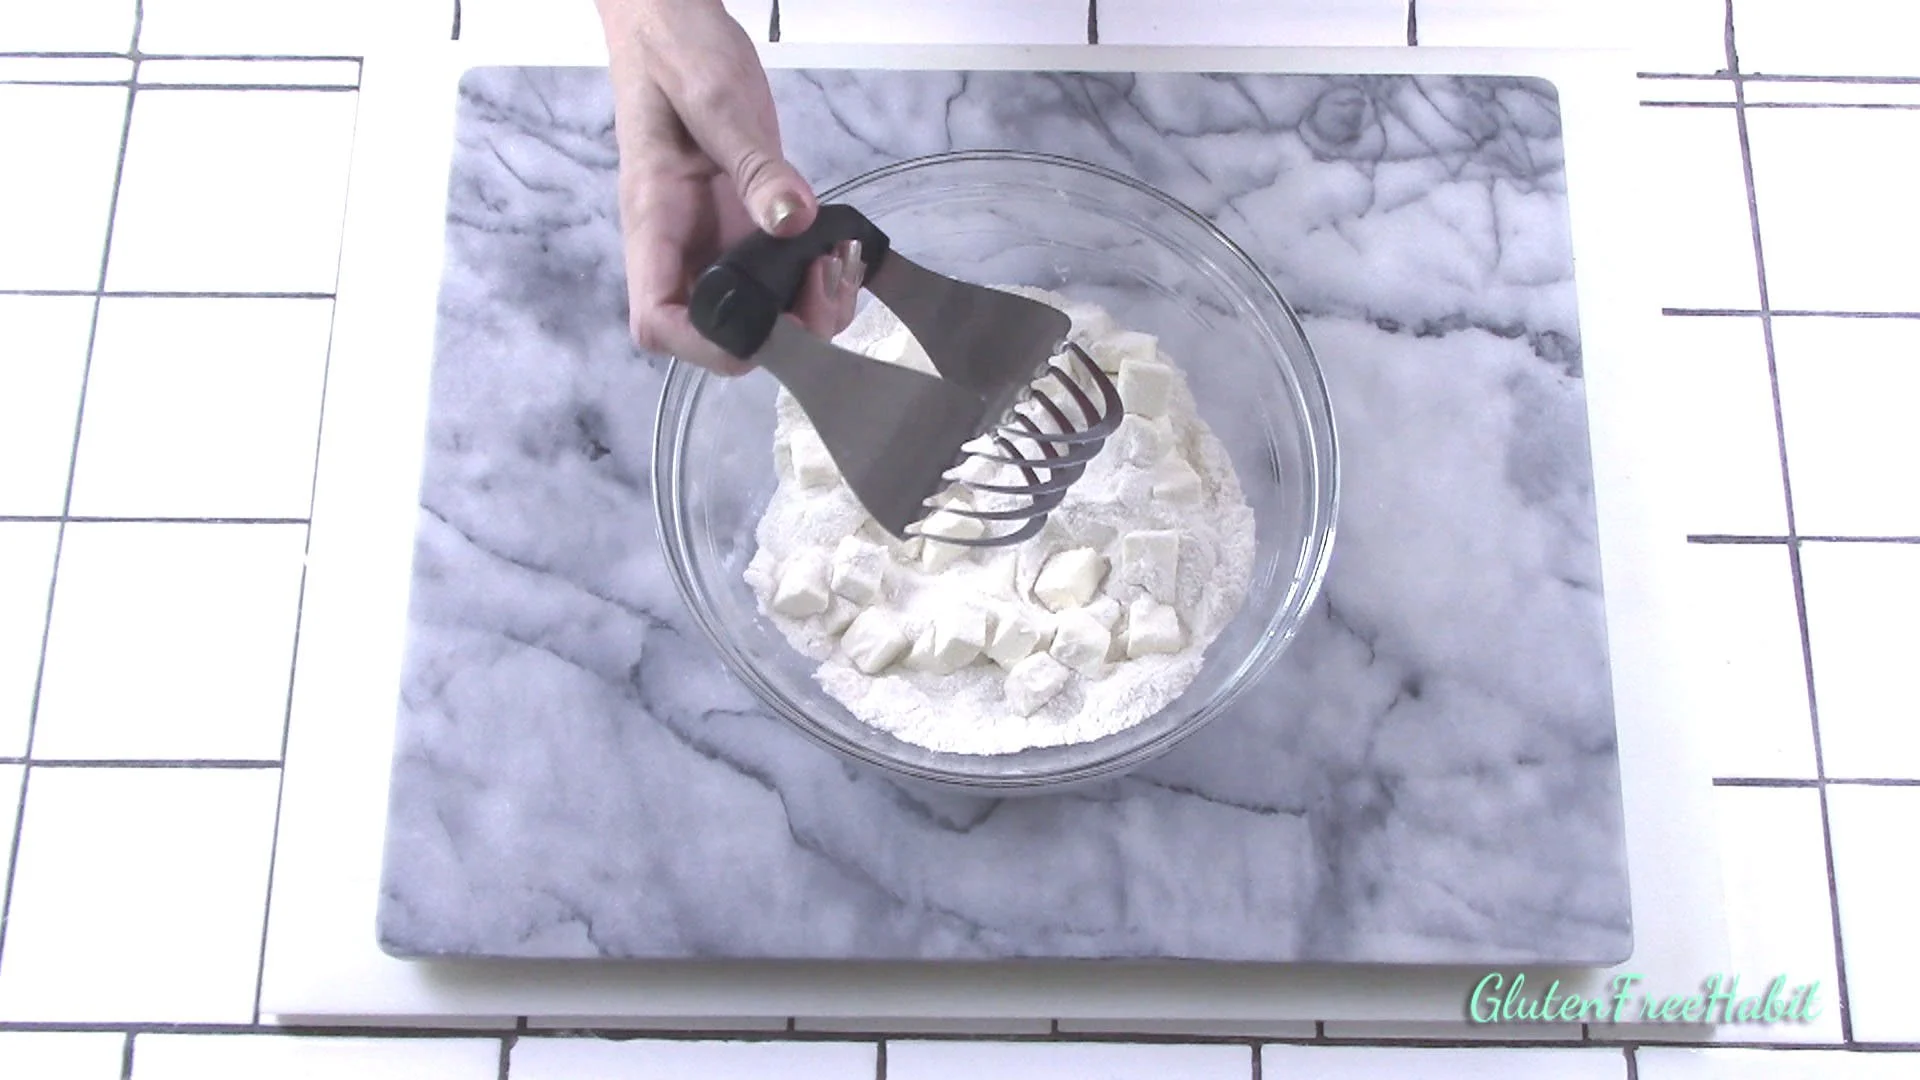
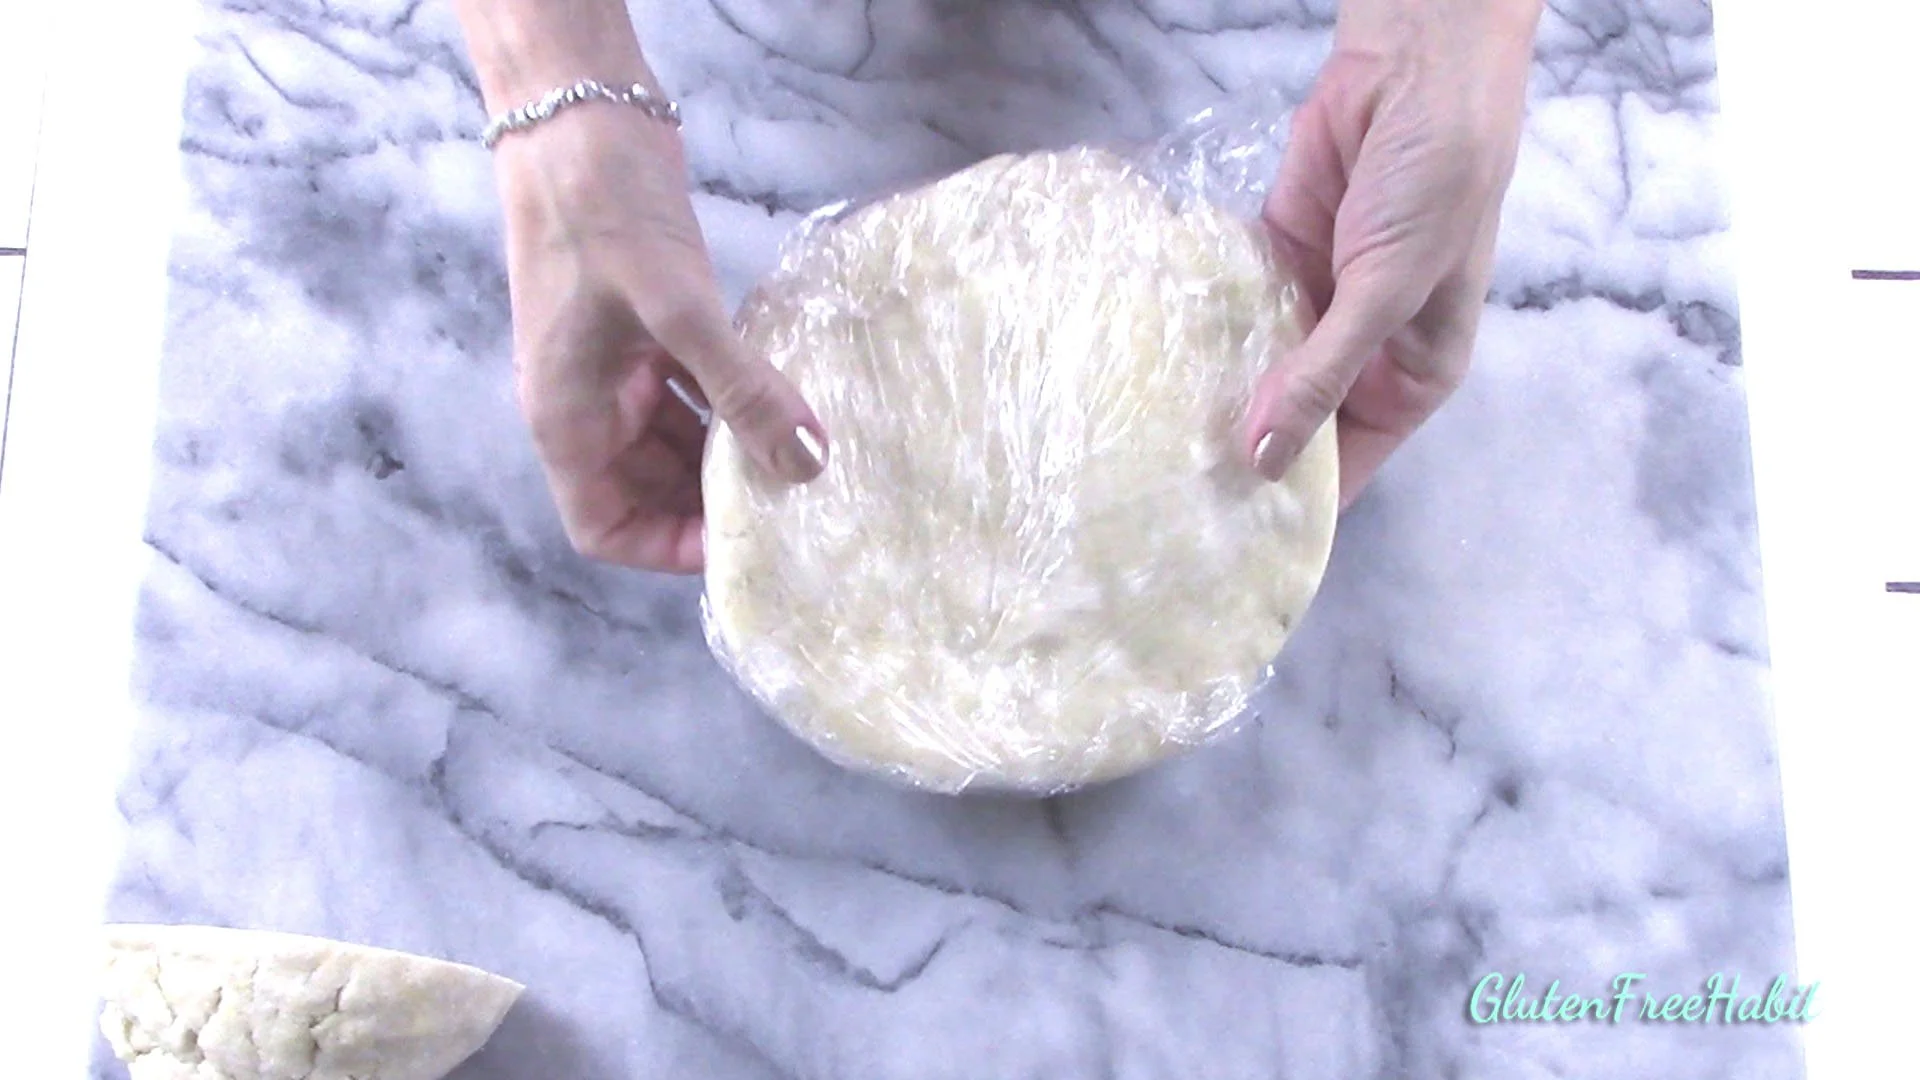
14
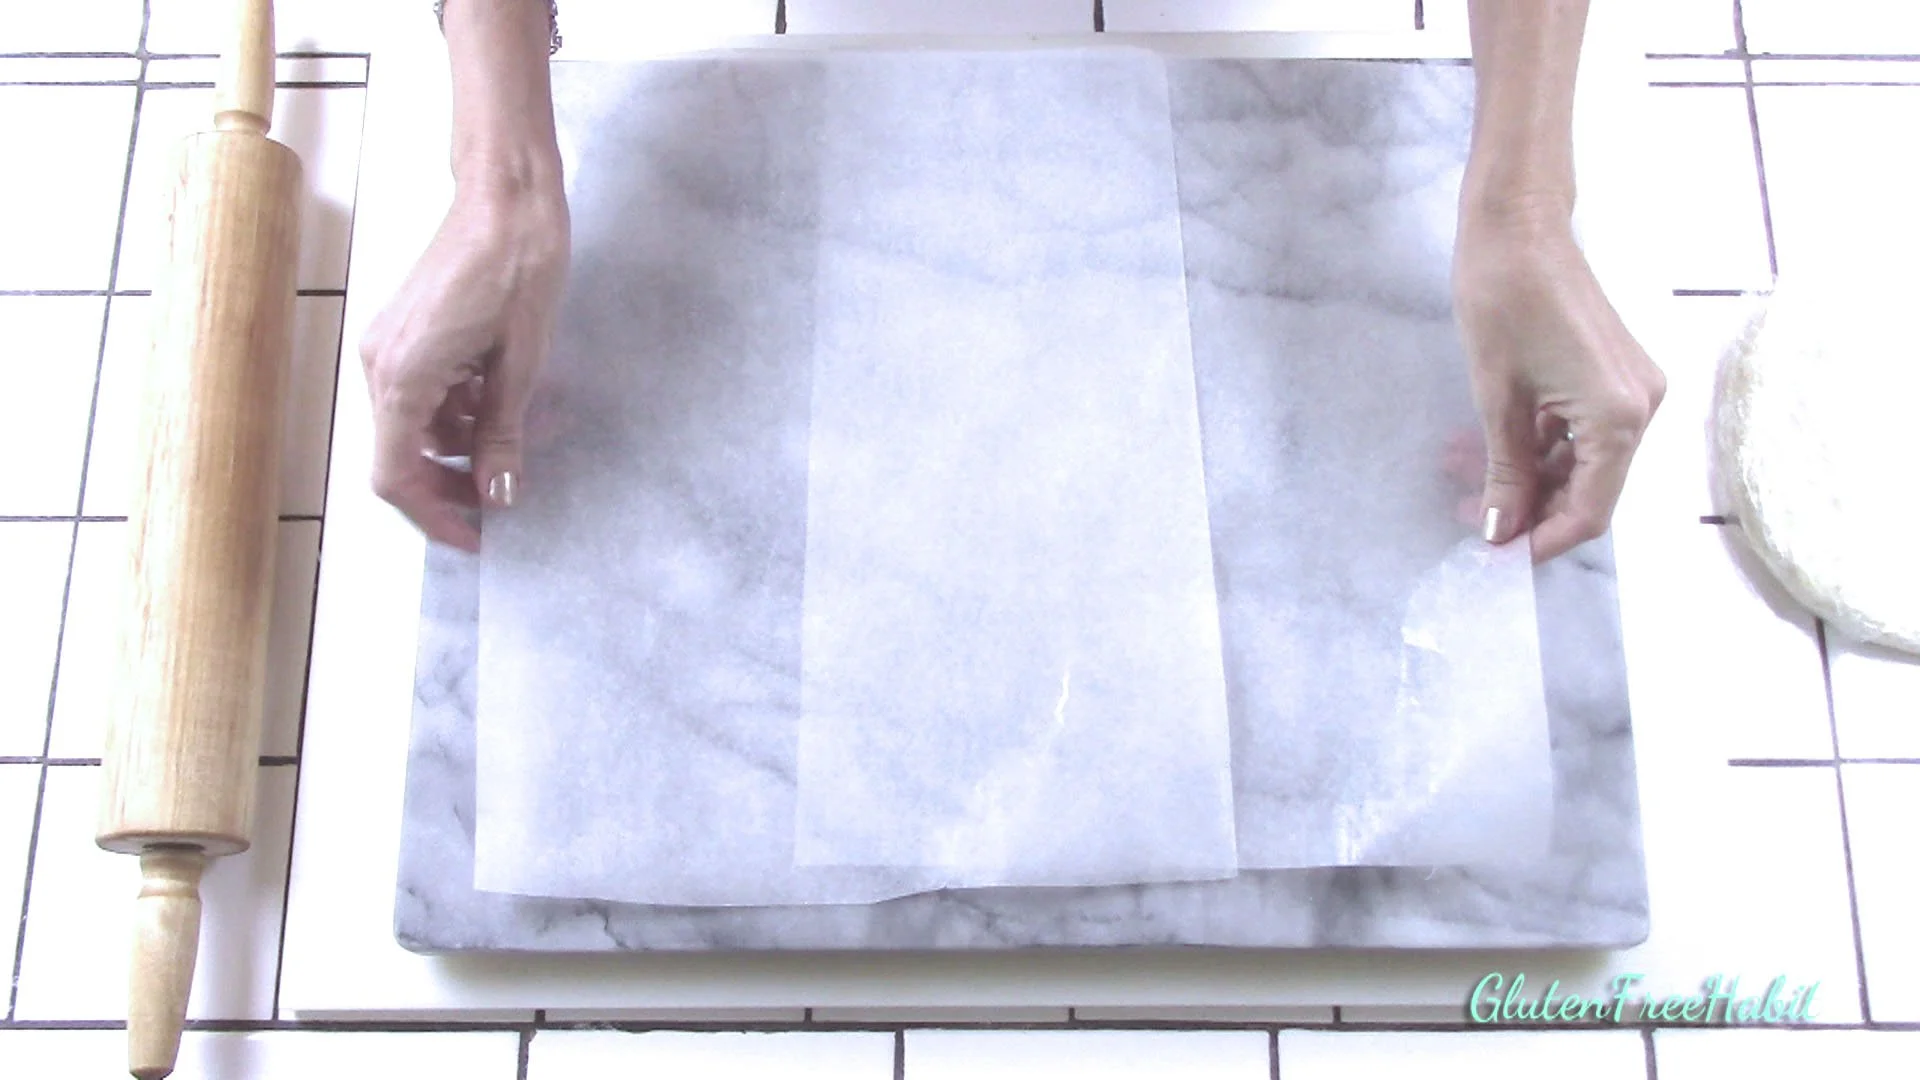
Using pastry cutter, cut in the butter until it is evenly distributed, and pieces are pea-sized.
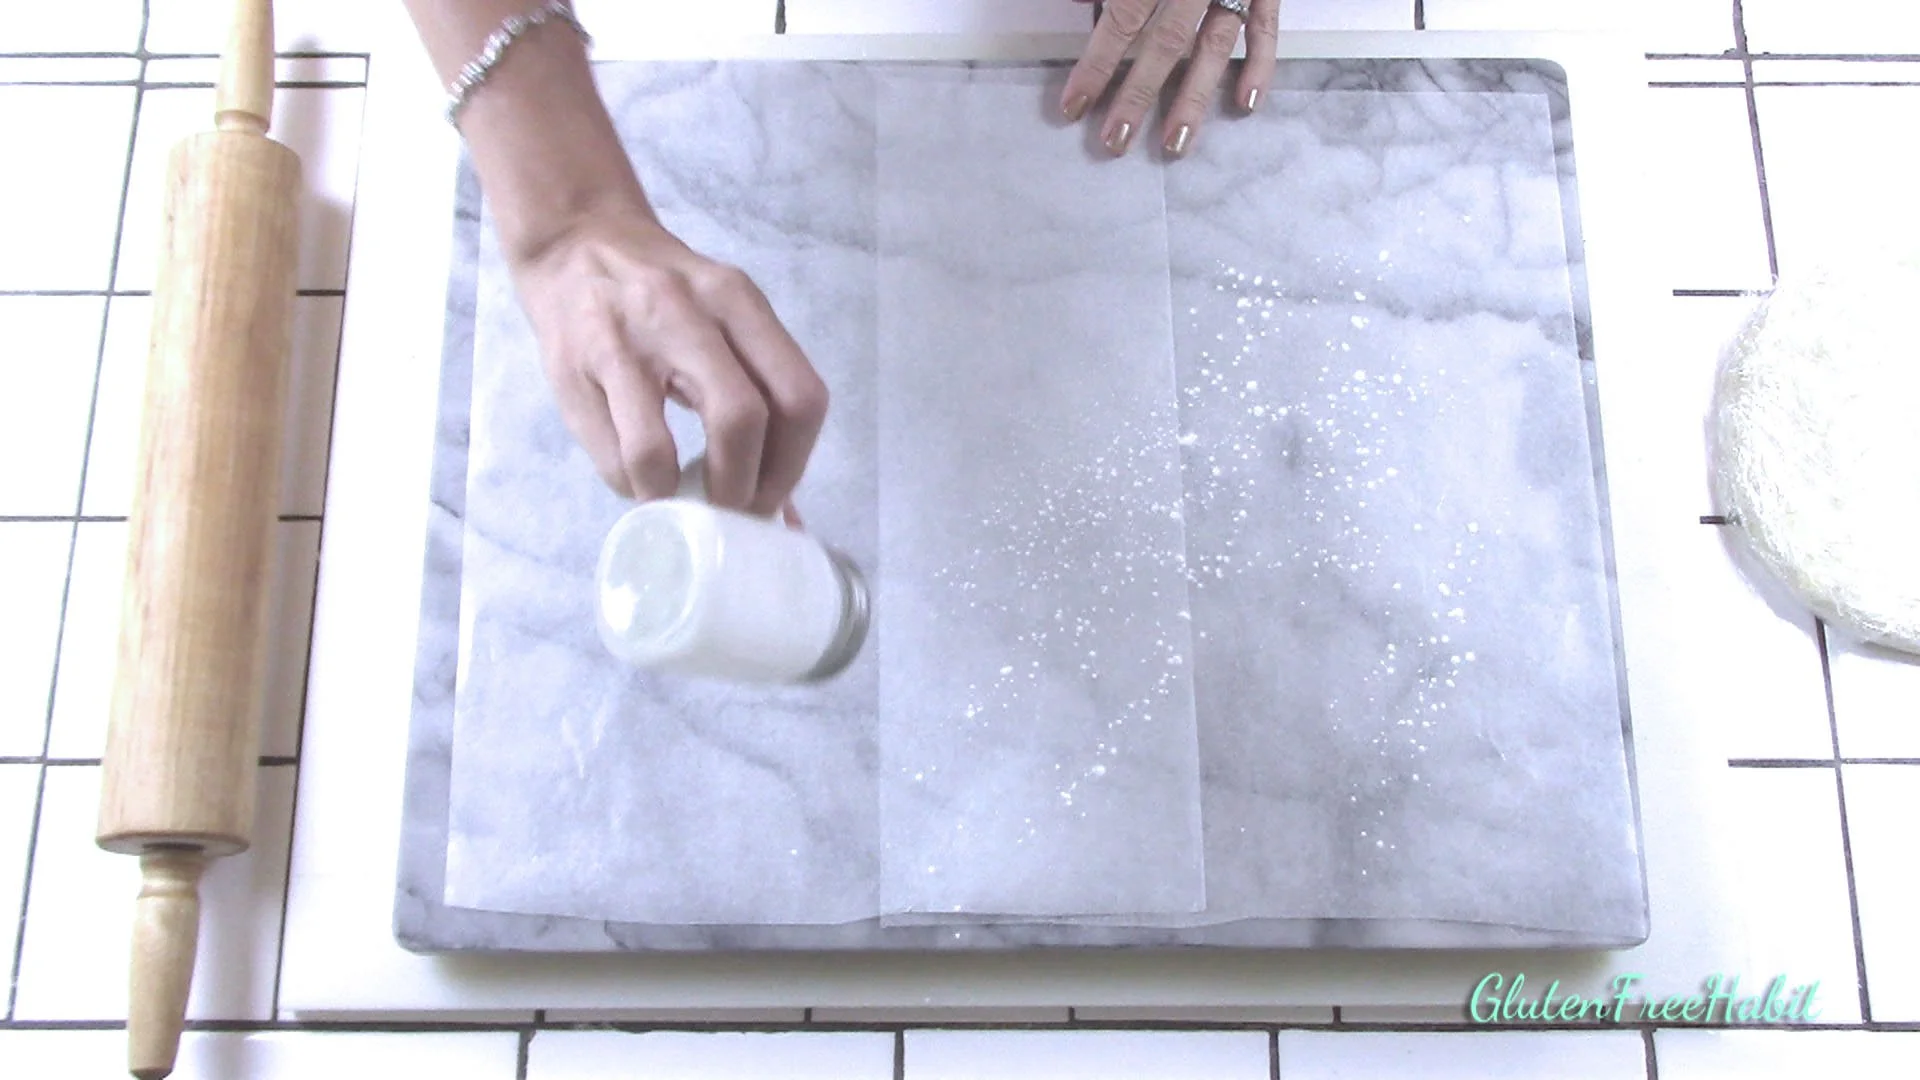
15
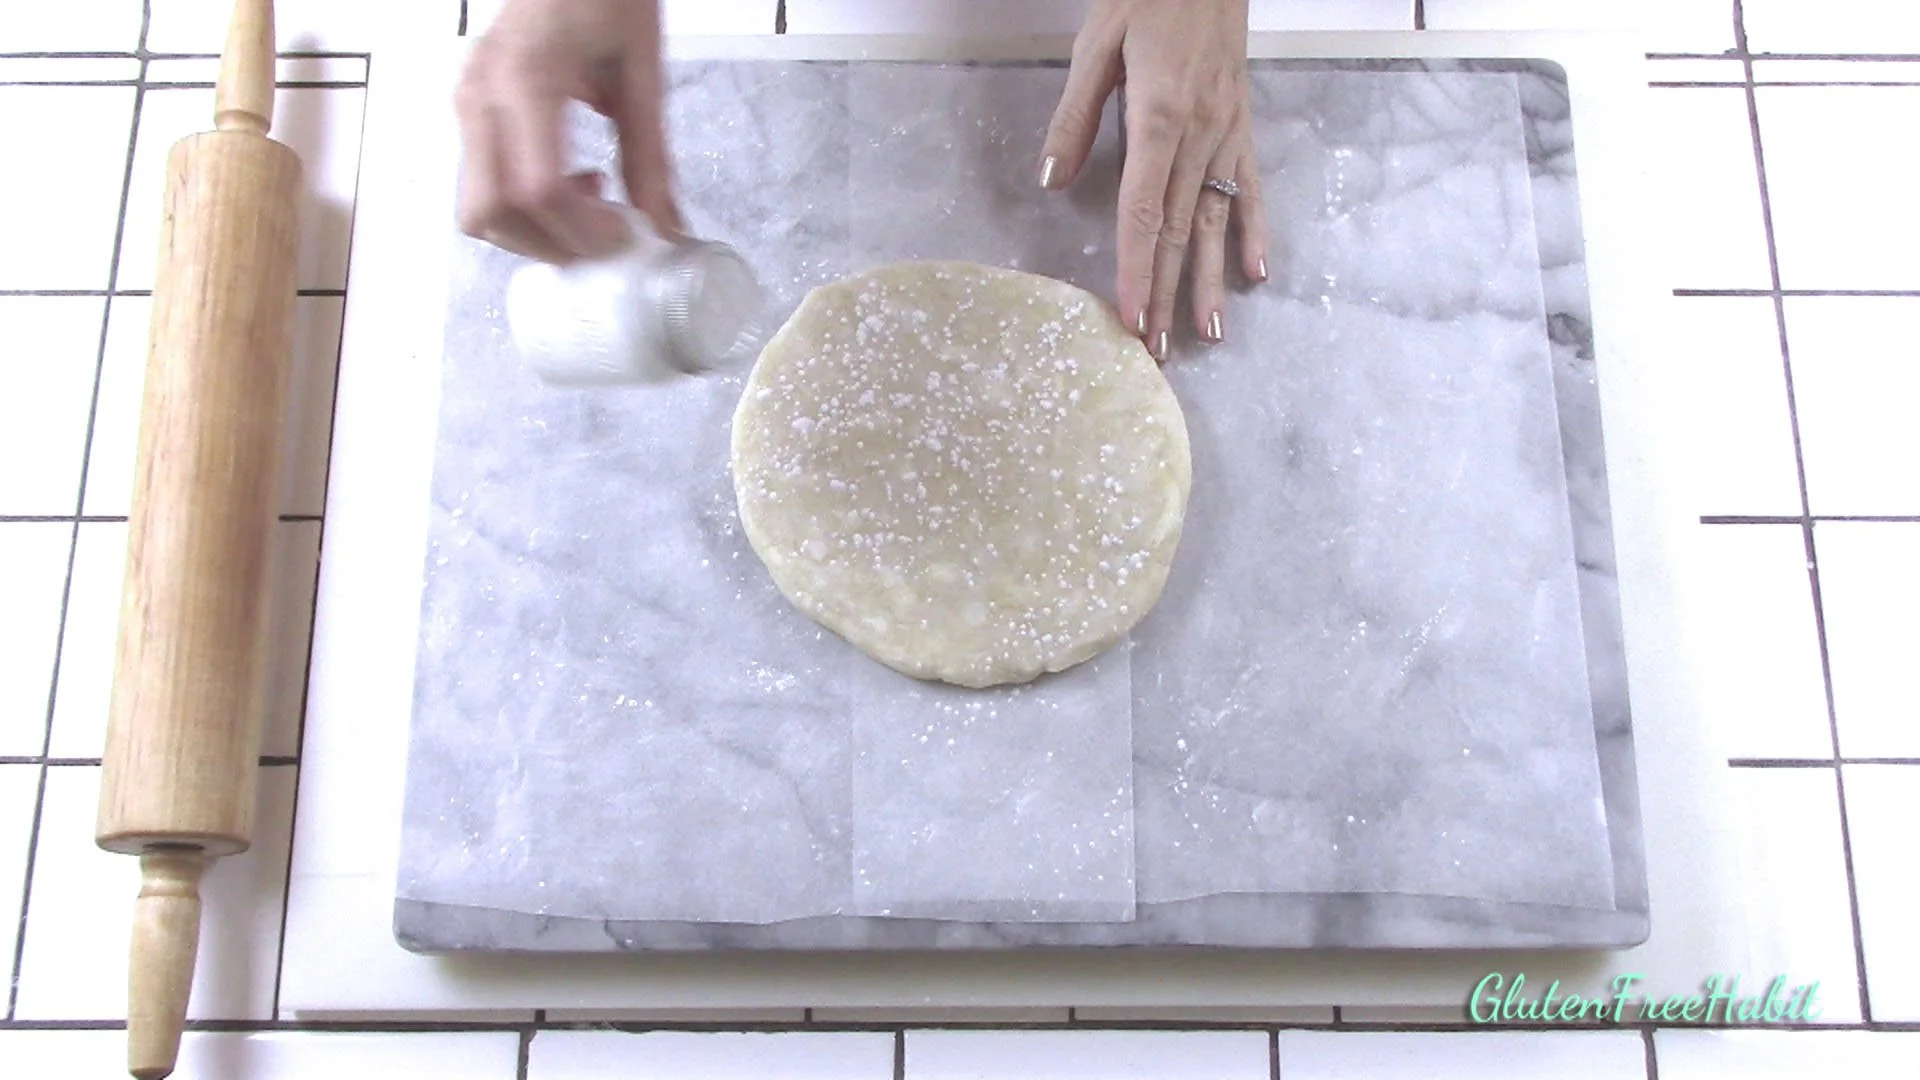
Clear butter from pastry cutter as needed.
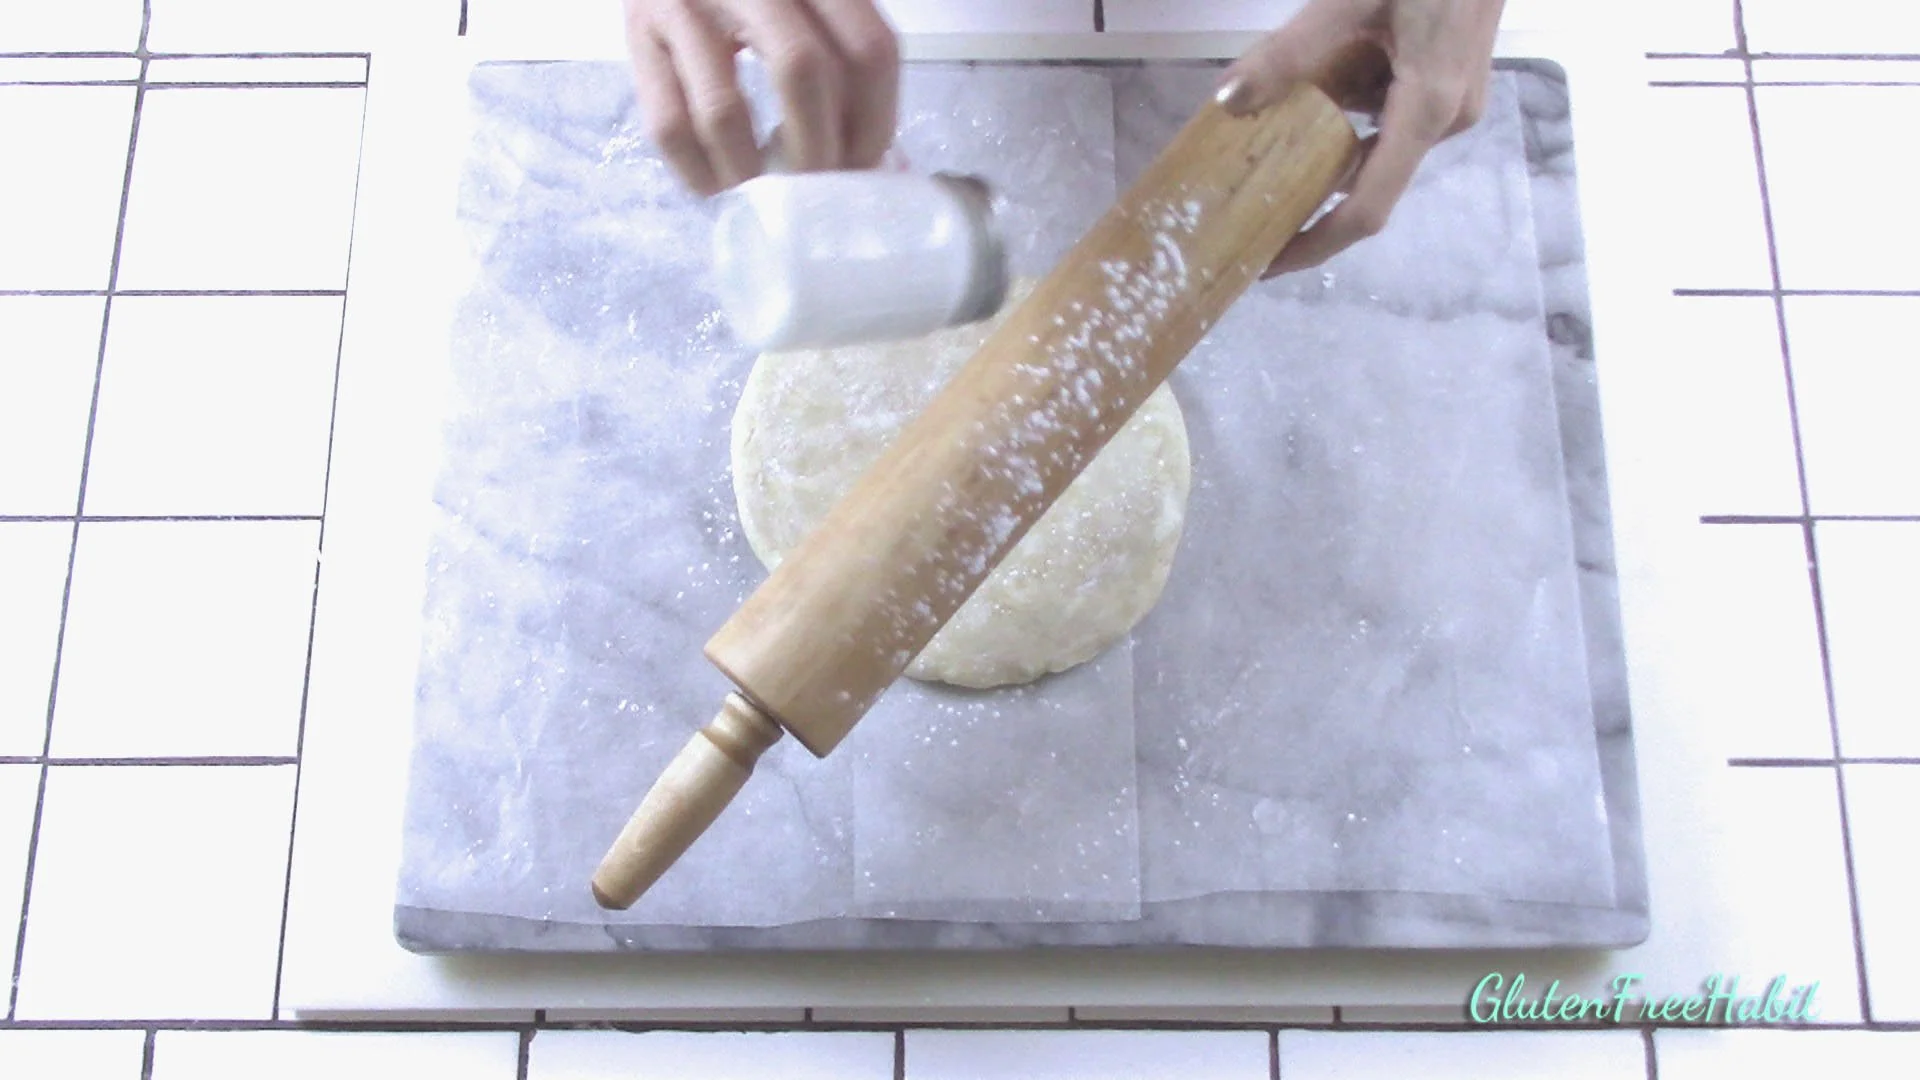
16
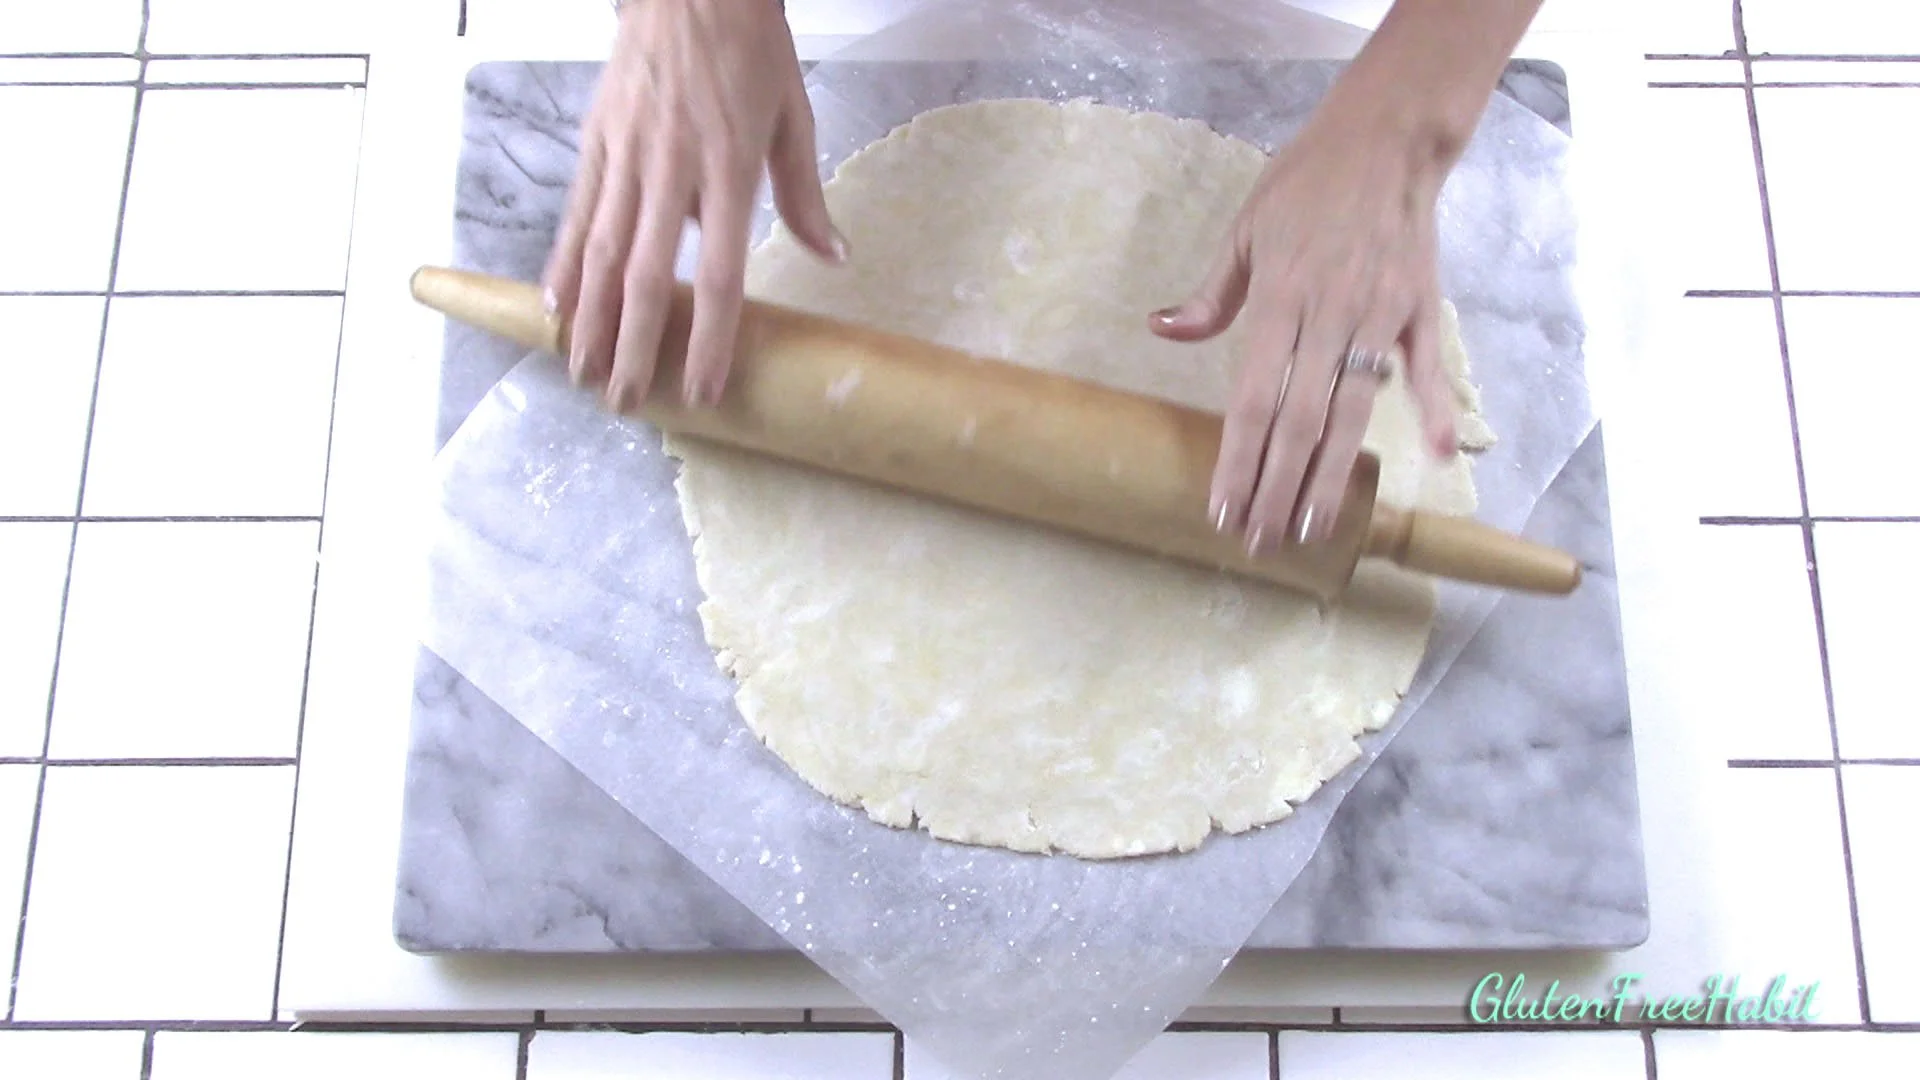
These pieces are still too large.
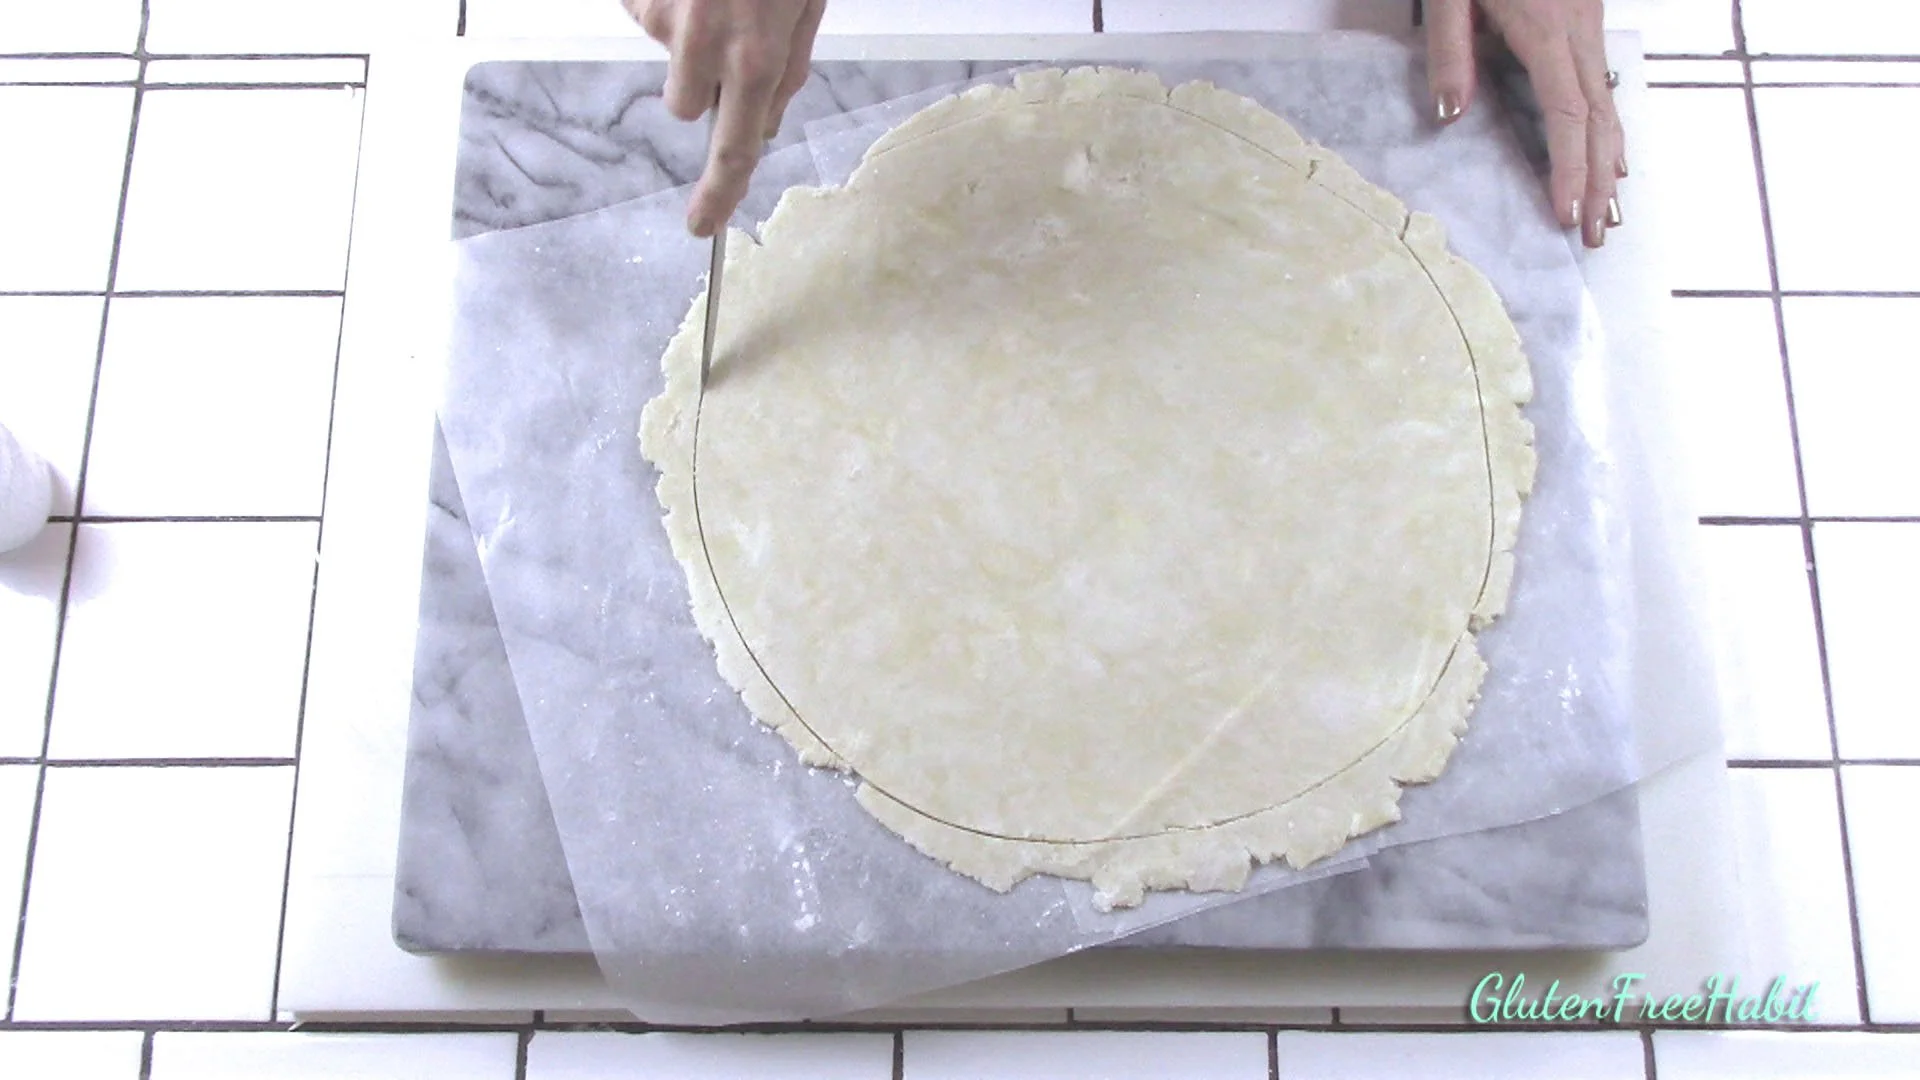
17
Continue to cut butter into smaller pieces.
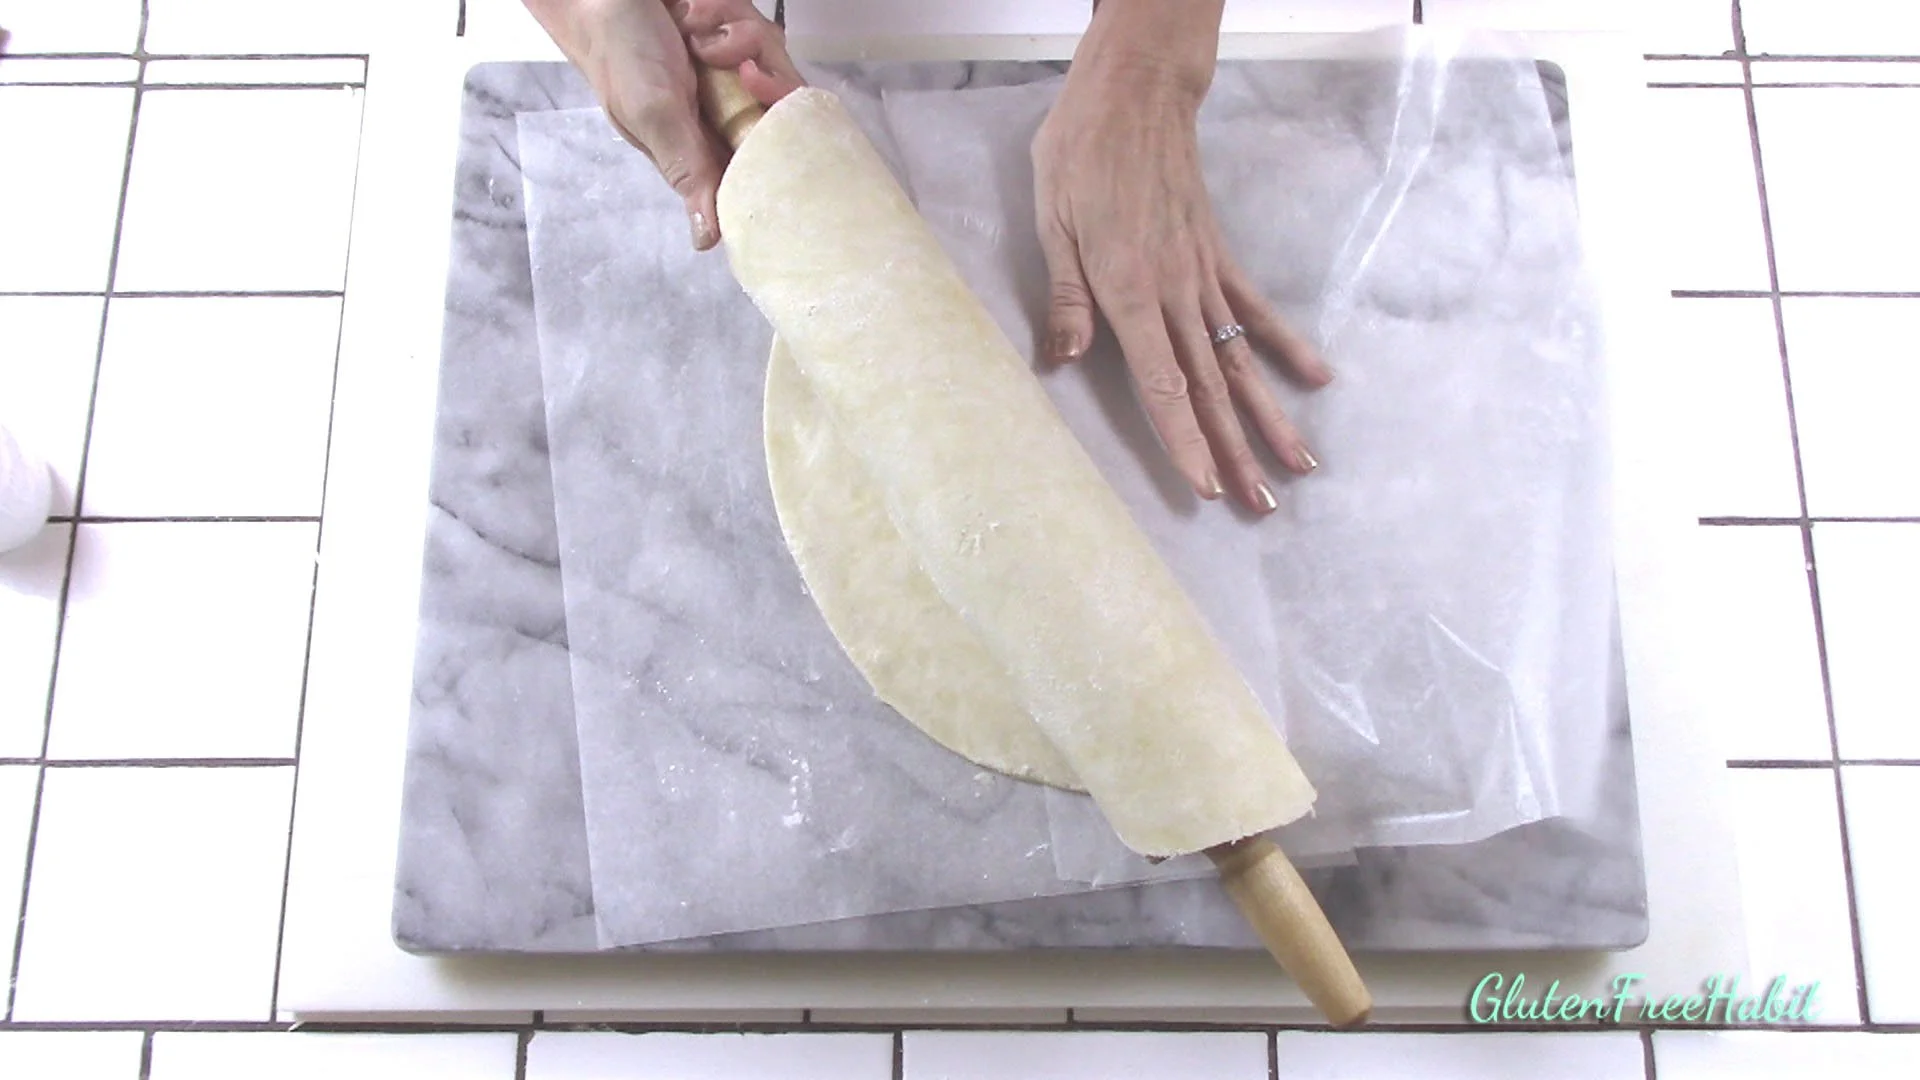
18
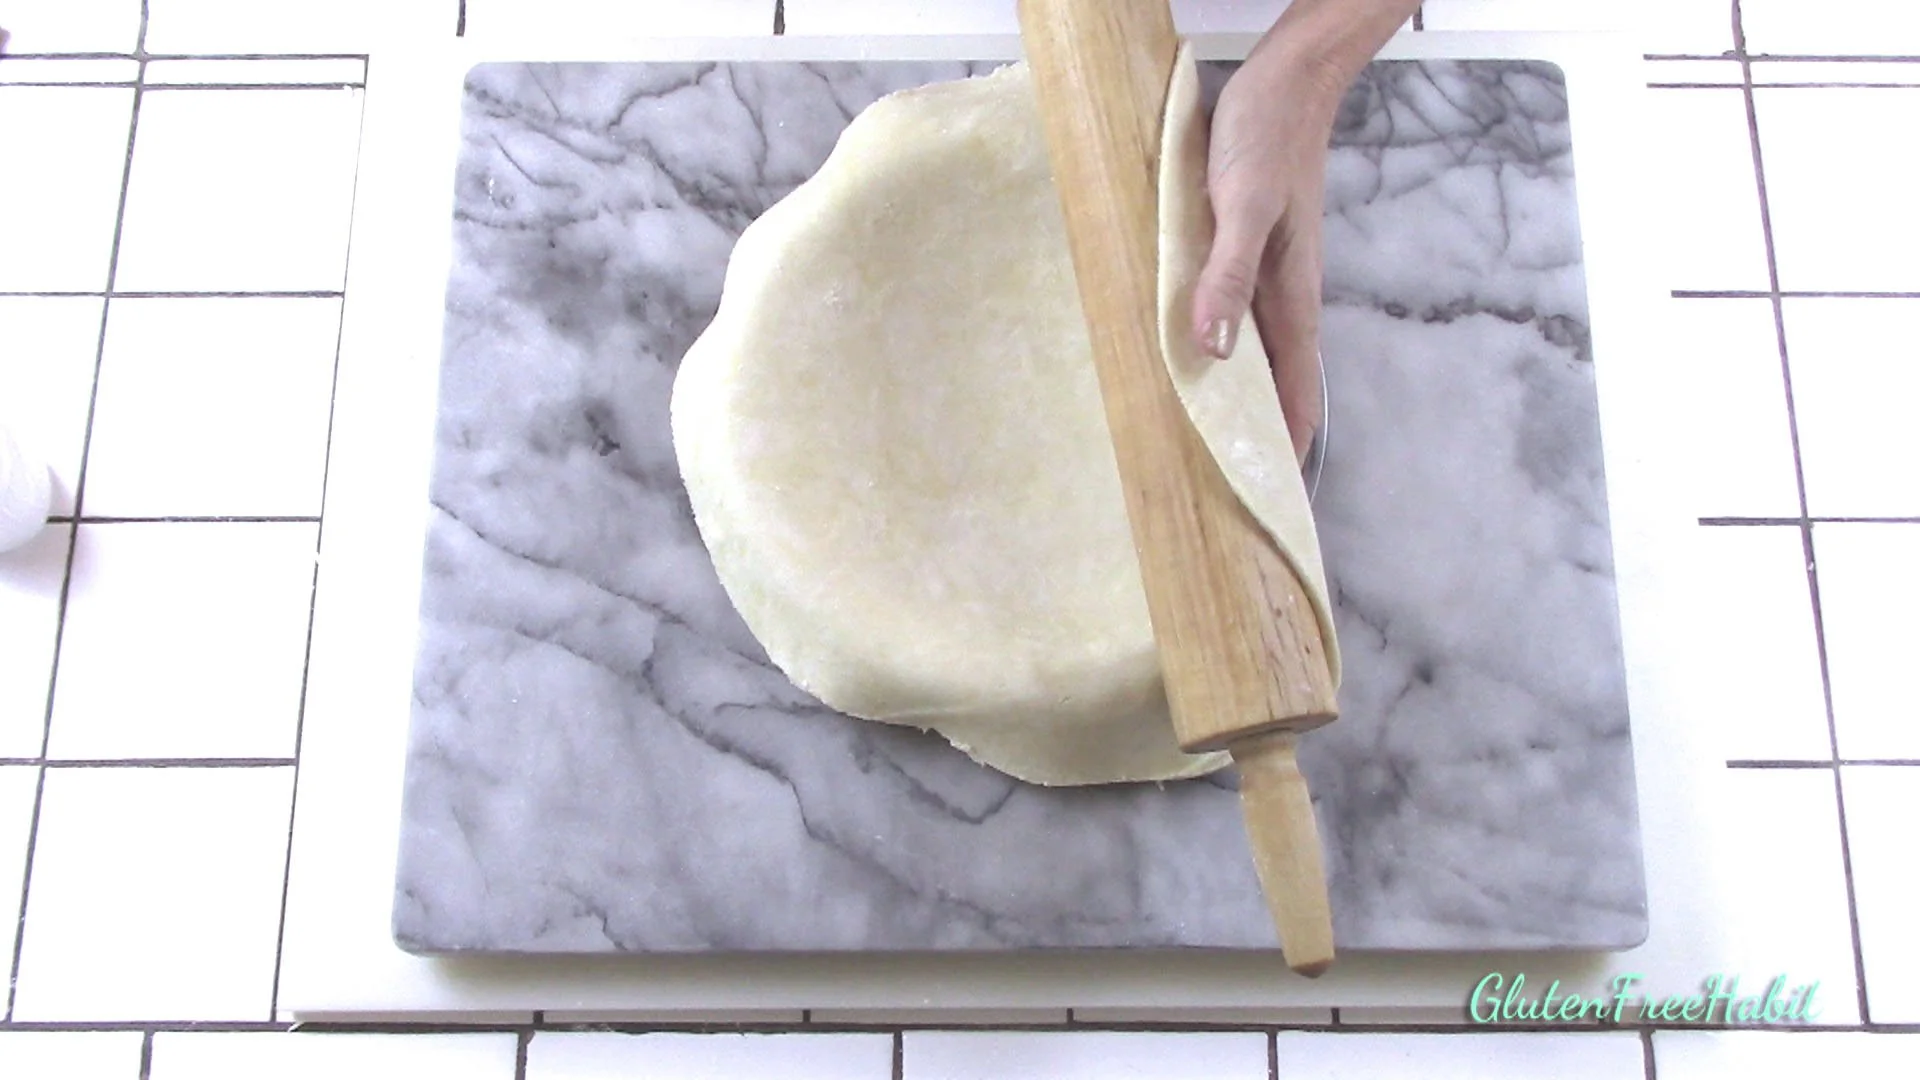
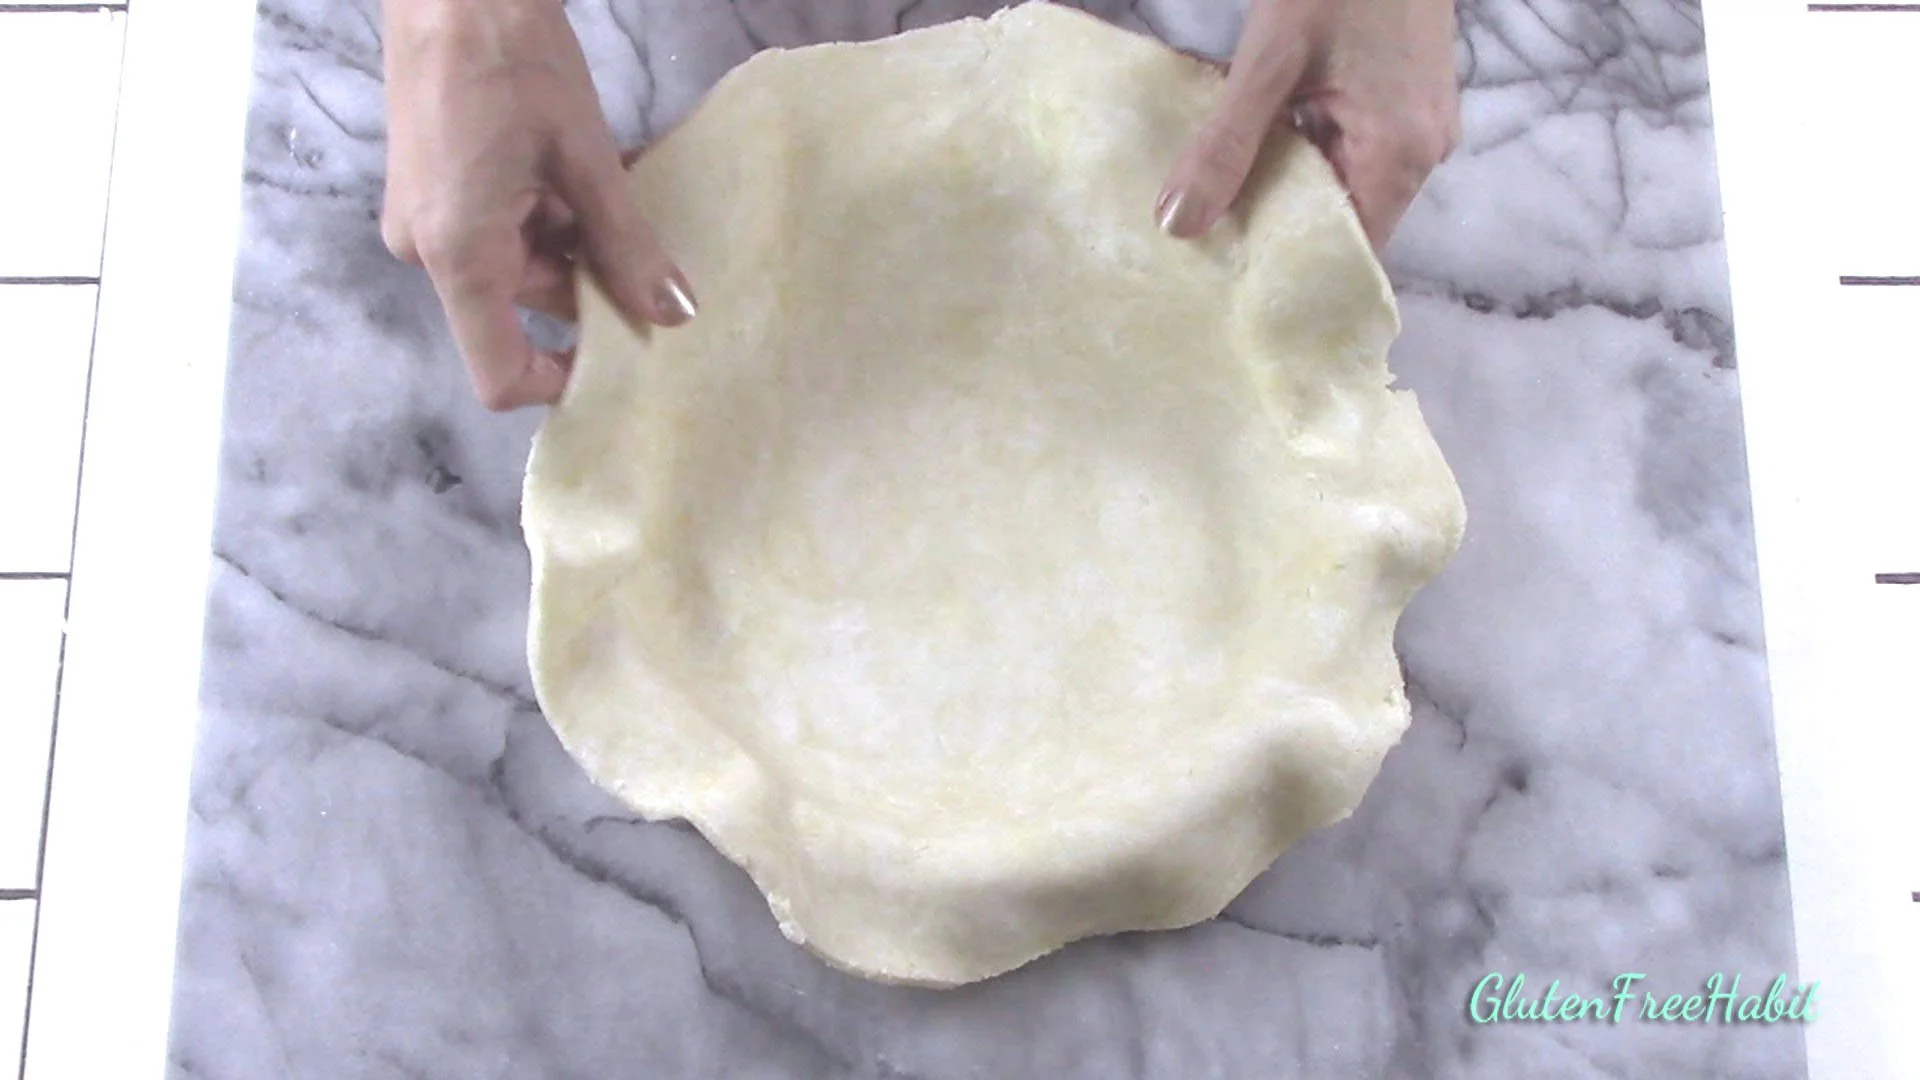
Pieces are now pea-sized. Perfect!
19
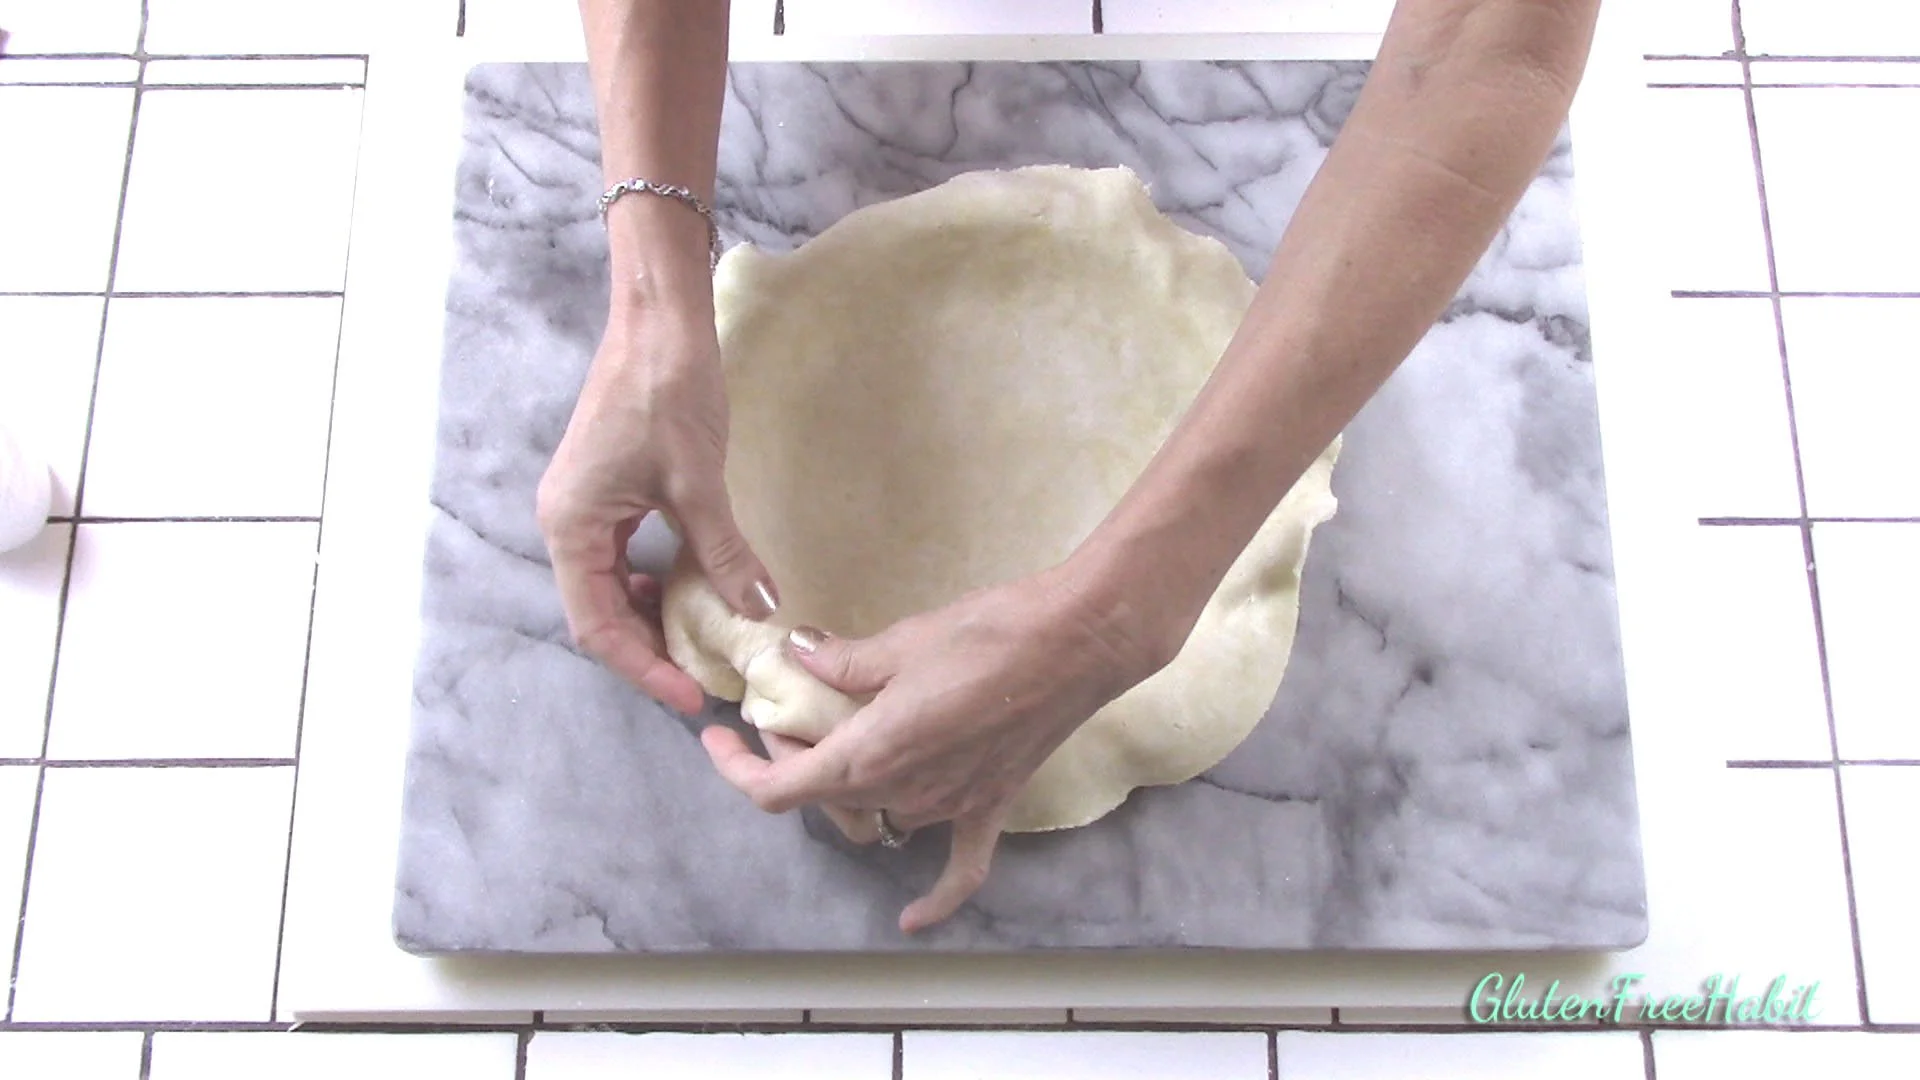
Add in sour cream.
20
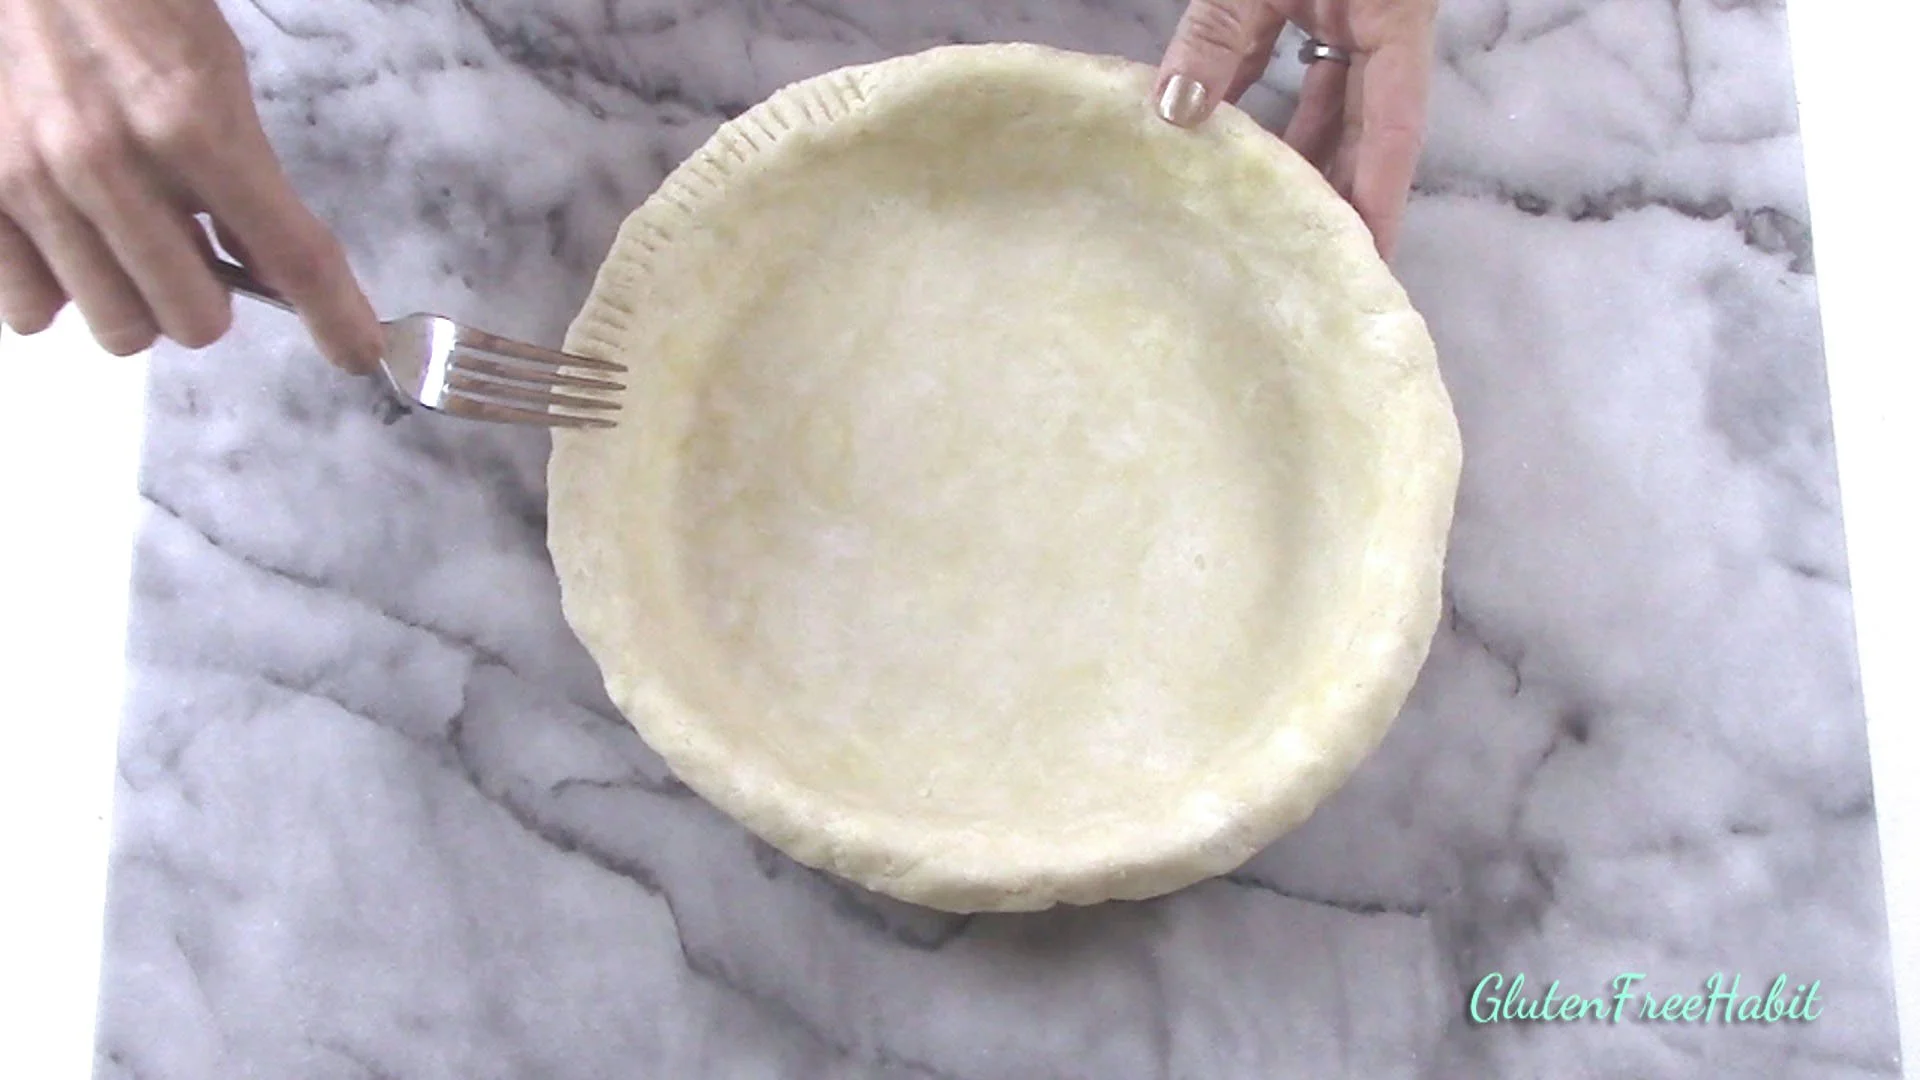
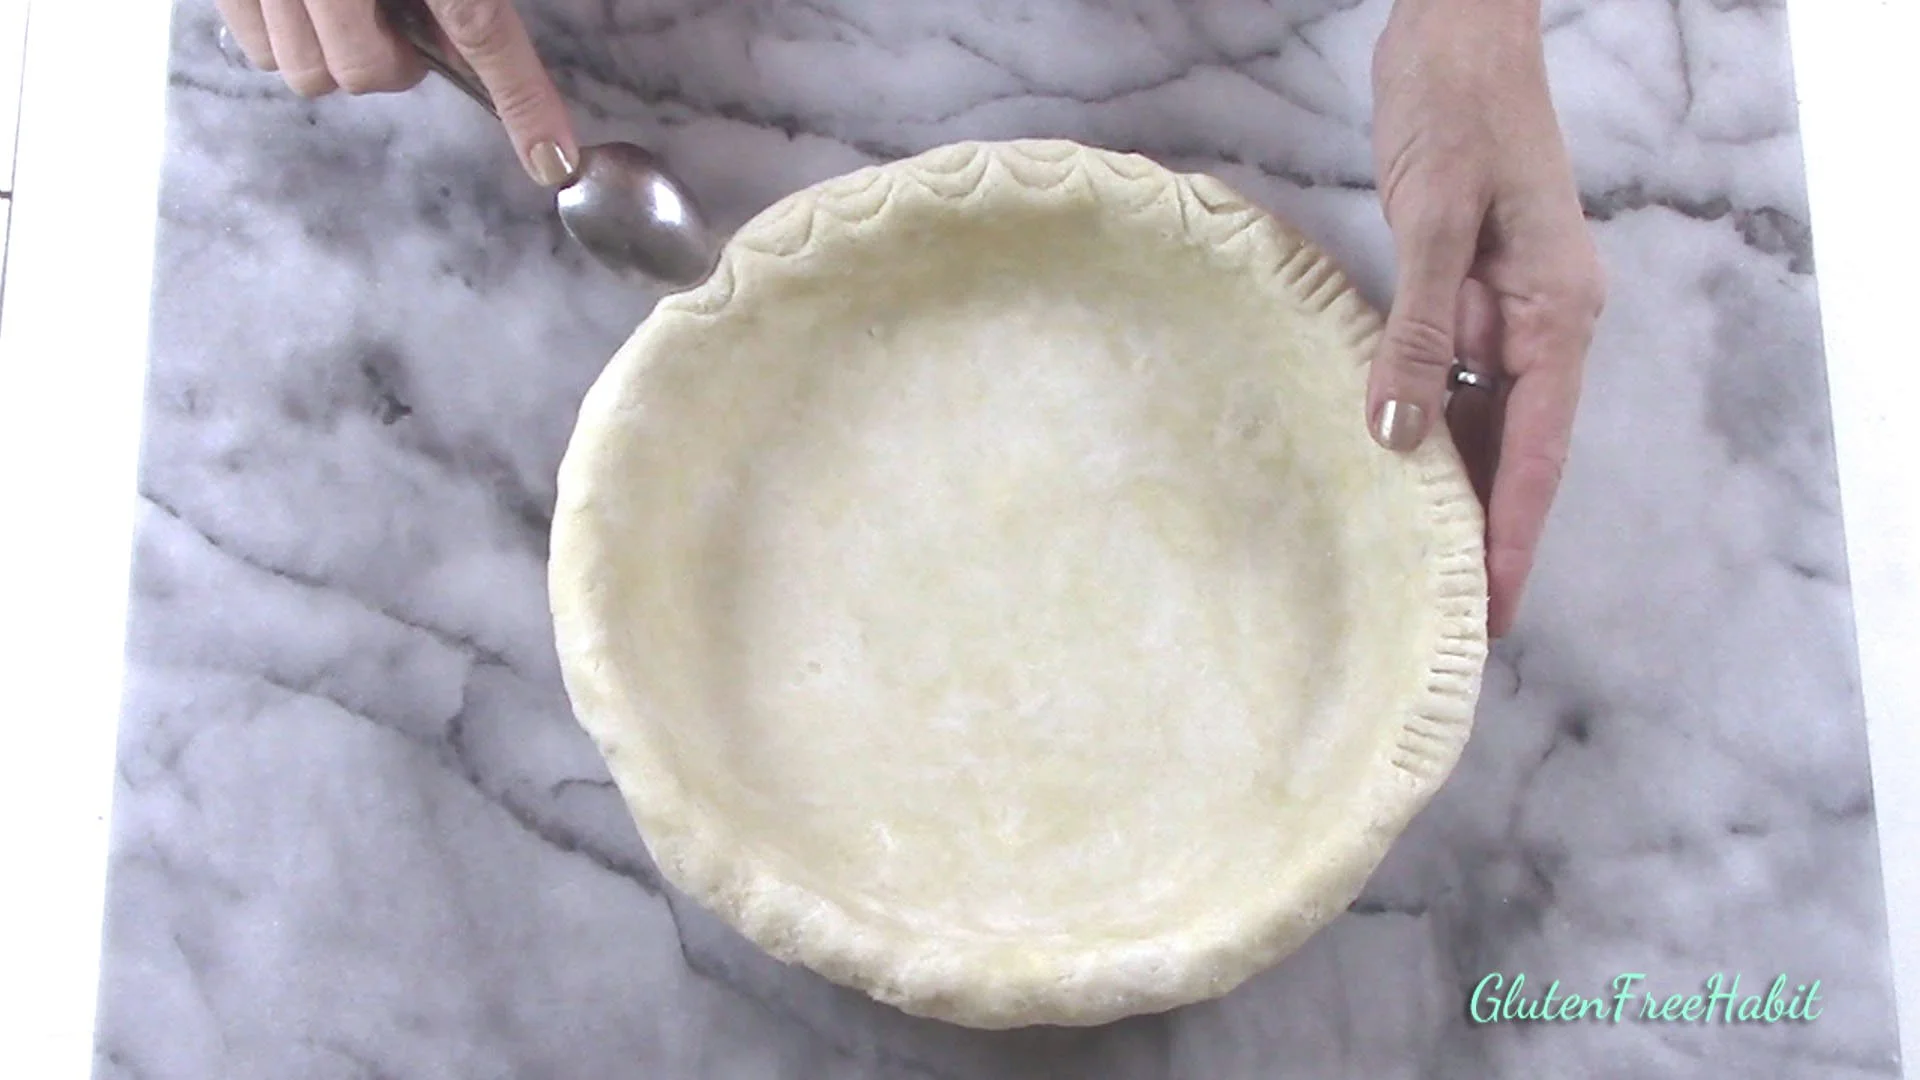
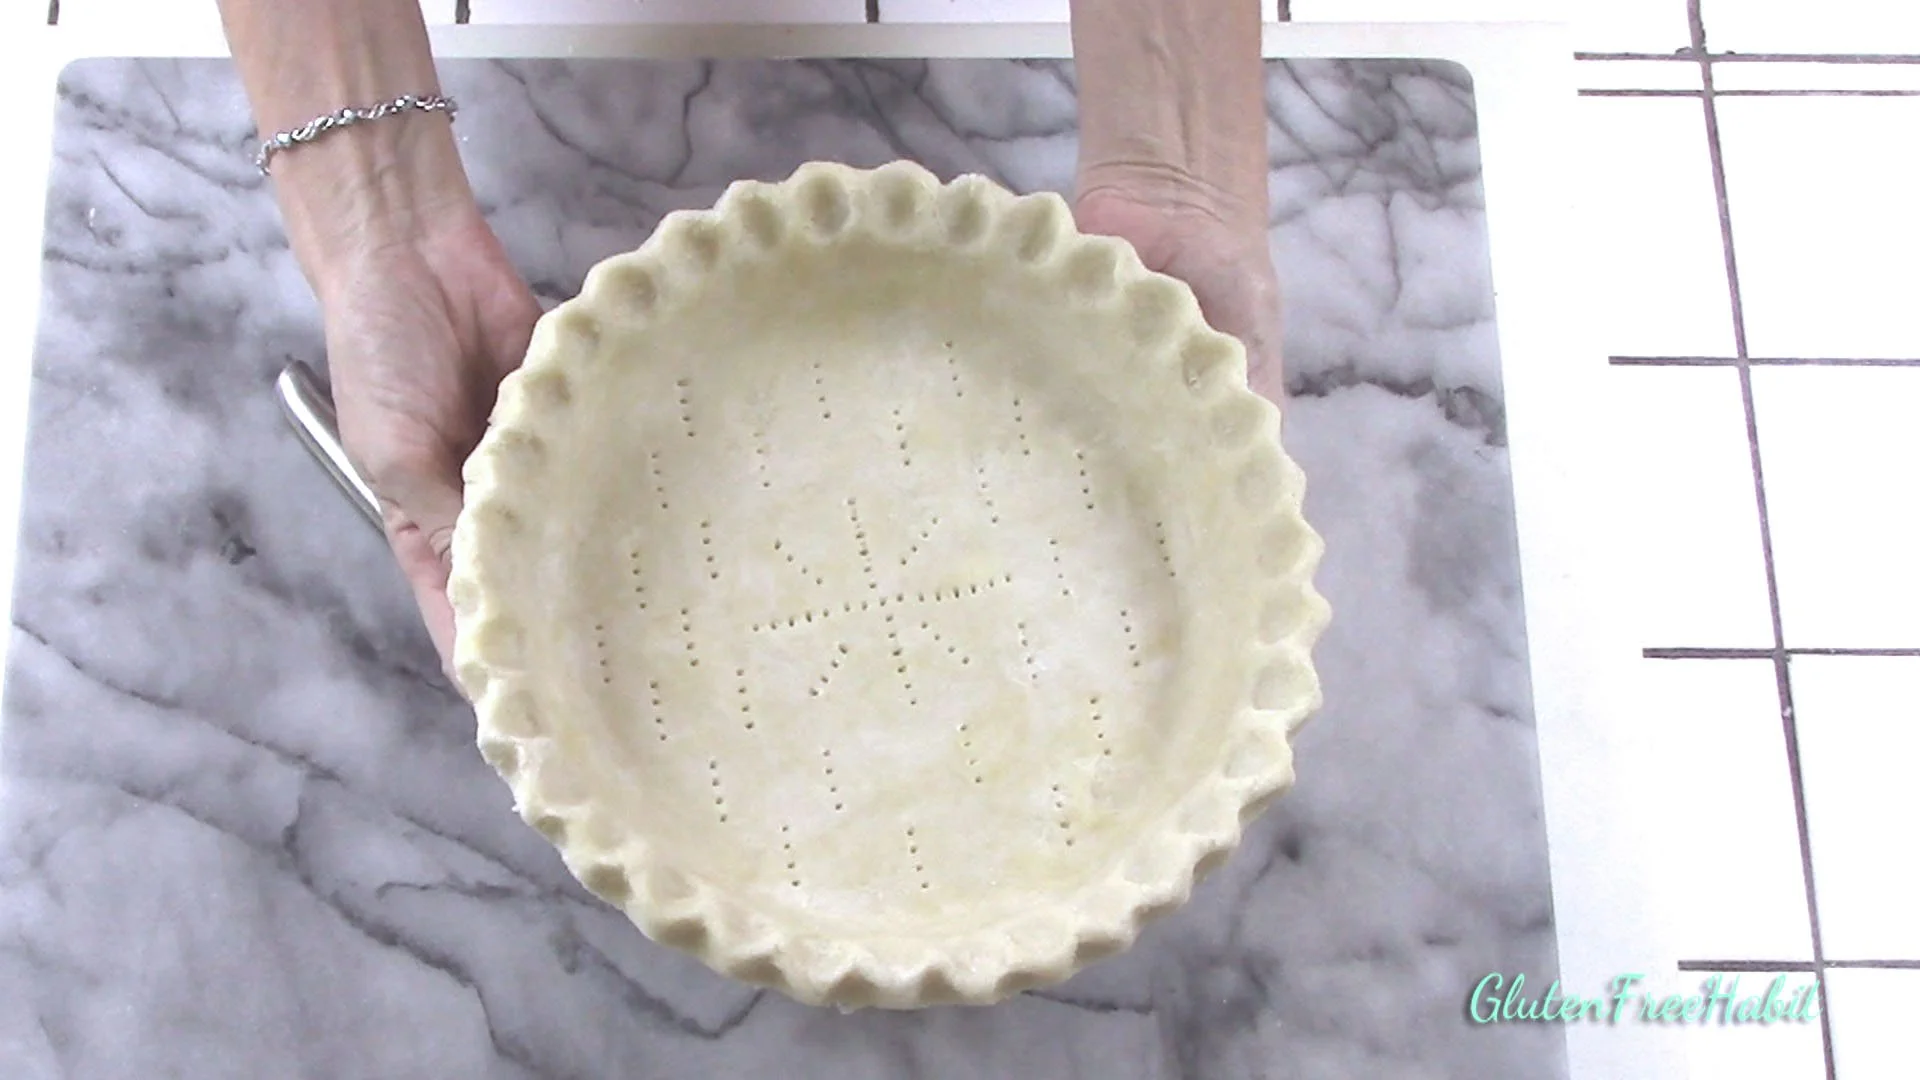
Cut in the sour cream until it is no longer visible.
21
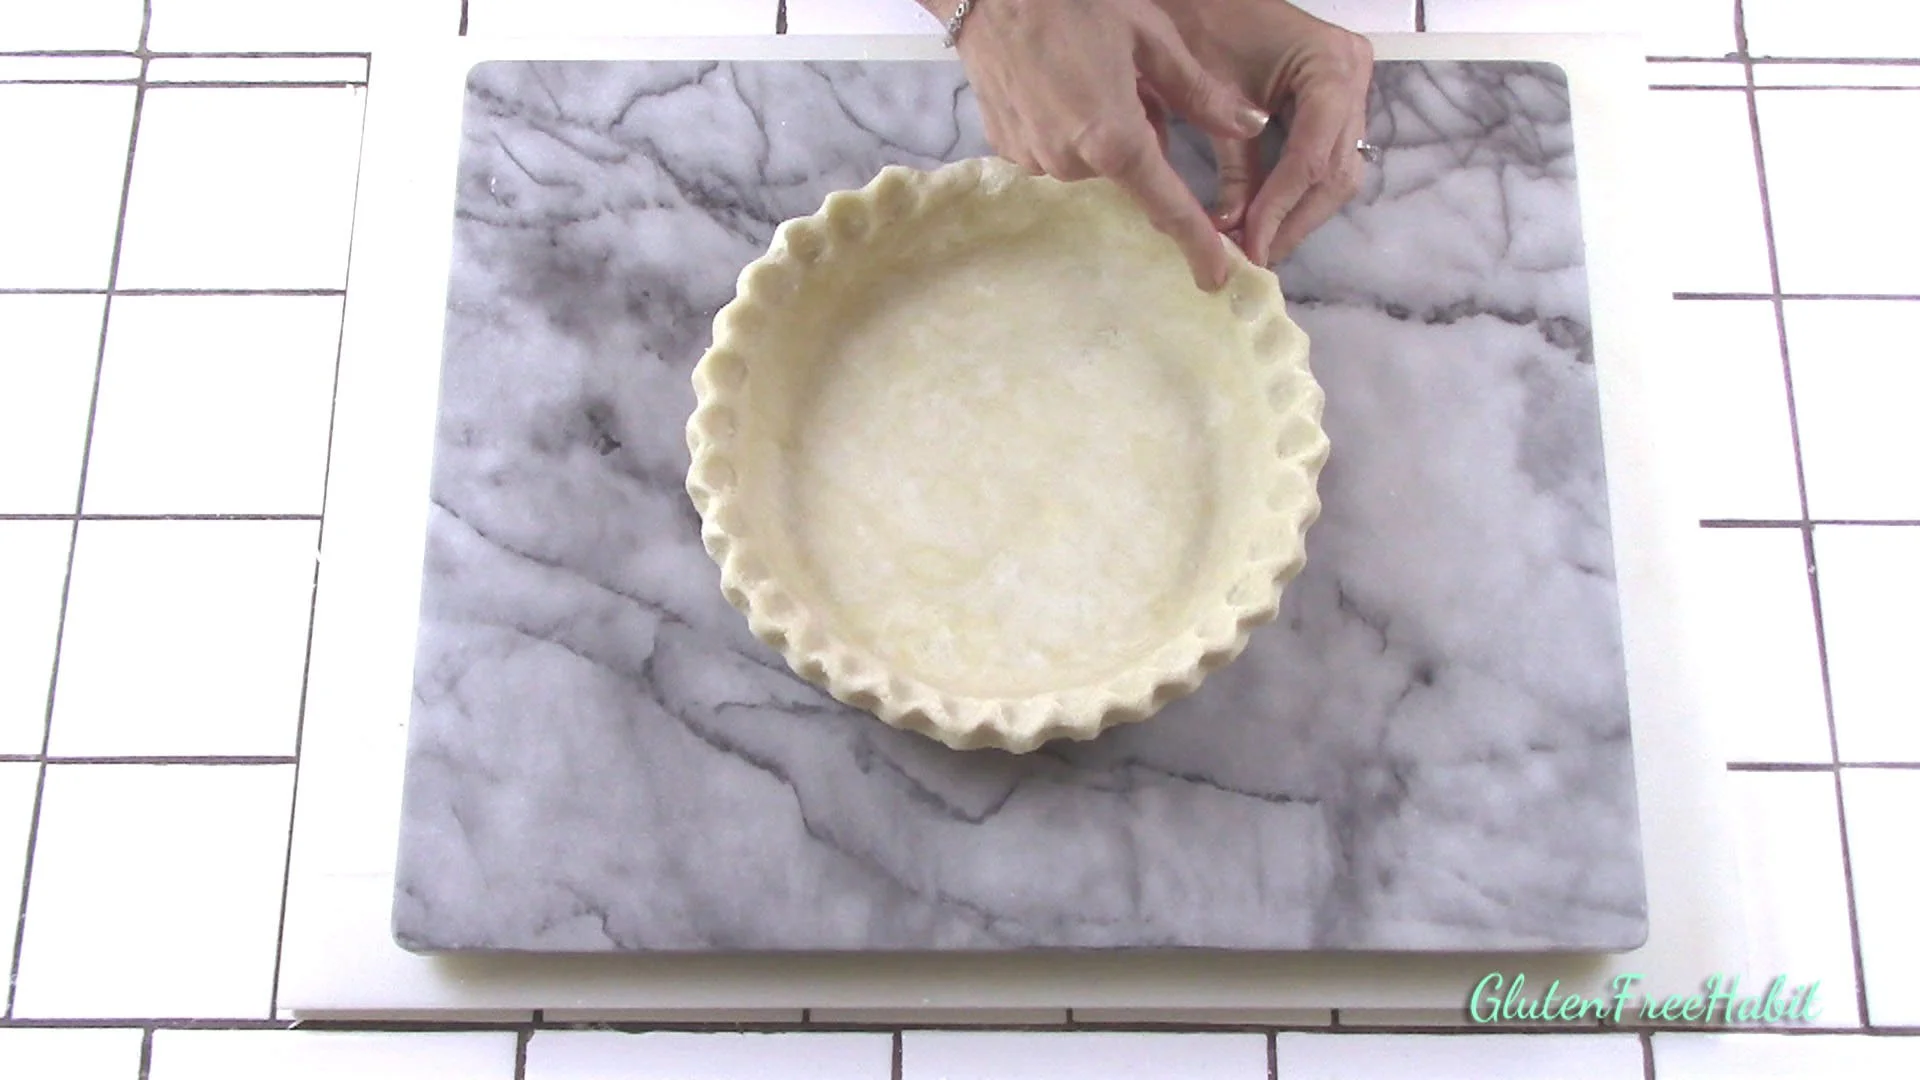
Take egg bowl out of refrigerator and whisk. Add egg to flour mixture.
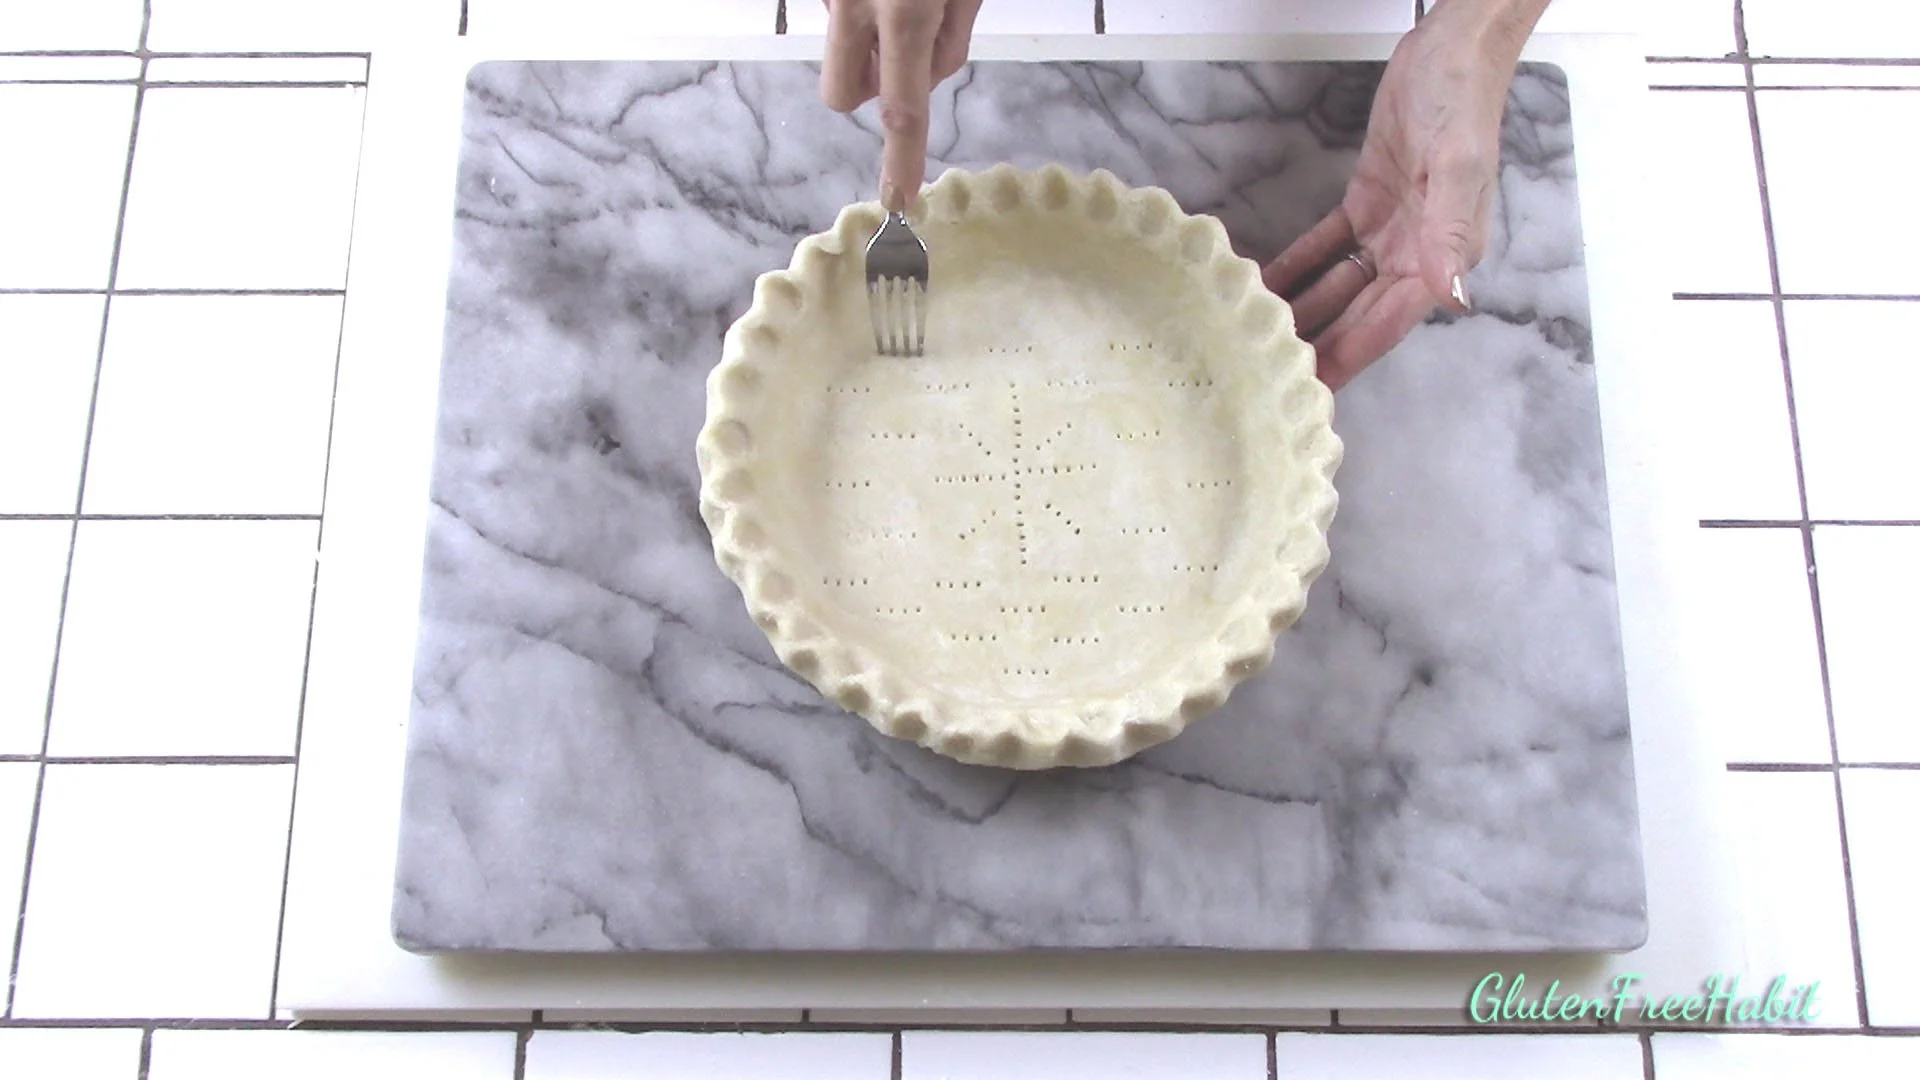
22
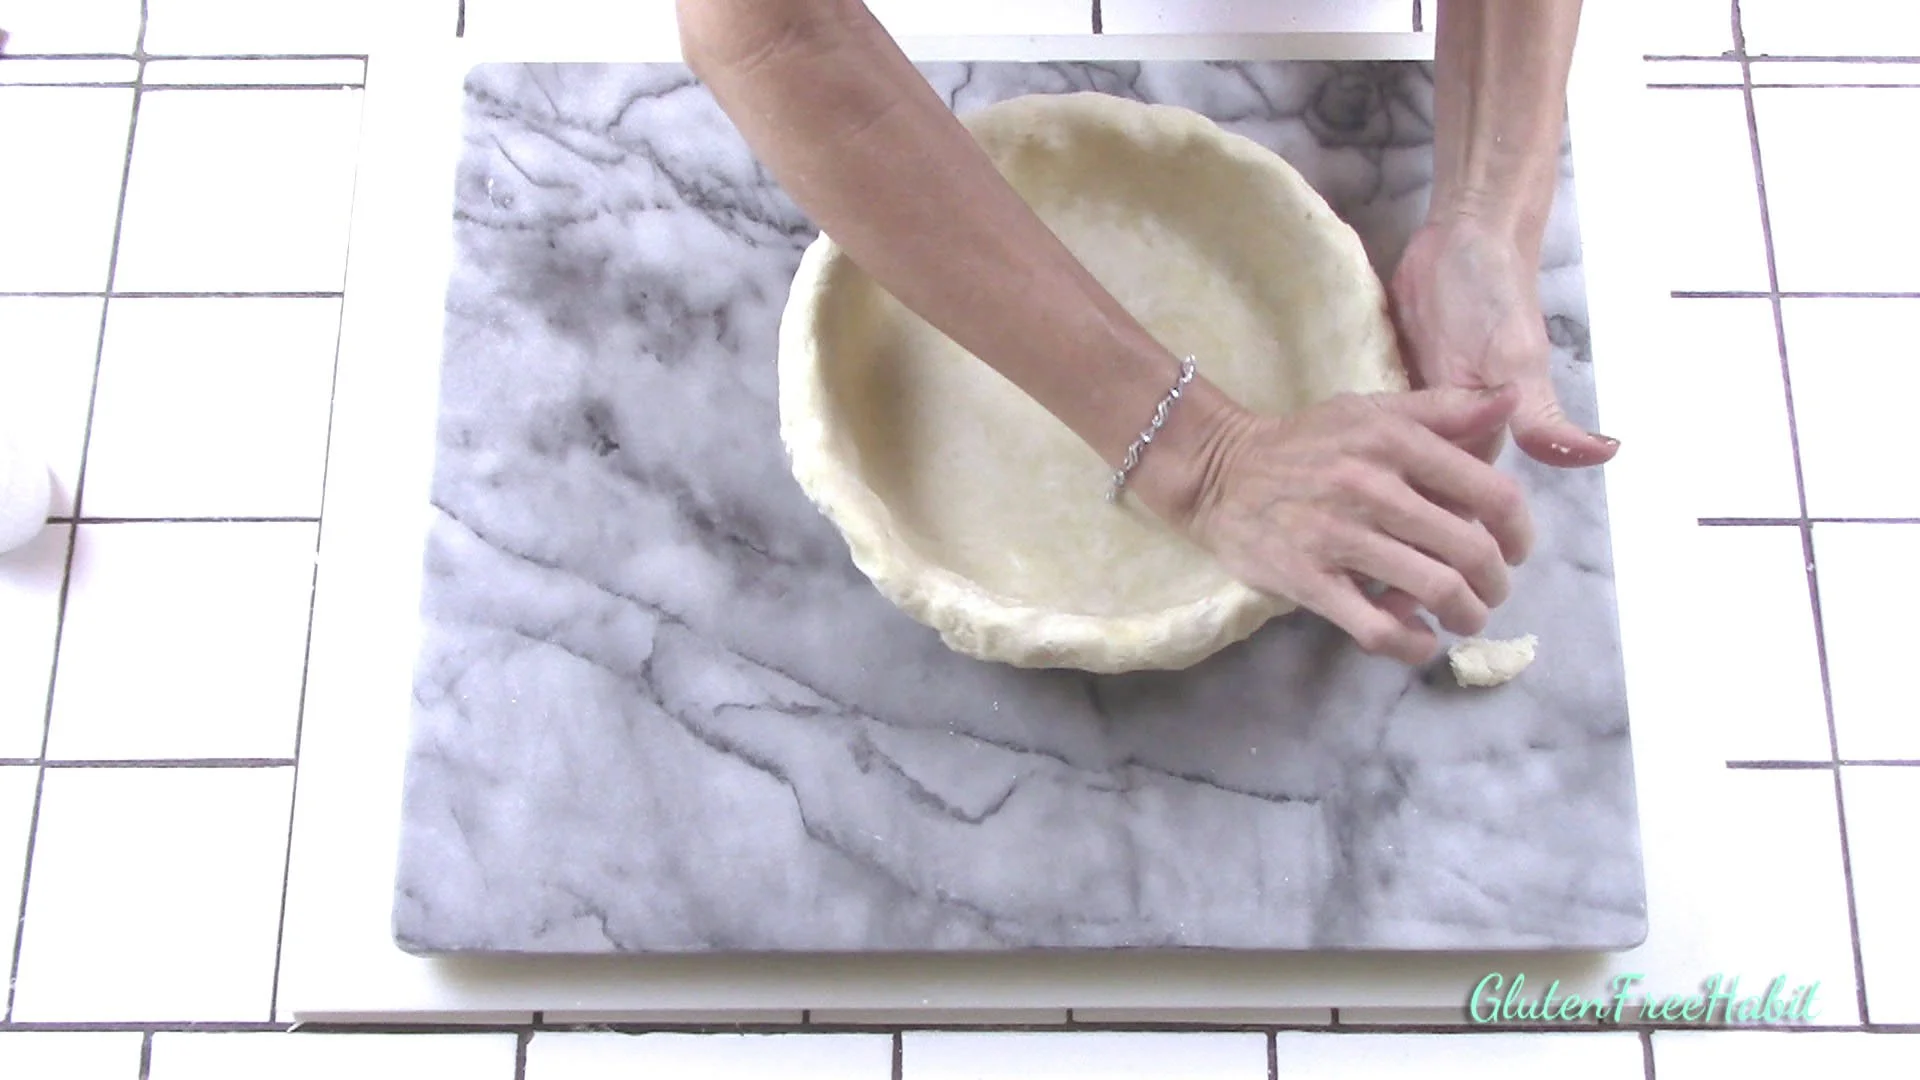
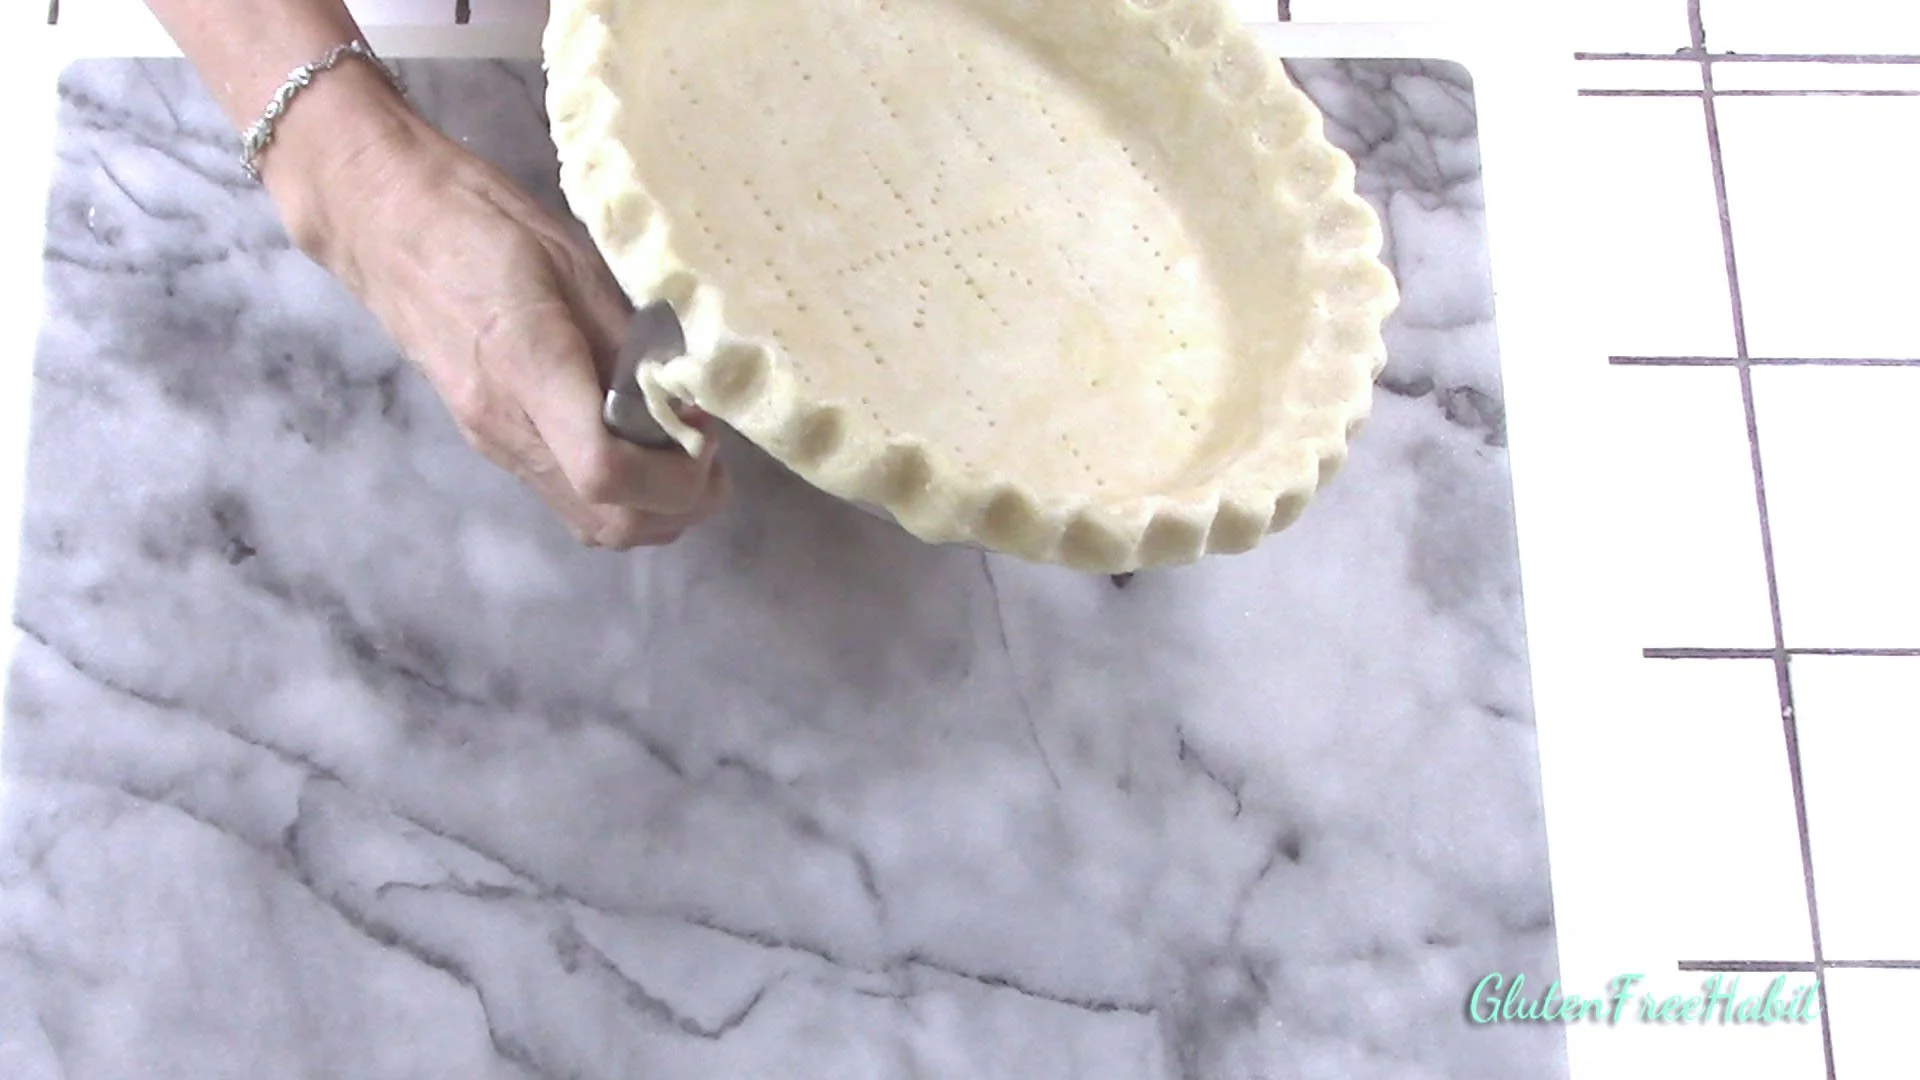
Stir gently until fully incorporated.
23
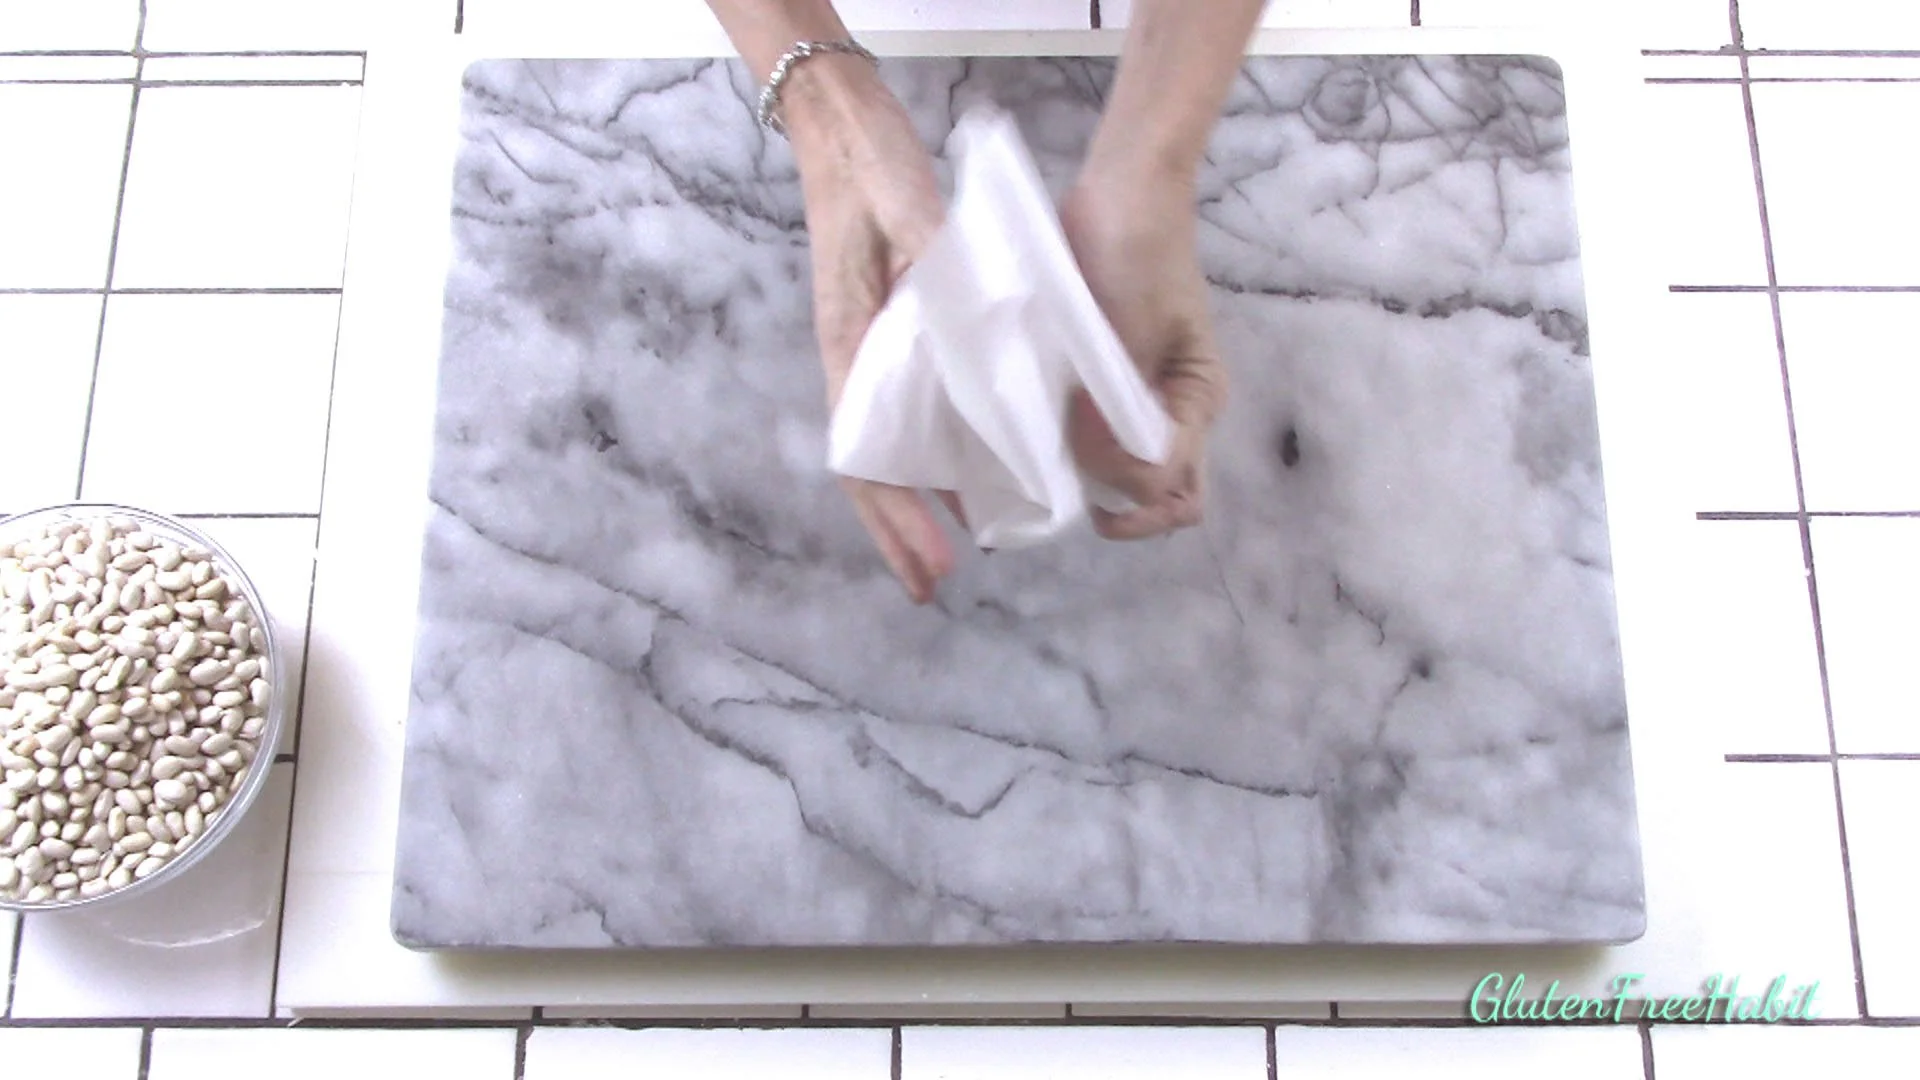
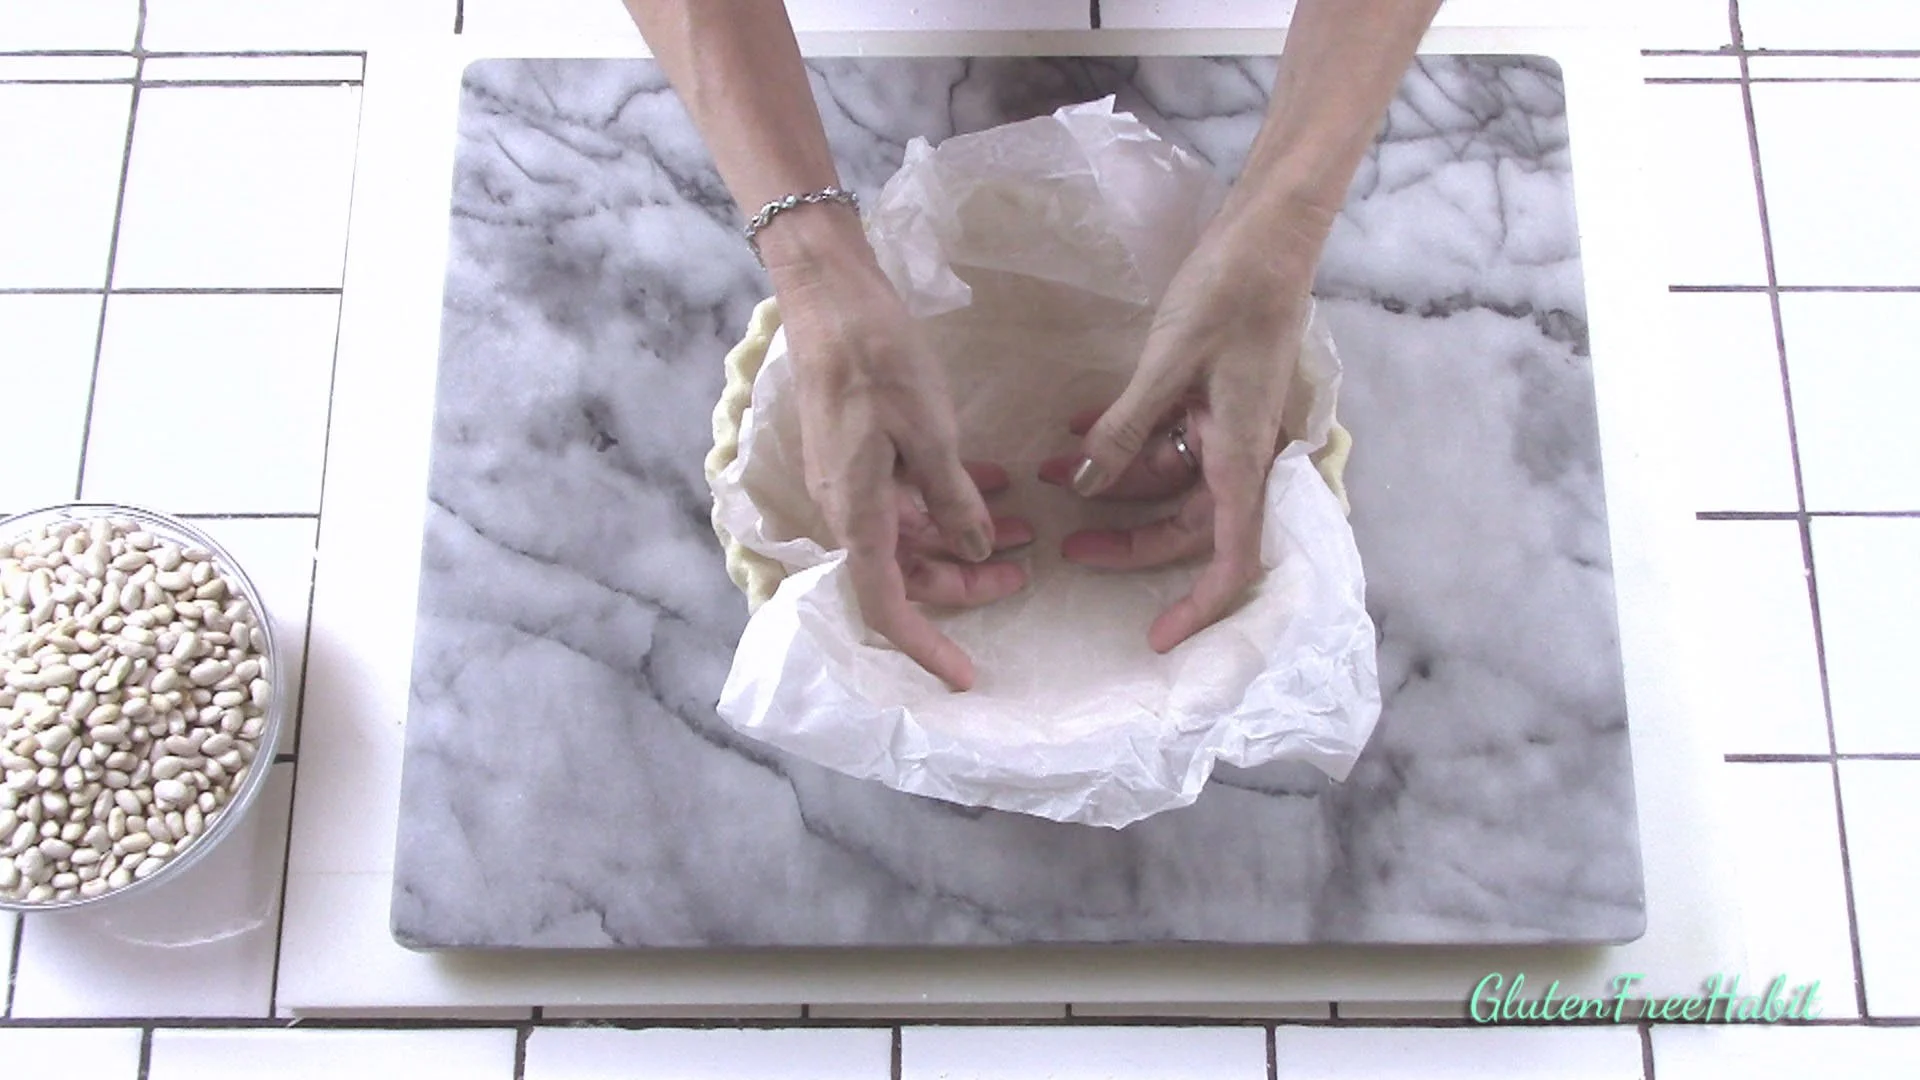
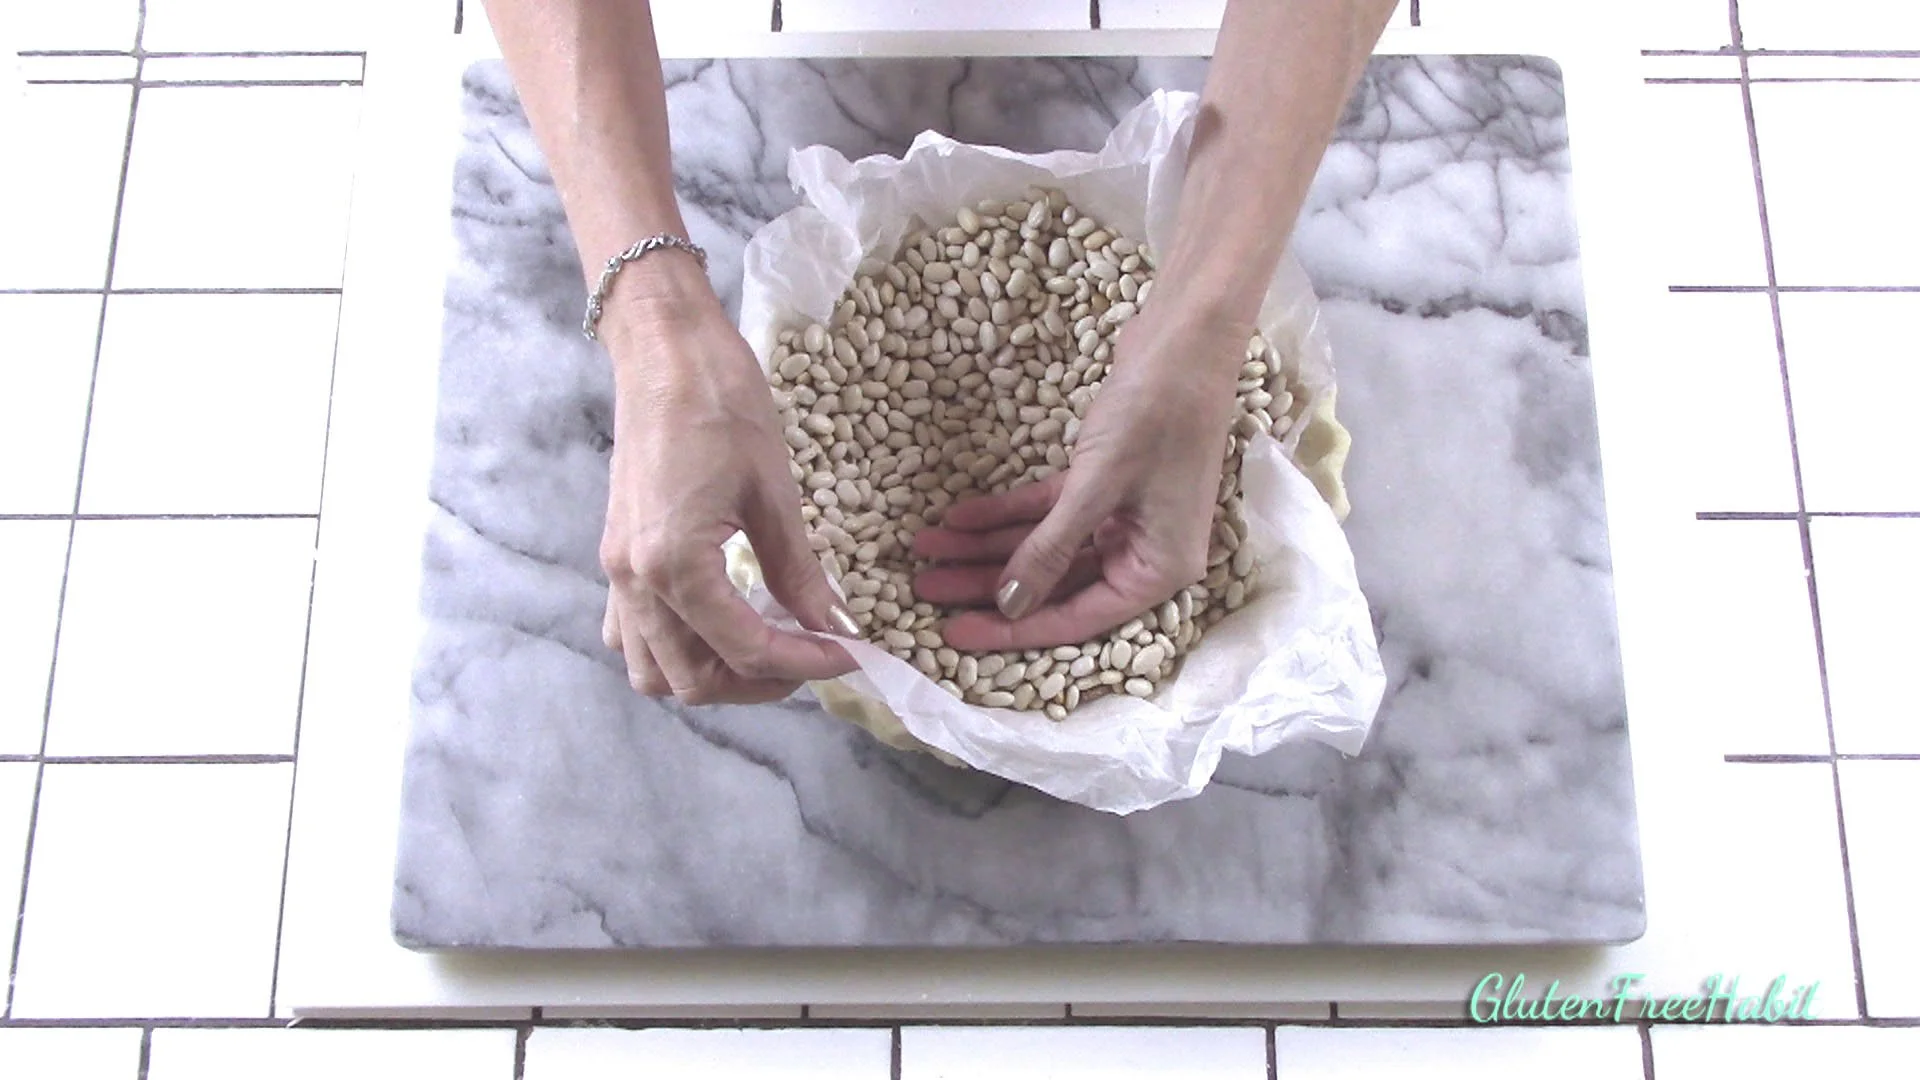
Add one tablespoon of ice water. Stir gently until fully incorporated. Continue adding water, one tablespoon at a time, just until all dry crumbs are very lightly moistened.

24
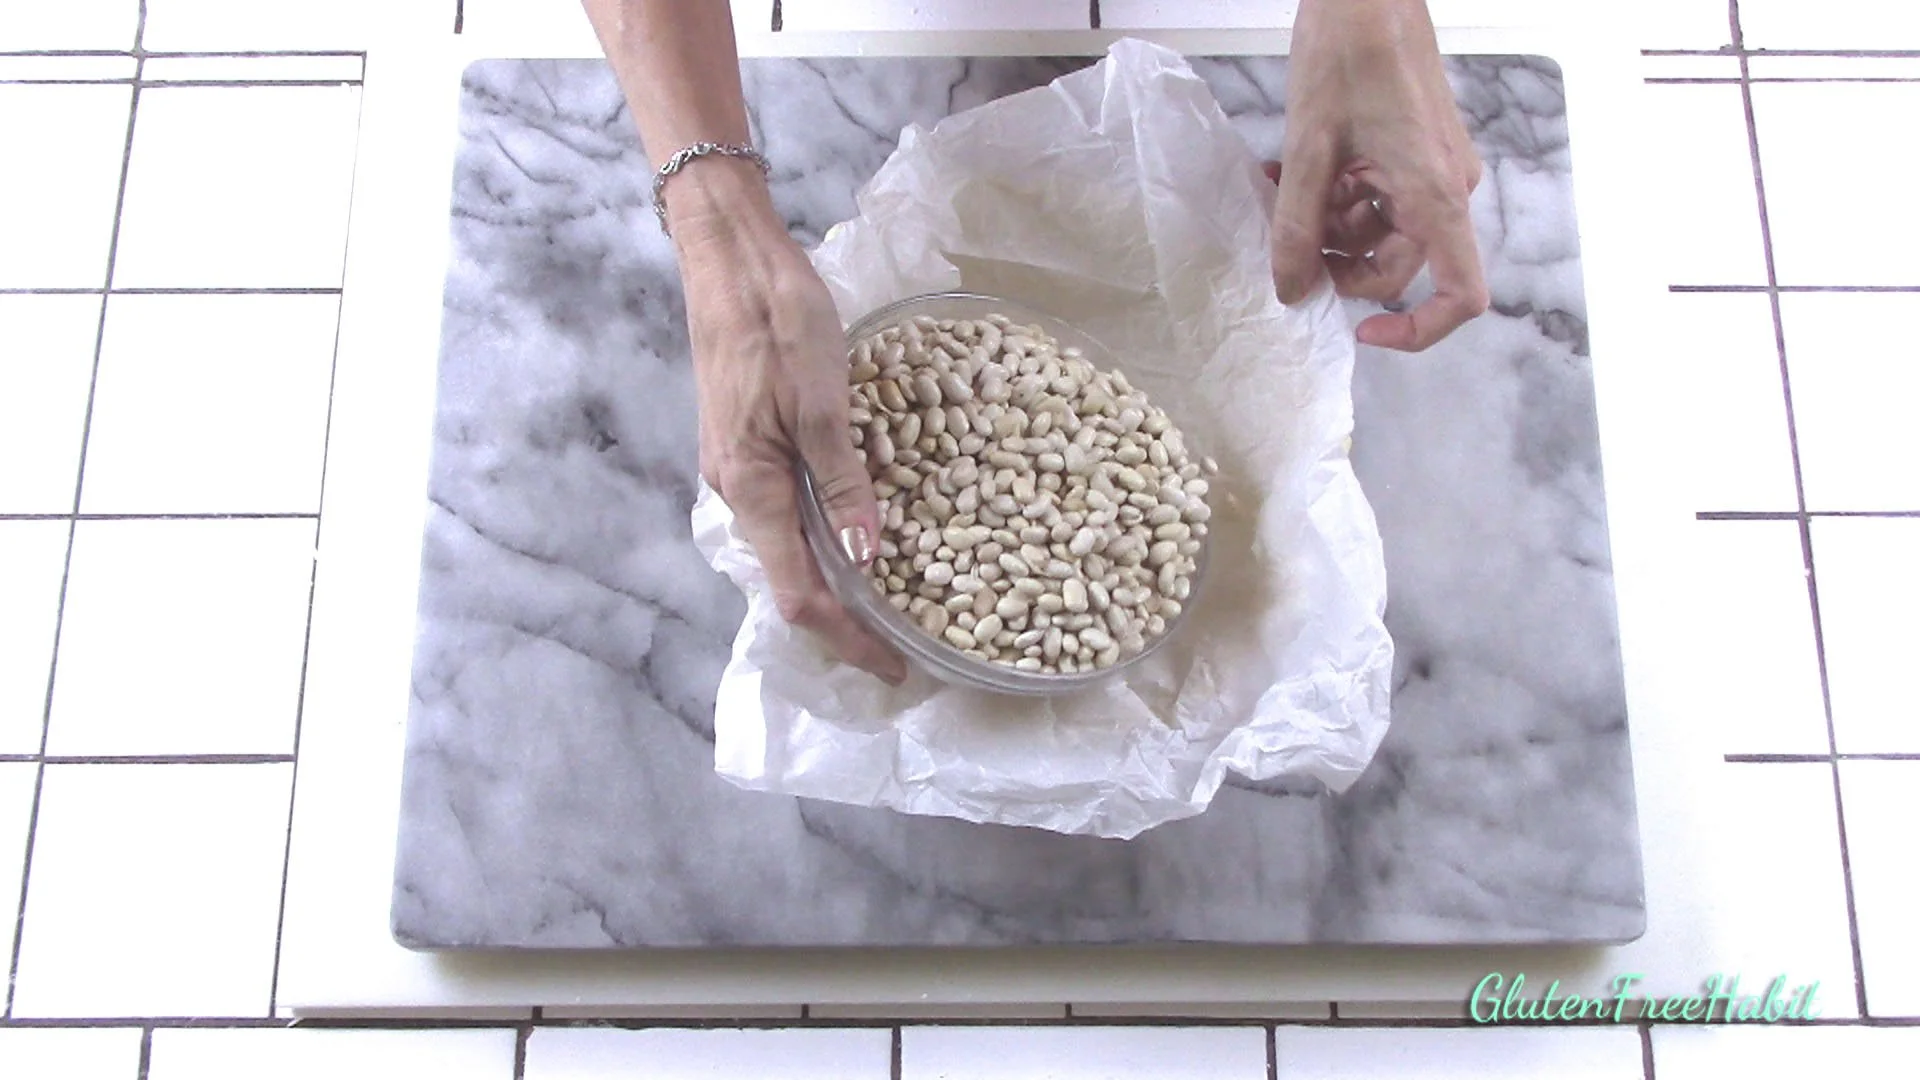
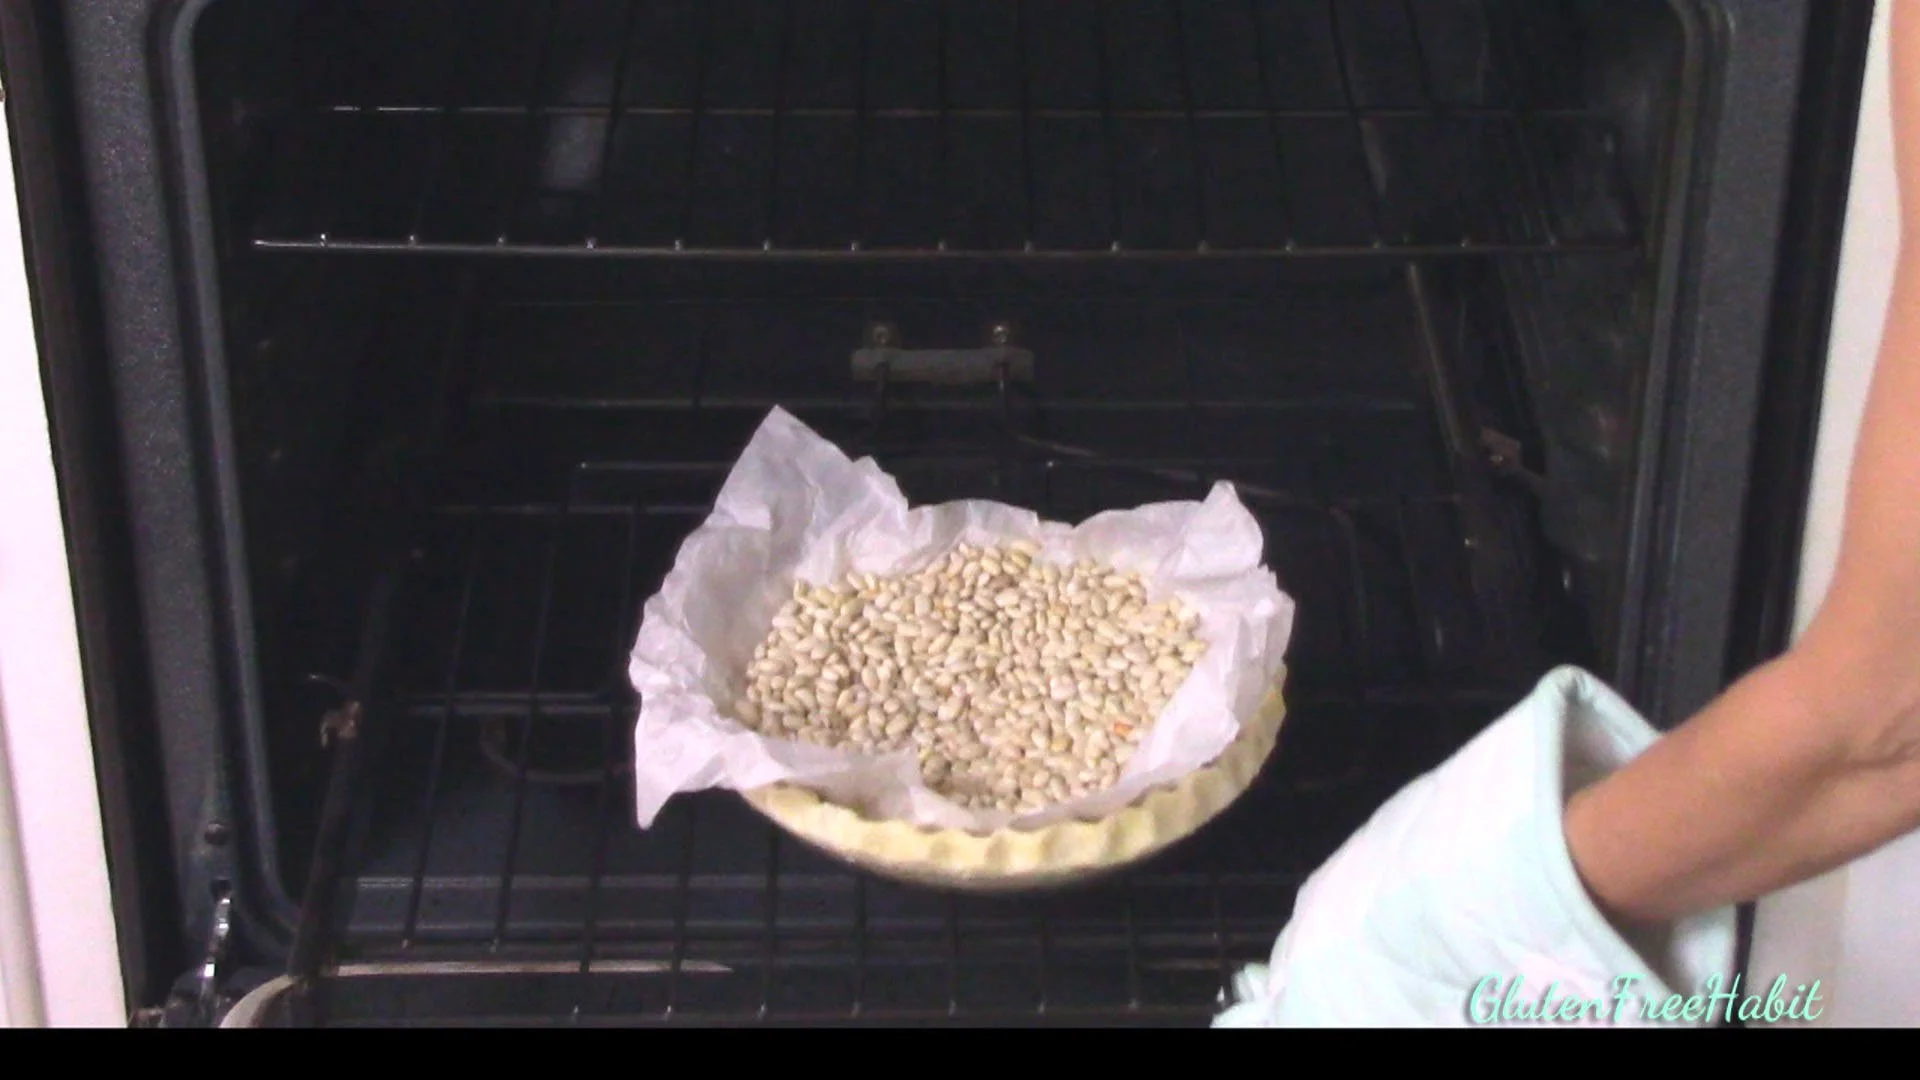
I find that 4 tablespoons is perfect for my dough. Dough will be somewhat moister than typical “gluten” dough, but should never be so moist that it gets sticky.
25
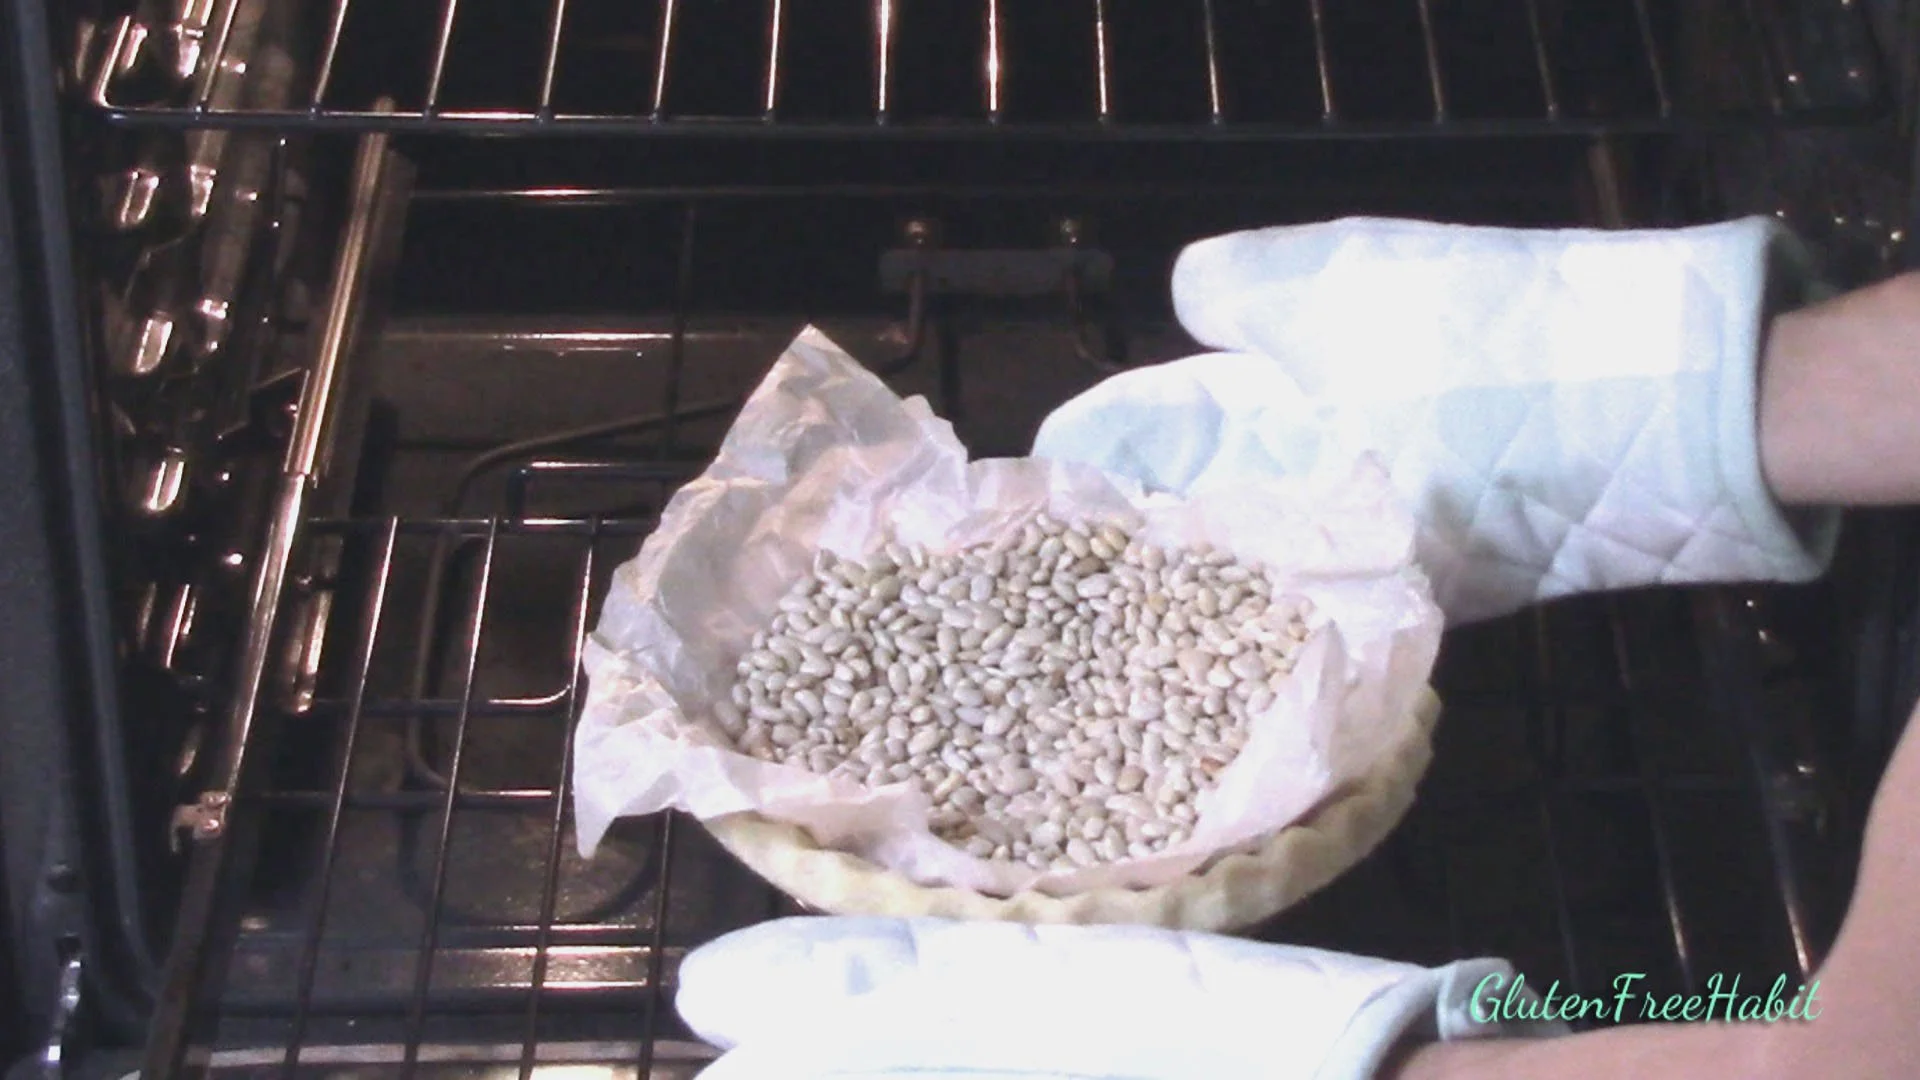
Your dough should still have solid chunks of butter. If butter is becoming soft, return bowl to fridge to re-chill before continuing.
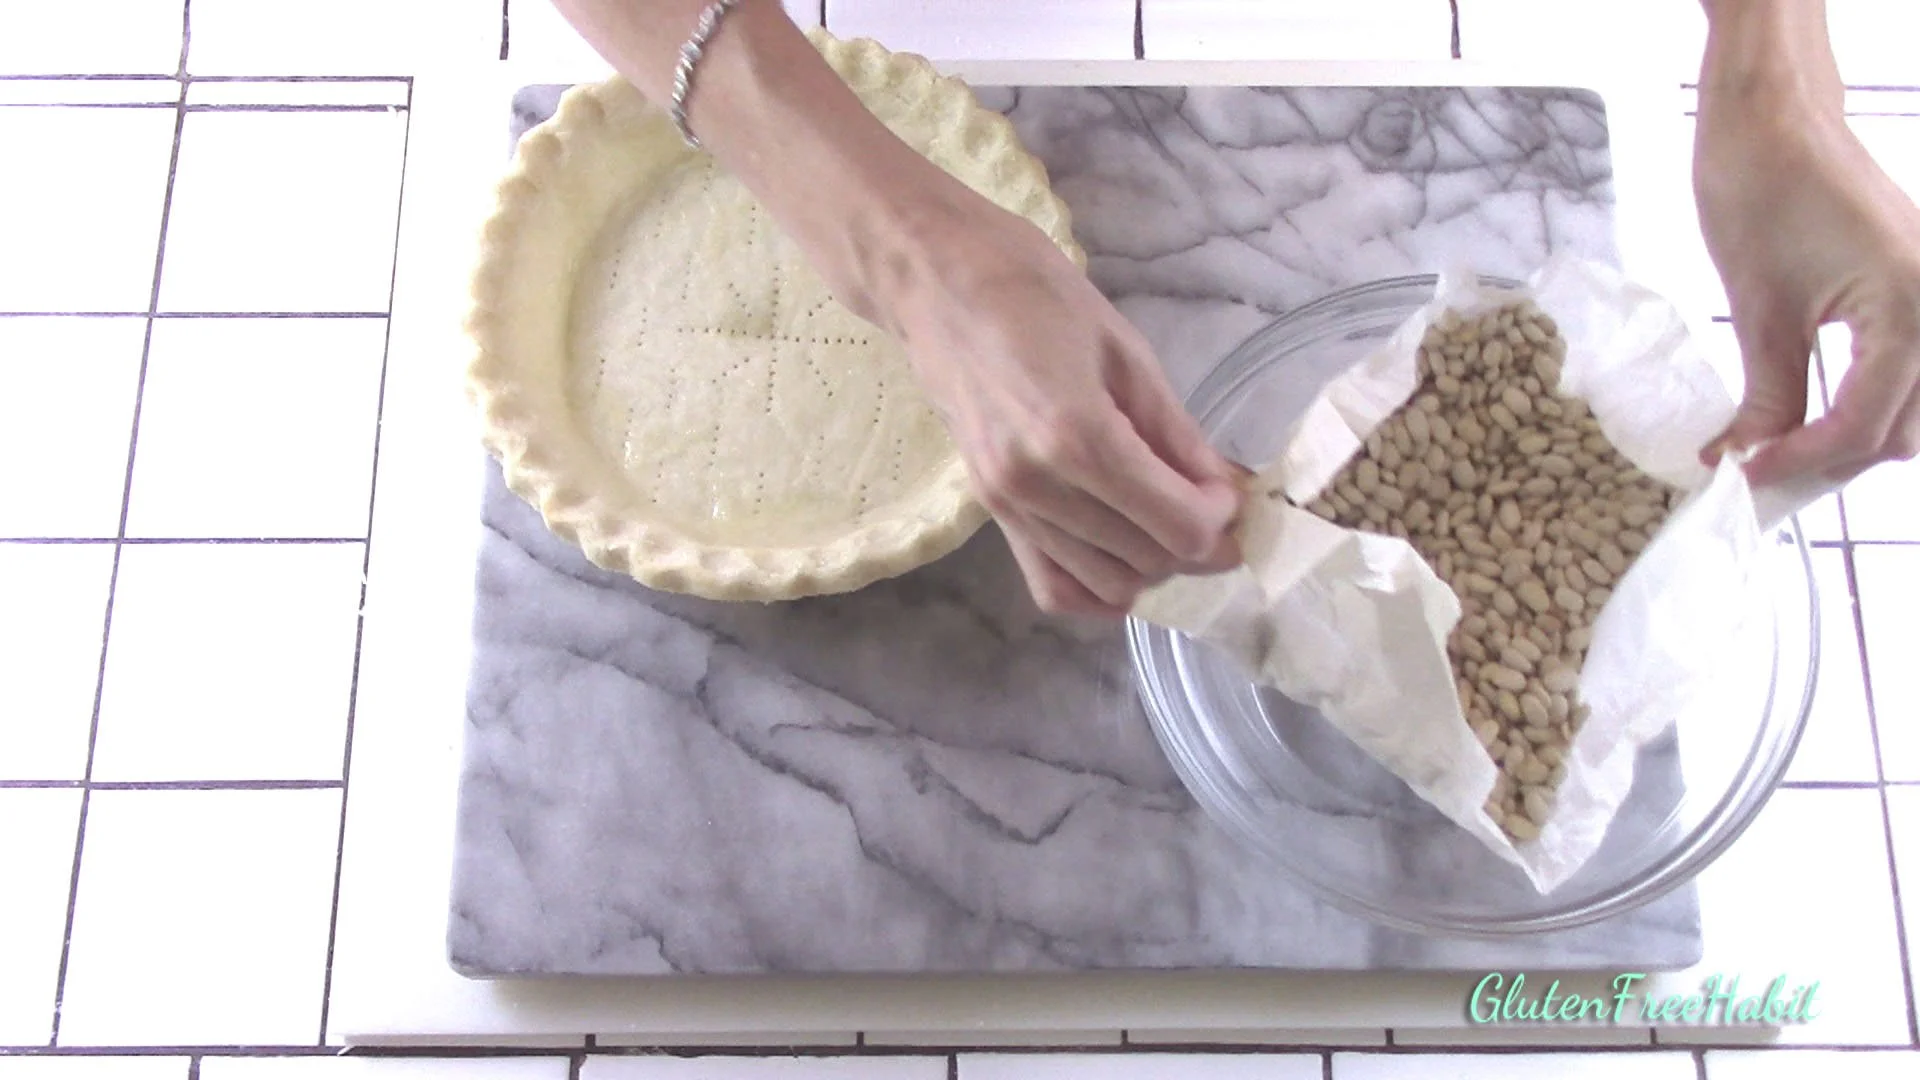
26
Dough should hold together when gently squeezed.
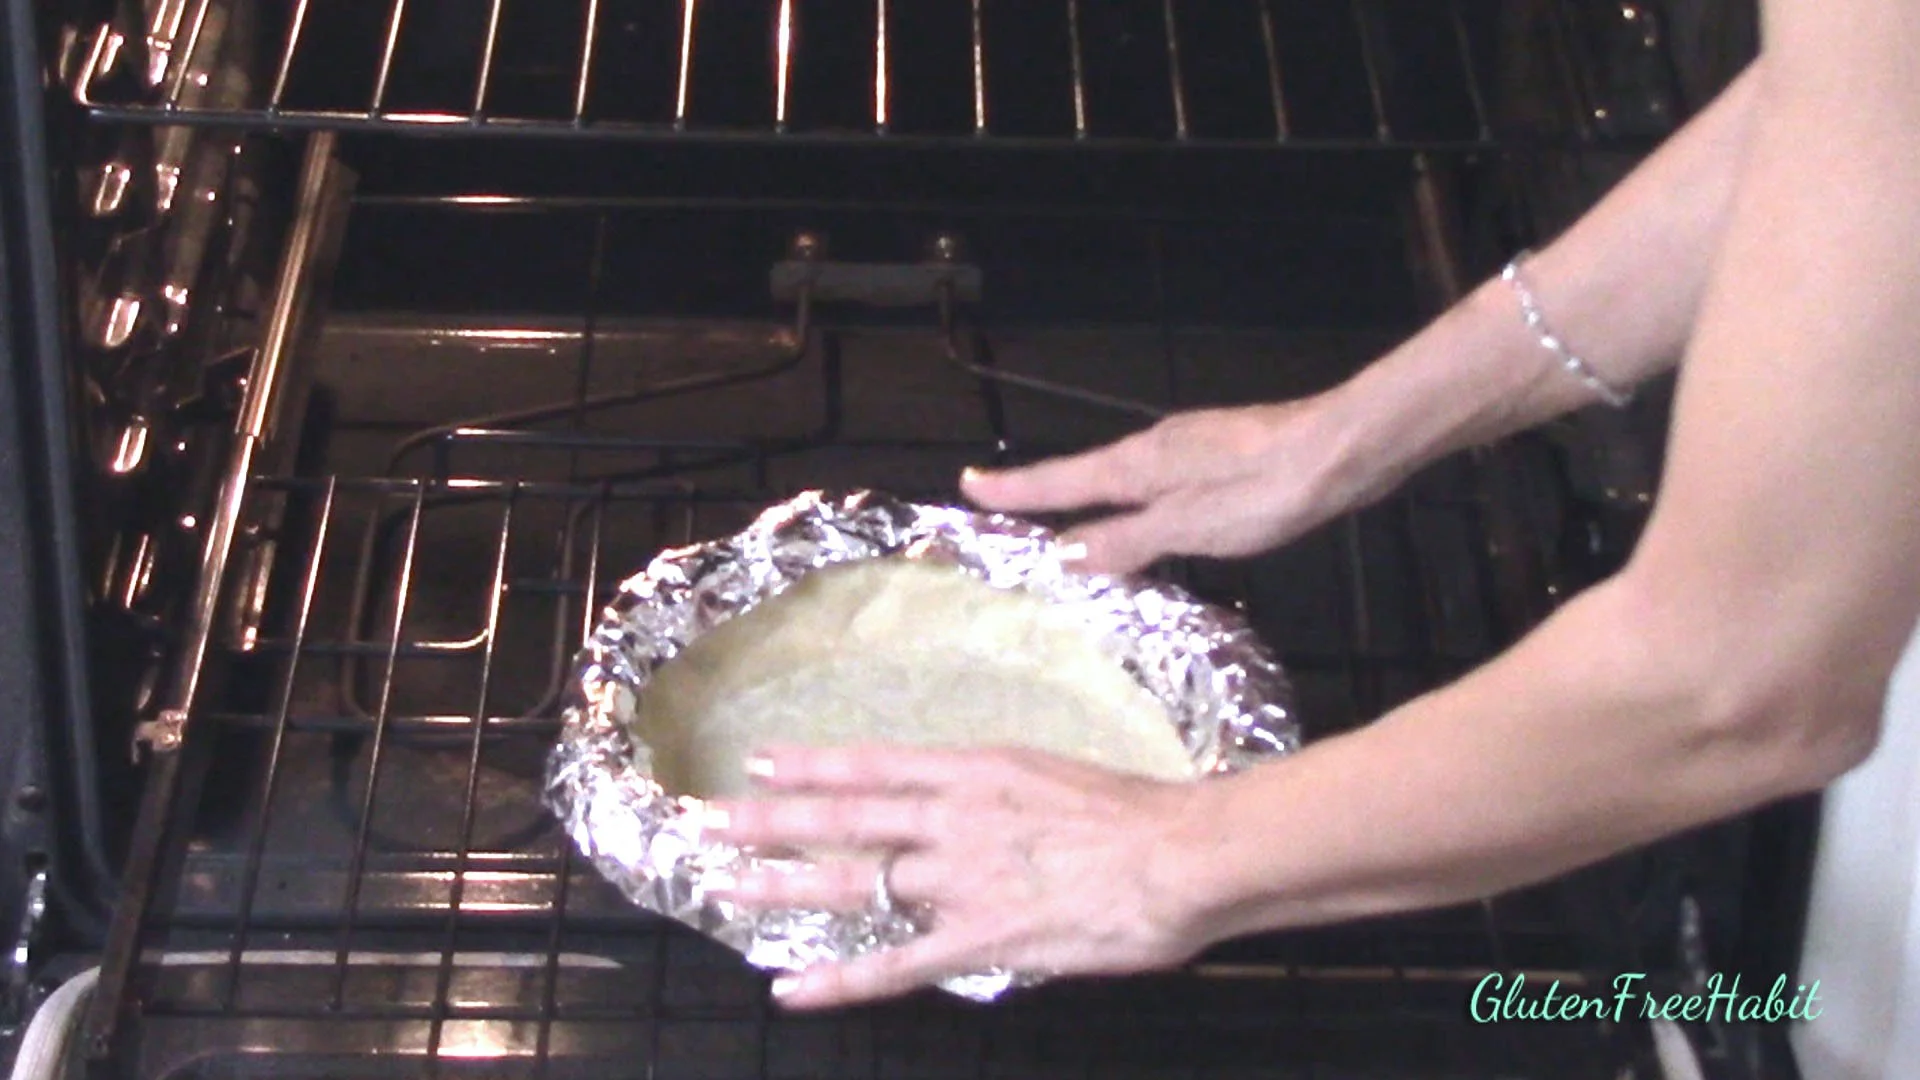
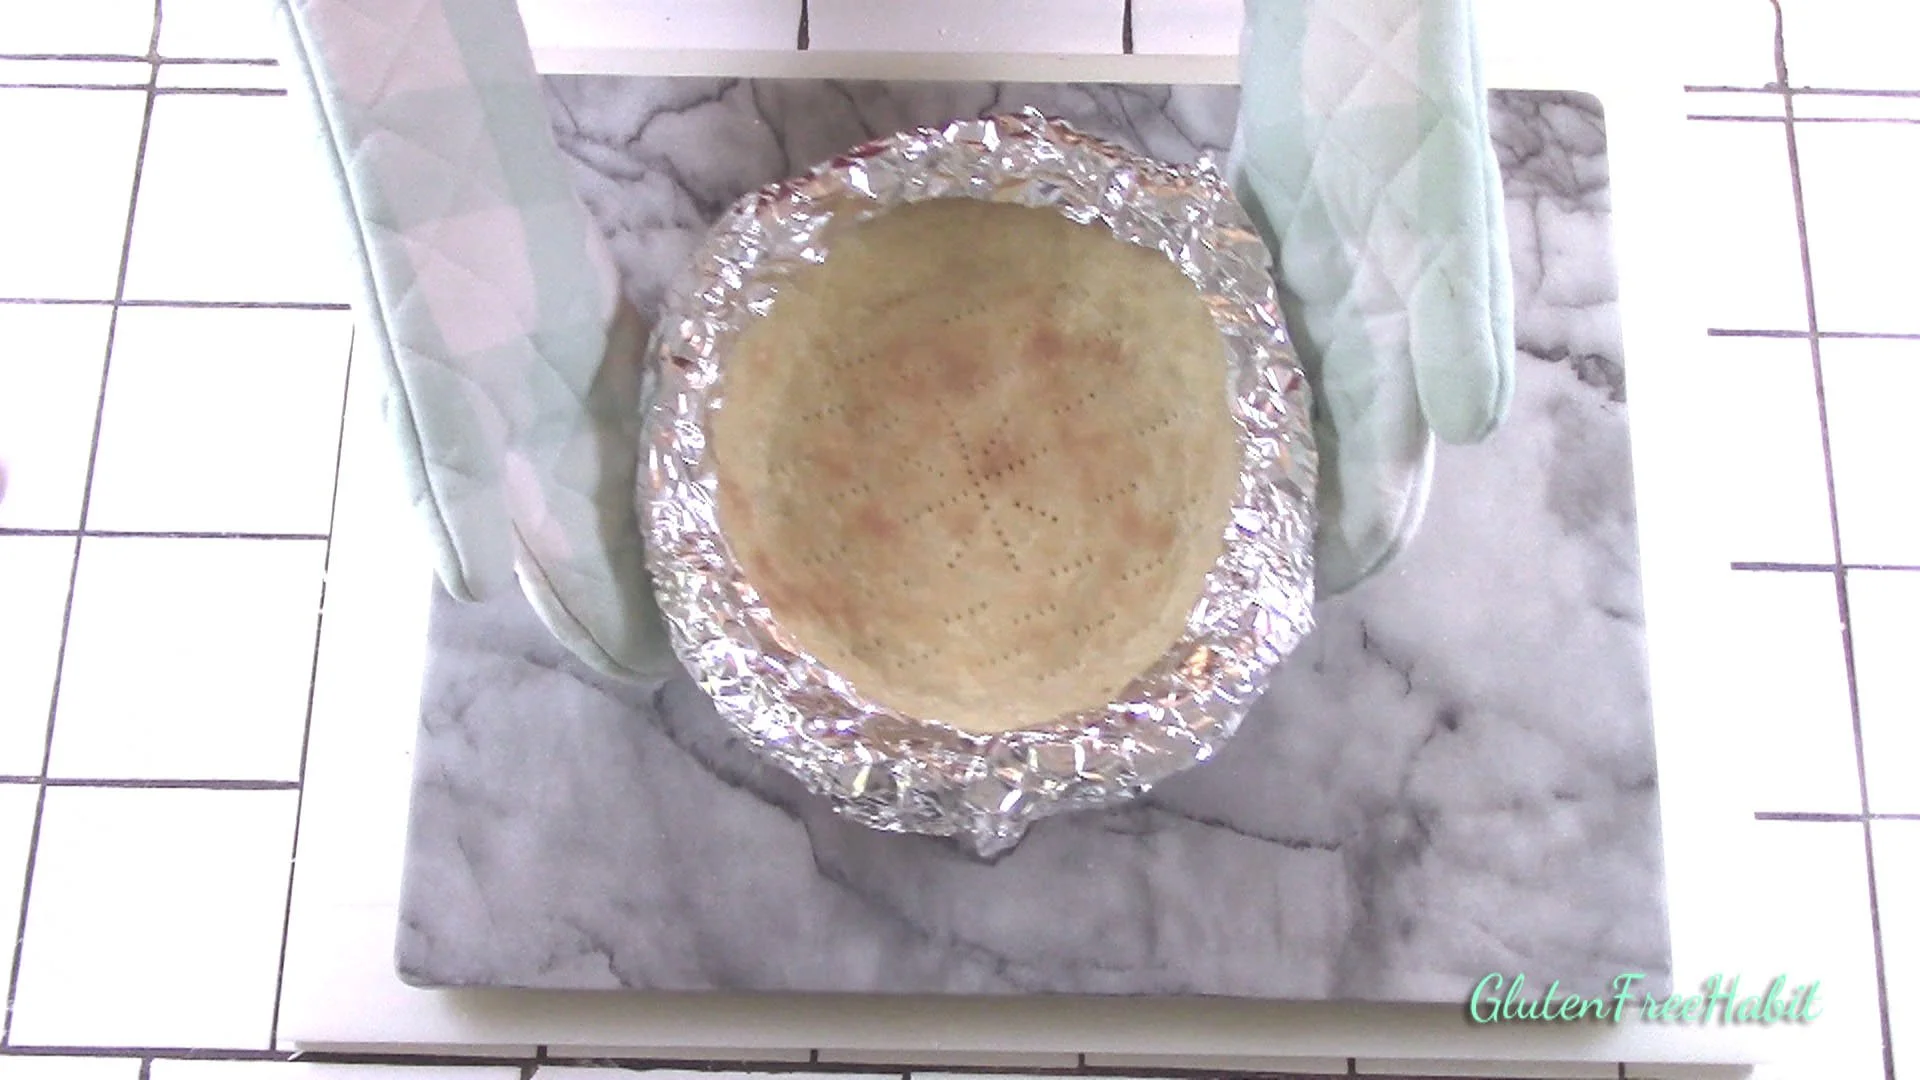
27
Lay down a piece of plastic wrap.
28
Form dough into large ball.
29
Cut off 25% of dough. (Or, if making a double-crust pie, divide dough in half.)
30
Cover with plastic wrap, and gently press into a disc.
31
Put dough into fridge to chill for 30 minutes before rolling out. Repeat process with remaining dough.
32
Set out two pieces of waxed paper.
33
Lightly dust work surface with gluten free flour.
34
When dough is chilled, remove from fridge and let stand until soft enough to roll out, but still chilled (about 10 minutes, but this depends on how warm your house is).
35
Lightly dust rolling pin with gluten free flour.
36
Roll out dough into a circle, until it’s about 12”-13” across, and 1/8” thick (think two quarters stacked on top of each other.)
37
Trim outer edge of dough to form a perfect circle.

38
Peel away excess dough.
39
Gently roll dough onto your rolling pin,
40
and unroll it into your pie plate.
41
Lift excess dough around top edge to help slide the dough down into bottom edges of plate. Never stretch dough.
42
Fold excess dough under, all the way around the pie plate, gently pressing dough together.
43
Use palm of hand to smooth side walls.
44
Create a design around the top edge of pie crust: A fork can be used to gently press lines into the dough.
45
Or, use a spoon, upside down, for a pretty pattern.
46
My favorite design is this fluted edge. Using just your thumb and pointer fingers, press from opposite sides of the dough to form the ruffles. So pretty!
47
Using the tines of a fork, poke holes liberally on the bottom of the pie dough.
48
Trim excess dough from outer edge of pie plate, using a knife.
49
Refrigerate 30 minutes (or more). This step is so important! It will help with final texture/flakiness of the crust. The butter should be chilled until it enters the oven.
50
Wrinkle up a piece of parchment paper (to help it form to the shape of the pie shell).
51
Re-open it, and smooth it into the pie shell.
52
Fill with beans, rice, or pie weights, all the way up to the top edge of pie shell.
53
Gently push beans against the side walls of the dough.
54
Bake 15 minutes on one of the lower racks (mine is set in the second to bottom position).
55
After 15 minutes, remove from oven. Be careful not to break the edge!
56
Remove pie weights, beans, or rice.
57
Return to oven and cover with tinfoil ring to protect from over-browning. Bake an additional 15-20 minutes or until bottom is golden brown. Total baking time will vary depending on your oven and the thickness of your dough.
58
Remove from oven and let fully cool before filling.
Yay! Time to eat!

Ready to Make Some Gluten Free Pie Crust?
Before you get to baking, make sure you have everything you need for success! Shop for gluten free flours, baking pans, cutting boards, serving dishes, and cookware in my Amazon shop!

The Recipe:
GLUTEN FREE PIE CRUST
* IMPORTANT…When measuring out your flours, DO NOT scoop your measuring cup into a tub or bag. This will result in using more flour than called for. Instead, pour or spoon the flour into your measuring cup, and level off with flat side of a knife. If possible, measure your flours by weight for best accuracy.
INGREDIENTS
1 ½ cup white rice flour (7.9 oz.)
1 cup brown rice flour (4.8 oz.)
¾ tsp salt
2 tsp. xanthan gum
2 Tbsp. granulated sugar
¾ cup + 2 Tbsp. unsalted butter (14 Tbsp.)
½ cup sour cream (not light)
1 large egg
Ice water as needed (I use 4 T)
Also Needed:
Pastry cutter
Parchment paper
Waxed paper
Pie weights, rice, or beans
9" pie plate
DIRECTIONS
Getting Ready
In a small bowl, add ice to about ¼ c water. Set aside.
Cut butter into small cubes (about ½” – ¾”) and put in freezer.
Crack the egg into a small bowl and whisk. Put into refrigerator.
Prepare a tinfoil ring to protect edges of pie crust as it bakes.
Let’s Get Started
To a large mixing bowl, add white rice flour, brown rice flour, salt, xanthan gum, and sugar. Whisk well.
Add in butter, separating cubes and dispersing throughout flour mixture.
Using pastry cutter, cut in the butter until it is evenly distributed, and pieces are pea-sized.
Add in sour cream. Cut in the sour cream until it is no longer visible.
Take egg bowl out of refrigerator and whisk.
Add egg to flour mixture. Stir gently until fully incorporated.
Add one tablespoon of ice water. Stir in gently with fork.
Continue adding water, one tablespoon at a time, just until all dry crumbs are very lightly moistened. I find that 4 tablespoons is perfect for my dough. Dough will be somewhat moister than typical “gluten” dough, but should never be so moist that it gets sticky.
Form dough into a large ball.
Divide off about 25% of the dough. This can be used for decorations on the pie, or for cinnamon sugar pie crust treats. If making a double-crust pie, divide dough into halves instead.
Place dough balls onto separate pieces of plastic wrap.
Press gently into disc shapes and smooth edges.
Wrap with plastic and place in refrigerator for at least 30 minutes to re-chill the dough.
When dough is chilled, remove from fridge and let stand until soft enough to roll out, but still chilled (about 10 minutes, but this depends on how warm your house is).
Unwrap large ball of dough and place on waxed paper, lightly dusted with gluten free flour (I prefer tapioca starch for this).
Lightly dust top of dough and rolling pin with gluten free flour.
Roll dough until it’s about 12”-13” across, and 1/8” thick (think two quarters stacked on top of each other.)
Gently roll dough onto your rolling pin and unroll it into your pie plate.
Lift excess dough around top edge to help slide the dough down into bottom edges of plate. Never stretch dough.
Fold excess dough under, all the way around the pie plate, gently pressing dough together.
Create a design around the edge with a fork, a spoon, or your fingers.
Trim excess dough from outer edge of pie plate, using a knife.
Using the tines of a fork, poke holes liberally on the bottom of the pie dough.
Refrigerate 30 minutes (or more). This step is so important! It will help with final texture/flakiness of the crust. The butter should be chilled until it enters the oven.
Preheat oven to 400°.
After 30 minutes, remove pie dough from refrigerator.
Wrinkle up a piece of parchment paper (to help it form better to the shape of the pie shell). Re-open it, and place in pie plate.
Fill with beans, rice, or pie weights, all the way up to the top edge of pie shell, gently pushing beans against the side walls of the dough.
Bake 15 minutes on one of the lower racks (mine is set in the second to bottom position).
Remove from oven. Remove pie weights.
Cover edges of pie with tinfoil ring to protect from over-browning.
Return to lower rack in oven. Bake approx. 15-20 minutes more. Total baking time will vary depending on your oven and the thickness of your dough.
Continue baking until bottom is lightly golden brown.
Remove from oven and let cool fully before filling.

Tip: Please follow ingredients and directions exactly for ideal results. Great pie crust is just as much about the process as it is about the ingredients.
Tip: An egg wash can give your crust an additional shine and a darker color. I have not used an egg wash in this recipe, but if you would like to, it’s easy! Just whisk together 1 egg and 1 T milk. Brush this on the top edges only before the first bake time, and later brush it on the bottom before the second bake time (after you have removed the pie weights).
Looking for Comments?
Please leave and read comments in the "Comments" section of the YouTube video above.
I can’t wait to hear from you!