Gluten Free Ice Cream Sandwiches

Summer is ice cream time! Actually, any time is ice cream time :) These homemade gluten free ice cream sandwiches are so much fun to make (get the kids involved!), and they’re great because you can customize them to your liking! Pick the ice cream flavor, and everyone can dip the edges into their favorite treat!
Makes: 8 ice cream sandwiches (2"x4")

Show Me How

Walk Me Through It
1
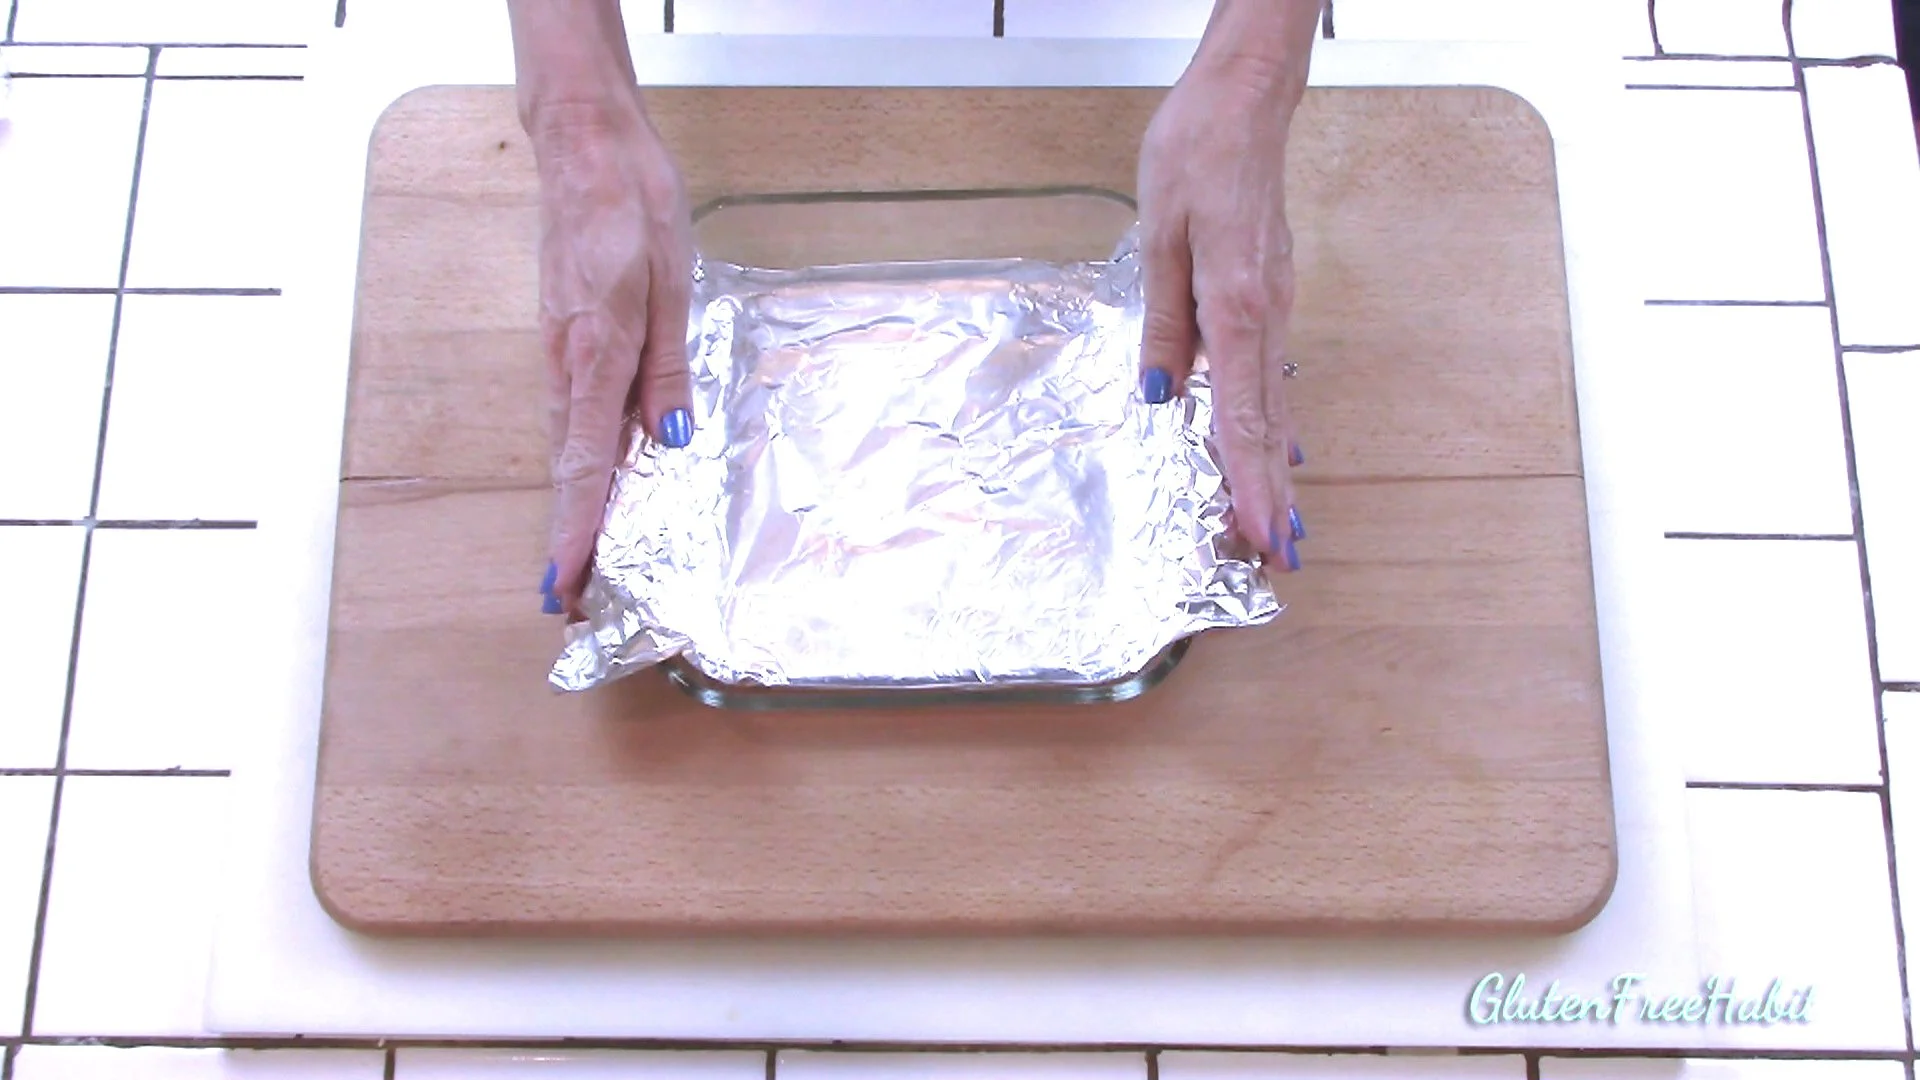
STEP ONE NEEDS TO BE DONE AT LEAST A COUPLE HOURS IN ADVANCE OF ALL OTHER STEPS (or night before): Line an 8x8 pan with tinfoil and spray it lightly with non-stick spray. Allow a little tinfoil to hang over the edge. This will help you lift out the ice cream when it’s solid.
2
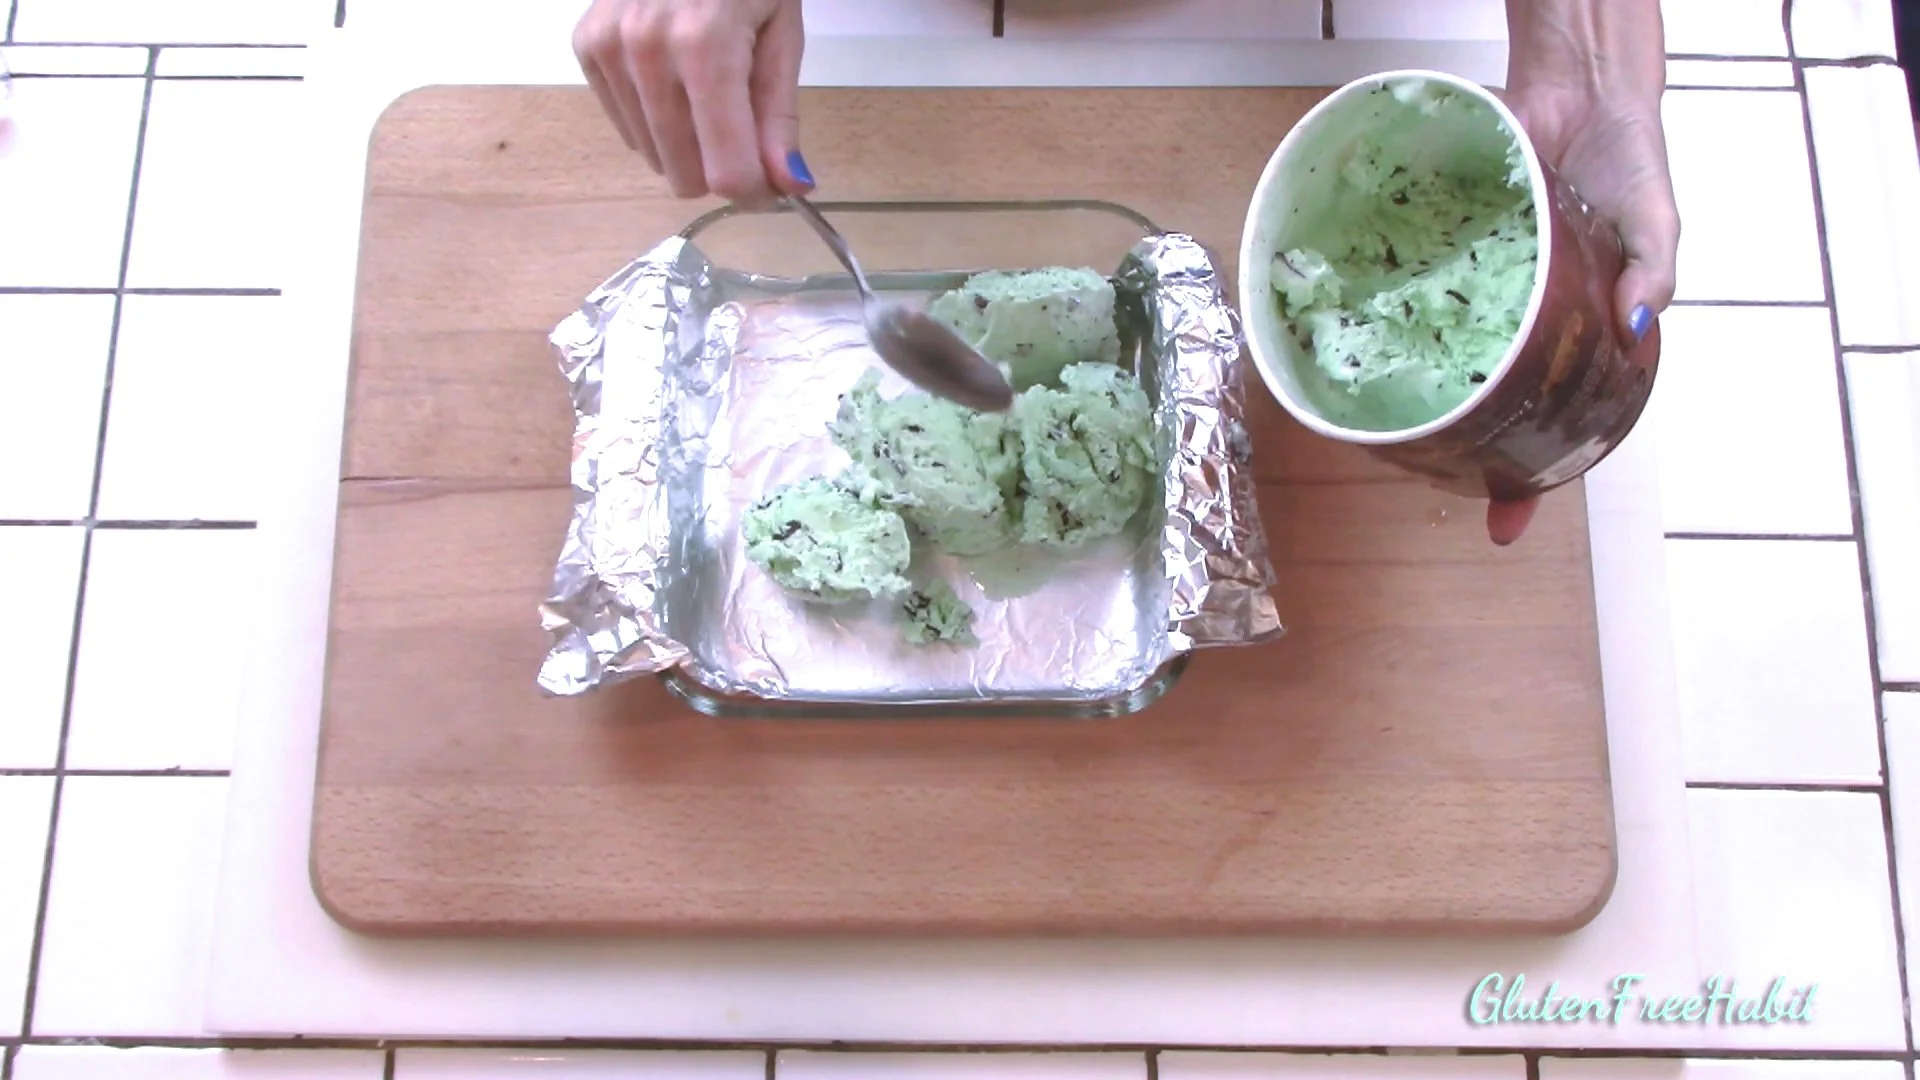
Fill with ice cream and allow to melt just enough to smooth it out.

3
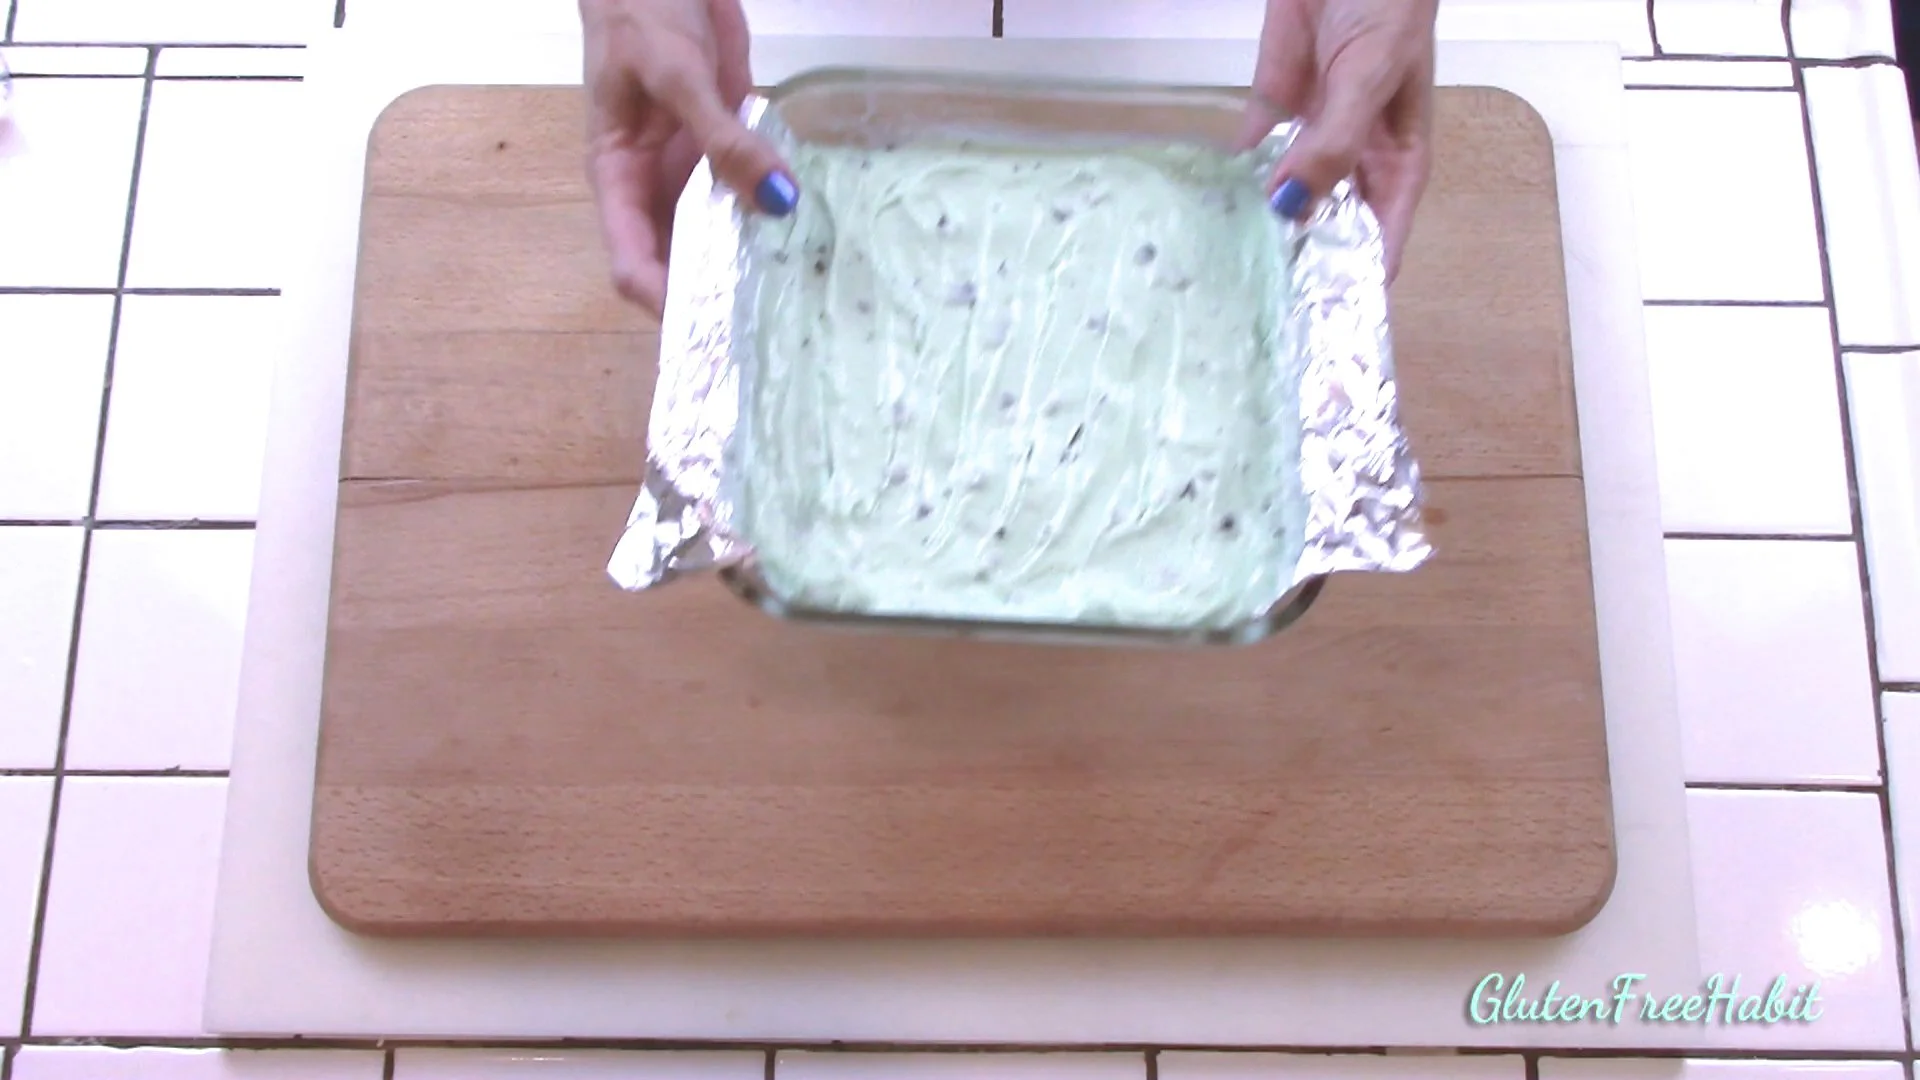
Press the ice cream in, and fill it as high as you would like your sandwiches to be!
4
Place in the freezer until totally solid. (In my freezer it takes a couple of hours at least. It just depends on how well your freezer does its job).
5
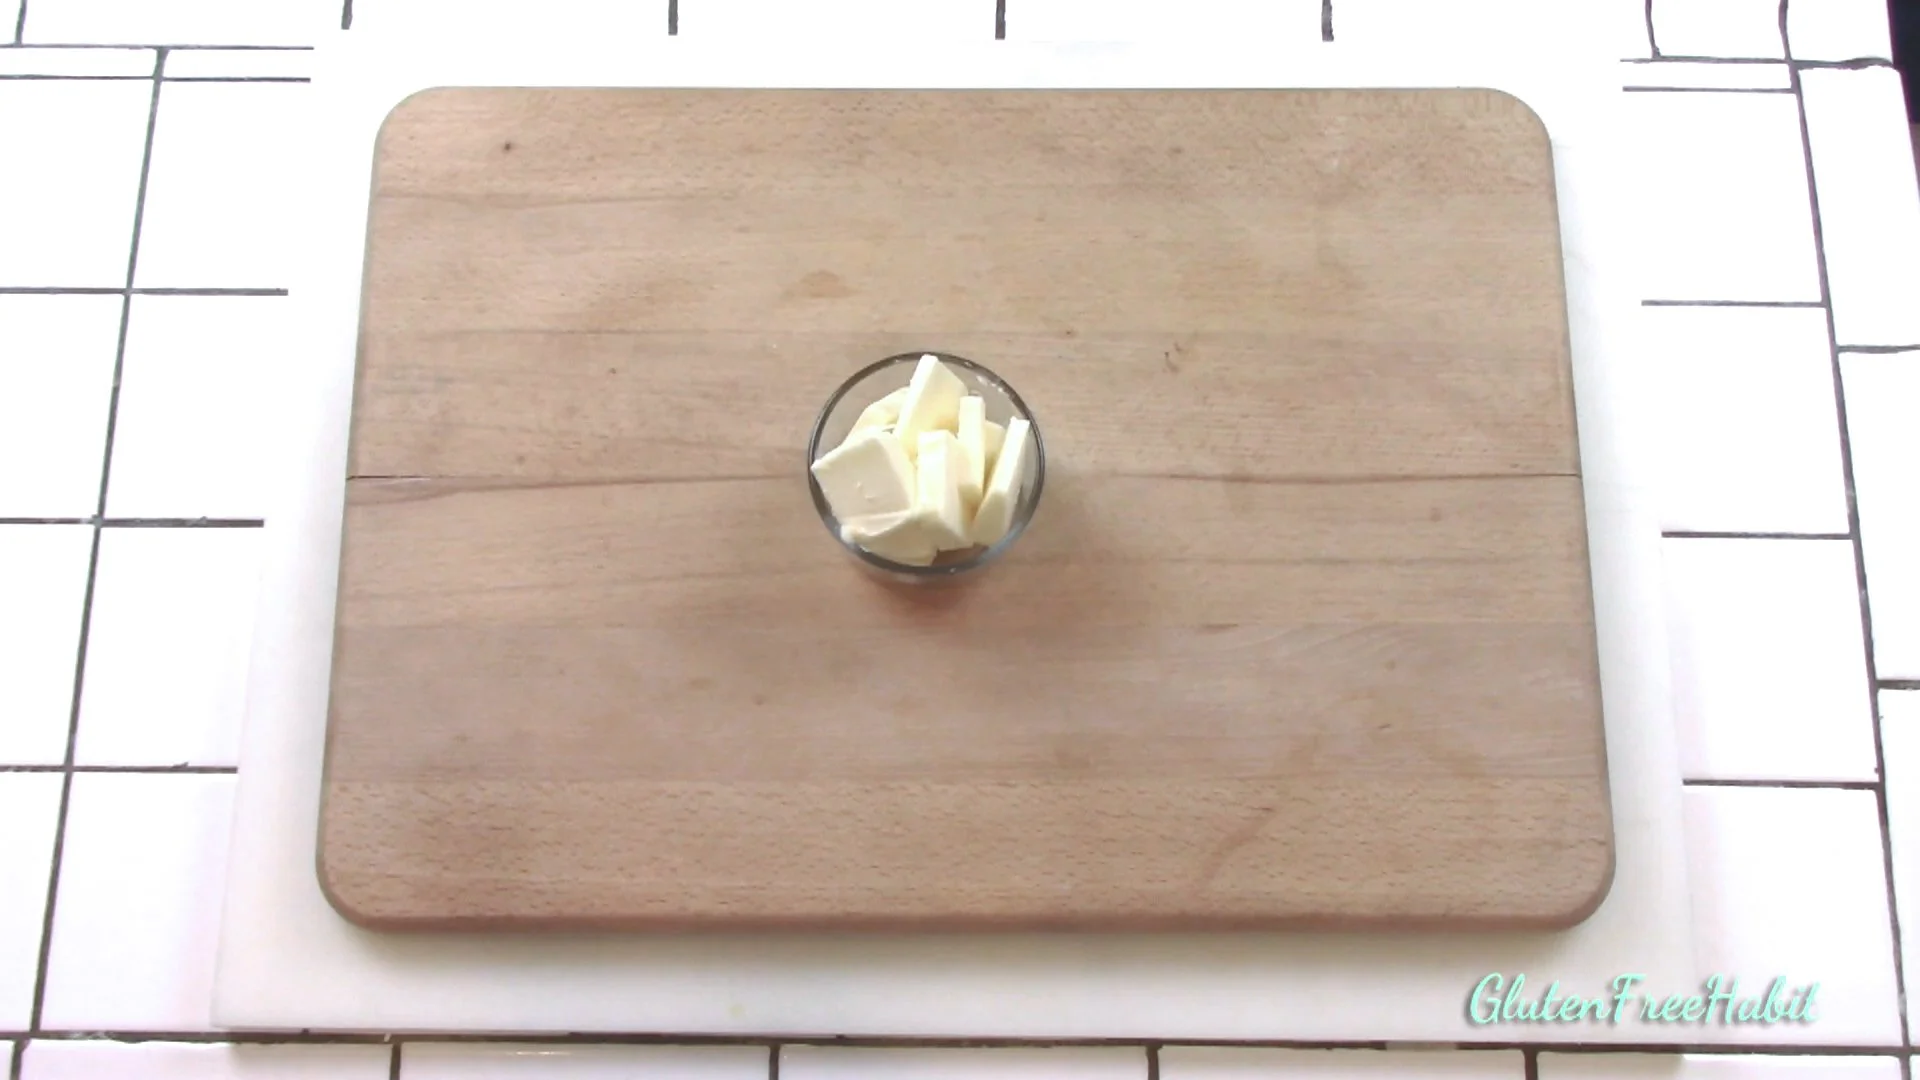
Set out butter to soften.

6
Line a cookie sheet with parchment paper. Allow a little bit extra to hang over the edge. This will help you lift it off the pan after baking.

7
Trim away any excess. Set pan aside.
8
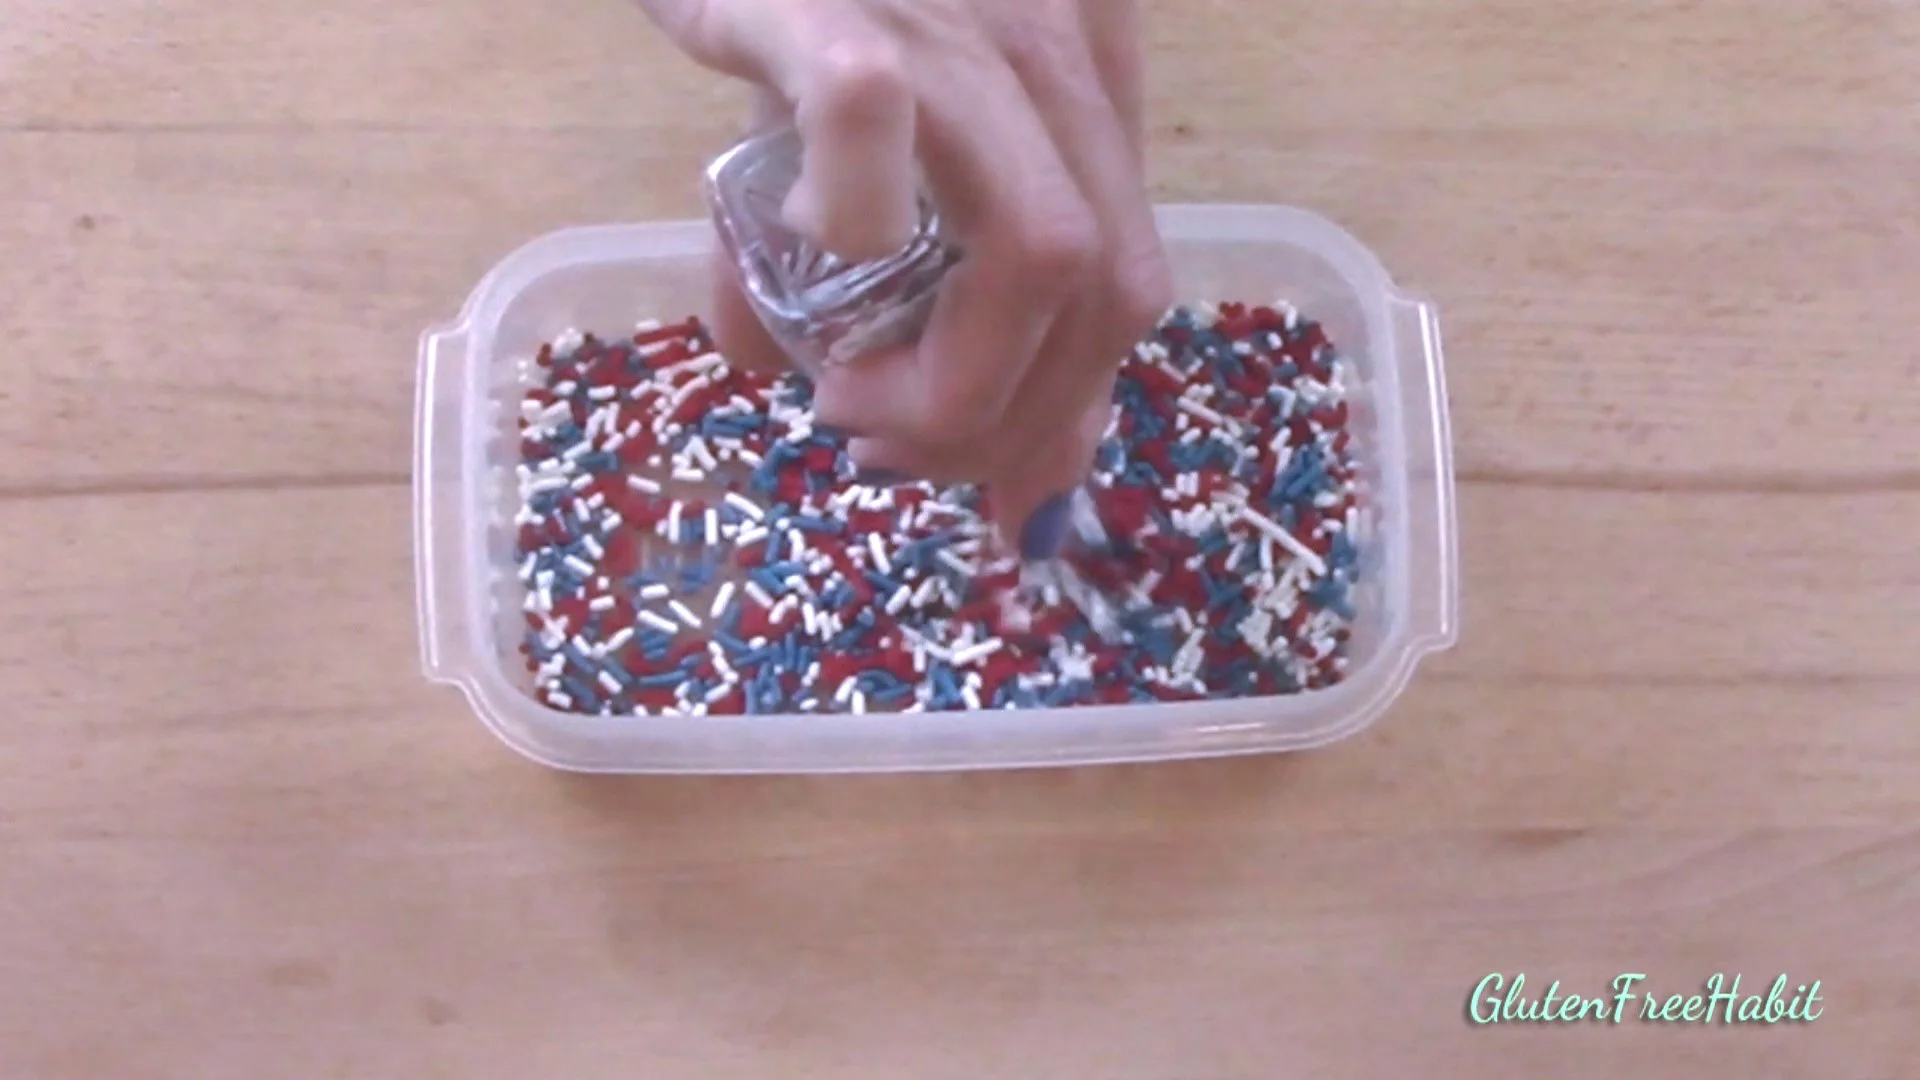
If you will be adding sprinkles or other treats, pour them into a wide bowl for easy dipping.
9
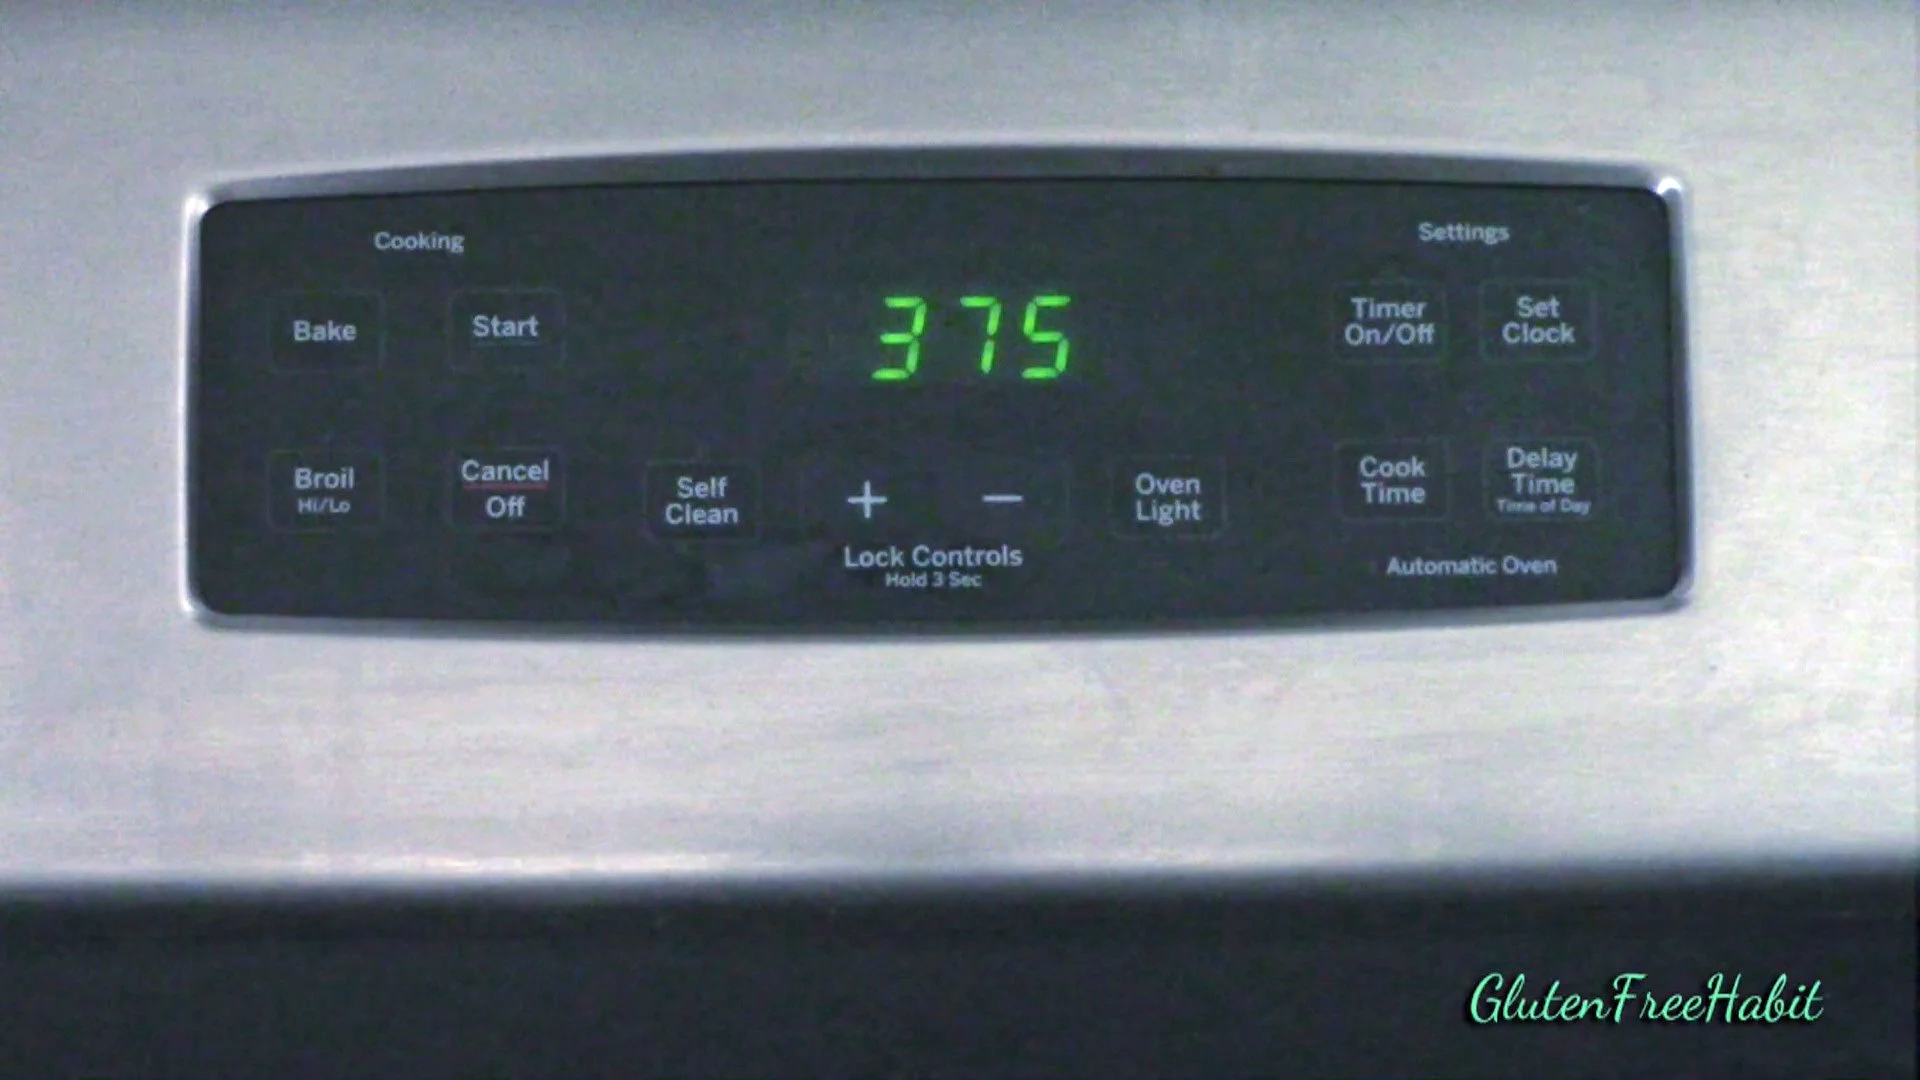
When ice cream is solid, preheat oven to 375 degrees.
10
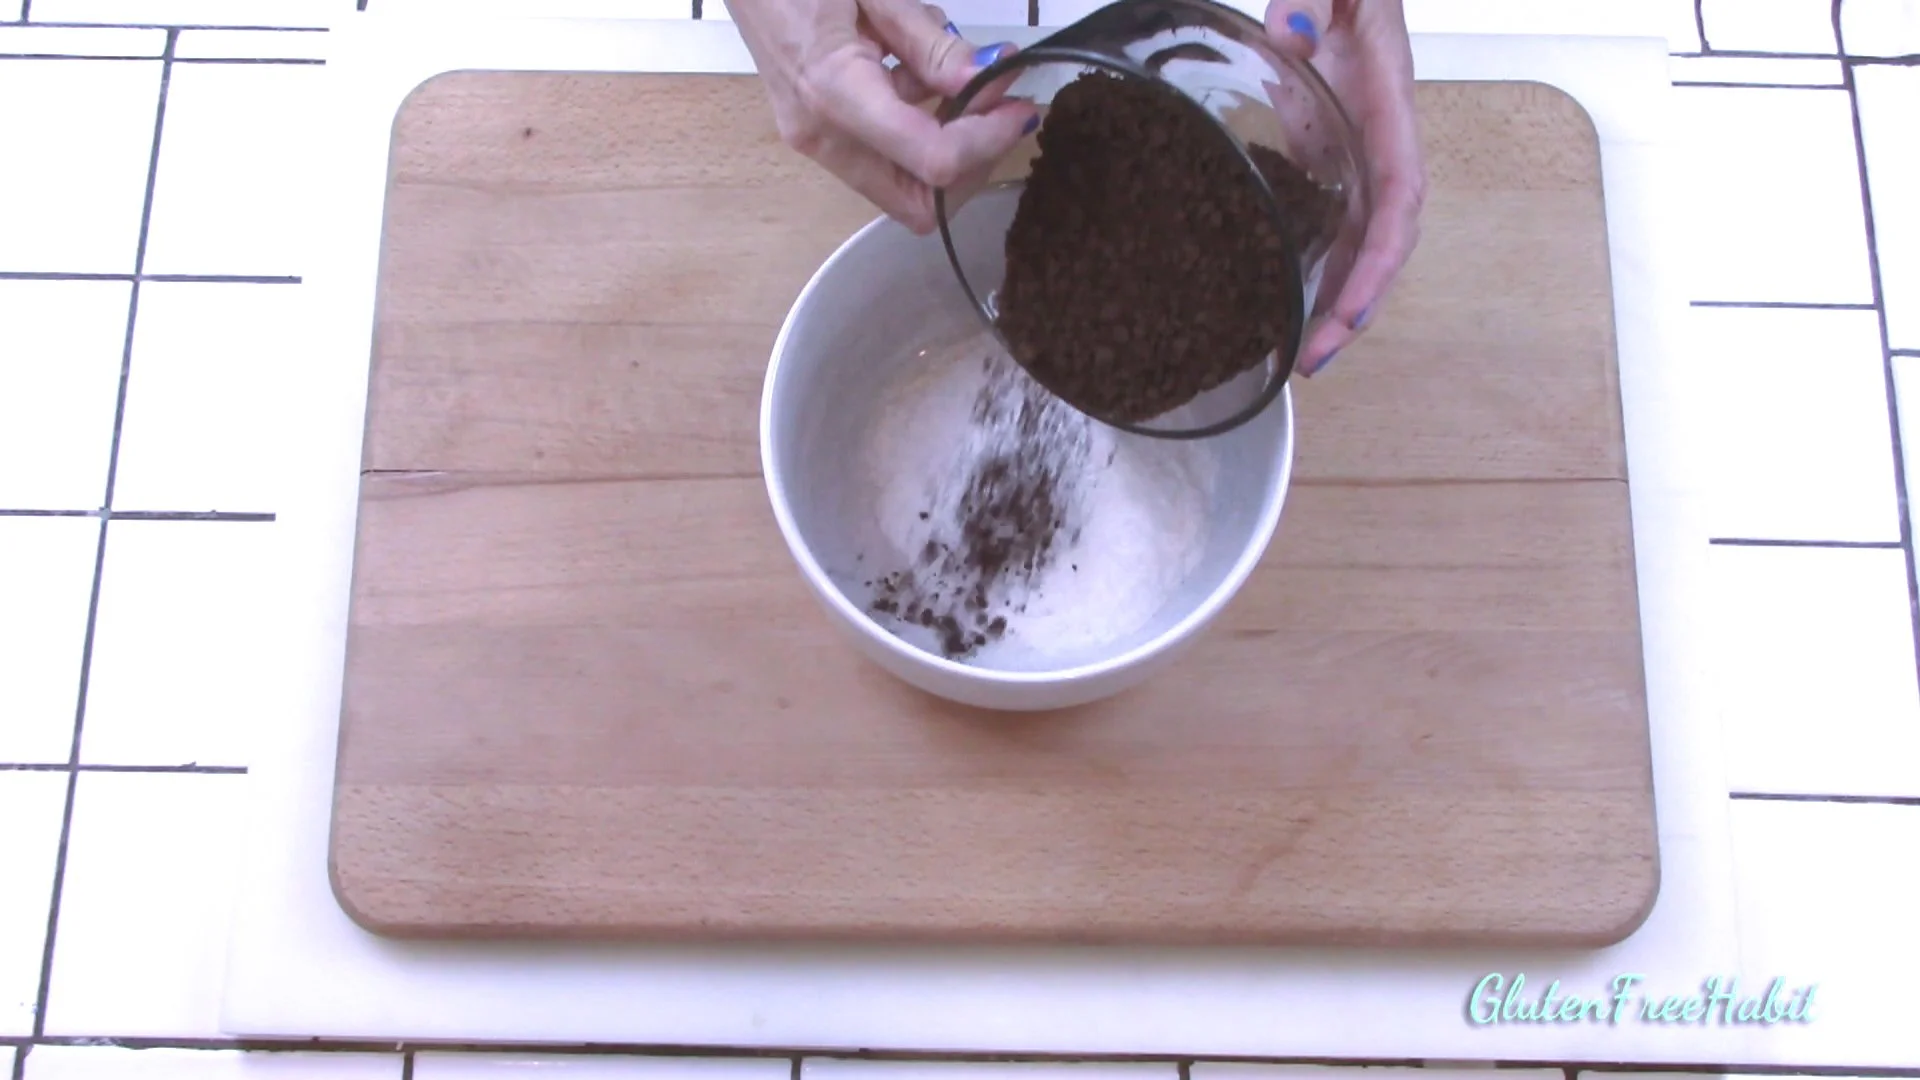
Set out a medium-sized mixing bowl. Add in your dry ingredients: the brown rice flour, white rice flour, cocoa powder, salt, baking powder, and xanthan gum.
11
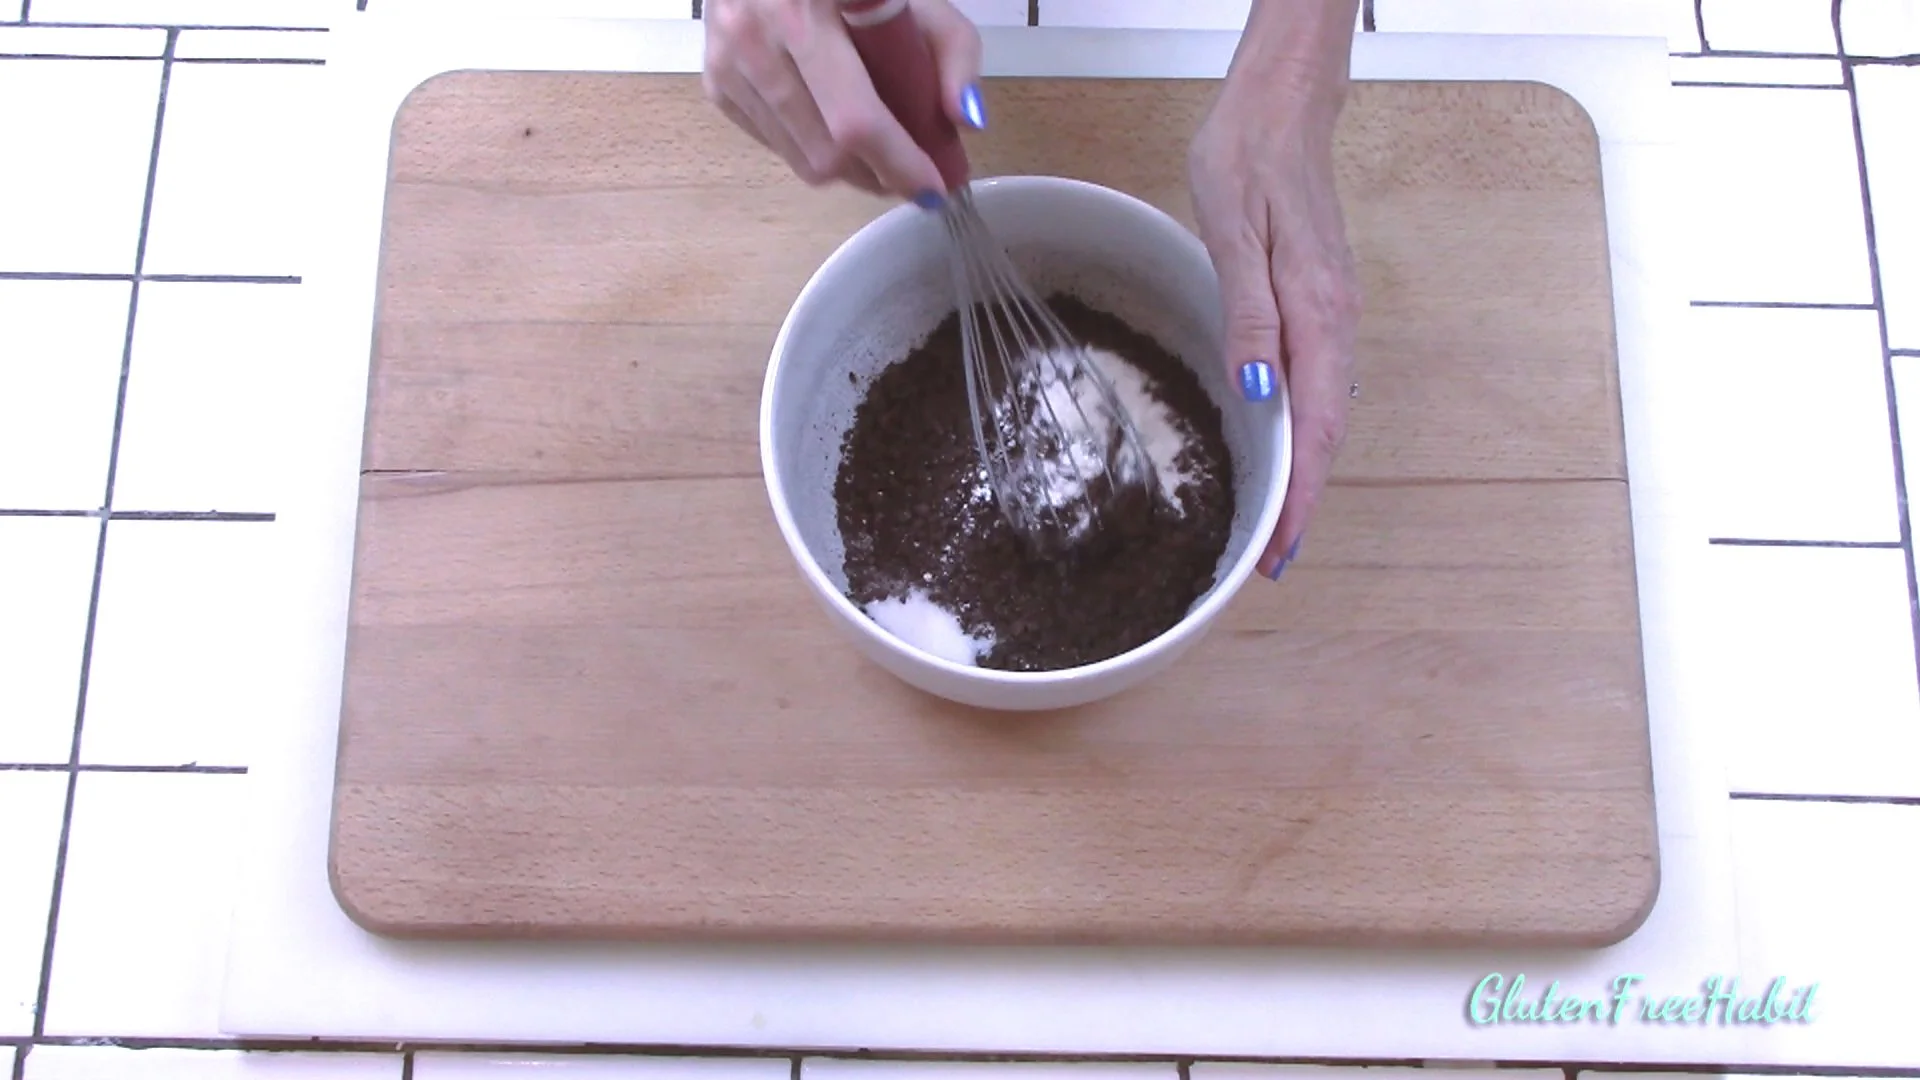
Whisk together and set aside.
12
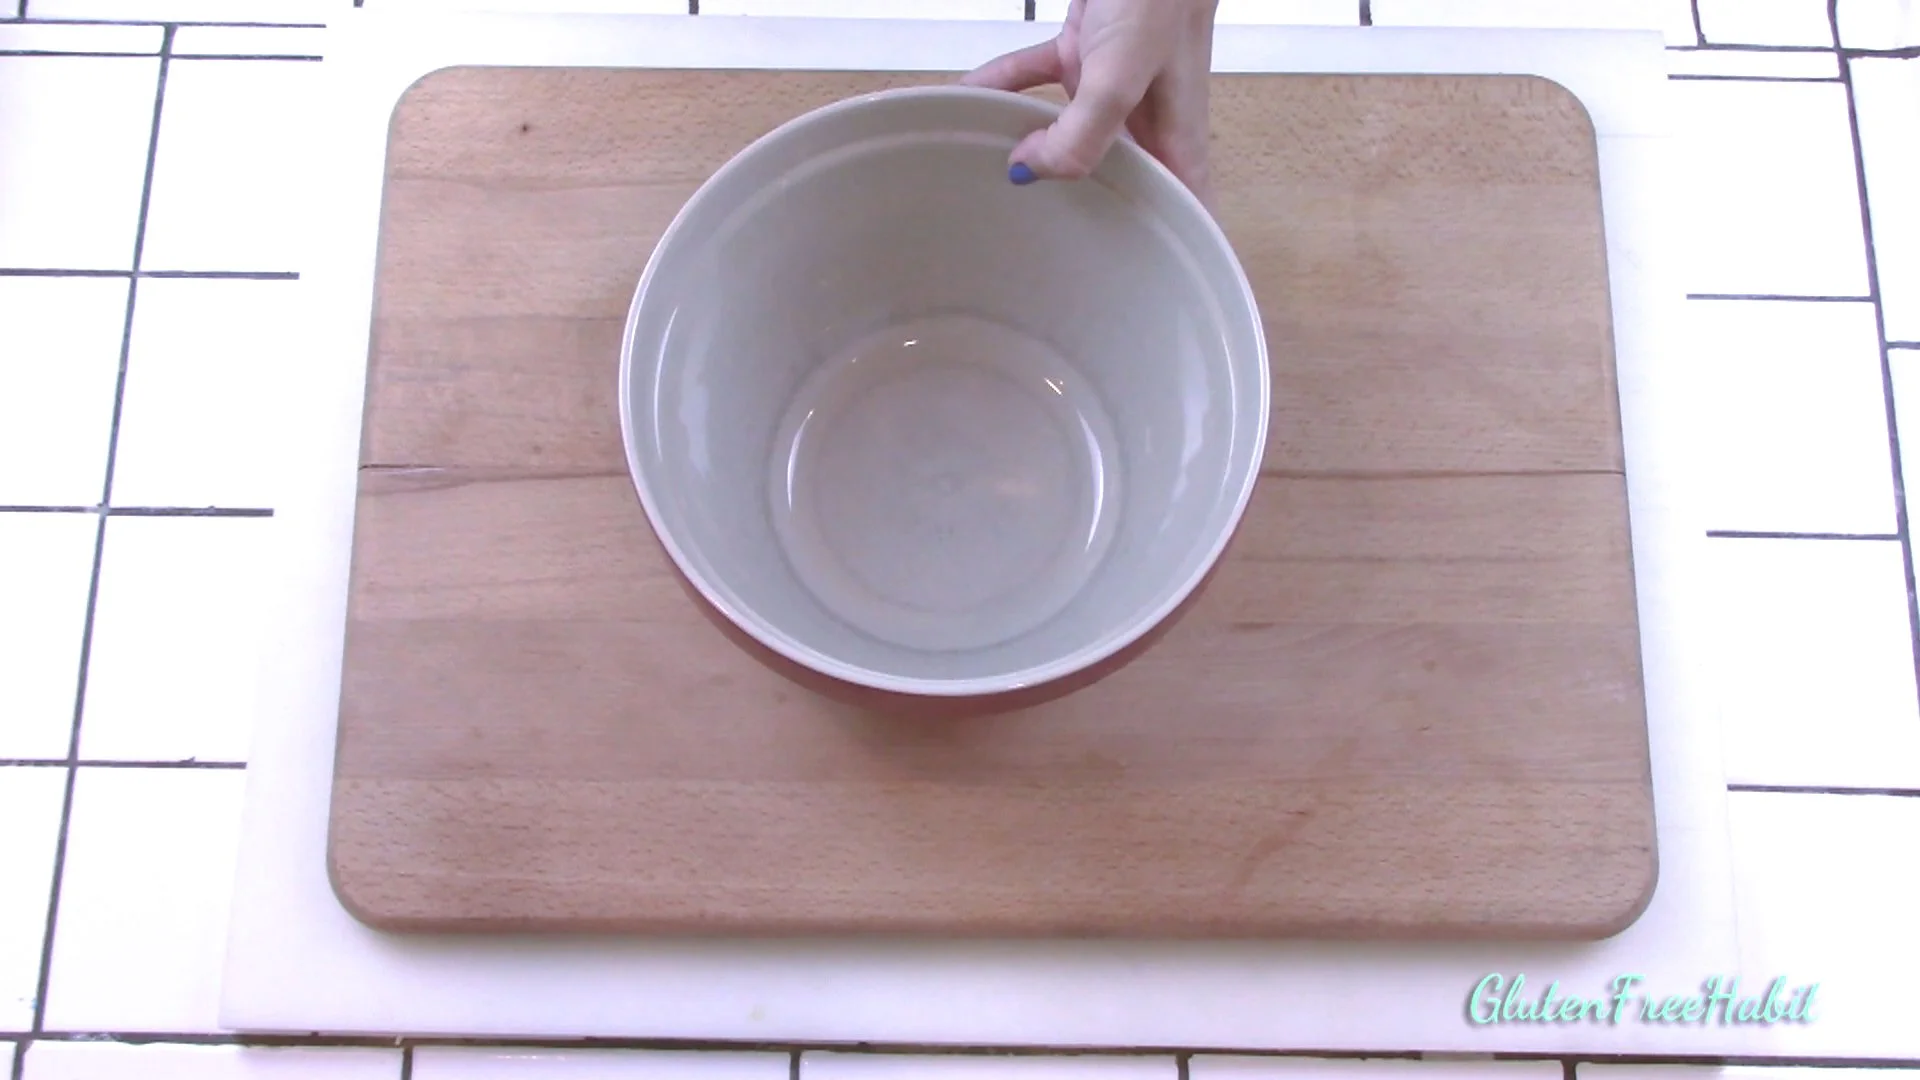
Set out a large mixing bowl.

13
Add your butter and granulated sugar.
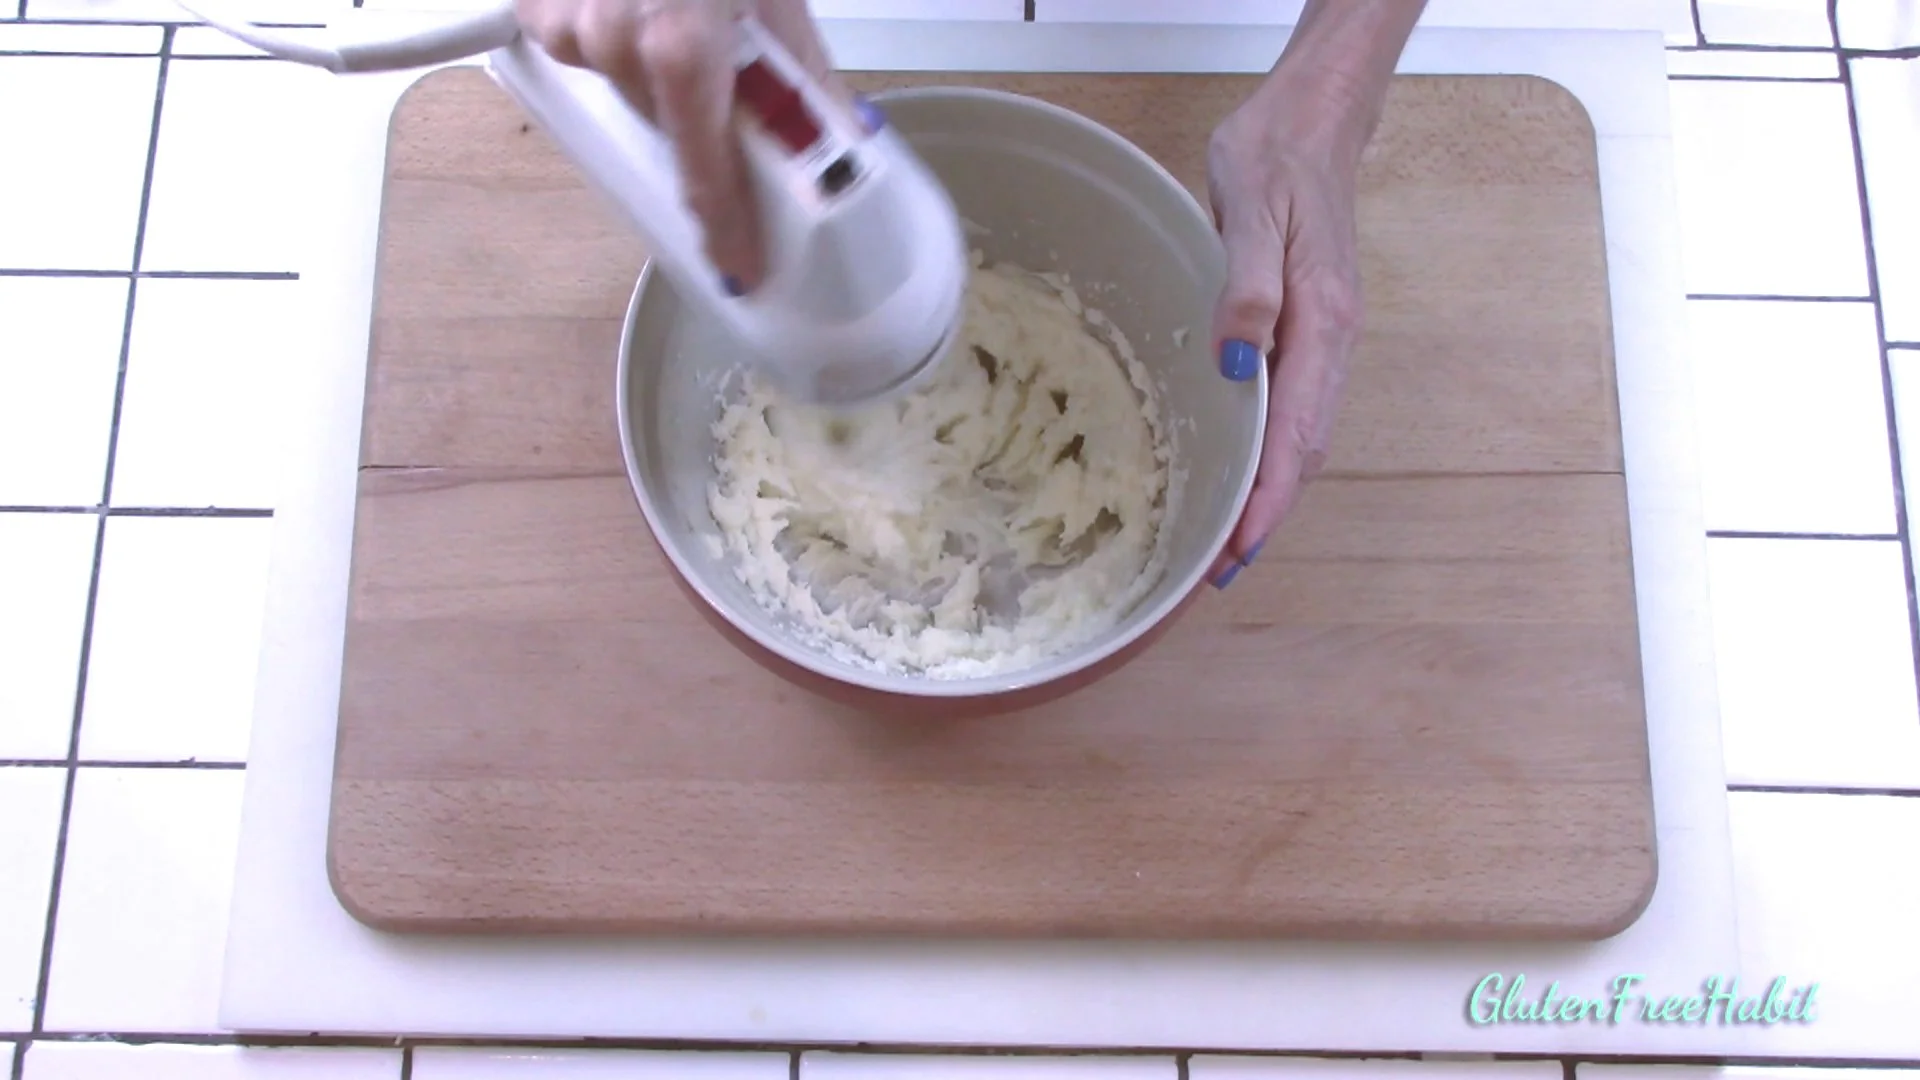
14
Beat until creamy.

15
Add in yolks and vanilla. Mix until well blended.

16
Add dry mixture into the butter/egg mixture.
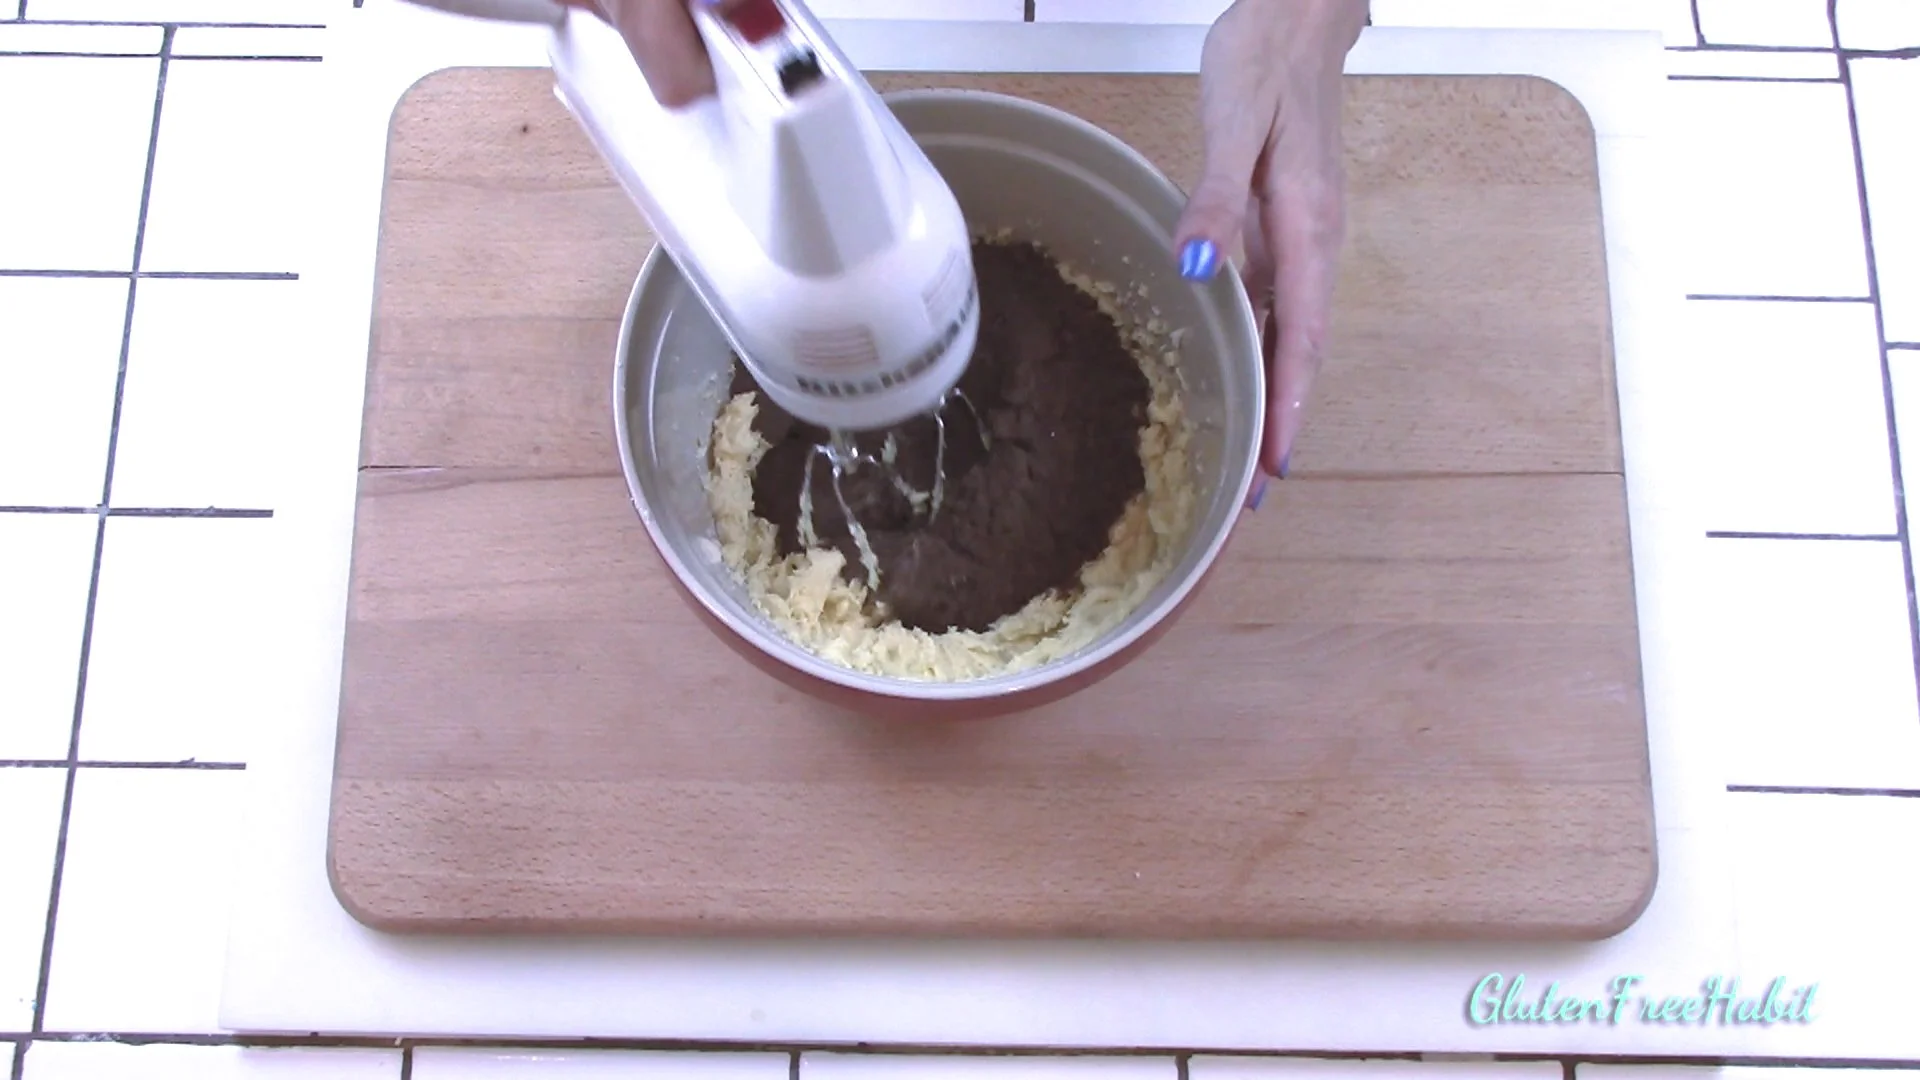
17
Mix until well blended.
18
Be sure to scrape down the sides when needed.
19
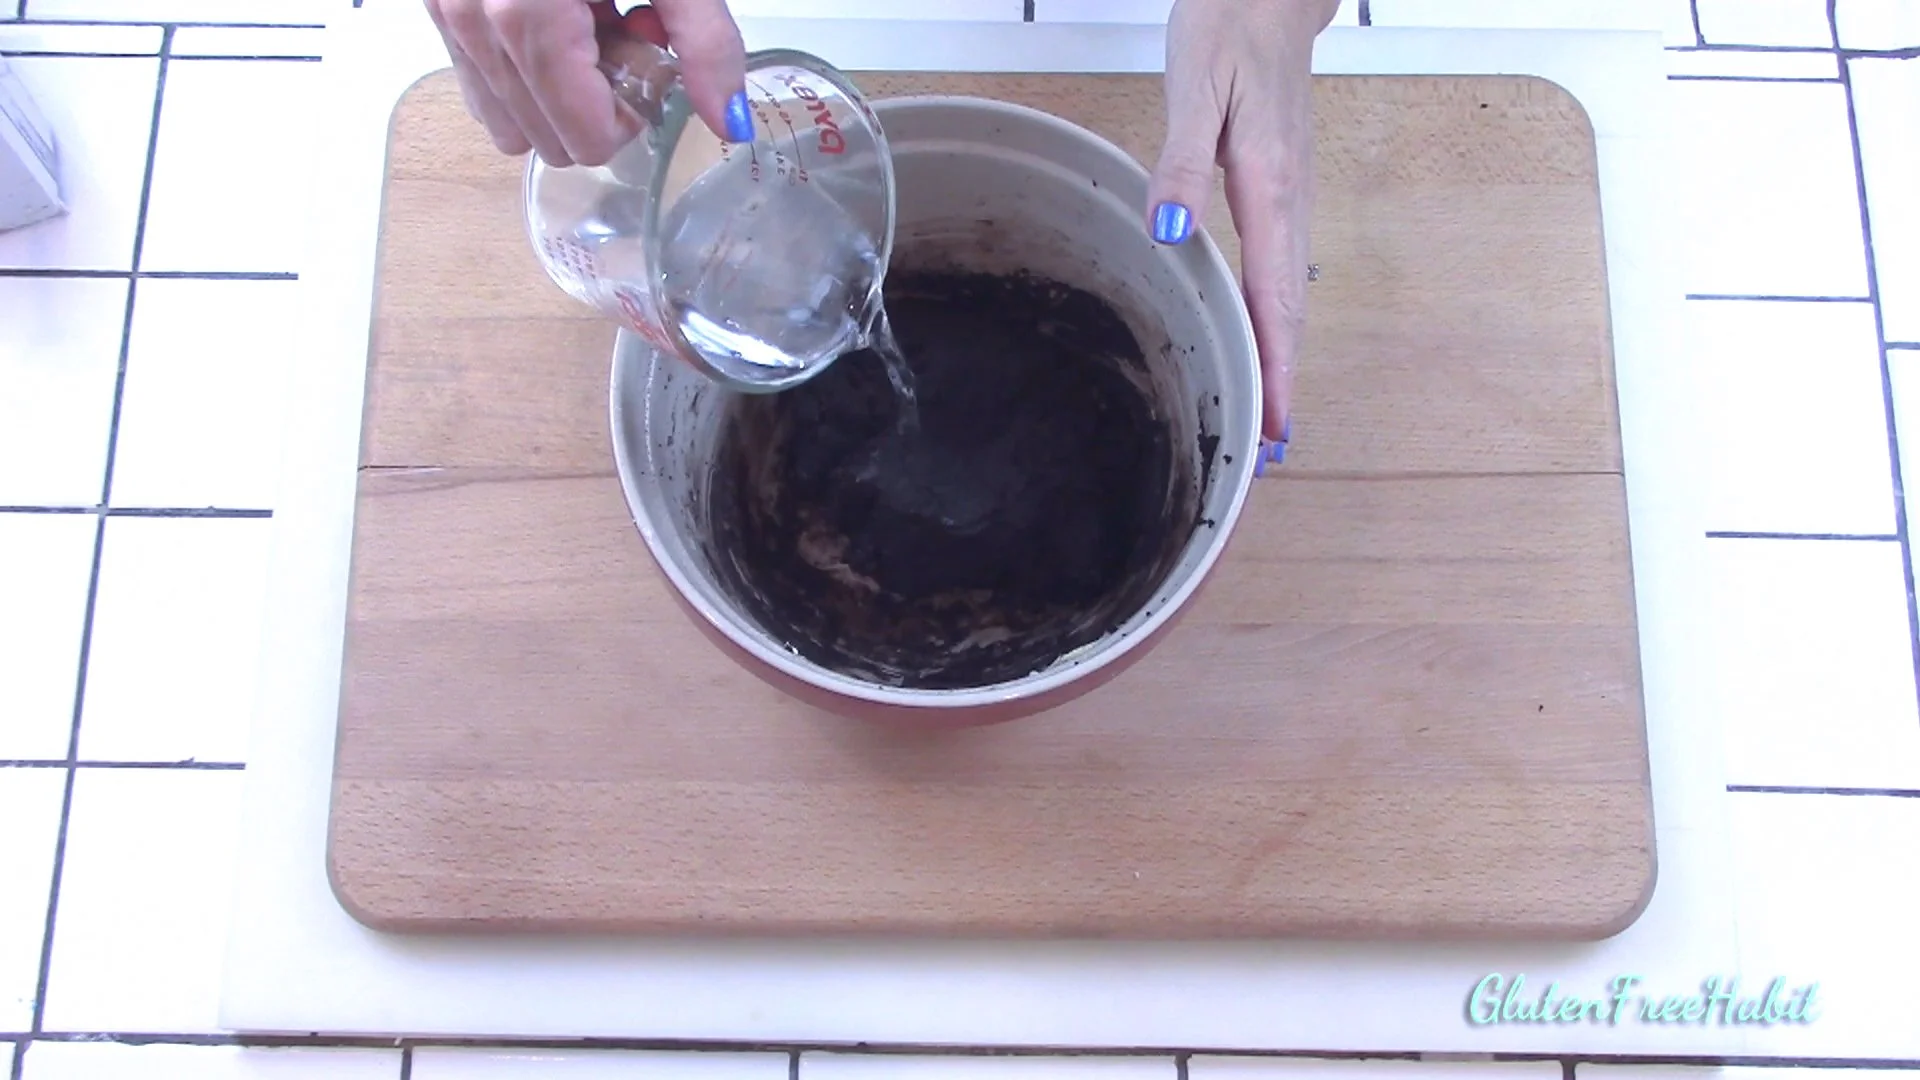
Add water.
20
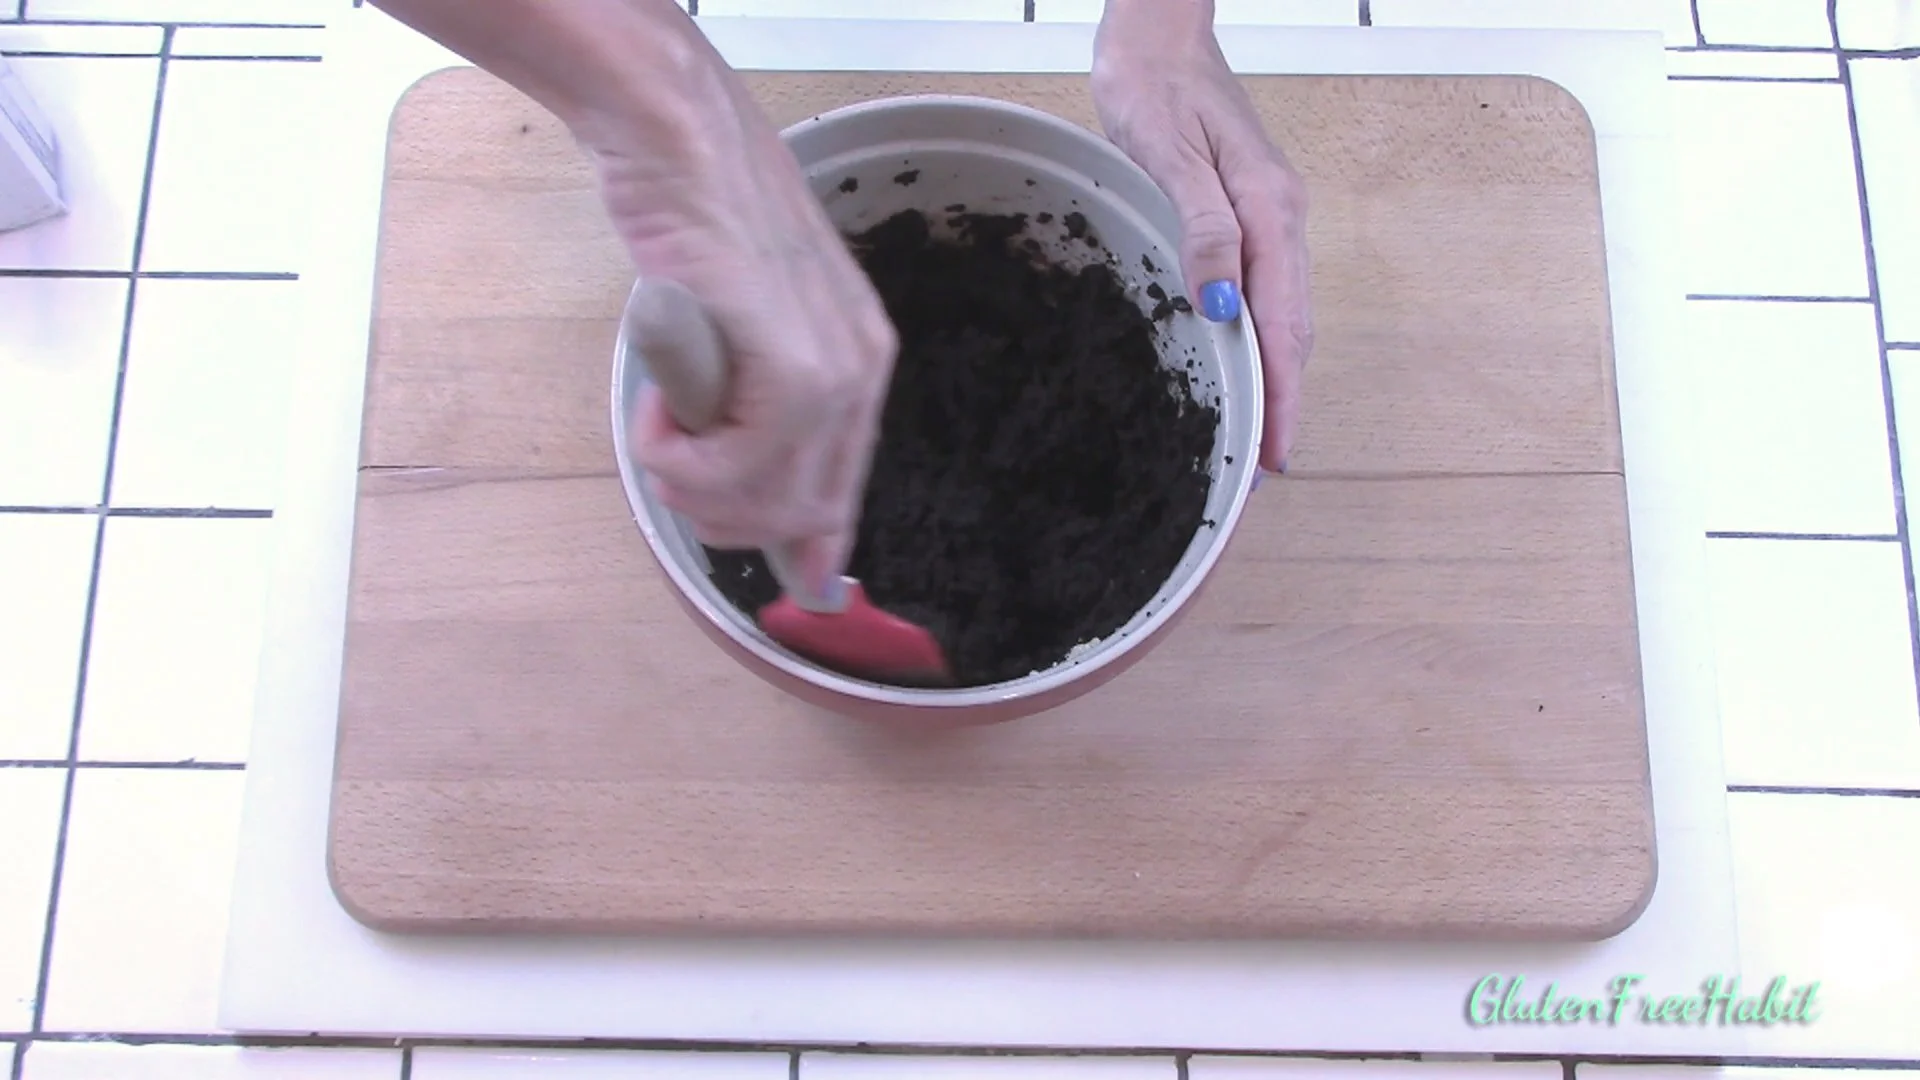
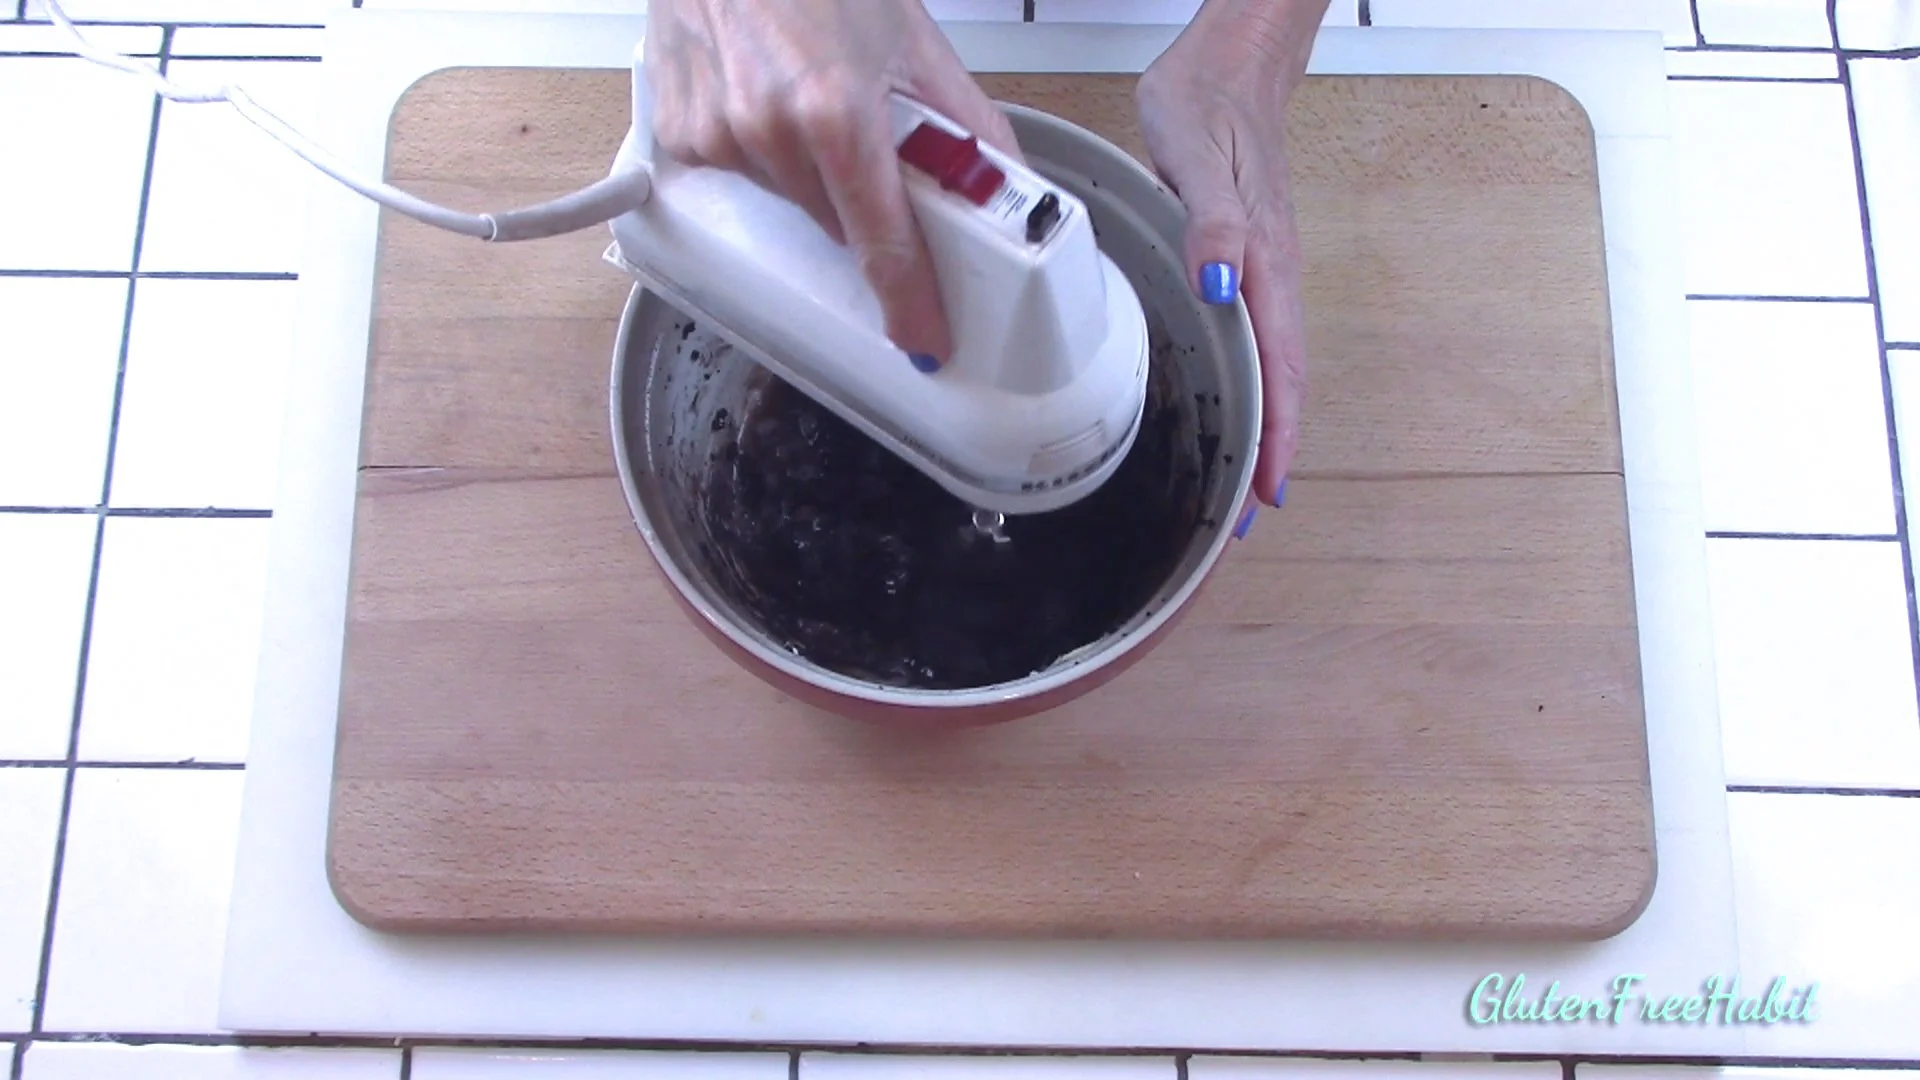
Mix until dough is smooth.
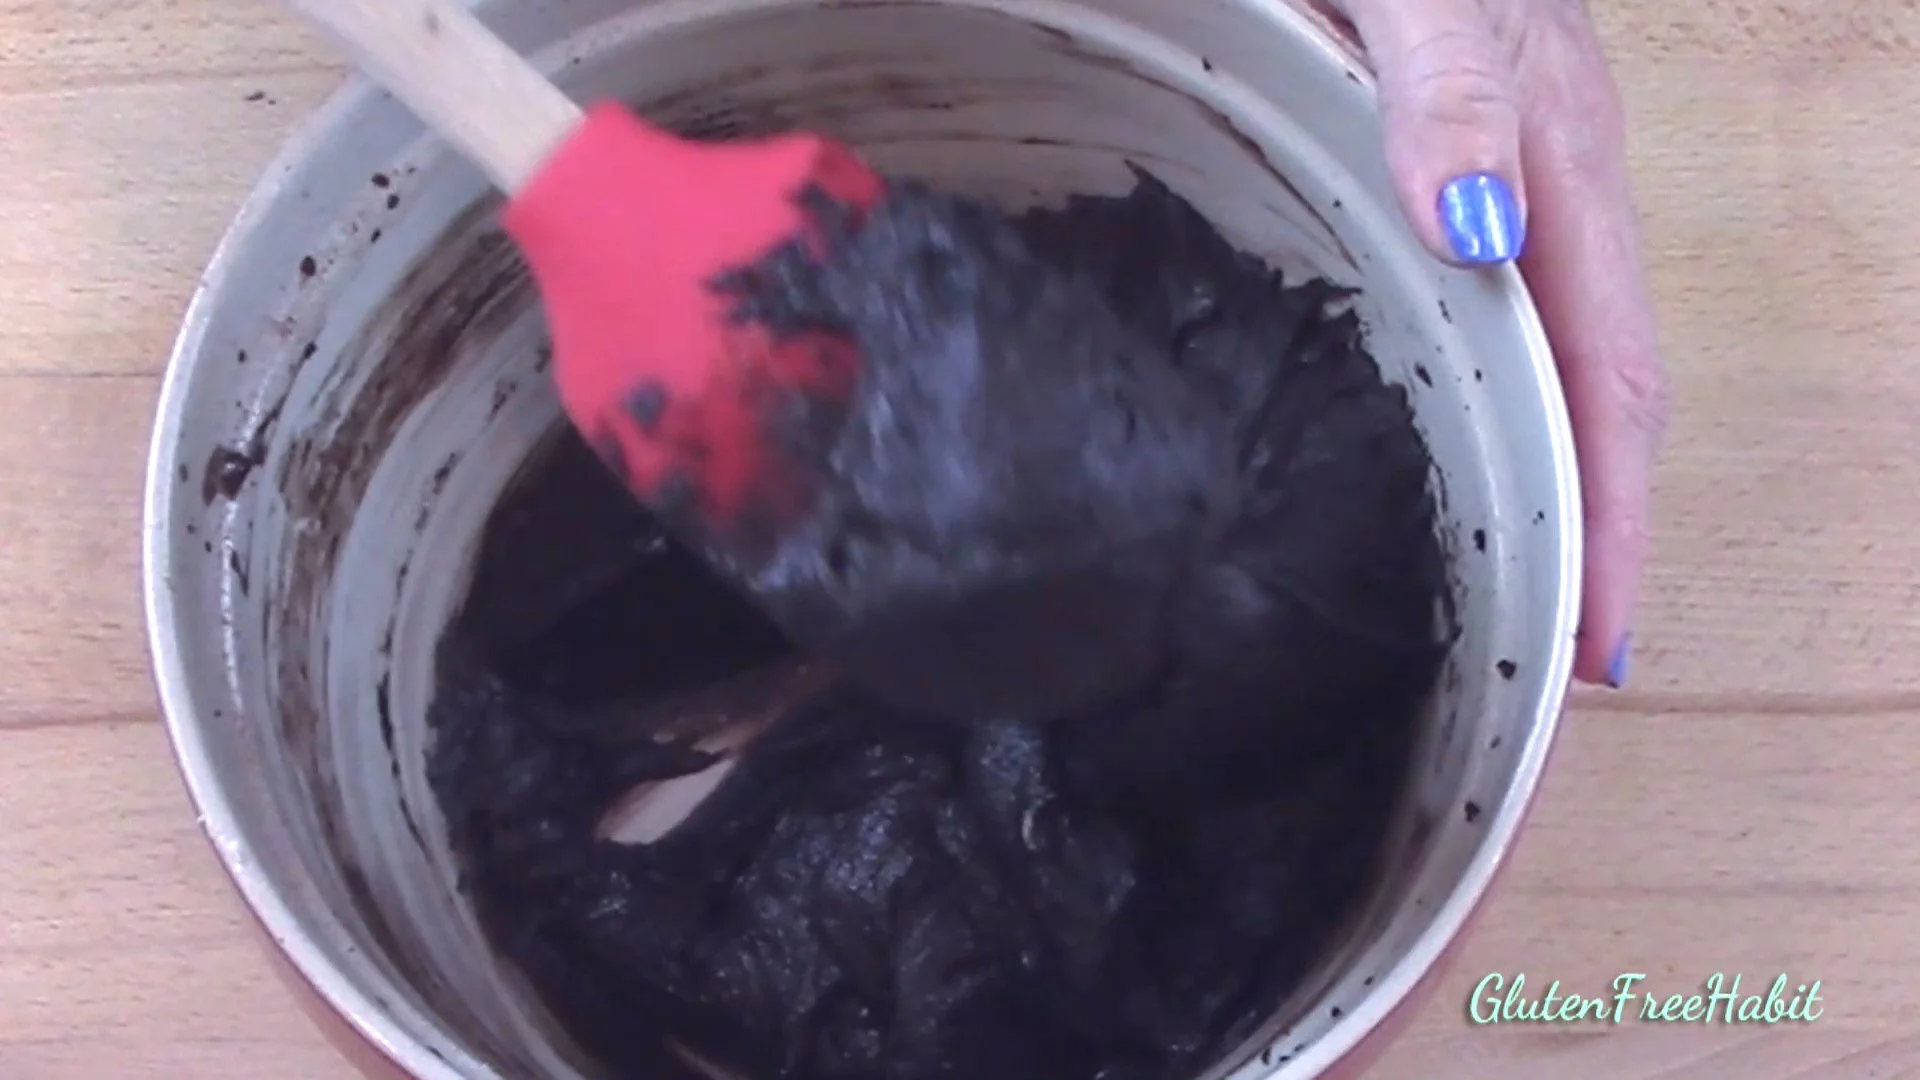
21
Dough will be thick and a little bit sticky!

22
Now bring back your pan and get ready to spread the batter.
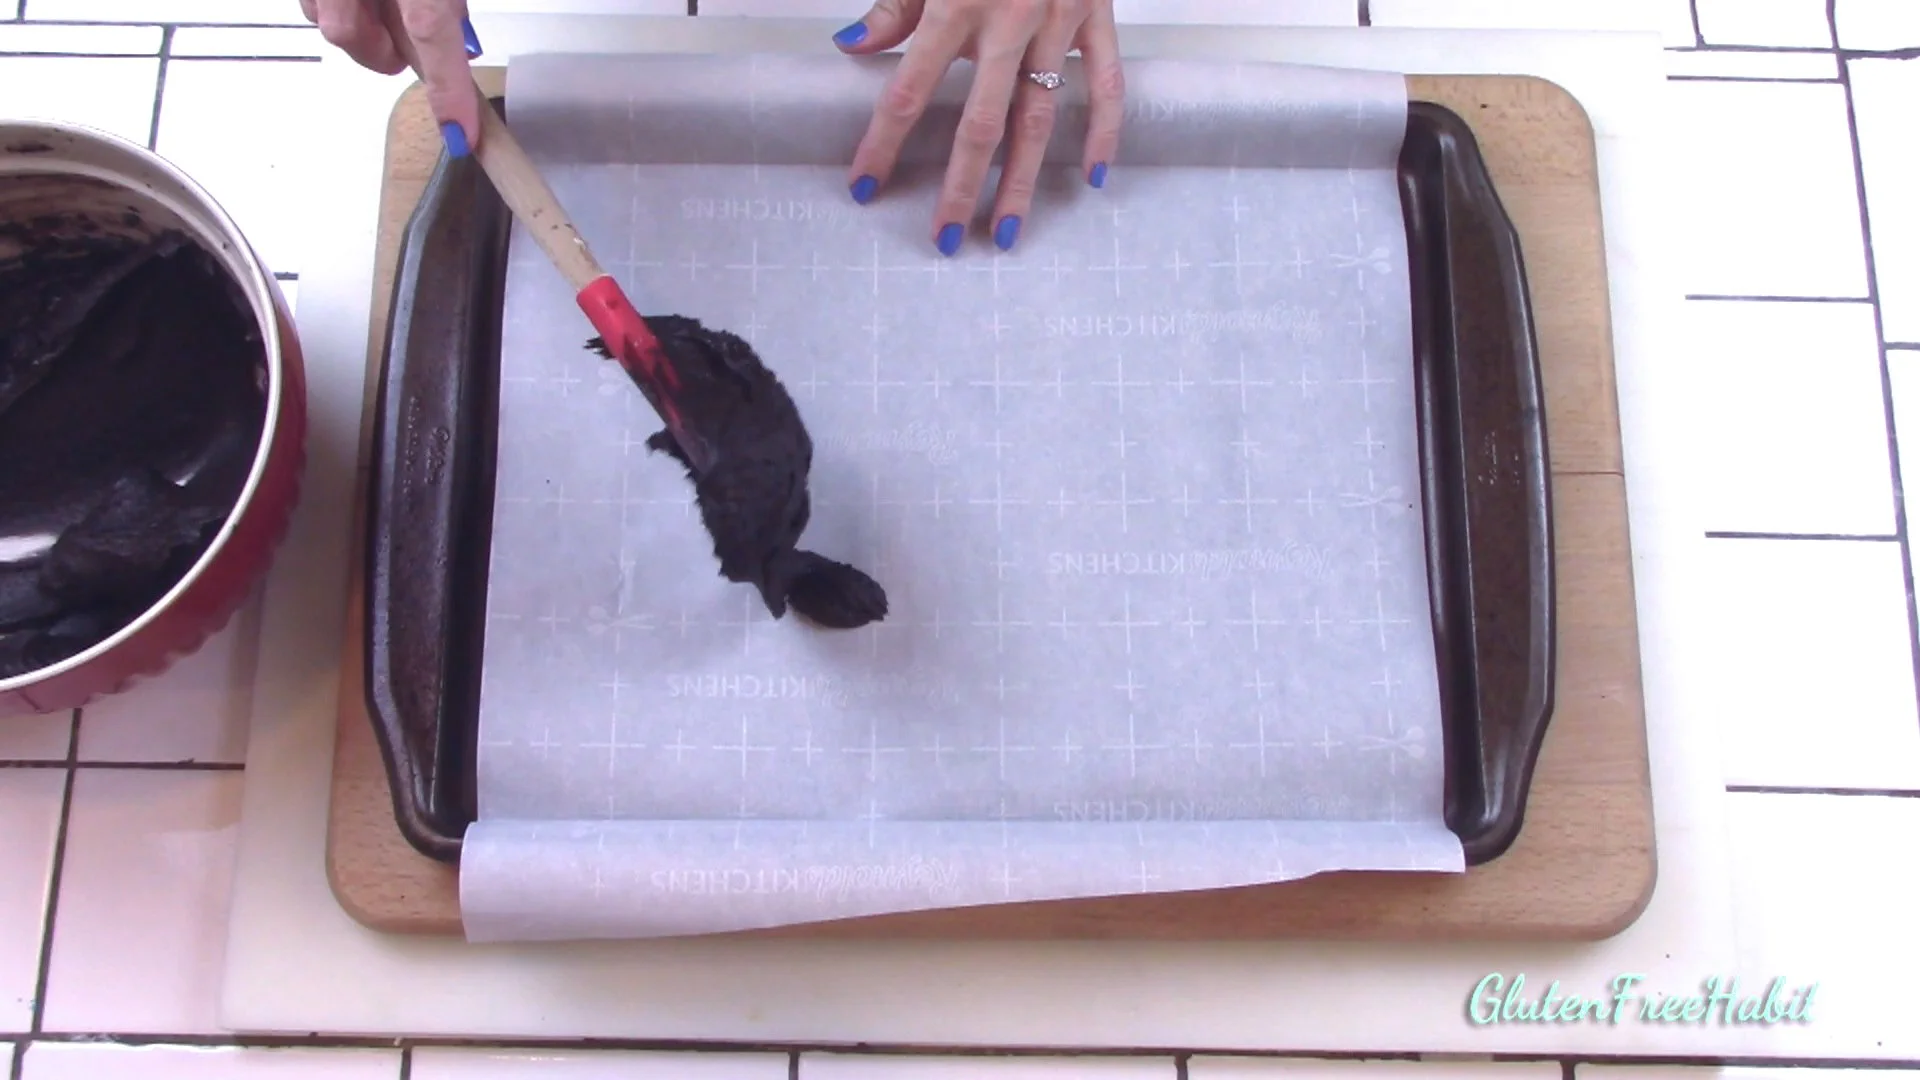
23
Place dough onto baking sheet and spread with off-set spatula to form an 8x16 rectangle (actually make it a tiny bit larger on each side to allow for edges to be trimmed neatly).
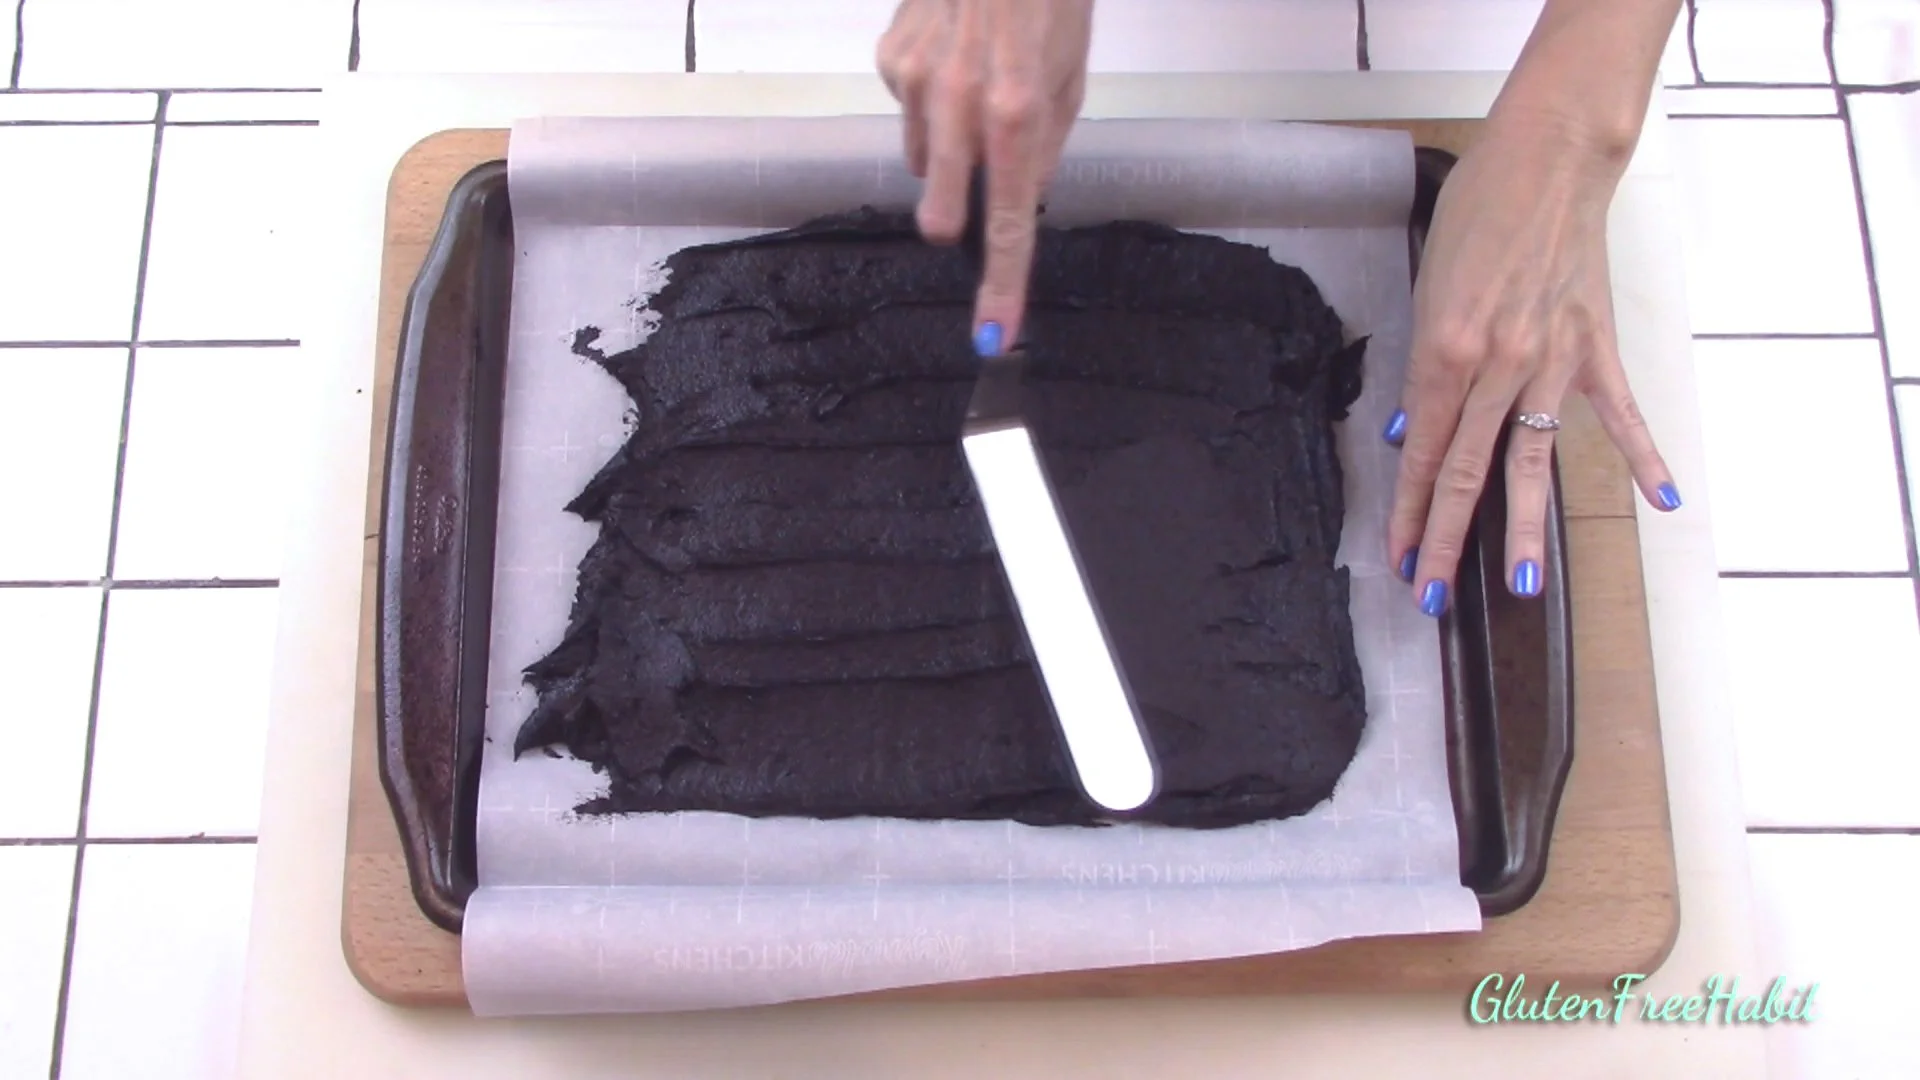
24
Spread carefully, making sure that the batter is level across the pan for even baking.
25
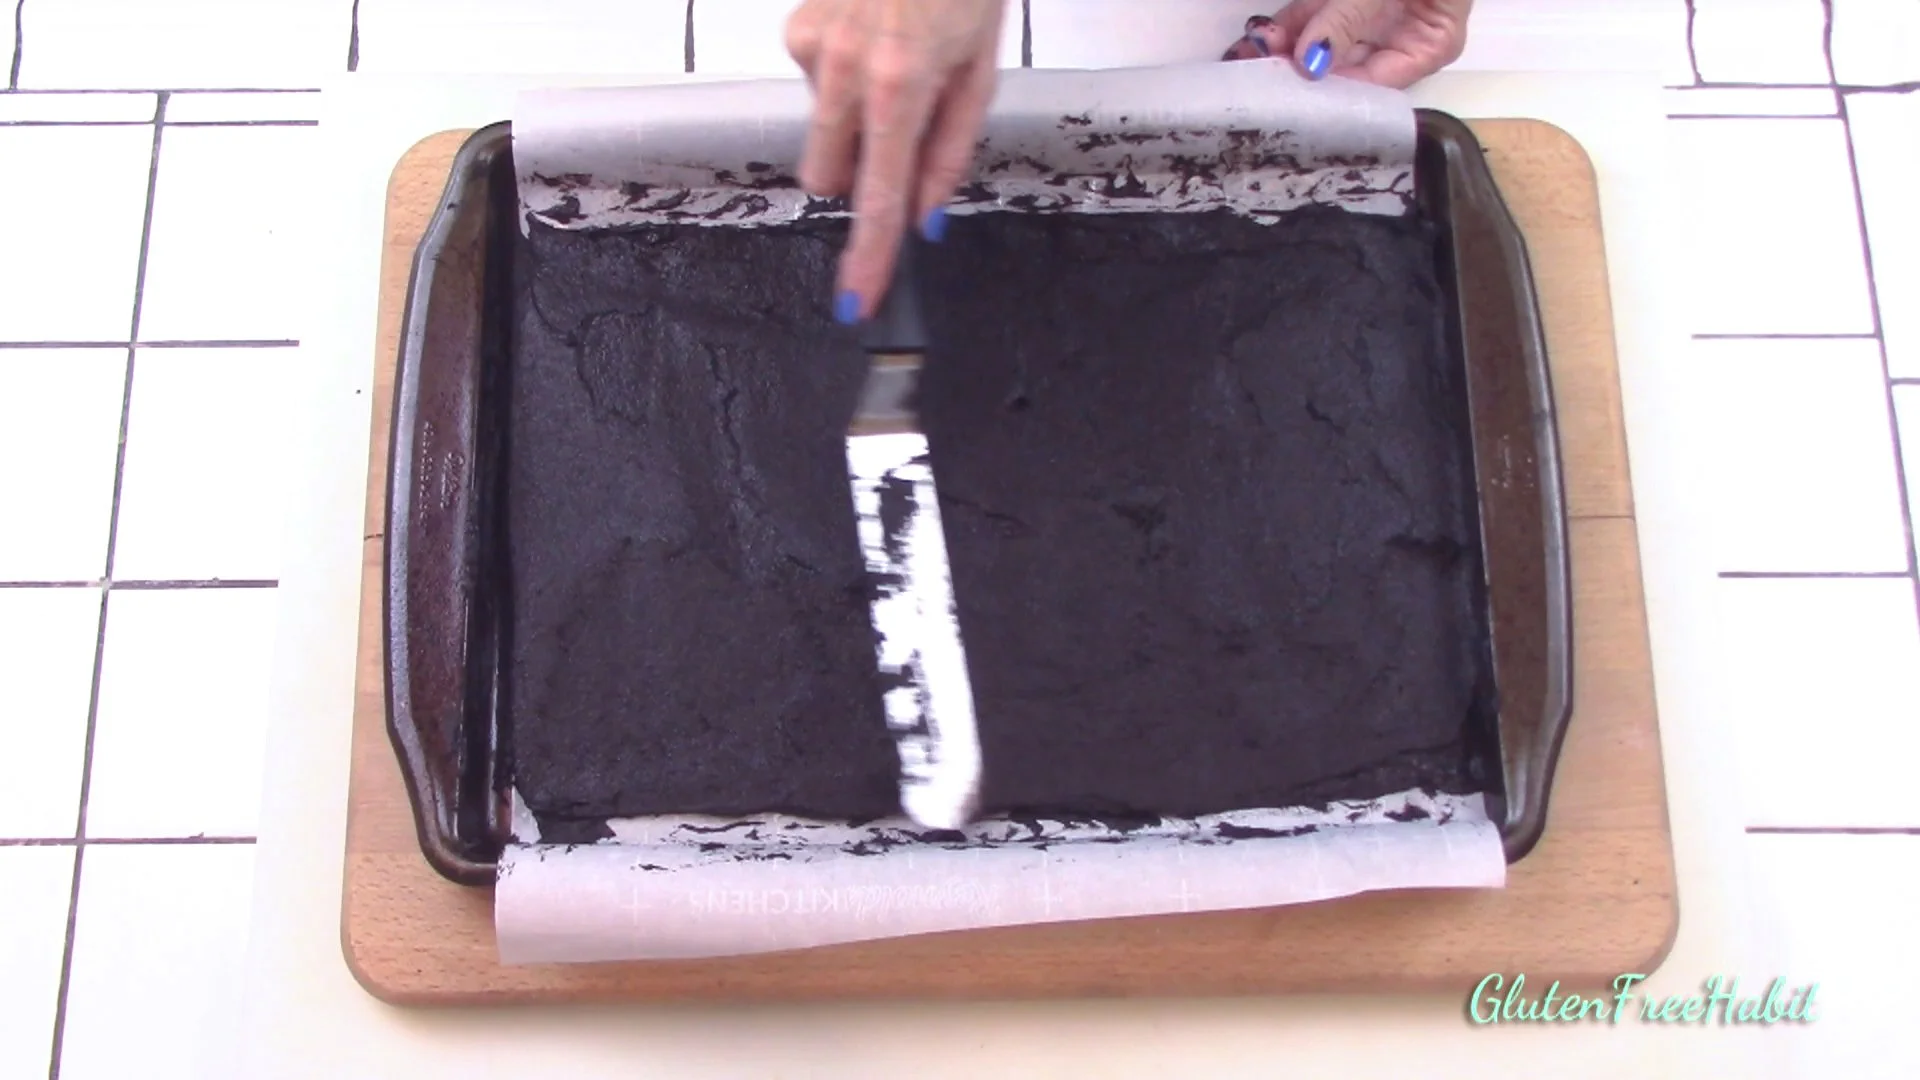
This is how mine looks right before baking.
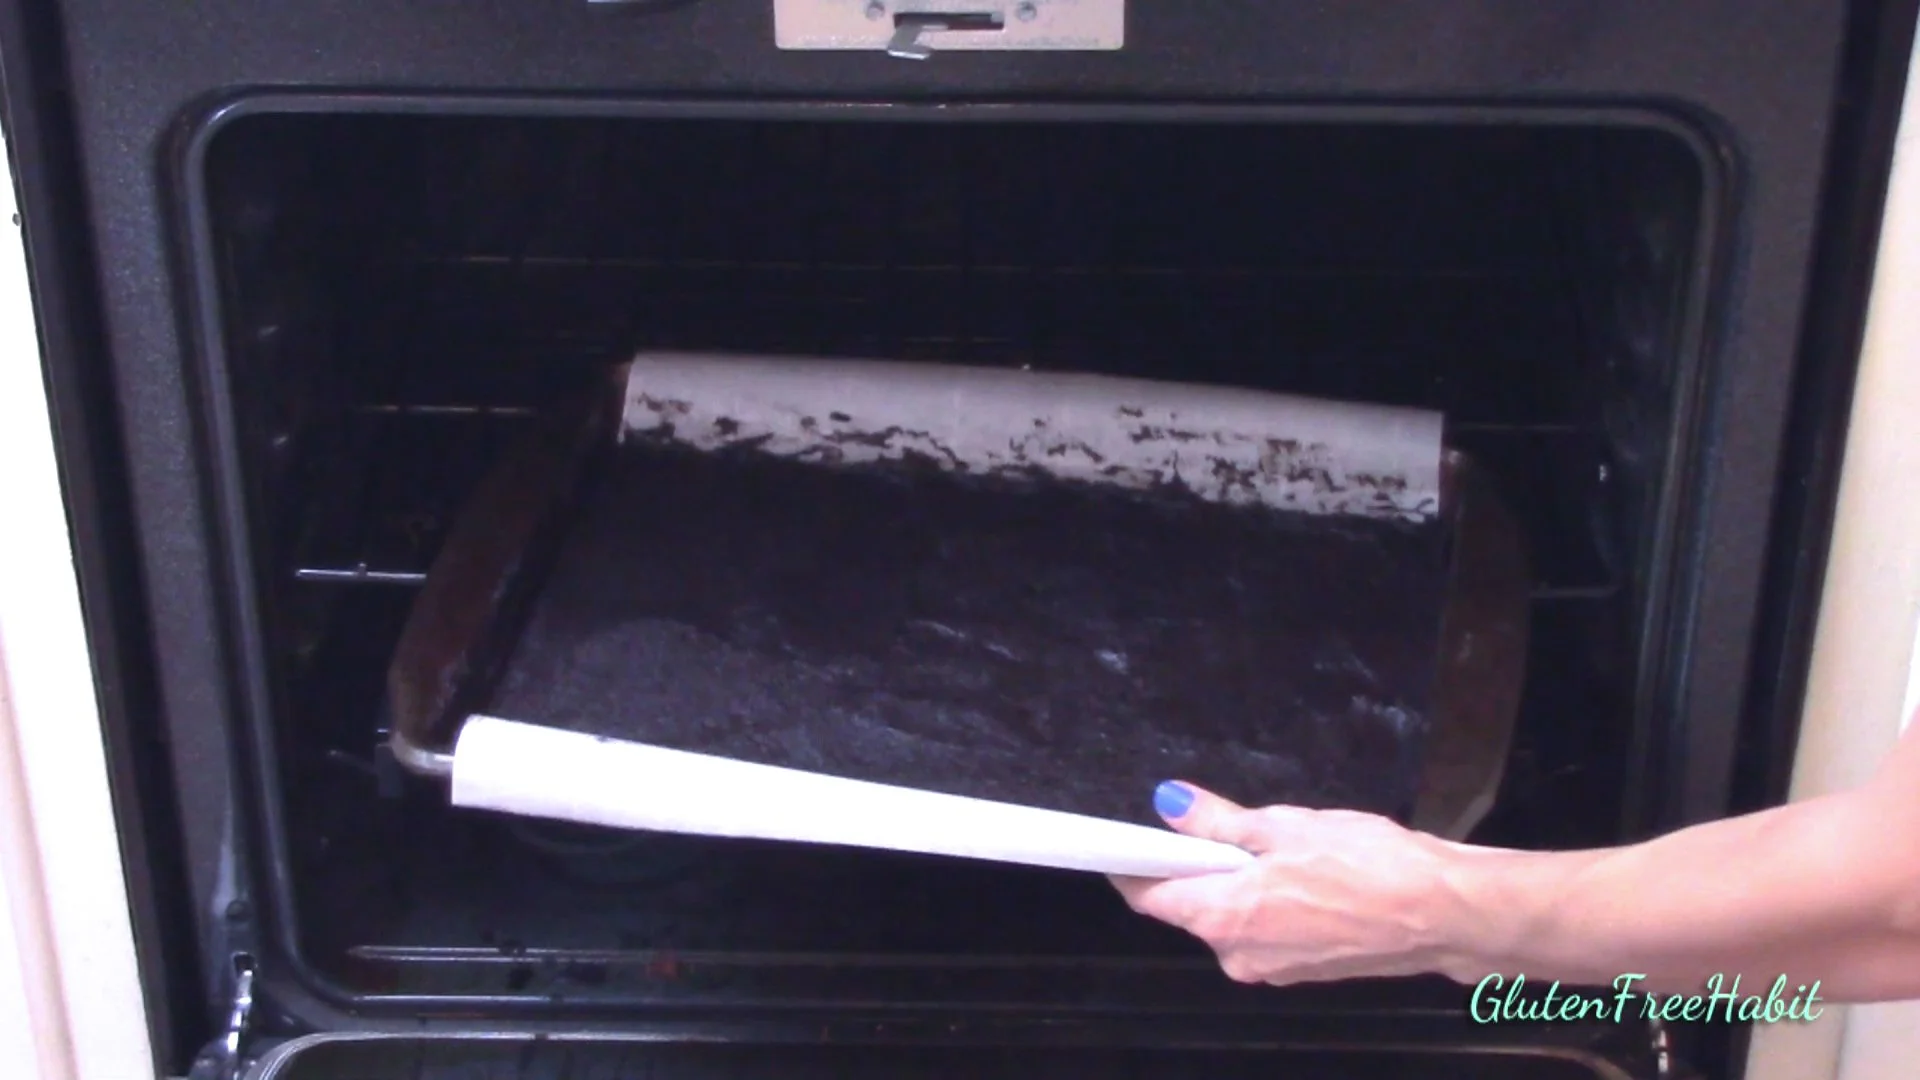
26
Into the oven. Bake at 375° for 10 minutes.
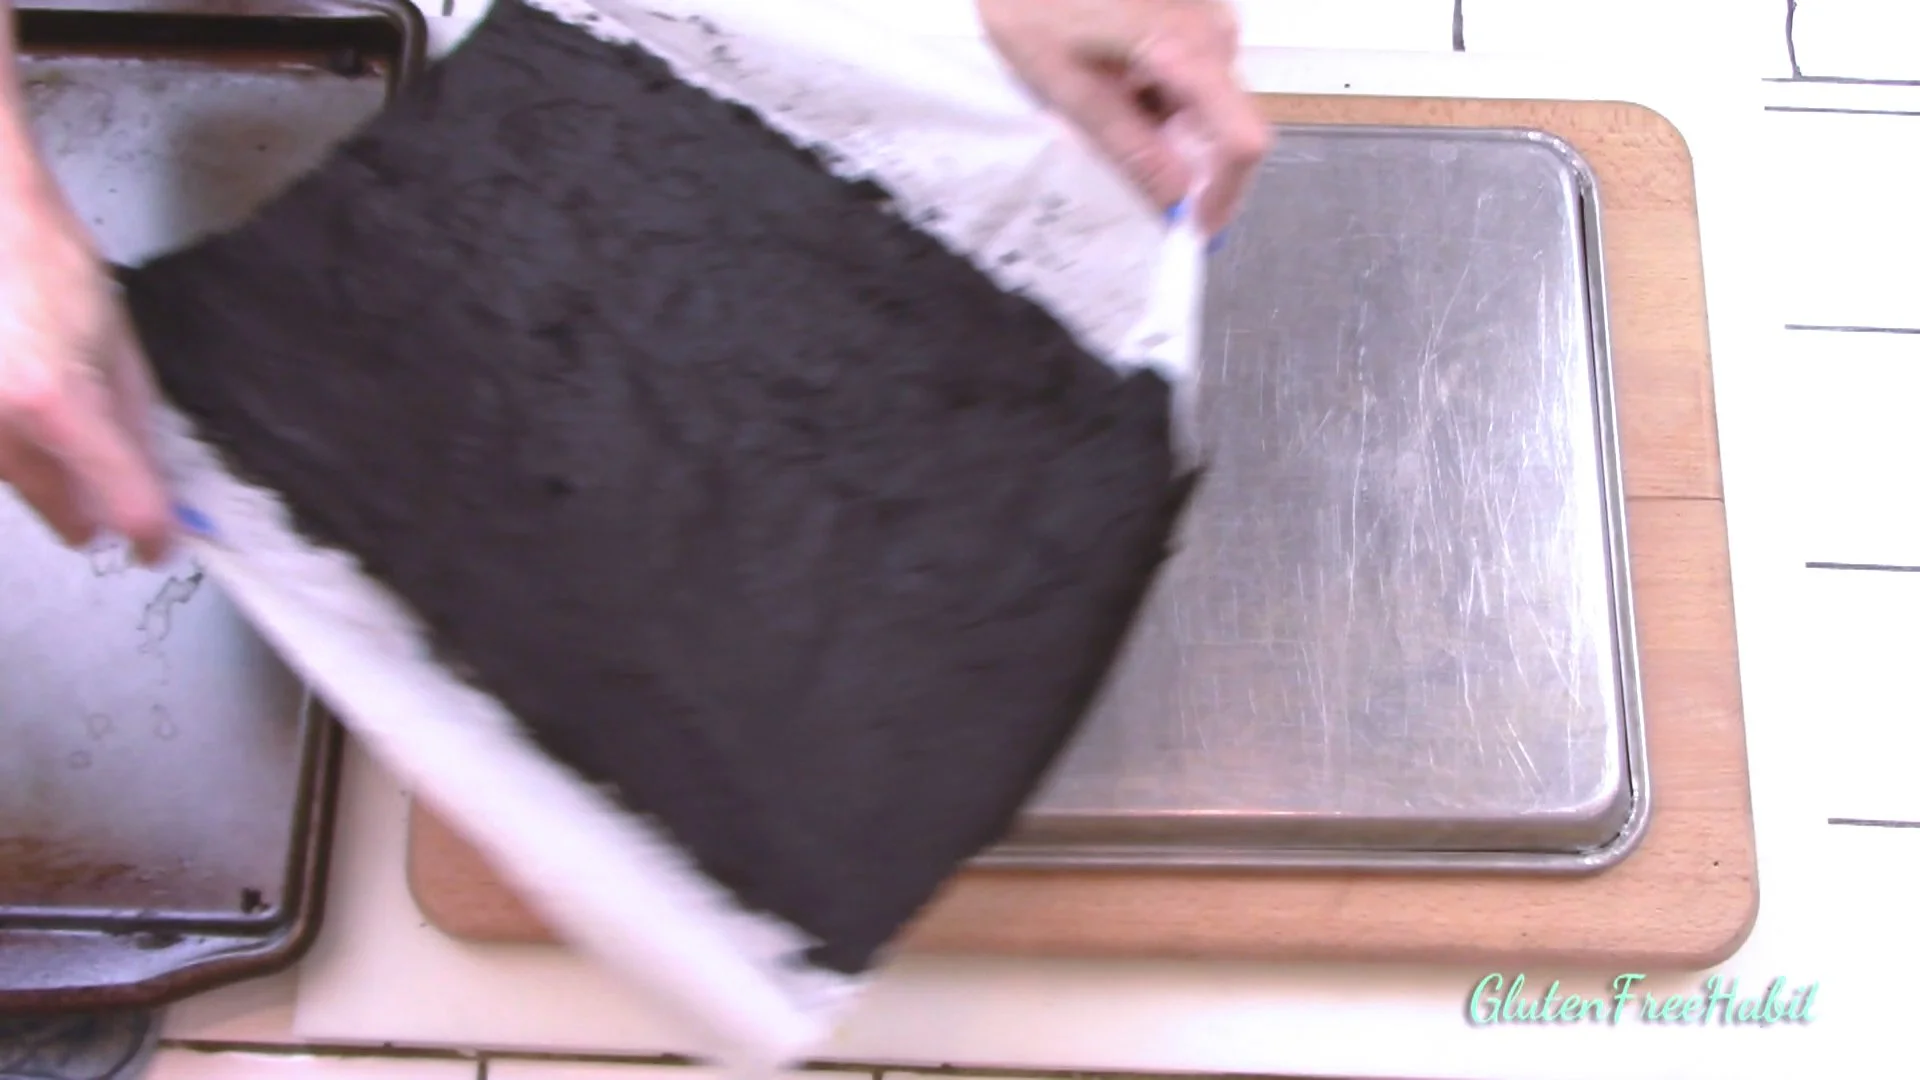
27
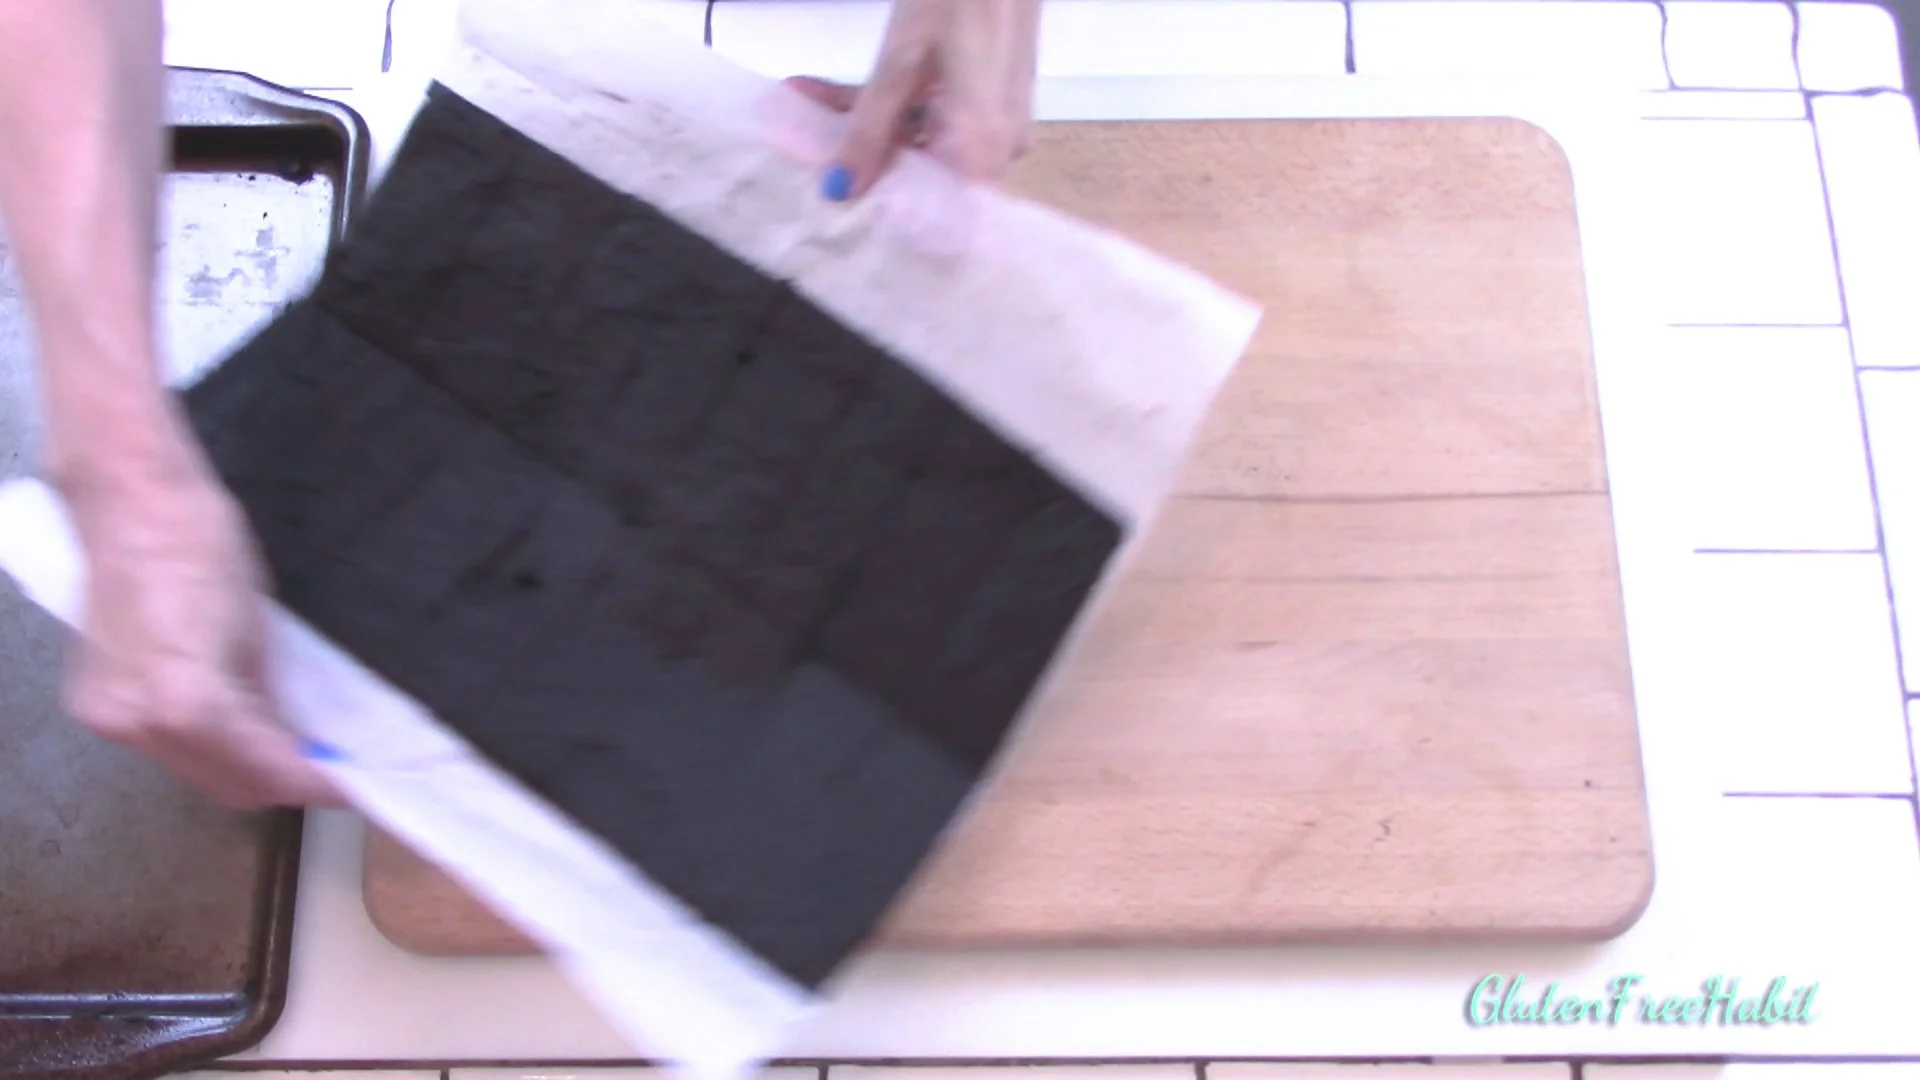
After baking, do not leave on hot pan. Carefully lift parchment off and place onto a cutting board or back of large baking sheet. Bend cake as little as possible to avoid cracking.

28
Allow to cool on the counter for 15 minutes or so. Then, place cake (still on the cutting board) into the freezer for another 20 minutes.
29
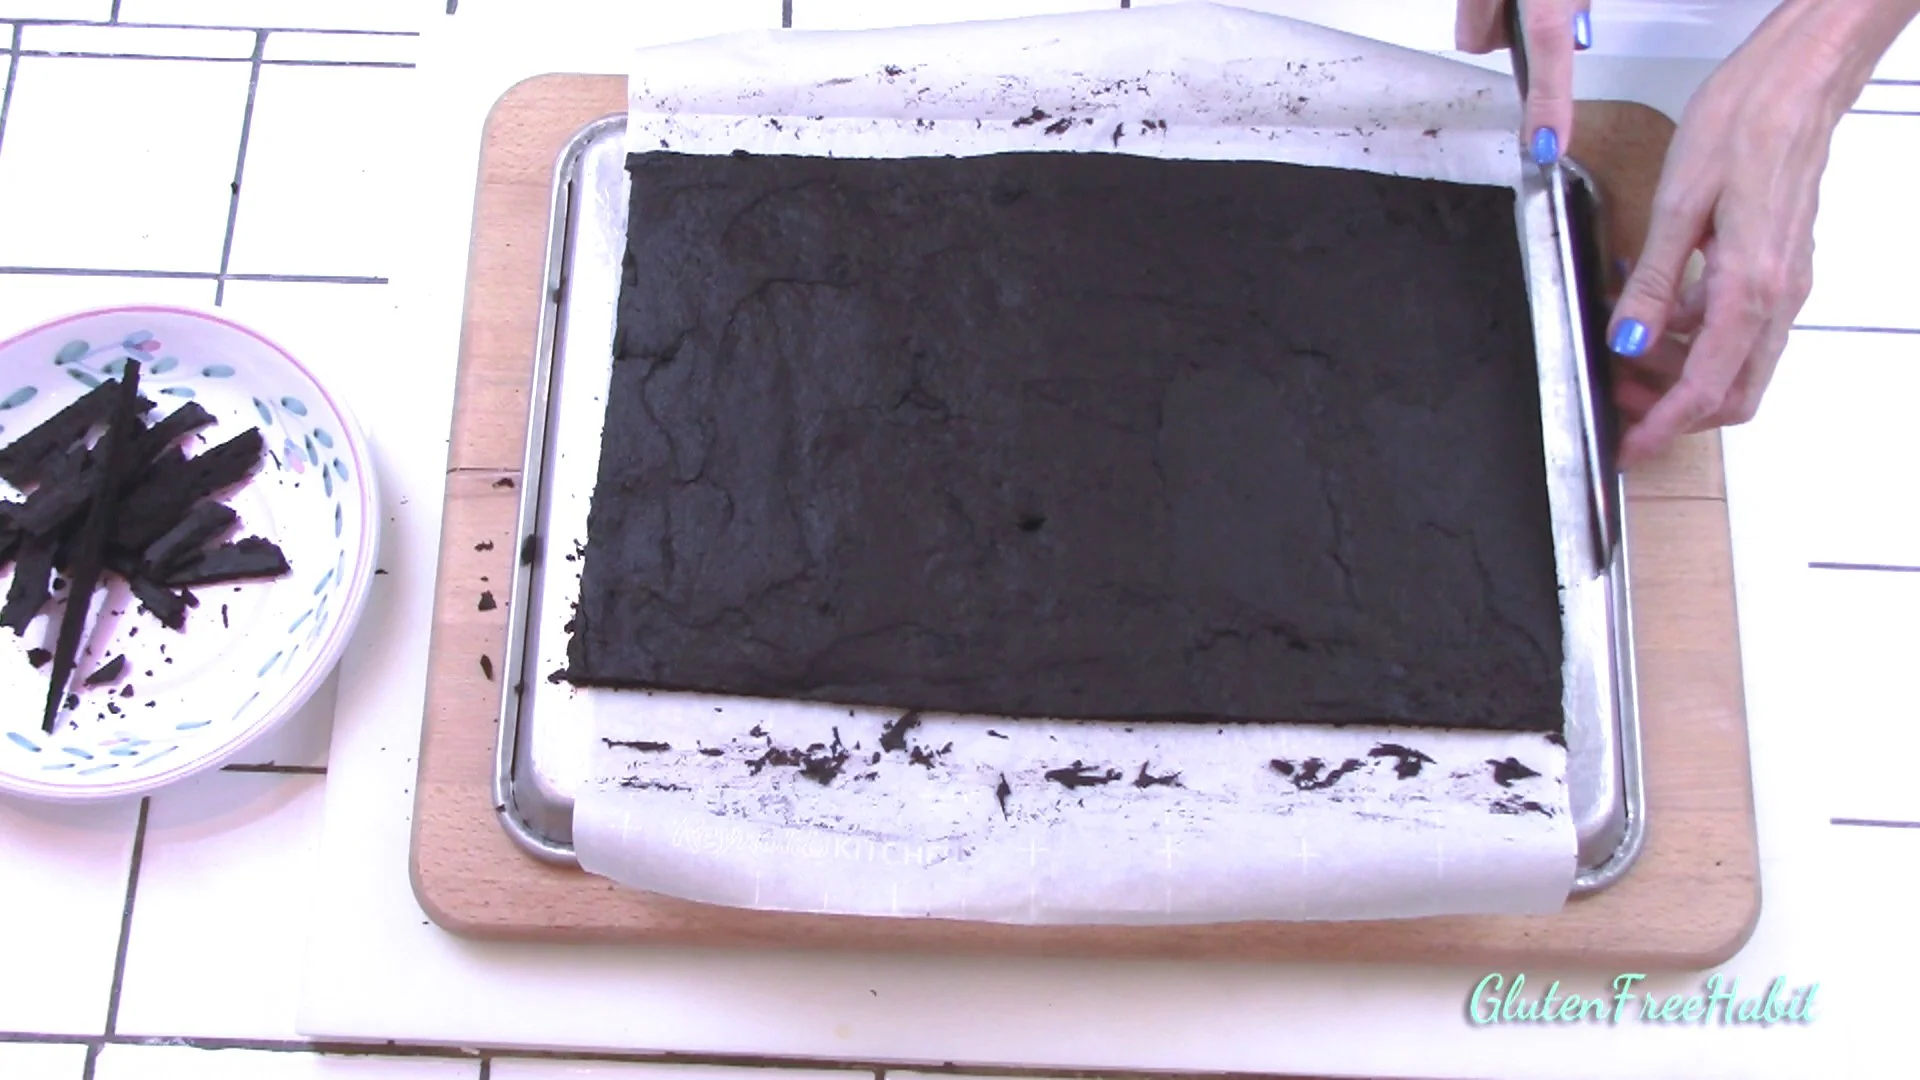
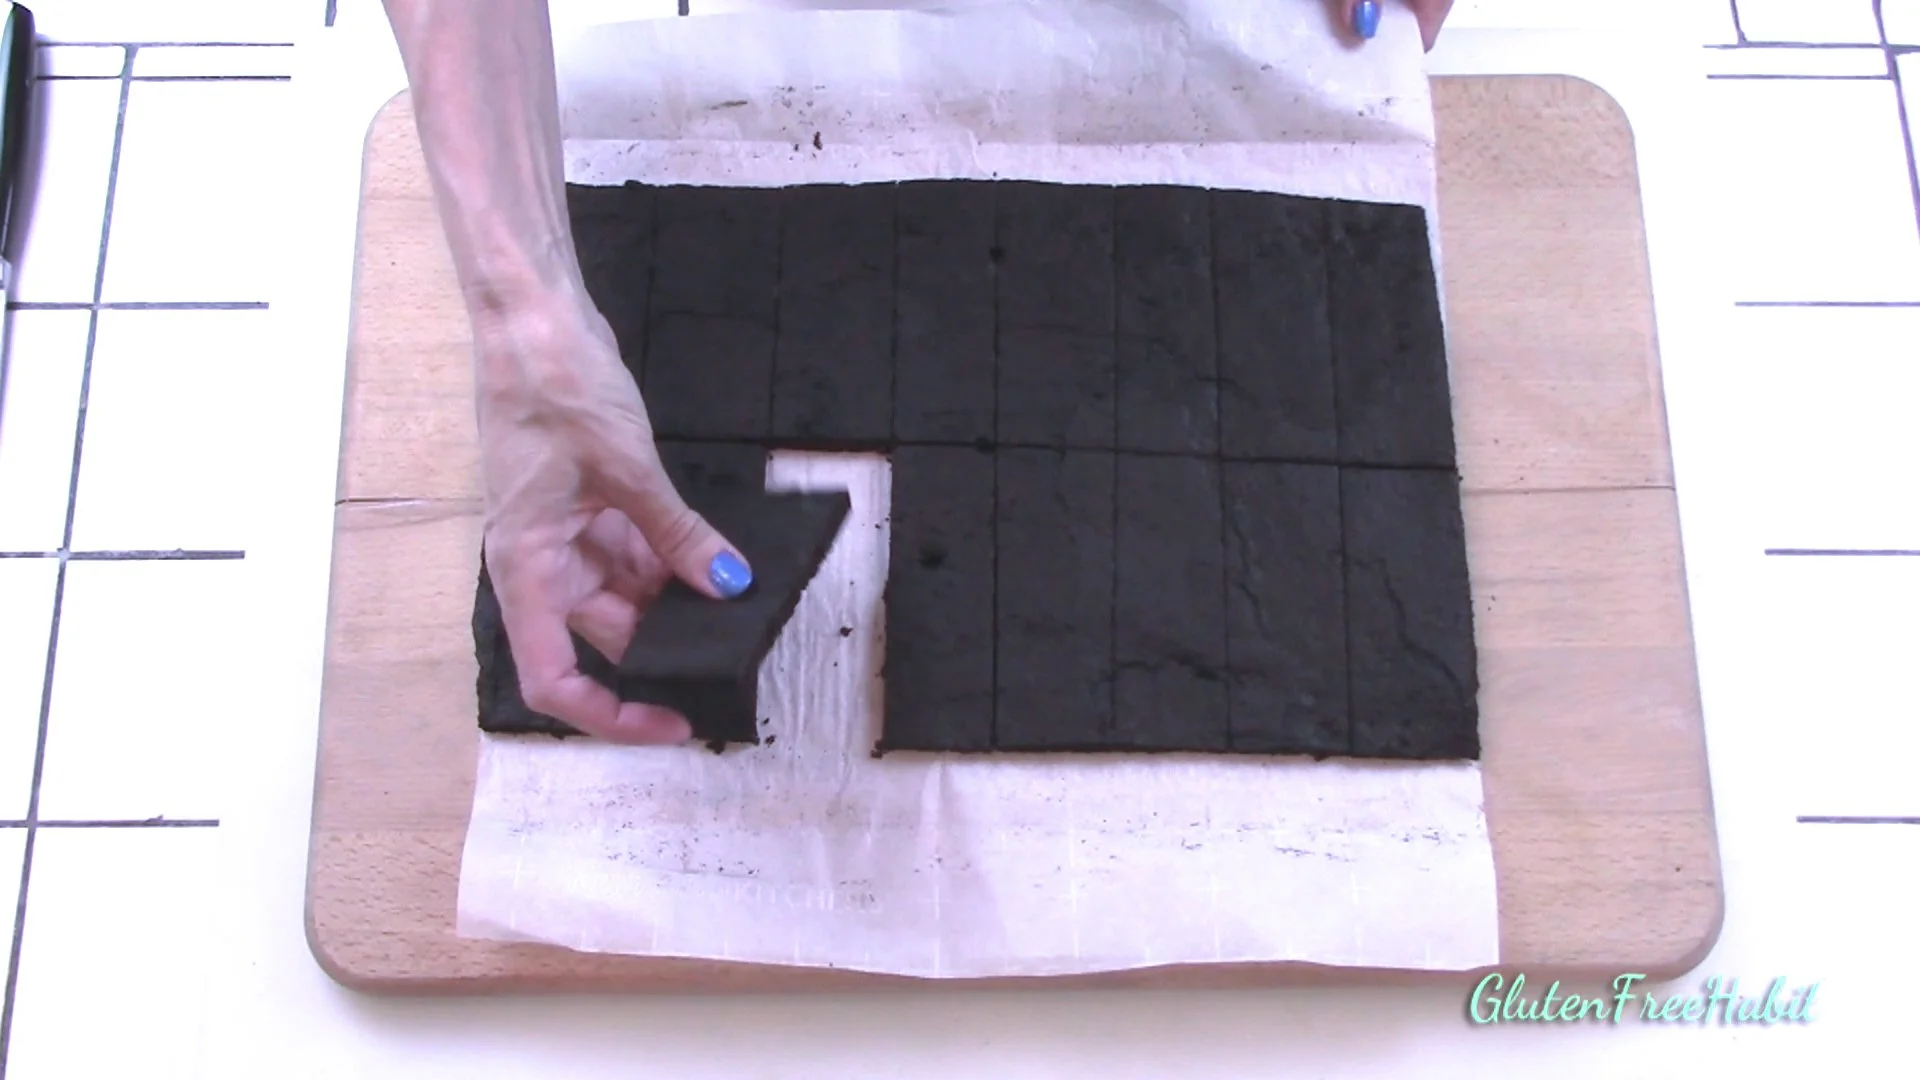
When cake is FULLY COLD THROUGHOUT you can assemble ice cream sandwiches! Warning...if the cake is warm AT ALL, your ice cream will melt. It's hard, but wait for the cake to be really cold. Remove cake from freezer. First, trim away any rough edges.
30
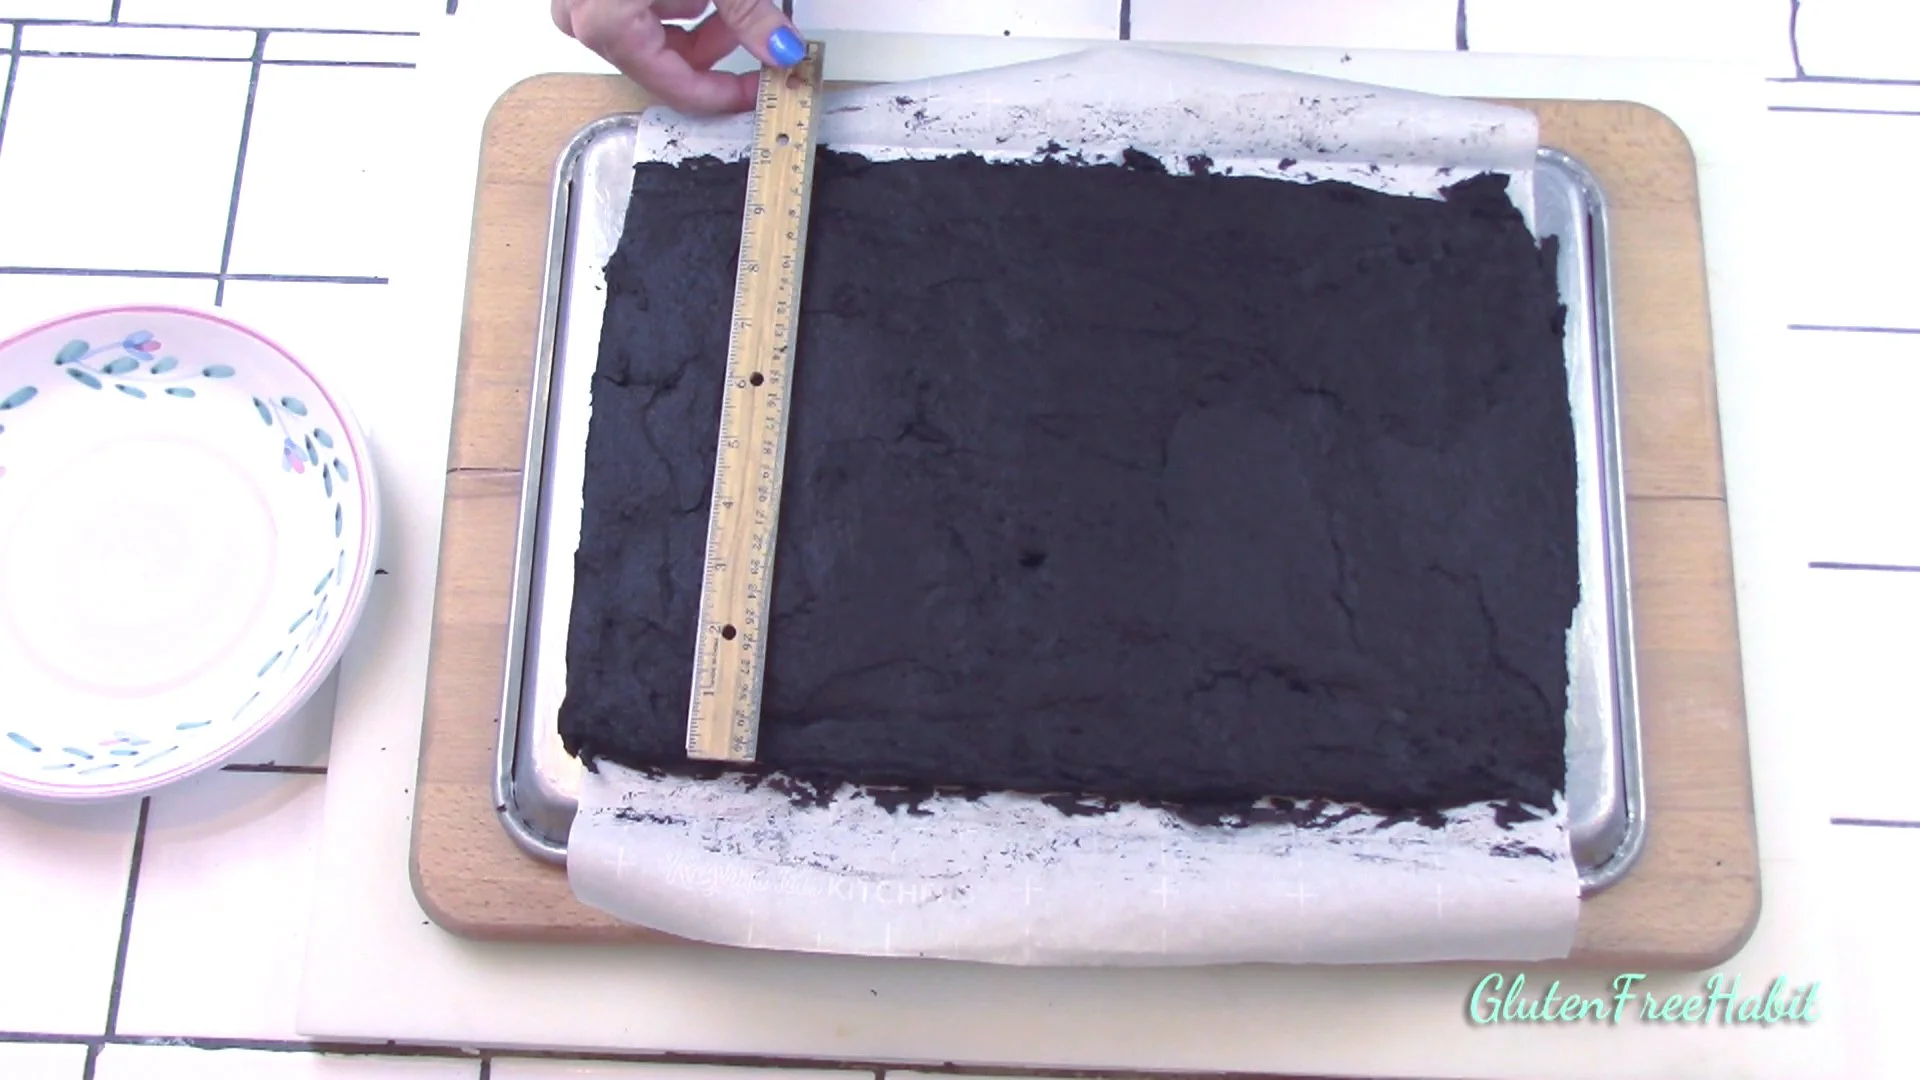
Slice into sixteen 2”x4” pieces. Feel free to change these measurements if you want larger sandwiches. If you do, don't forget to change the ice cream measurements accordingly.
31
Make 7 evenly-spaced slices across the longer direction, which will create 8 rows across.
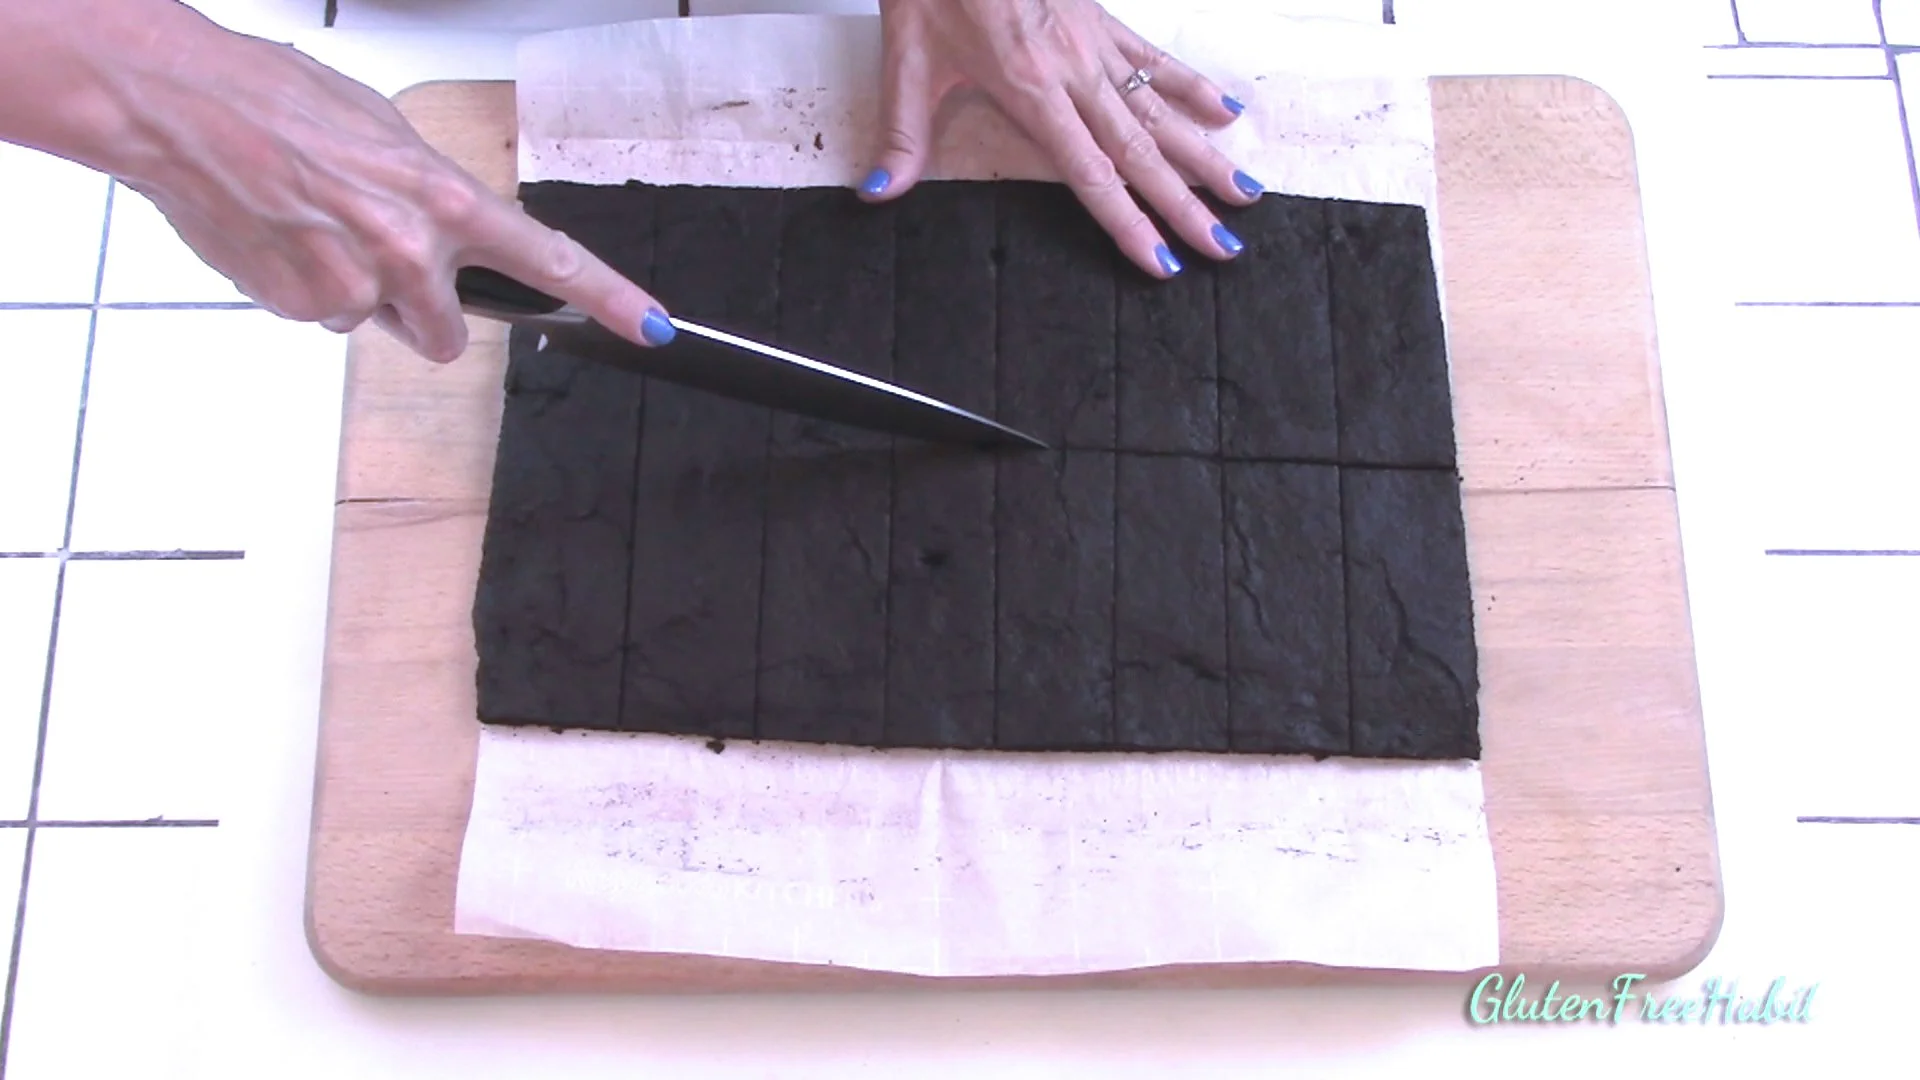
32
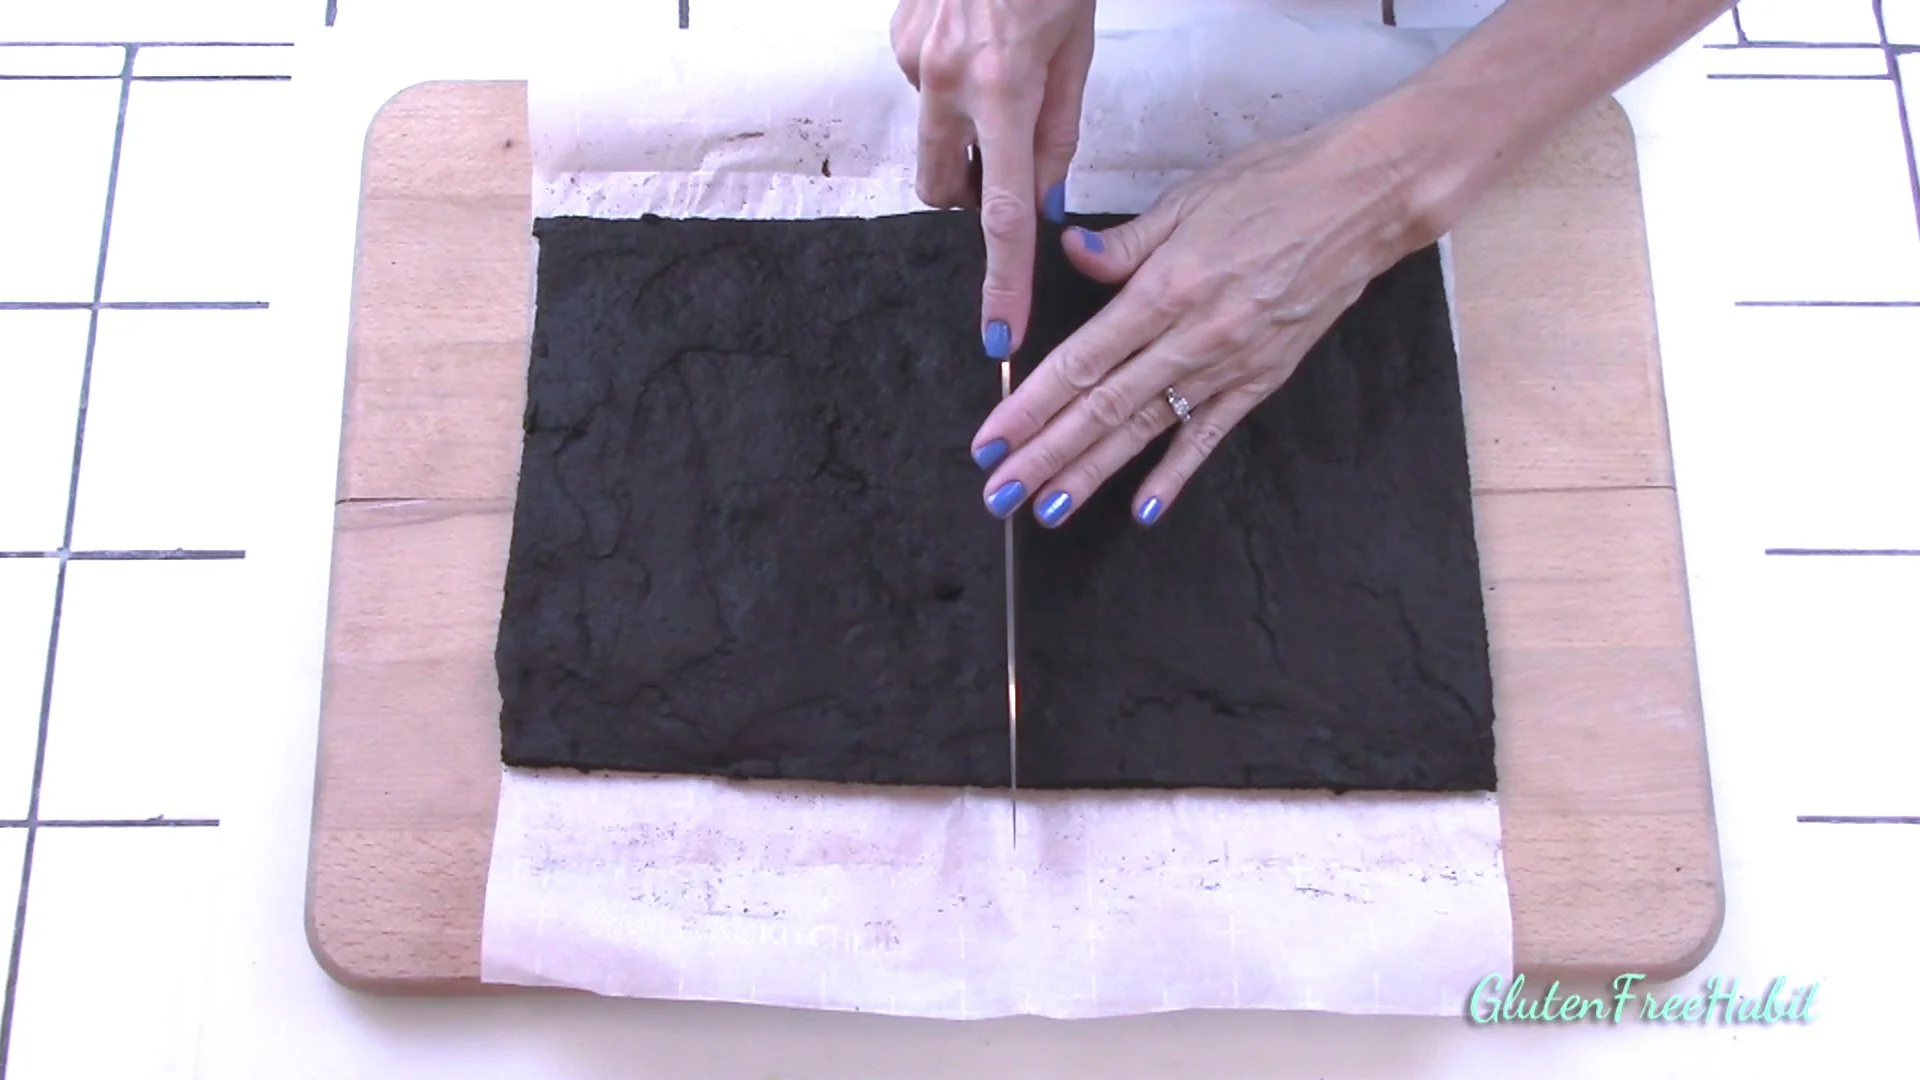
Then, make one slice down the middle.
33
You should have nice rectangular cake pieces that can be handled carefully.
34
At this point move your cake back onto the pan for safe keeping as you create your sandwiches.
35
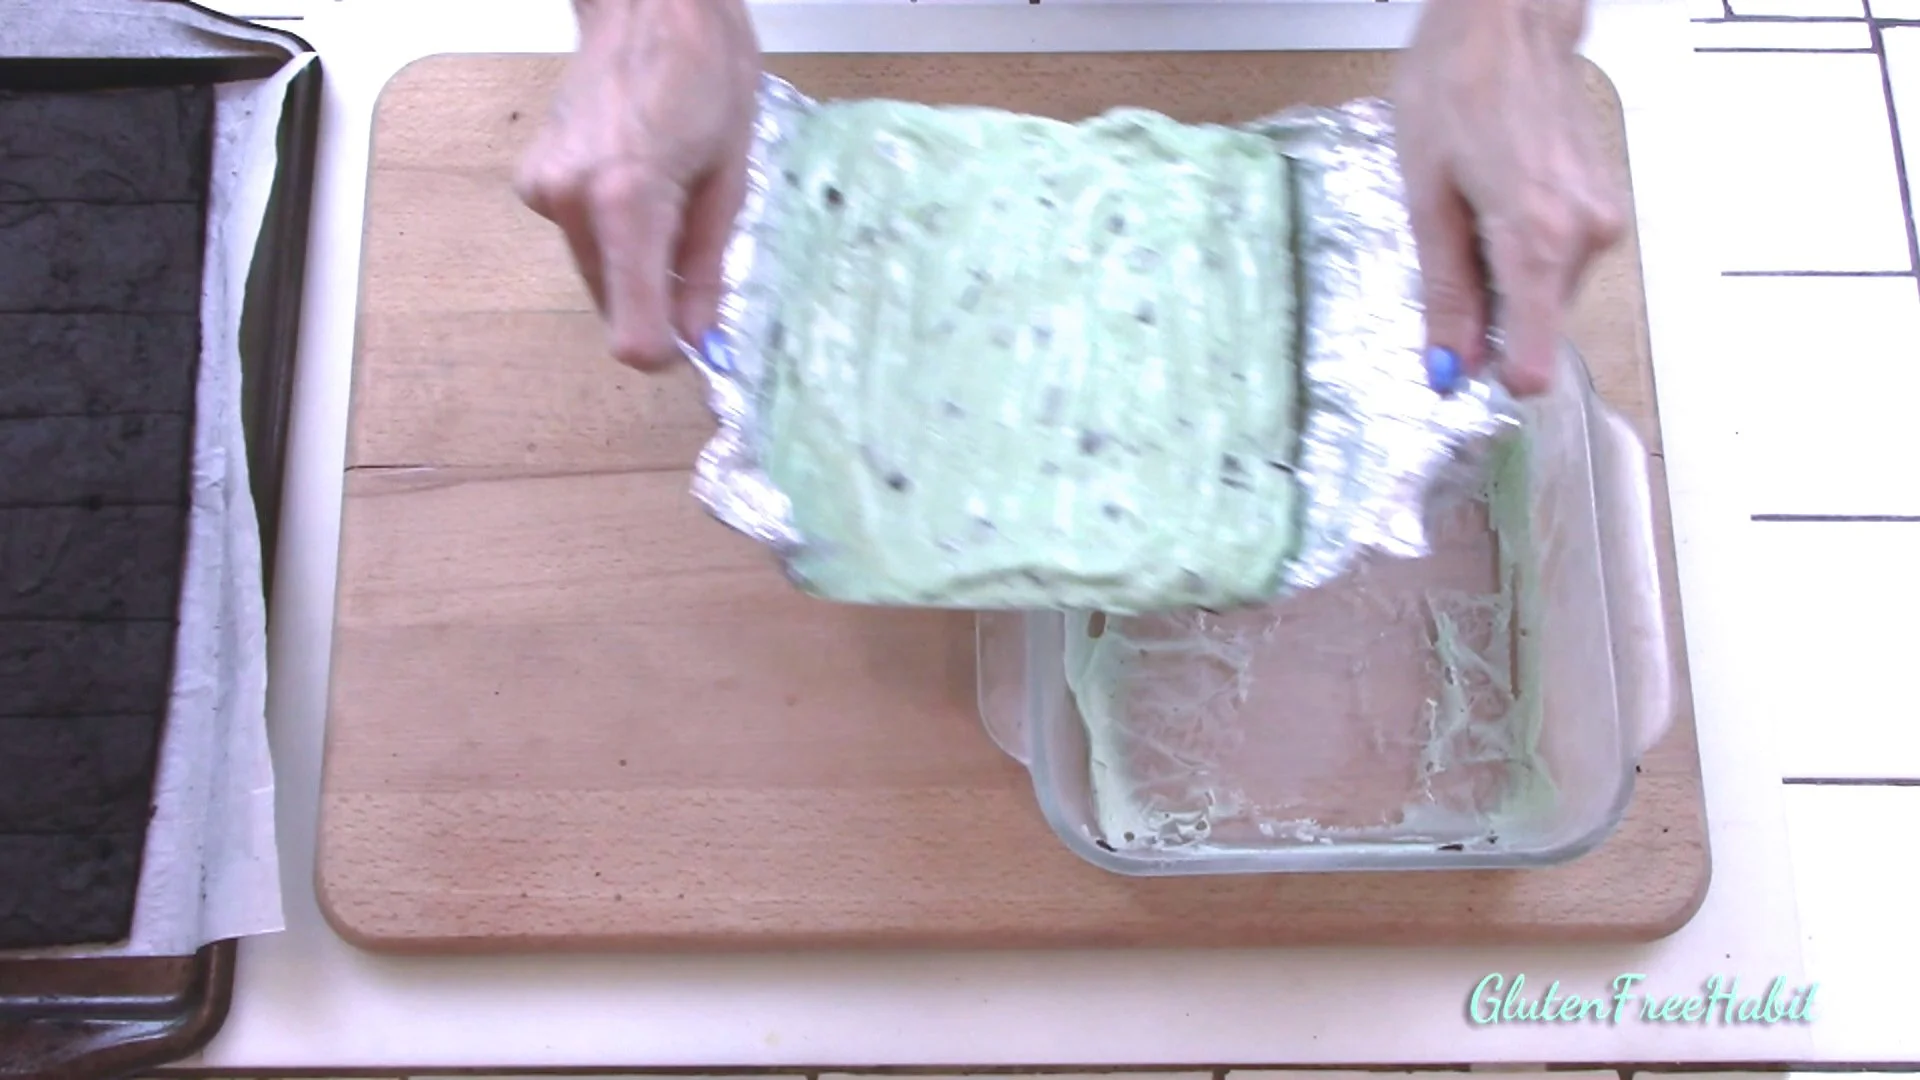
Remove ice cream from freezer and lift ice cream out of pan with the tinfoil edge. You may need a spatula to help you remove it.

36
Fold down the tinfoil edge away from the ice cream.

37
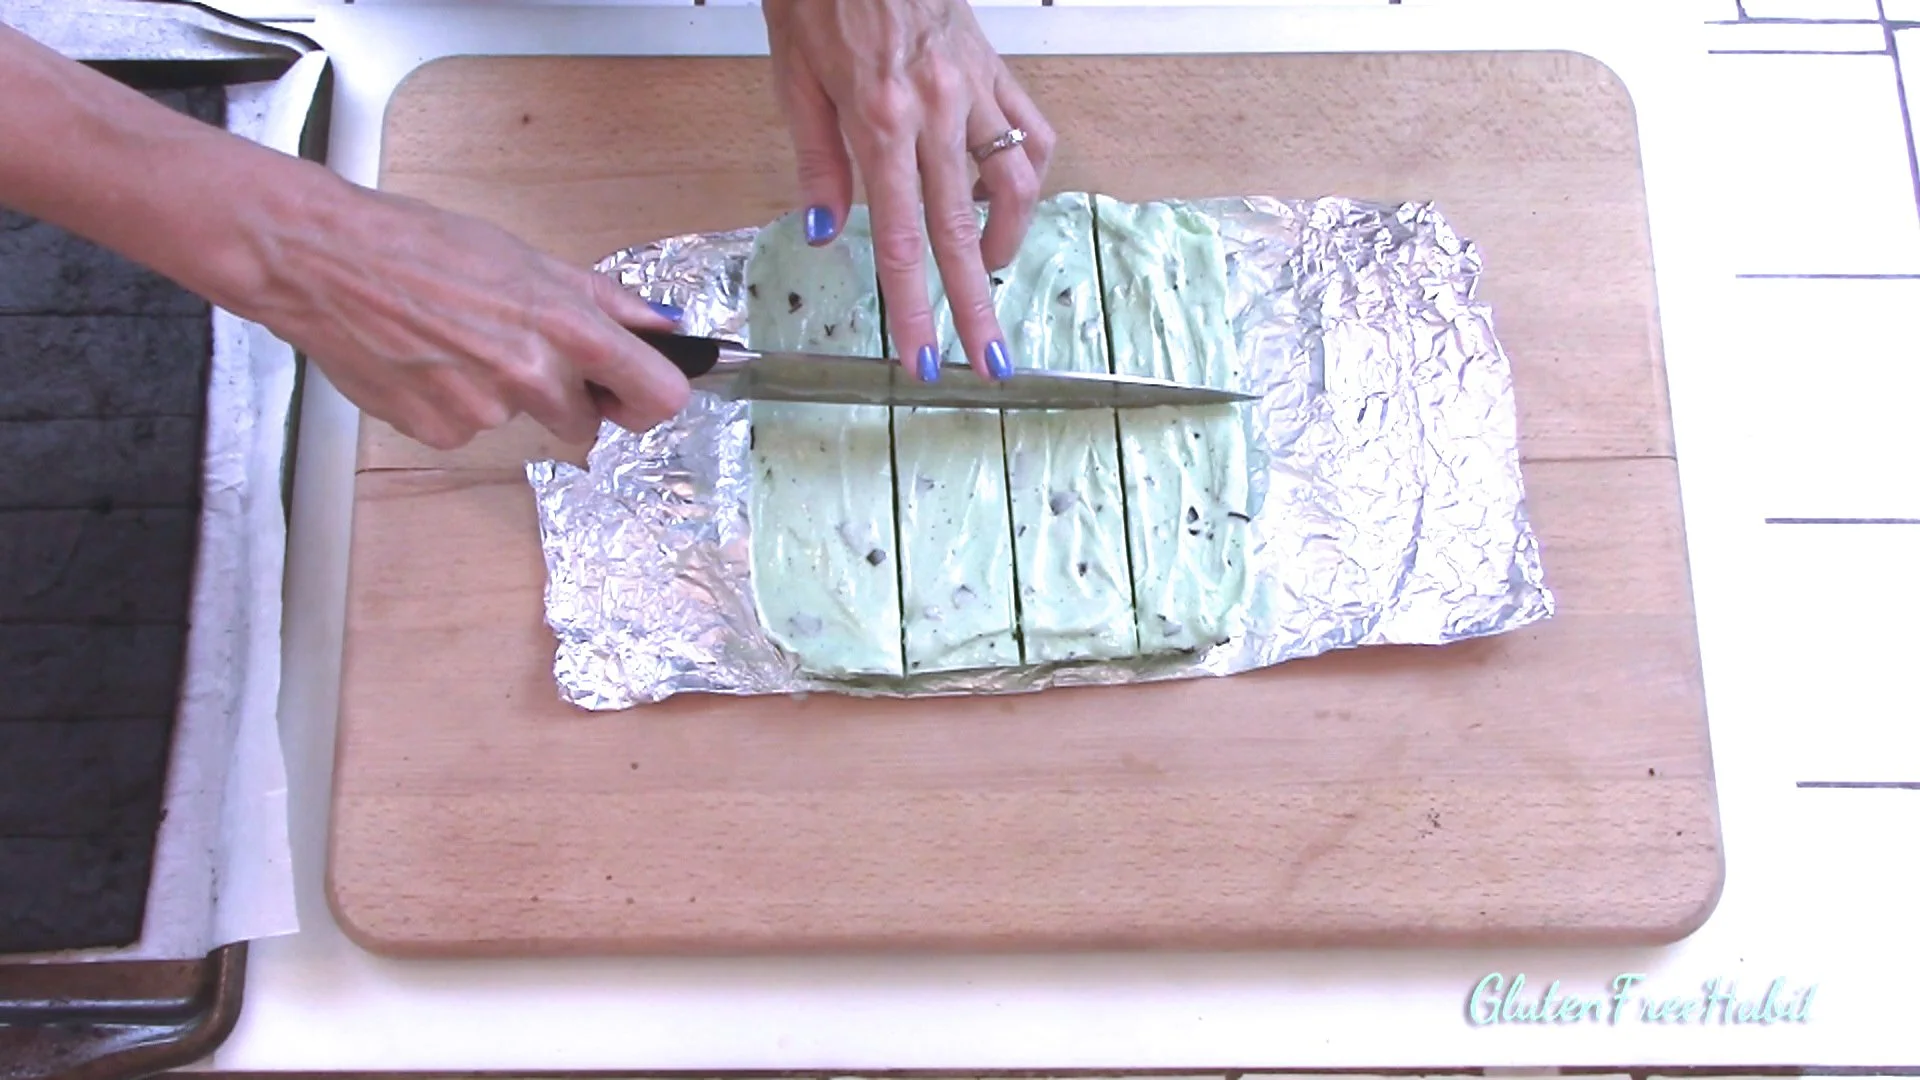
Slice into eight 2”x4” pieces. Work very quickly to minimize melting.
38
Make 3 slices in one direction (to create four pieces), and one slice down the opposite direction (creating 8 pieces). Place a plate, baking dish, or cookie sheet into the freezer for the completed sandwiches.

39
Set out your toppings (if desired) and start to assemble!
40
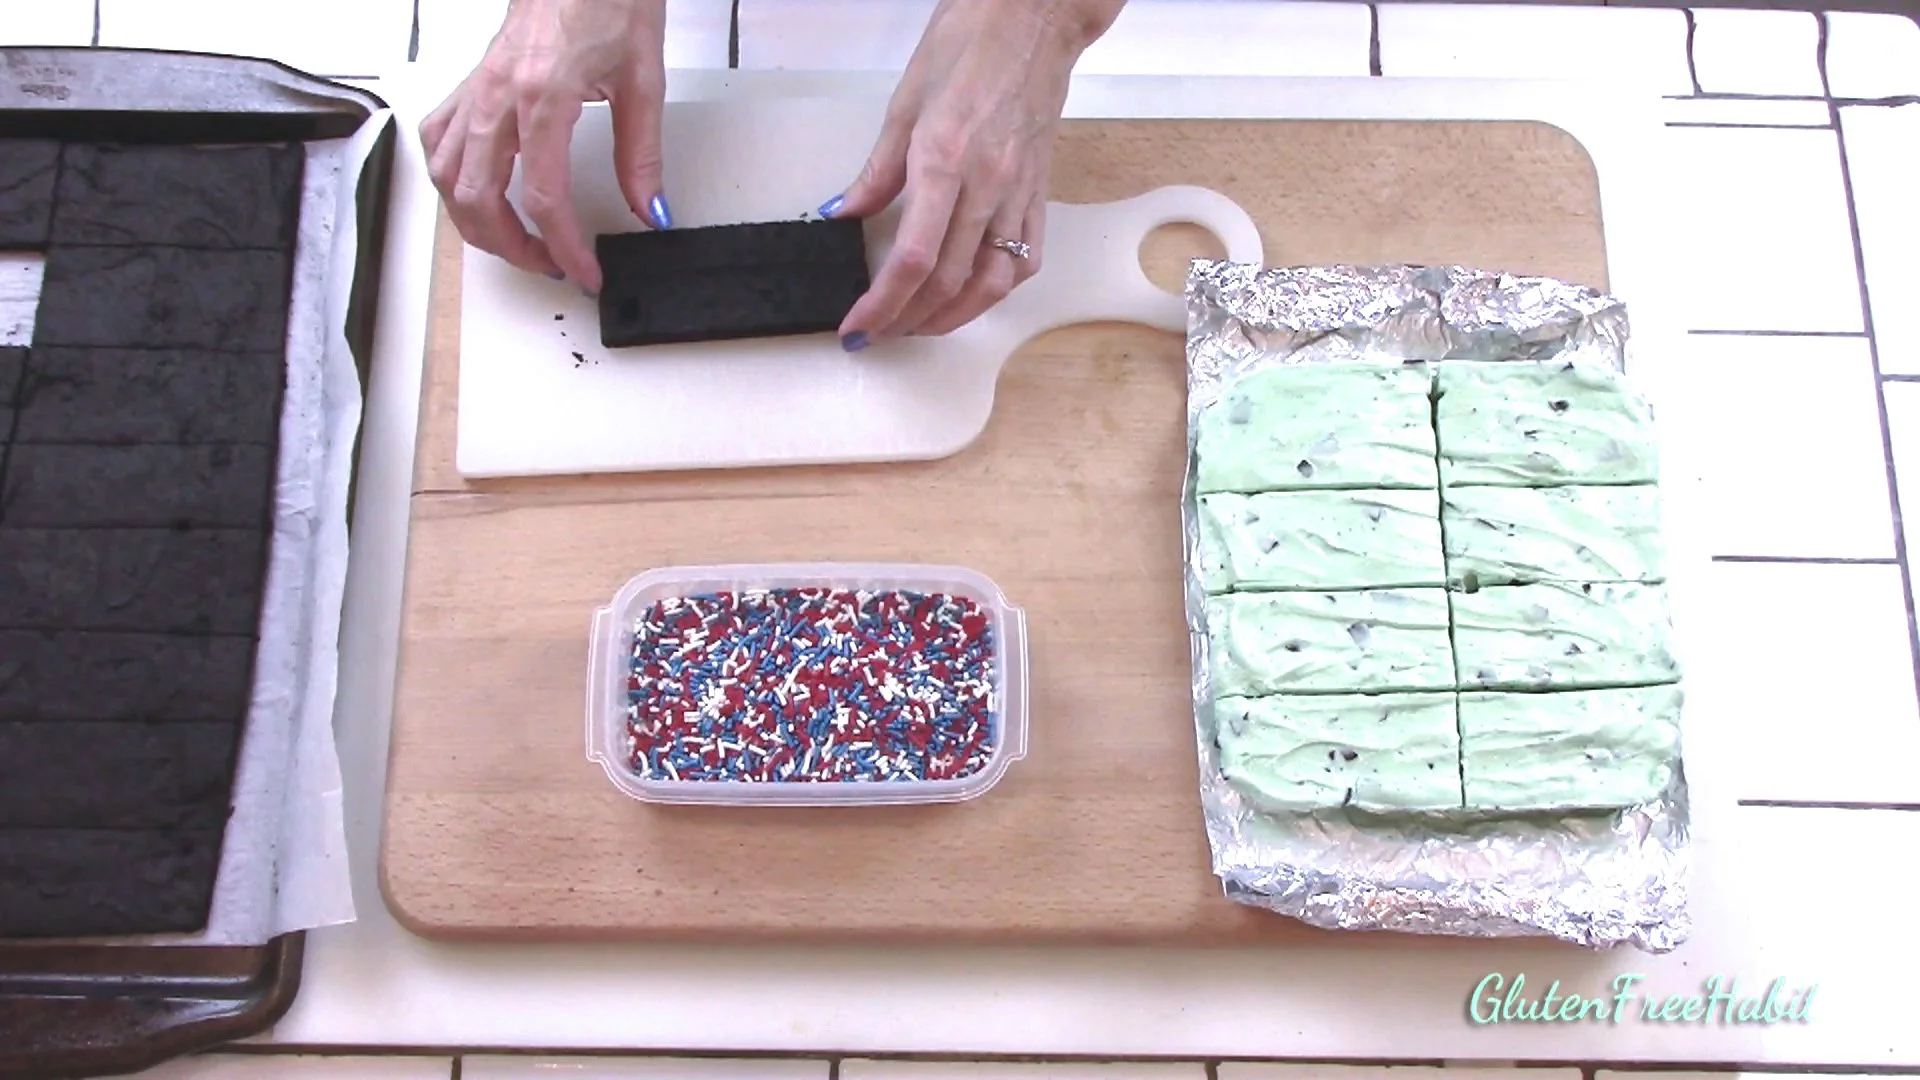
Lay down one piece of cake on a clean work surface.

41
Carefully place one slice of frozen ice cream onto the cake.
42
If you notice the ice cream starting to melt, keep all ice cream in freezer except the one you're working on. Bring one ice cream slice out of the freezer at a time as you assemble your sandwiches.
43
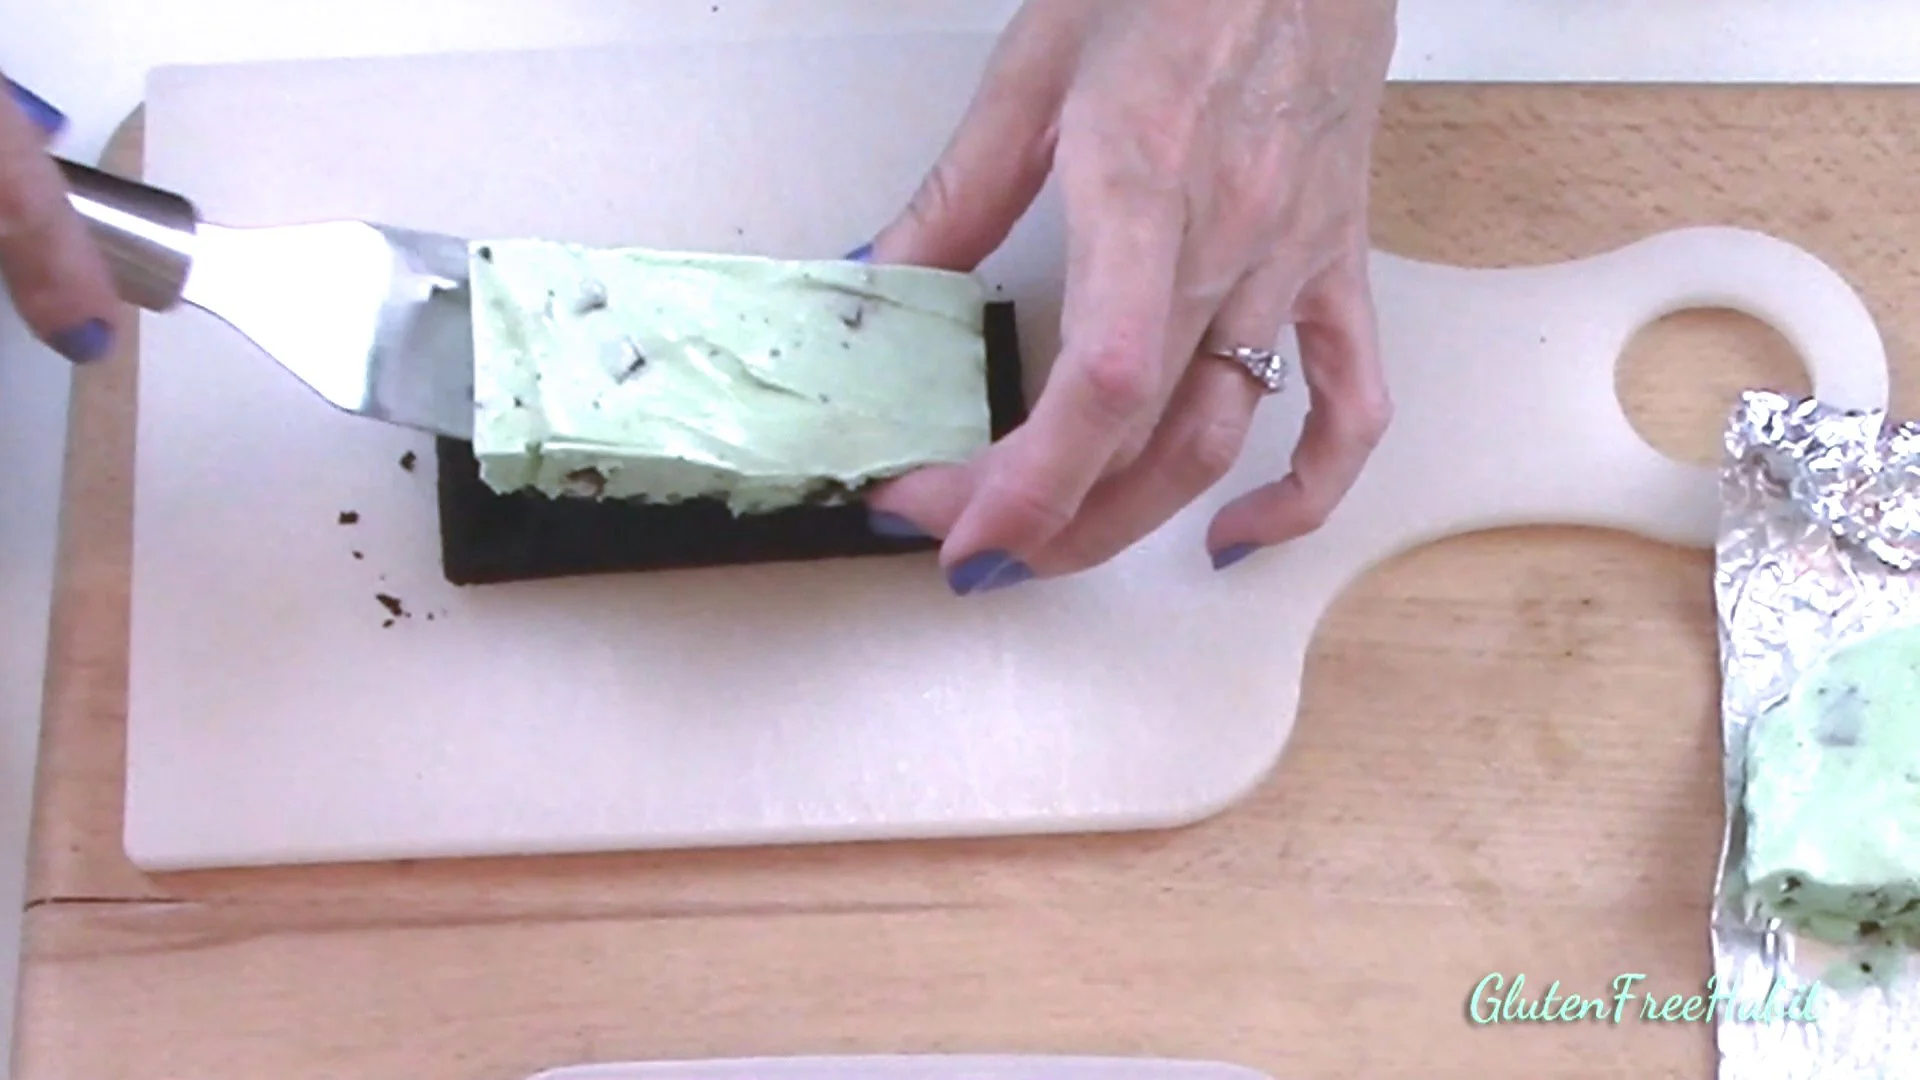
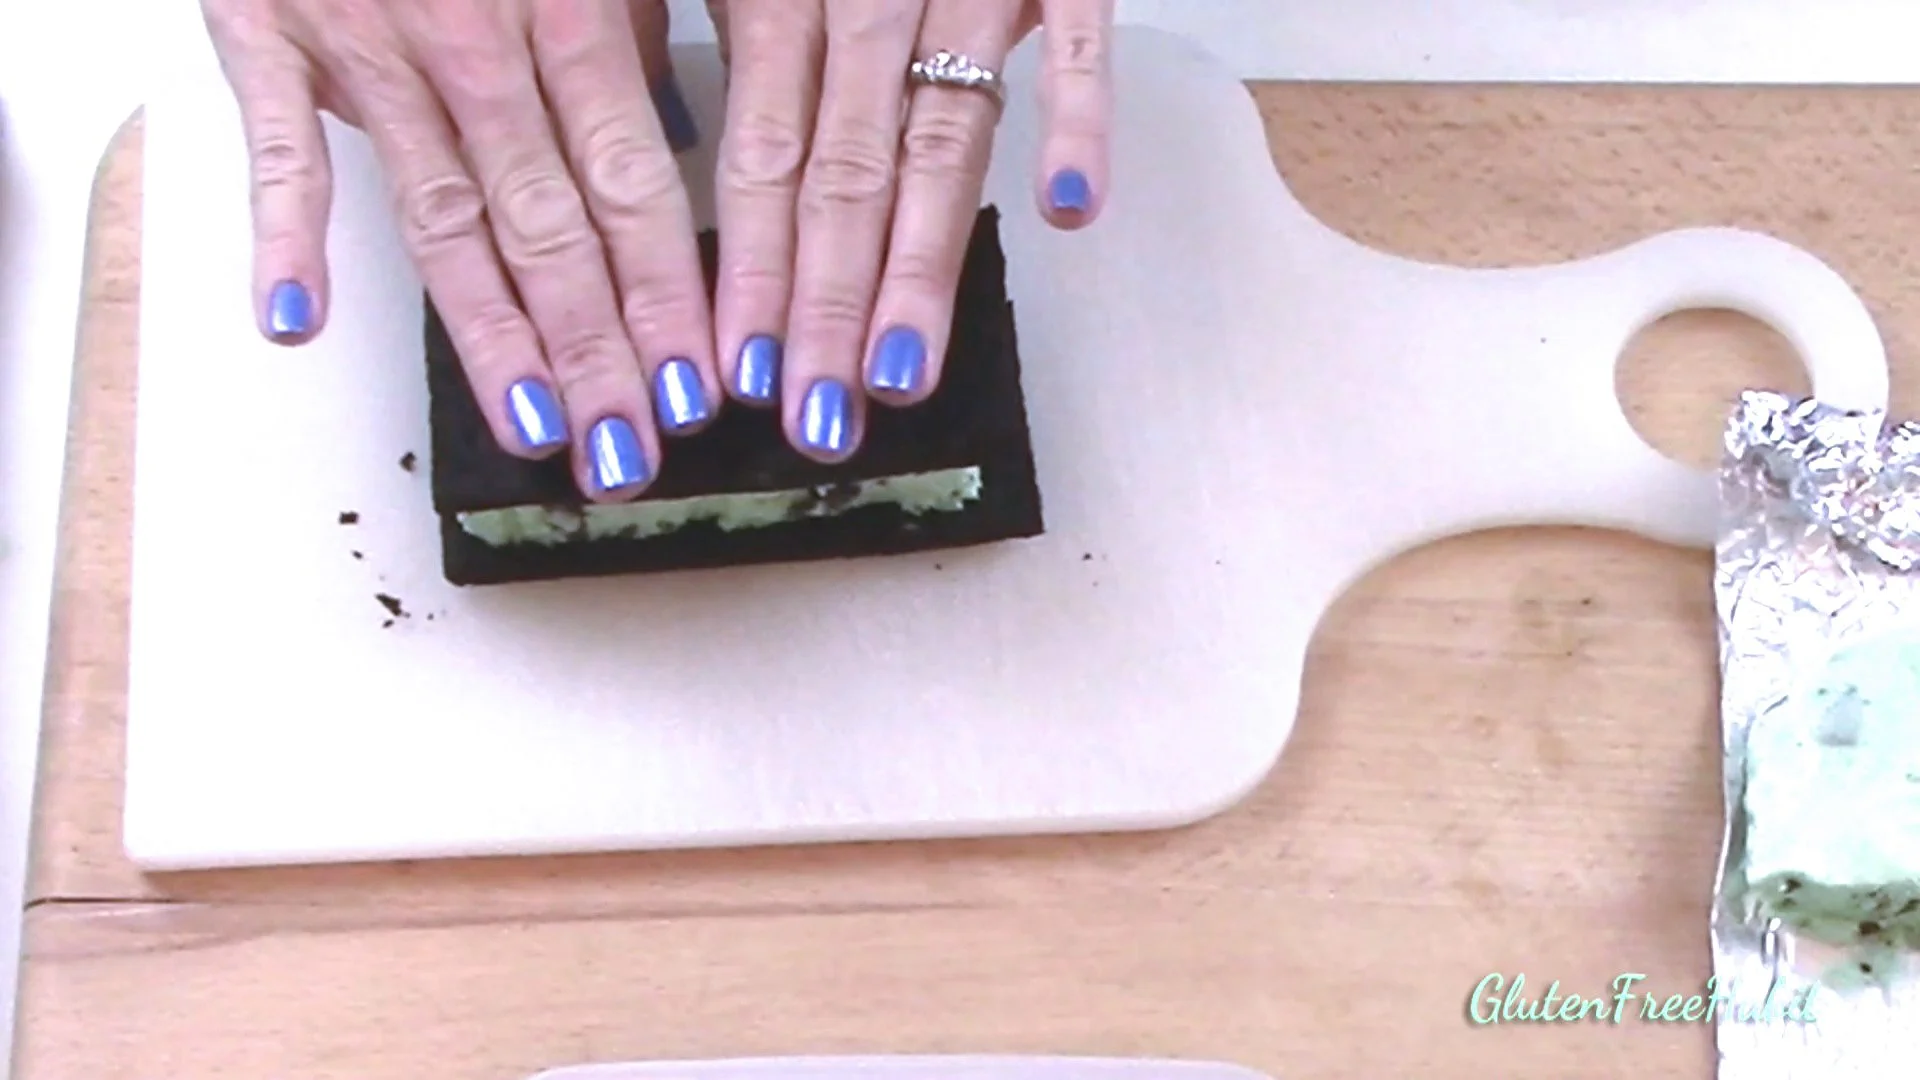
Gently press down on top of sandwich to spread ice cream to outer edge of cake.

44
If needed, smooth ice cream around edges with a butter knife.
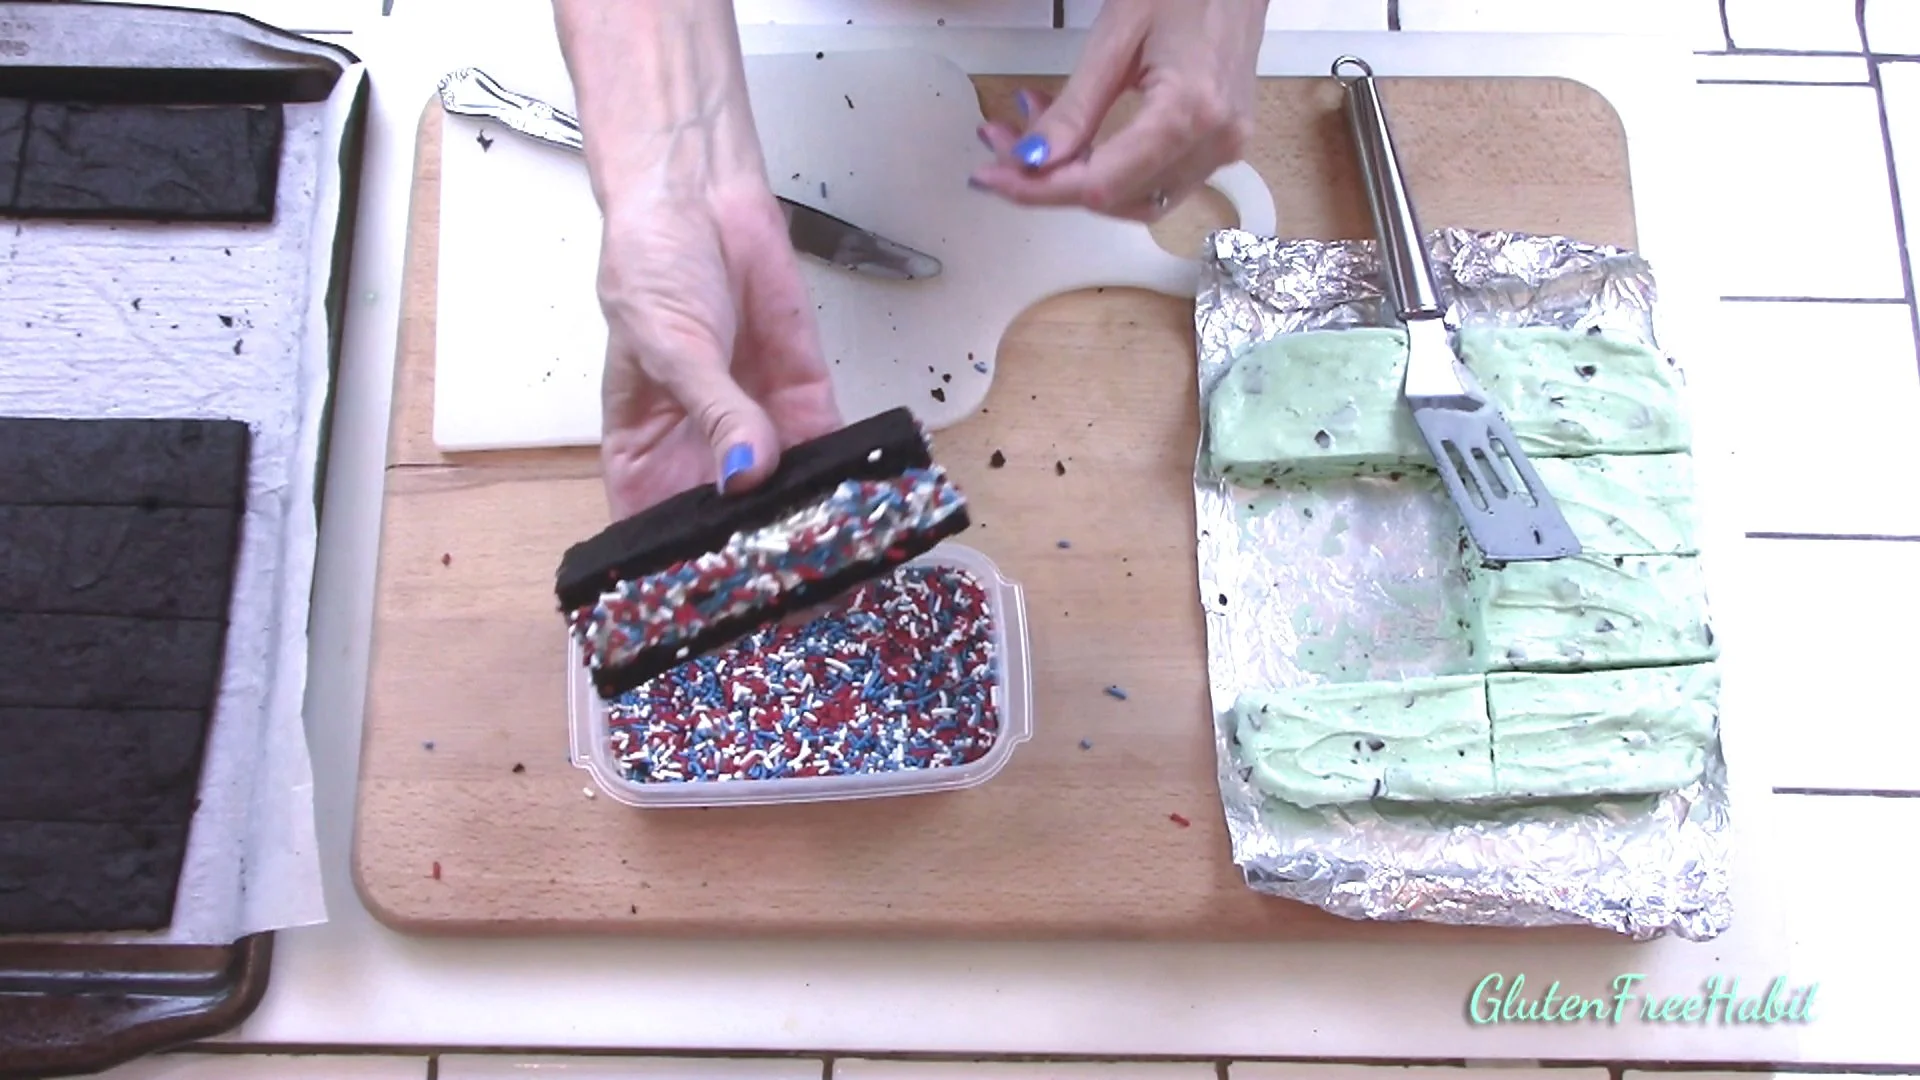
45
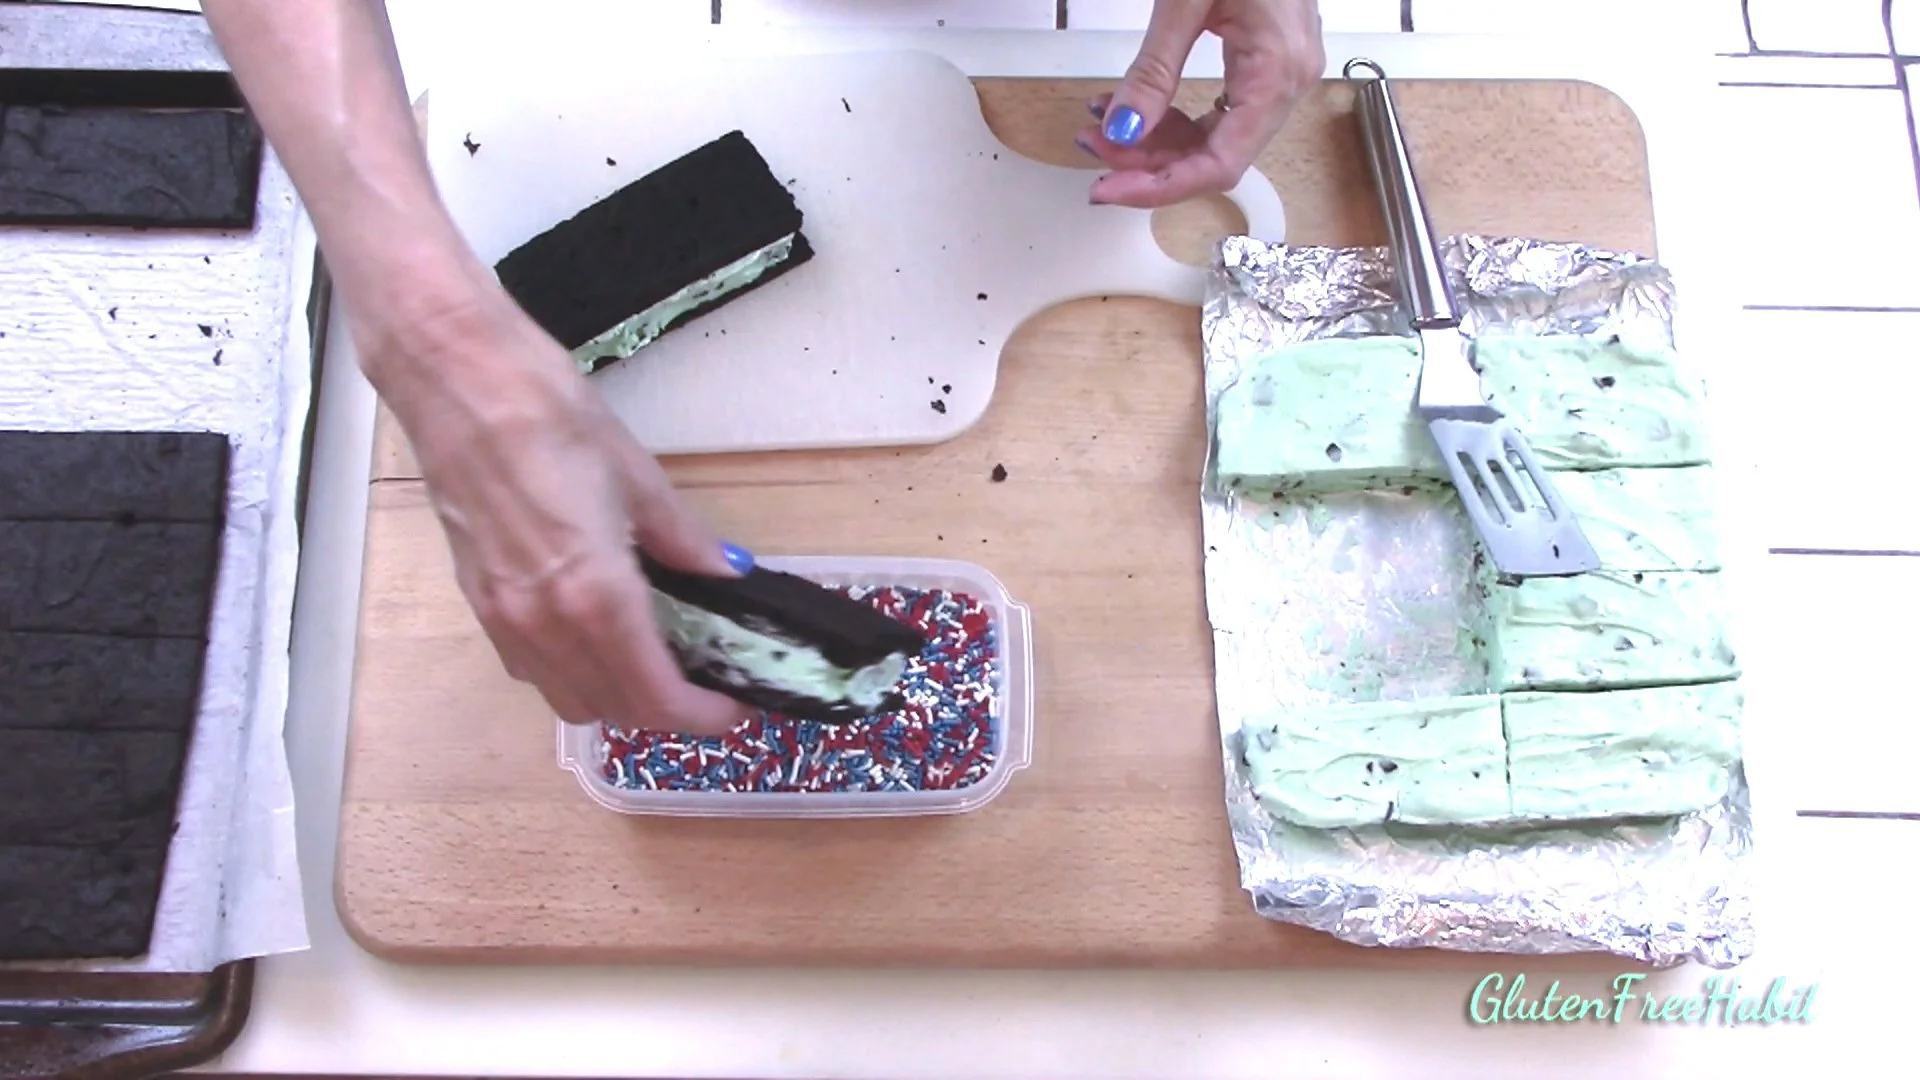
Press edges into sprinkles (or other topping) if desired.
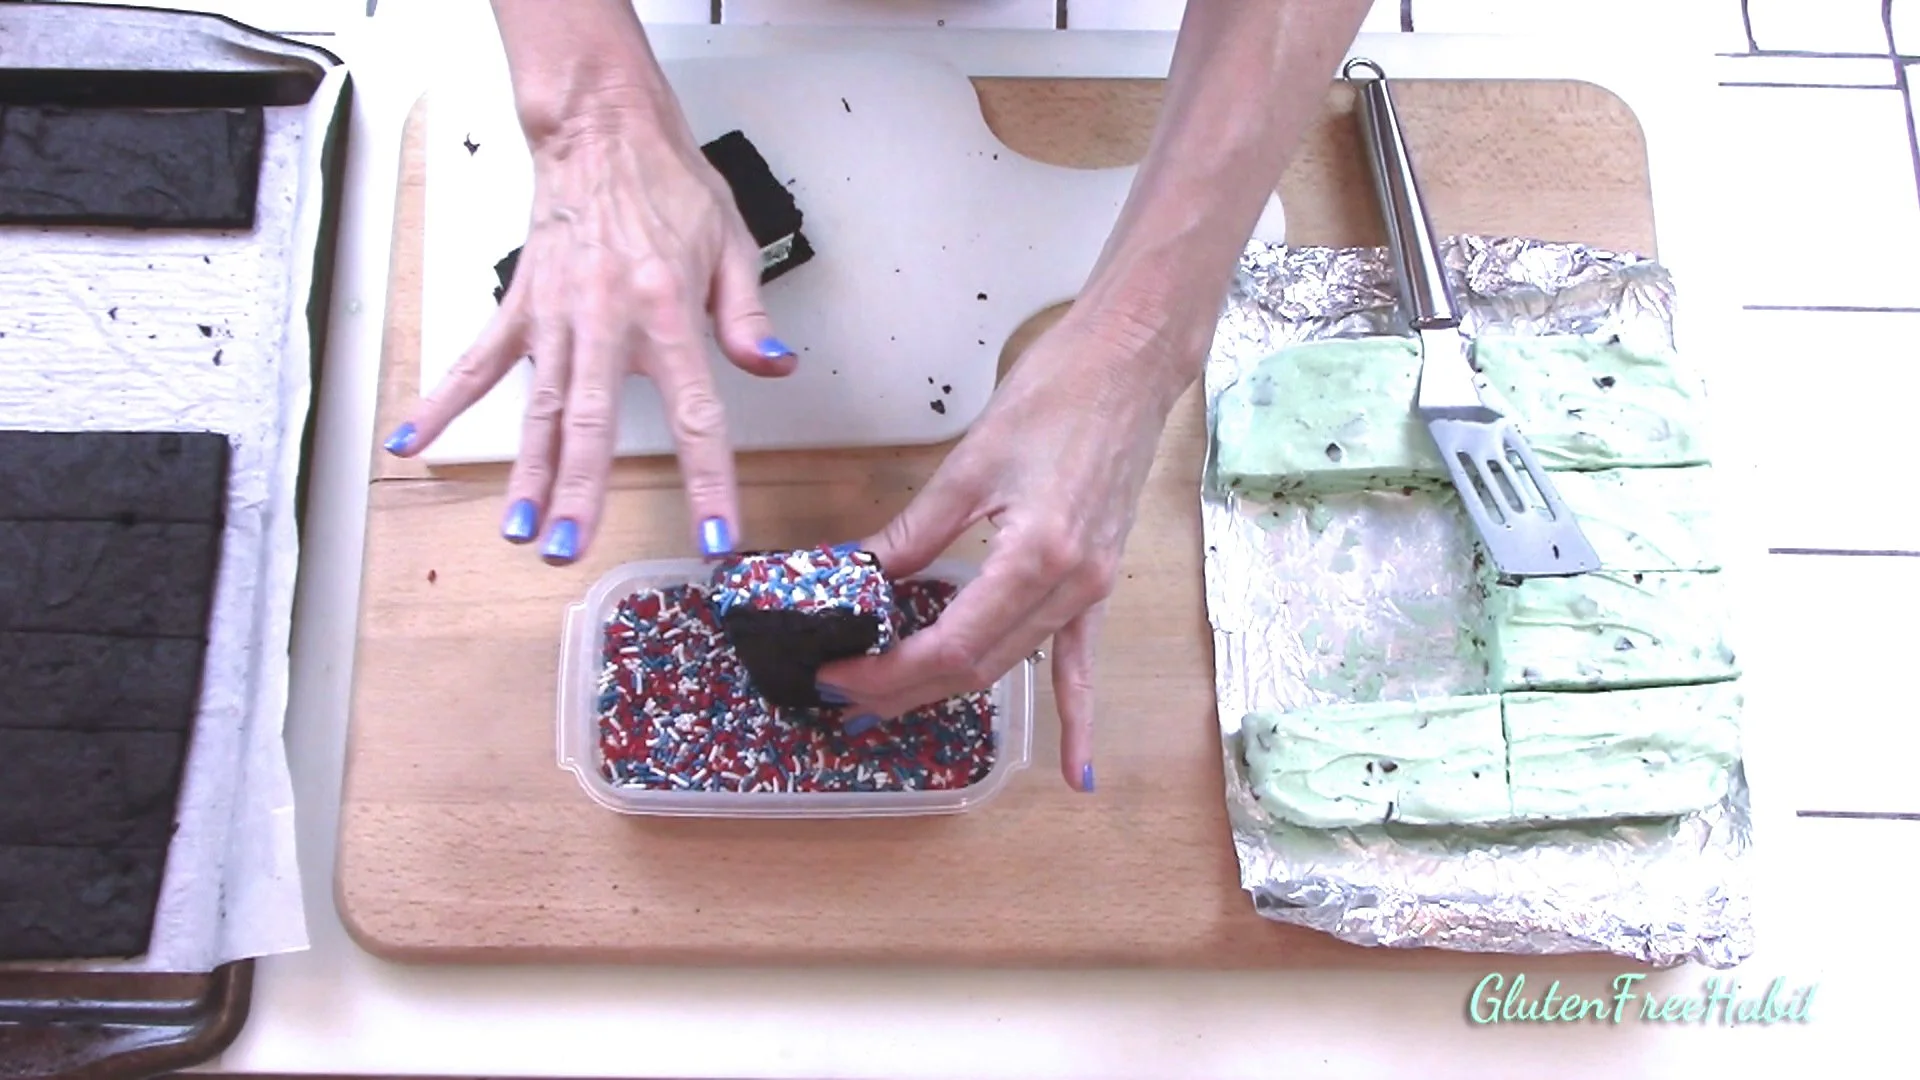
46
Brush extra sprinkles off the edge of the cake.
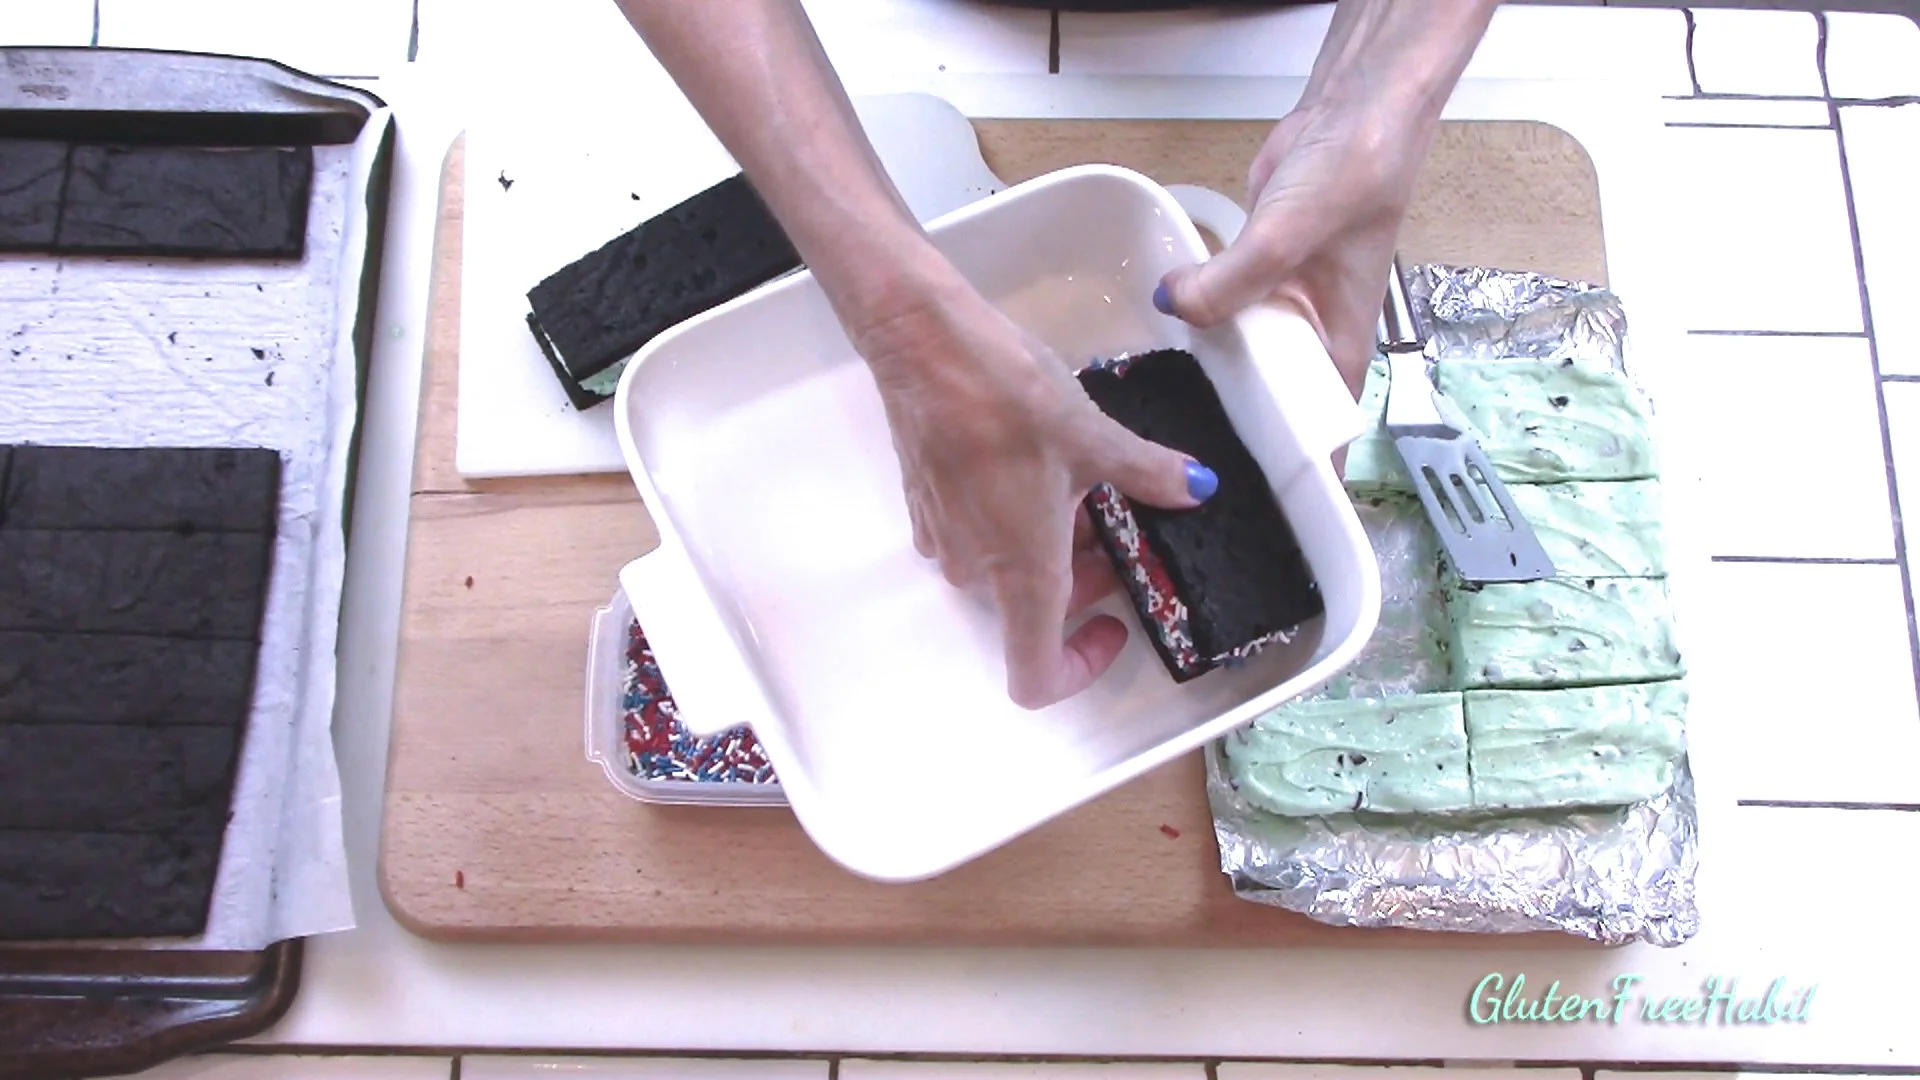
47
Place each sandwich immediately into freezer as you complete it. When all sandwiches are made and frozen firm, take out one at a time to wrap in waxed paper. Tape to secure.
48
Or...eat immediately! If too soft, freeze for a little bit before eating.
Yay! Time to eat!
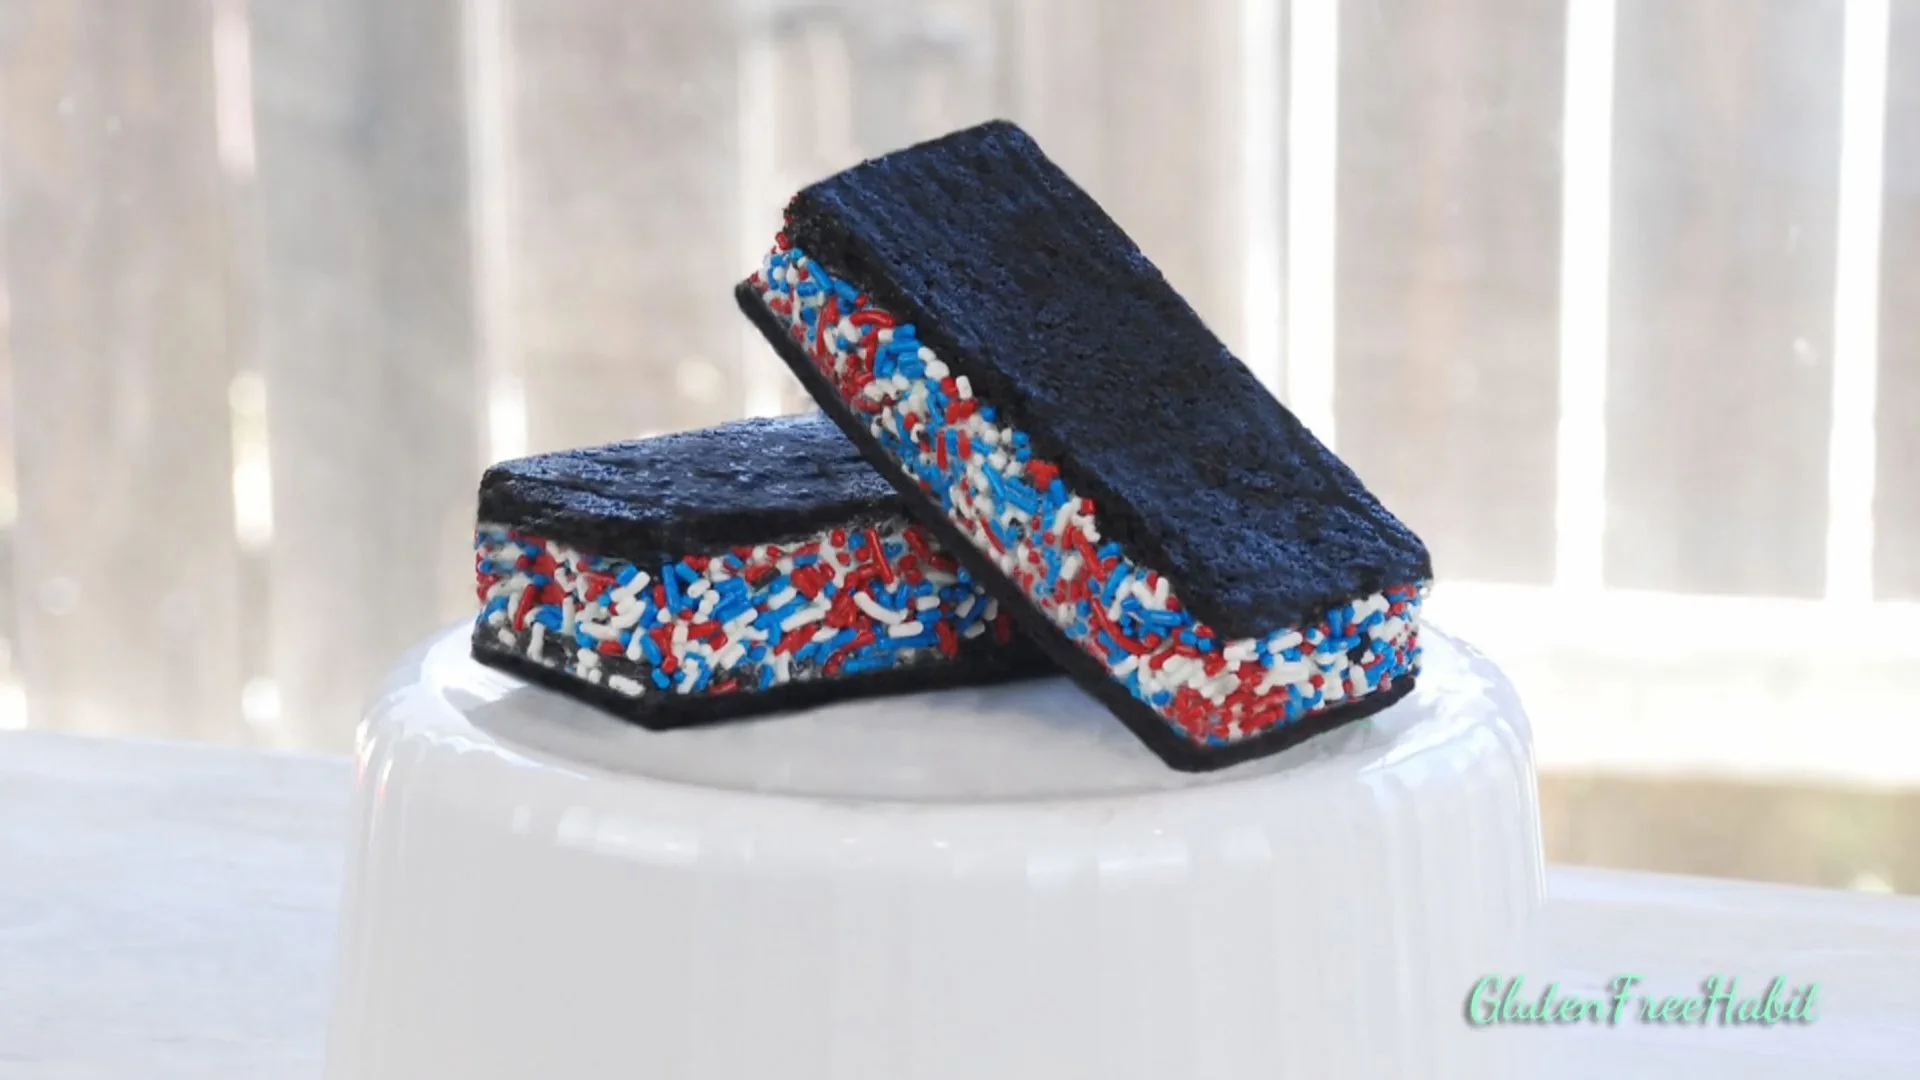
Enjoy!
Ready to Make Gluten Free Ice Cream Sandwiches?
Before you get to baking, make sure you have everything you need for success! Shop for gluten free flours, baking pans, cutting boards, serving dishes, and cookware in my Amazon shop!

The Recipe:
GLUTEN FREE ICE CREAM SANDWICHES
* IMPORTANT…When measuring out your flours, DO NOT scoop your measuring cup into a tub or bag. This will result in using more flour than called for. Instead, pour or spoon the flour into your measuring cup, and level off with flat side of a knife. If possible, measure your flours by weight for best accuracy.
INGREDIENTS
Dry Ingredients
1/2 cup brown rice flour
1/2 cup white rice flour
1 cup special dark cocoa powder
1/2 tsp. salt
1/2 tsp. baking powder
1/2 tsp. xanthan gum
Wet Ingredients:
1/2 cup (1 stick) + 2 Tbsp. butter, softened
2/3 cup granulated sugar
4 large egg yolks
2 tsp. vanilla
1/2 cup hot water
Filling:
Ice Cream (any flavor), 1.5 qt.
For Dipping (optional):
Sprinkles, nuts, mini chocolate chips, crushed GF cookies, Mini M&Ms, etc.
Other:
cookie sheet
DIRECTIONS
Getting Ready:
STEP ONE NEEDS TO BE DONE AT LEAST A COUPLE HOURS IN ADVANCE OF ALL OTHER STEPS (or night before): Line an 8x8 pan with tinfoil and spray it lightly with non-stick spray. Allow a little tinfoil to hang over the edge. This will help you lift out the ice cream when it’s solid. Fill with ice cream and allow to melt just enough to smooth it out. Press the ice cream in, and fill it as high as you would like your sandwiches to be! Place in freezer until totally solid. (In my freezer it takes a couple of hours at least…it just depends on how well your freezer does its job).
Set out butter to soften
Line a cookie sheet with parchment paper. Allow a little bit extra to hang over edge. This will help you lift it off the pan after baking.
If you will be adding sprinkles or other treats, pour them into a wide bowl for easy dipping.
When ice cream is solid, preheat oven to 375 degrees
Let’s Get Started:
Start by mixing together your dry ingredients: In a medium-sized mixing bowl whisk together the brown rice flour, white rice flour, cocoa powder, salt, baking powder, and xanthan gum. Set aside.
In a large-sized mixing bowl, mix together the butter and sugar until creamy. Add in yolks and vanilla. Mix together until well blended.
Add dry mixture into the butter/egg mixture. Mix until well blended.
Add water and mix until dough is smooth.
Place dough onto baking sheet and spread with off-set spatula to form an 8x16 rectangle (actually make it a tiny bit larger on each side to allow for edges to be trimmed neatly).
Bake at 375° for 10 minutes.
Remove from oven.
Do not leave on pan. Carefully lift parchment off and place onto a cutting board (bend cake as little as possible to avoid cracking).
Allow to cool for 15 minutes or so.
Place cake (still on the cutting board) into the freezer for another 20 minutes
When cake is FULLY COLD THROUGHOUT you can assemble ice cream sandwiches! Remove cake from freezer. First, trim away any rough edges. Slice into sixteen 2”x4” pieces.
If you want a very authentic ice cream sandwich look, use something to press 13 small indentations into each piece of cake.
Remove ice cream from freezer and lift ice cream out of pan with the tinfoil edge. You may need a spatula to help you remove it. Work very quickly once you have the ice cream out of the freezer.
Slice into eight 2”x4” pieces.
Place a plate, baking dish, or cookie sheet into the freezer for the completed sandwiches.
To assemble, place an ice cream piece onto a cake piece and top with a second cake piece. Gently press down on top of sandwich to spread the ice cream to the outer edge of the cake . If needed, smooth ice cream around edges with a butter knife. Press edges into sprinkles (or other topping) if desired. Place each sandwich immediately into freezer as you complete it.
When all sandwiches are made and frozen firm, take out one at a time to wrap in waxed paper. Tape to secure.
Refreeze again before eating if needed, or eat IMMEDIATELY :)

Tip: Please follow all directions exactly!! If you skip steps or swap ingredients then you may or may not like the end result :)
Looking for Comments?
Please leave and read comments in the "Comments" section of the YouTube video above.
I can’t wait to hear from you!