Gluten Free Dinner Rolls - Classic Style!

These delicious, gently golden dinner rolls are light and fluffy, warm and buttery, and believe it or not, gluten free! They're the perfect addition to any meal, but at our house they are a MUST for Easter, Thanksgiving, and Christmas dinners. This gluten free recipe won't let you down. Don't let the dinner rolls ever pass you by again!
Makes: 9 gluten free dinner rolls

Show Me How

Walk Me Through It
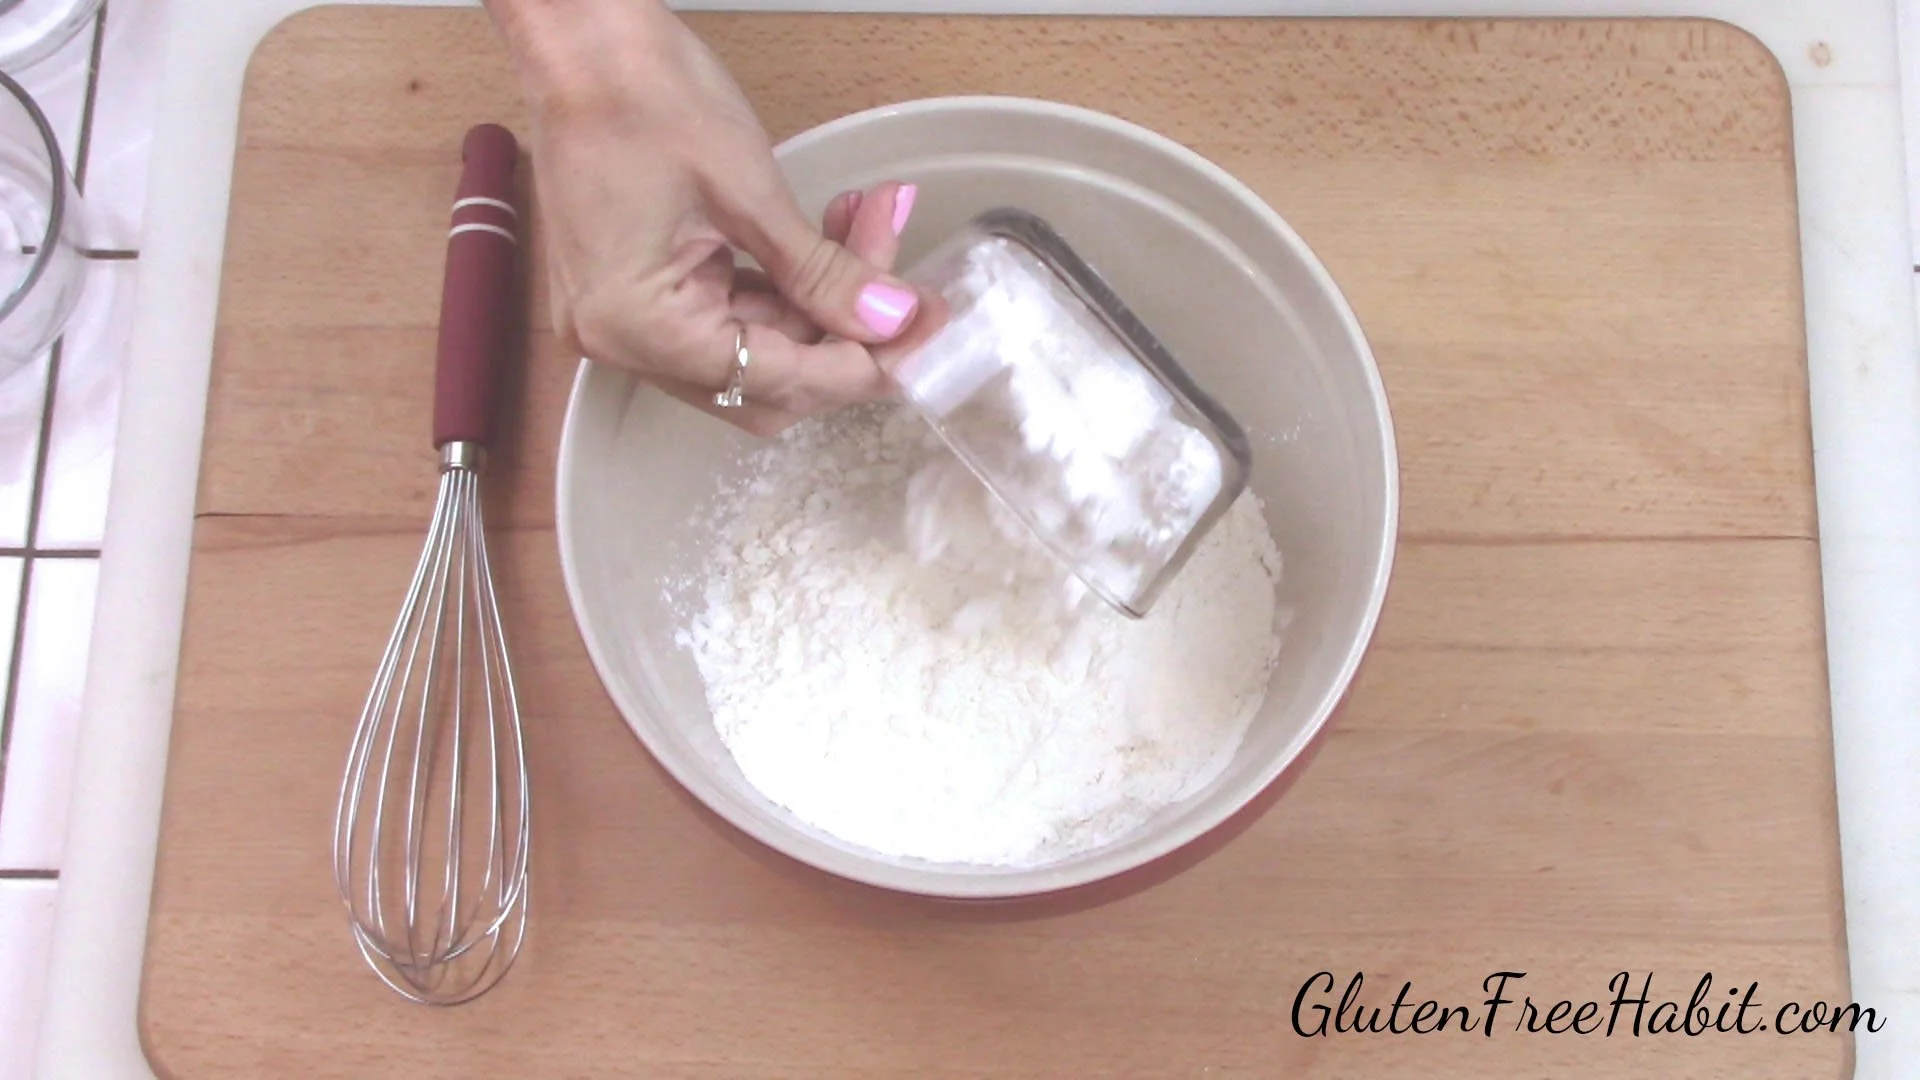
1
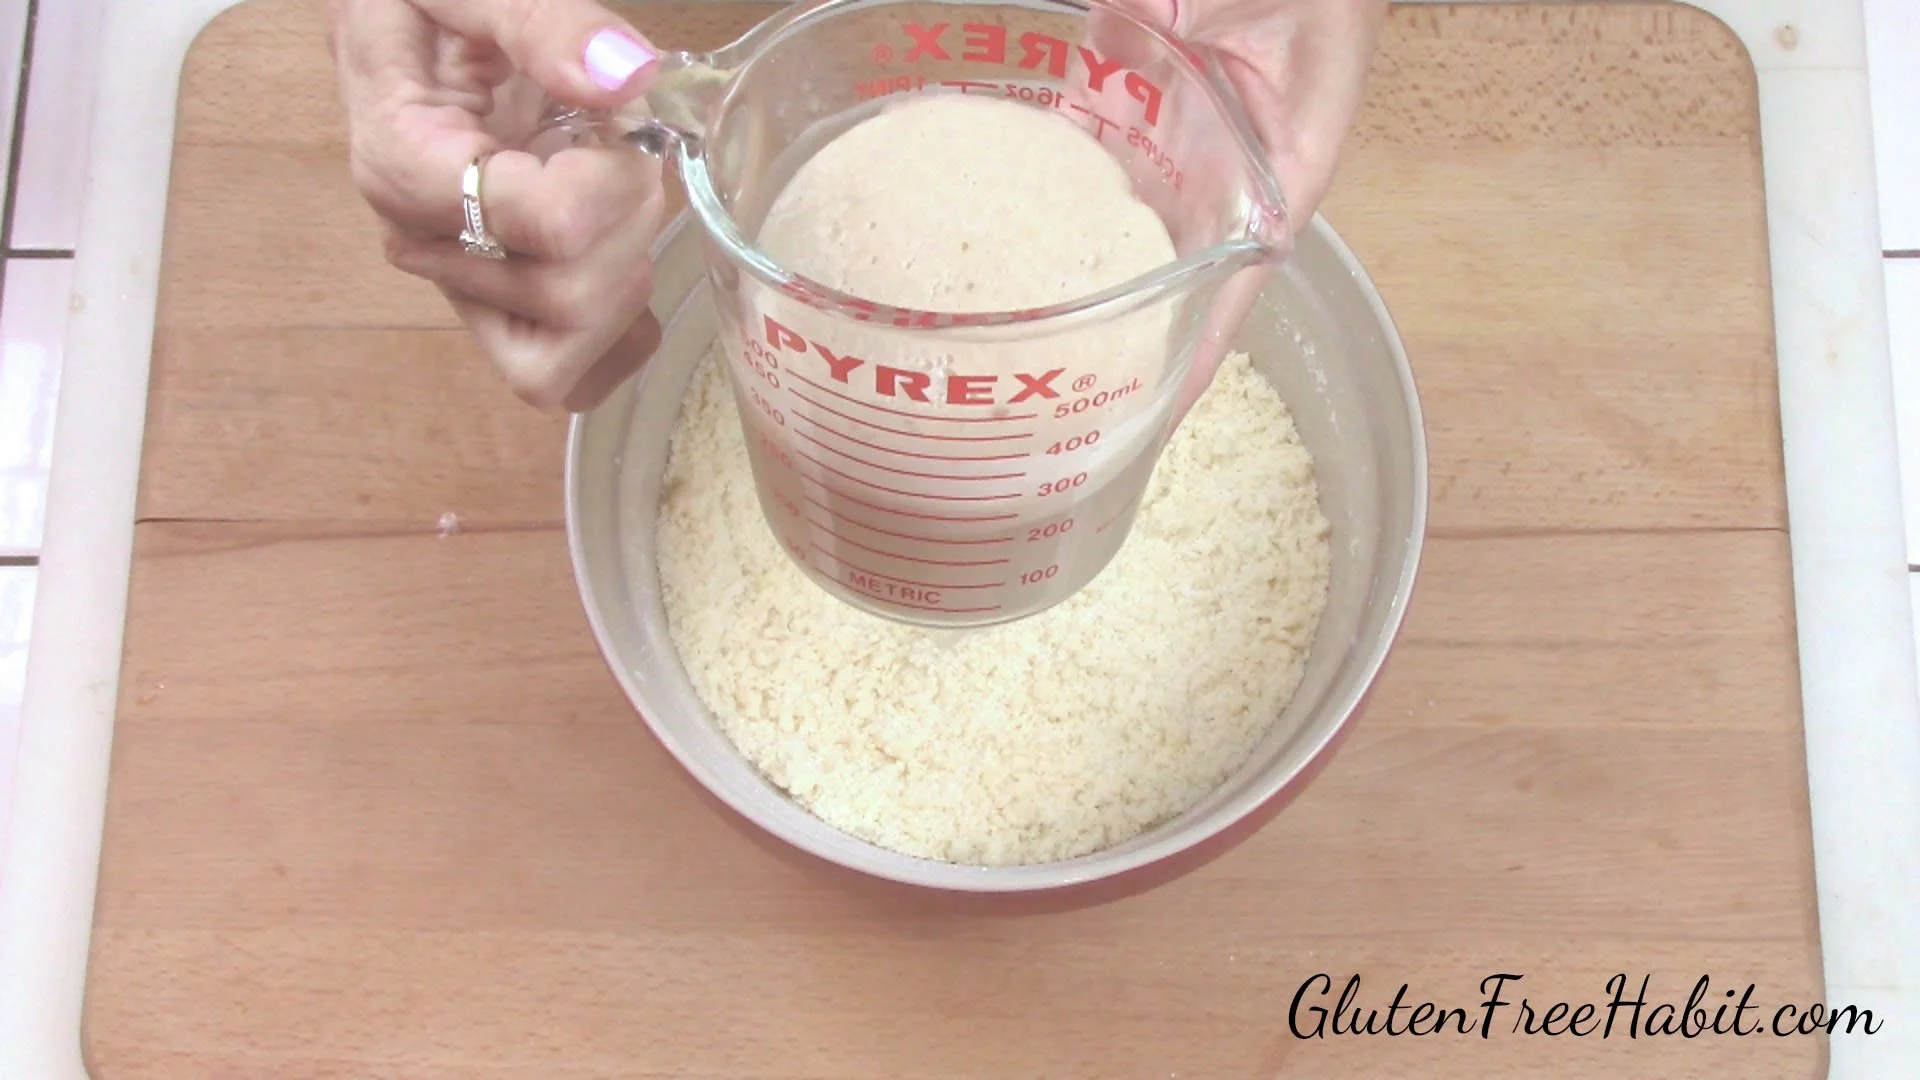
Combine dry ingredients including brown rice flour, corn starch, tapioca flour, xanthan gum, salt, and baking powder.
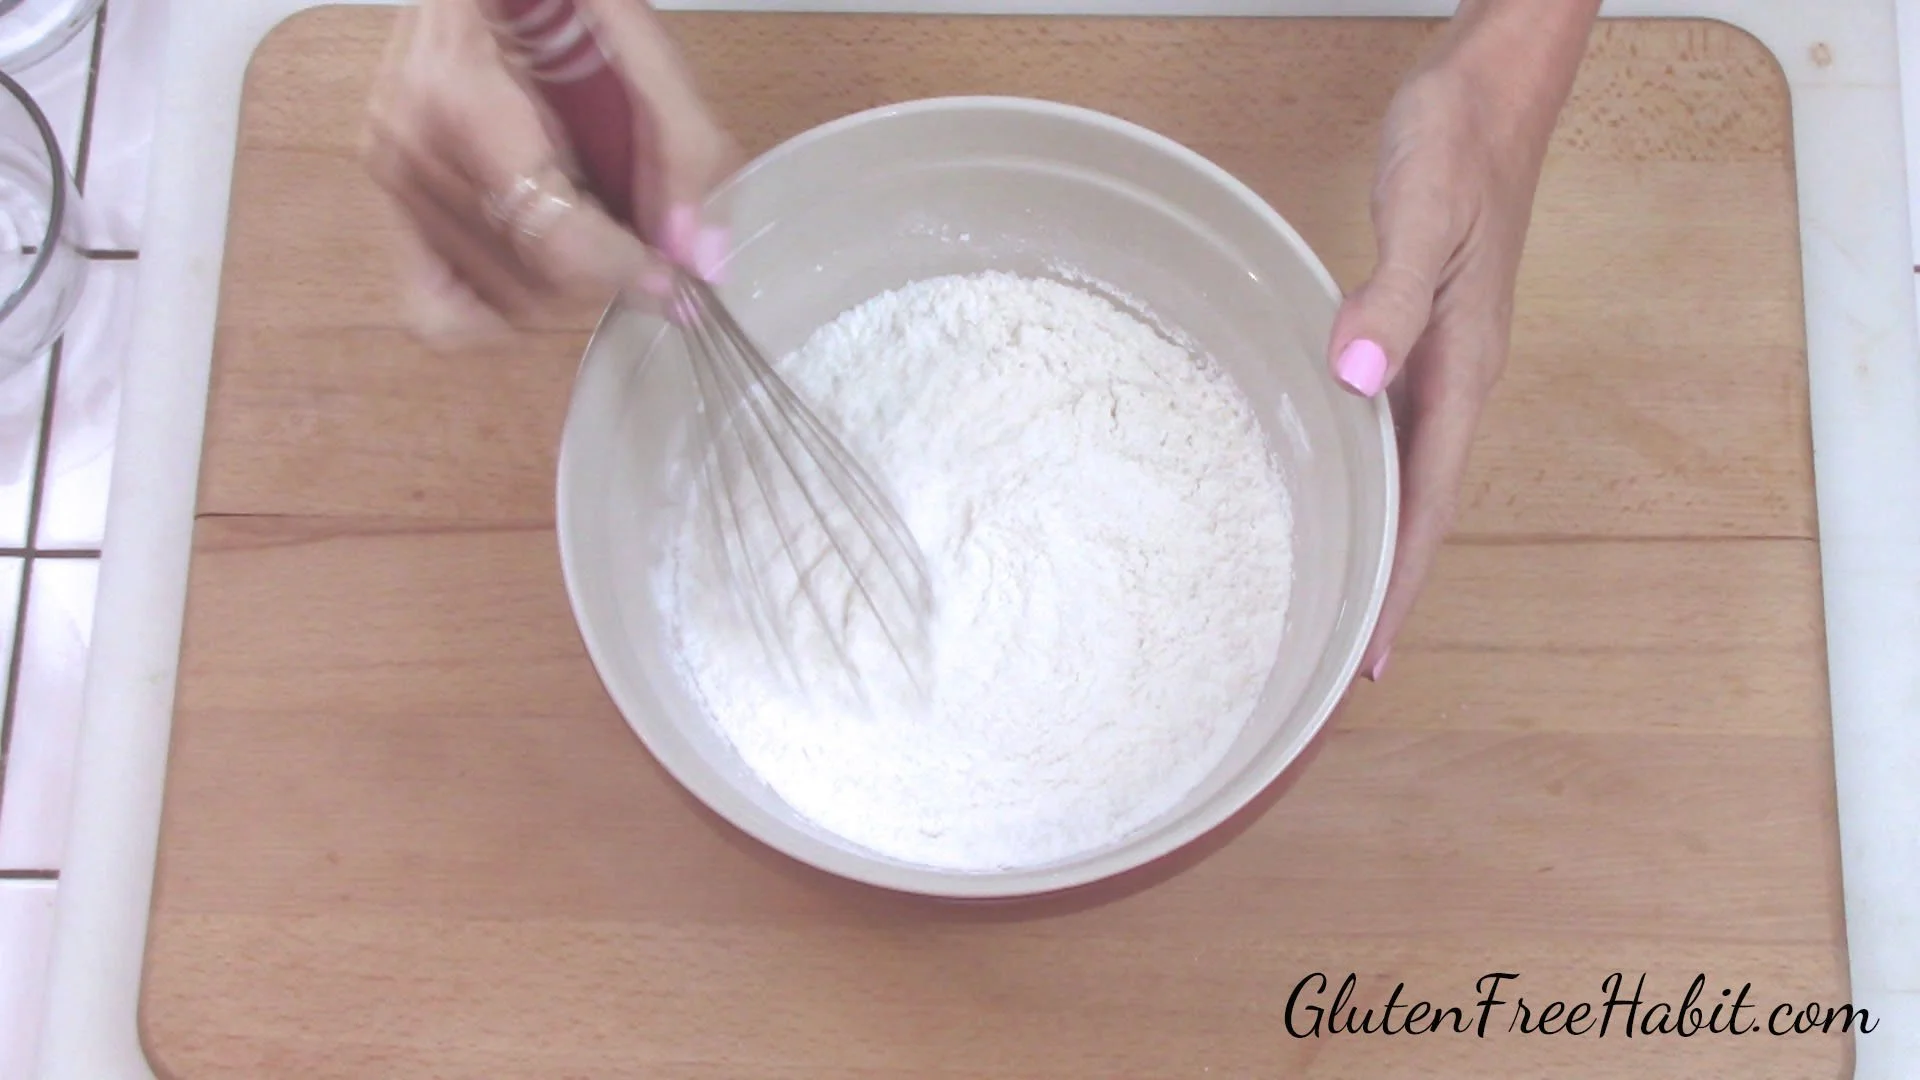
2
Whisk together and set aside.
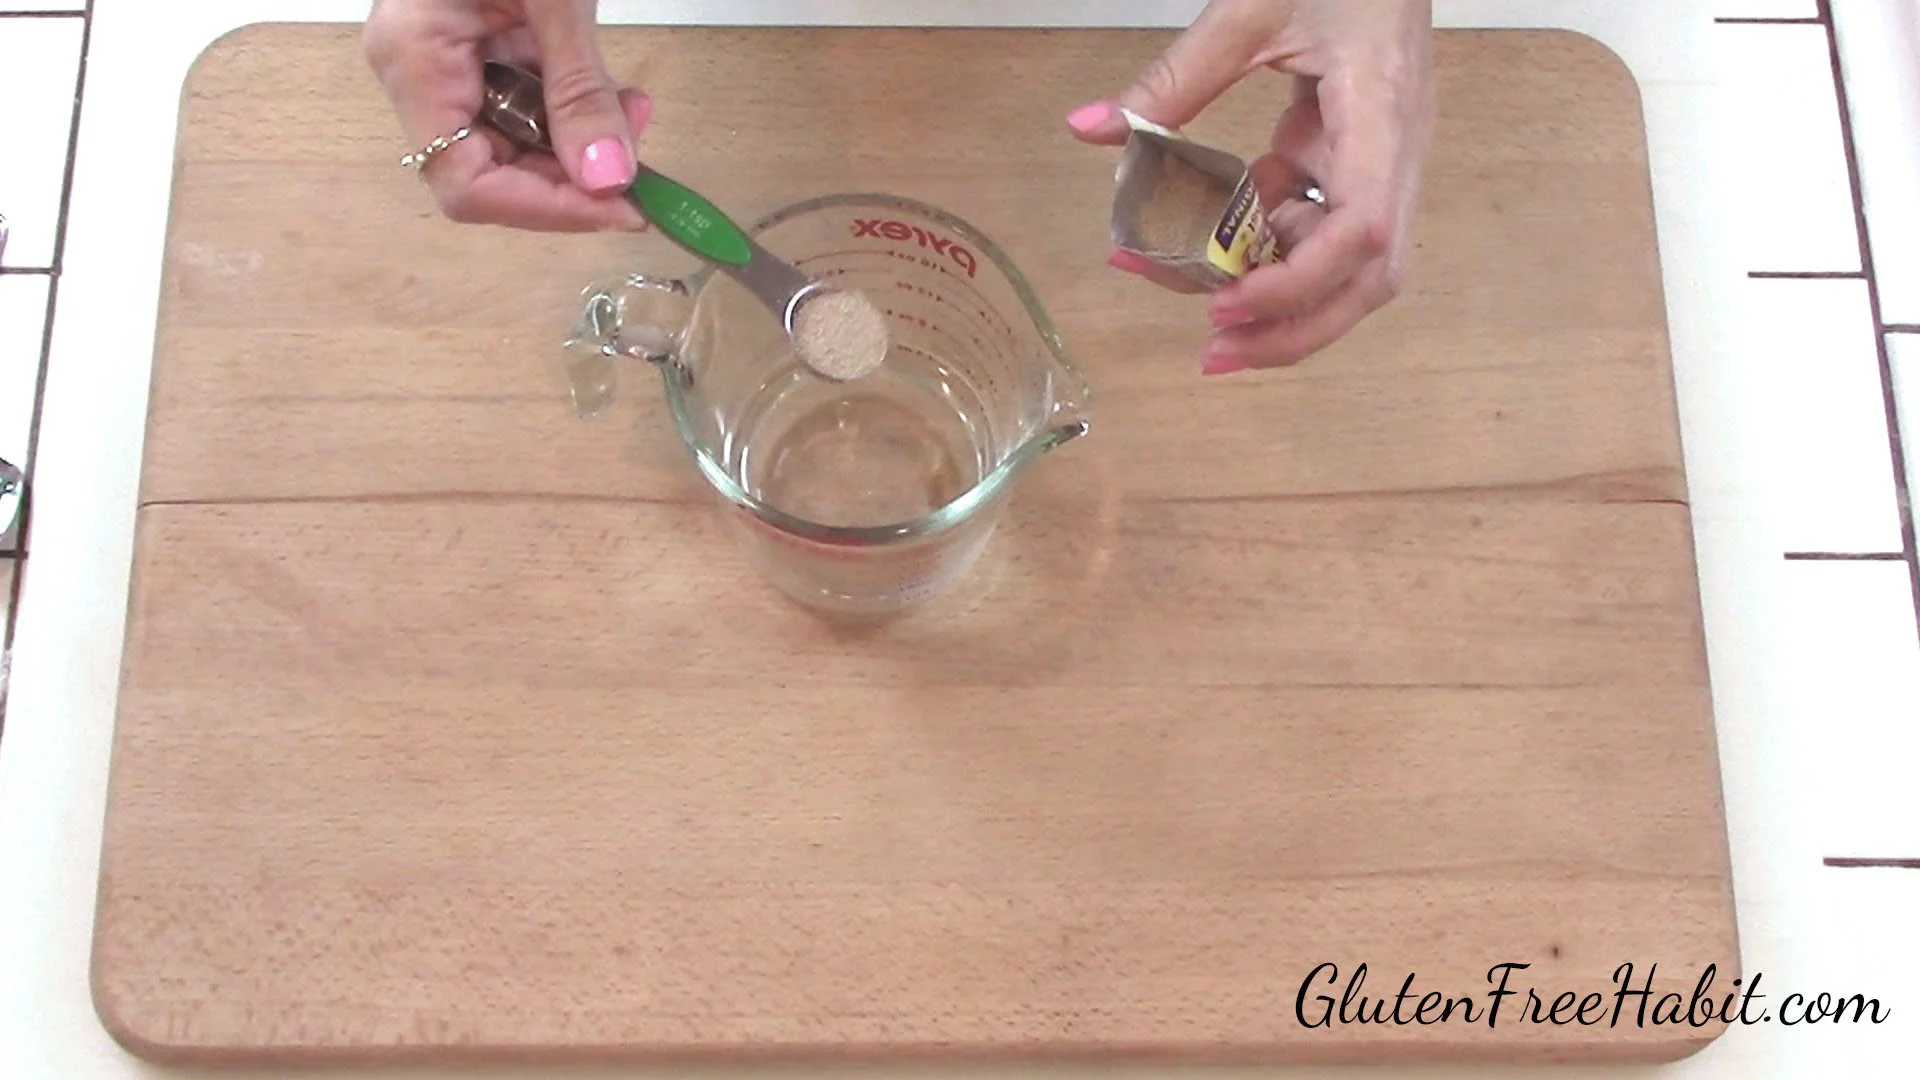
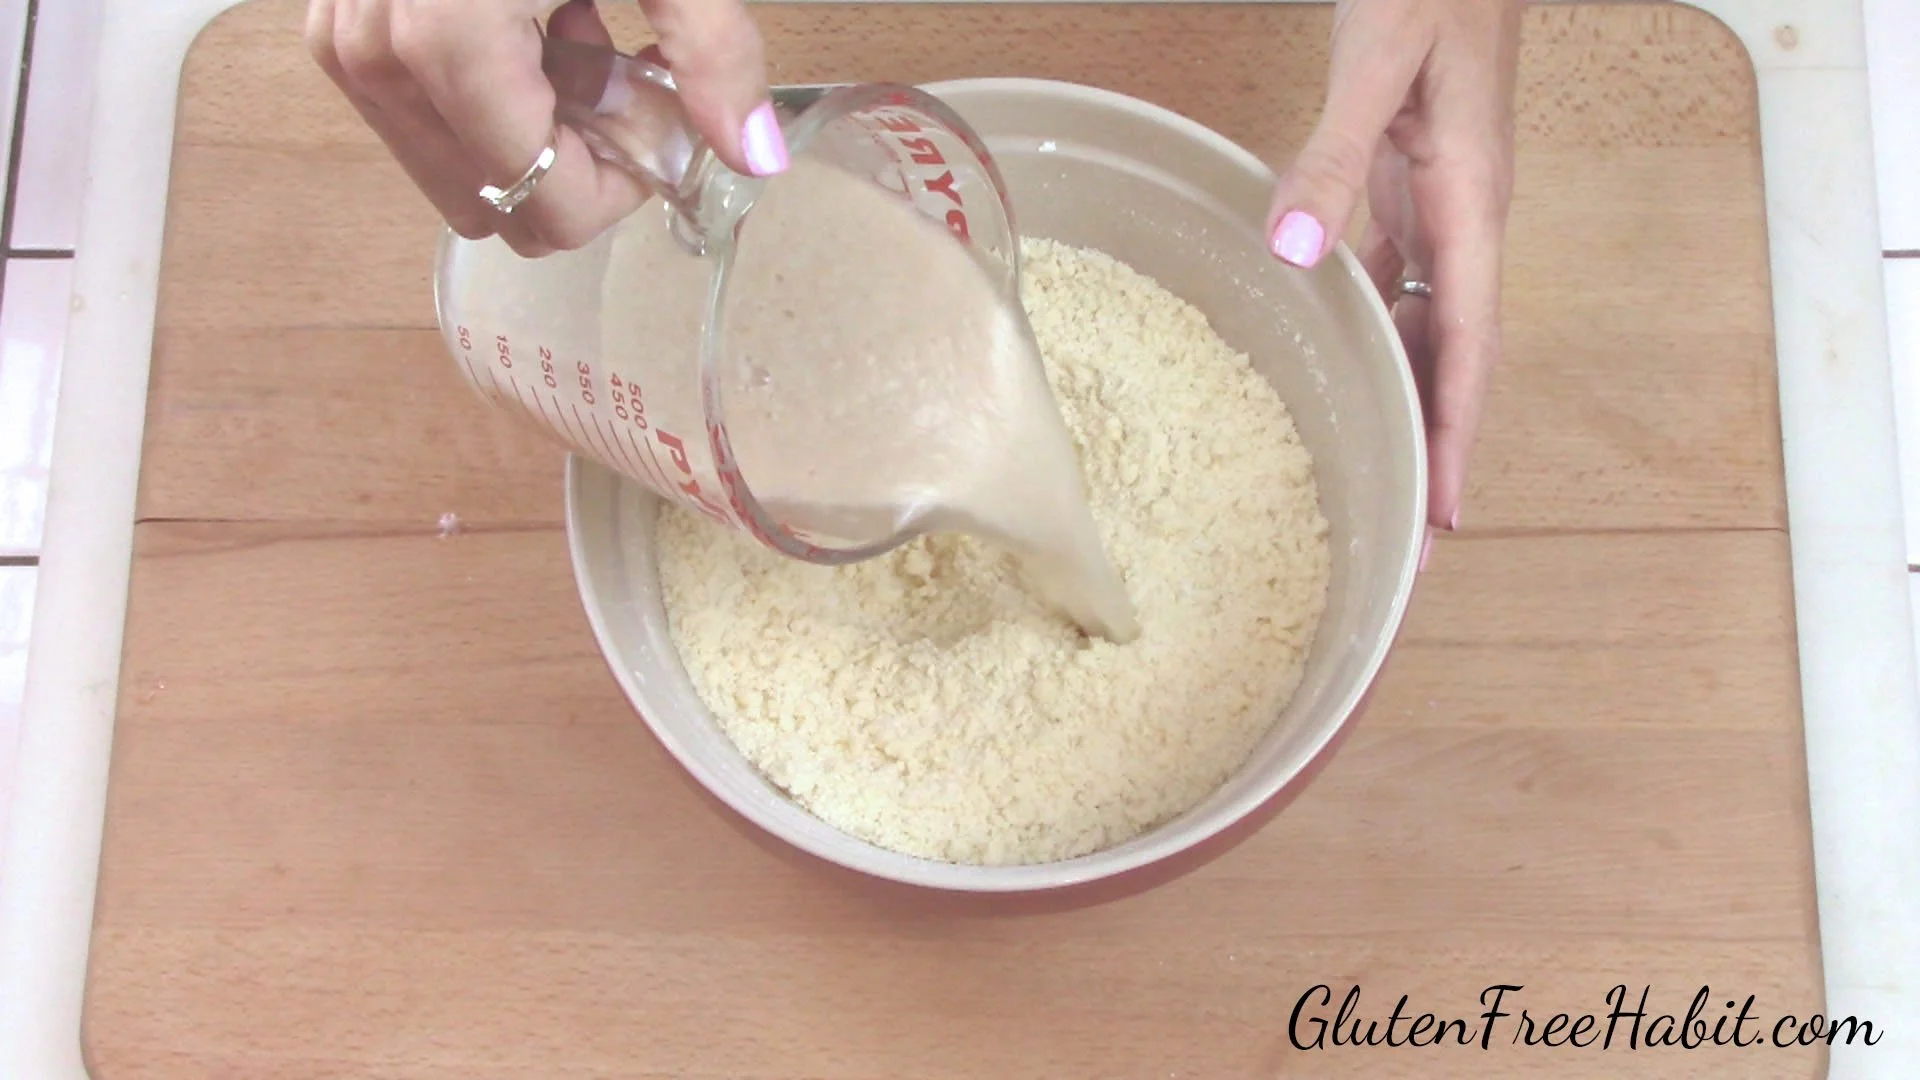
3
Proof the yeast: Heat the water to about 100 degrees and add in your active dry yeast and sugar. Stir. Set aside for 5 minutes.

4
Combine wet ingredients into a medium mixing bowl: eggs, apple cider vinegar, and butter.
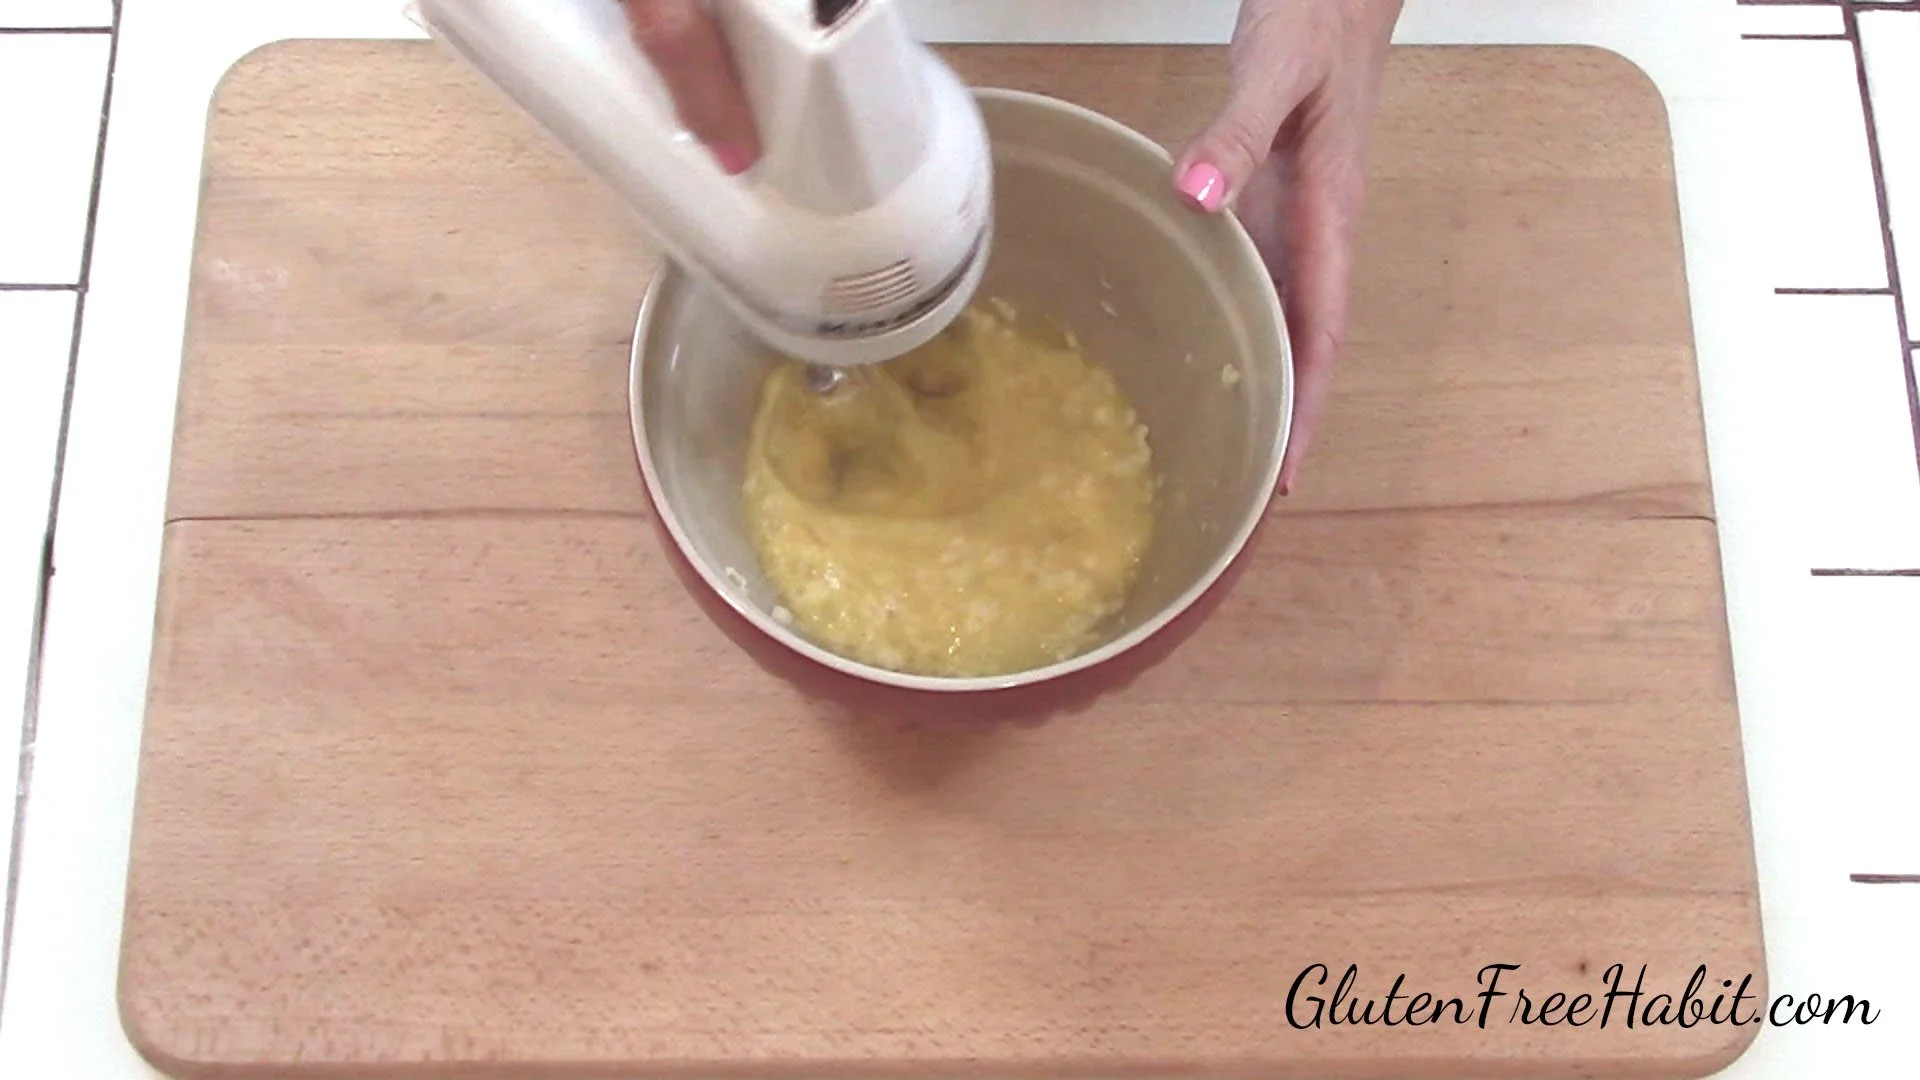
5
Mix together.
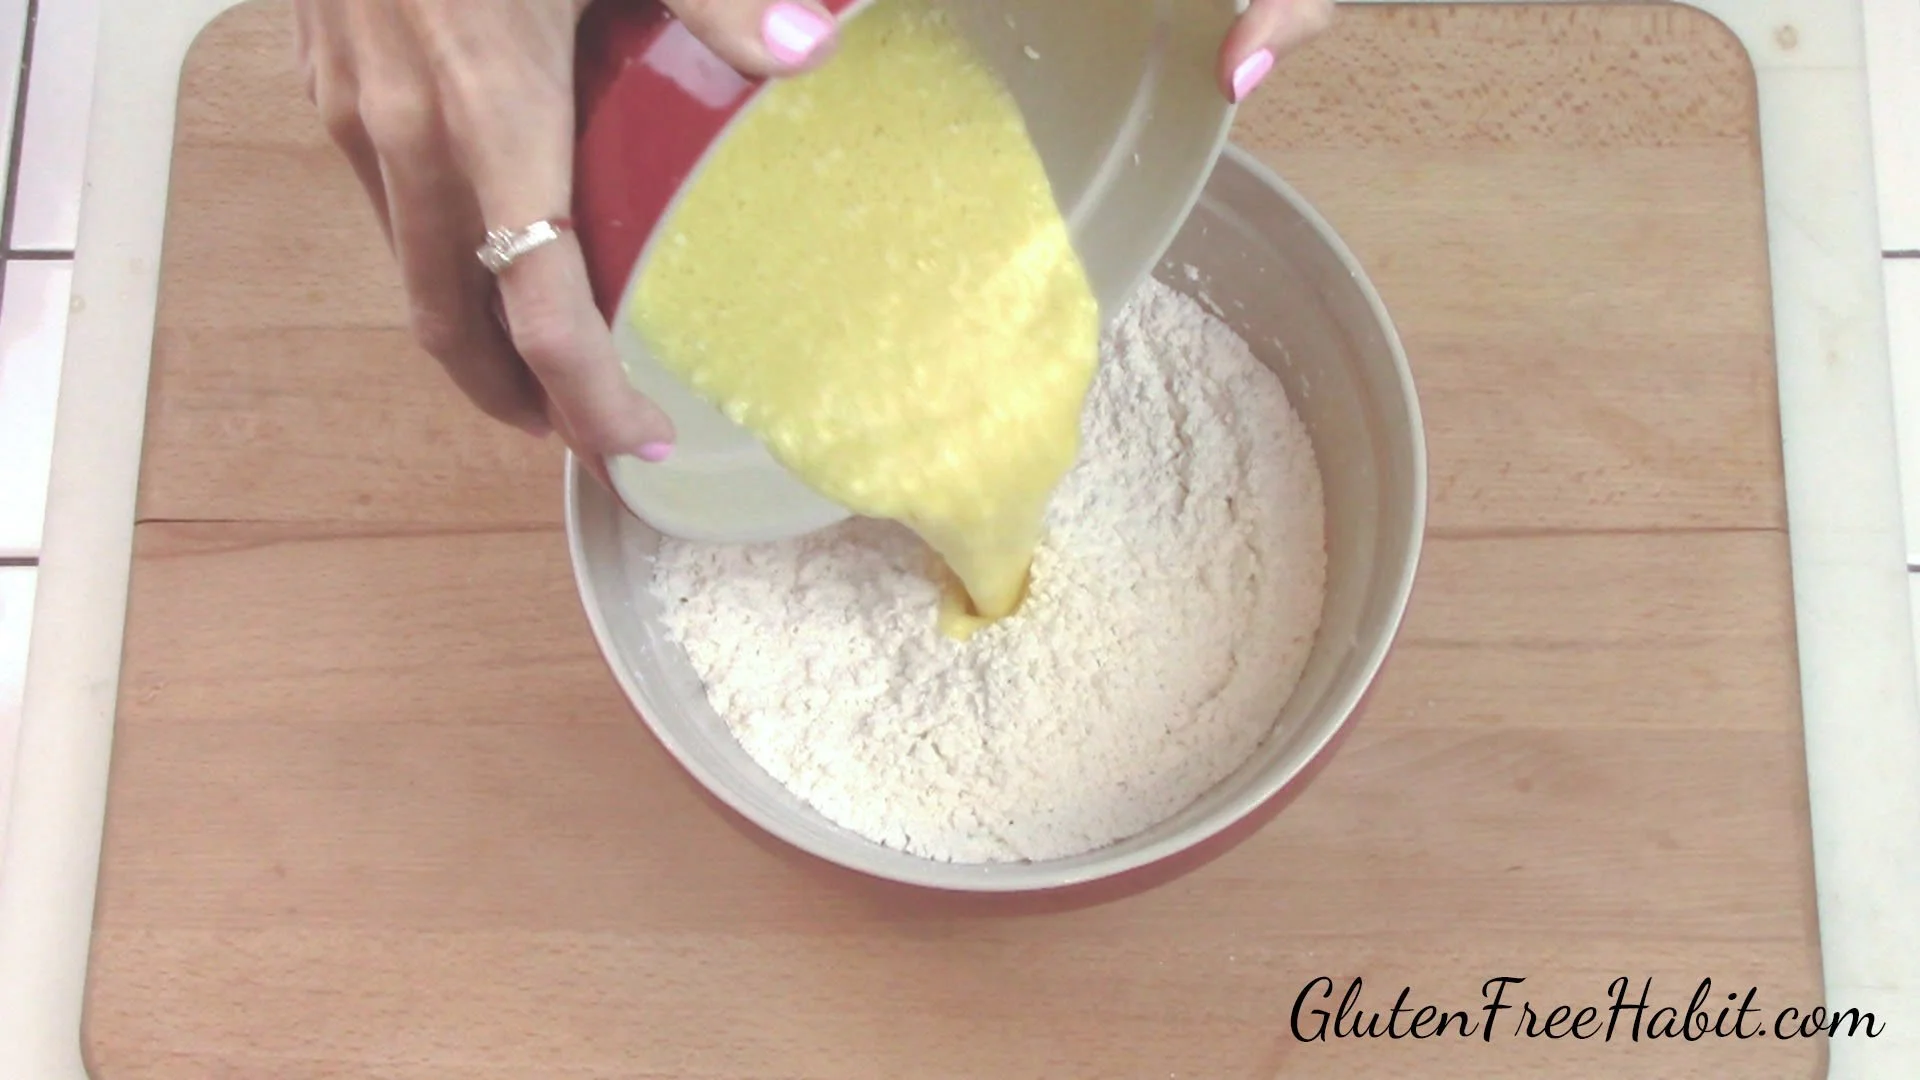
6
Add this wet ingredients mixture into your dry ingredients.
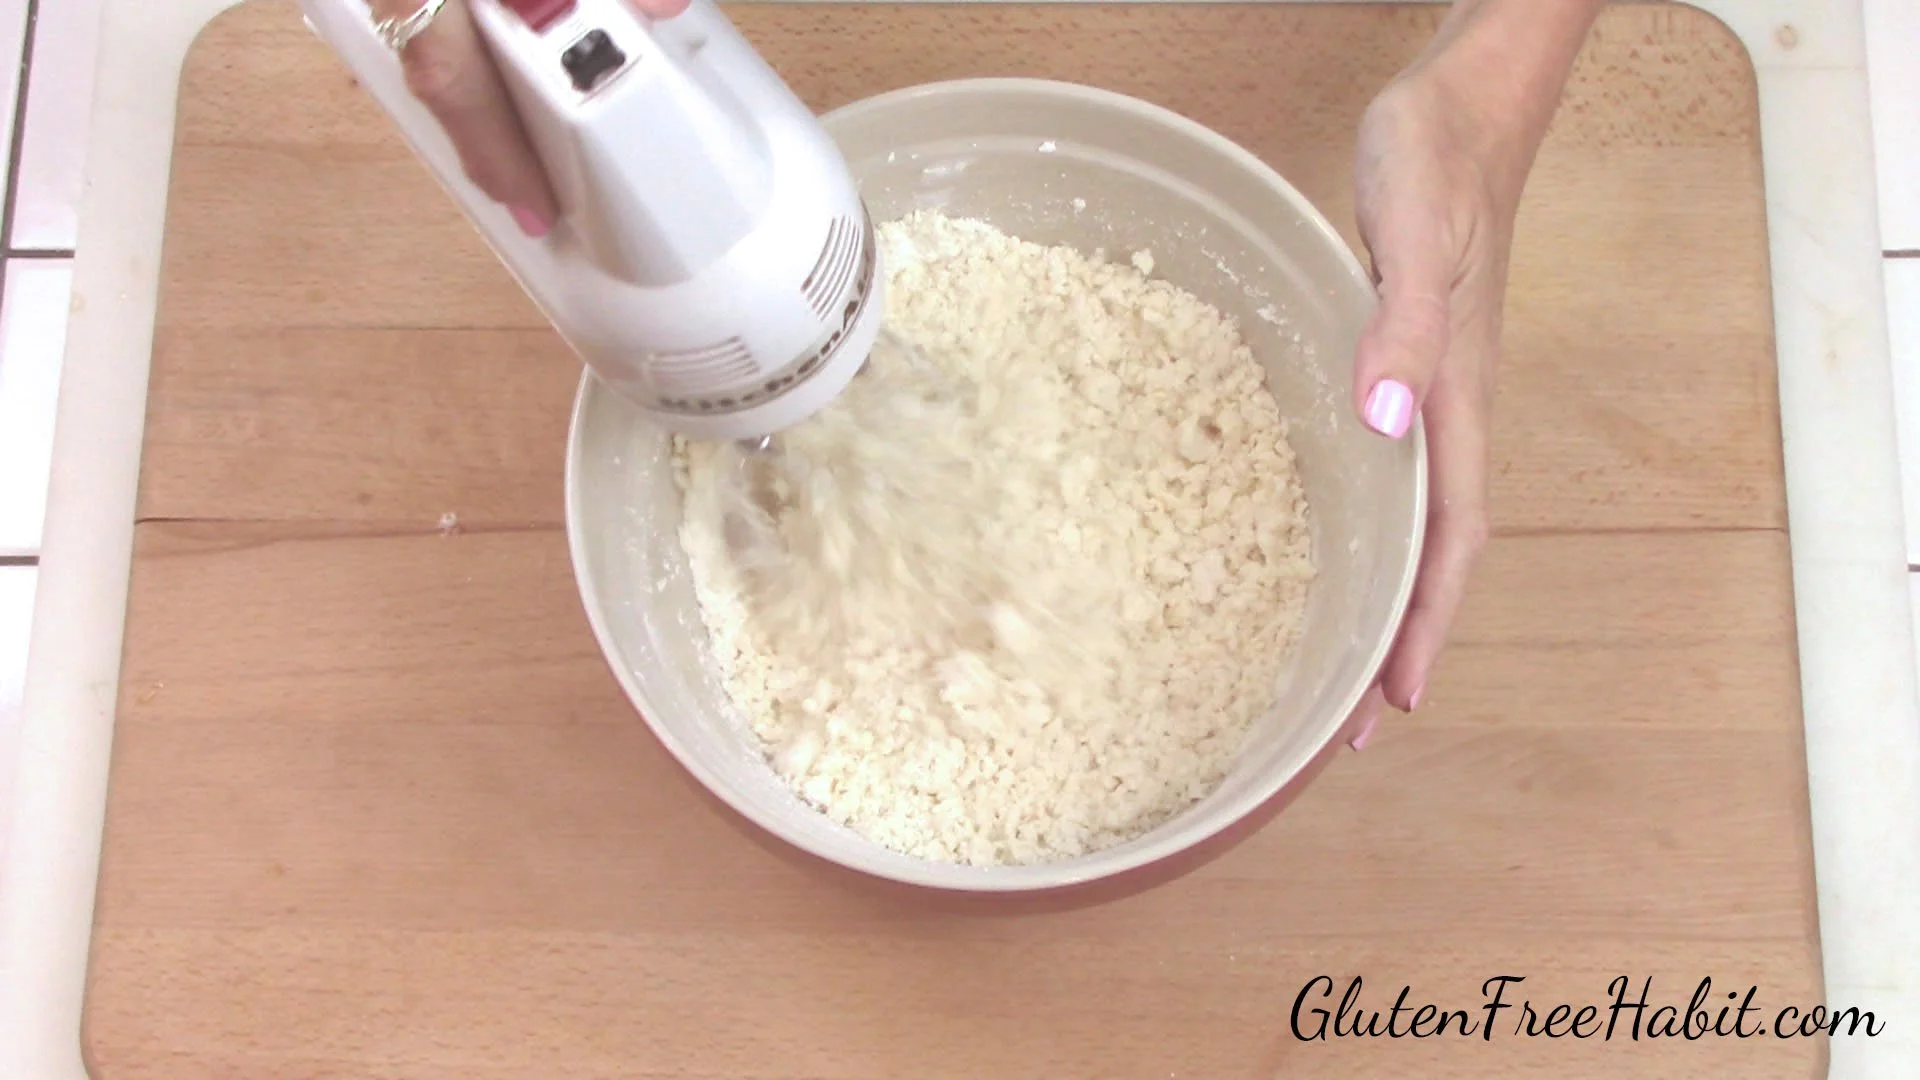
7
Mix on low until everything is combined. It will be crumbly.
8
After 5 minutes have passed, check to see if the yeast mix is foamy (this will show that the yeast is active). If it is, continue with the recipe. If not, stop here and proof another packet of yeast.
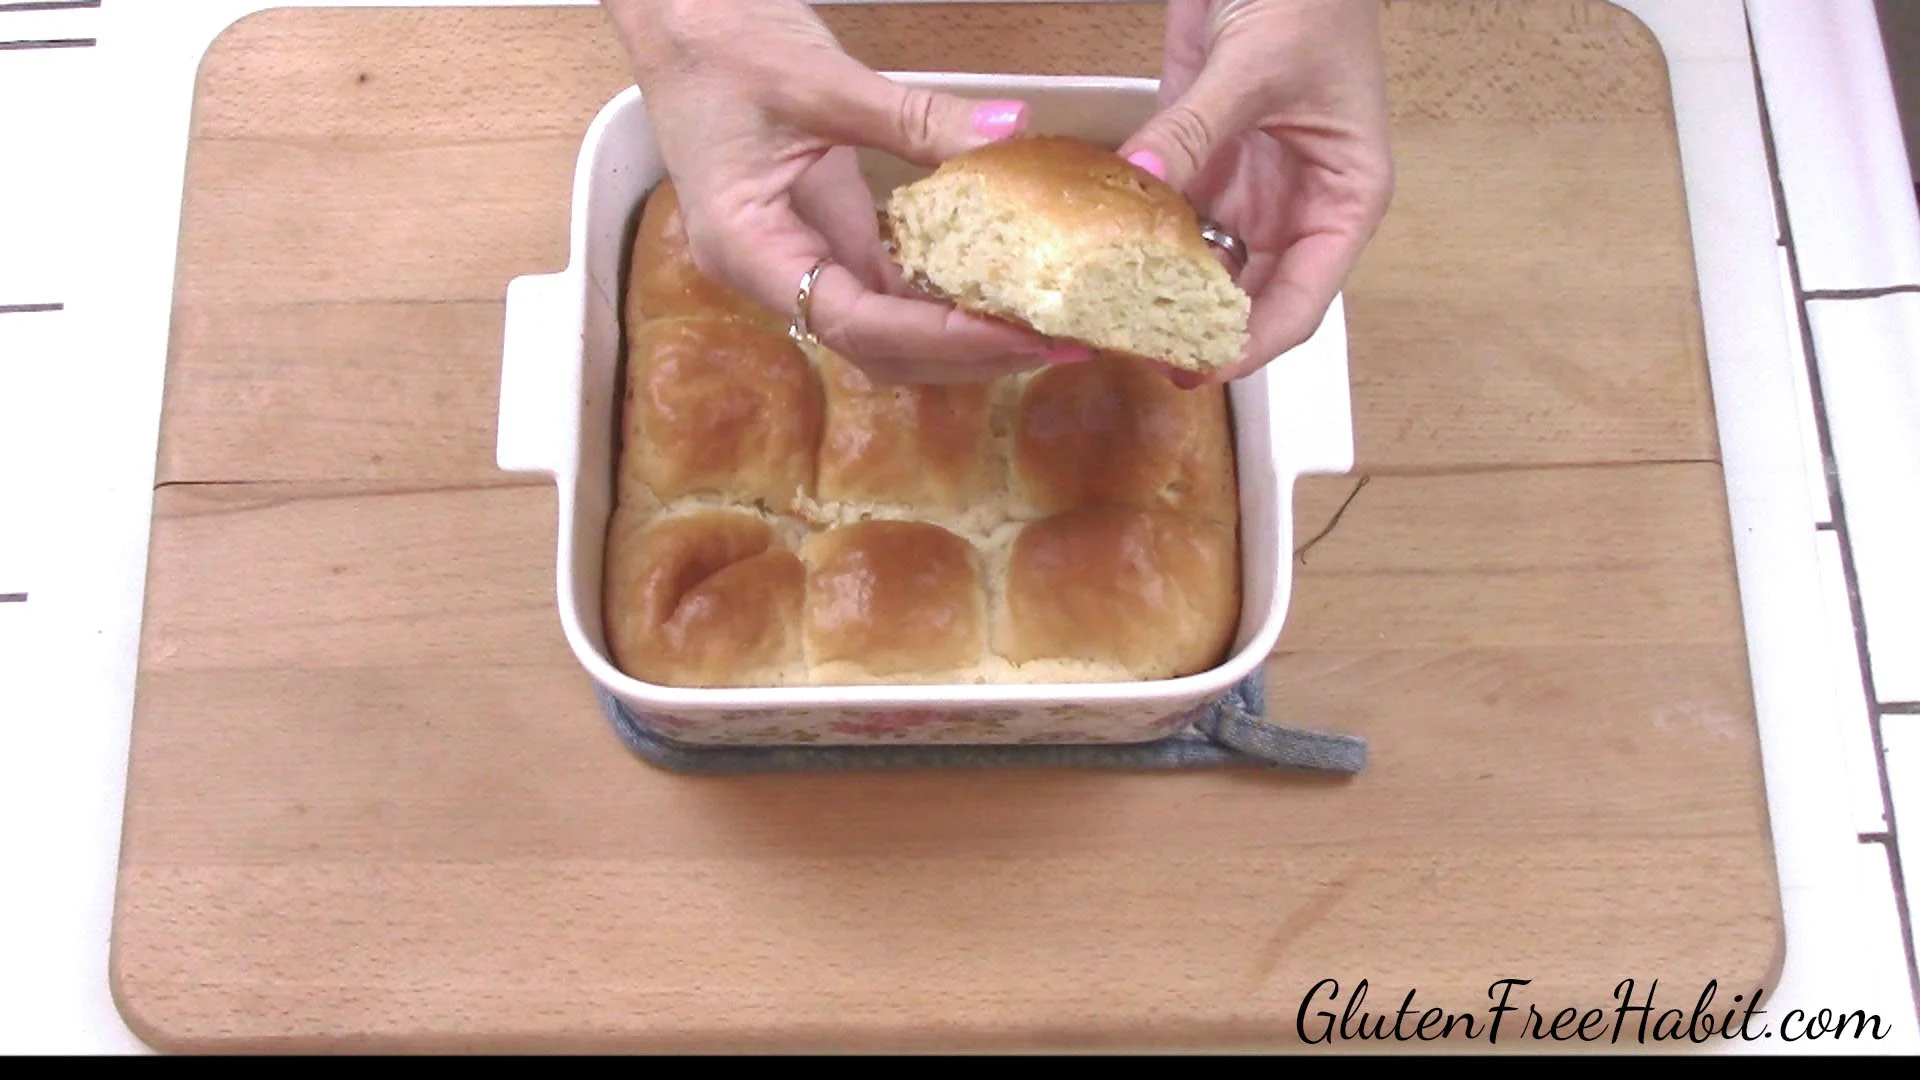
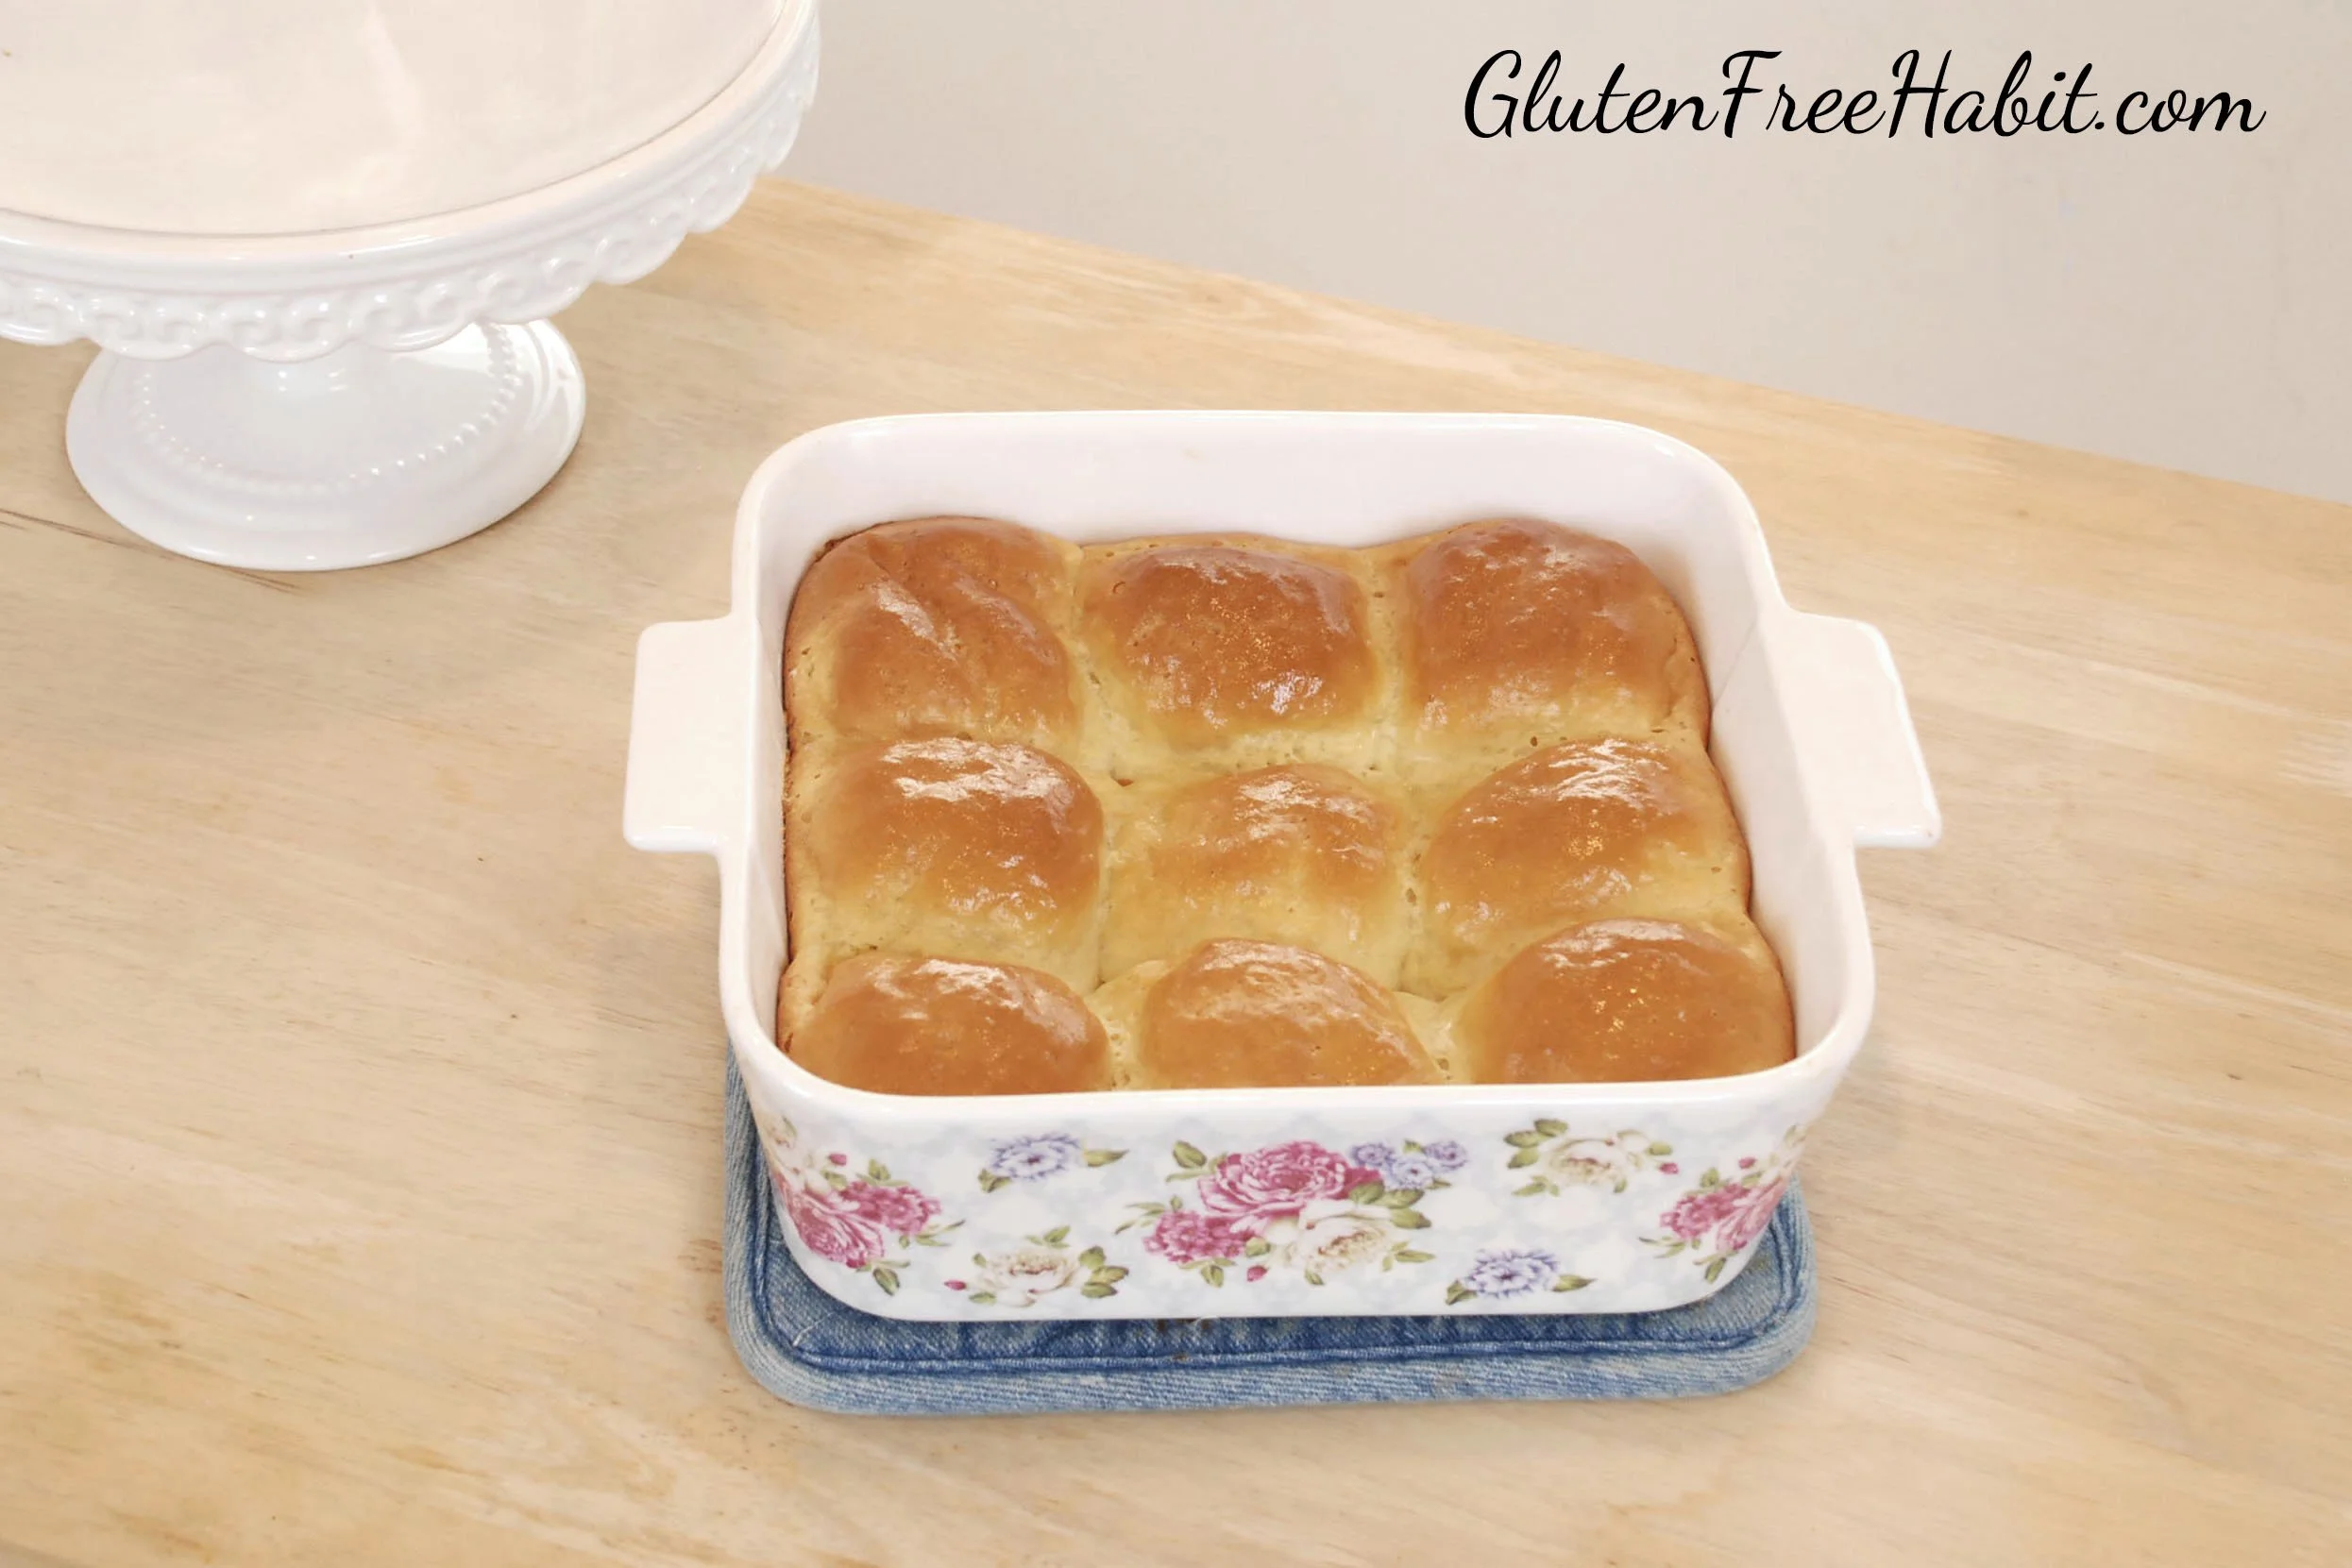
9
Pour your foaming yeast mixture into your batter.
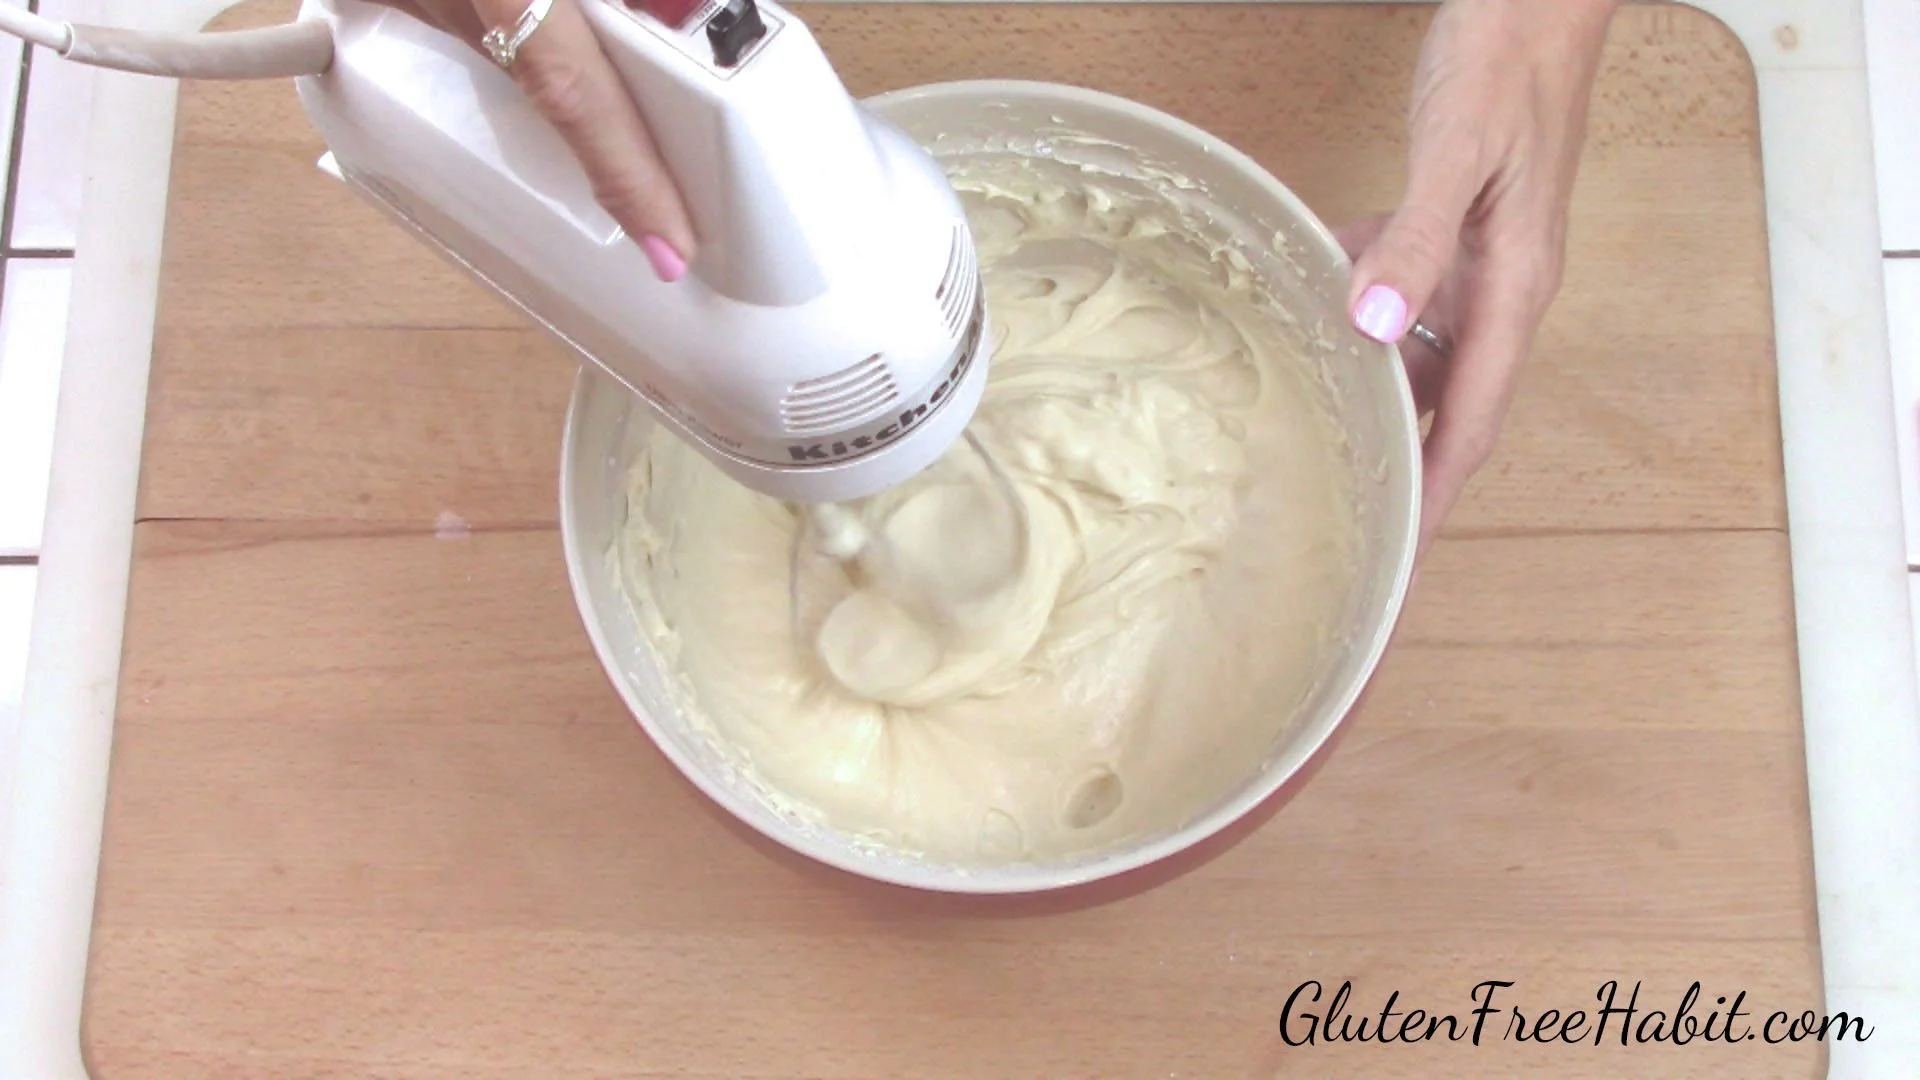
10
Beat on low until combined (about 30 seconds), then mix on medium/high for 7 minutes. Please don't reduce the mixing time!
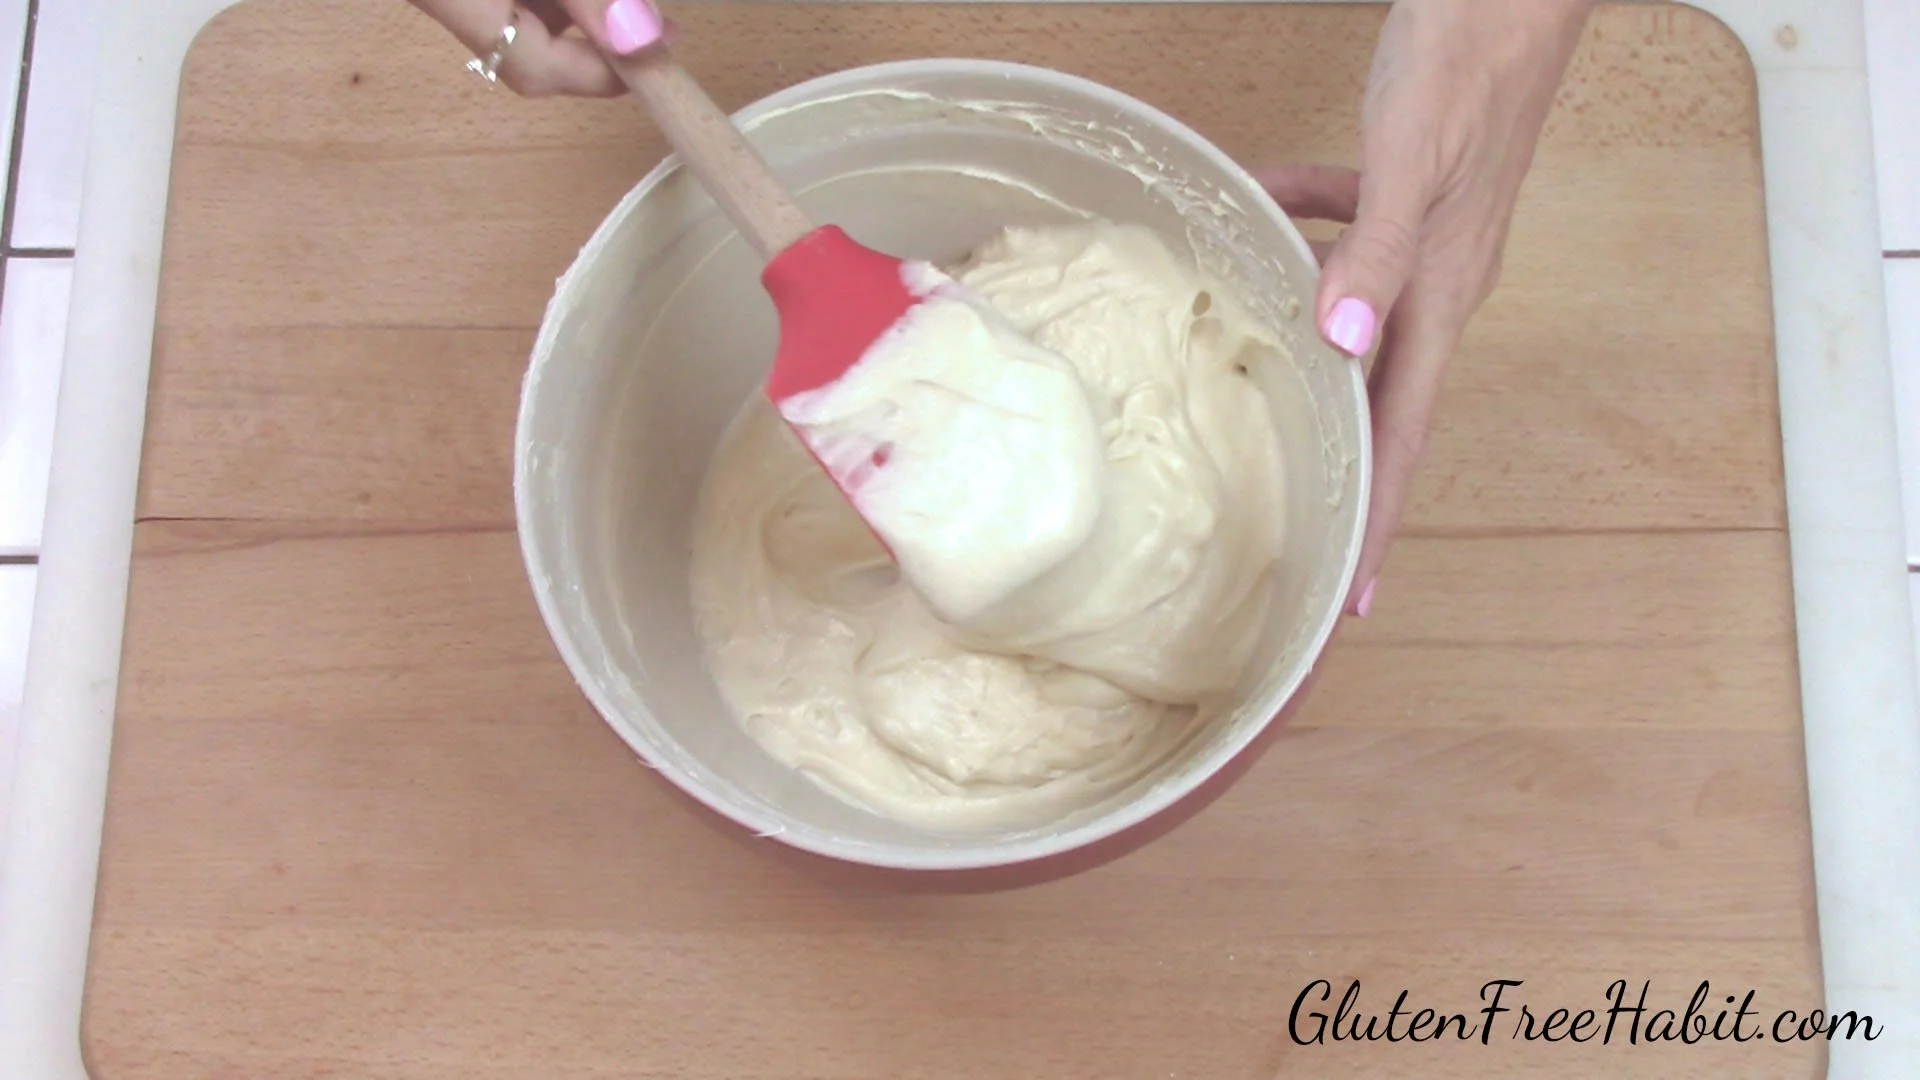
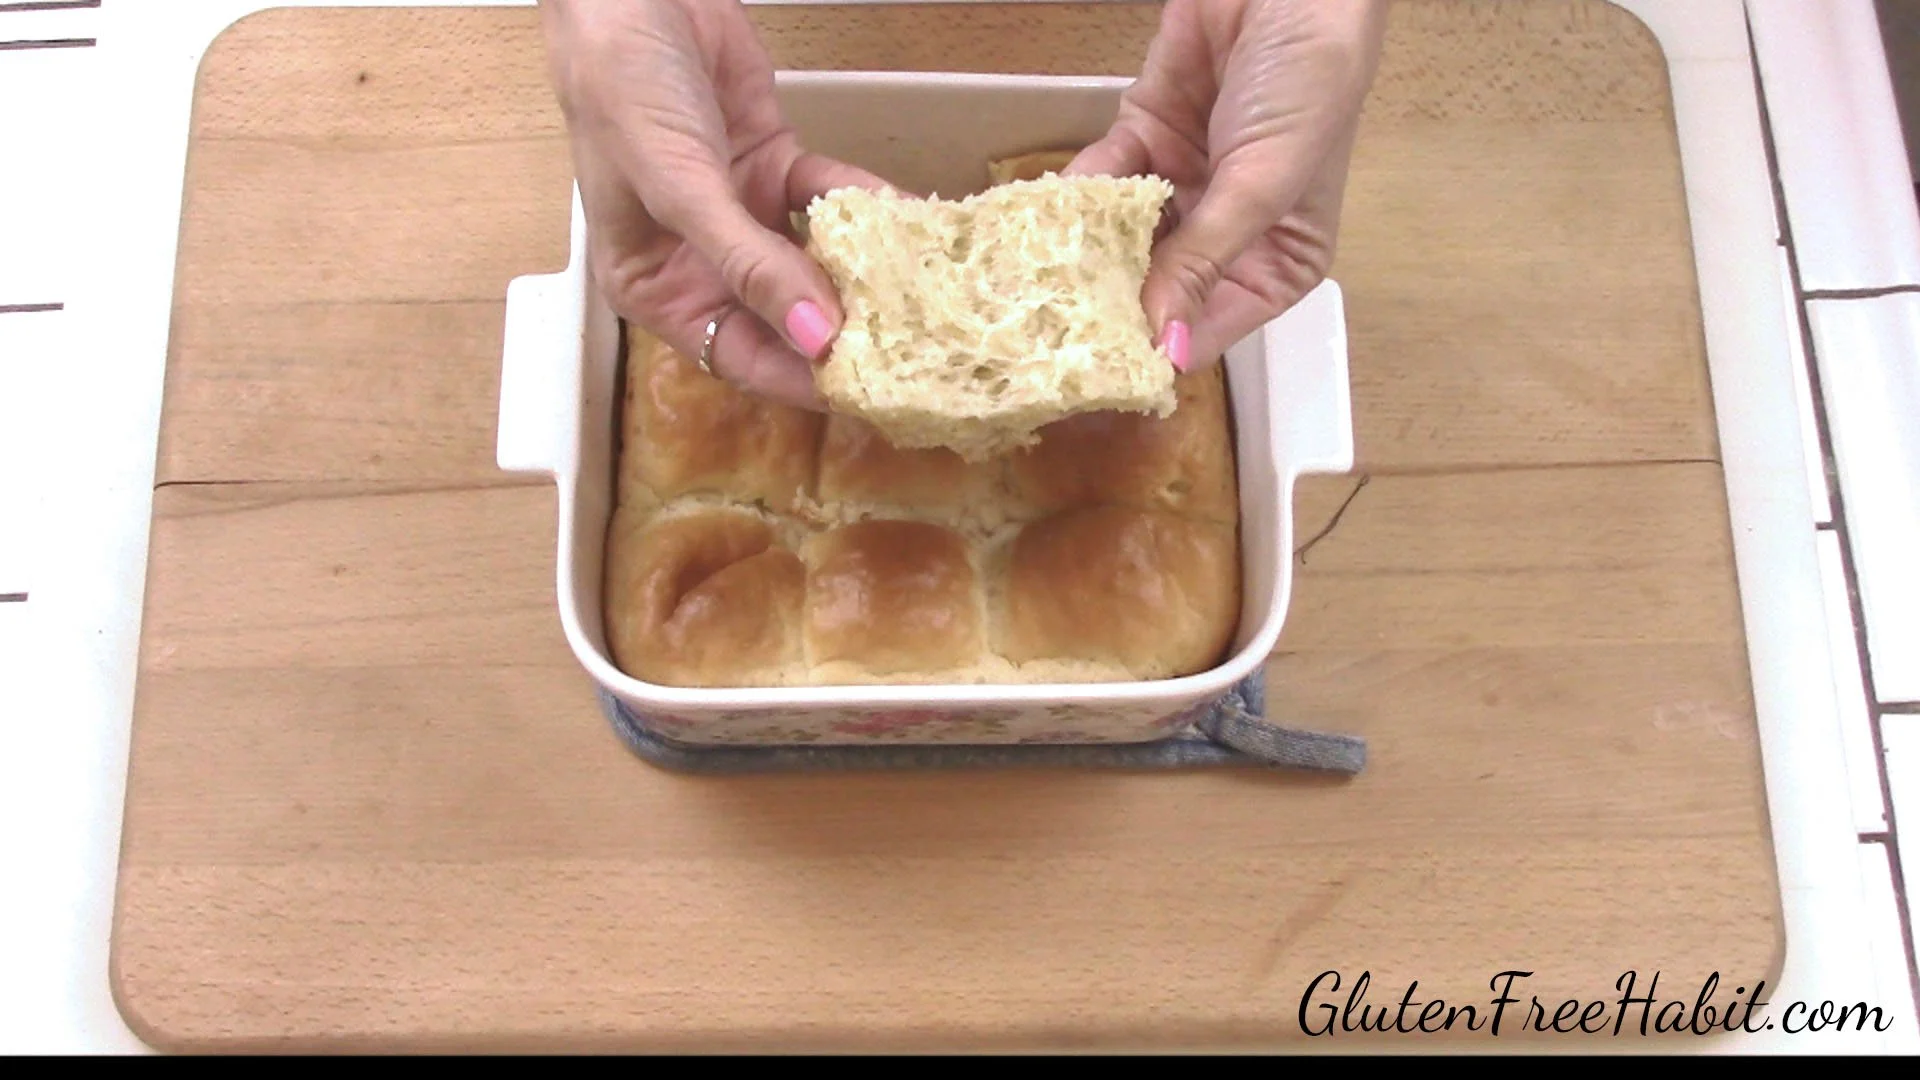
11
Your batter will resemble a thick cake batter. (Don't expect it to look like a gluten dough that you will knead...not even close!)
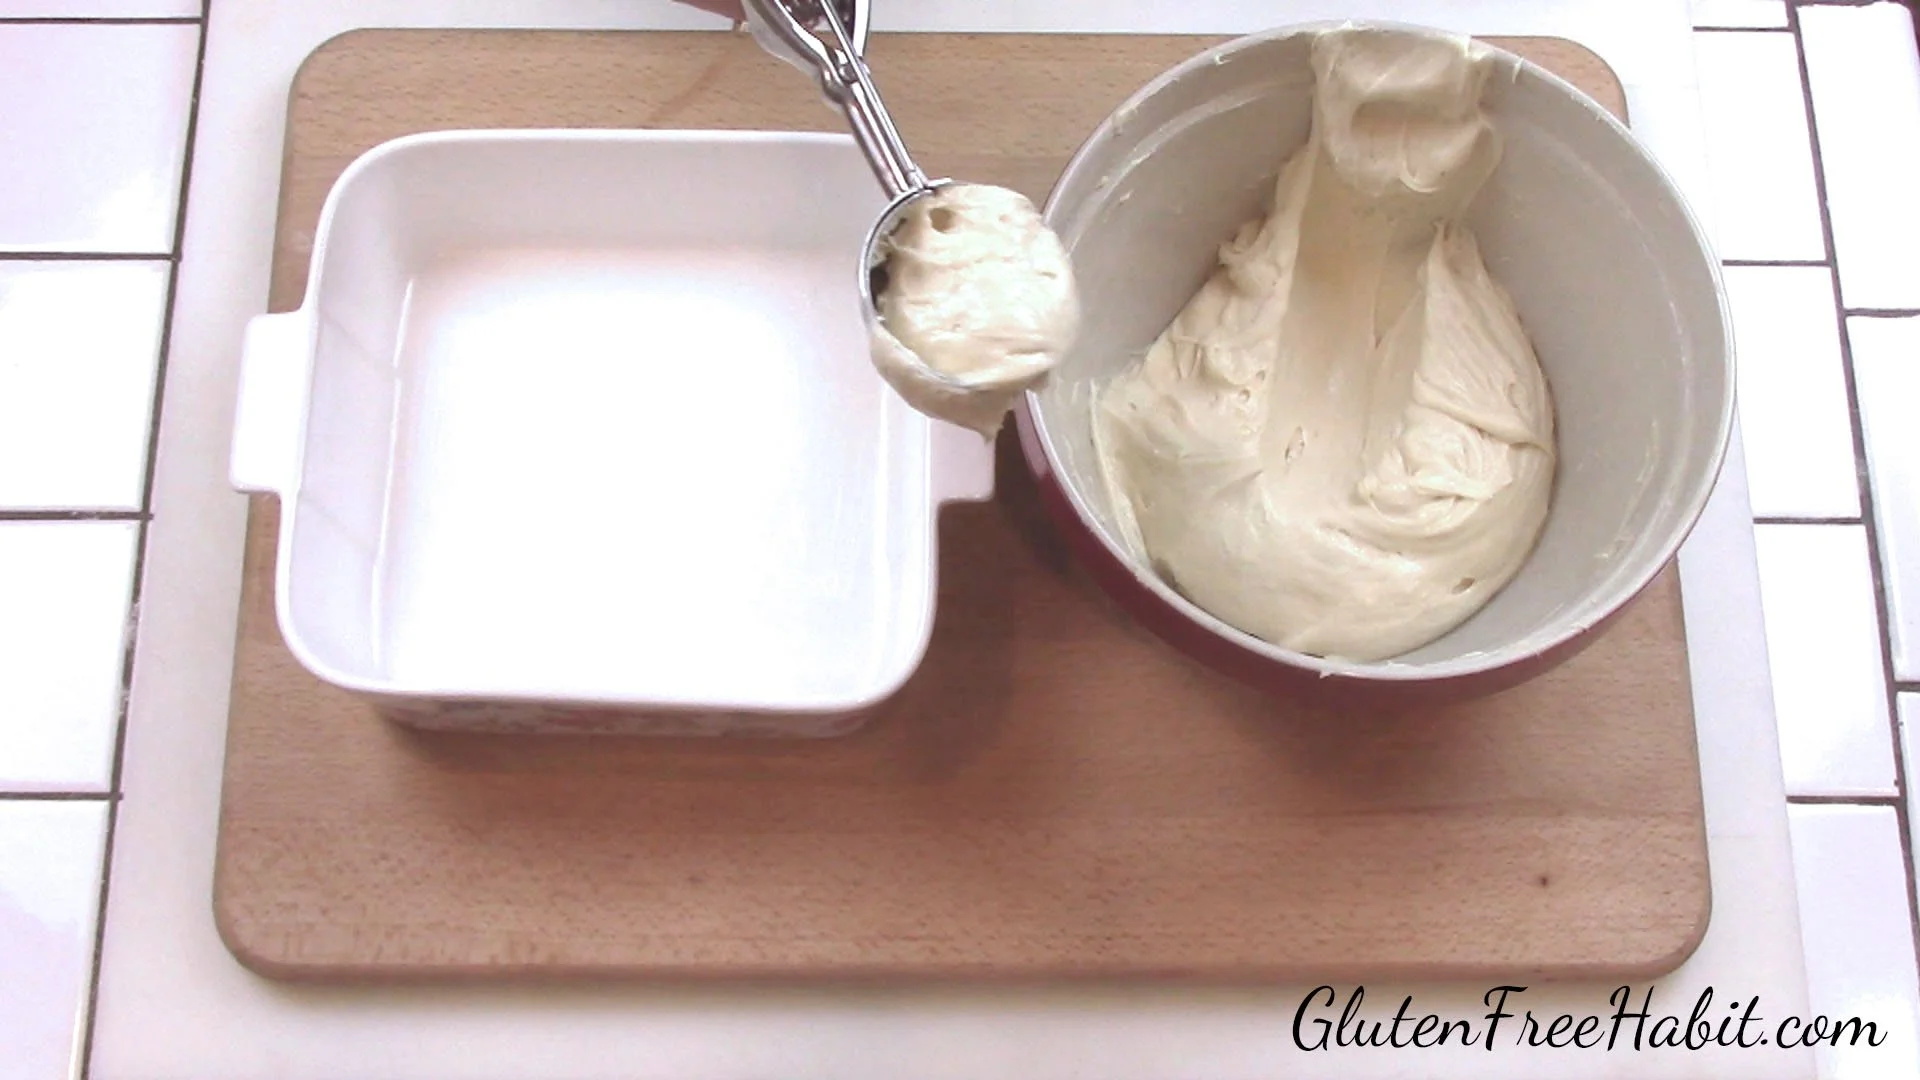
12
With a 2-inch scooper, make 9 mounds of batter in your baking dish. Each scoop should only be about 3/4 full.
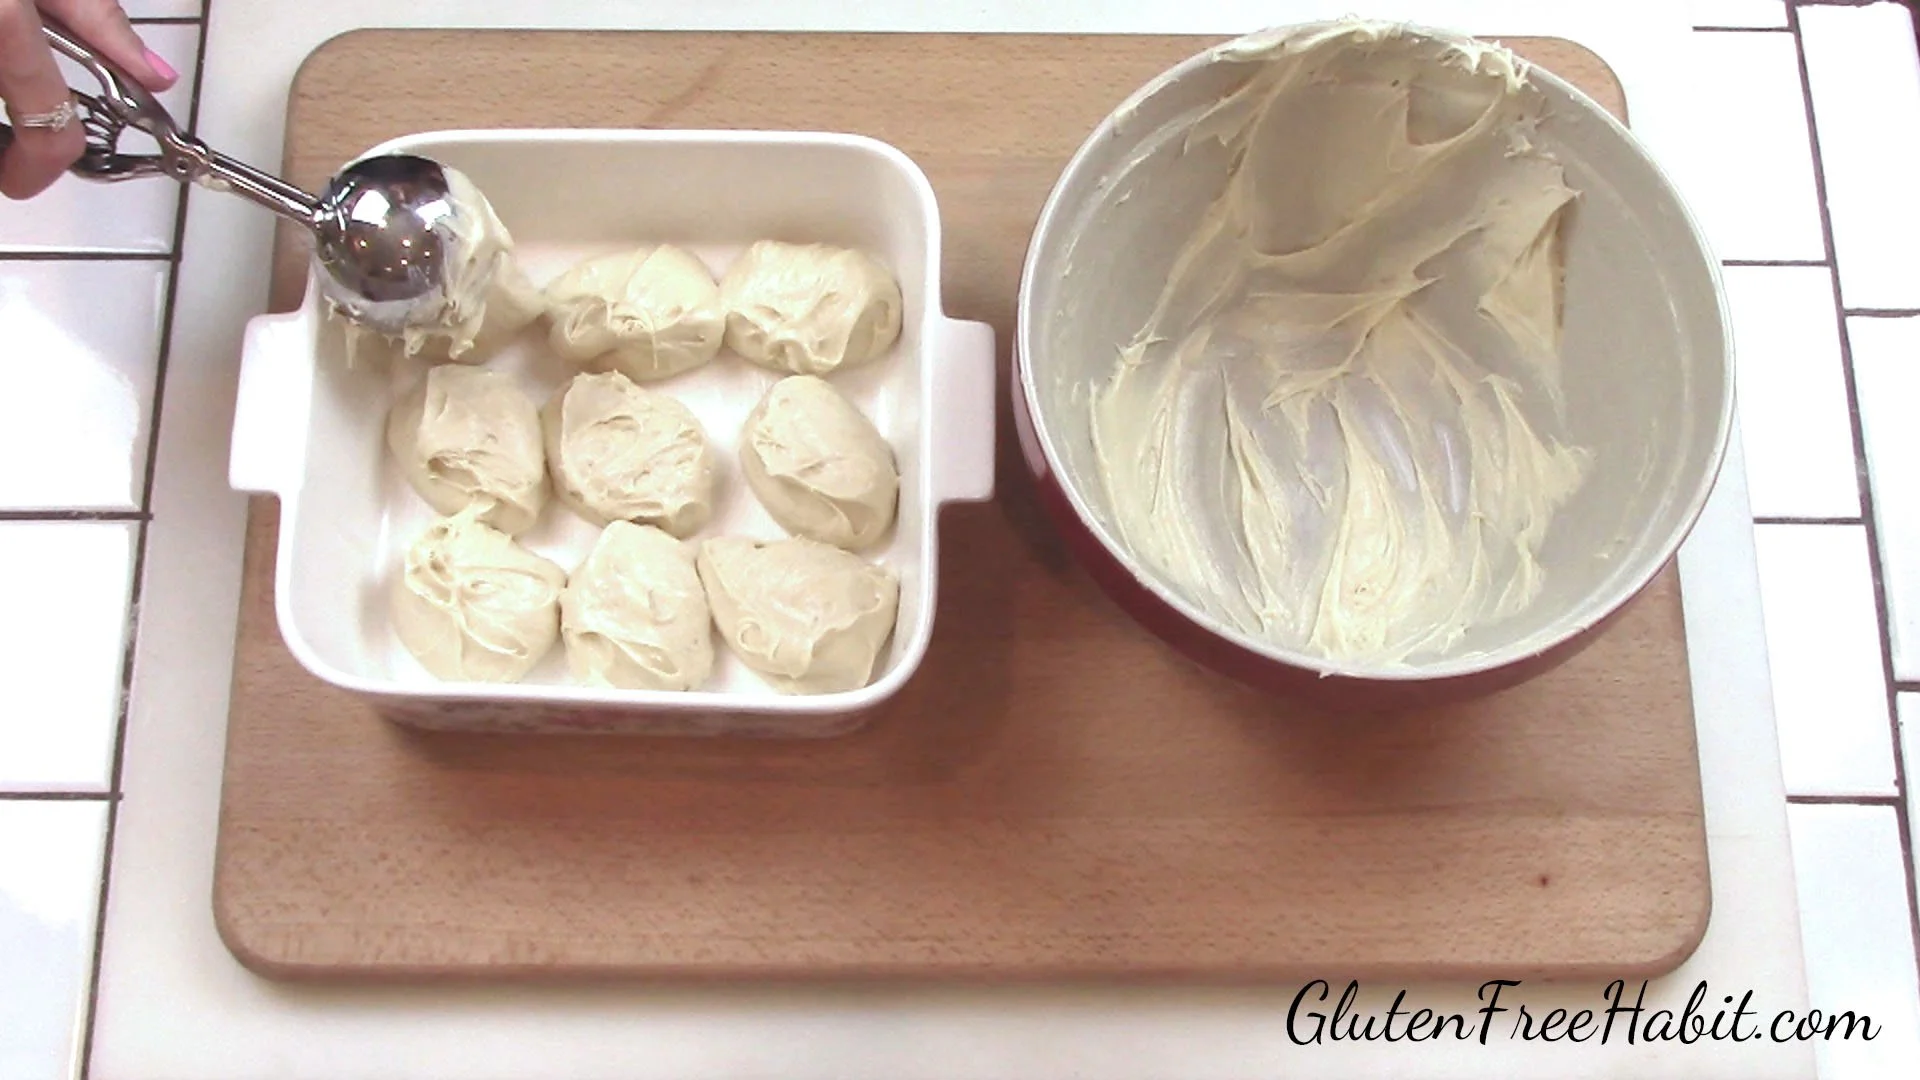
13
Try to keep the mounds separated to form individual rolls.
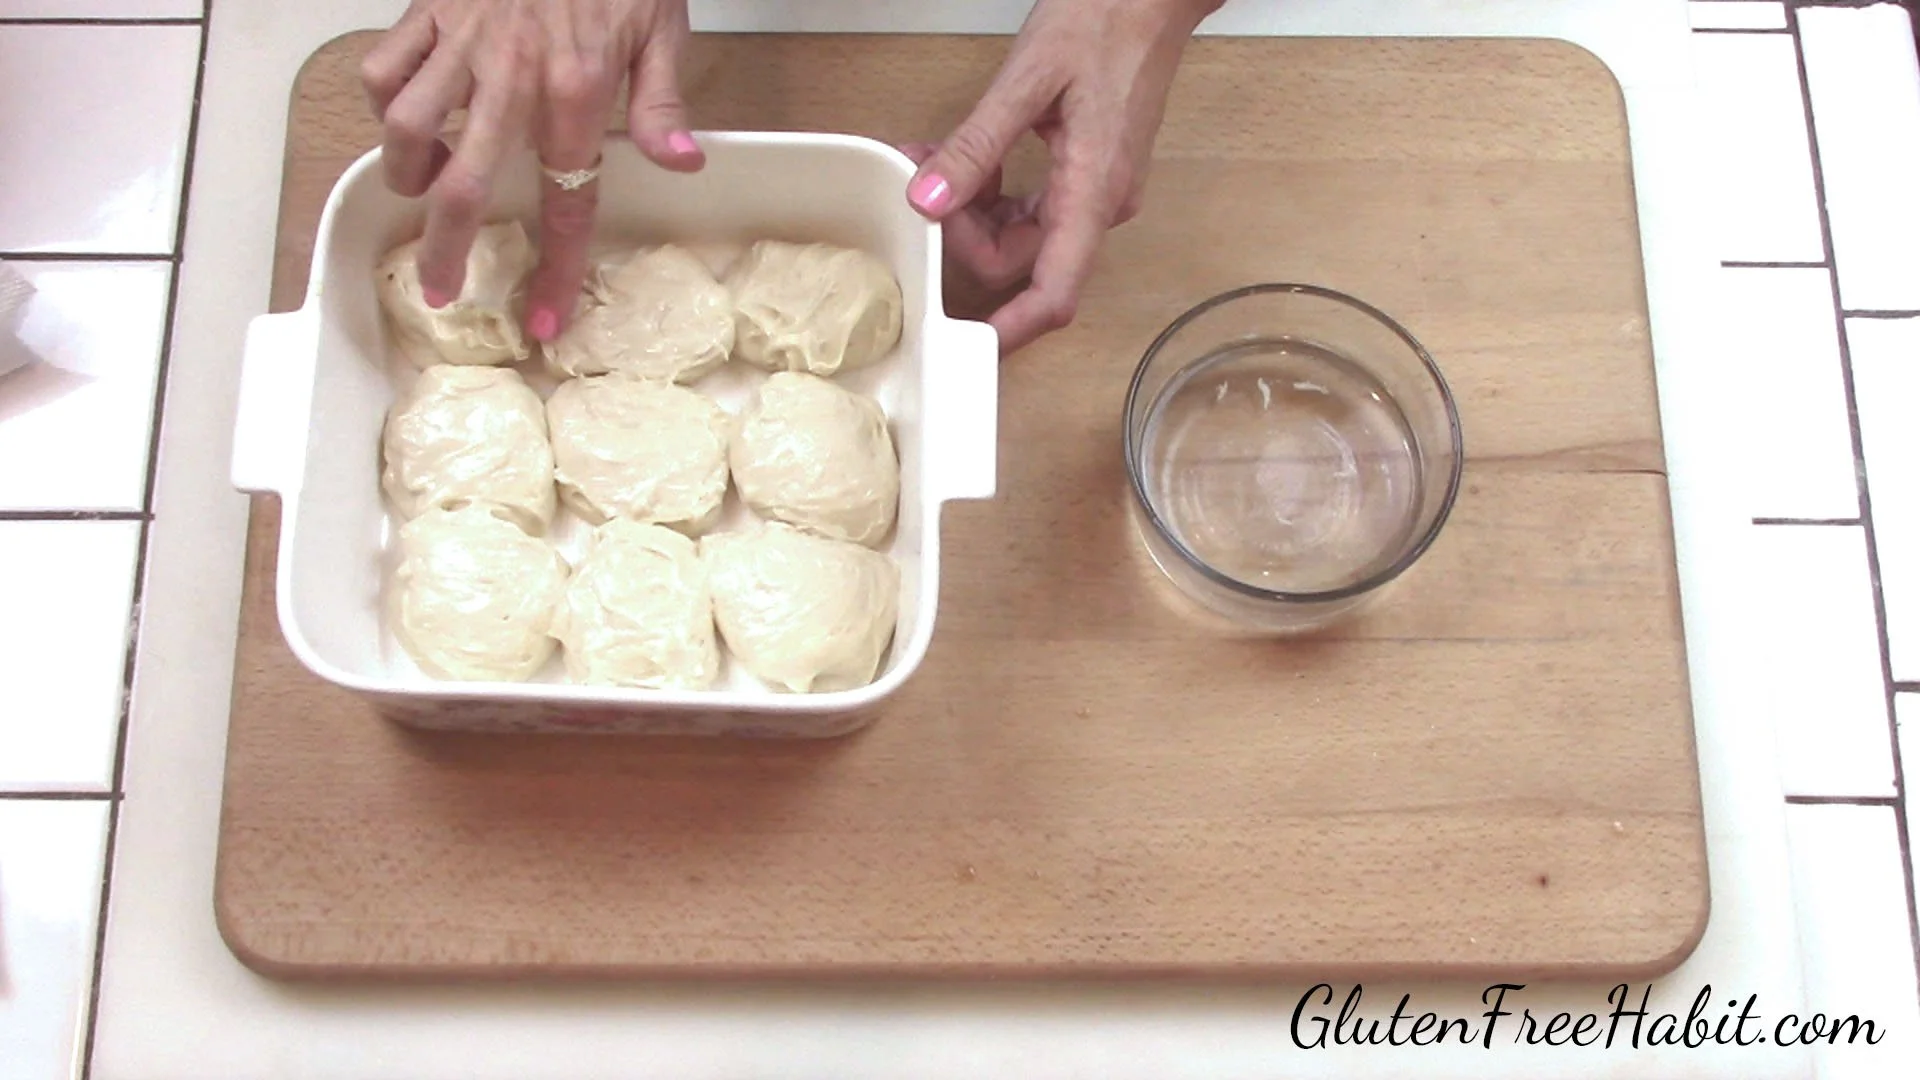
14
Smooth the tops with warm water using your finger.
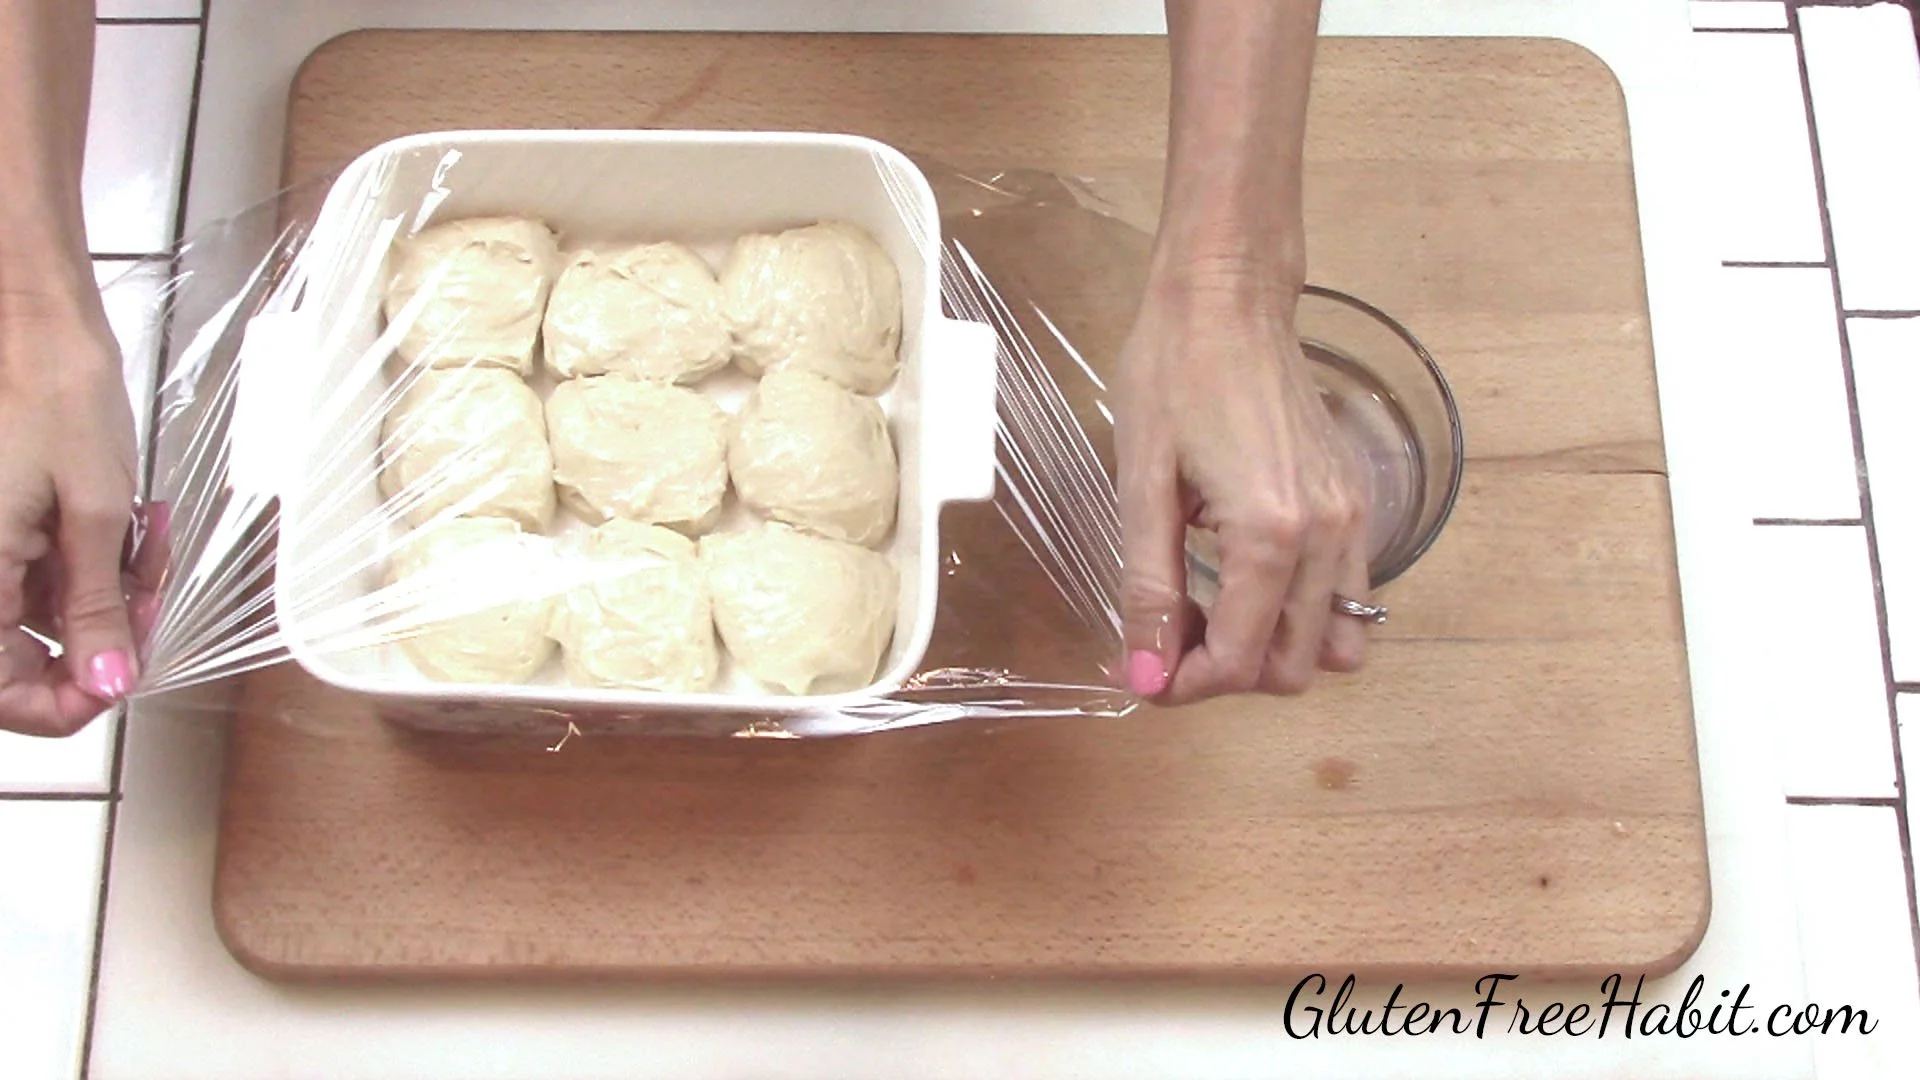
15
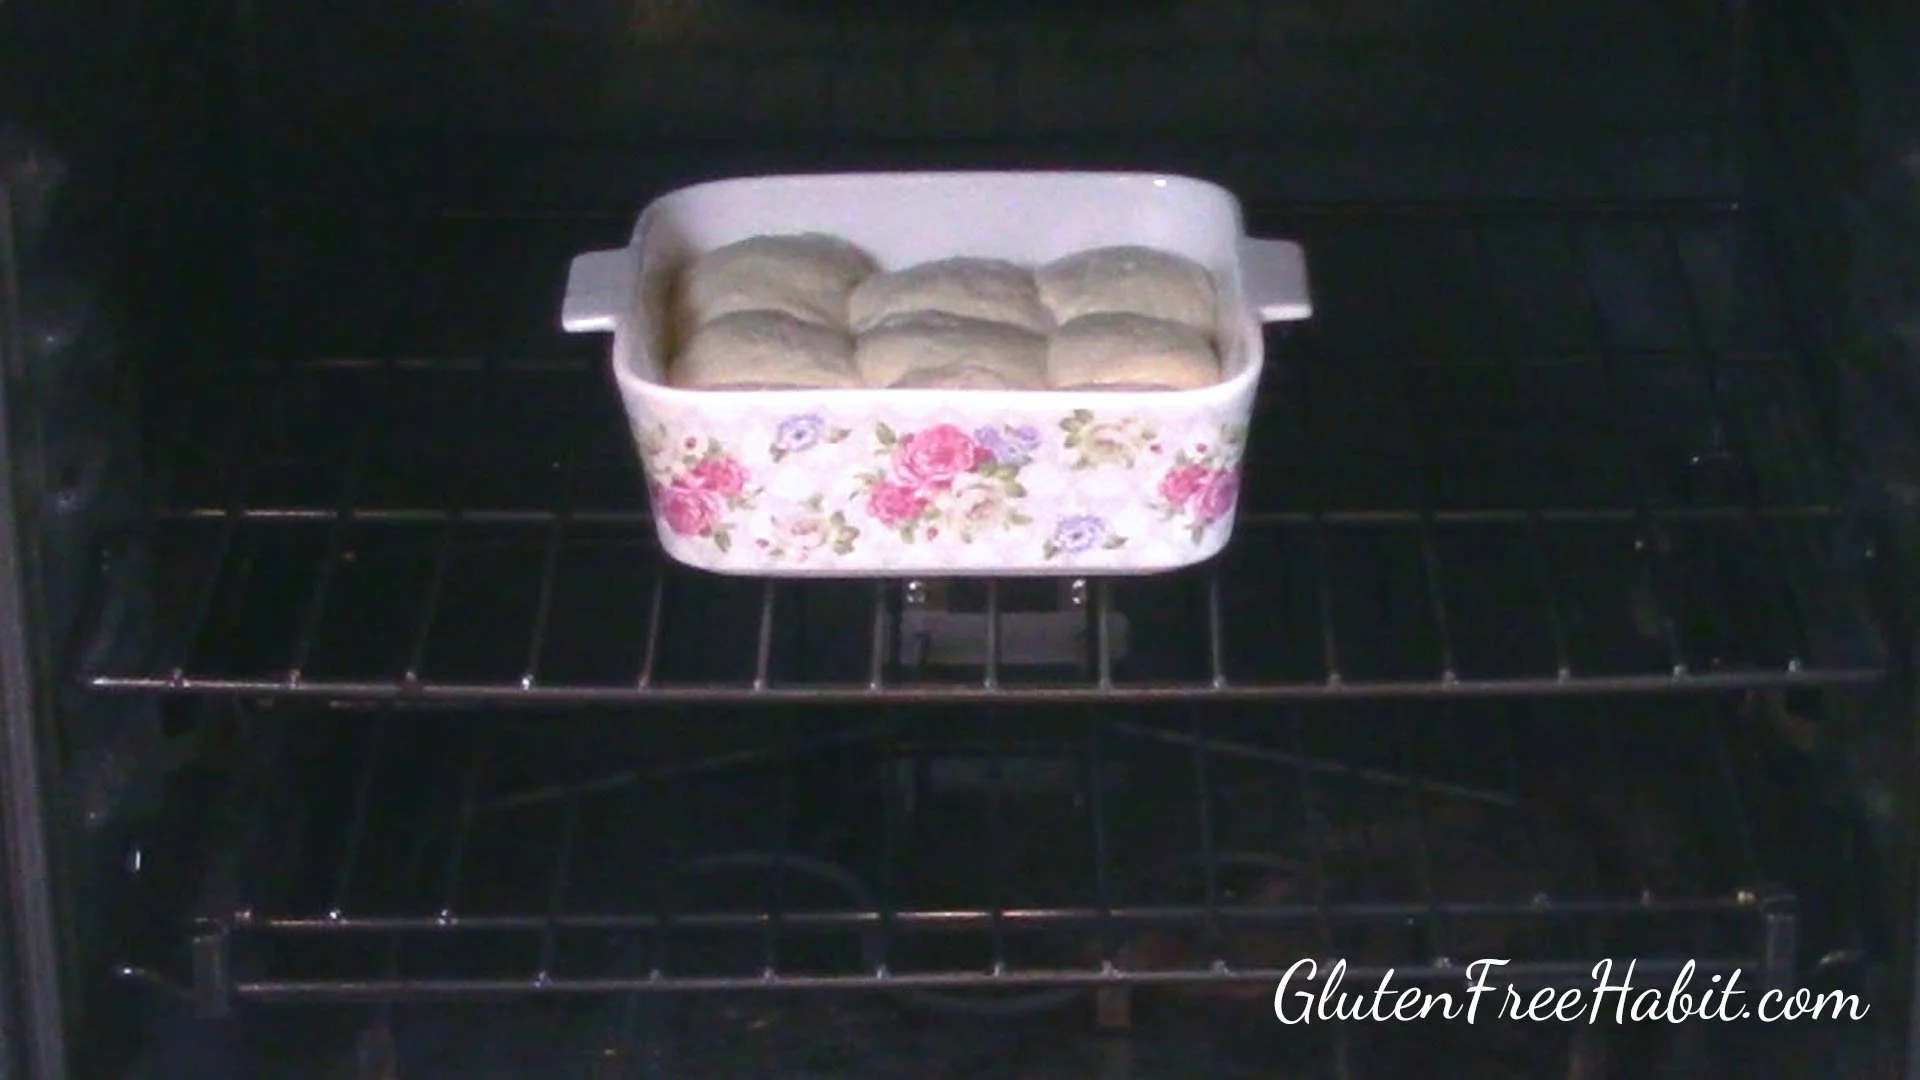
Cover with plastic wrap and set in warm place to rise until dough roughly doubles in size. While dough is rising, preheat oven to 375 degrees.
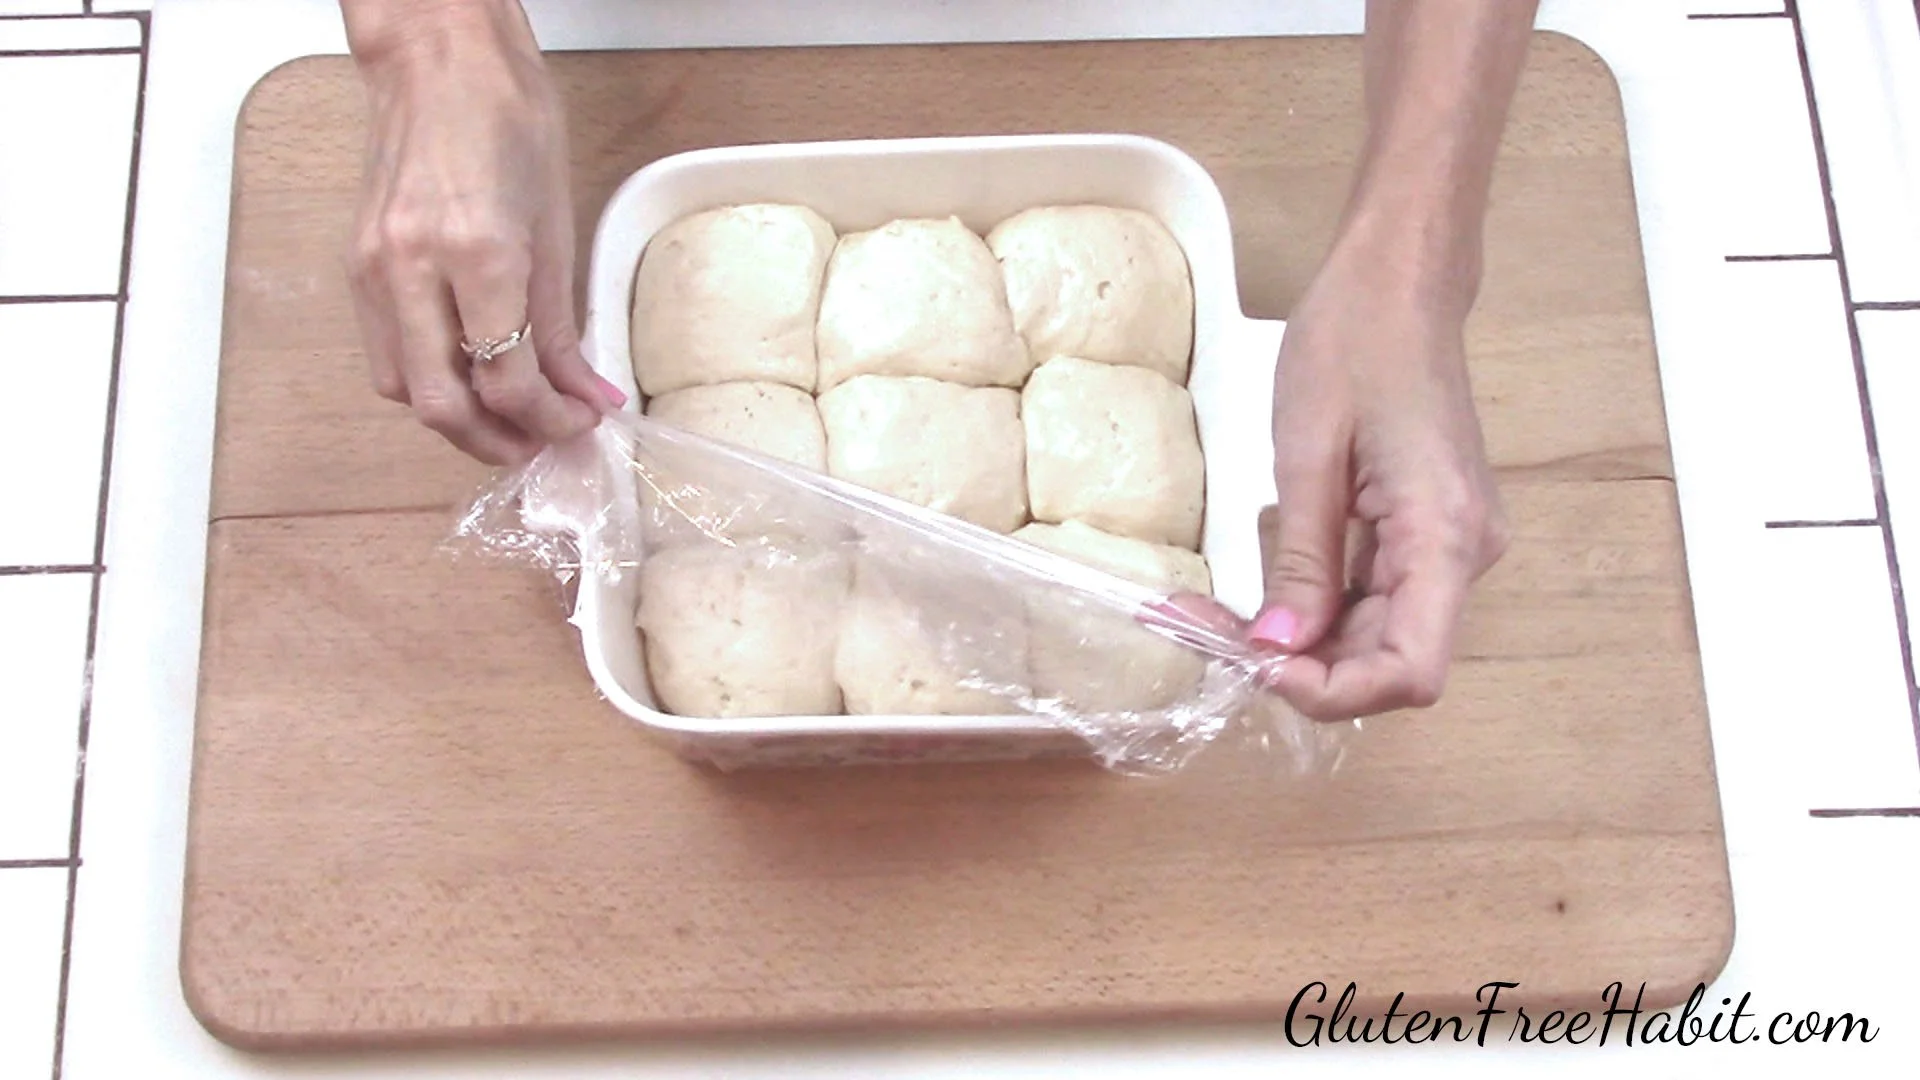
16
When dough is done rising, remove plastic wrap.
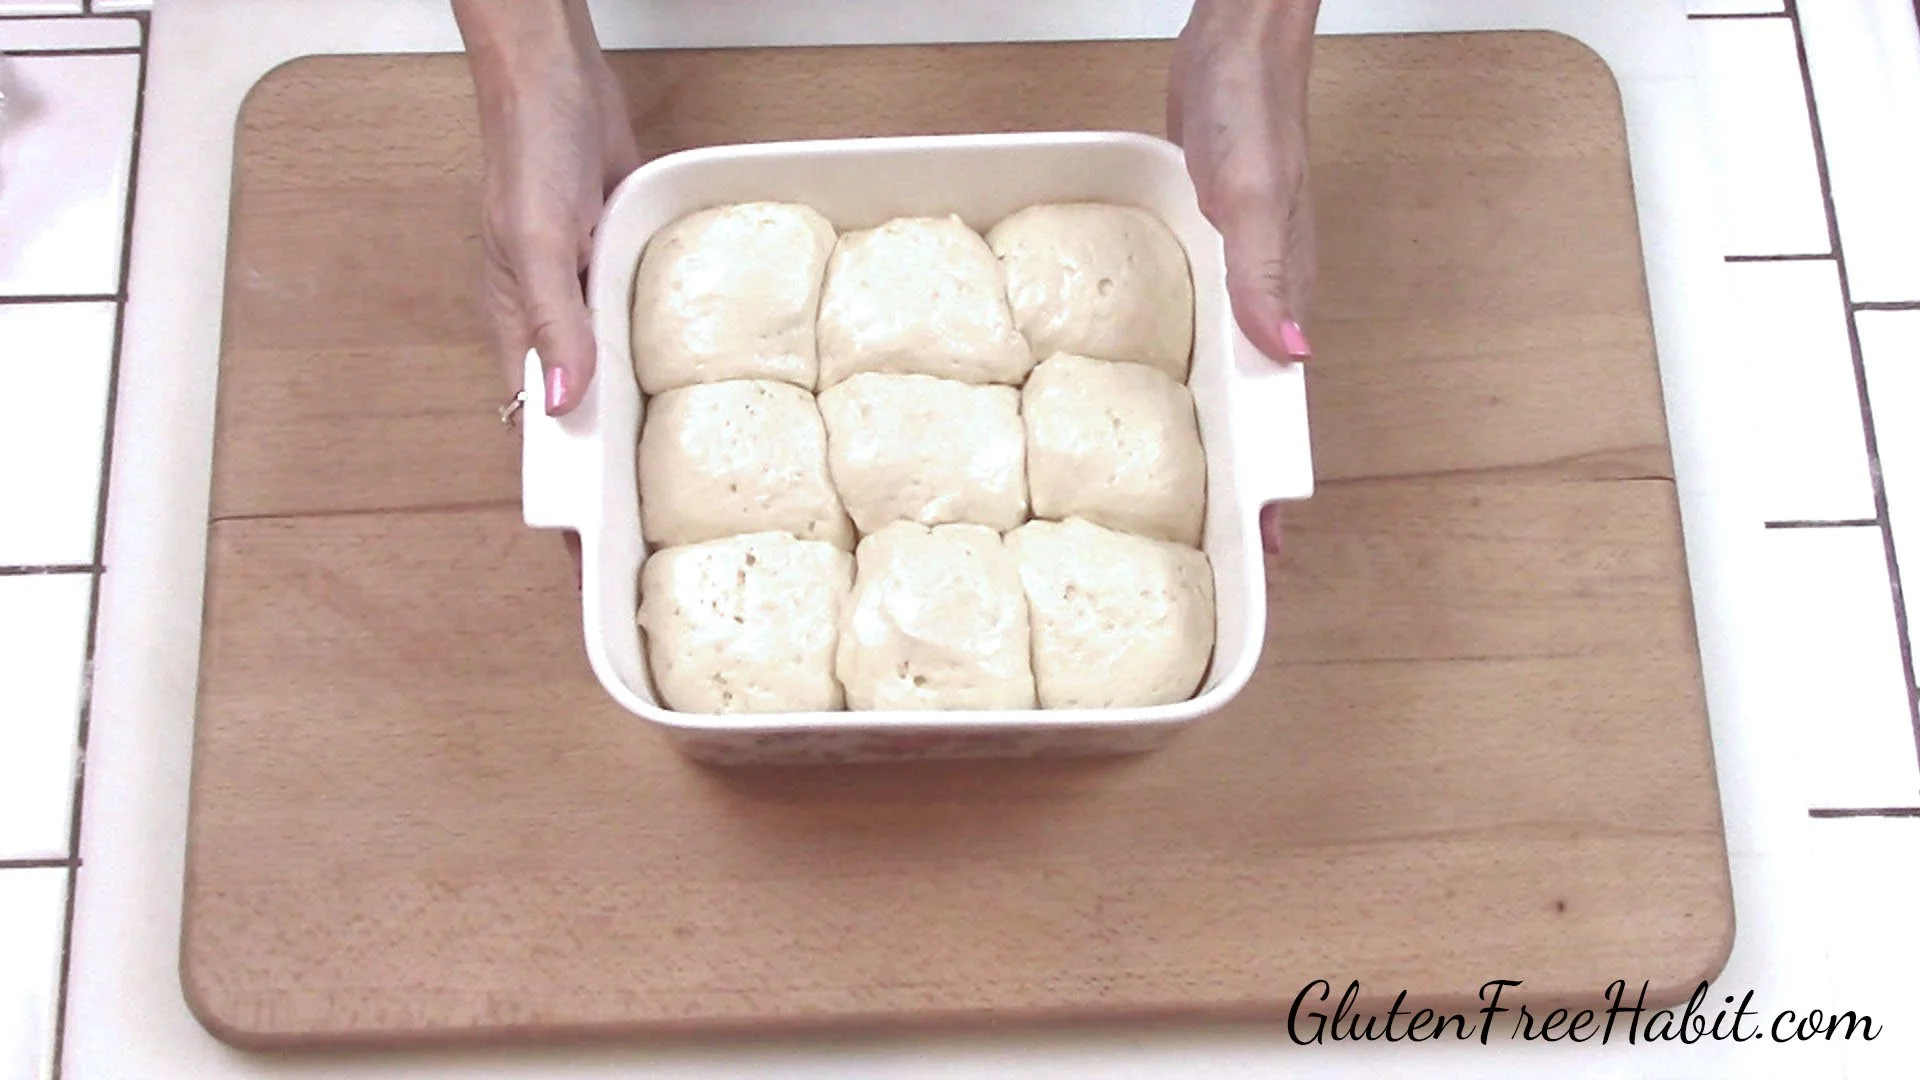
17
Look! It rises like "regular" rolls :)
18
Bake, uncovered, at 375 degrees for the first 15 minutes.
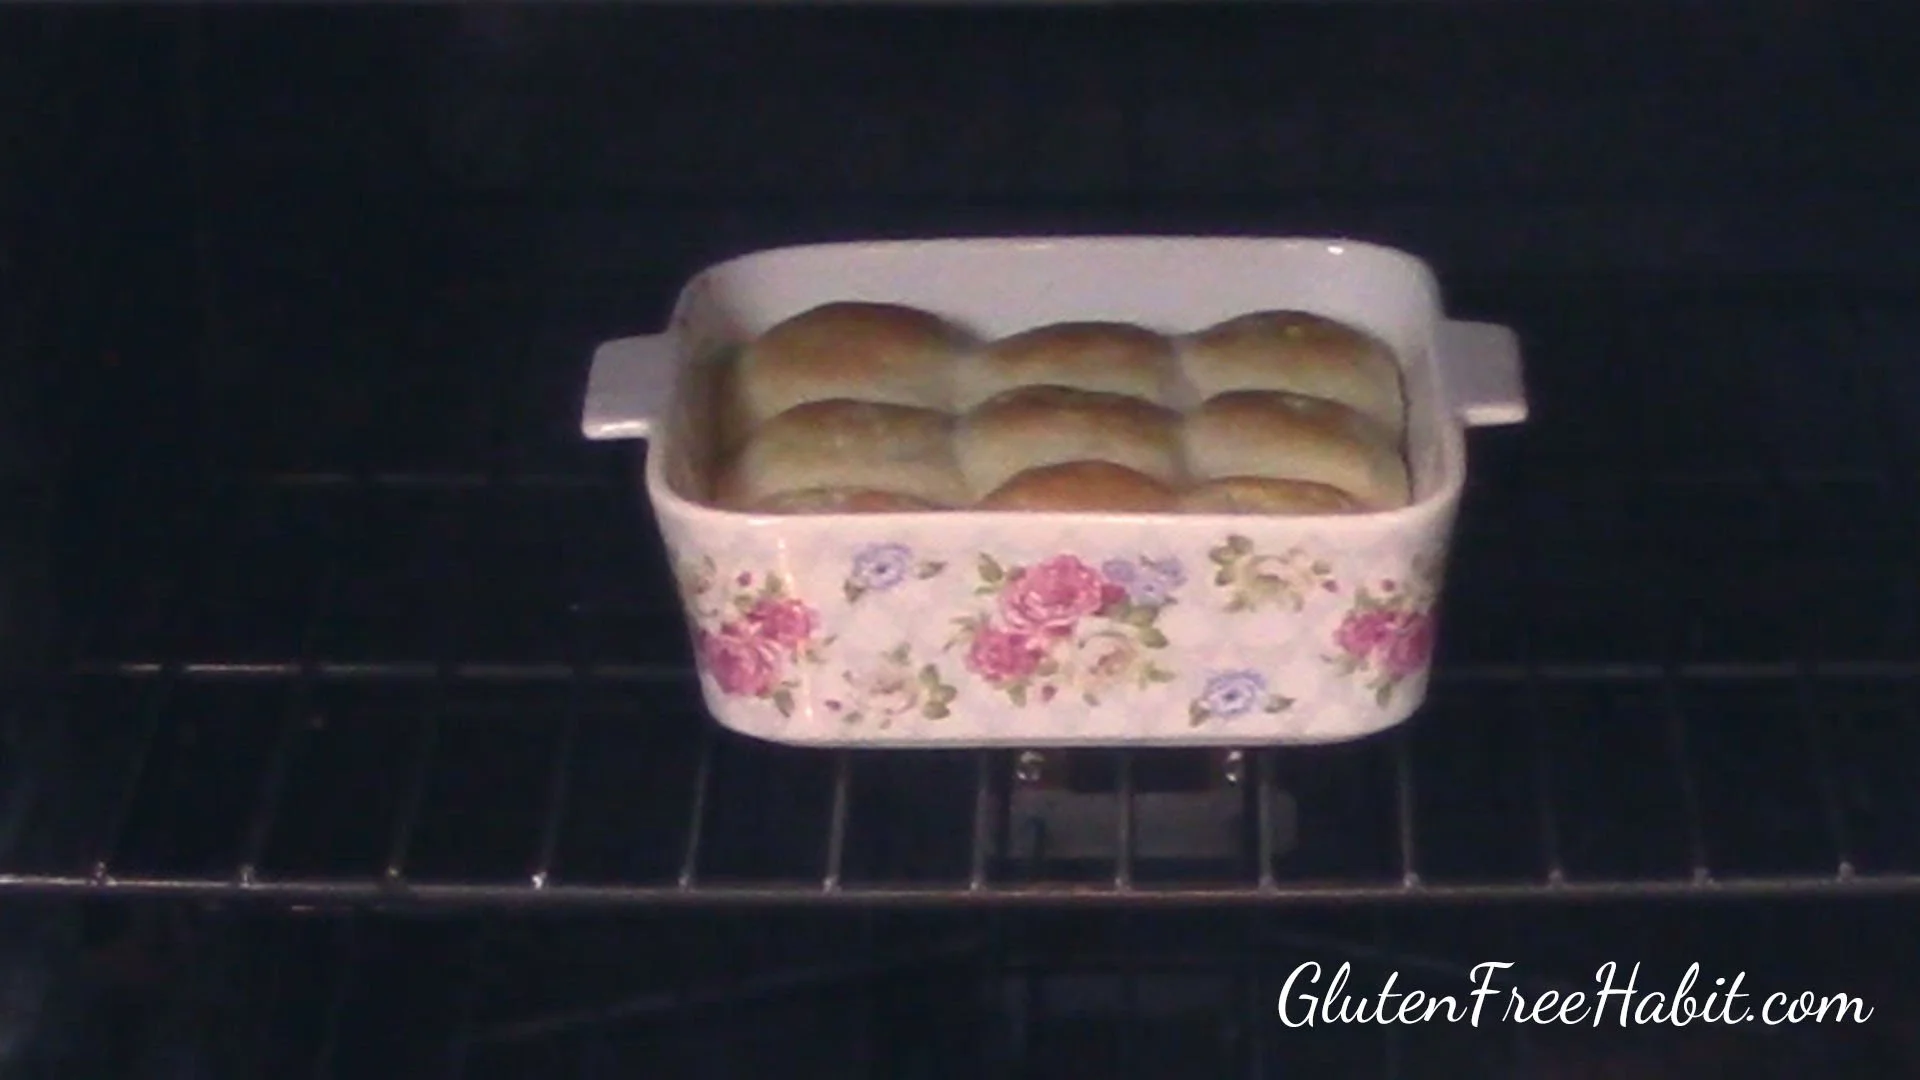
19
This is after baking for 15 minutes. The rolls are golden and puffy!
20
Cover loosely with tinfoil and bake another 15 minutes. (Total baking time is 30-32 minutes, depending on how golden you want them to be)
21
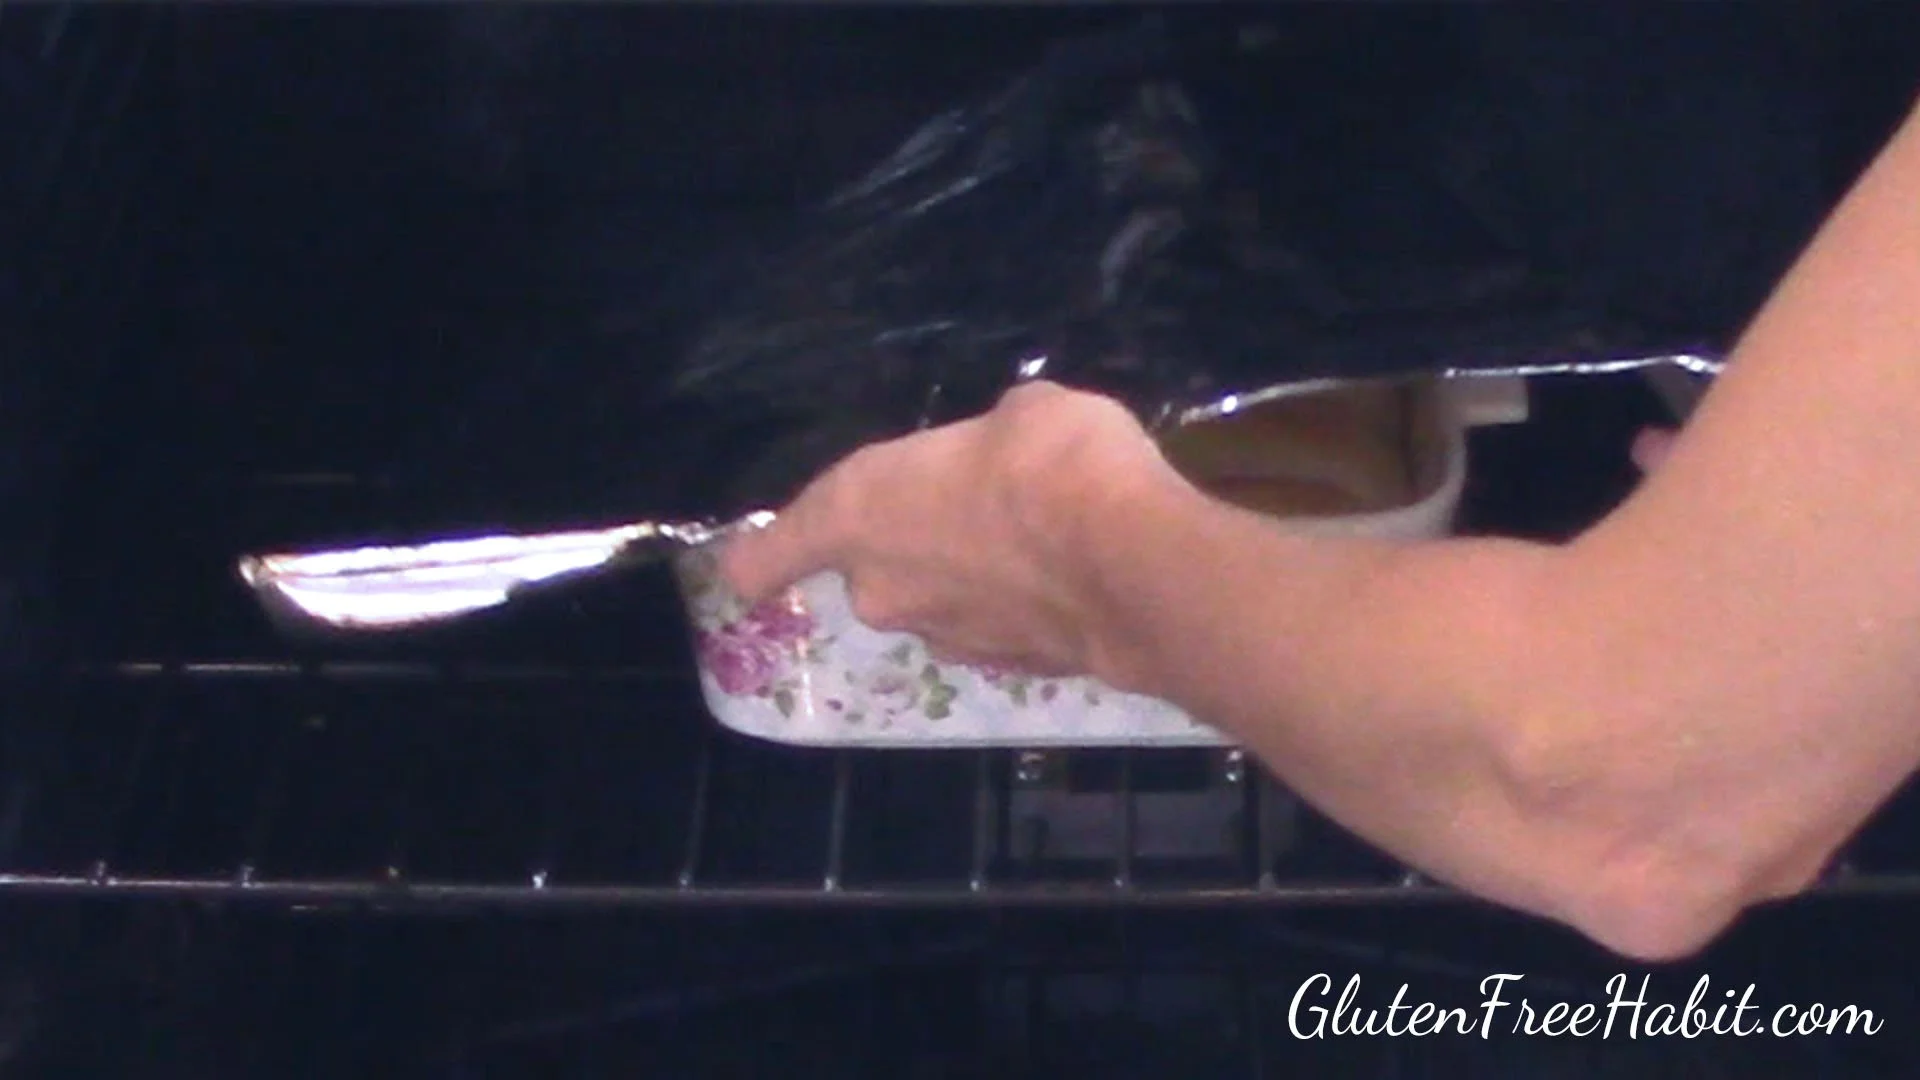
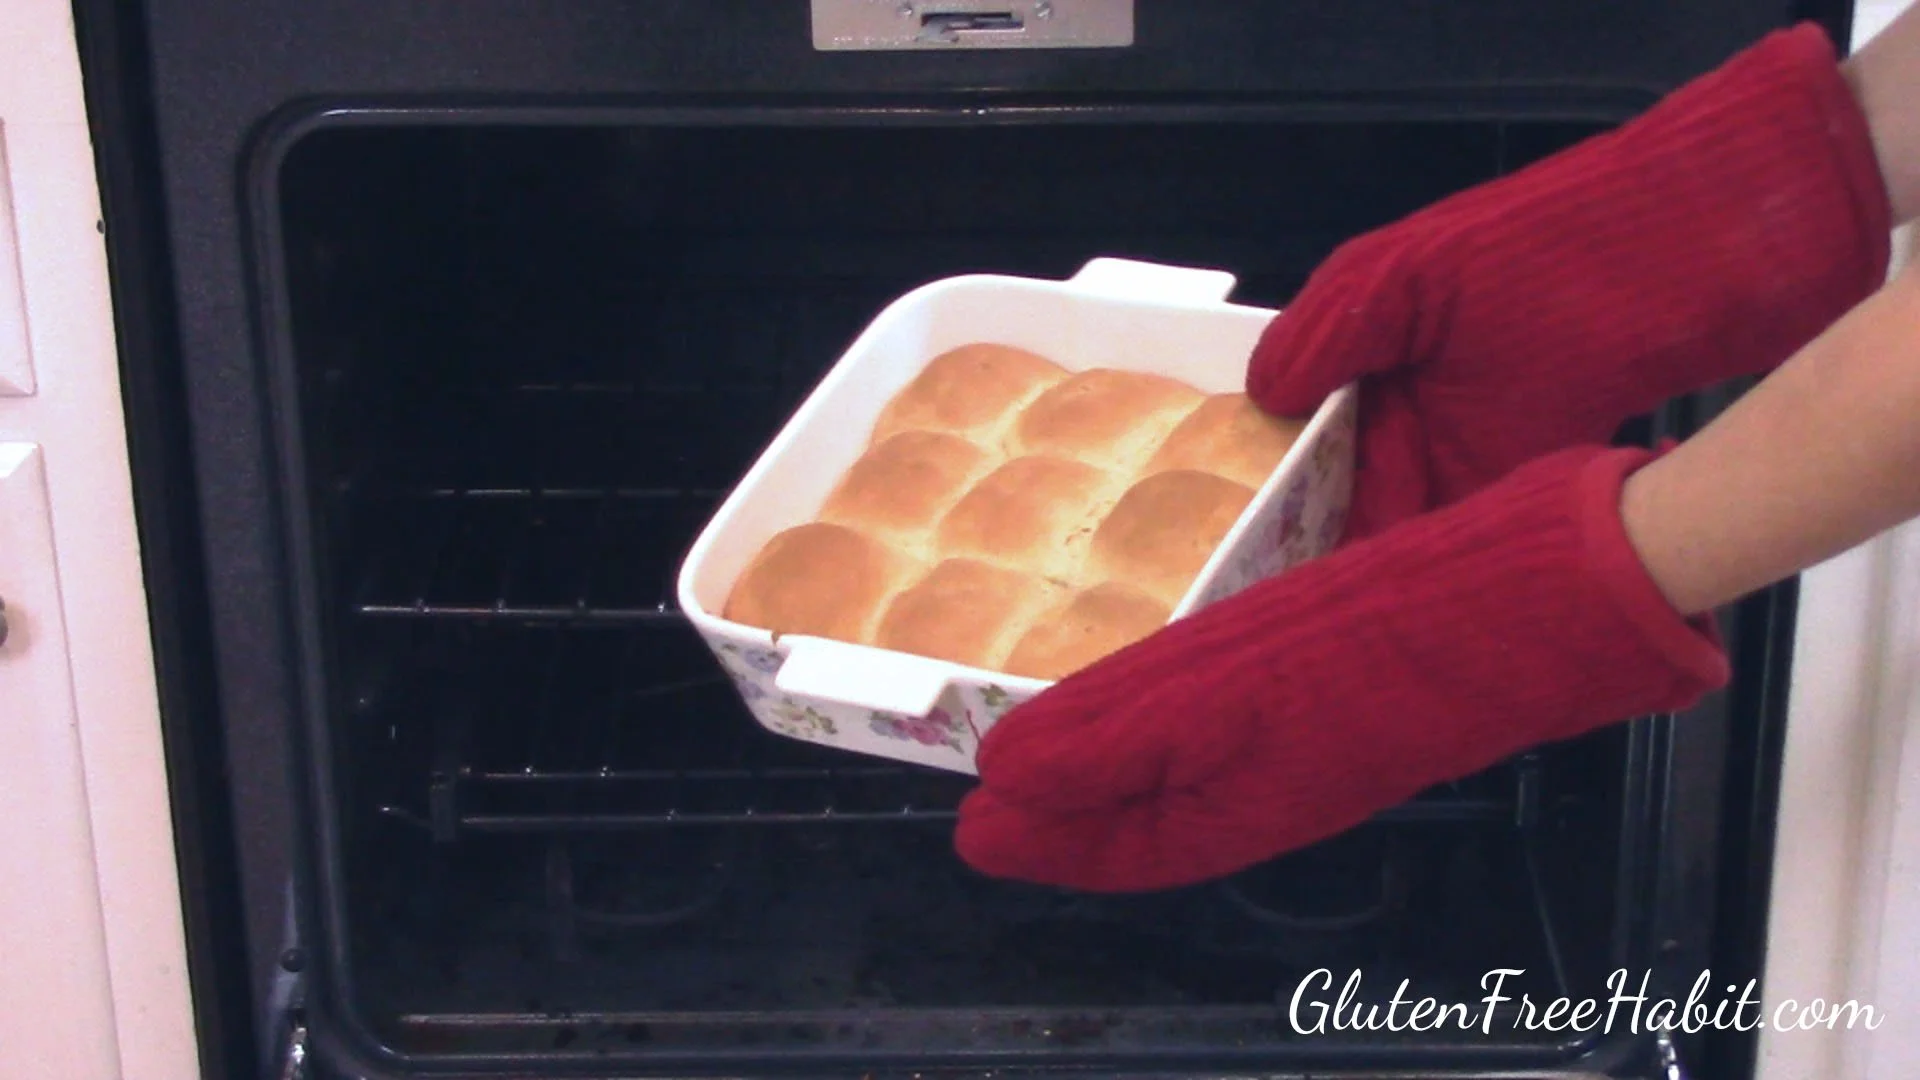
Remove from oven...look how beautiful!

22
These are the rolls just out of the oven - no butter yet.

23
Brush with melted butter for flavor and to give them a beautiful sheen.
24
Ahhh...the finished rolls. Time to dig in. Soft and pillowy!
25
These rolls pull apart just like a roll should.
Yay! Time to eat!
Serve these as pull-apart rolls, or pre-cut them and serve in a bowl or basket. No matter how you slice them, enjoy your Soft & Fluffy Gluten Free Dinner Rolls!
Ready to Make Some Gluten Free Dinner Rolls?
Make sure to start with all the right tools! Shop for cutting boards, serving dishes, and cookware in my Amazon shop!

The Recipe:
GLUTEN FREE DINNER ROLLS - CLASSIC STYLE!
INGREDIENTS
¾ cup brown rice flour (3.1 oz.)
¾ cup corn starch (3.6 oz.)
1 cup tapioca flour (4.0 oz.)
1 ¼ tsp. xanthan gum
½ tsp. salt
2 tsp. baking powder
Wet Ingredients:
2 large eggs (room temp.)
1 tsp. apple cider vinegar
3 Tbsp. butter
Yeast Mix:
¾ cup water
3 Tbsp. sugar
2 tsp. Active Dry Yeast
DIRECTIONS
Getting Ready:
Generously grease a 8X8 baking dish (bottom and sides)
Set out butter to soften
Set out eggs to bring to room temperature
Let’s Get Started:
Start by mixing together your dry ingredients in a large mixing bowl: add your brown rice flour, corn starch, tapioca flour, xanthan gum, salt, and baking powder. Whisk together.
Now, in a microwaveable container, heat your water to 100°-110°. In my microwave this takes about 25 seconds.
To the water, add your yeast and sugar. Stir and set aside for 5 minutes to proof. (We want to make sure that the yeast is alive).
While the yeast is proofing, combine the wet ingredients into a medium mixing bowl: eggs, apple cider vinegar, and butter. Mix together.
Pour the wet ingredients into the dry ingredients. Mix together to form a crumbly mixture.
Now take a look at your yeast…if it’s foamy, your yeast is alive and you may continue to step 7. If it is not foaming, you may have a bad package of yeast. Open a new package of yeast and re-proof. Continuing with inactive yeast will be a waste of time and ingredients.
Now add your active yeast mixture into the batter and mix for 7 minutes. (yes…7!). Gluten free flours behave differently than gluten flours, and the extra mixing time adds more air to the dough (to help the rolls rise), and adds to the structure of the roll (to help it tear, rather than crumble).
With a 2-inch scooper, make 9 mounds of batter in your baking dish. Each scoop should only be about ¾ full. Keep mounds separated to form individual rolls.
If desired, dip fingers into a cup of warm water and carefully smooth the tops of the rolls.
Cover with plastic wrap and let rise until doubled. This usually takes about 50-60 minutes at my house, but time will vary depending depend on the warmth in your kitchen.
While the rolls are rising, preheat your oven to 375°.
When rolls have doubled in size, remove plastic wrap.
Bake, uncovered, for the first 15 minutes.
After 15 minutes, cover loosely with tinfoil to avoid over-browning. Do not seal tinfoil around edges of pan.
Bake 15 minutes more.
Bake a total of 30-32 minutes depending on how golden you want your rolls to be.
Remove from oven.
Brush with melted butter and serve warm. These rolls can be placed onto a serving dish and served as pull-apart rolls, or you can pre-cut the rolls and serve in a bread bowl or basket.

Tip: Please follow all directions exactly!! If you skip steps or swap ingredients then you may or may not like the end result :)
Tip: Cover with plastic wrap to store overnight. These rolls re-warm nicely in the microwave.
Looking for Comments?
Please leave and read comments in the "Comments" section of the YouTube video above.
I can’t wait to hear from you!