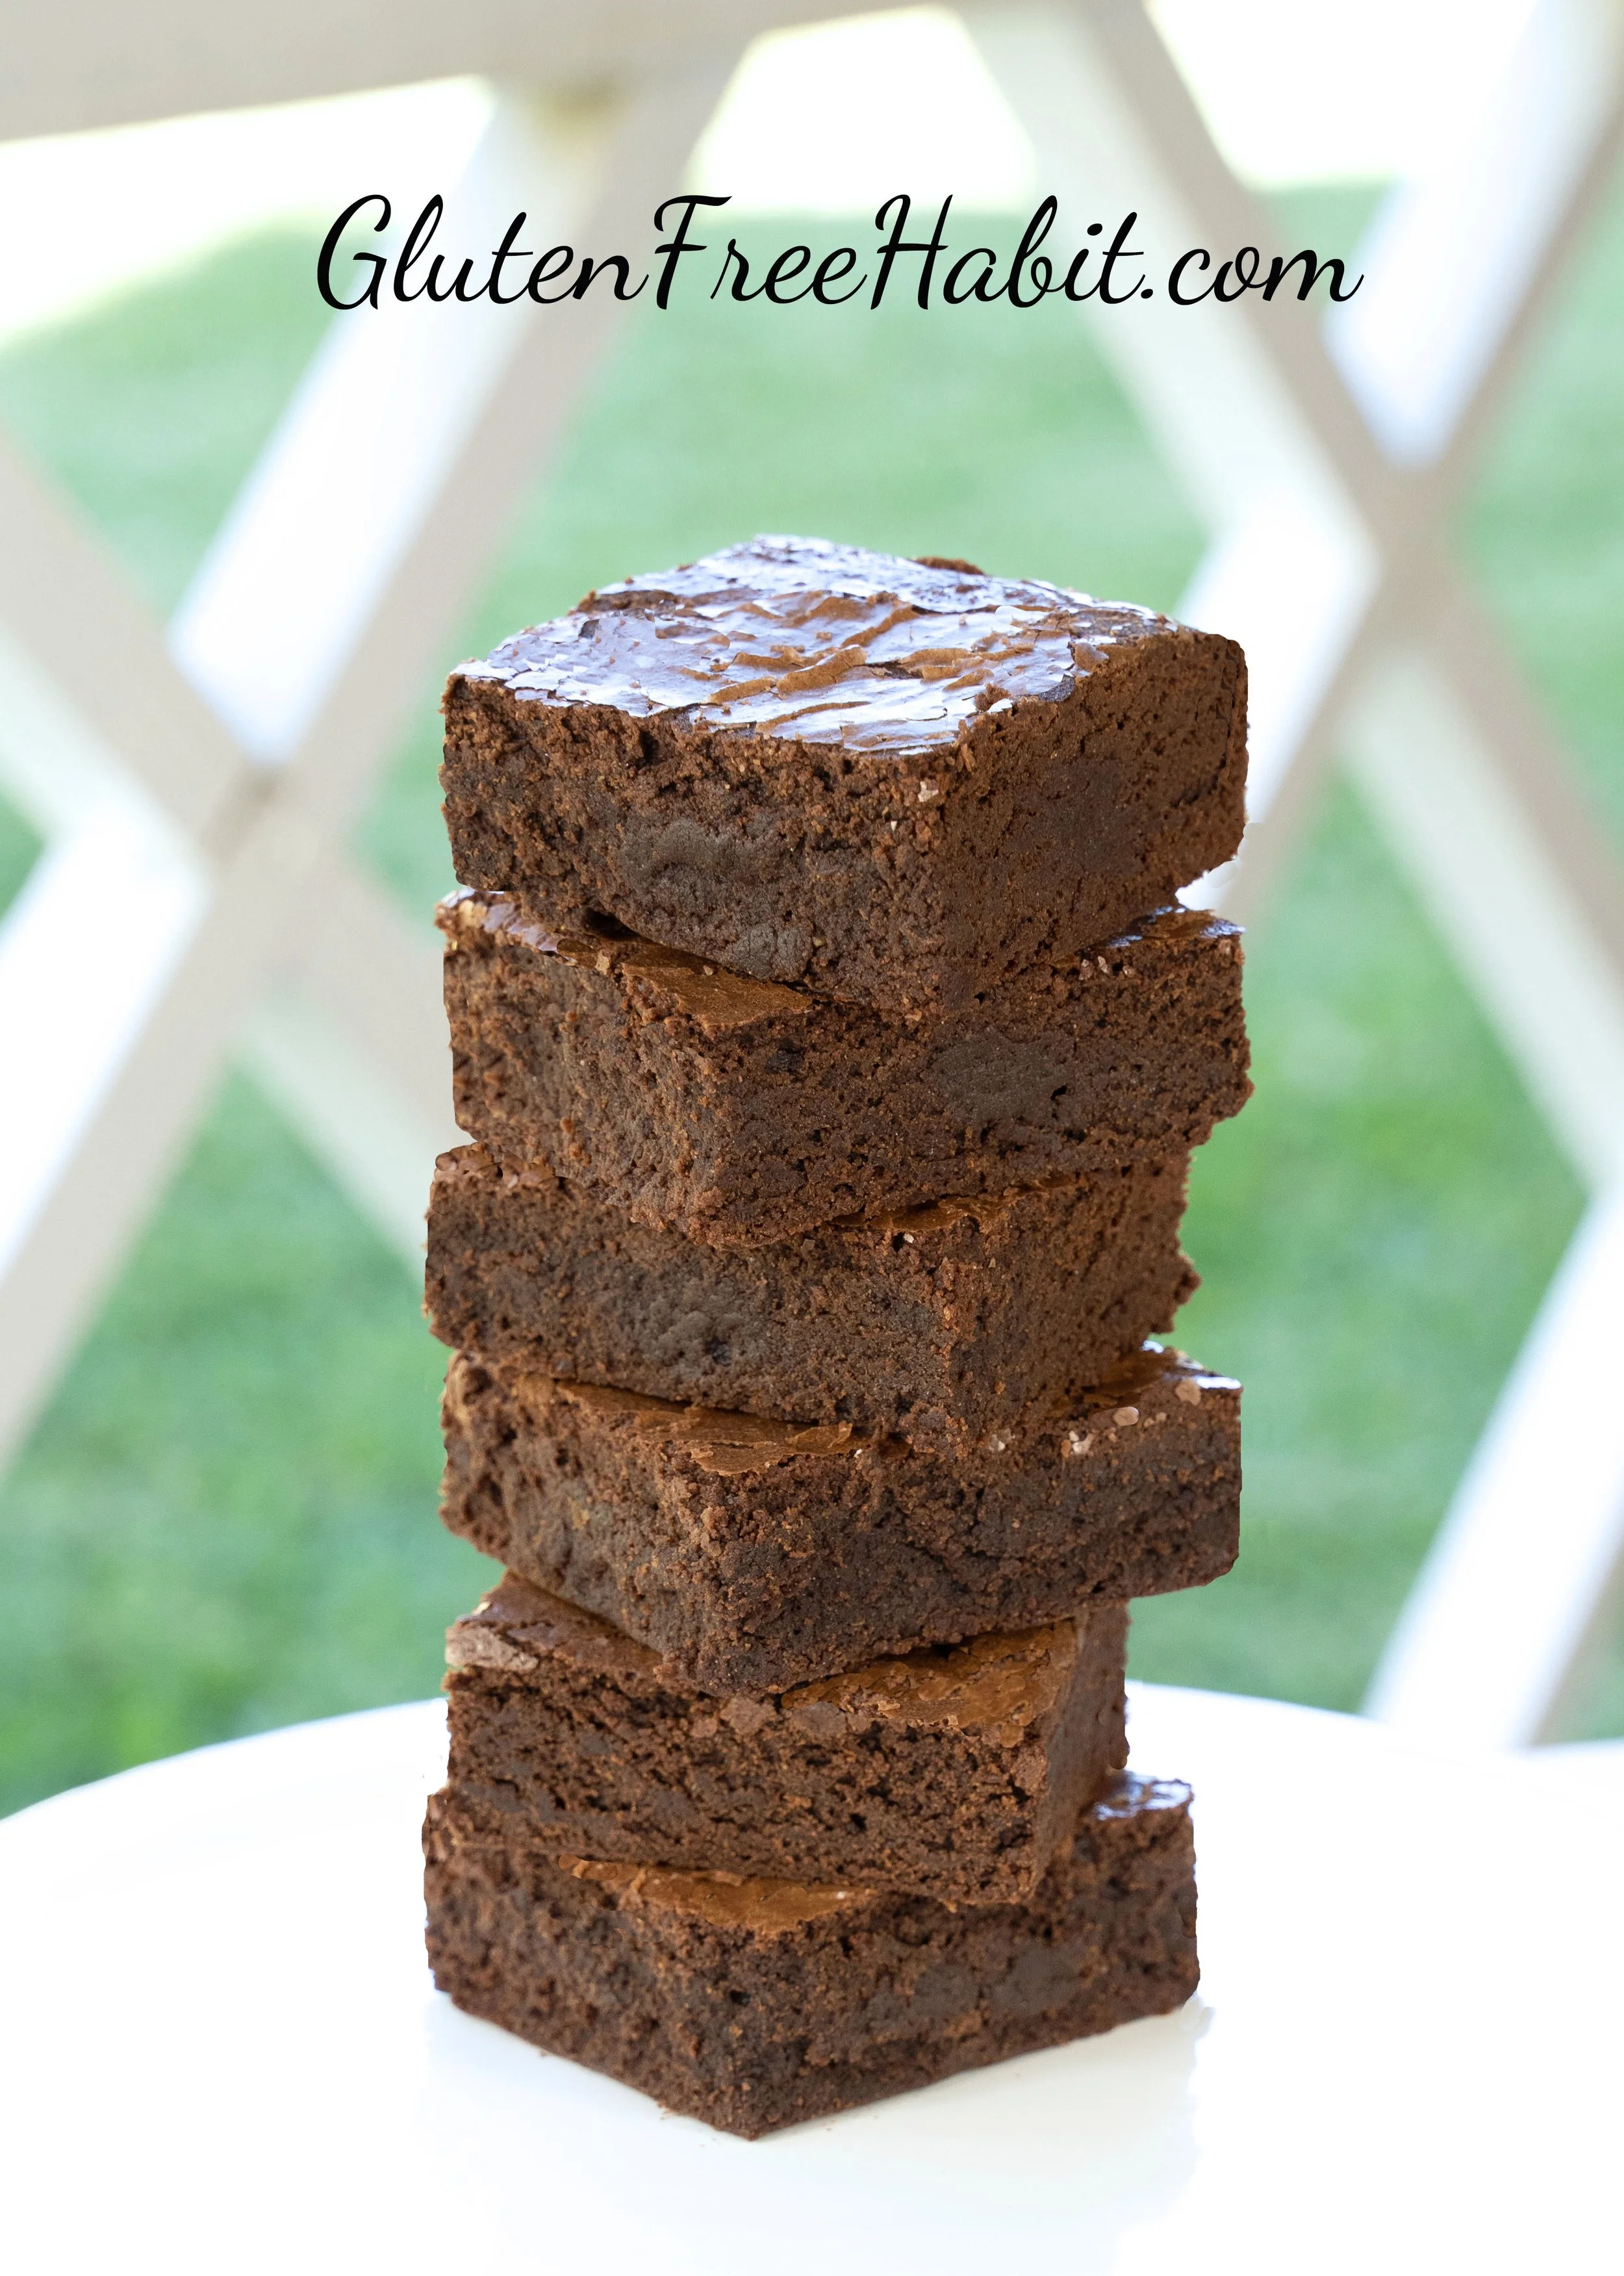
The Ultimate Gluten Free Brownie

Why the “Ultimate” brownie? First, because they taste amazing! And second, because with the same ingredients, you can make two different brownies! The difference is in the method. The “Crackle Top” brownie is rich and chocolatey with a beautiful shiny, crackle top. The “Chewy Brownie” is slightly chewier without the crackle top (in case you want to add frosting). Both are so delicious. I personally LOVE adding chopped walnuts to complete my Ultimate Brownie. No matter which you pick…enjoy!
Makes: 9 large brownies (or more if cut smaller)

Show Me How

Walk Me Through It

1
Cut parchment paper to fit an 8x8 baking dish with a little bit extra that will hang over the edge on two sides. (Approx. 7 ½ x 15).
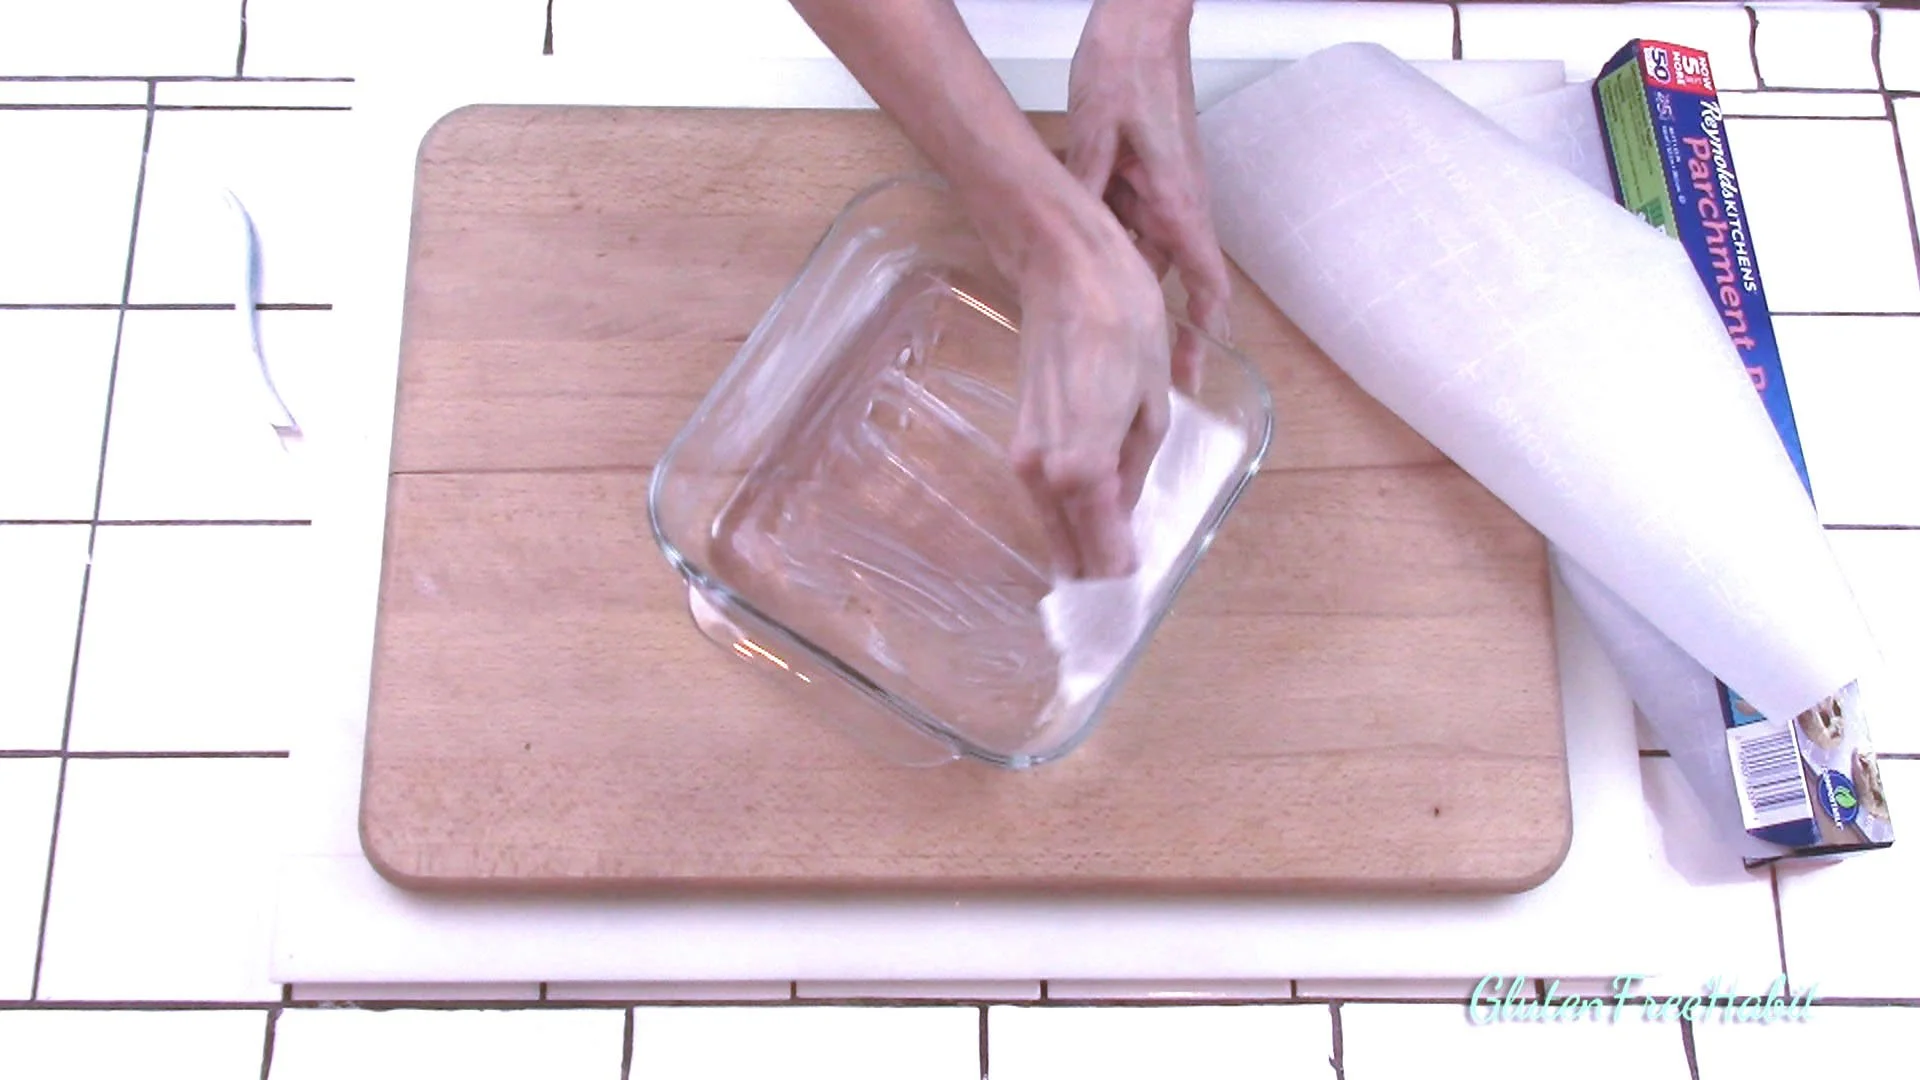
2
Butter the entire baking dish and lay the parchment in. (Two sides of the pan will be uncovered.)
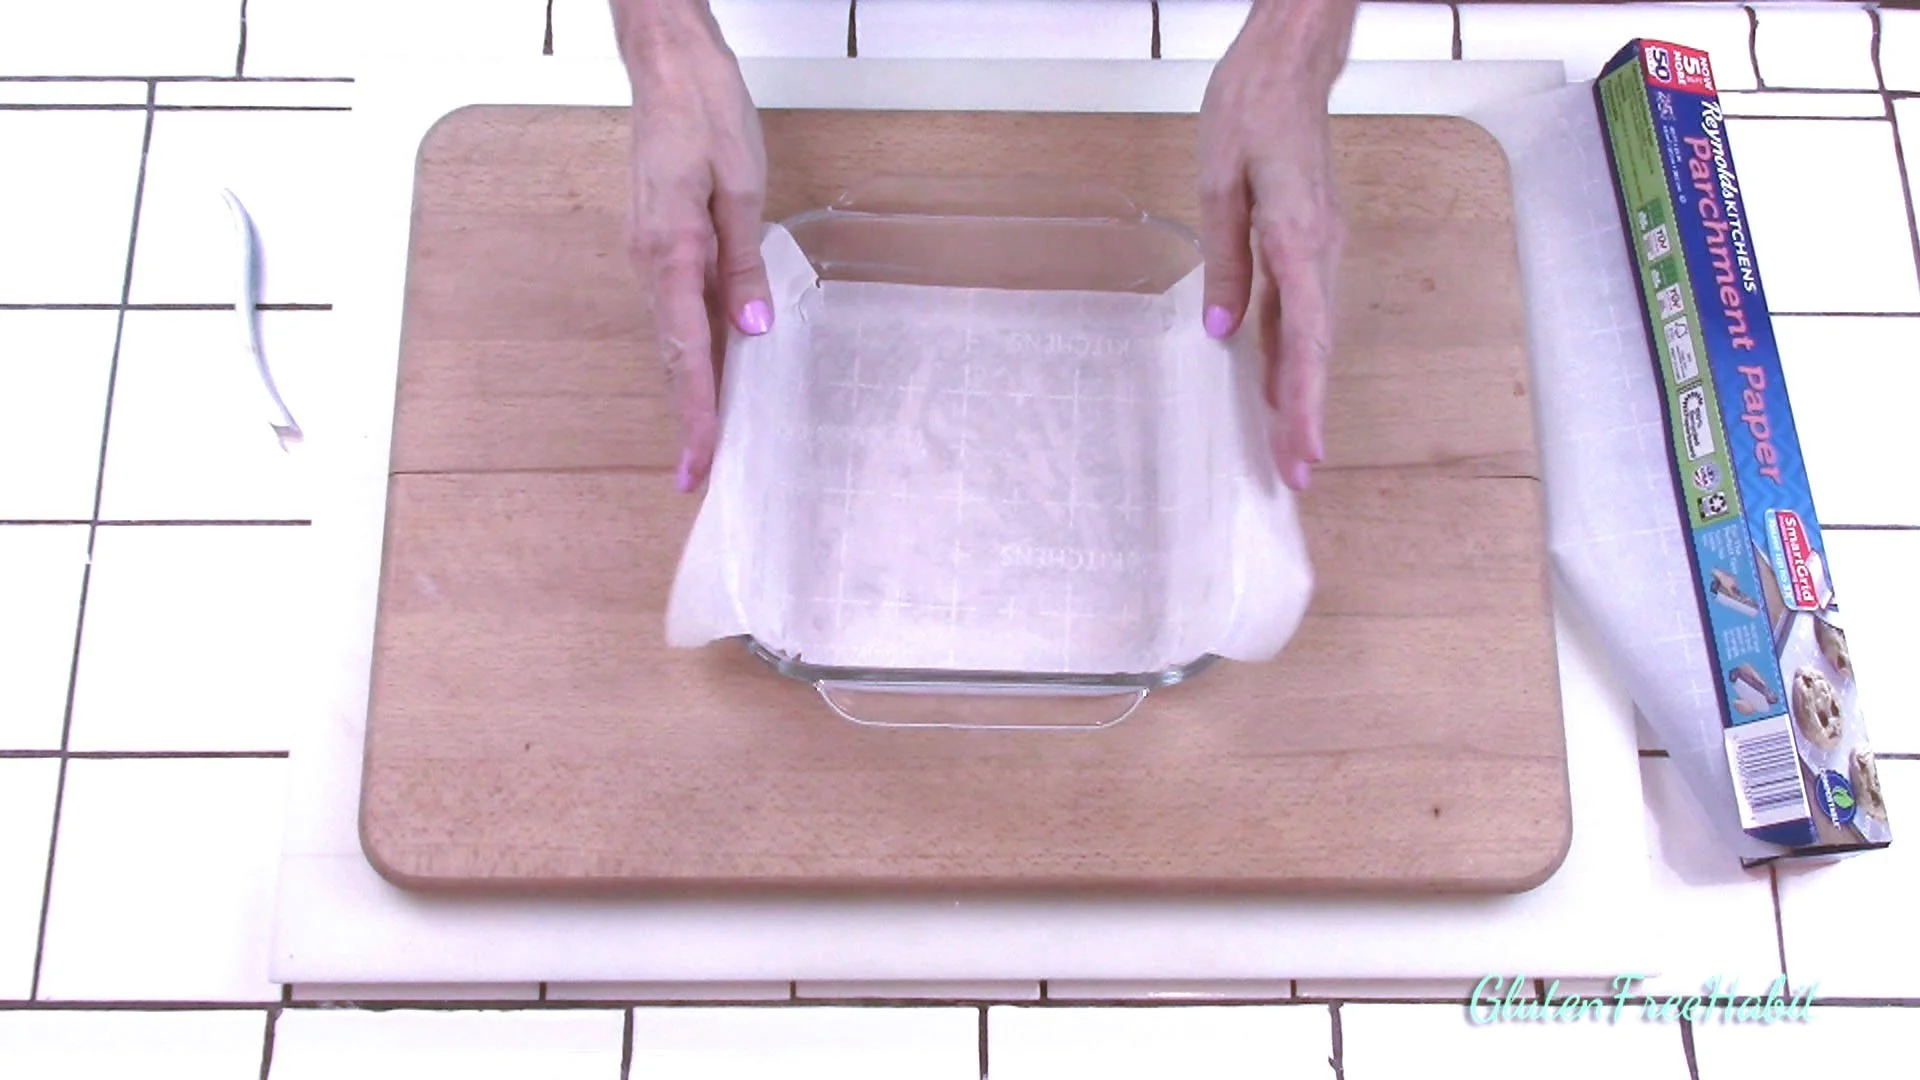
3
Lay parchment into dish, pressing to secure.
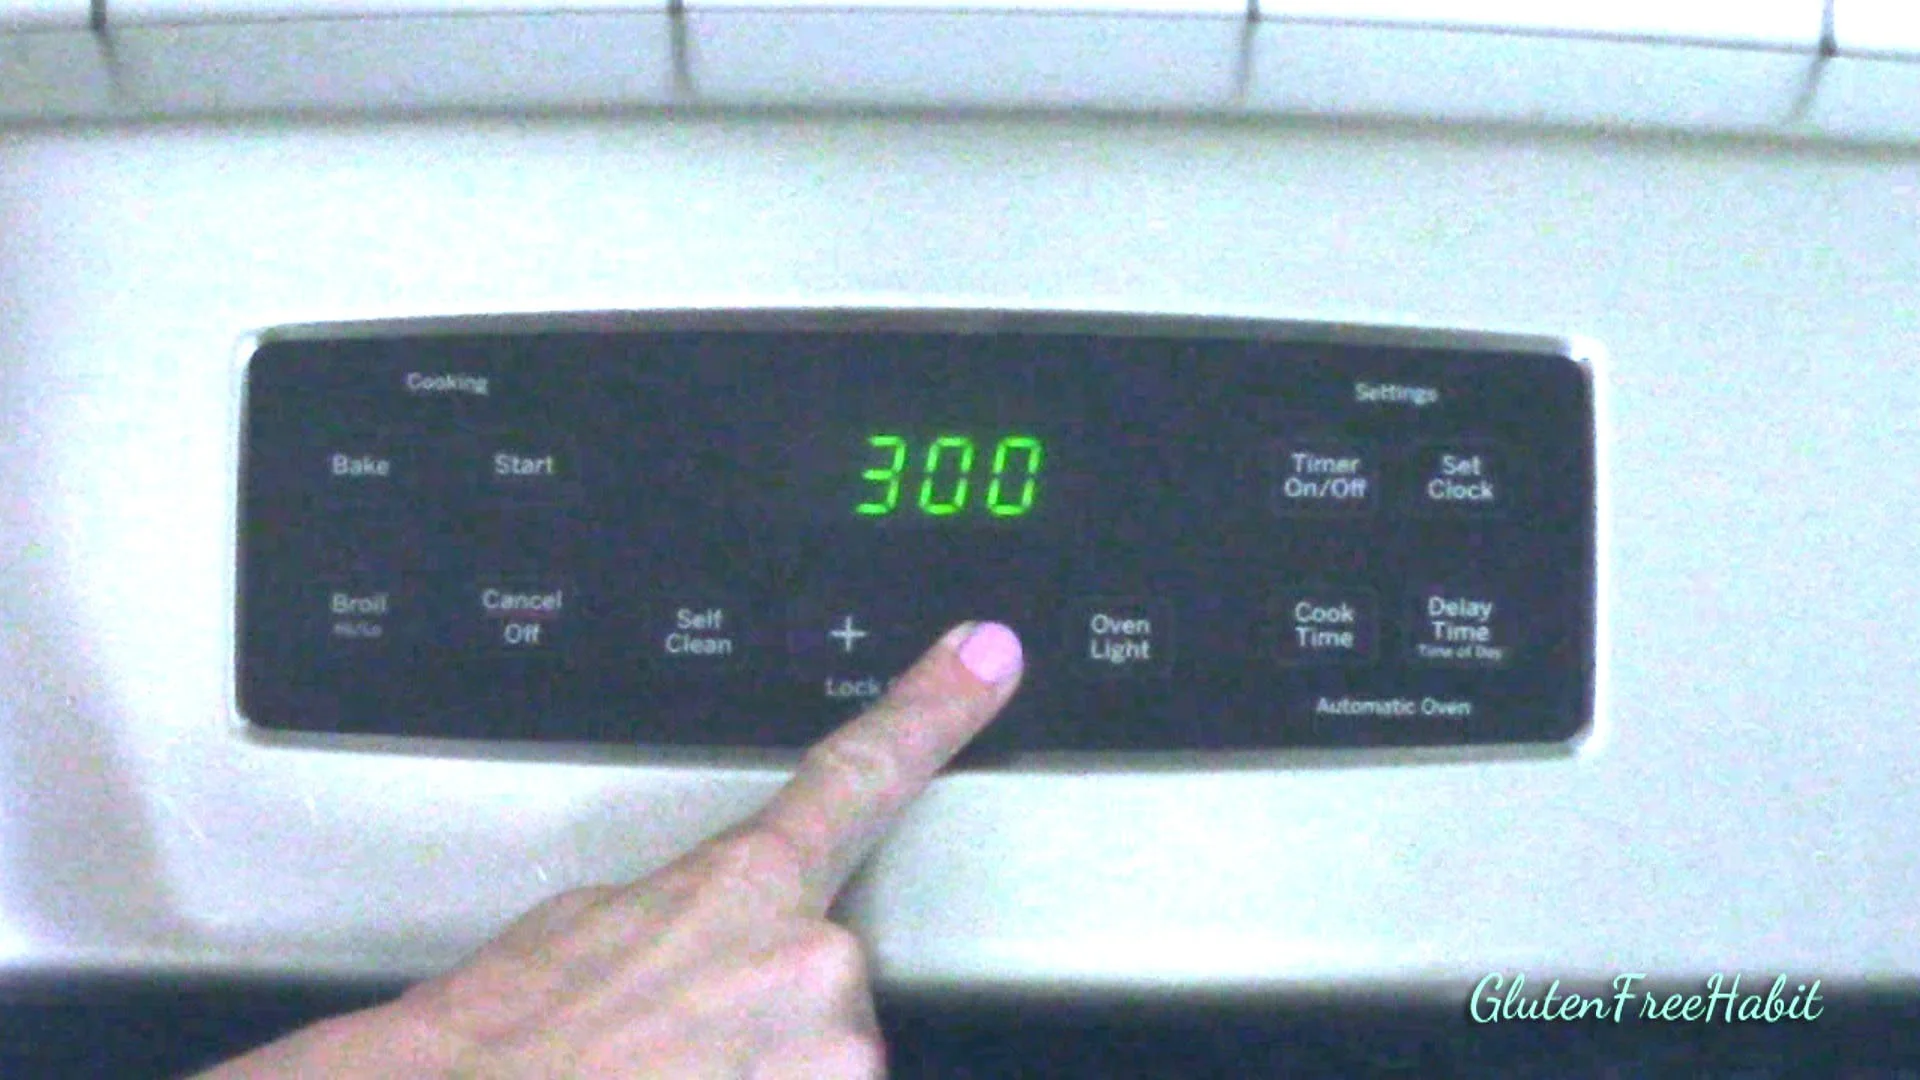
4
Preheat oven to 300°

5
In a small saucepan, melt butter on medium temperature.

6
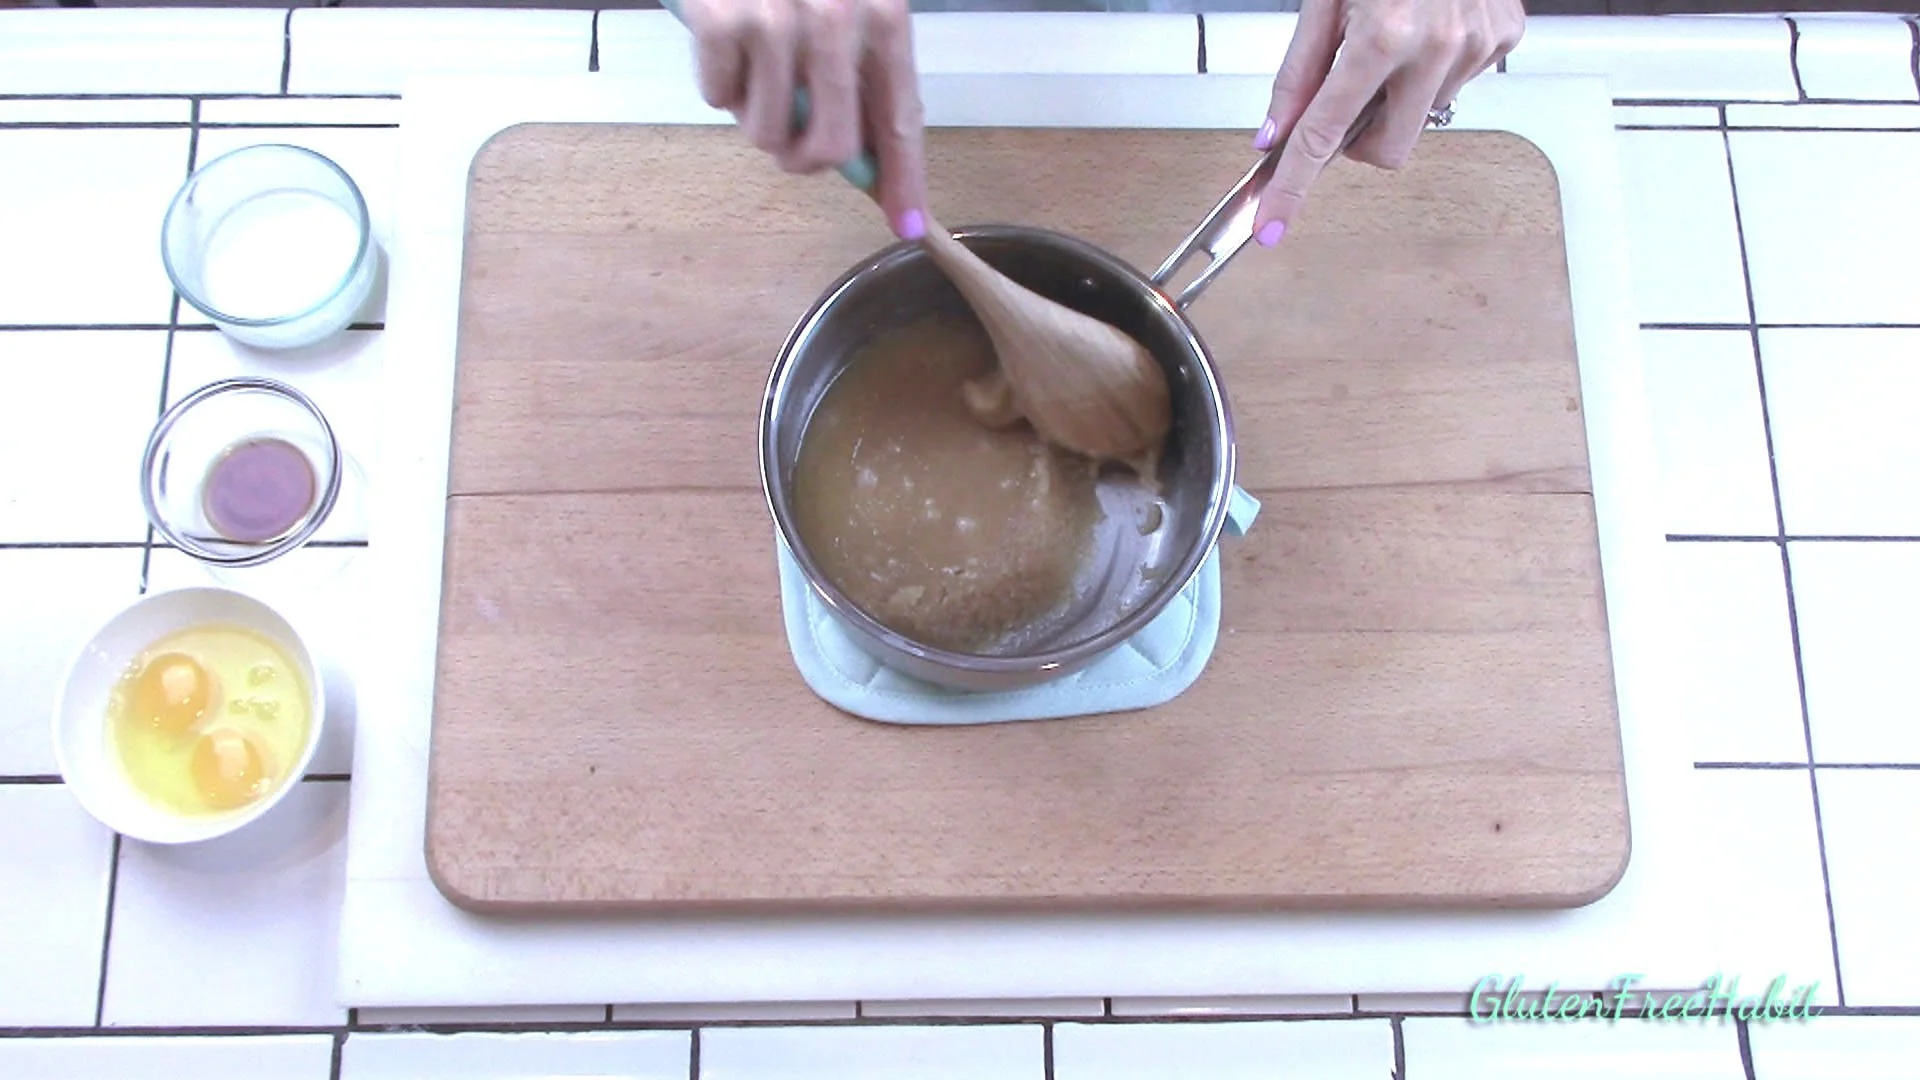
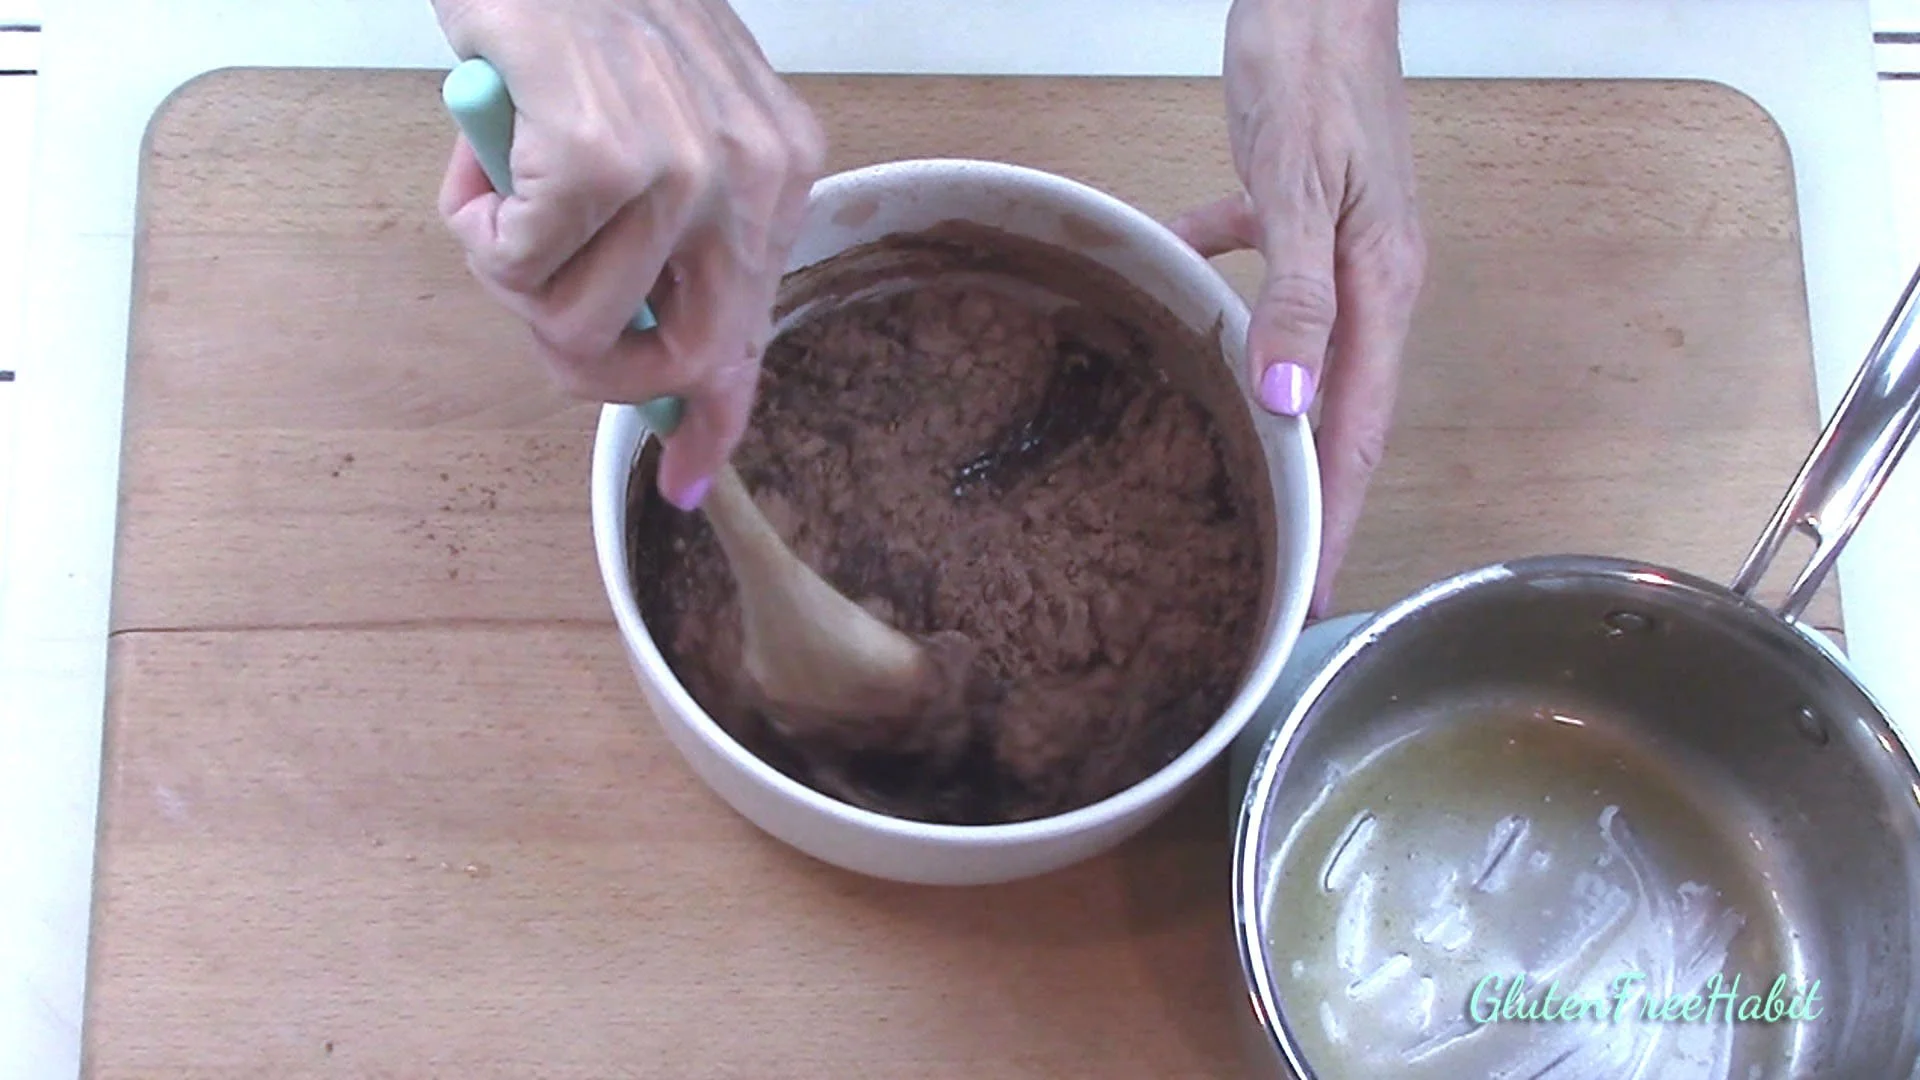
Add in granulated sugar and brown sugar. Stir.
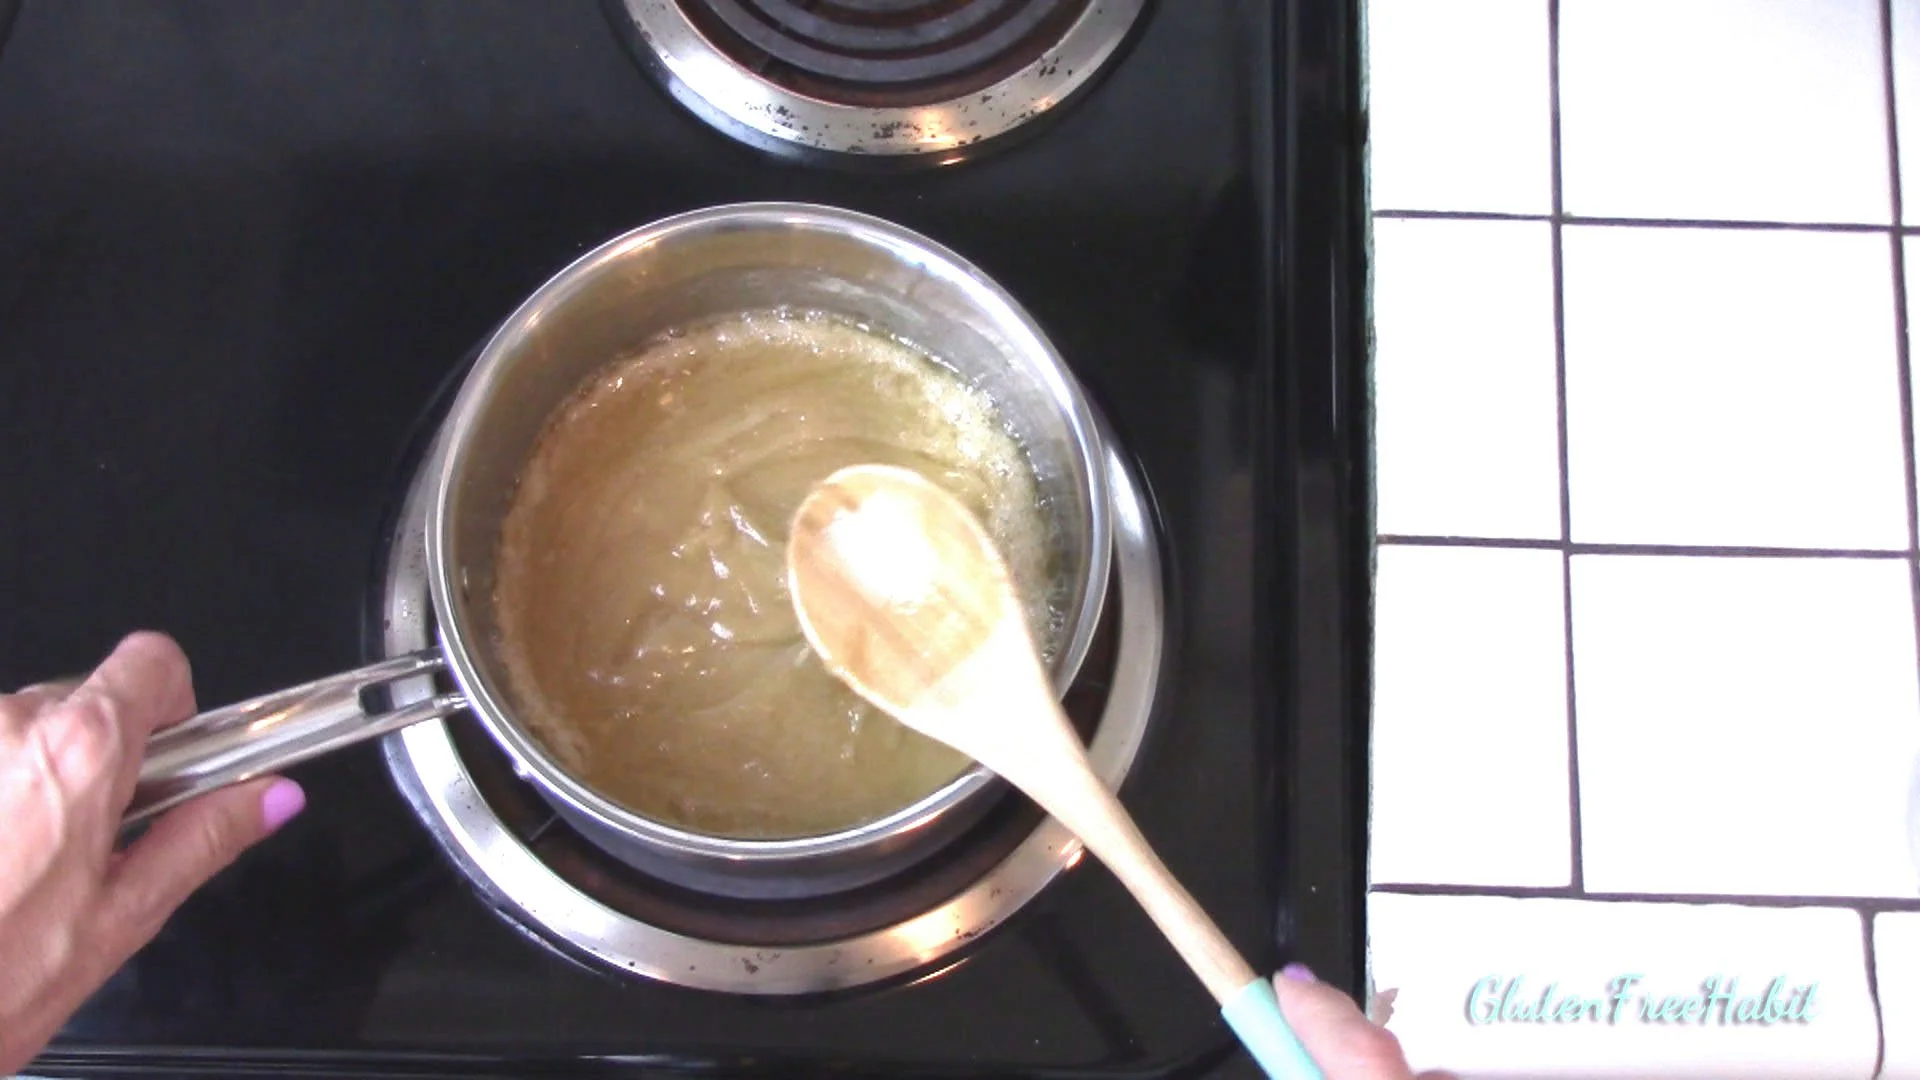
7
Cook over medium heat until simmering, while stirring until smooth.

8
To a medium-sized mixing bowl, add your dry ingredients, including: brown rice flour, white rice flour, cocoa powder, salt, and xanthan gum.

9
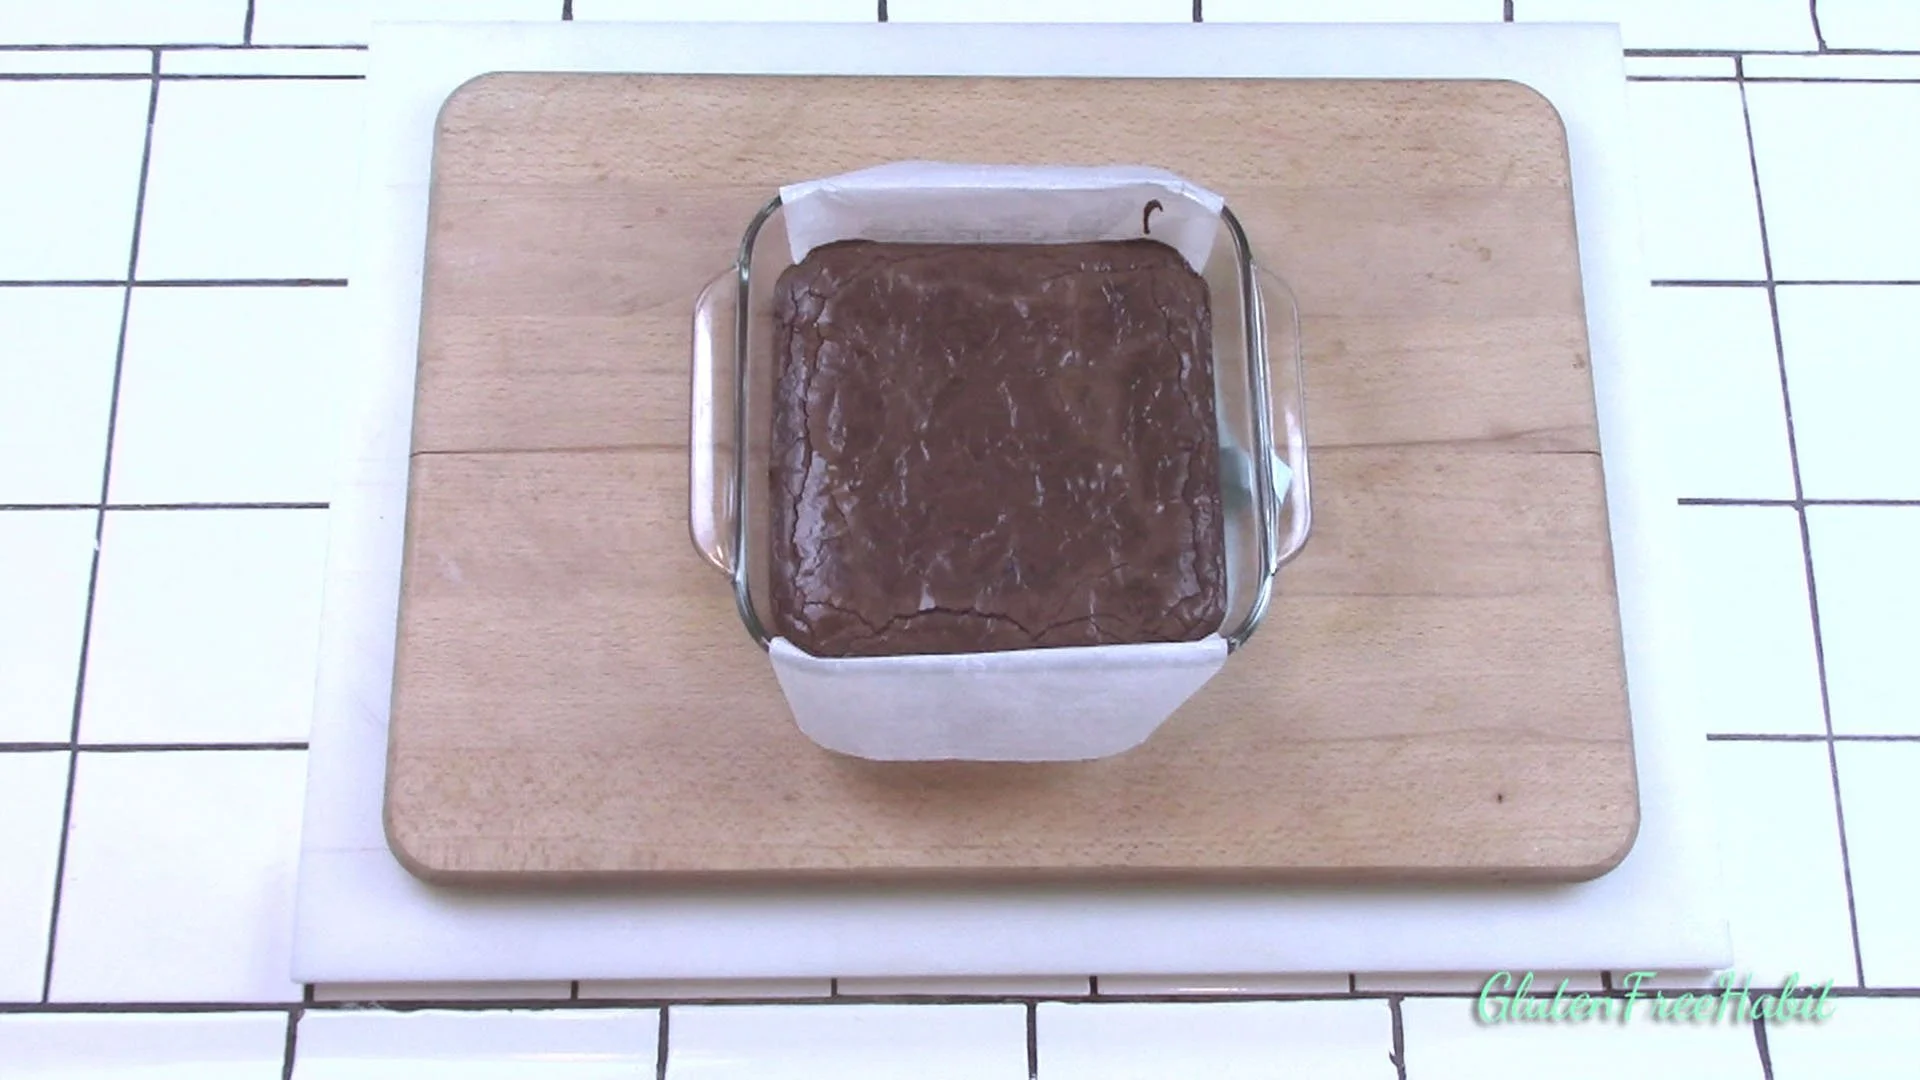
Whisk well.
10
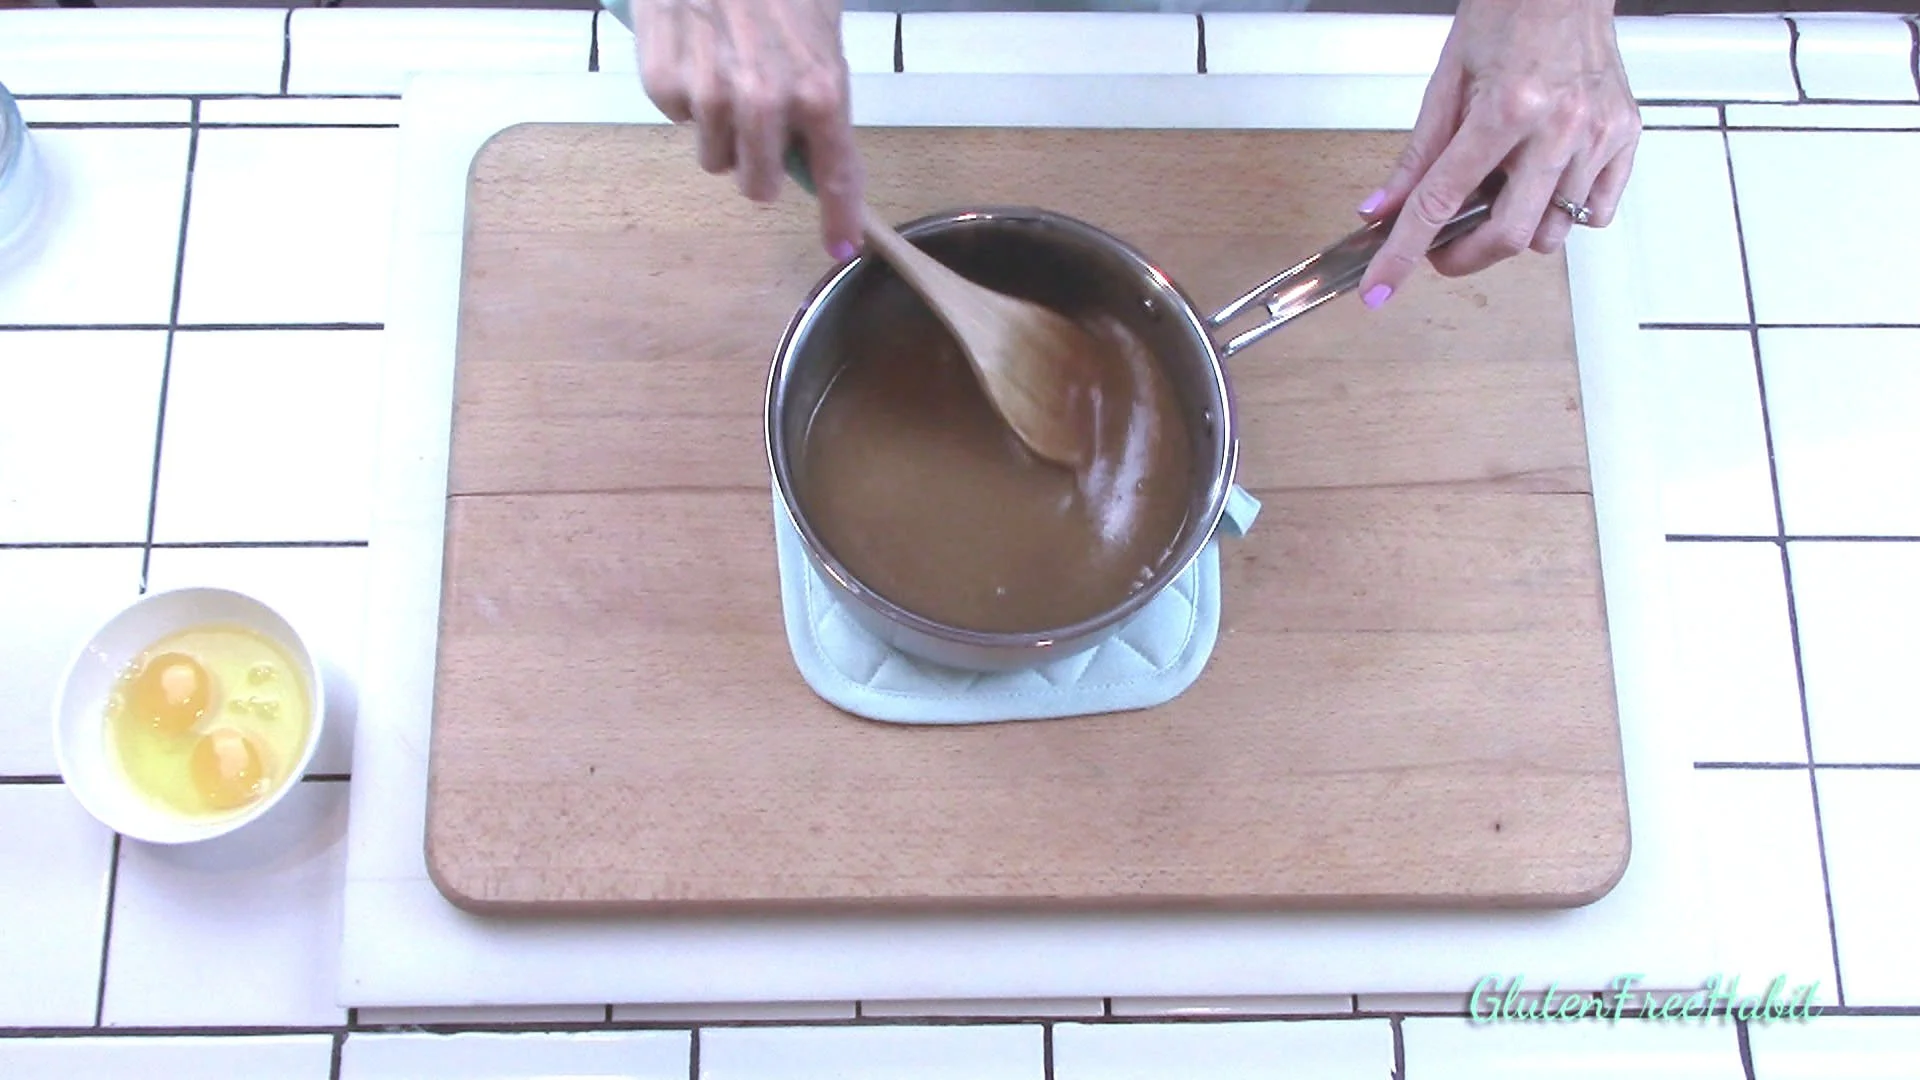
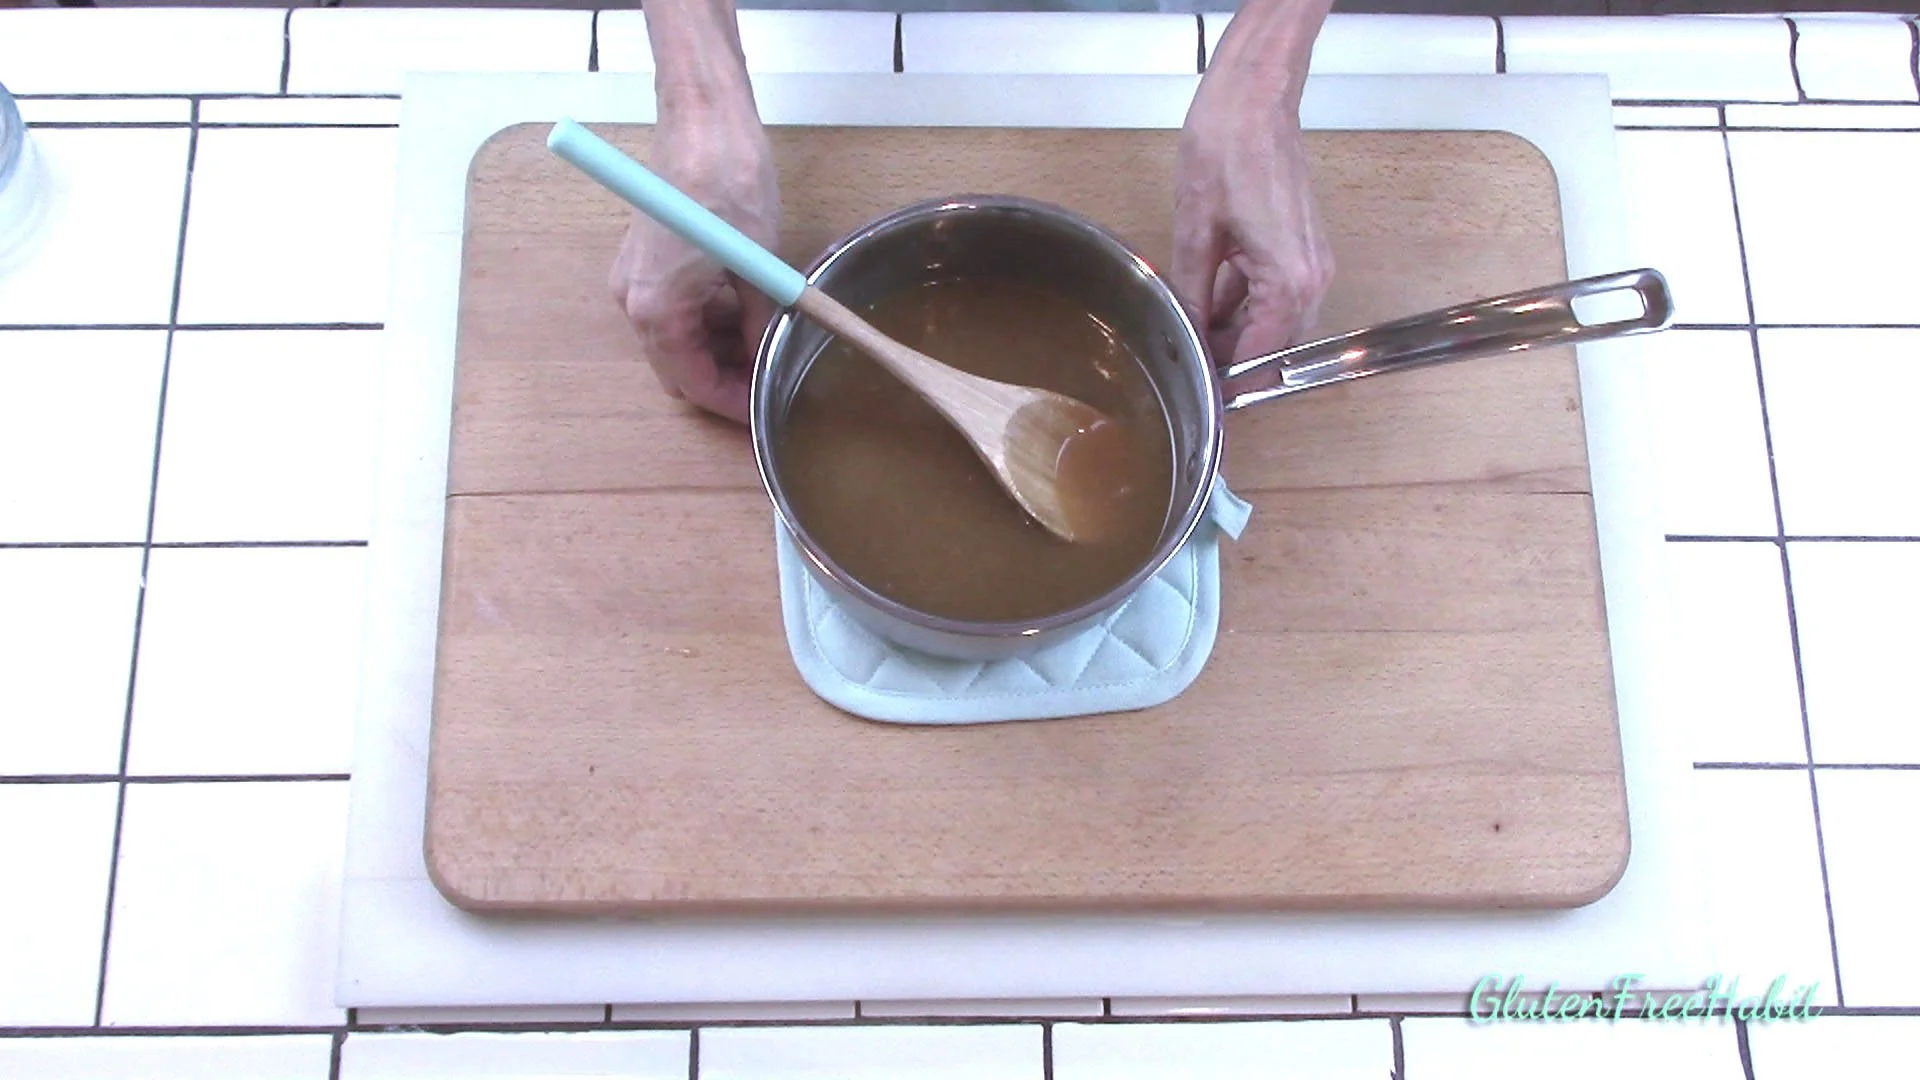
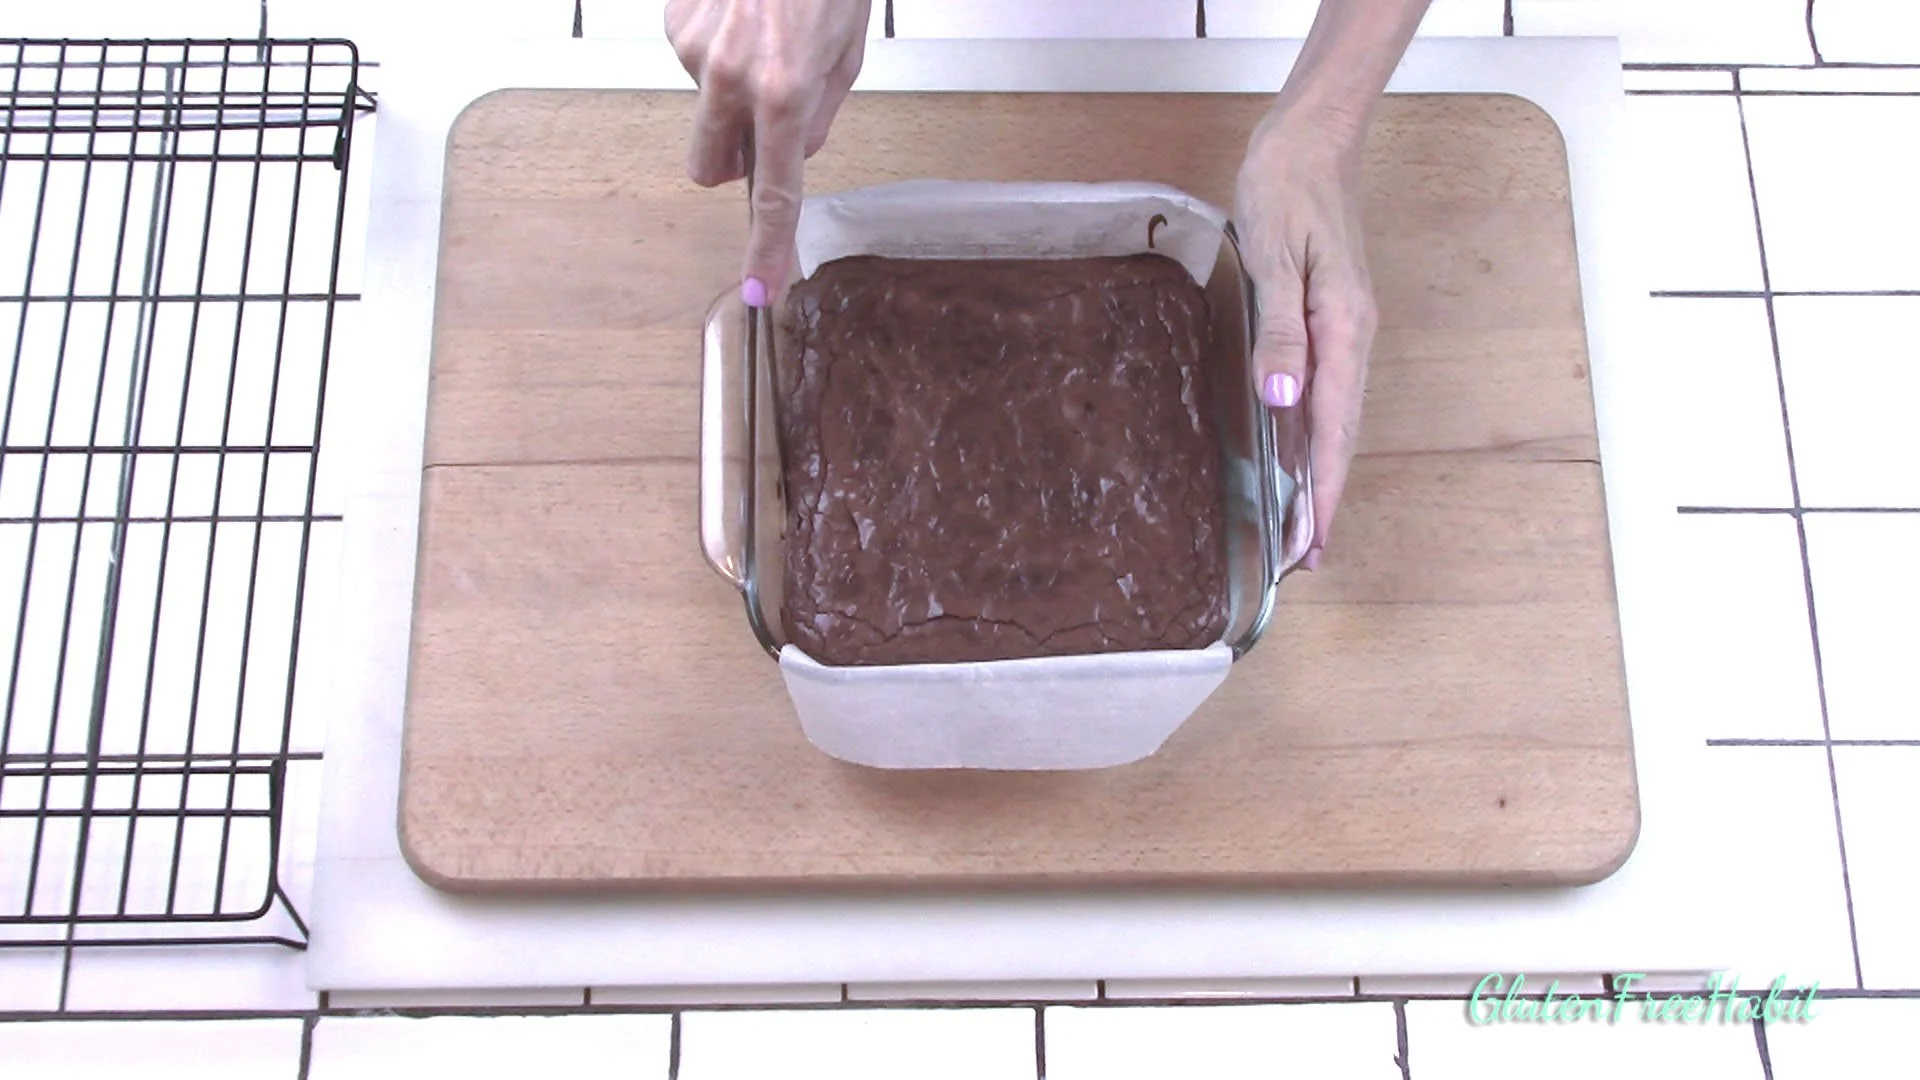
Stir butter/sugar mixture, scraping all sugar off edges of pan.

11
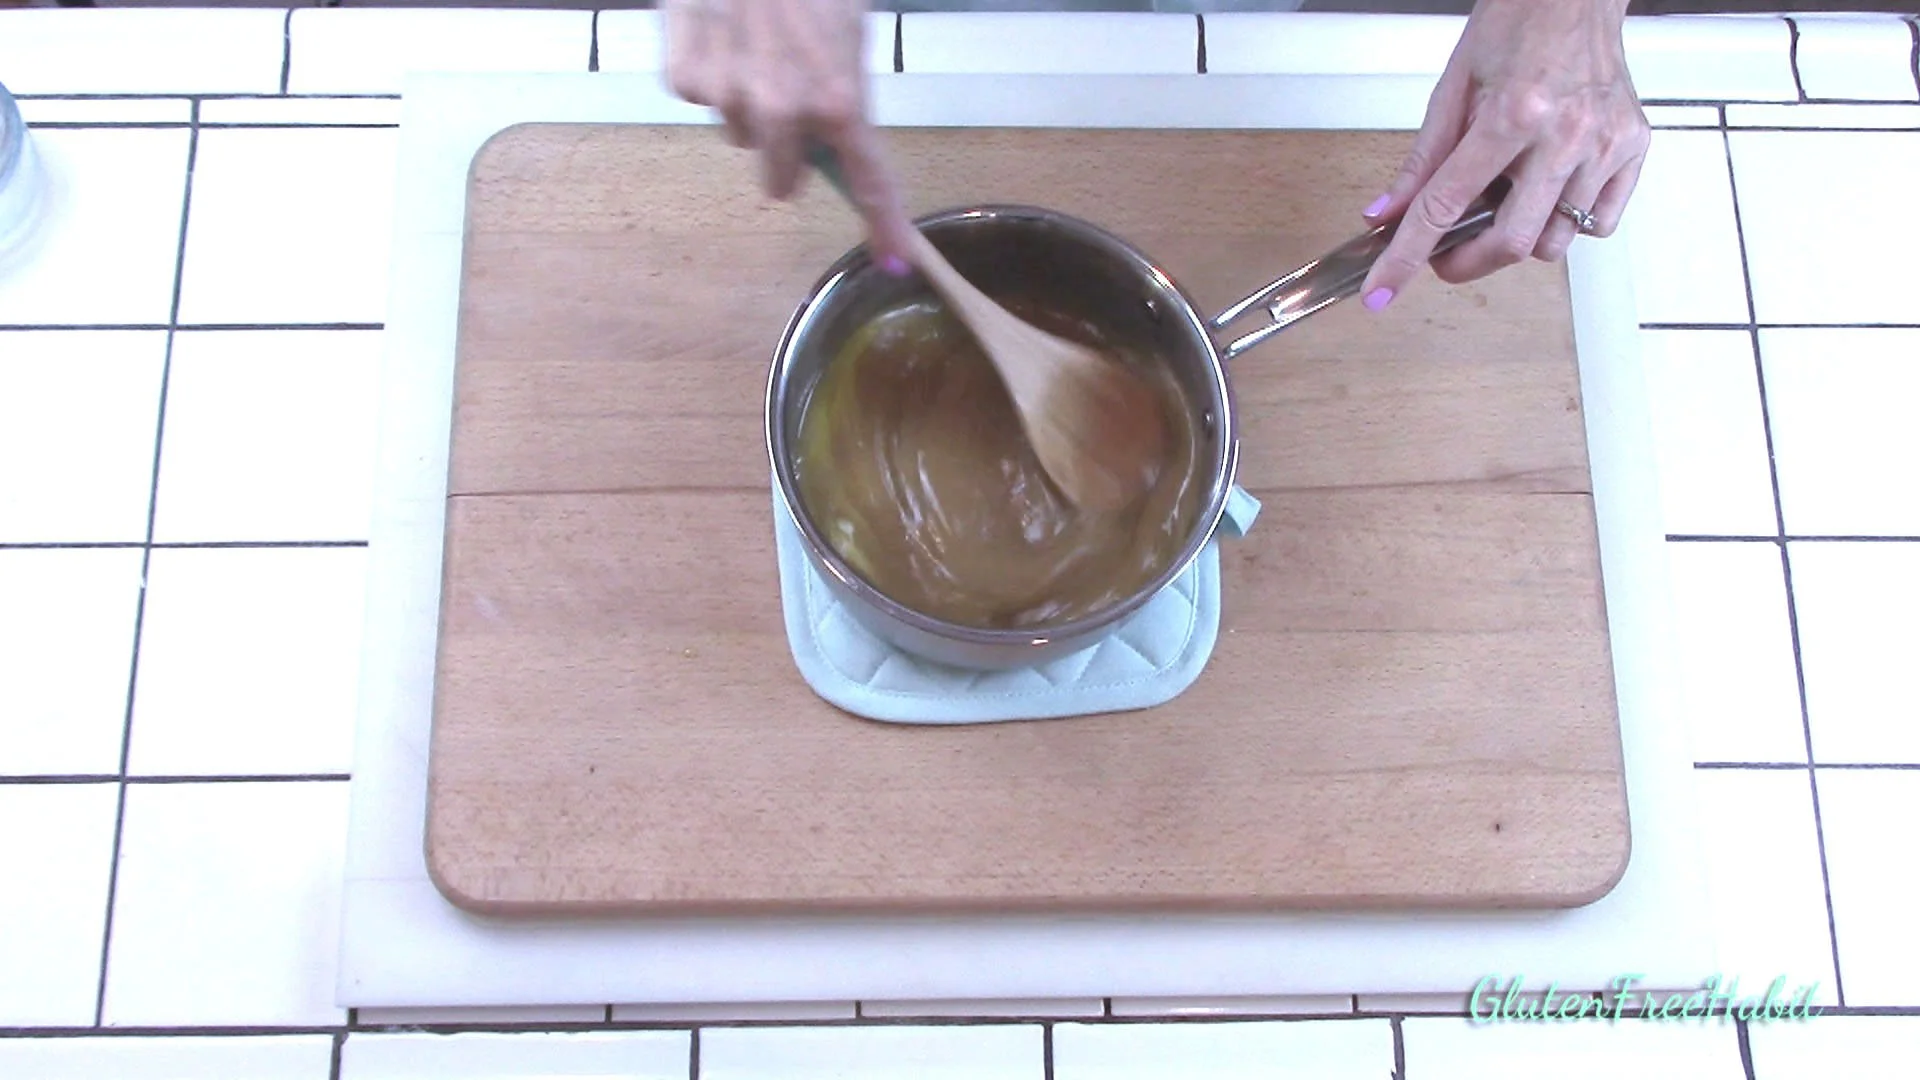
To the butter/sugar mixture add milk and vanilla.
12
Mix well.

13
Add eggs.
14
Mix vigorously by hand for a full minute.
15
Mixture should be smooth when finished mixing.

16
Pour butter/sugar mixture into dry mixture.
17
Stir by hand until well blended, shiny, and smooth.

18
If desired, stir in chopped walnuts or other add-ins.
19
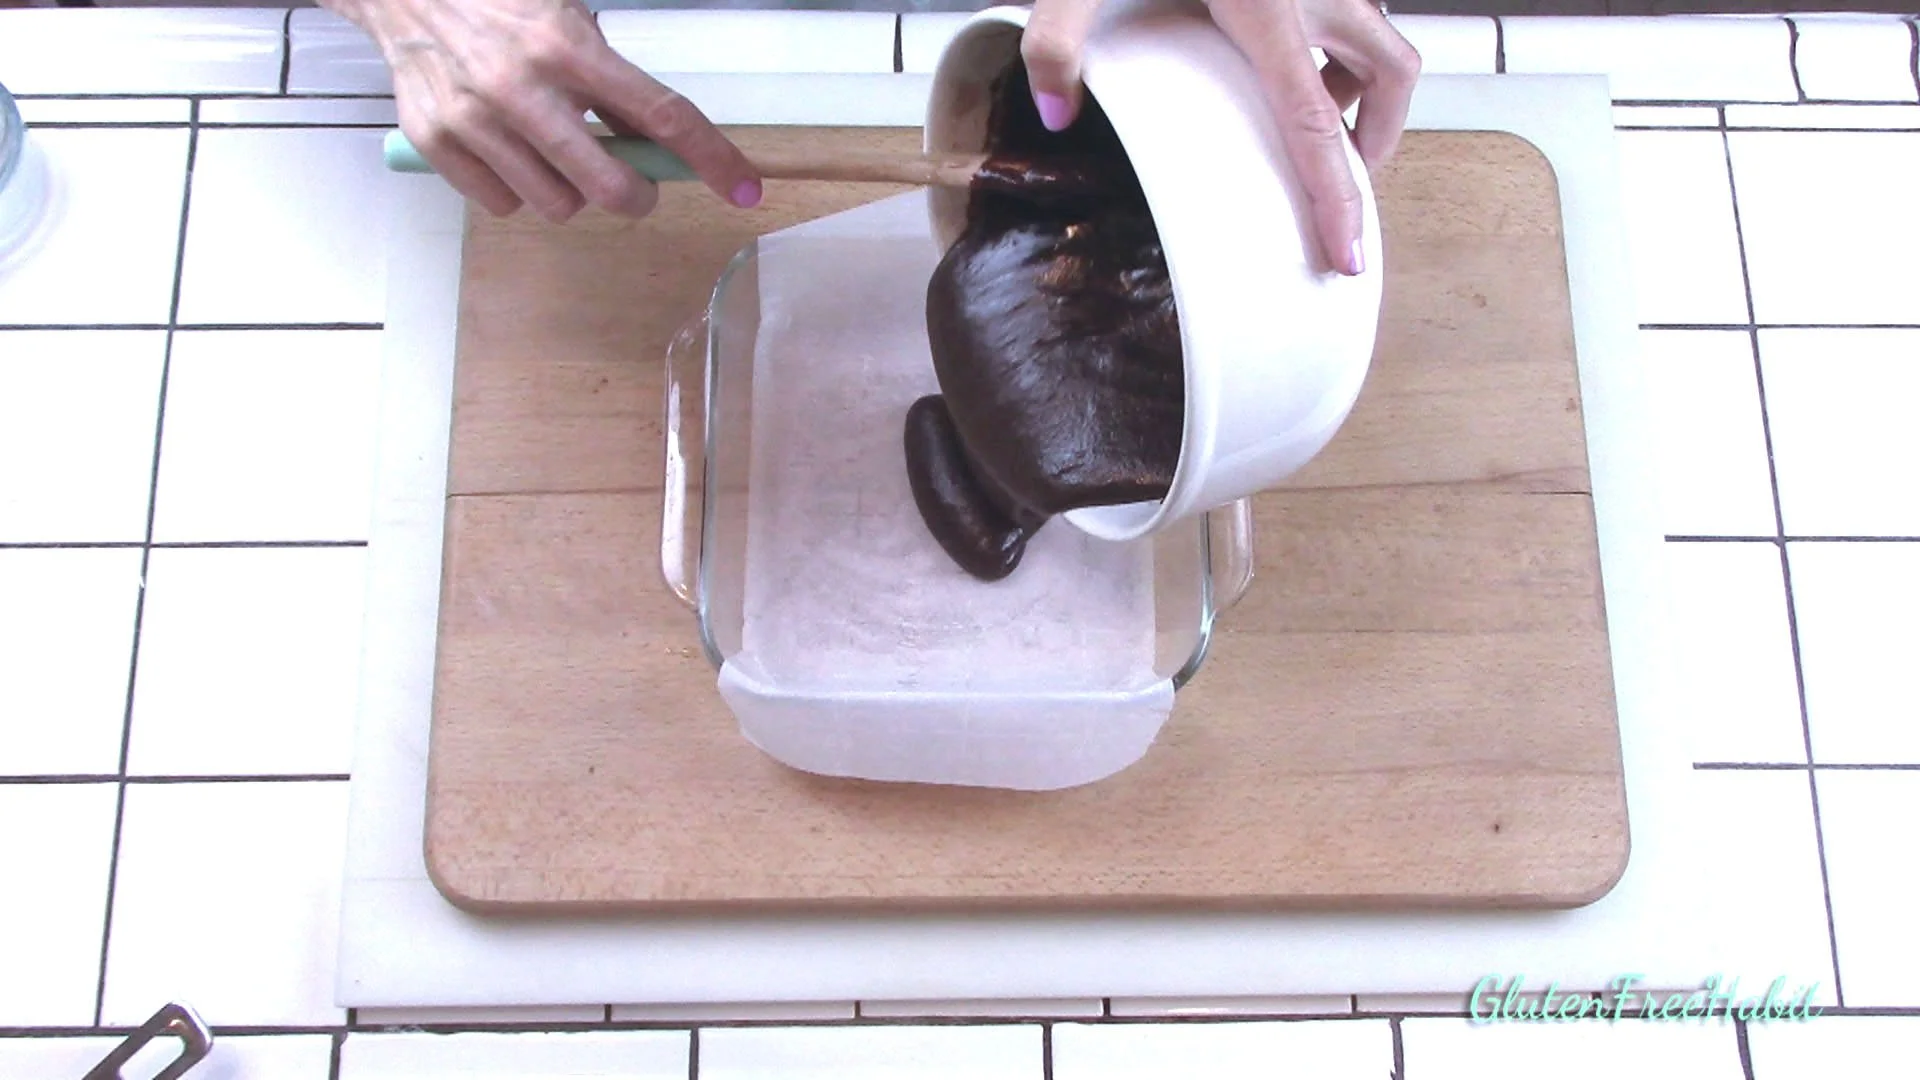
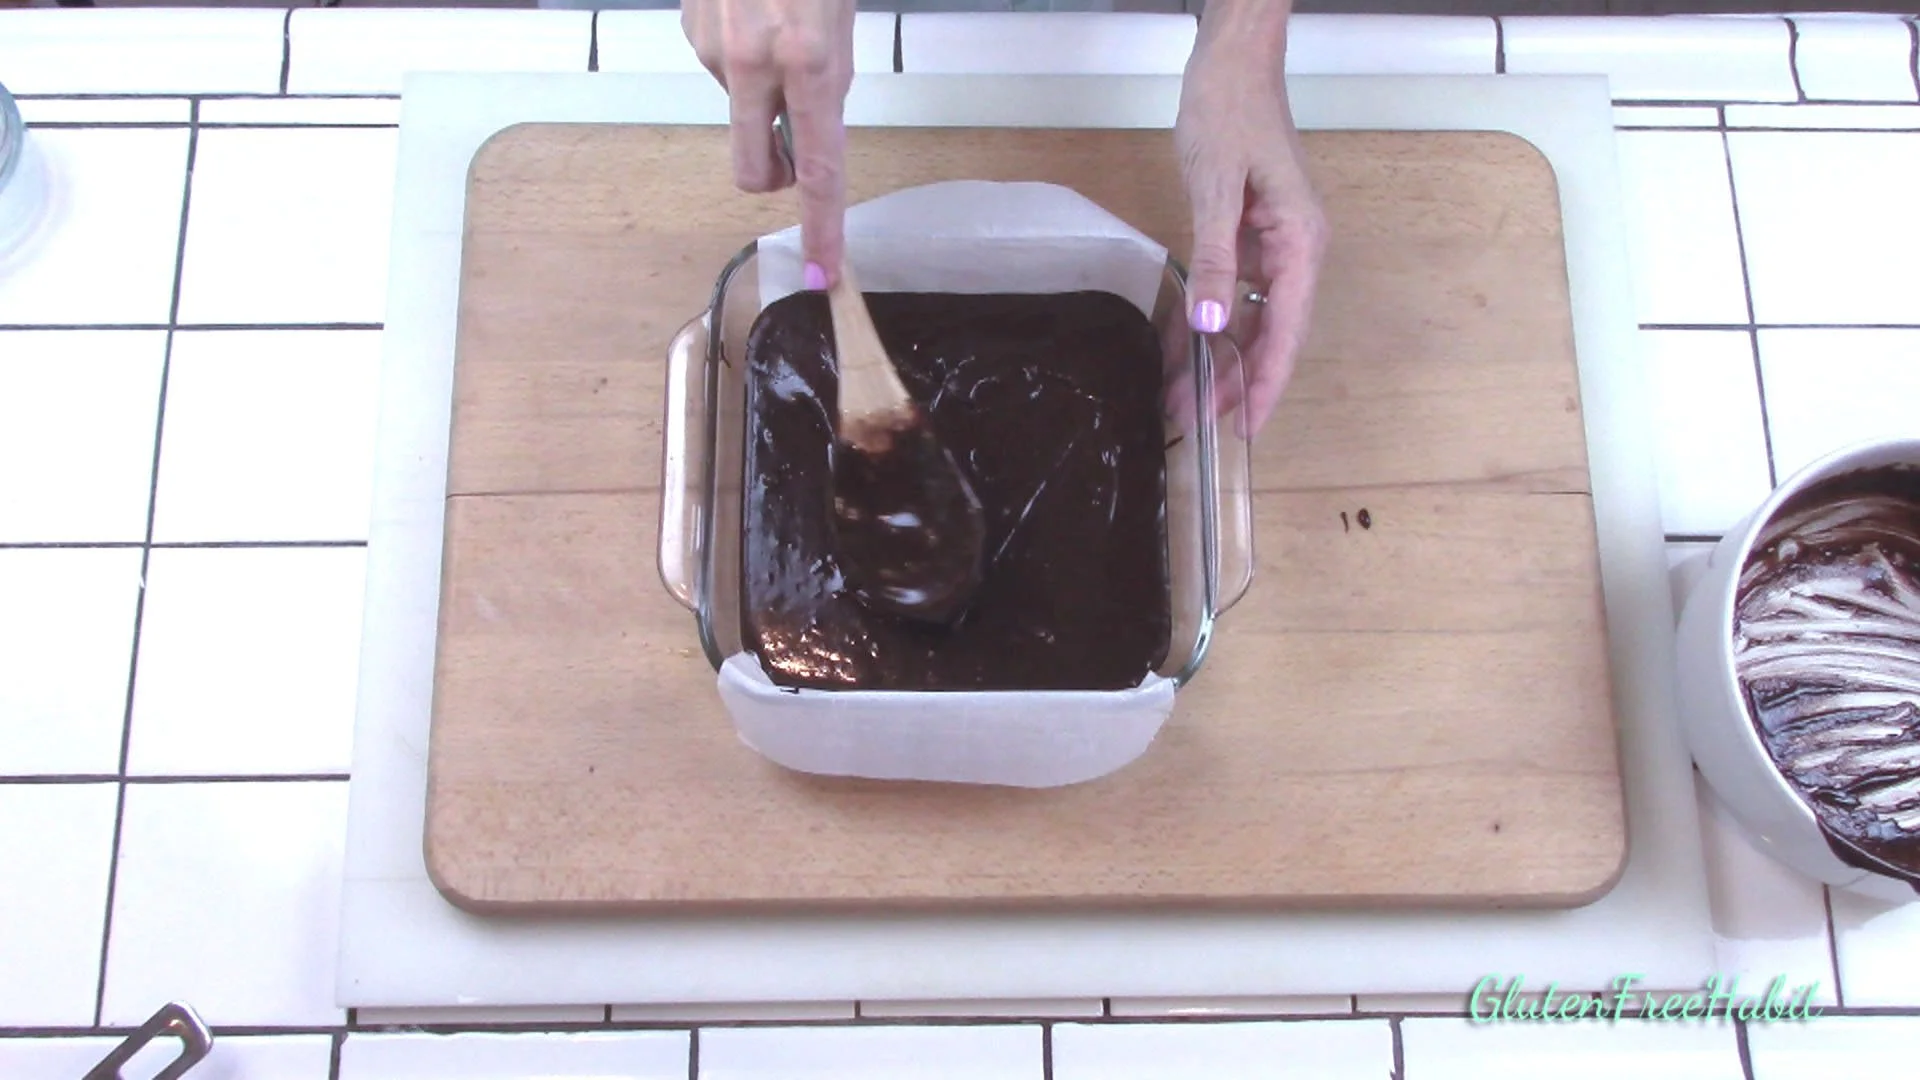
Spread batter into pan.
20
Push batter into corners so that brownies will be level.

21
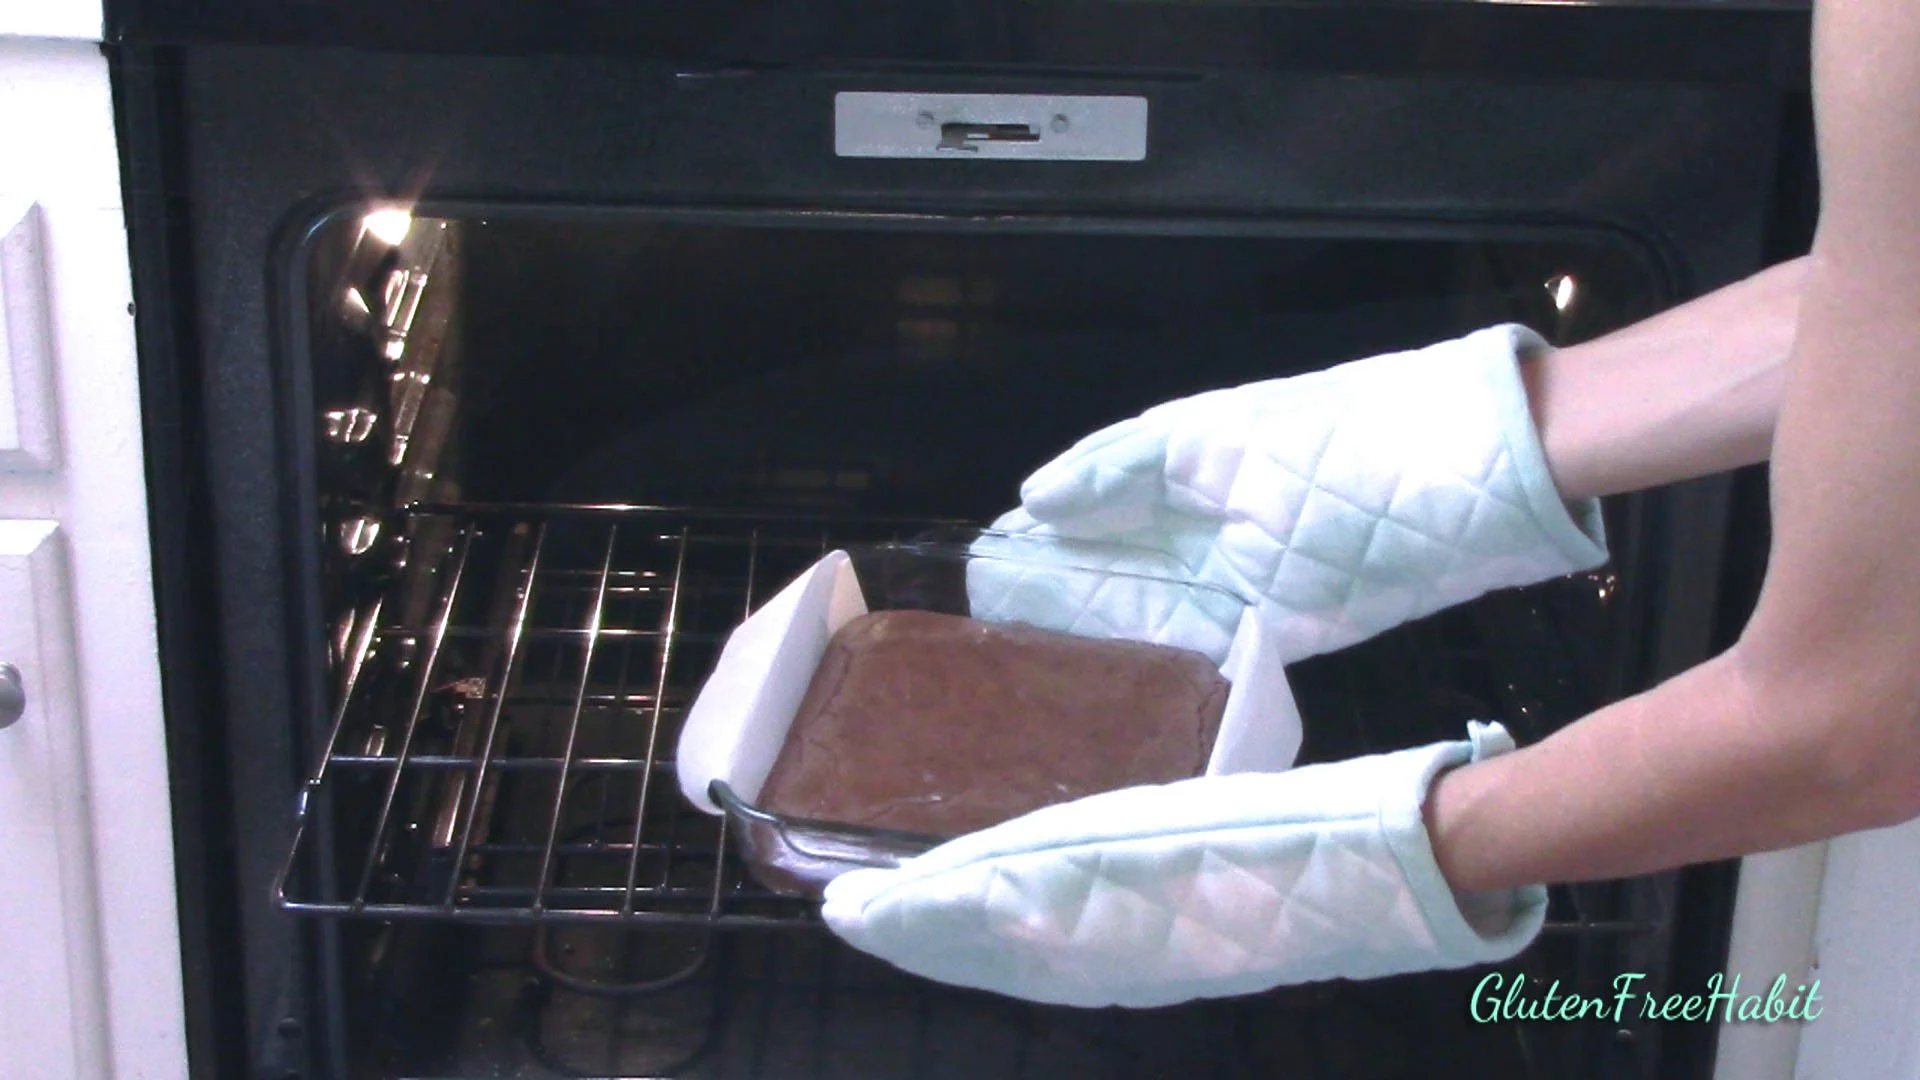
Bake about 40 minutes. Don’t over bake! Toothpick inserted into center should not be wet, but SHOULD have moist crumbs.
22
Remove when done baking. Place on hot pad.
23
Leave in pan for 30 minutes to allow brownies to firm up before removing from pan.
24
Run a butter knife along the un-papered sides of the pan to loosen the brownies.

25
Using the edges of the parchment paper, carefully lift brownies out and transfer to cooling rack. Brownies will be very soft until fully cooled. Allowing them to cool creates a slightly chewier texture, and ensures that they are firm enough to cut neatly. Allow at least a few hours before cutting.

26
For perfectly-edged brownies, slice off a tiny bit around the outer edges before cutting into squares. (Eat this extra part immediately)

27
What could be more delicious?
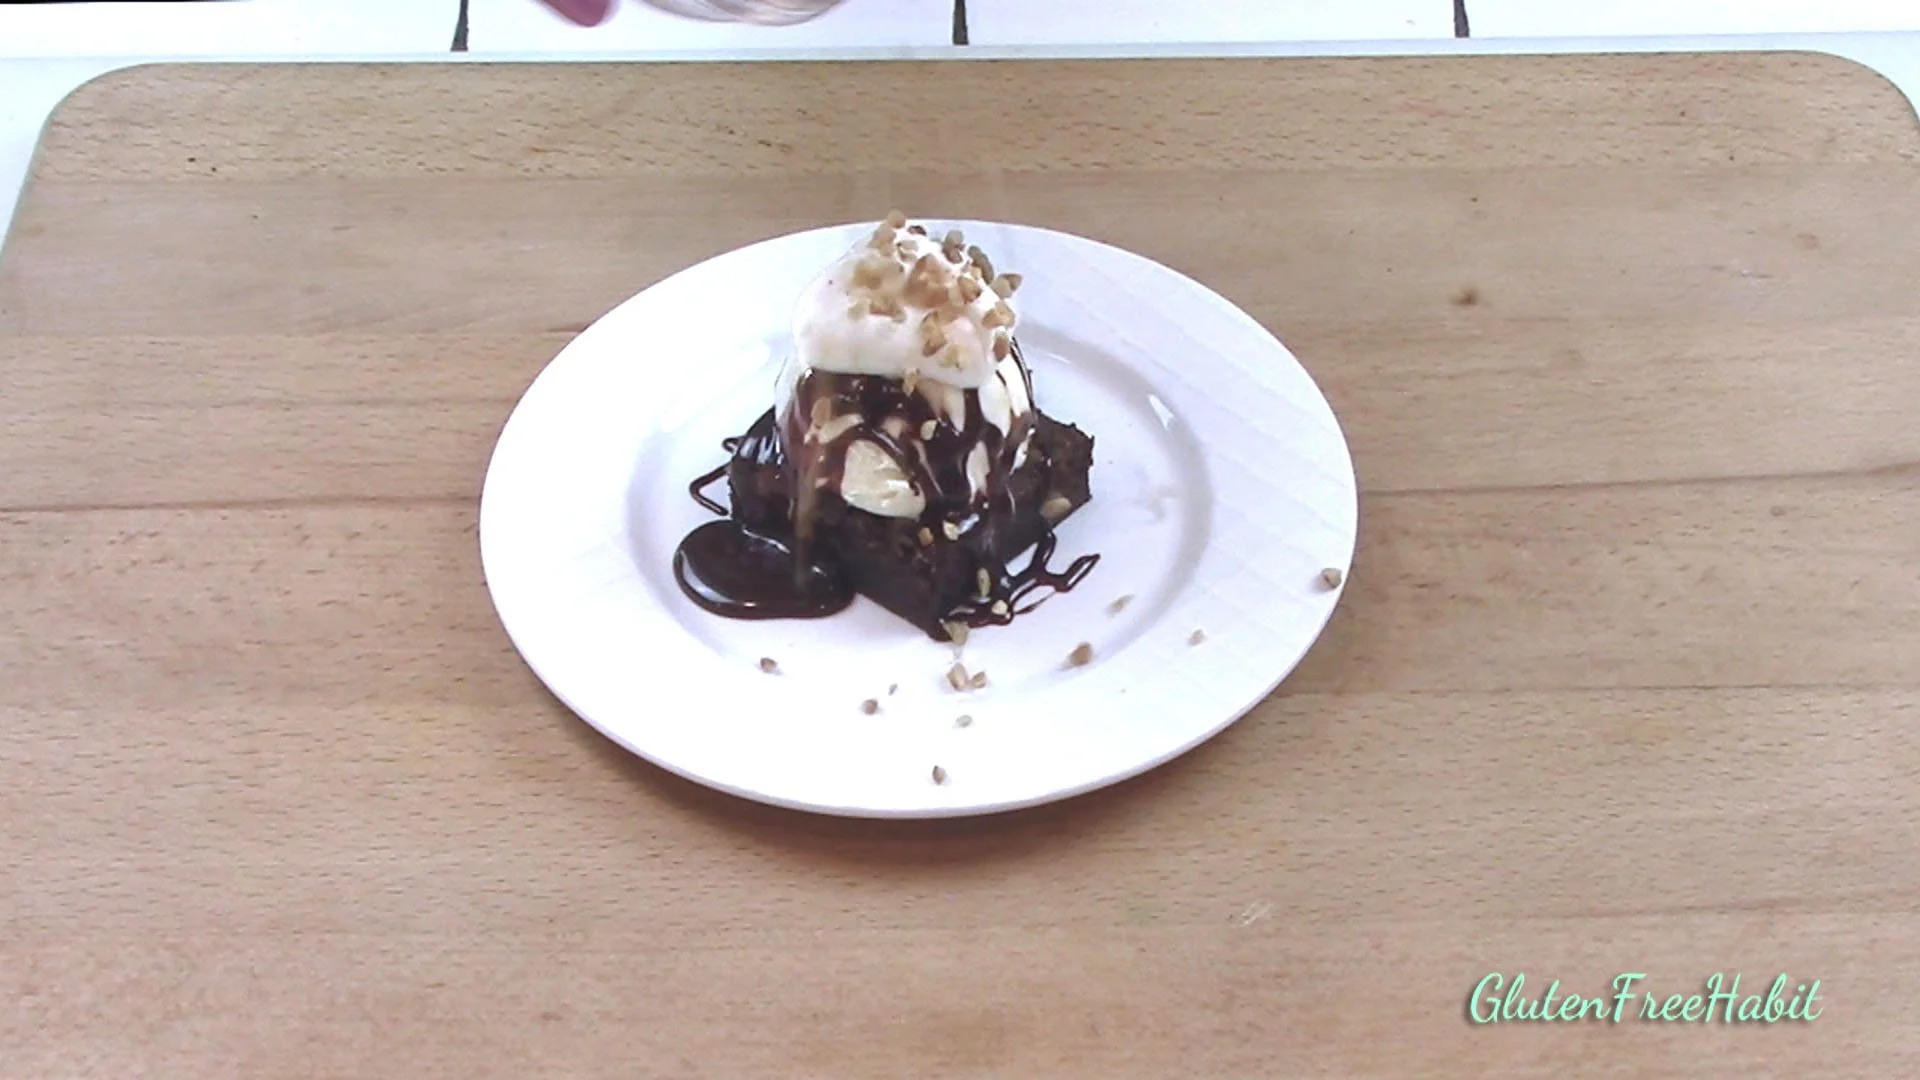
28
Take your dessert to the next level by creating this Hot Fudge Brownie Sundae! Stack in this order: brownie - scoop of vanilla ice cream - hot fudge - whipped cream - nuts!
Yay! Time to eat!
Which brownie will you choose - Crackle Top or Chewy??
Ready to Make The Ultimate Gluten Free Brownie?
Before you get to baking, make sure you have everything you need for success! Shop for gluten free flours, baking pans, cutting boards, serving dishes, and cookware in my Amazon shop!

The Recipe:
THE ULTIMATE GLUTEN FREE BROWNIE
INGREDIENTS
Wet Mixture:
1/2 cup + 2 tbsp. butter
1 ¼ cup granulated sugar
1/4 cup light brown sugar
1/4 cup milk
1 tsp. vanilla
2 large eggs
Dry Mixture:
2/3 cup brown rice flour (3.1 oz.)
1/2 cup white rice flour (2.5 oz.)
3/4 cup unsweetened cocoa powder
1/2 tsp. salt
1 tsp. xanthan gum
Add-Ins (optional):
1/2 cup (or more!) of your favorite add-ins, like: chopped walnuts, mini-chocolate chips, m&ms, etc.
DIRECTIONS
GETTING READY
1. Set out an 8x8 glass baking dish. (Or a 9x13 pan if doubling recipe)
2. Cut parchment paper to fit 8x8 pan with a little bit extra that will hang over the edge on two sides. (Approx. 7 ½ x 15).
3. Butter the entire baking dish and lay the parchment in. (Two sides of the pan will be uncovered.)
4. Preheat oven to 300°
LET’S GET STARTED
1. In a small saucepan, melt butter on medium temperature.
2. Add in granulated sugar and brown sugar. Stir.
3. Cook over medium heat until simmering, while stirring until smooth.
4. Remove from stove. Set aside.
5. To a medium-sized mixing bowl, add your dry ingredients, including: brown rice flour, white rice flour, cocoa powder, salt, and xanthan gum. Whisk well.
FROM THIS POINT ON, CONTINUE WITH THE BROWNIE RECIPE OF YOUR CHOICE. Select either the “CRACKLE TOP” recipe or the “CHEWY” recipe…
CONTINUE HERE FOR:
CRACKLE TOP BROWNIE (As in video and pictures above)
7. Stir butter/sugar mixture, scraping all sugar off edges of pan.
8. To the butter/sugar mixture add milk and vanilla. Mix well.
9. Add eggs. Mix vigorously by hand for a full minute.
10. Pour butter/sugar mixture into dry mixture.
11. Stir by hand until well blended, shiny, and smooth.
12. If desired, stir in chopped walnuts or other add-ins.
13. Spread into pan, making sure that batter is level.
14 Bake 40 minutes. Don’t over bake! Toothpick inserted into center should not be wet, but SHOULD have moist crumbs.
15. Remove from oven. Leave in pan for 30 minutes to allow brownies to firm up before removing from pan.
16. After 30 minutes, run a butter knife along the un-papered sides of the pan. Using the edges of the parchment paper, carefully lift brownies out and transfer to cooling rack.
17. Brownies will be very soft until fully cooled. Allowing them to cool creates a slightly chewier texture, and ensures that they are firm enough to cut neatly. Allow at least a few hours before cutting.
18. For perfectly-edged brownies, slice off a tiny bit around the outer edges before cutting into squares. (Eat this extra part immediately) :)
19. Cover left-overs with plastic. Brownies will stay chewy and moist for days.
OR CONTINUE HERE FOR:
CHEWY BROWNIE
7. Stir butter/sugar mixture, scraping all sugar off edges of pan.
8. Add butter/sugar mixture into dry mixture.
9. Add in milk and vanilla.
10. Stir by hand until blended.
11. Add in eggs.
12. Stir by hand until well blended, shiny, and smooth.
13. If desired, stir in chopped walnuts or other add-ins.
14. Spread into pan, making sure that batter is level.
15. Bake 40 minutes. Don’t over bake! Toothpick inserted into center should not be wet, but SHOULD have moist crumbs.
16. Remove from oven. Leave in pan for 30 minutes to allow brownies to firm up before removing from pan.
17. After 30 minutes, run a butter knife along the un-papered sides of the pan. Using the edges of the parchment paper, carefully lift brownies out and transfer to cooling rack.
18. Brownies will be very soft until fully cooled. Allowing them to cool creates a slightly chewier texture, and ensures
that they are firm enough to cut neatly. Allow at least a few hours before cutting.
19. For perfectly-edged brownies, slice off a tiny bit around the outer edges before cutting into squares. (Eat this extra
part immediately) :)
20. Cover left-overs with plastic. Brownies will stay chewy and moist for days.

Tip: Please follow all directions exactly!! If you skip steps or swap ingredients then you may or may not like the end result :)
Tip: If you would like to frost your brownies, I recommend making the Chewy Brownie because it has the smooth top. Just wait until they are fully cooled before frosting!
Tip: This recipe doubles perfectly. When doubling, use a 9x13 pan (slightly less than double the size of the 8x8) so the brownies are even thicker! Using a 9x13, increase baking time by at least 10 minutes (check for doneness with a toothpick). Your baking time may be slightly more or less depending on your oven.
Looking for Comments?
Please leave and read comments in the "Comments" section of the YouTube video above.
I can’t wait to hear from you!