Gluten Free Belgian Waffles

These gluten free waffles are light, delicious, slightly crisp on the outside, and soft on the inside. Gluten free waffle perfection! Beating the egg whites is the key. Enjoy these with your favorite toppings like strawberries, powdered sugar, blueberries, whipped cream, and of course, tons of maple syrup.
Makes: 5 waffles (1/2 cup each)

Show Me How

Walk Me Through It
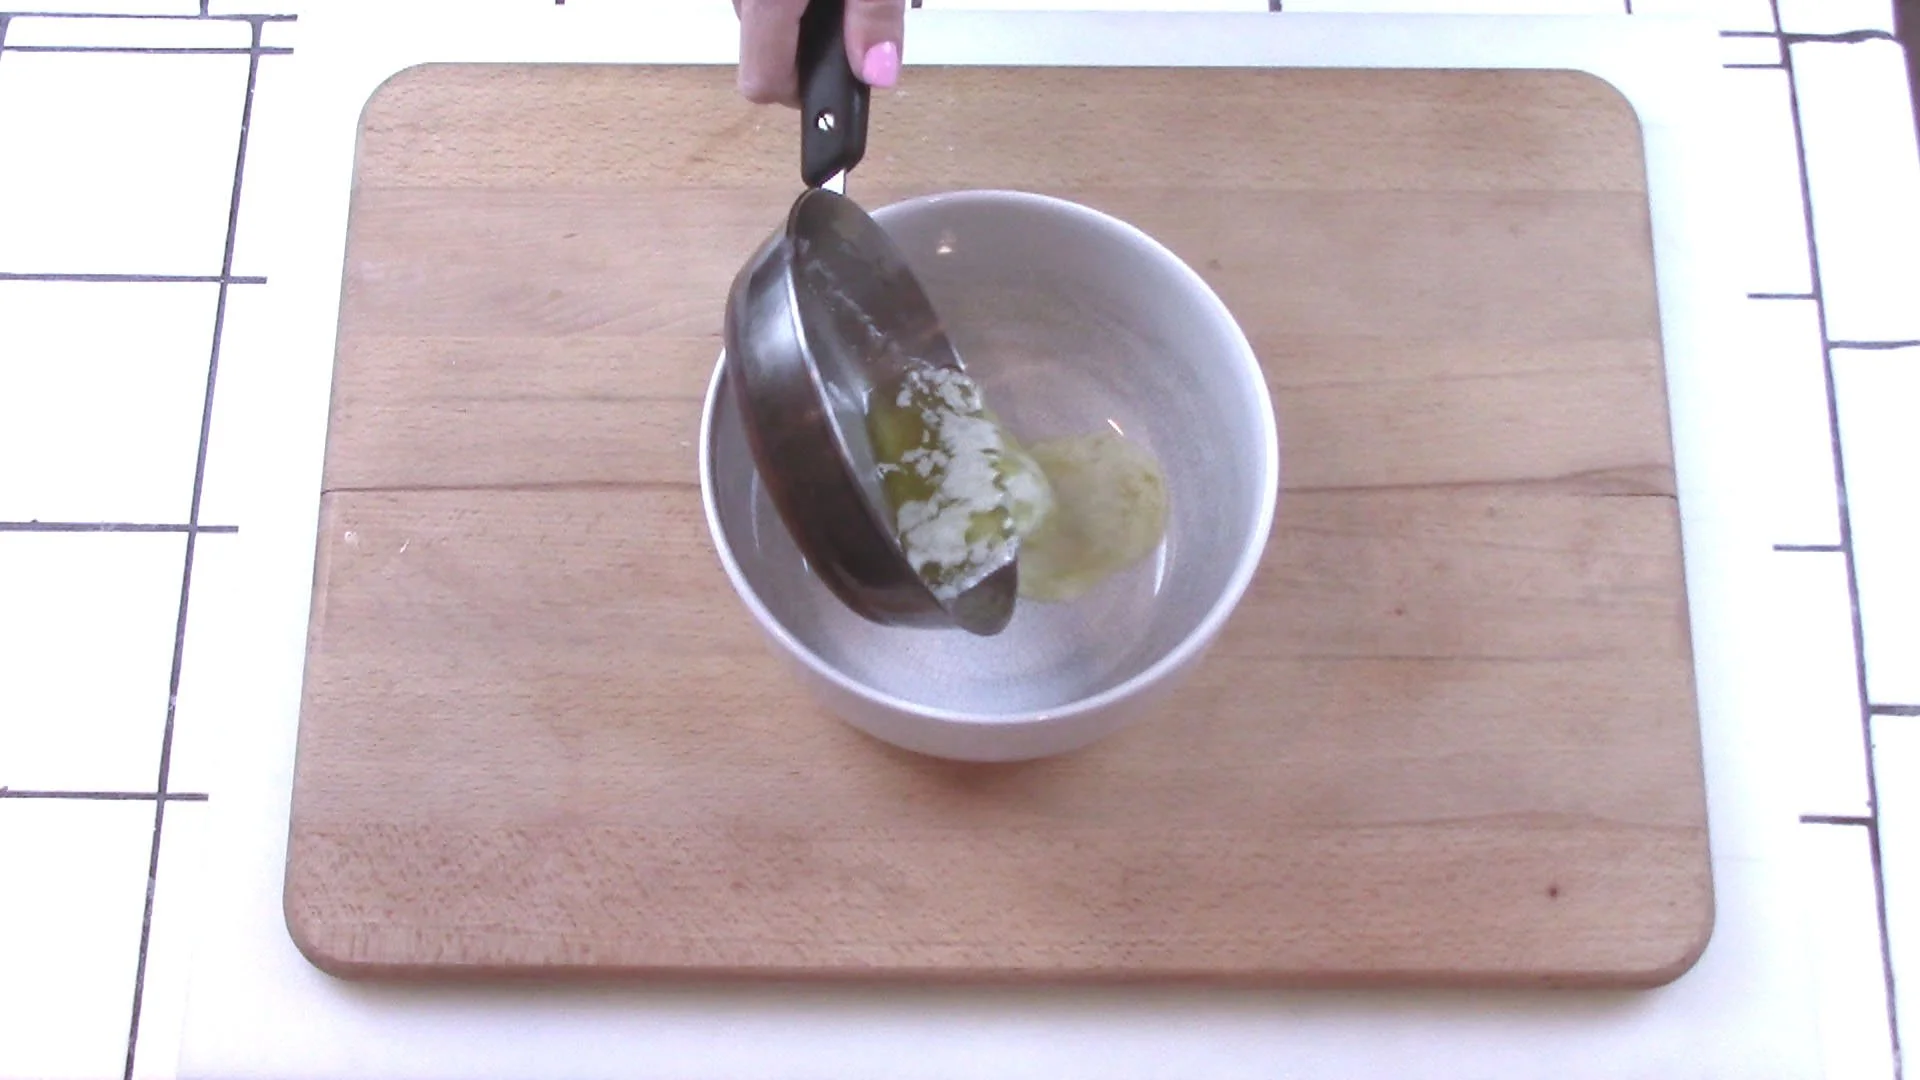
1
Melt butter and pour into a medium-sized mixing bowl. Set aside to cool.
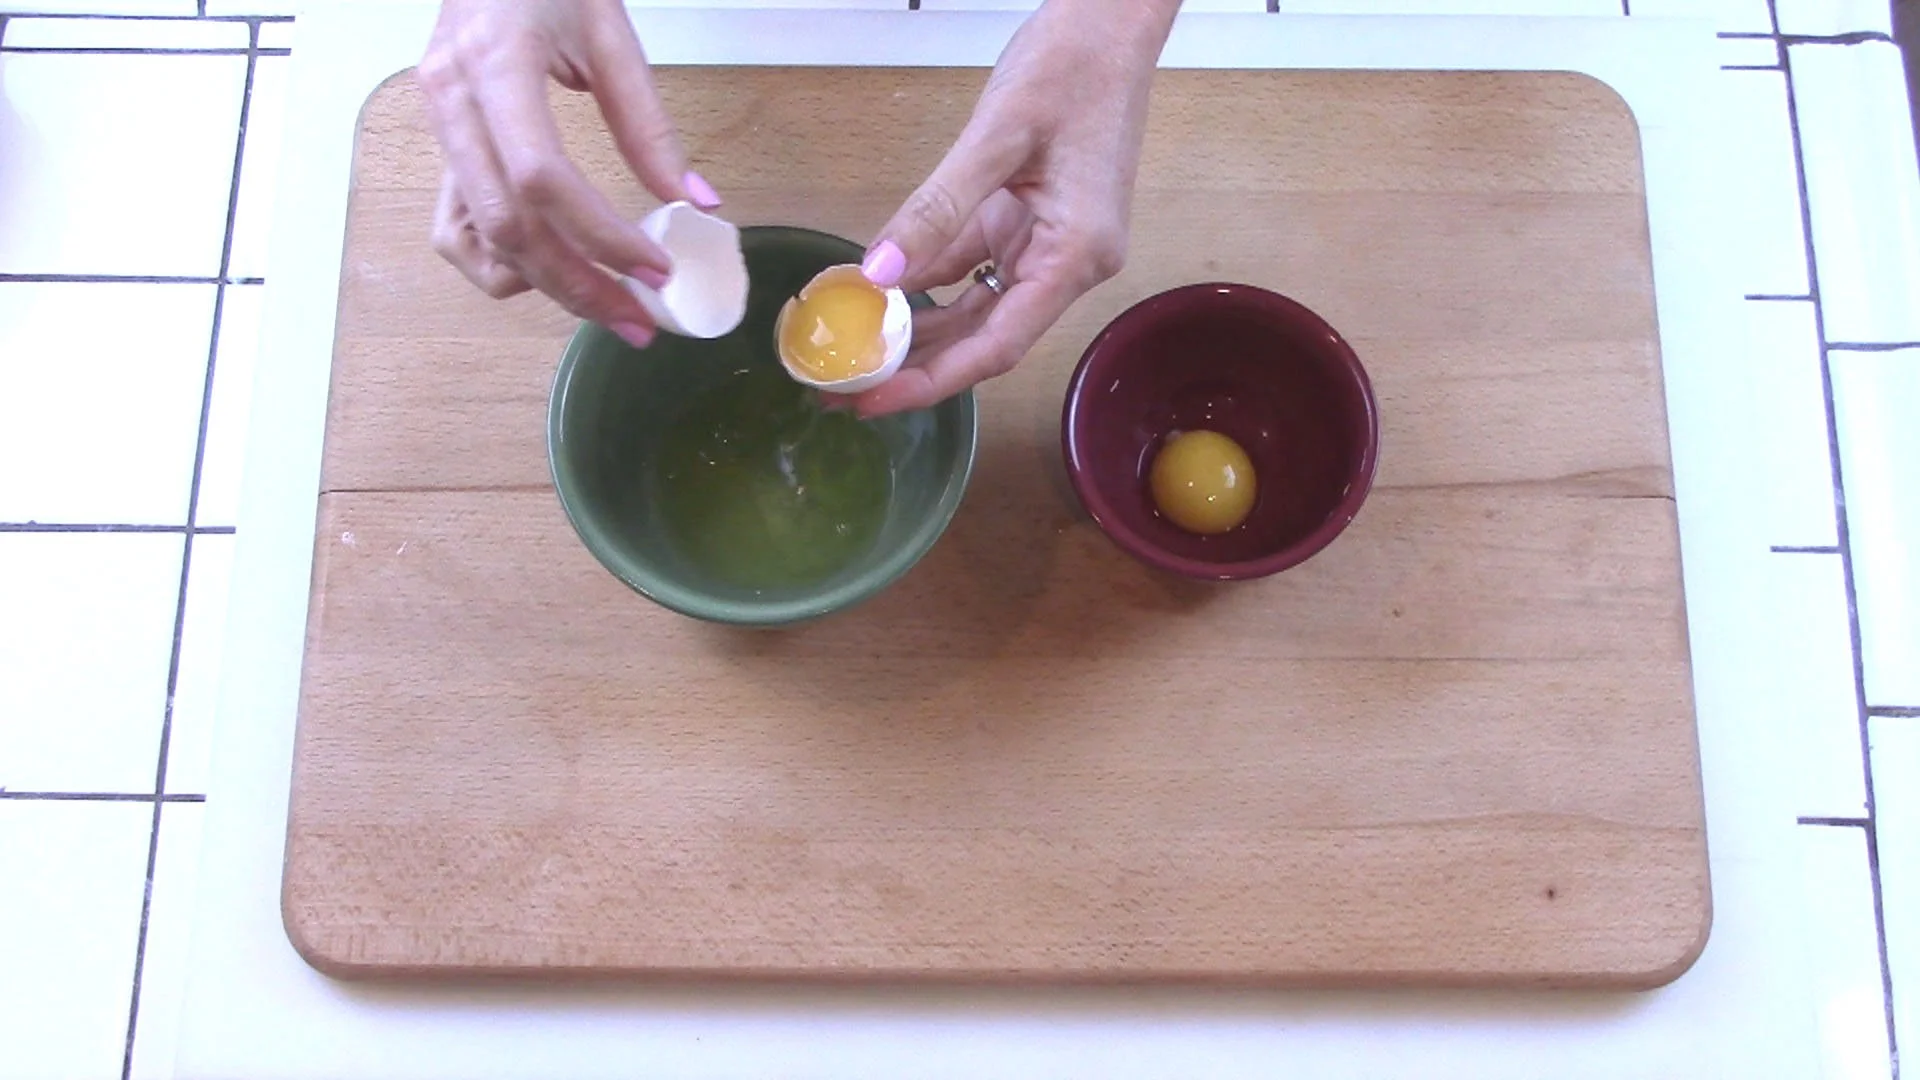
2
Separate eggs (both whites and yolks will be used). Set out eggs and buttermilk to bring to room temperature before starting.
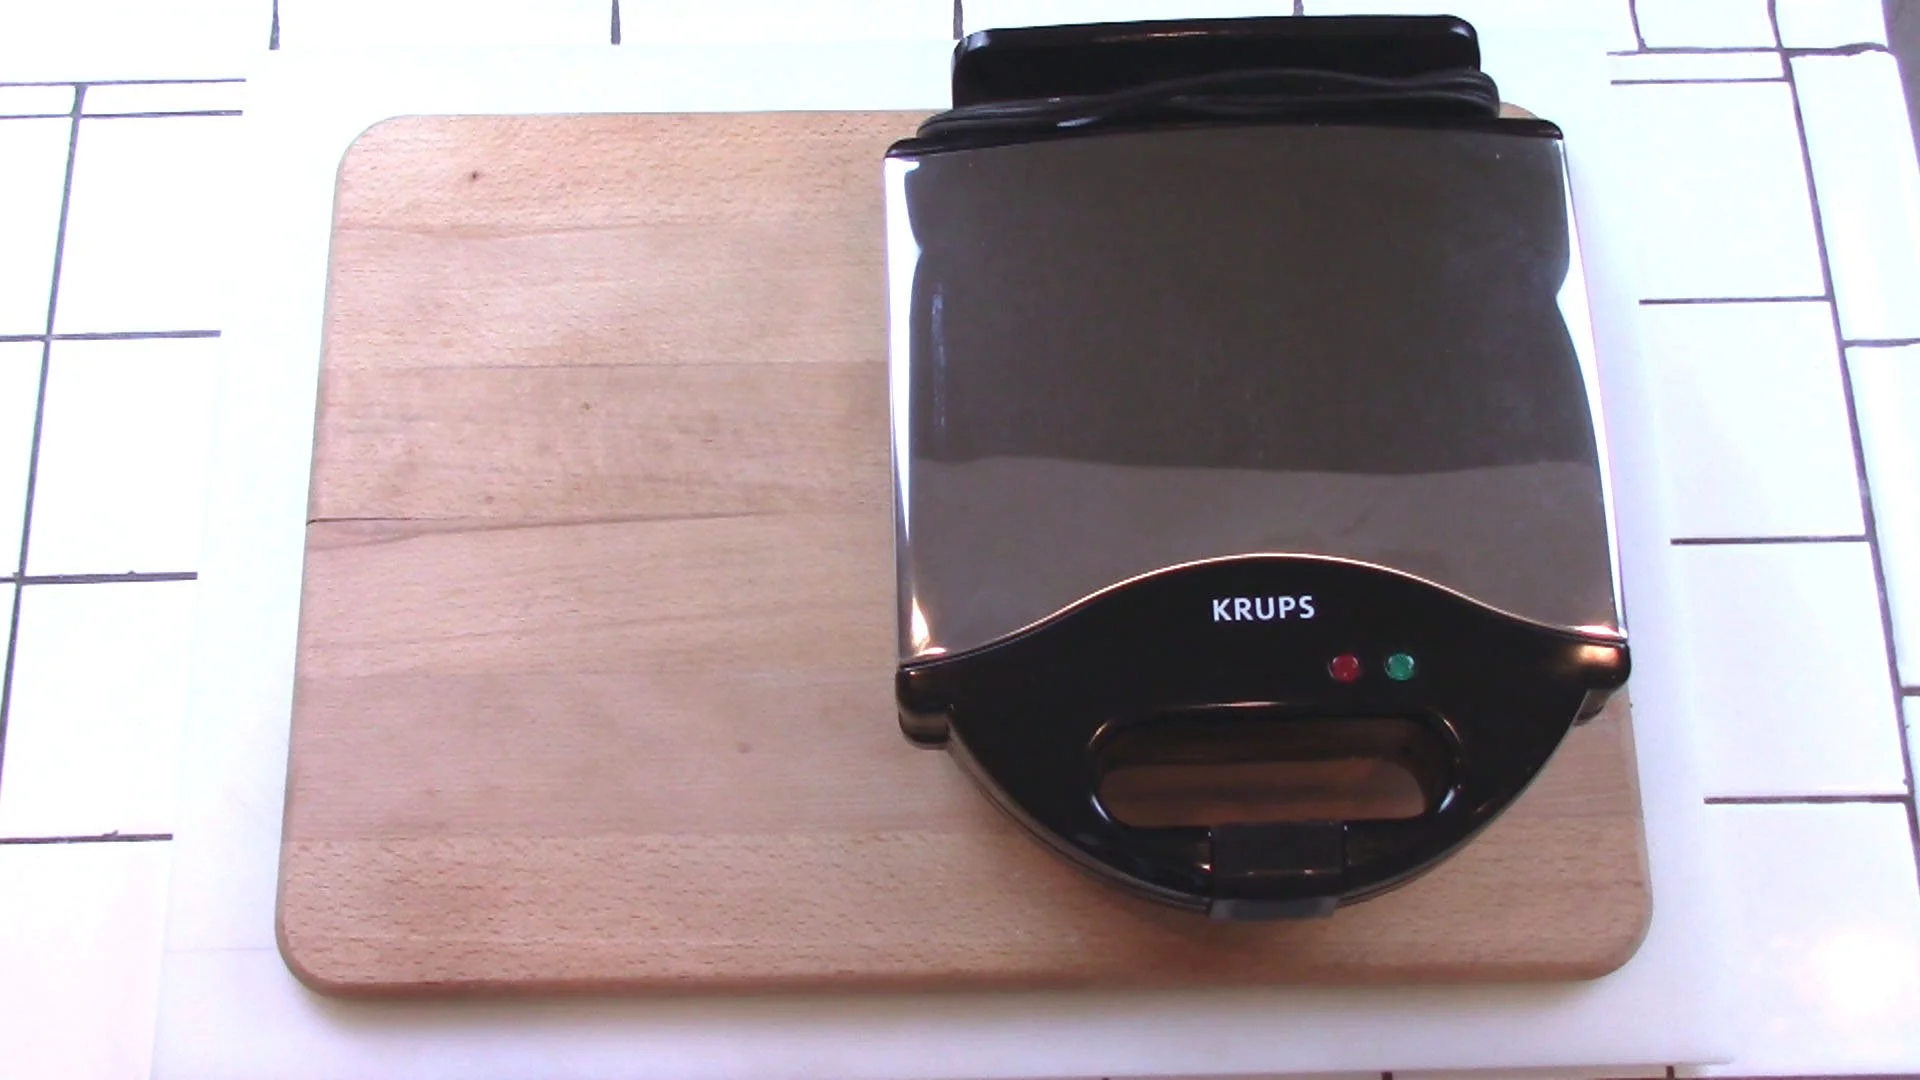
3
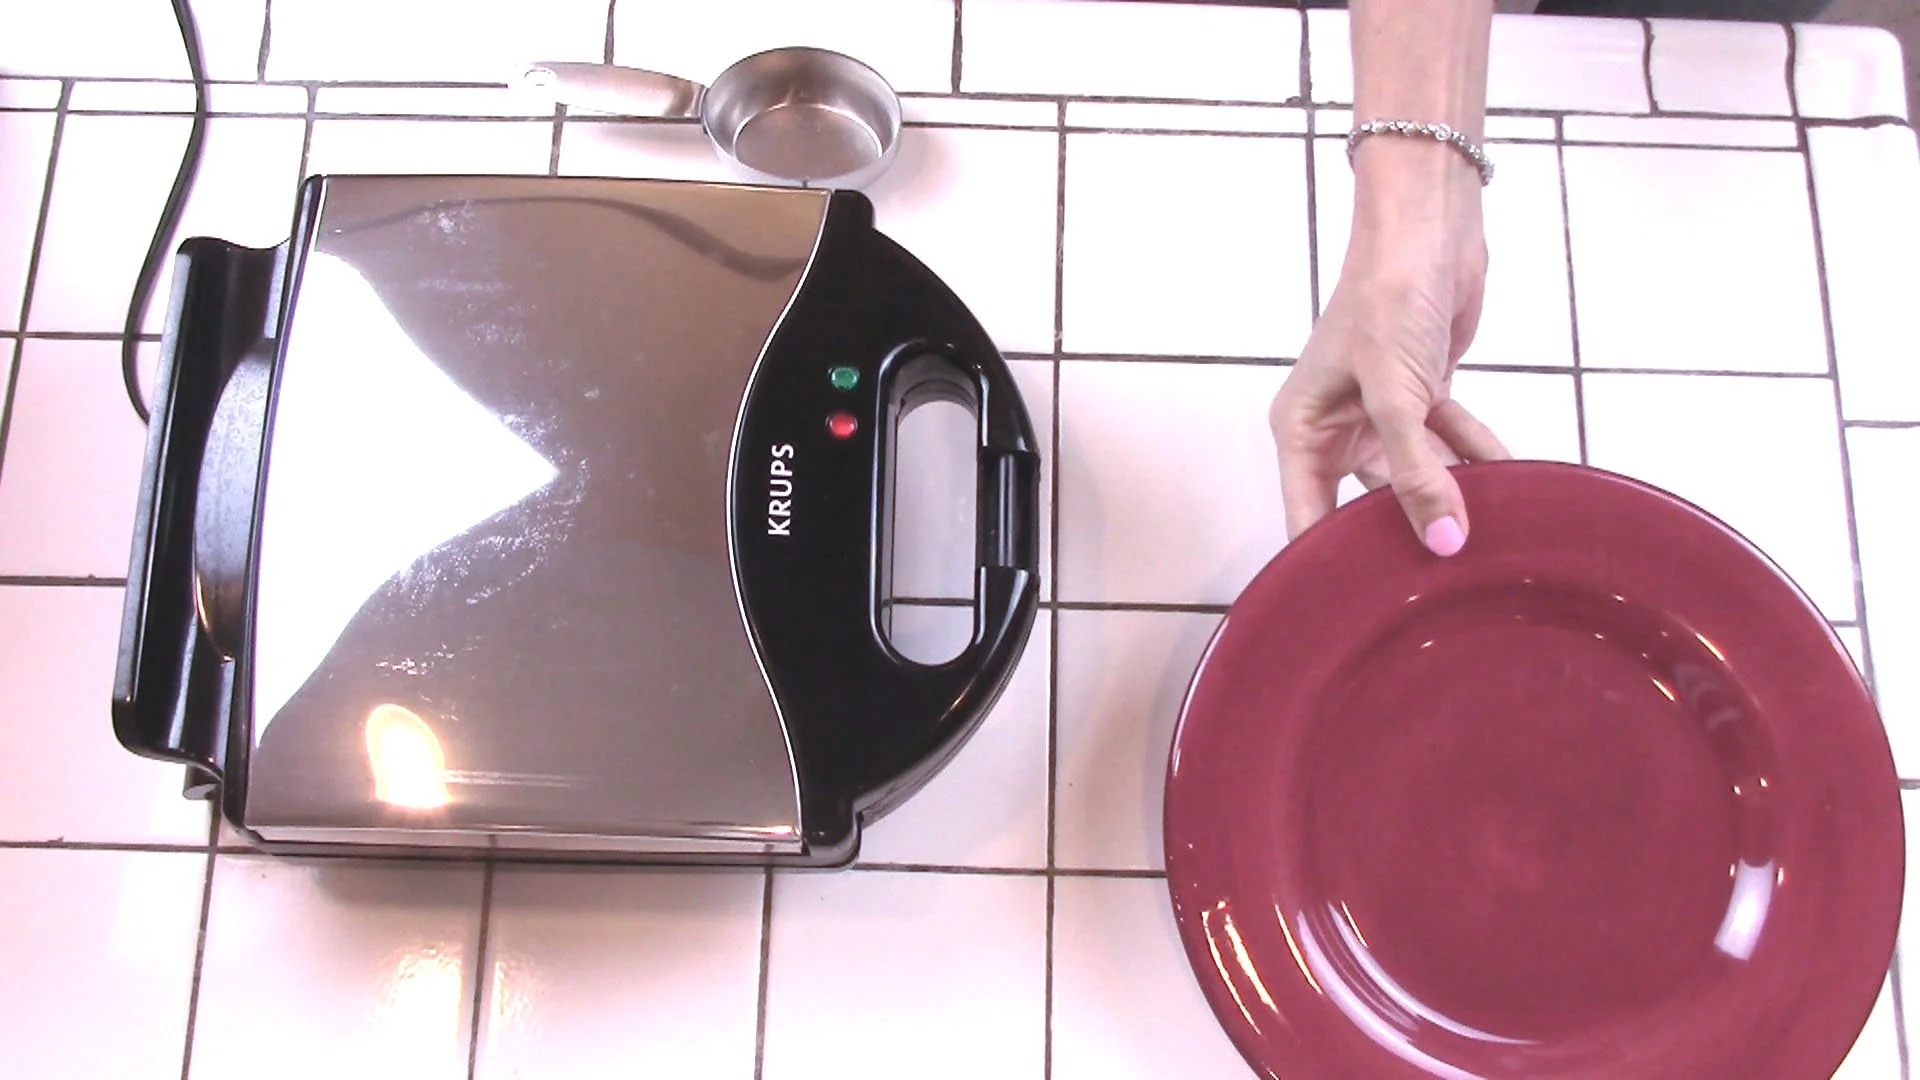
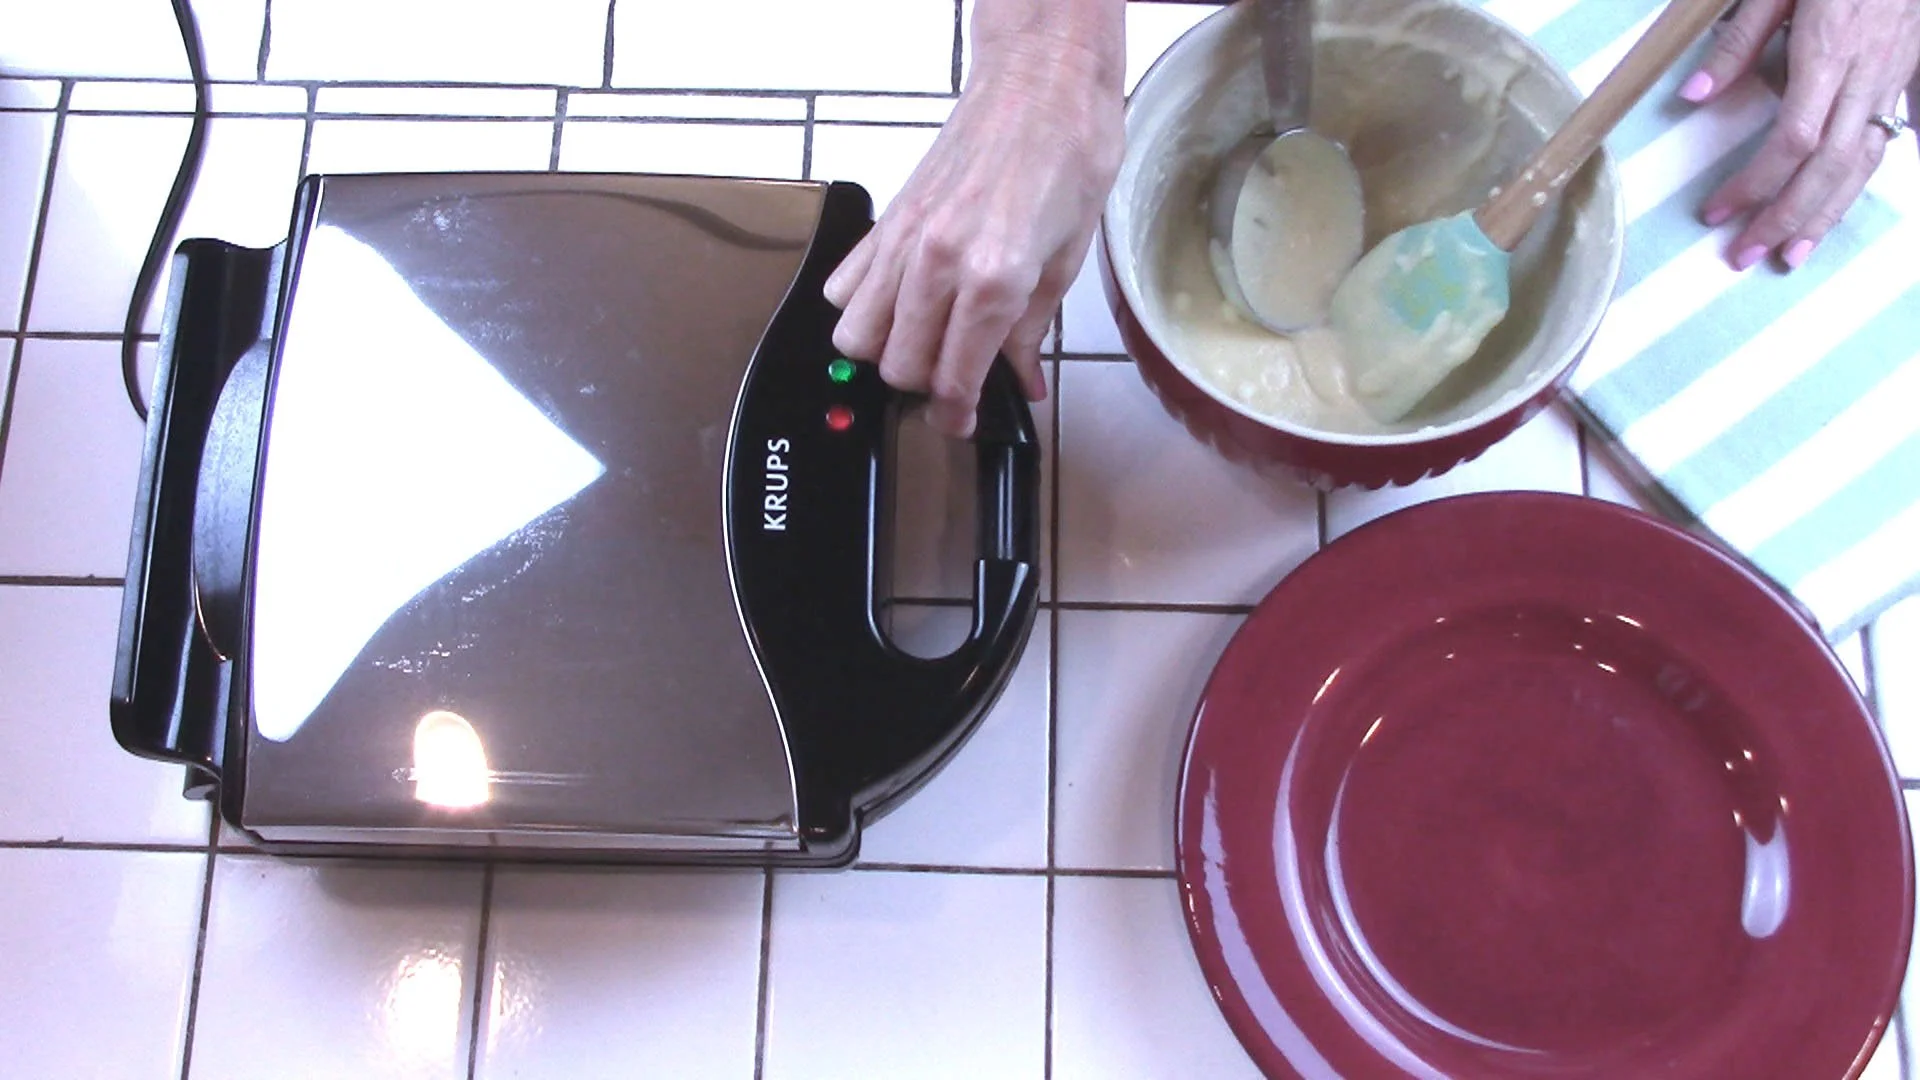
Pre-heat waffle iron.

4
Into a medium-sized mixing bowl, add all dry ingredients: white rice flour, tapioca flour, brown rice flour, cornstarch, baking soda, baking powder, salt, and sugar.
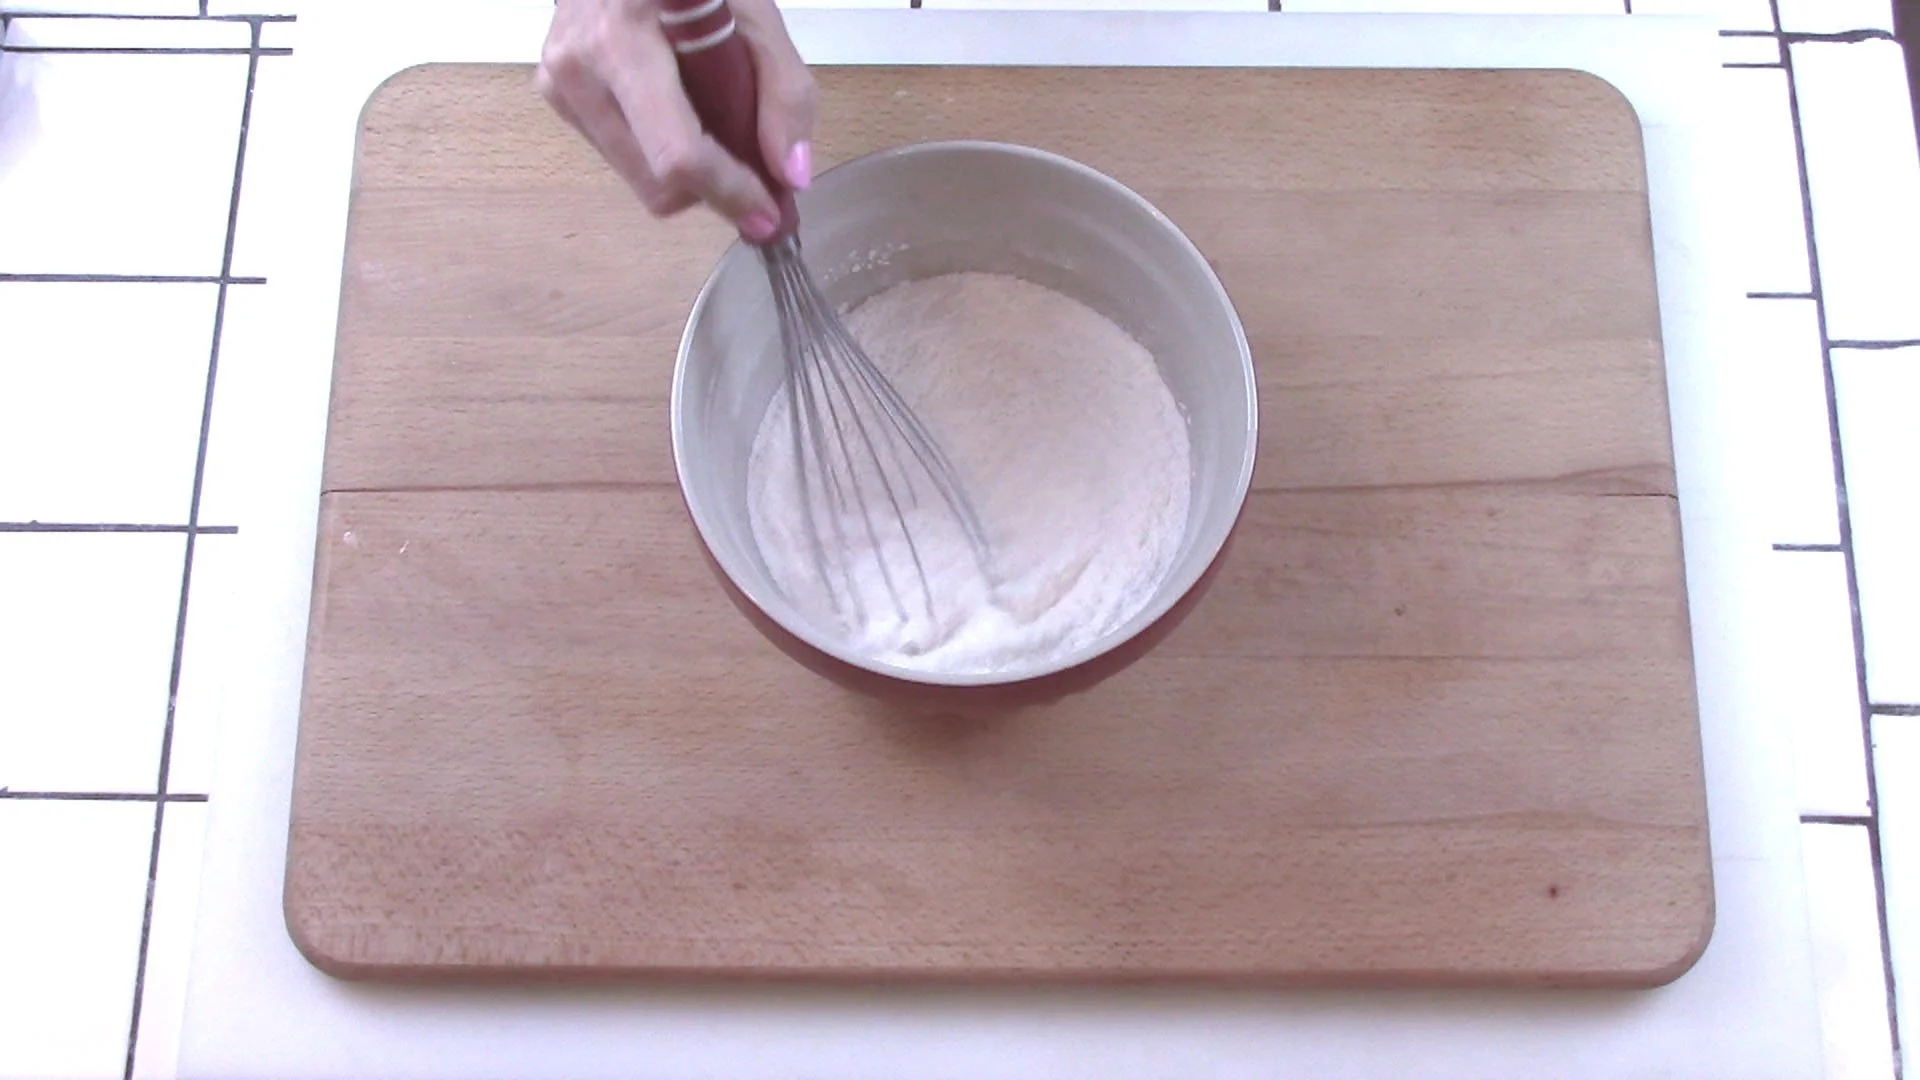
5
Whisk well to combine.

6
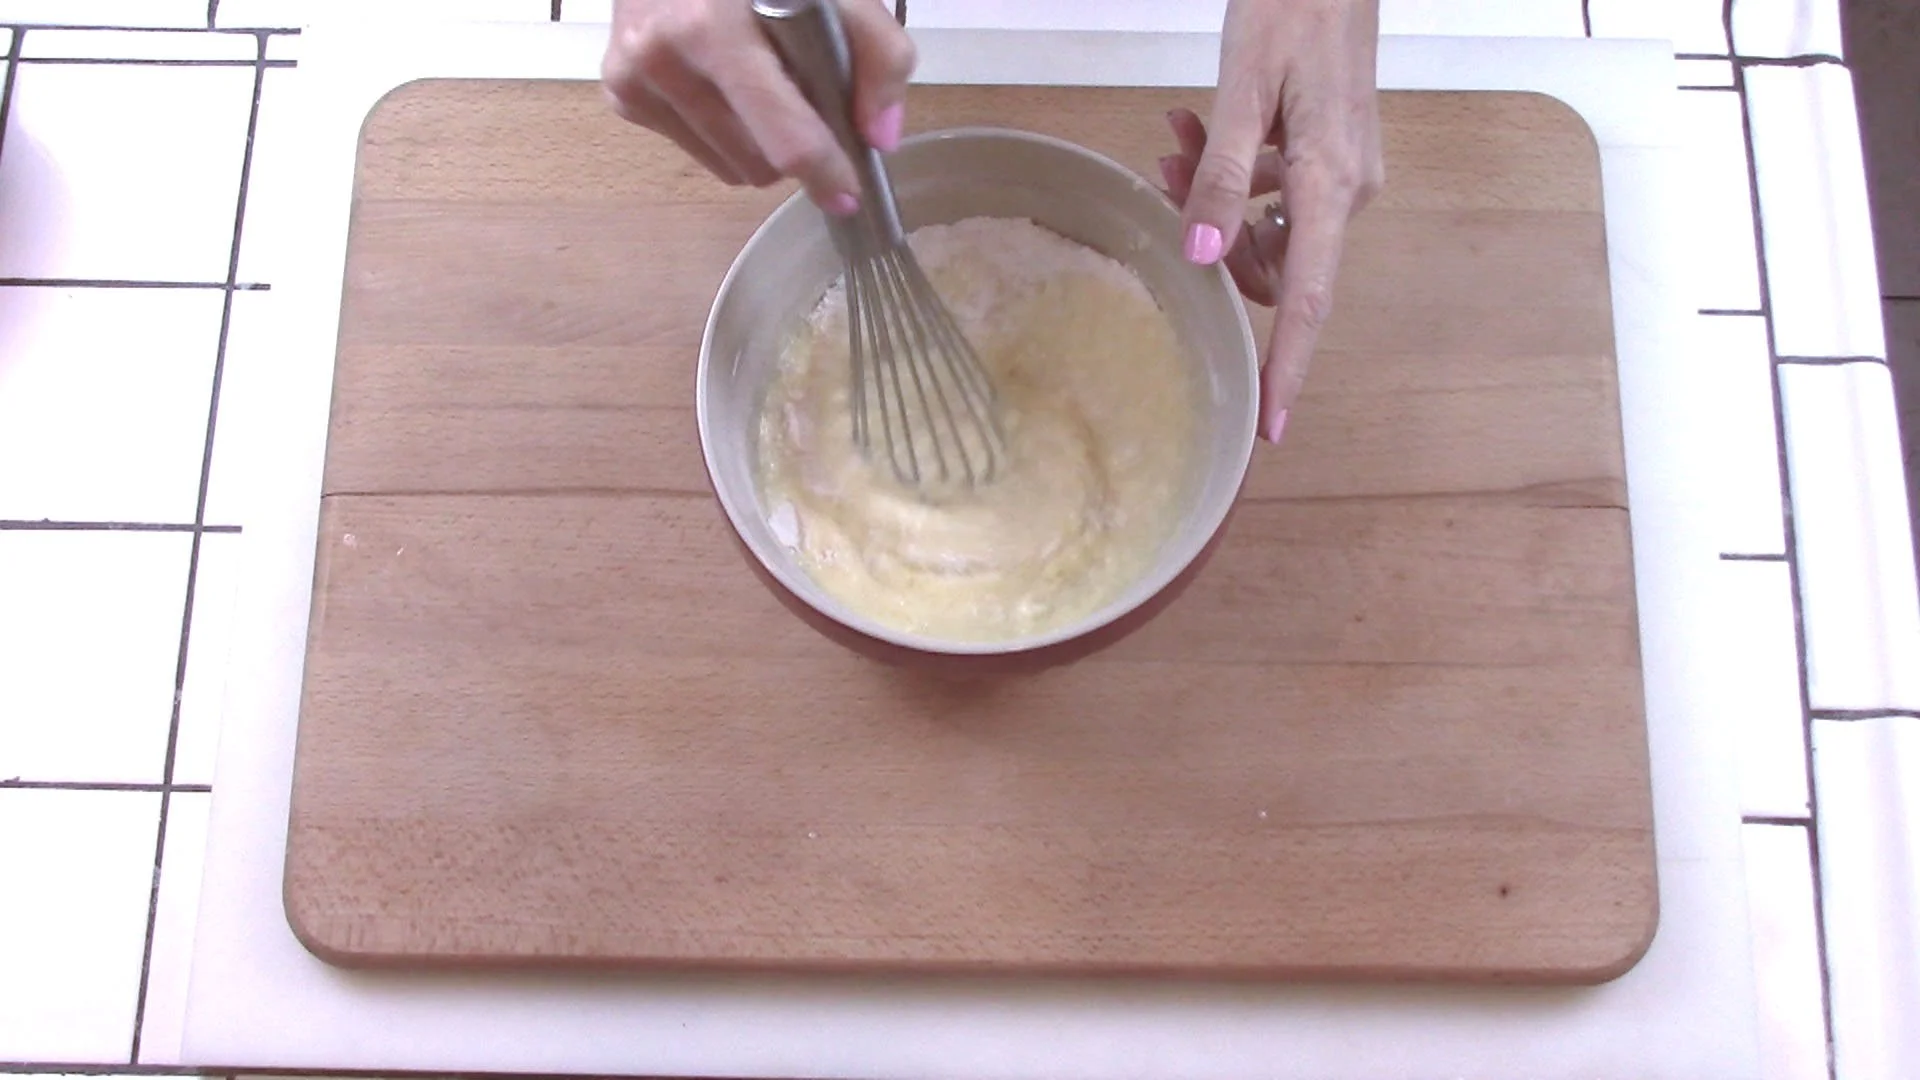
When butter is cooled, add to it the buttermilk,
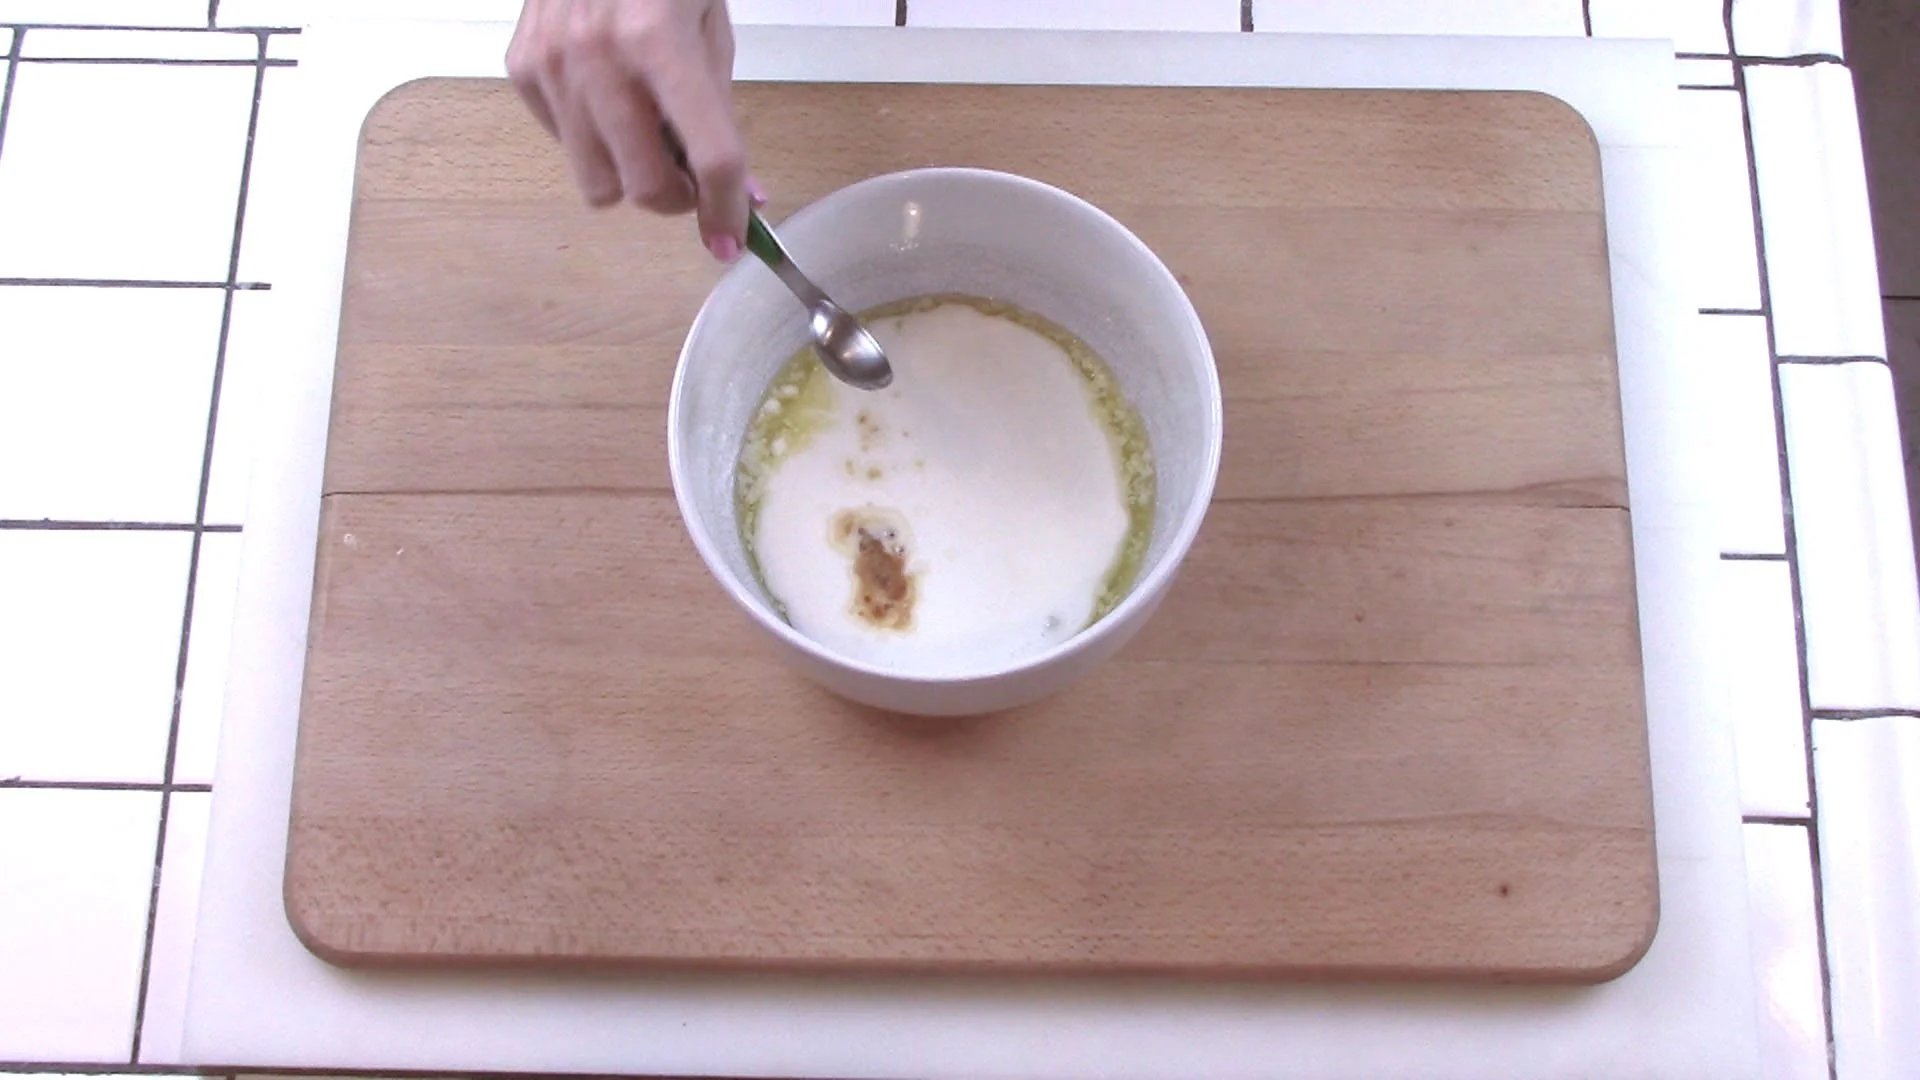
7
vanilla,
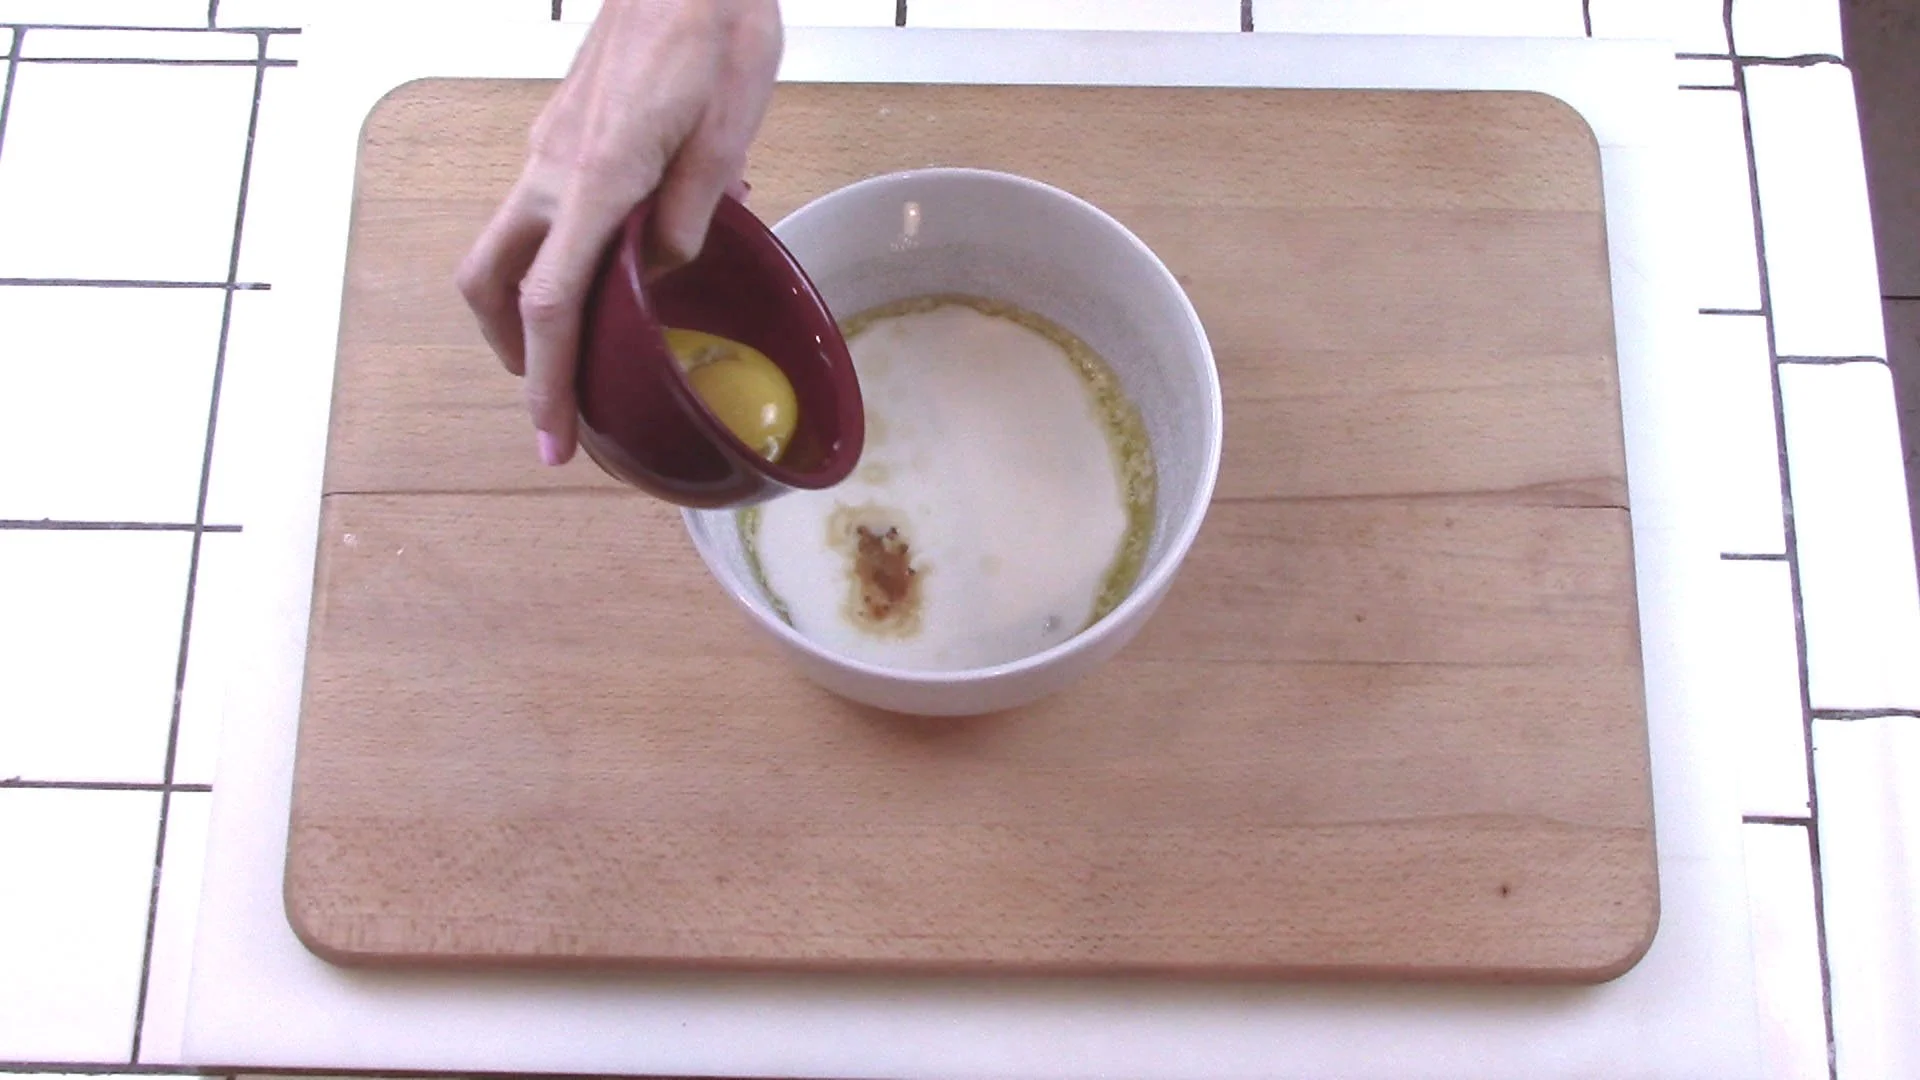
8
and yolks.
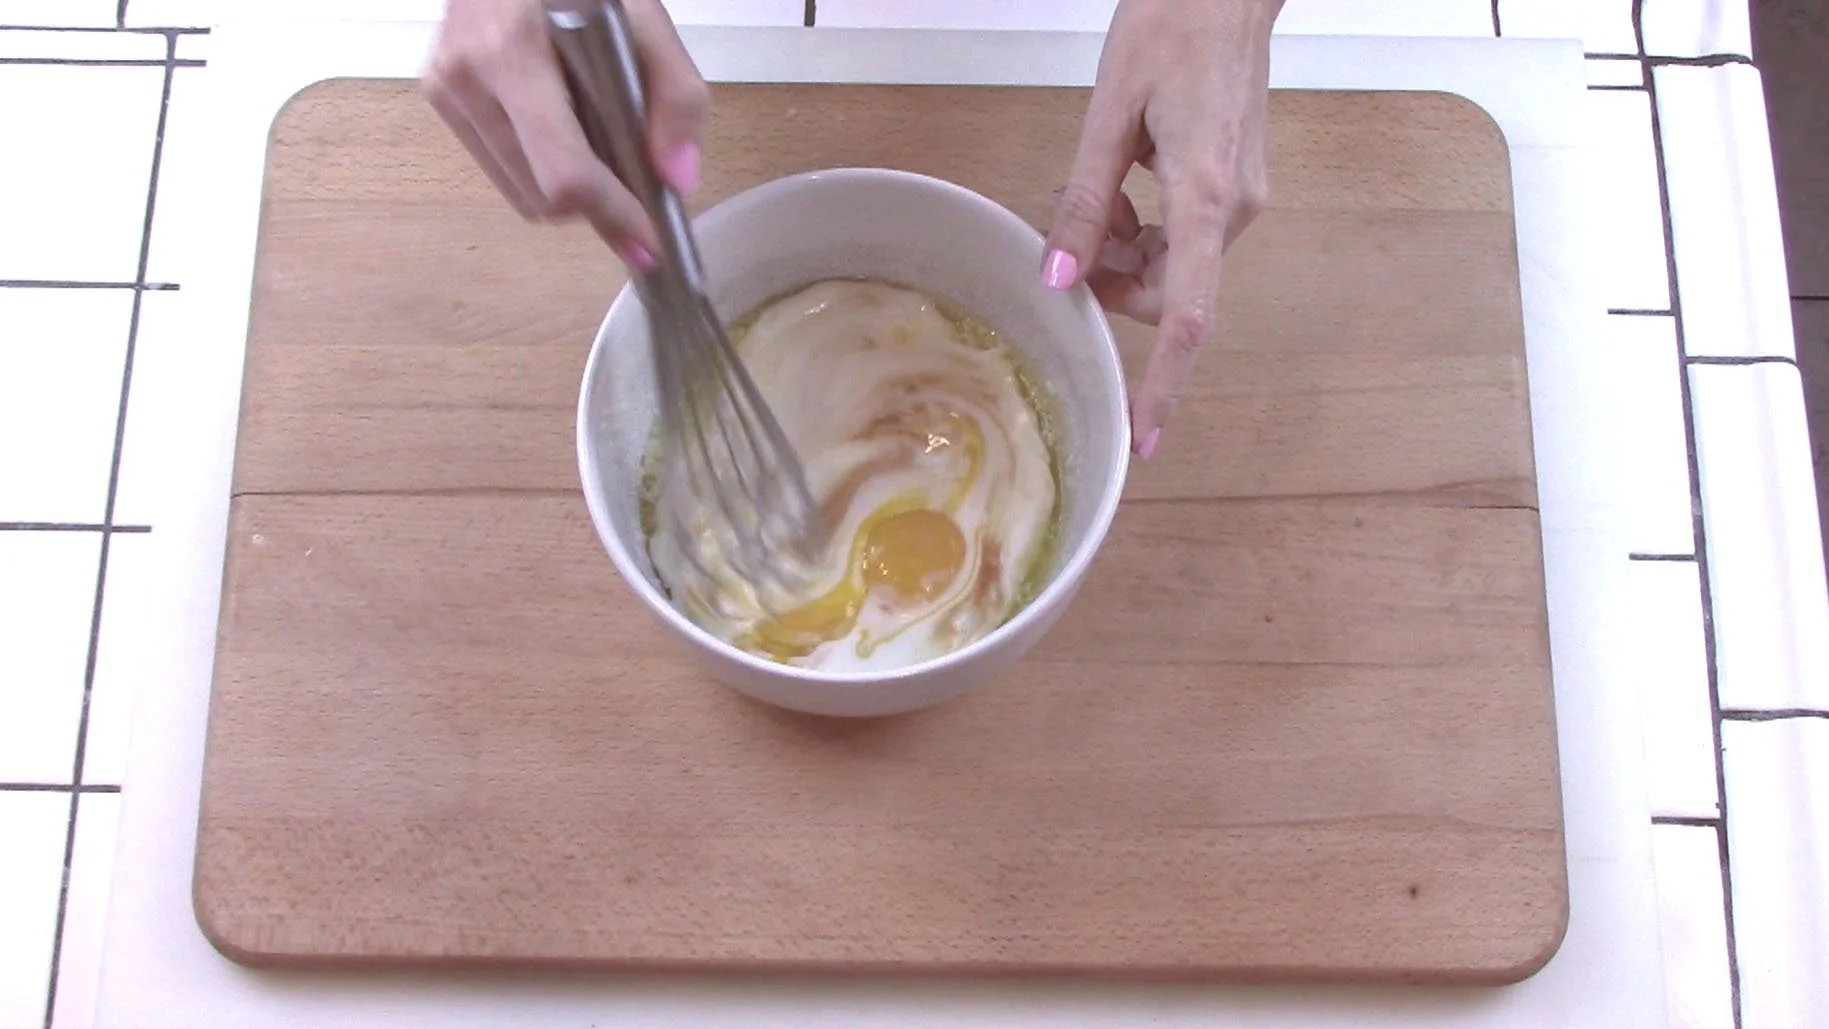
9
Stir or whisk by hand.
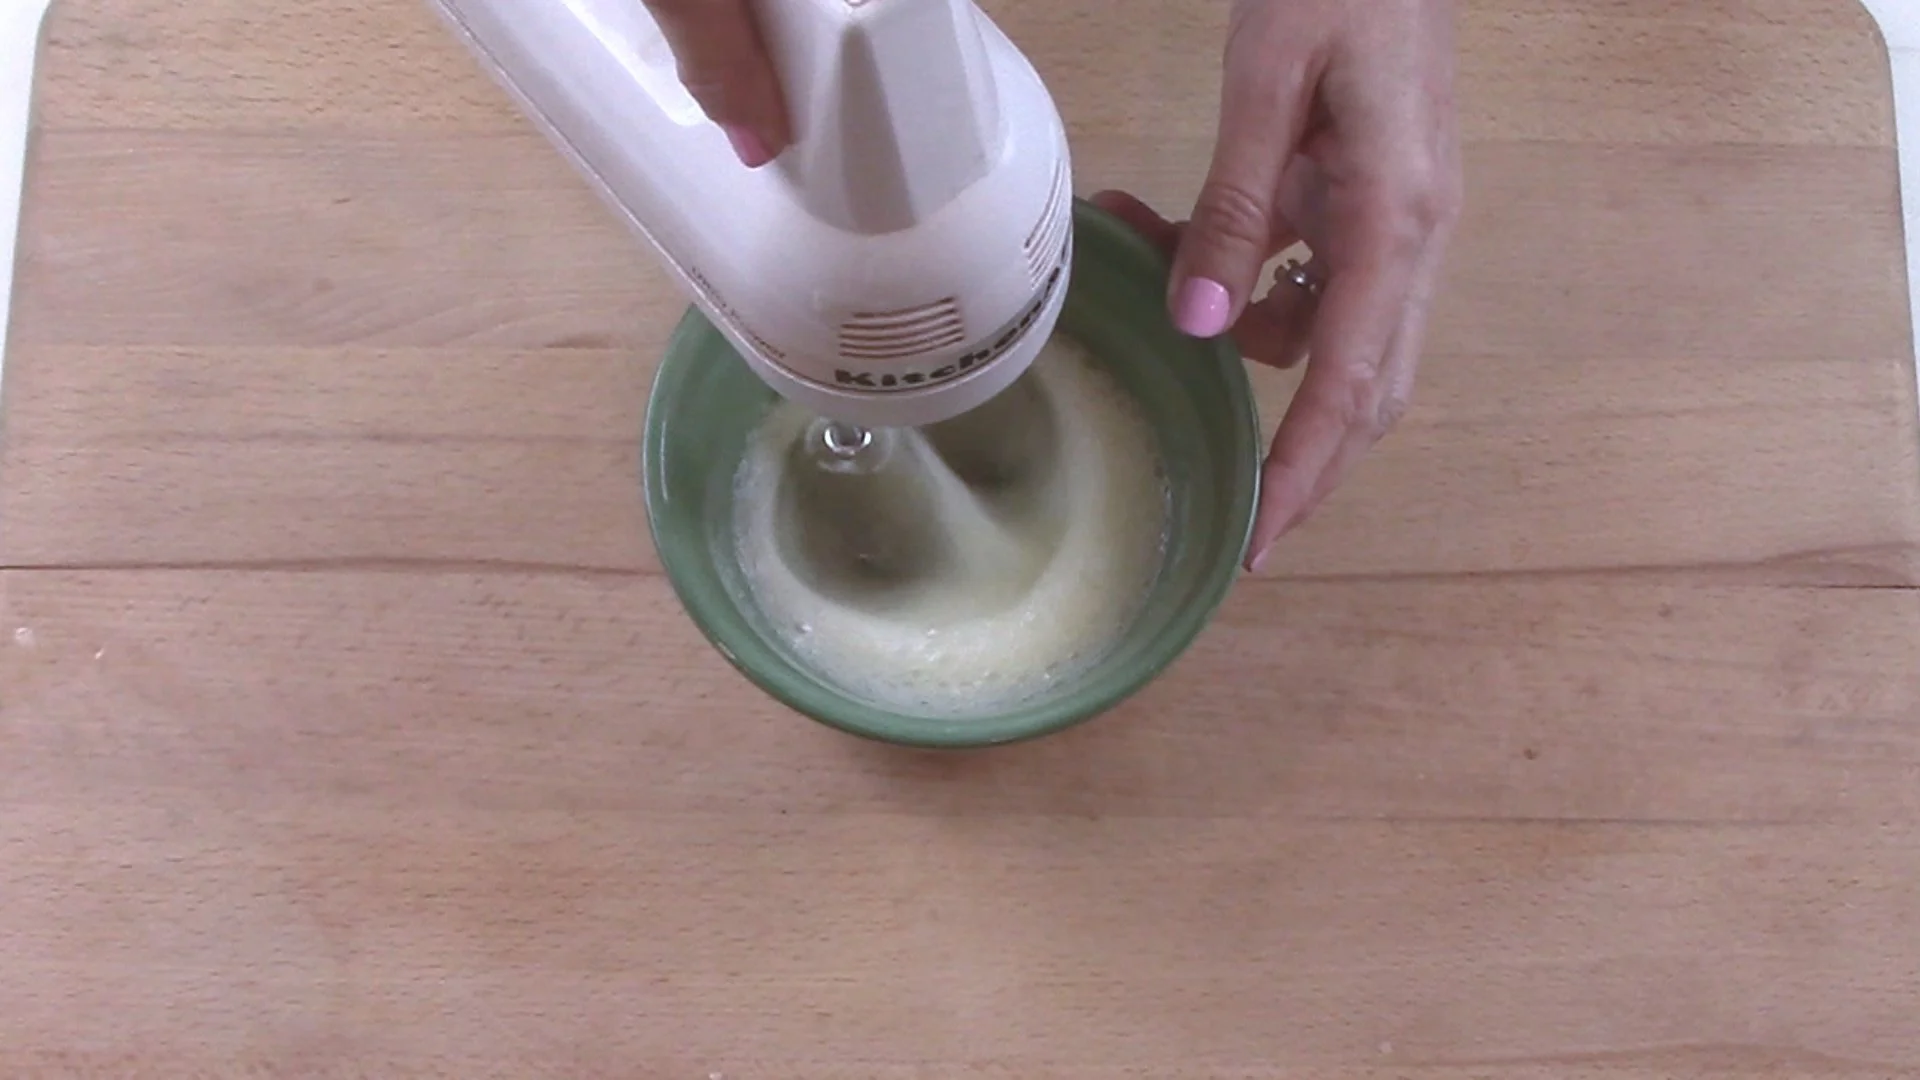
10
Next, prepare the egg whites: Start beating on low.
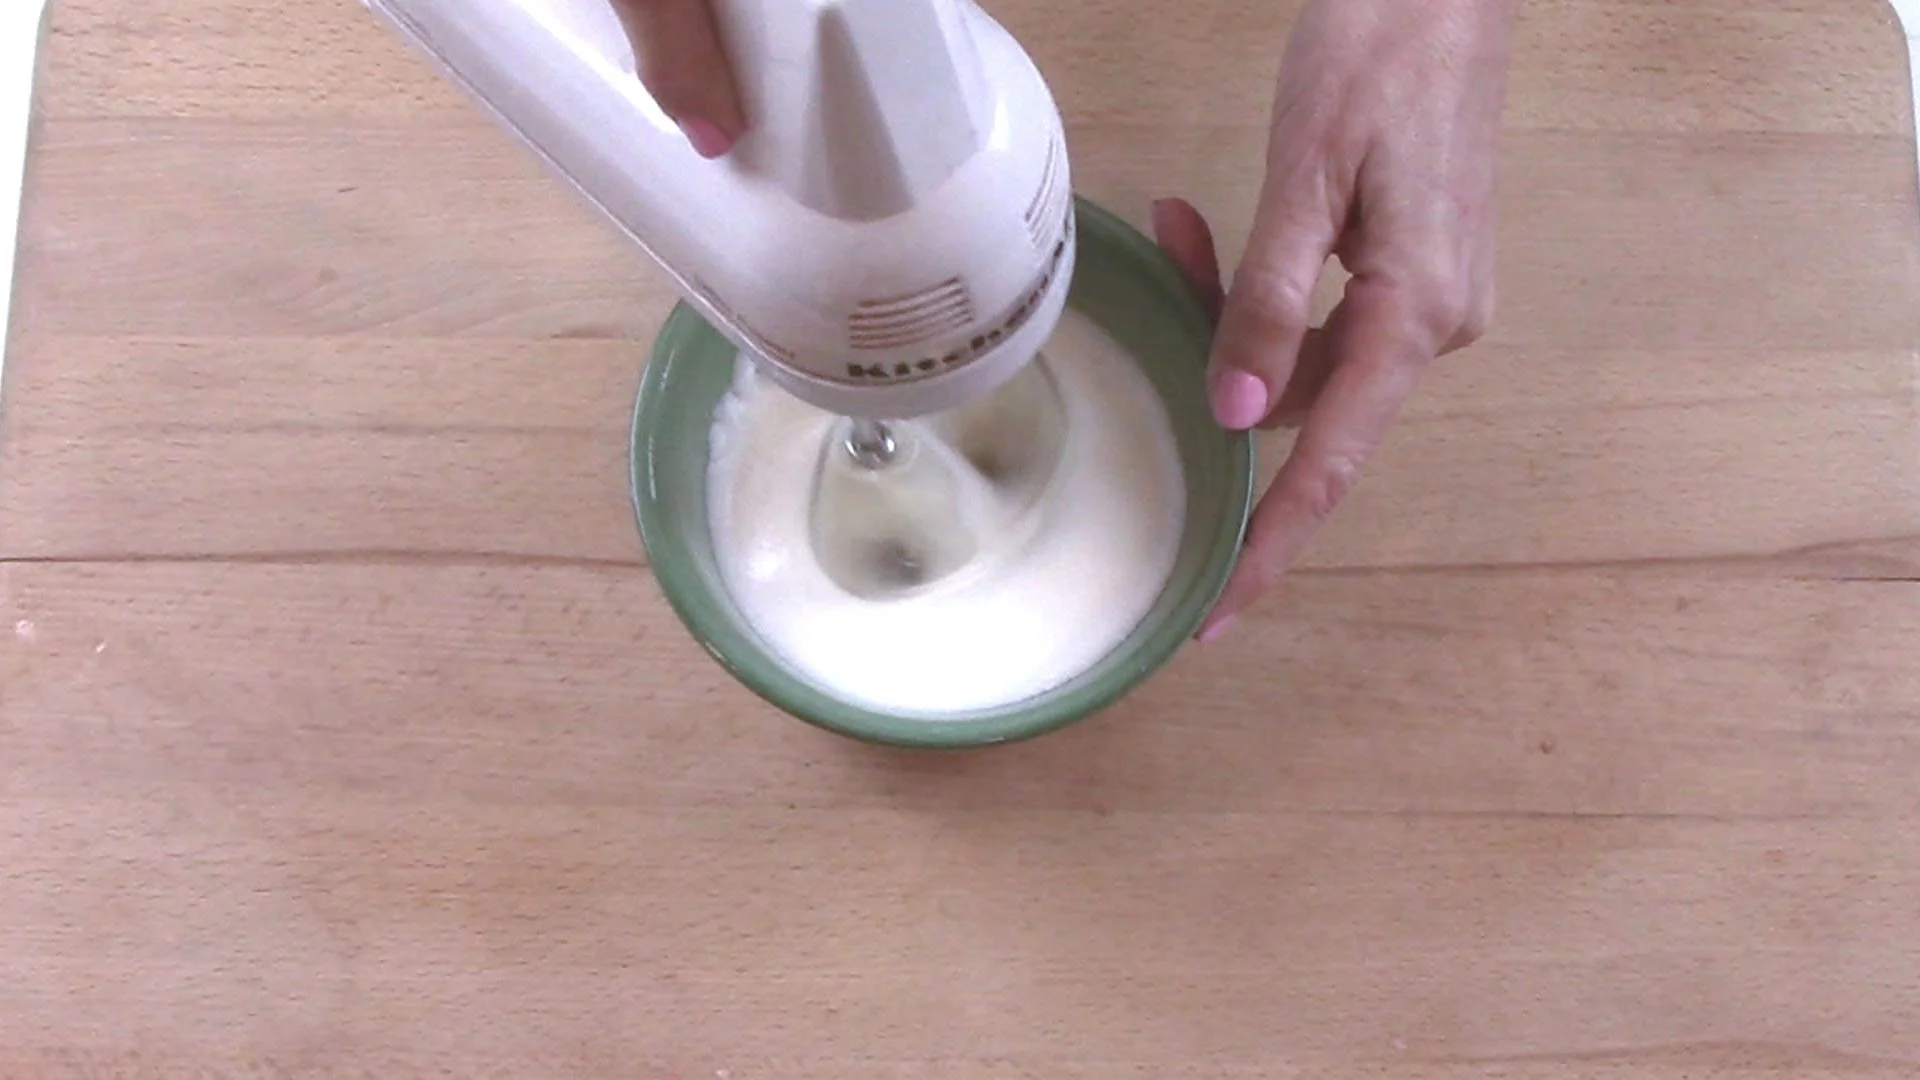
11
As egg whites start to appear foamy, increase speed.
12
Eggs will soon appear as soft peaks. Keep on mixing.
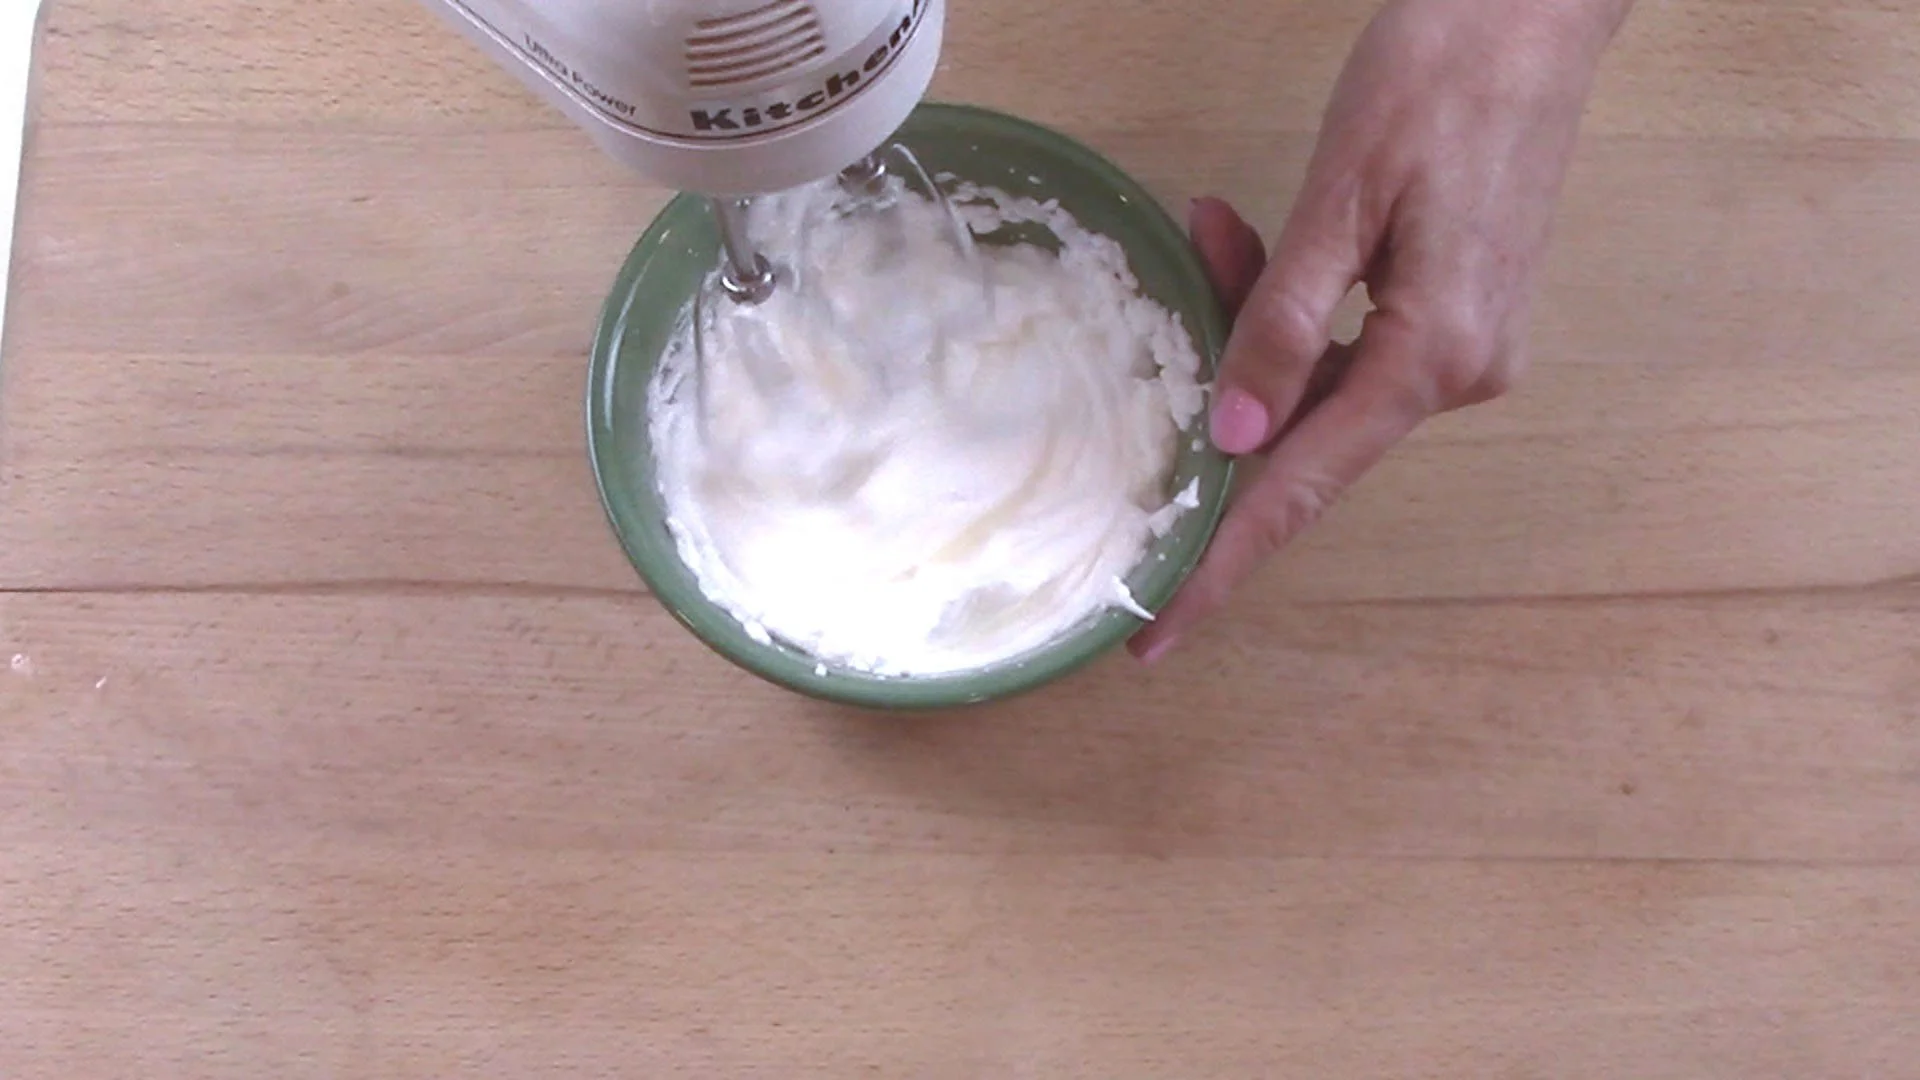
13
Beat the egg whites until stiff peaks form.
14
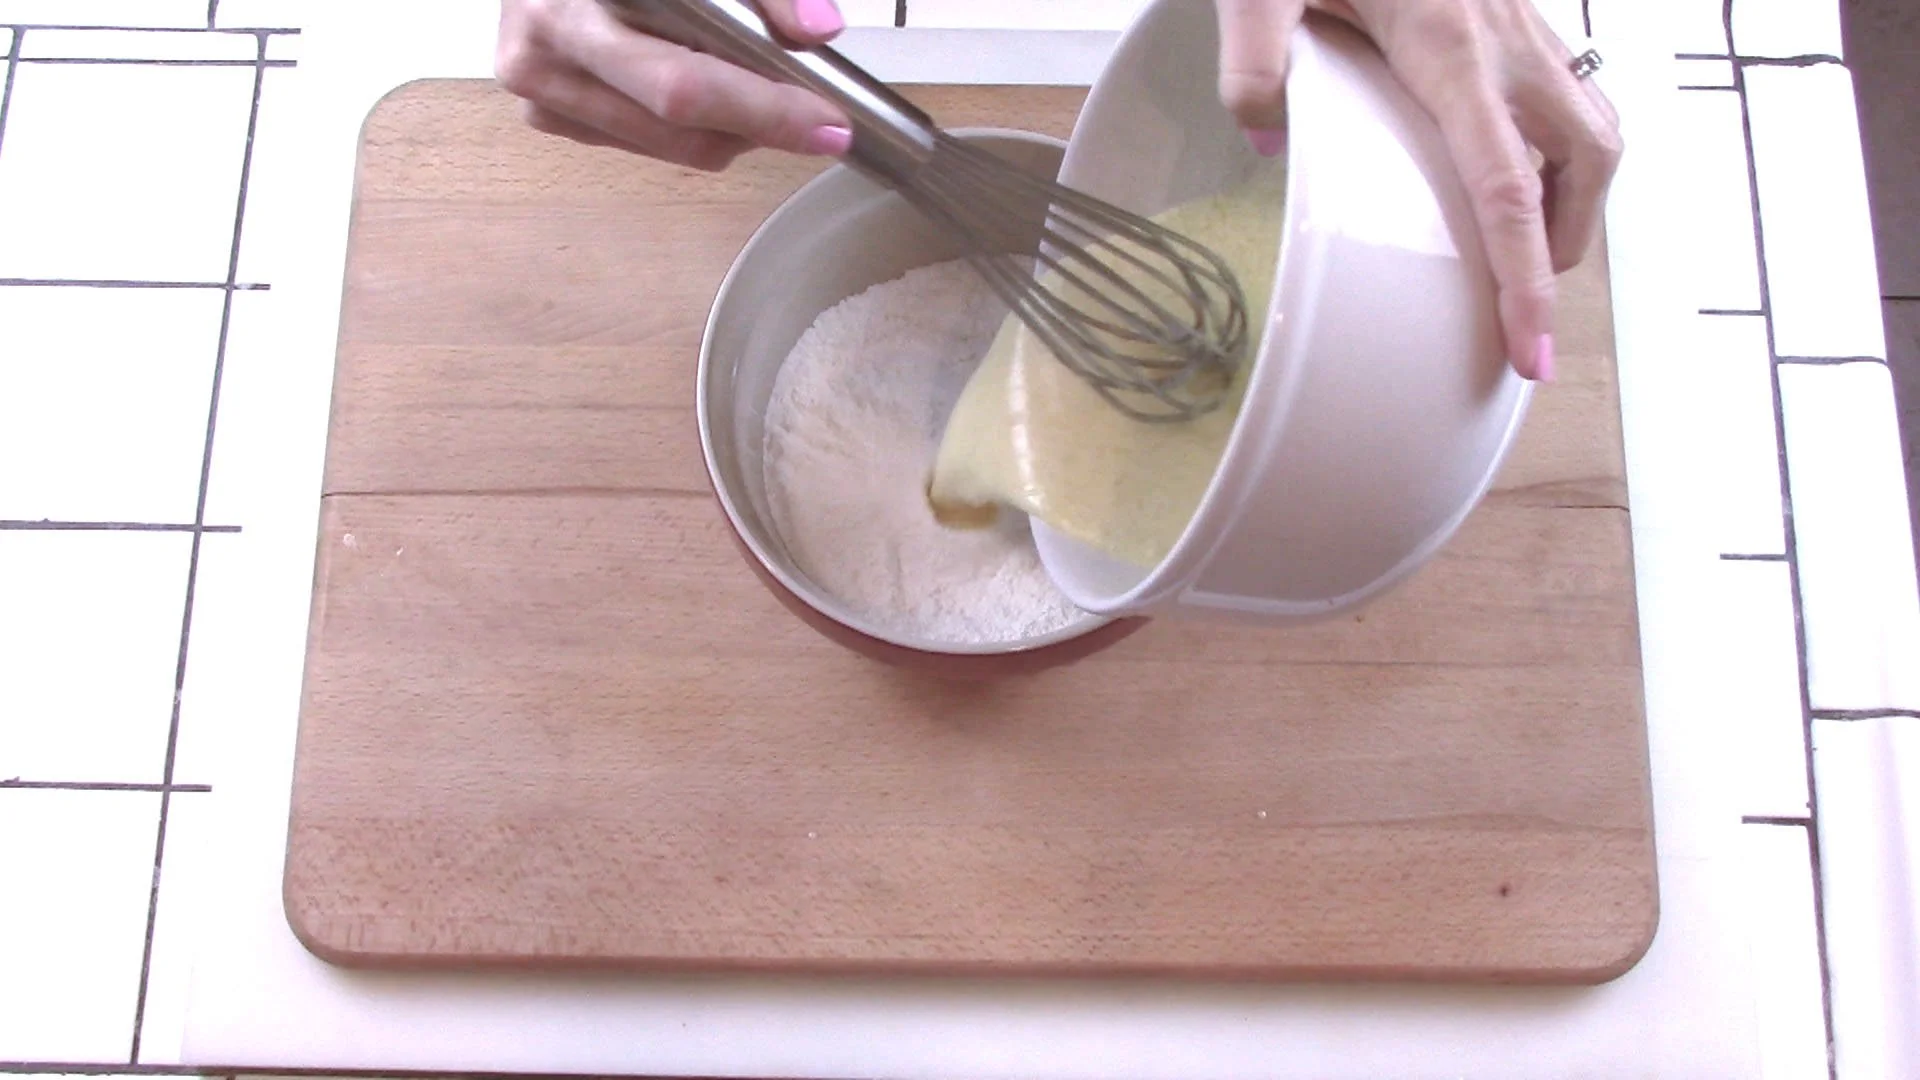
Pour wet mix into the dry mix.
15
Whisk by hand until well blended.
16
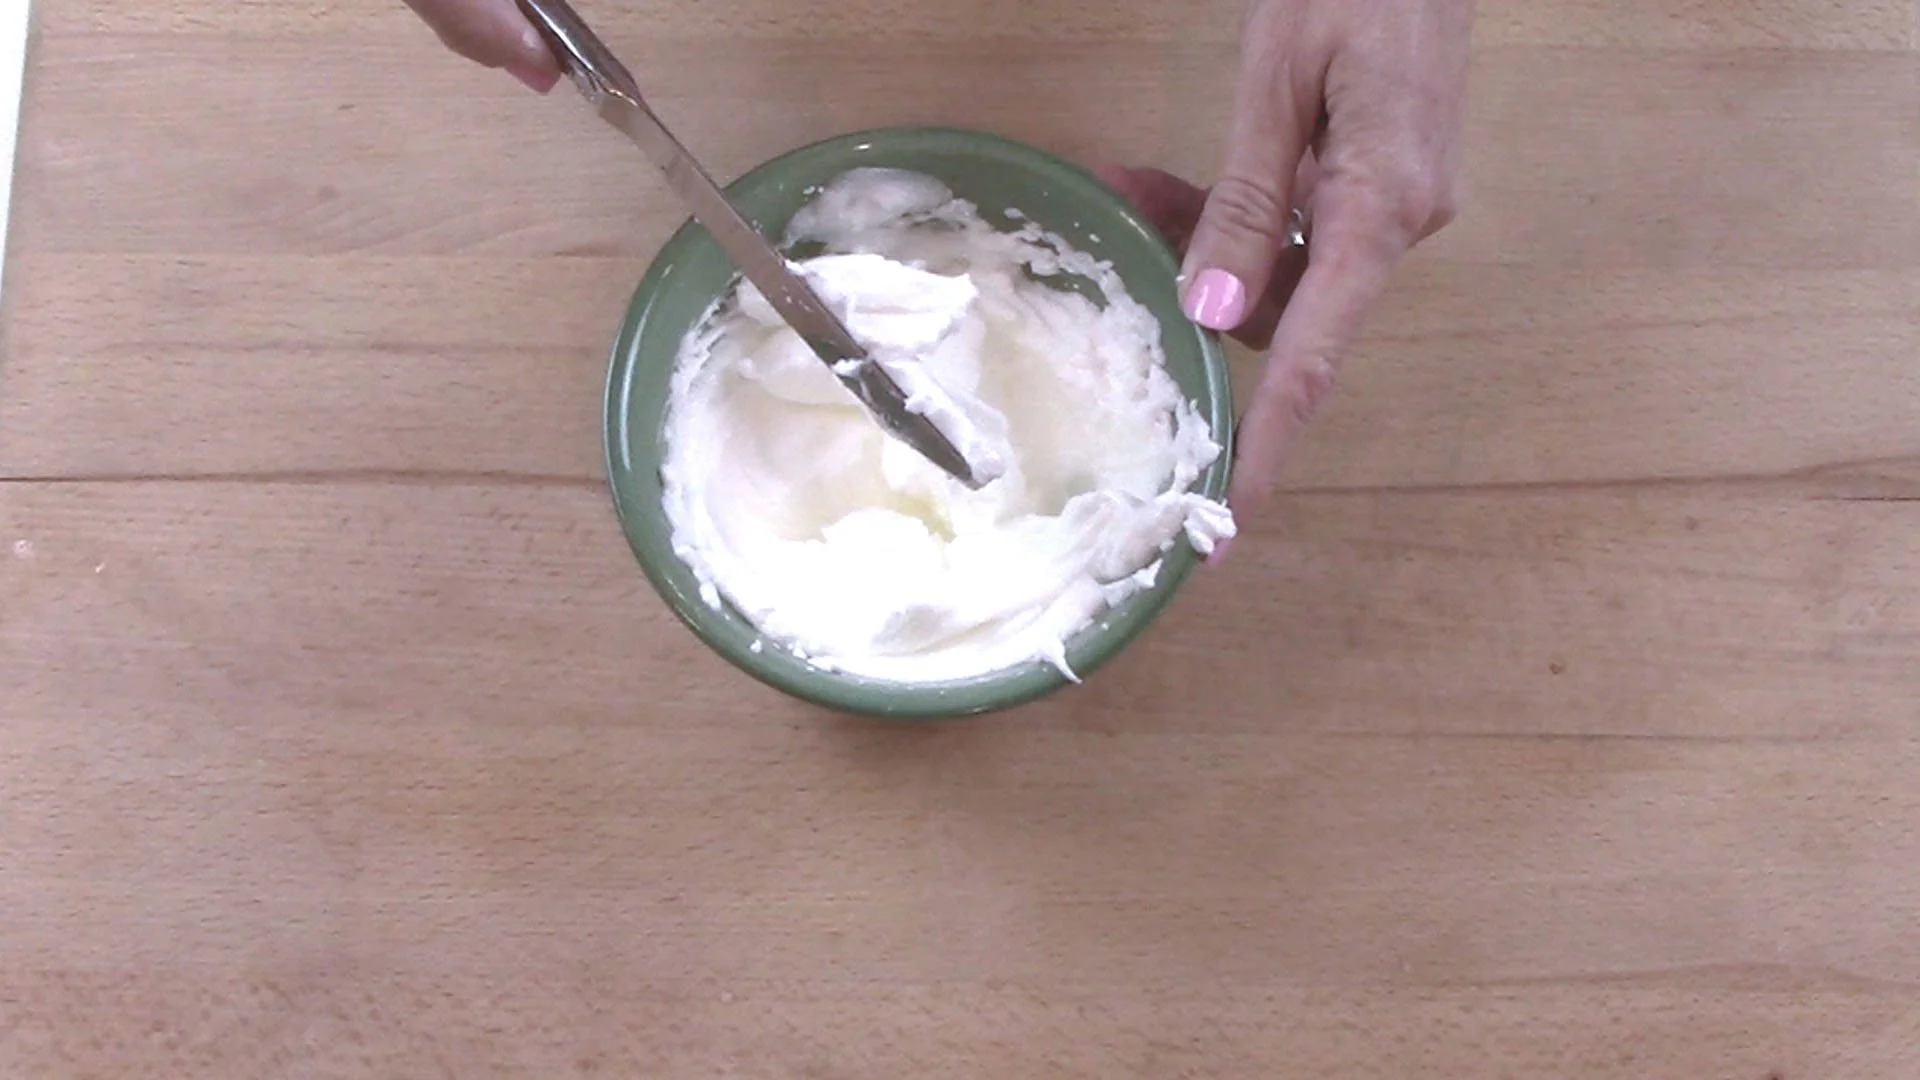
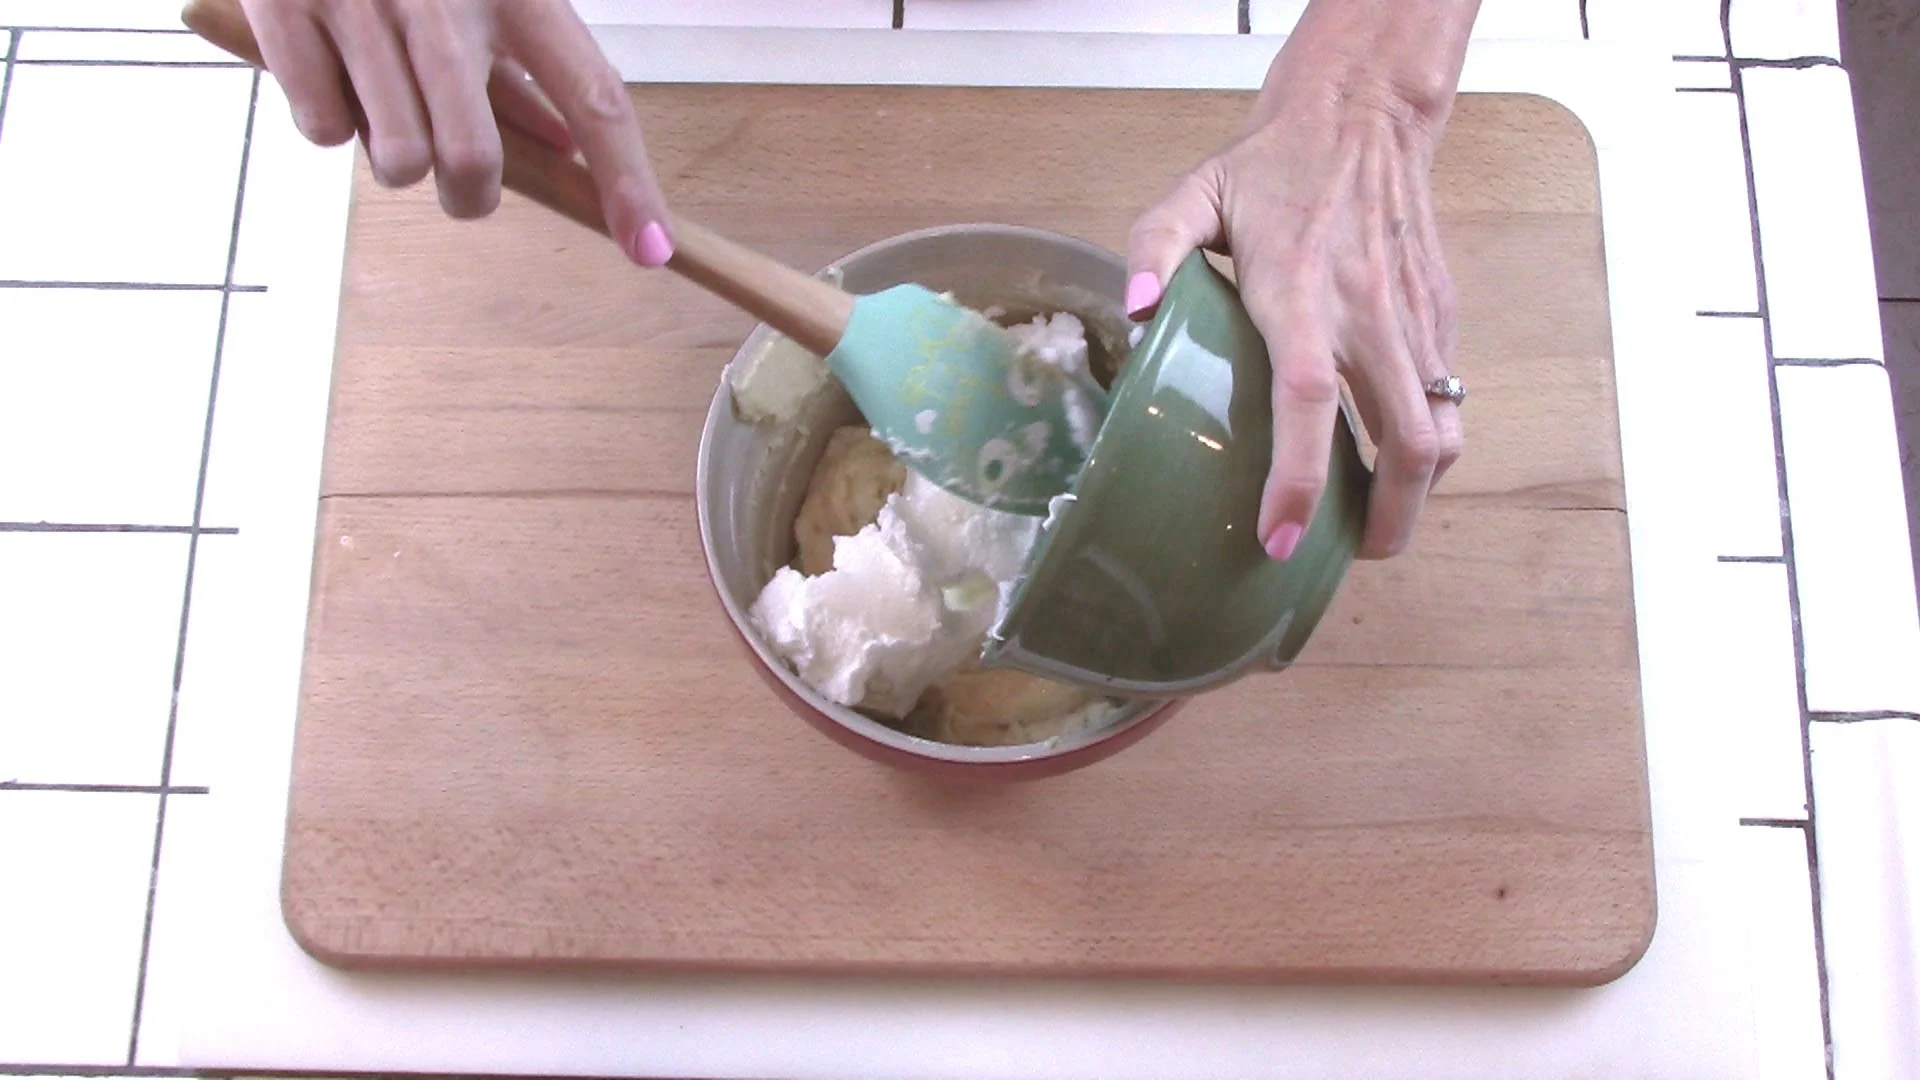
Gently scoop egg whites into wet mixture.
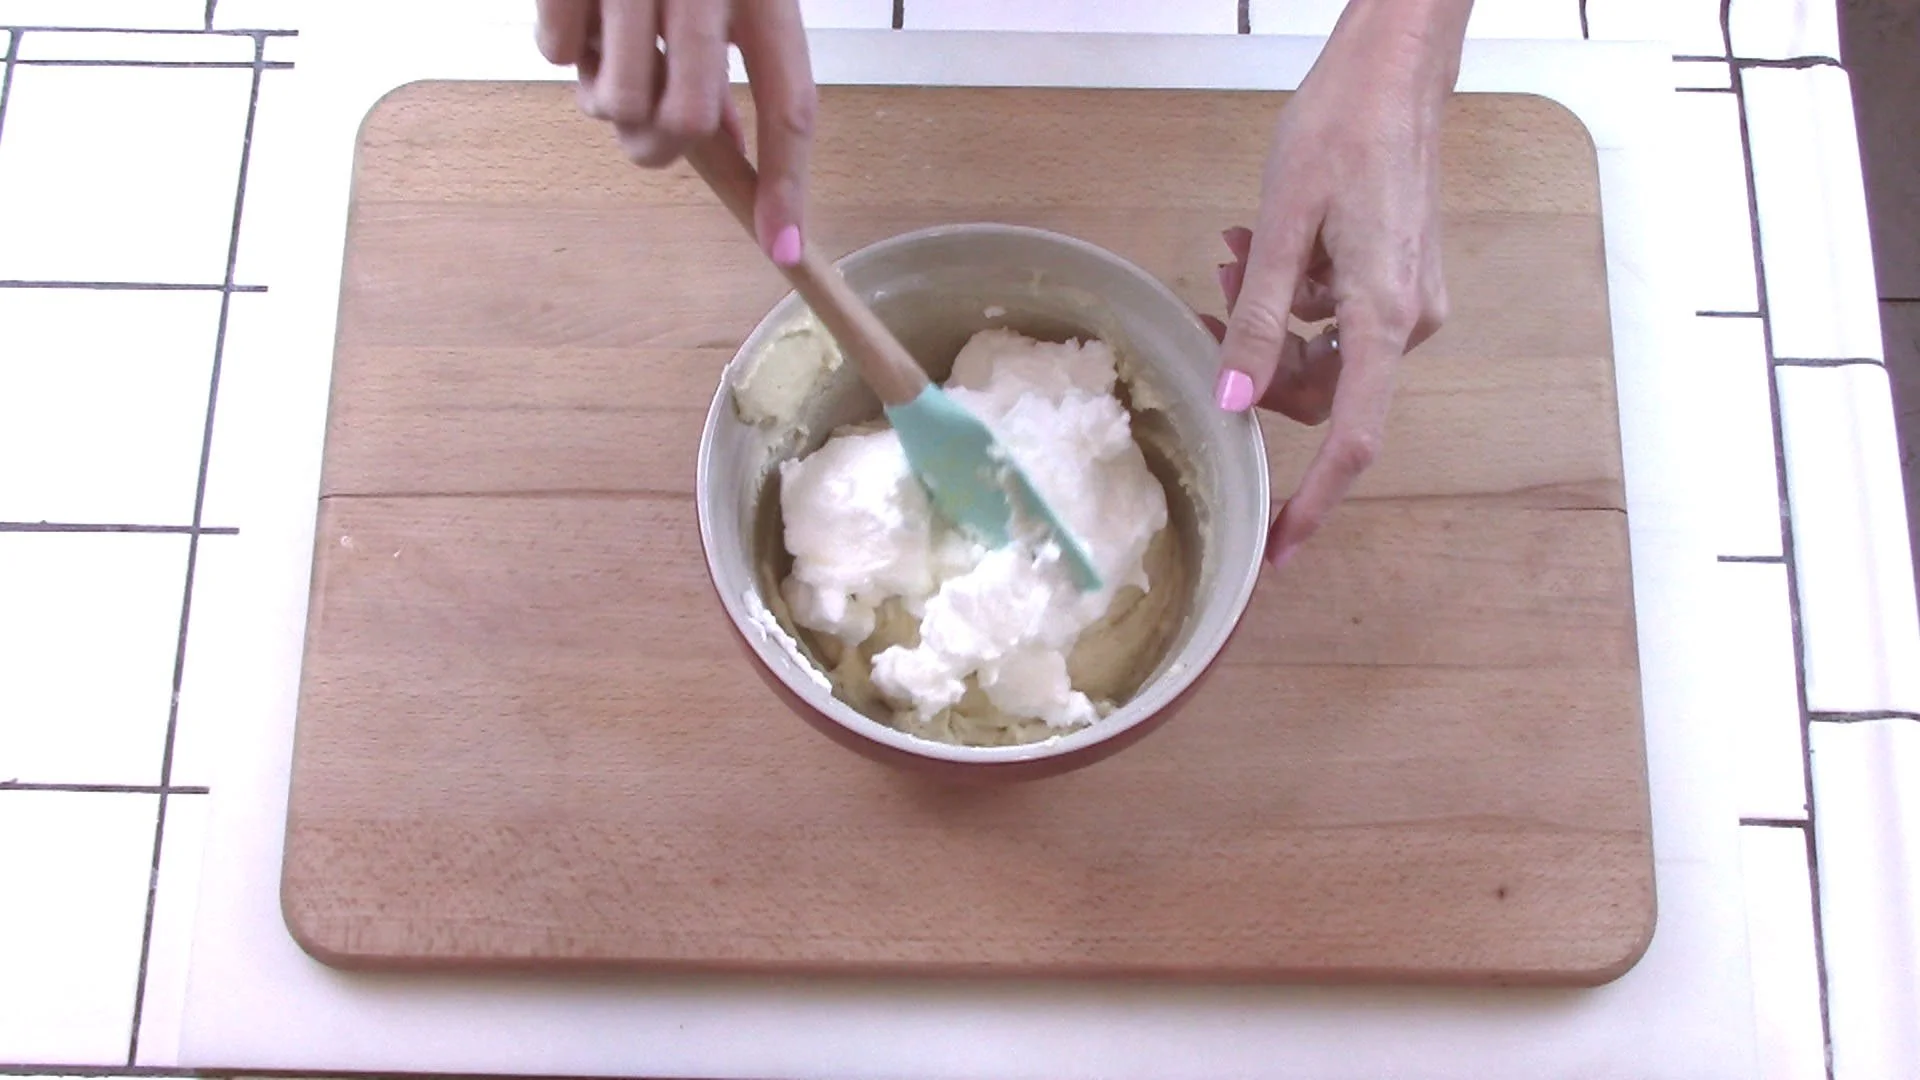
17
Gently fold egg whites into batter with a rubber spatula.
18
Make sure to fold rather than stir...you want to keep your waffles light and fluffy!
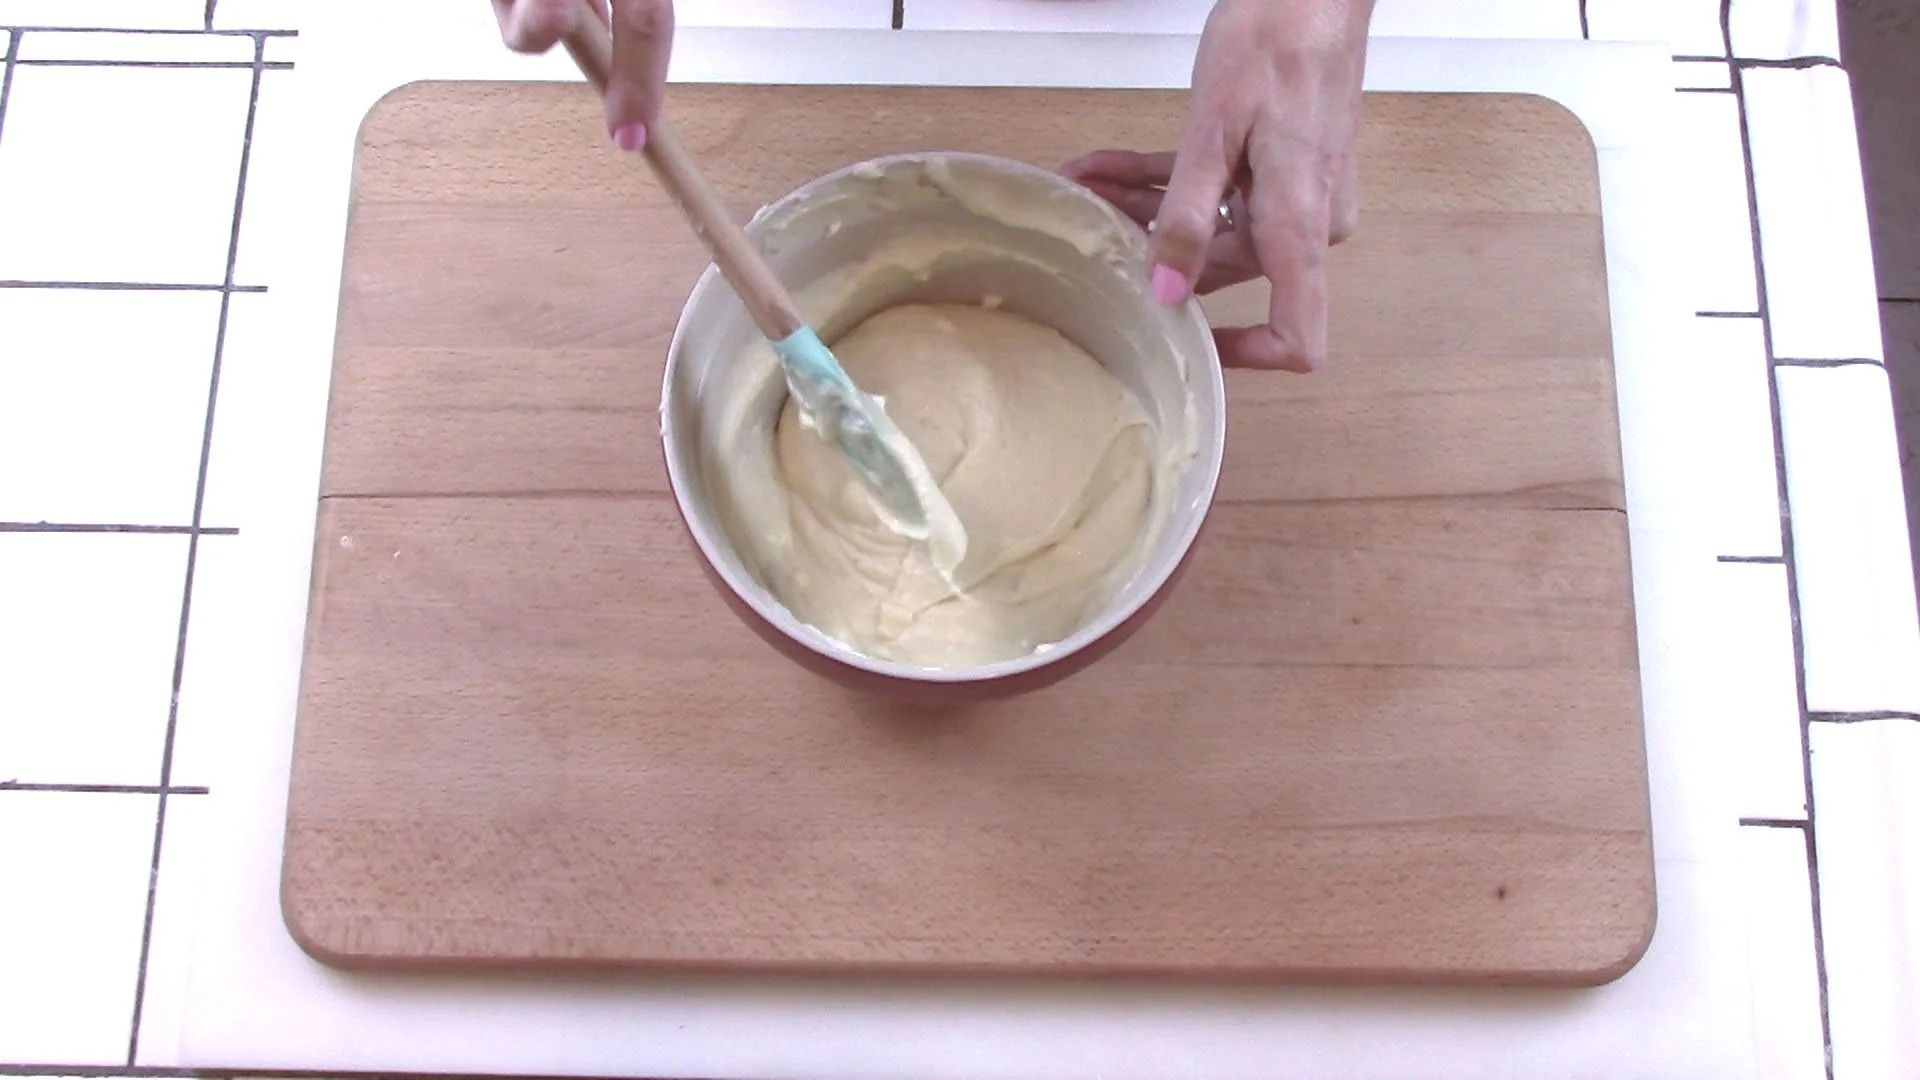
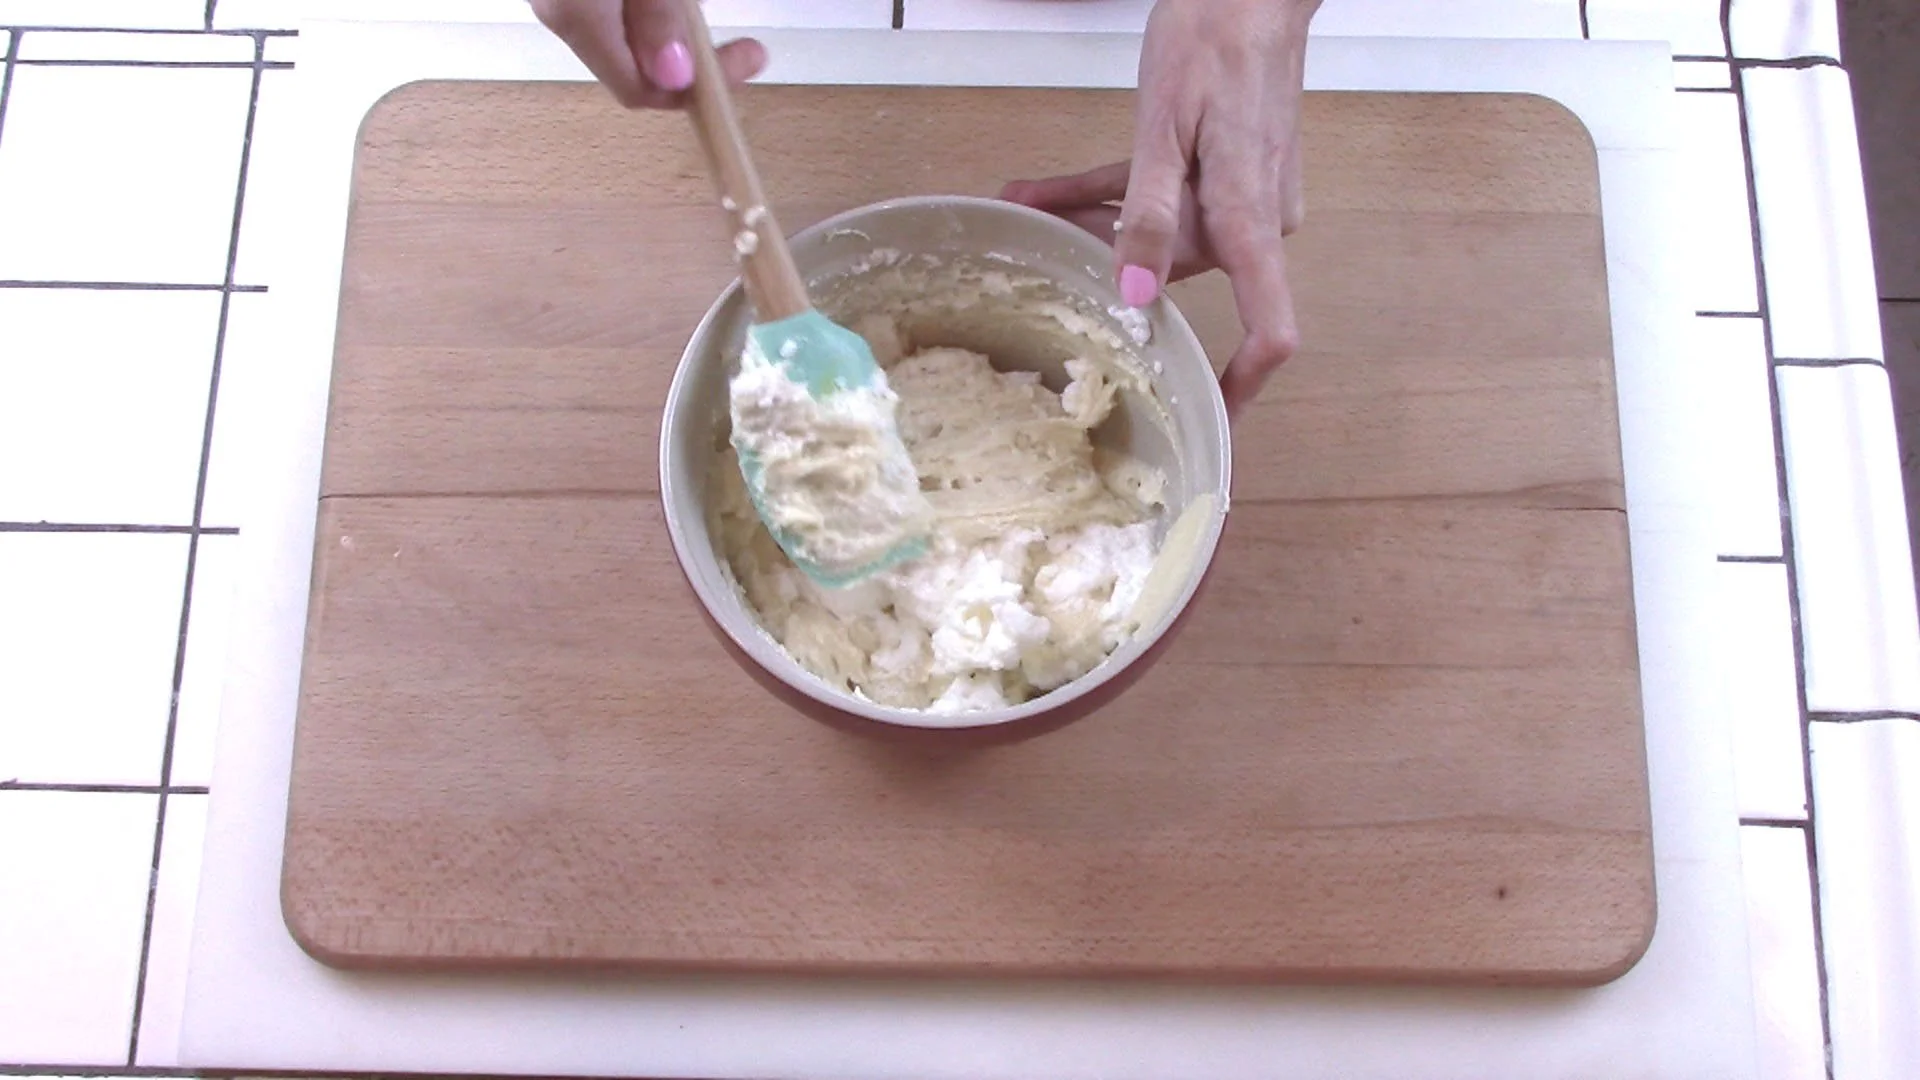
19
Continue gently folding until whites are no longer visible.
20
Set out a plate for cooked waffles.
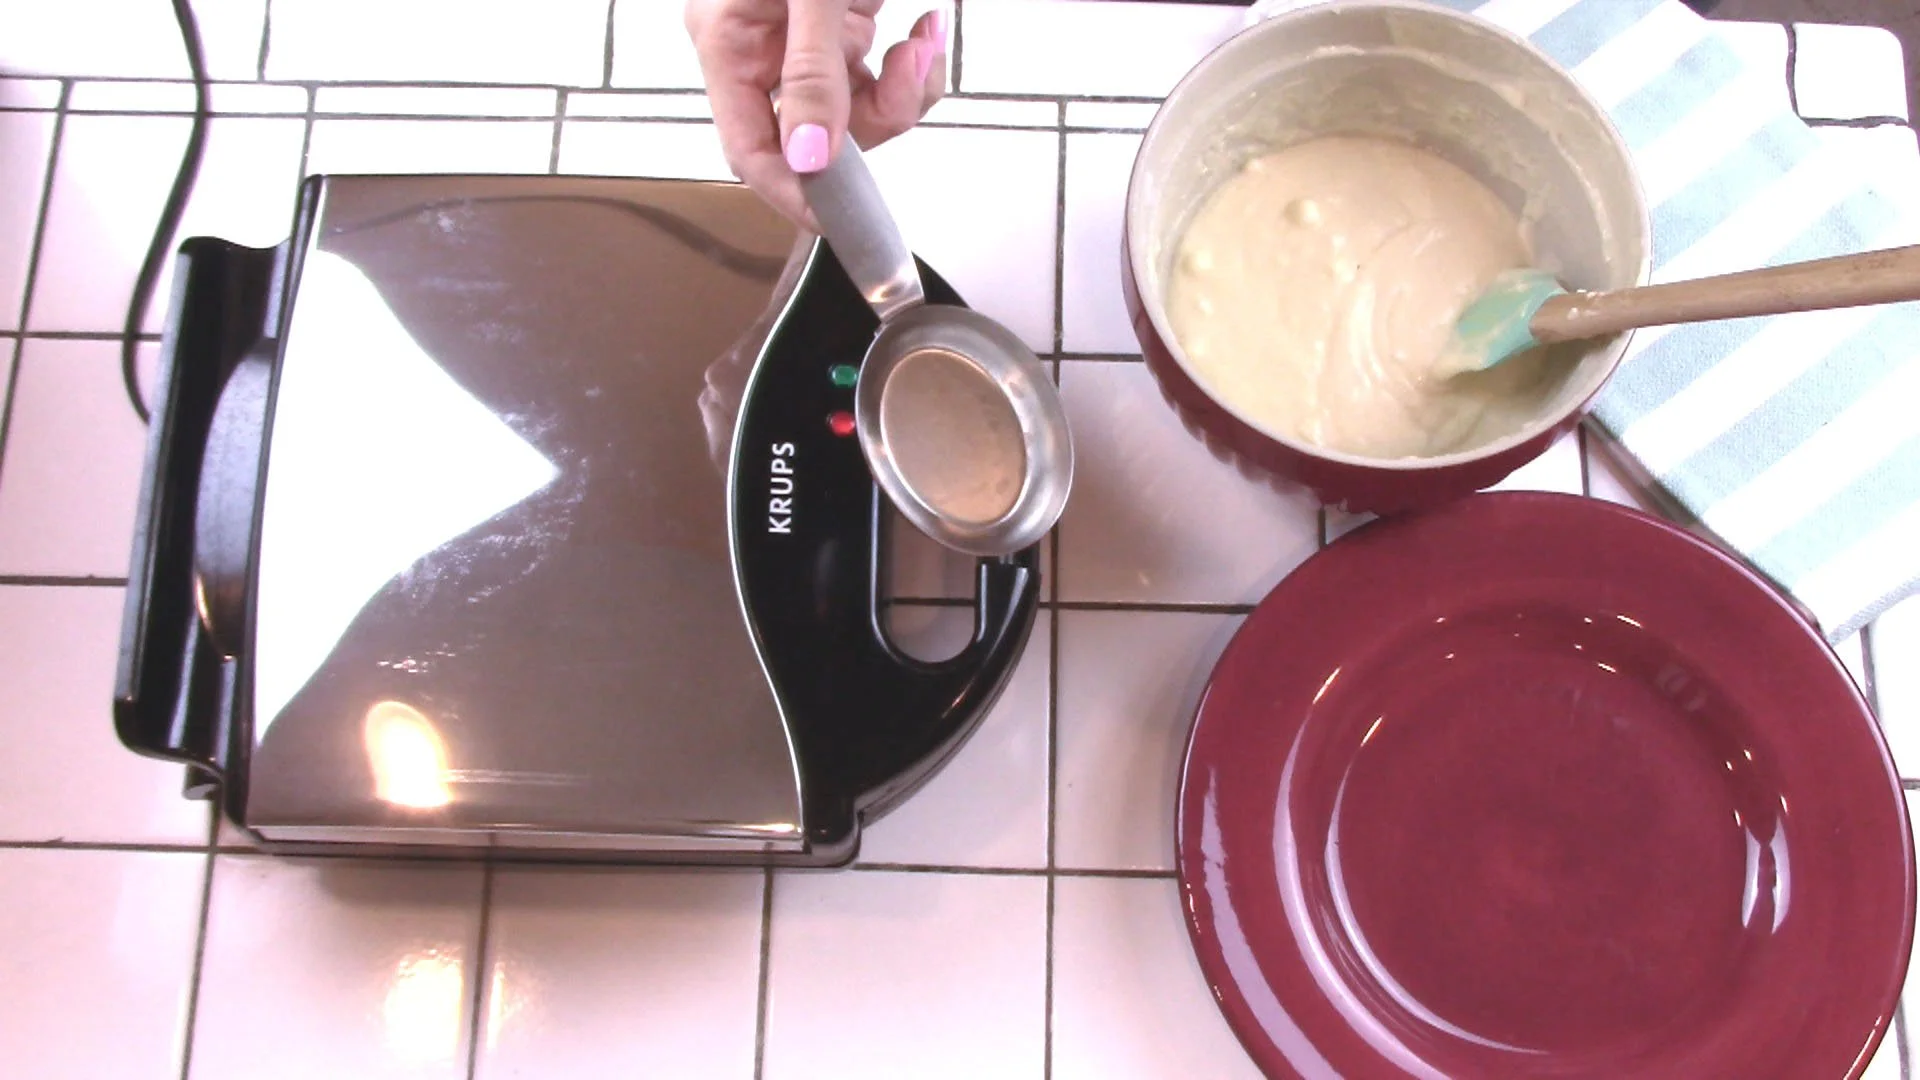
21
Use a measuring cup to scoop out batter for equally filled waffles. The size scooper you need will depend on the style of your waffle maker.
22
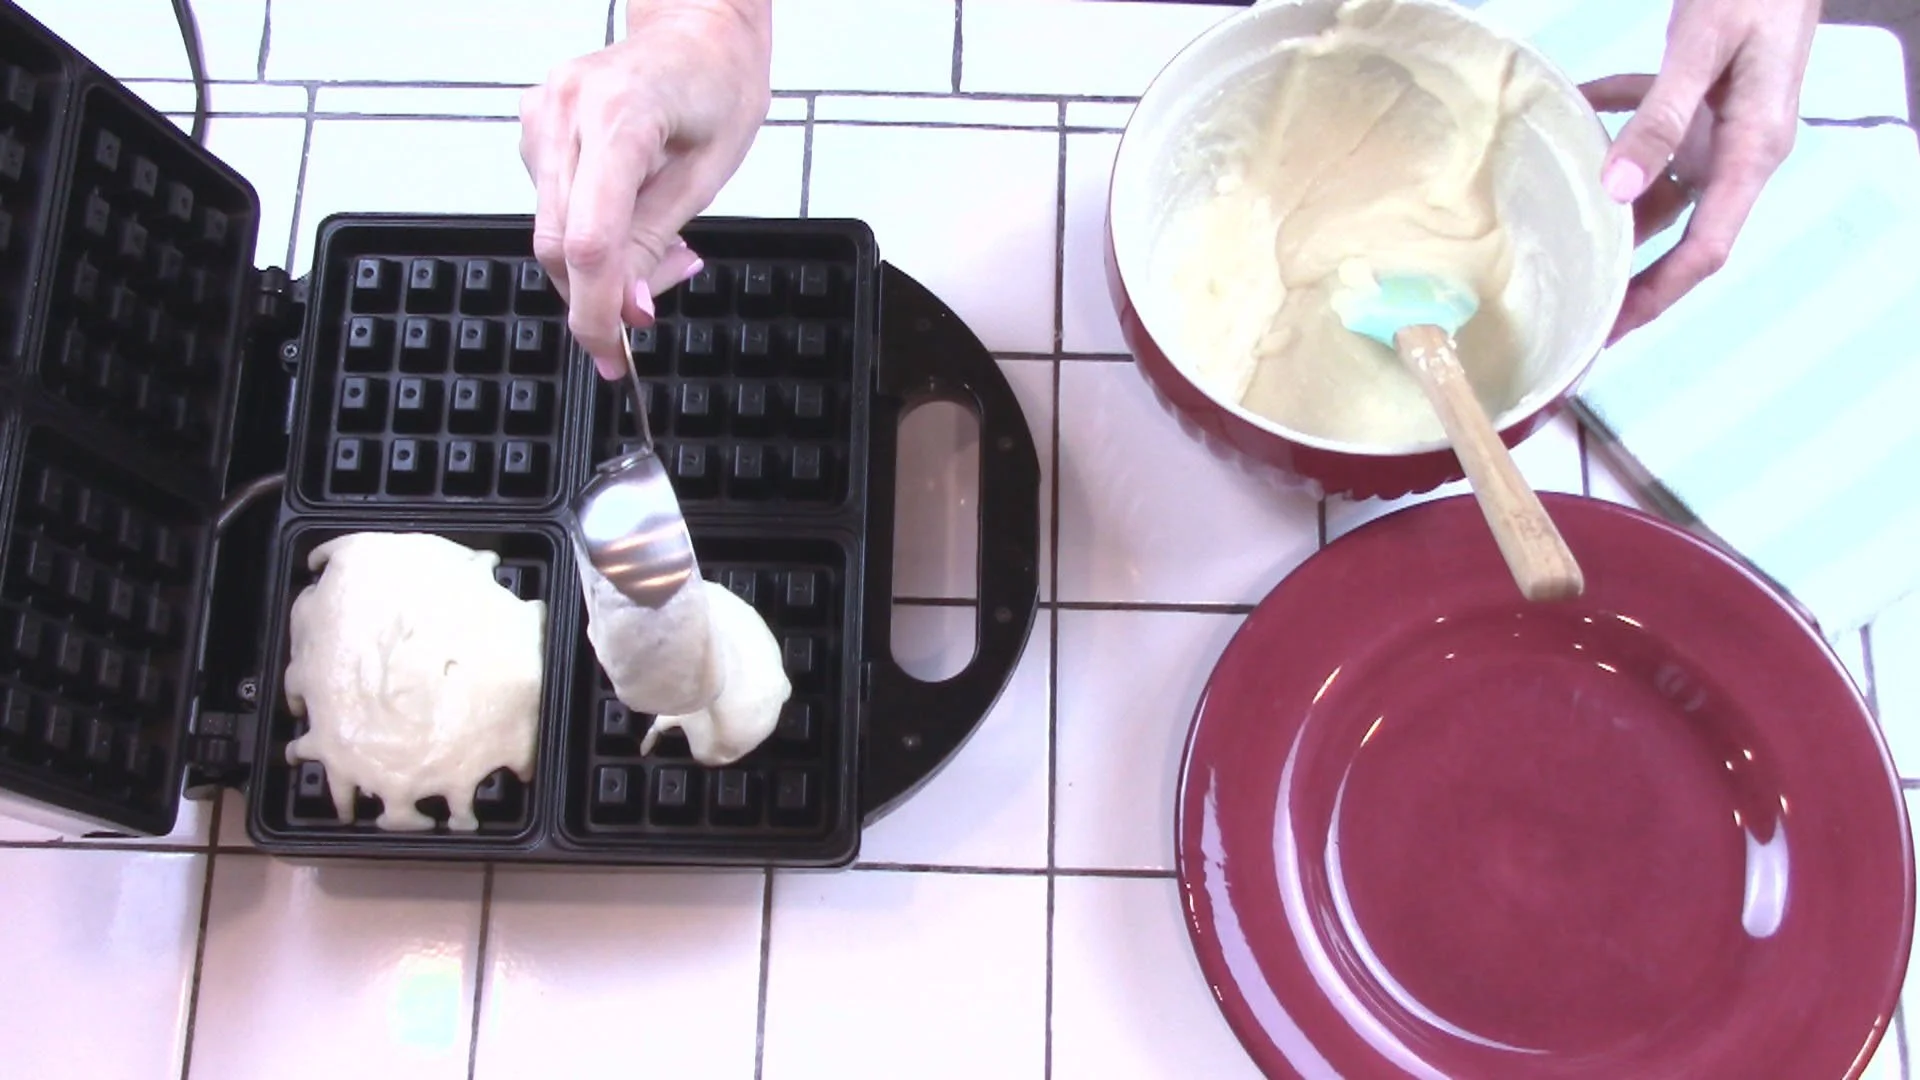
When waffle maker is fully heated, cook your waffles!
23
Close tightly and cook for 5 minutes (time may vary as all waffle makers are different.) Reheating fully between each cooking is important to ensure a slight crisp on the outside of your waffle.
24
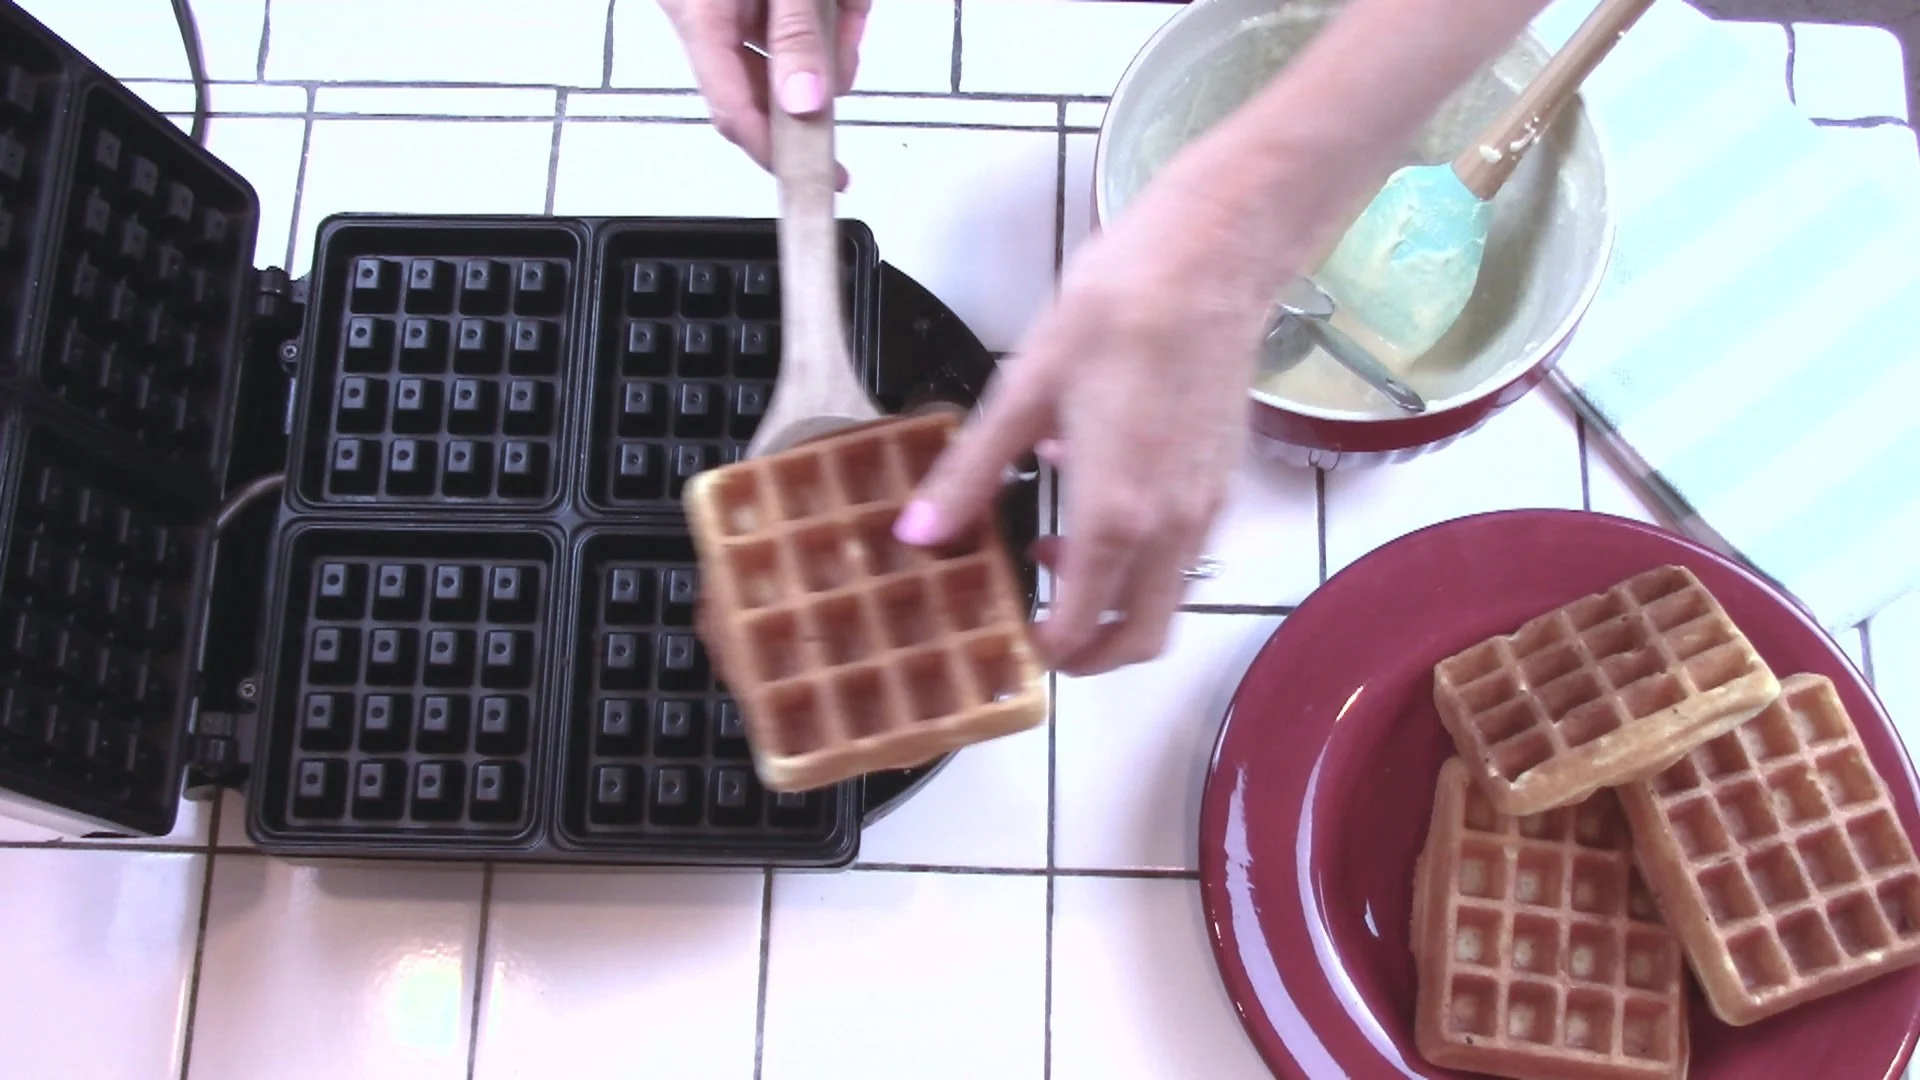
Remove waffles when the are golden and slightly crispy on the outside.
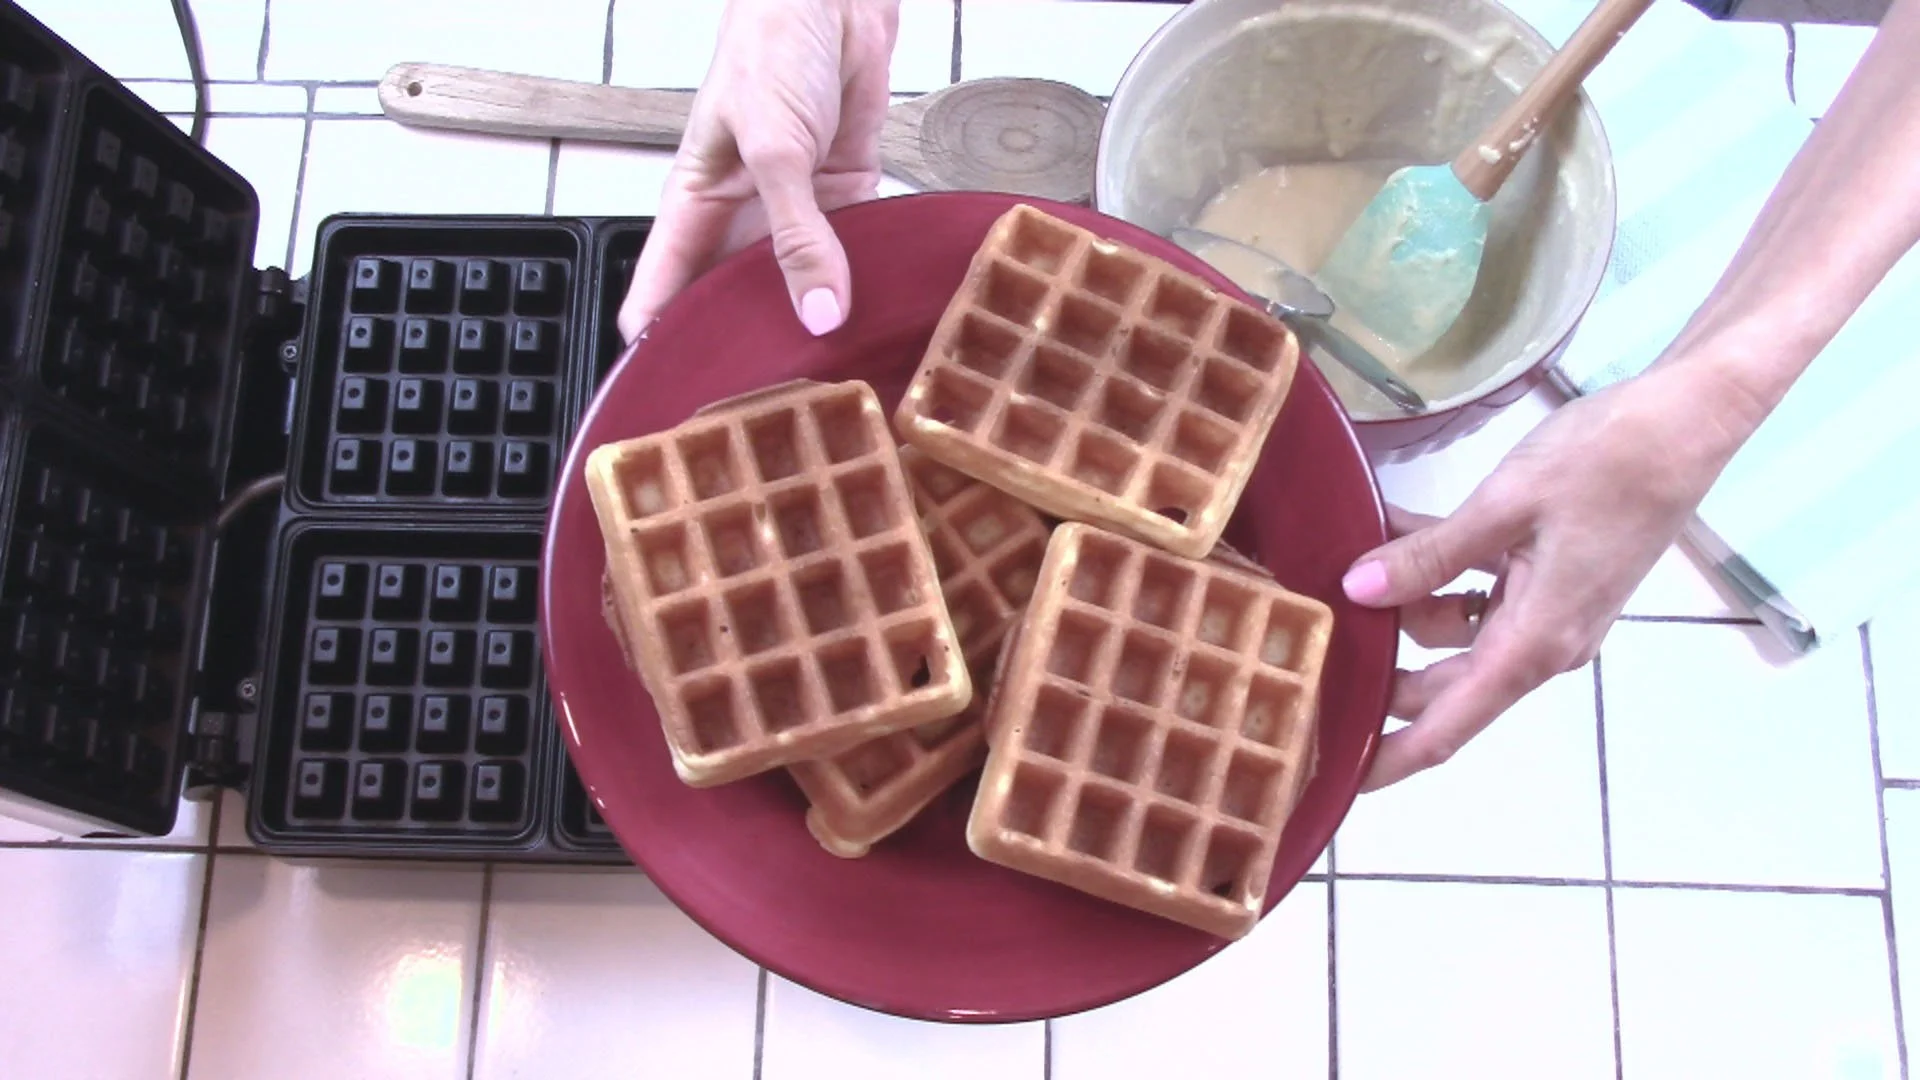
Yay! Time to eat!
Ahhh, beautiful, delicious waffles. Serve hot with your favorite waffle-toppings...strawberries, powdered sugar, blueberies, whipped cream, and of course, maple syrup.
Bon Appetit!
Ready to Make Some Gluten Free Belgian Waffles?
Make sure to start with all the right tools! Shop for gluten free flours, cutting boards, serving dishes, and cookware in my Amazon shop!

The Recipe:
GLUTEN FREE BELGIAN WAFFLES
INGREDIENTS
Dry Ingredients:
1 cup white rice flour (5.7 oz.)
1/3 cup tapioca flour (1.3 oz.)
1/4 cup brown rice flour (1.0 oz.)
1/4 cup cornstarch (1.2 oz.)
1/2 tsp. baking soda
1 and 1/2 tsp. baking powder
1/2 tsp. salt
3 Tbsp. granulated sugar
Wet Ingredients:
4 Tbsp. butter
1 cup buttermilk
1 tsp. vanilla
2 large eggs, separated
DIRECTIONS
Getting Ready
Melt butter and pour into a medium-sized mixing bowl. Set aside to cool.
Separate eggs (both whites and yolks will be used)
Bring eggs and buttermilk to room temperature before starting
Pre-heat waffle iron
Let’s Get Started
In a medium-sized mixing bowl, whisk together all dry ingredients: white rice flour, tapioca flour, brown rice flour, cornstarch, baking soda, baking powder, salt, and sugar
When butter is cooled, add to it the buttermilk, vanilla, and yolks. Stir or whisk by hand.
Beat the egg whites until stiff peaks form
Pour wet mix into the dry mix and whisk by hand until well blended.
Gently fold egg whites into batter with rubber spatula
Cook your waffles! Cook for about 5 minutes or until lightly golden and slightly crispy on the outside. In my 4-square waffle maker, I can make five ½-cup waffles.
Serve hot with your favorite toppings.

Tip: Please follow all directions exactly!! If you skip steps or swap ingredients then you may or may not like the end result :)
Tip: Weighing your flours is the most accurate method, but if you don't use a scale, remember to NOT scoop your measuring cup into the bag (as this will result in too much flour)…instead, spoon flour into your measuring cup and level it off with the back edge of a knife.
Looking for Comments?
Please leave and read comments in the "Comments" section of the YouTube video above.
I can’t wait to hear from you!